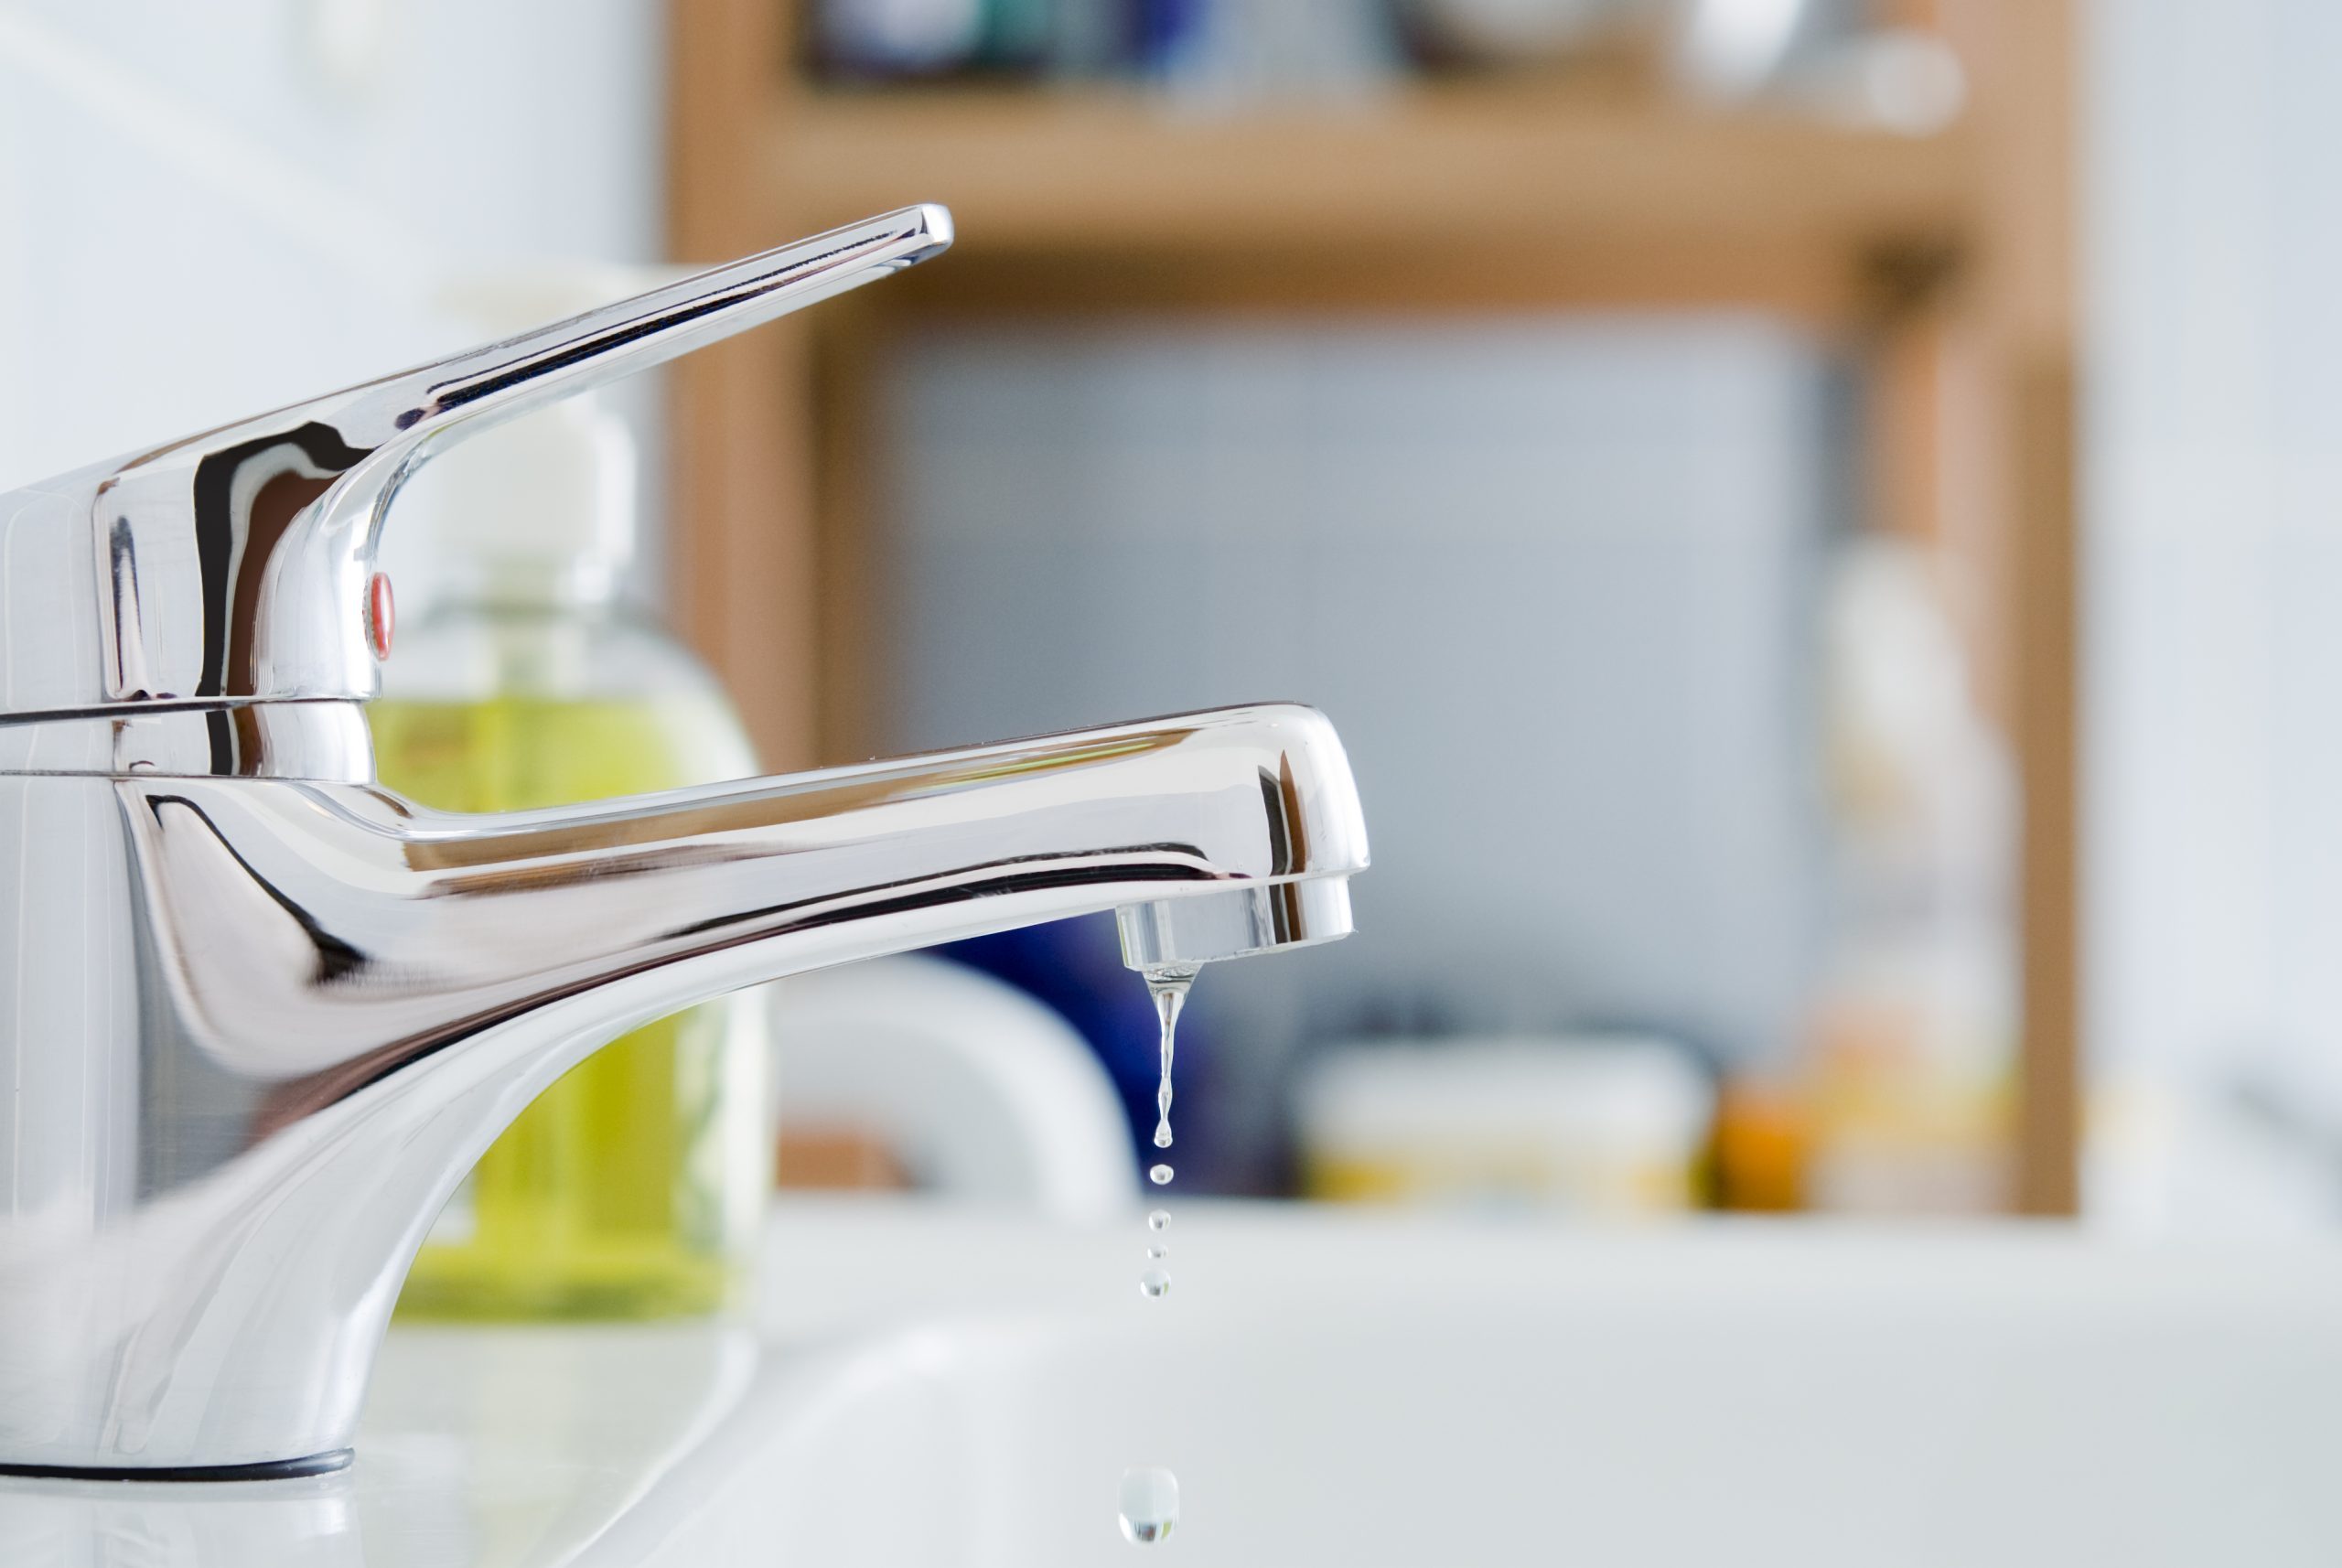
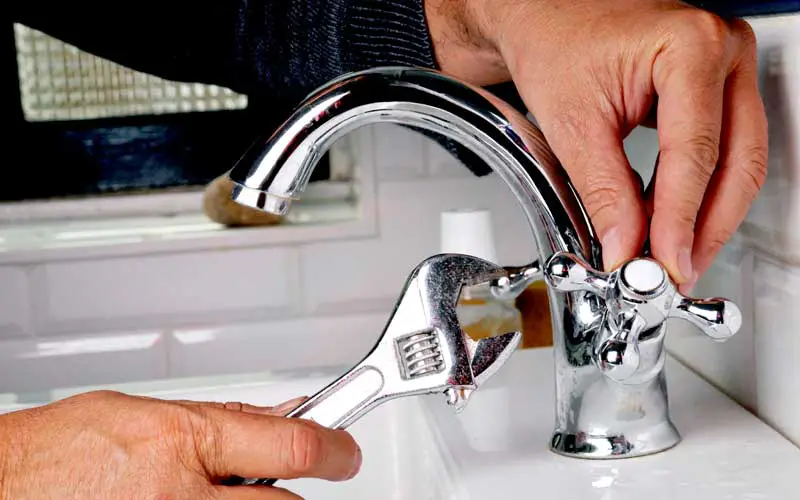
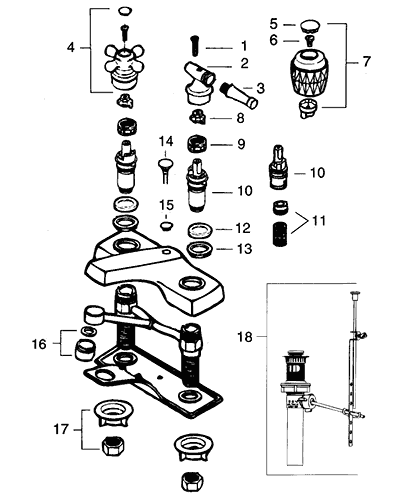
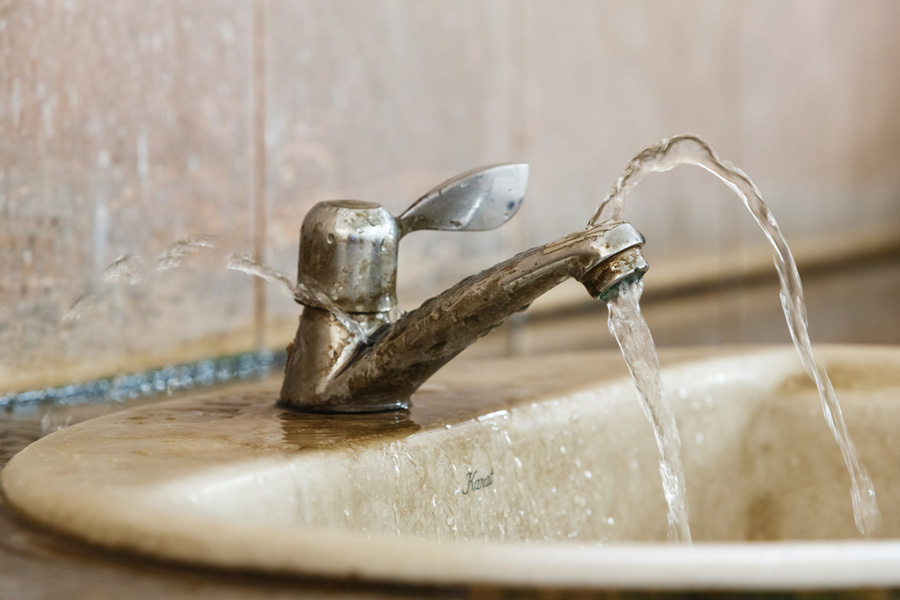
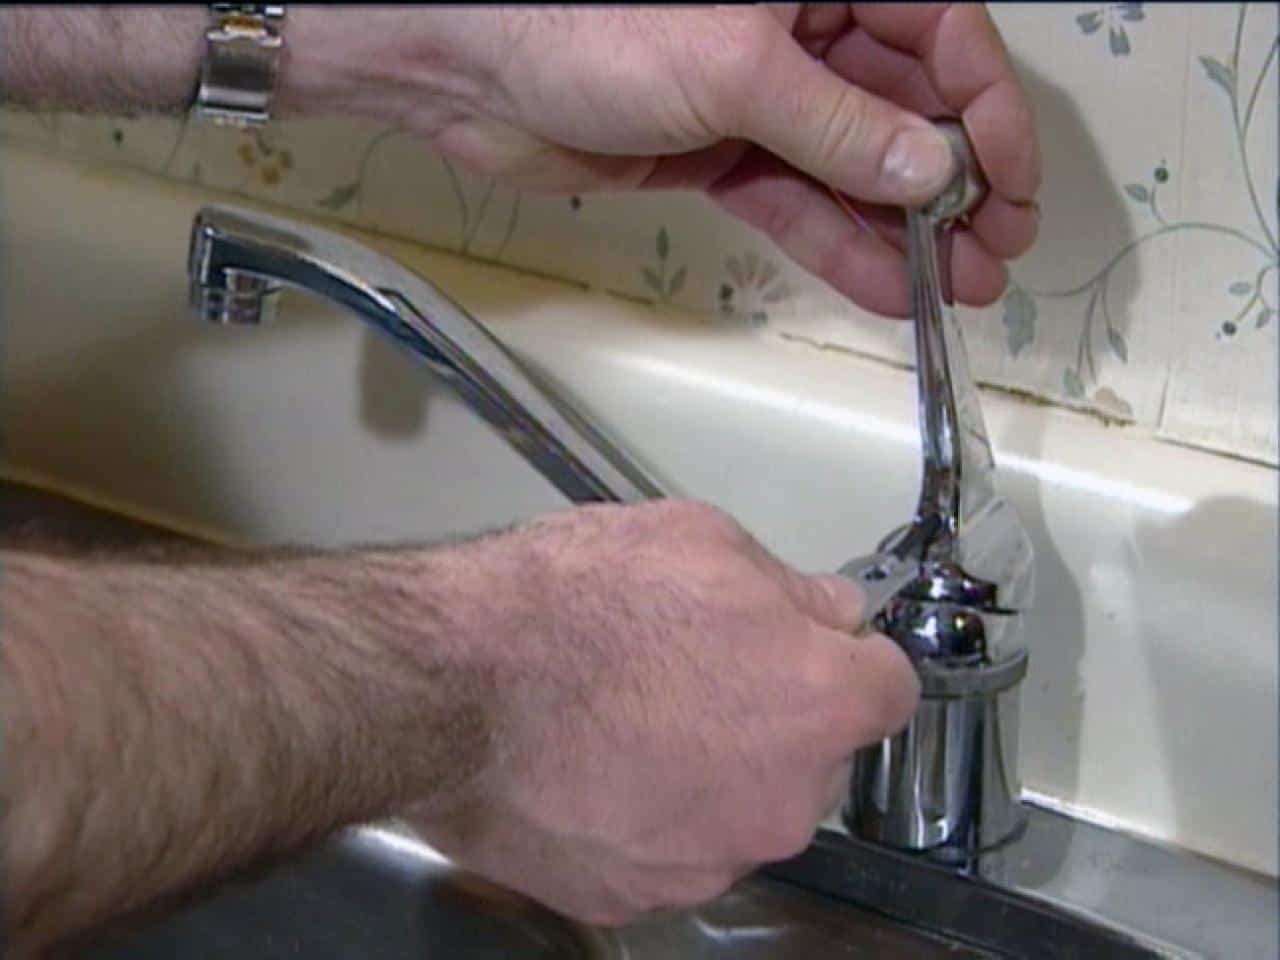
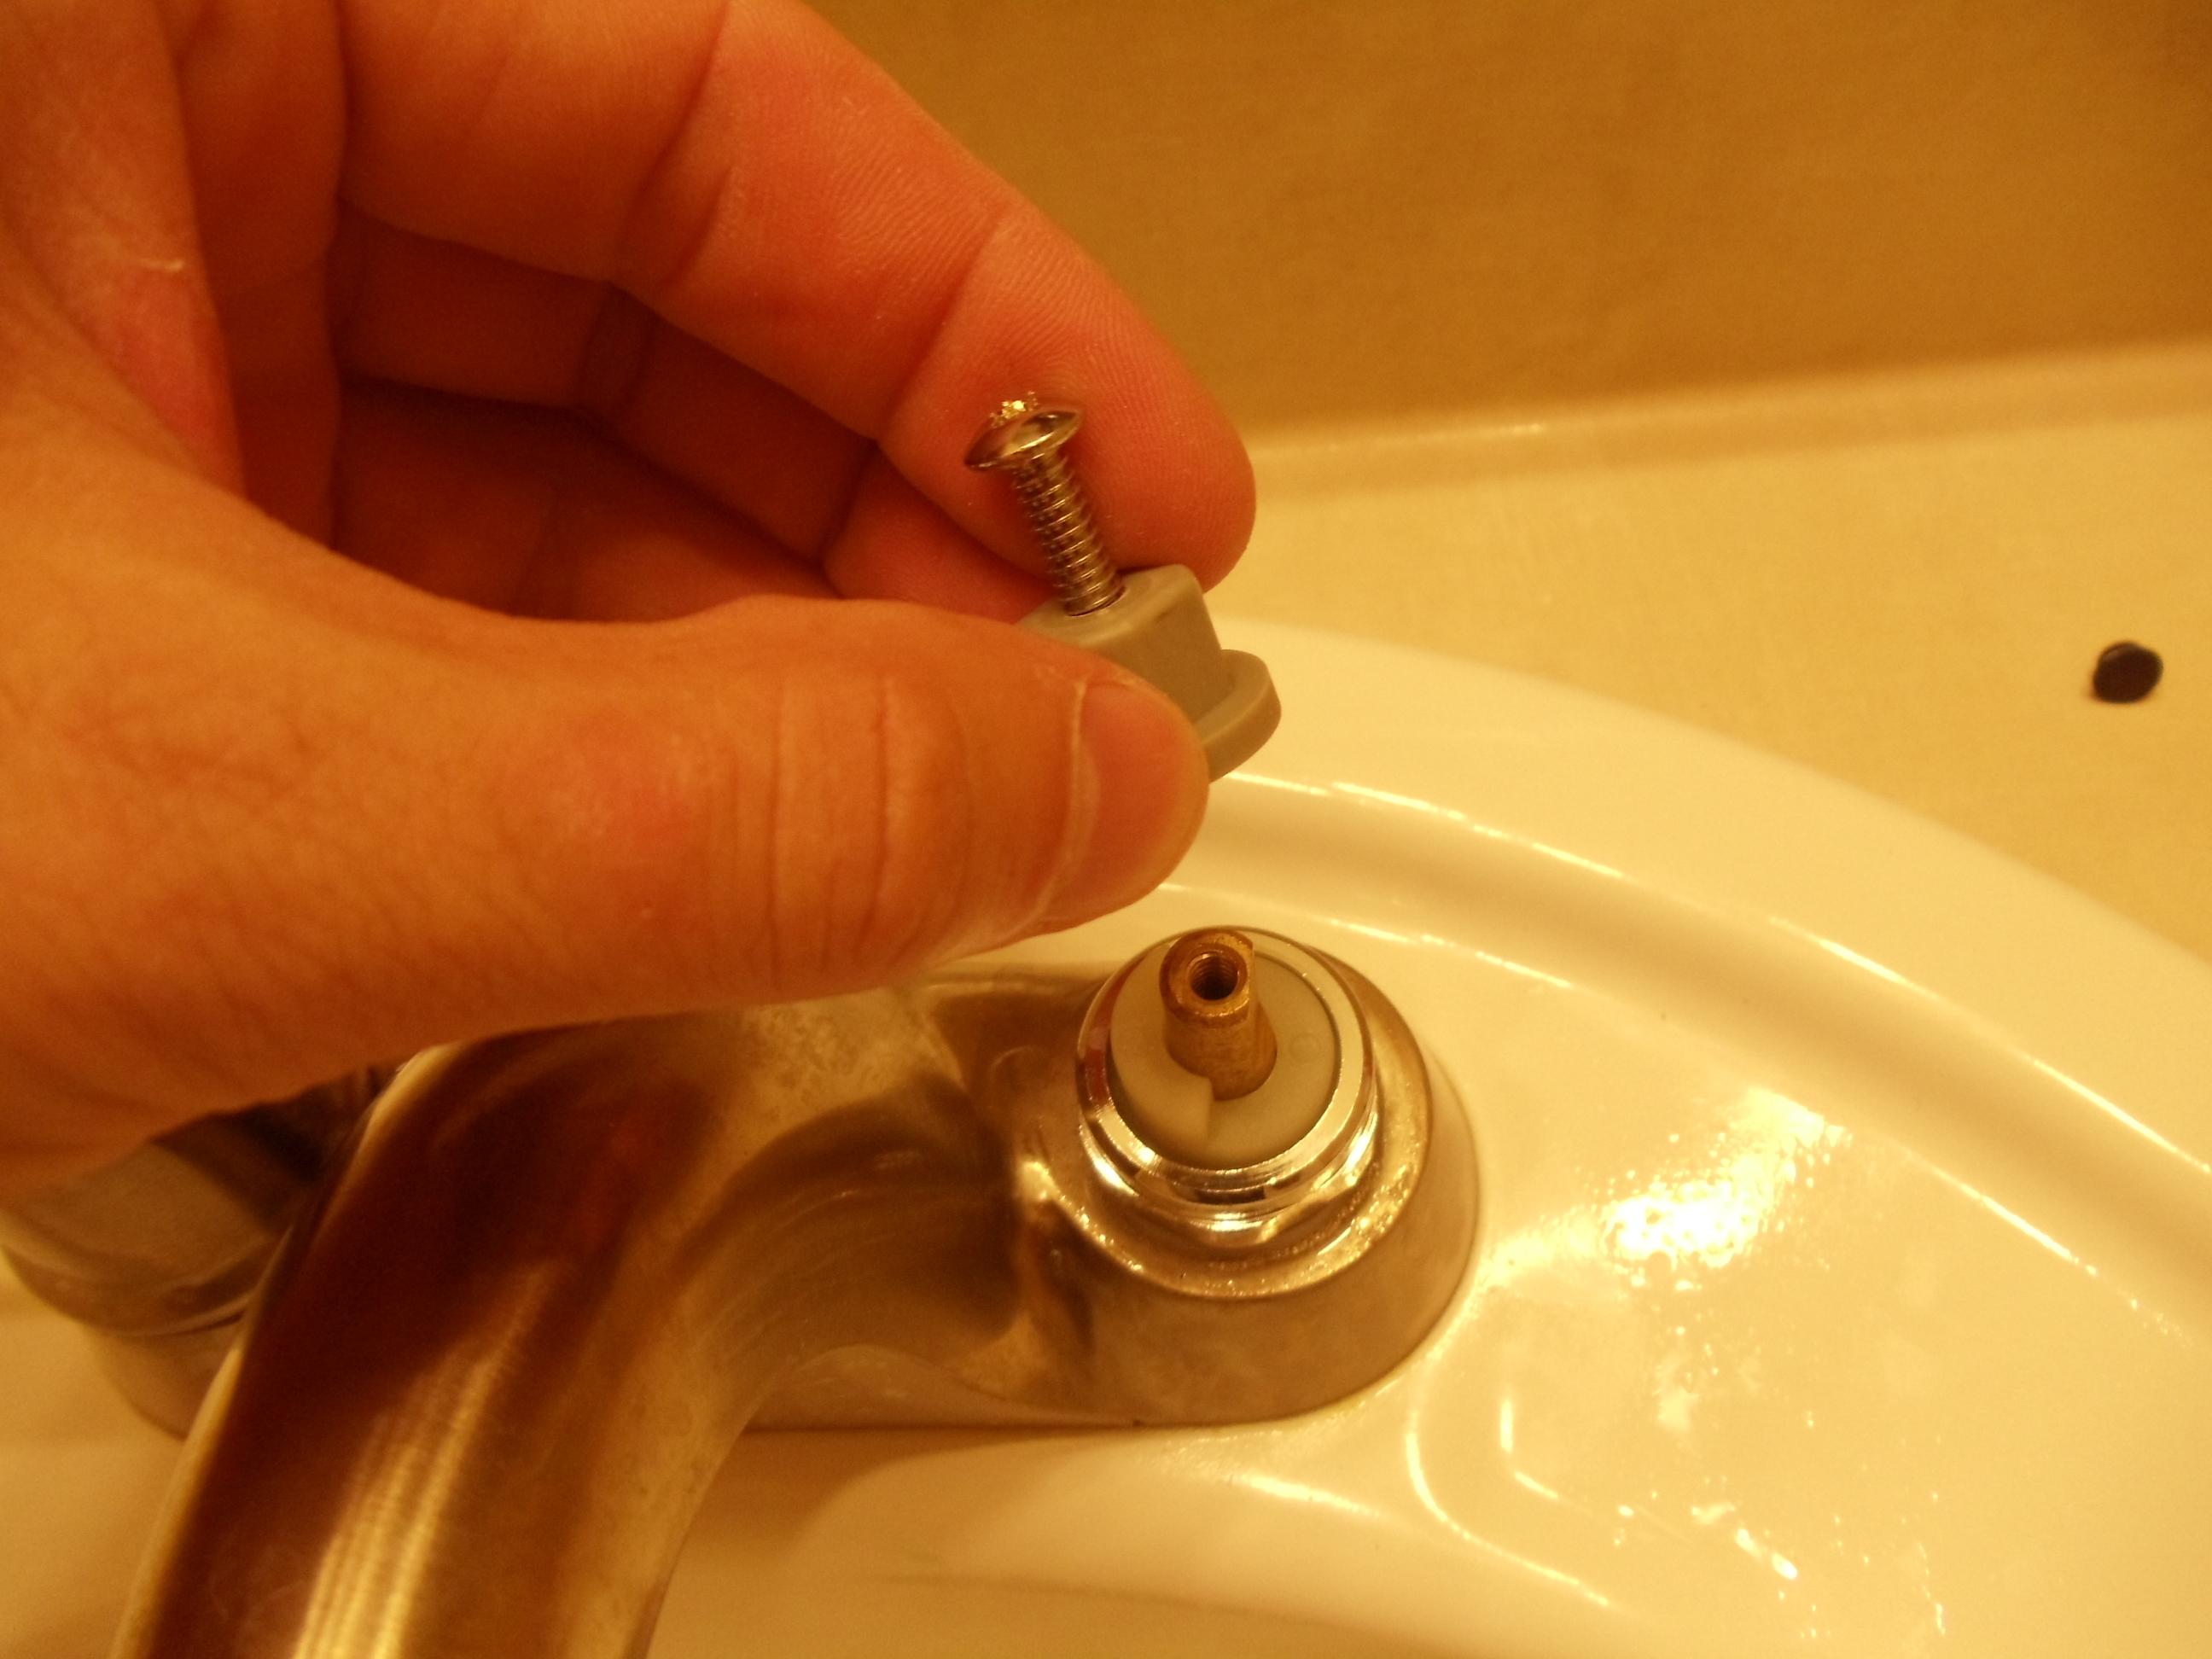
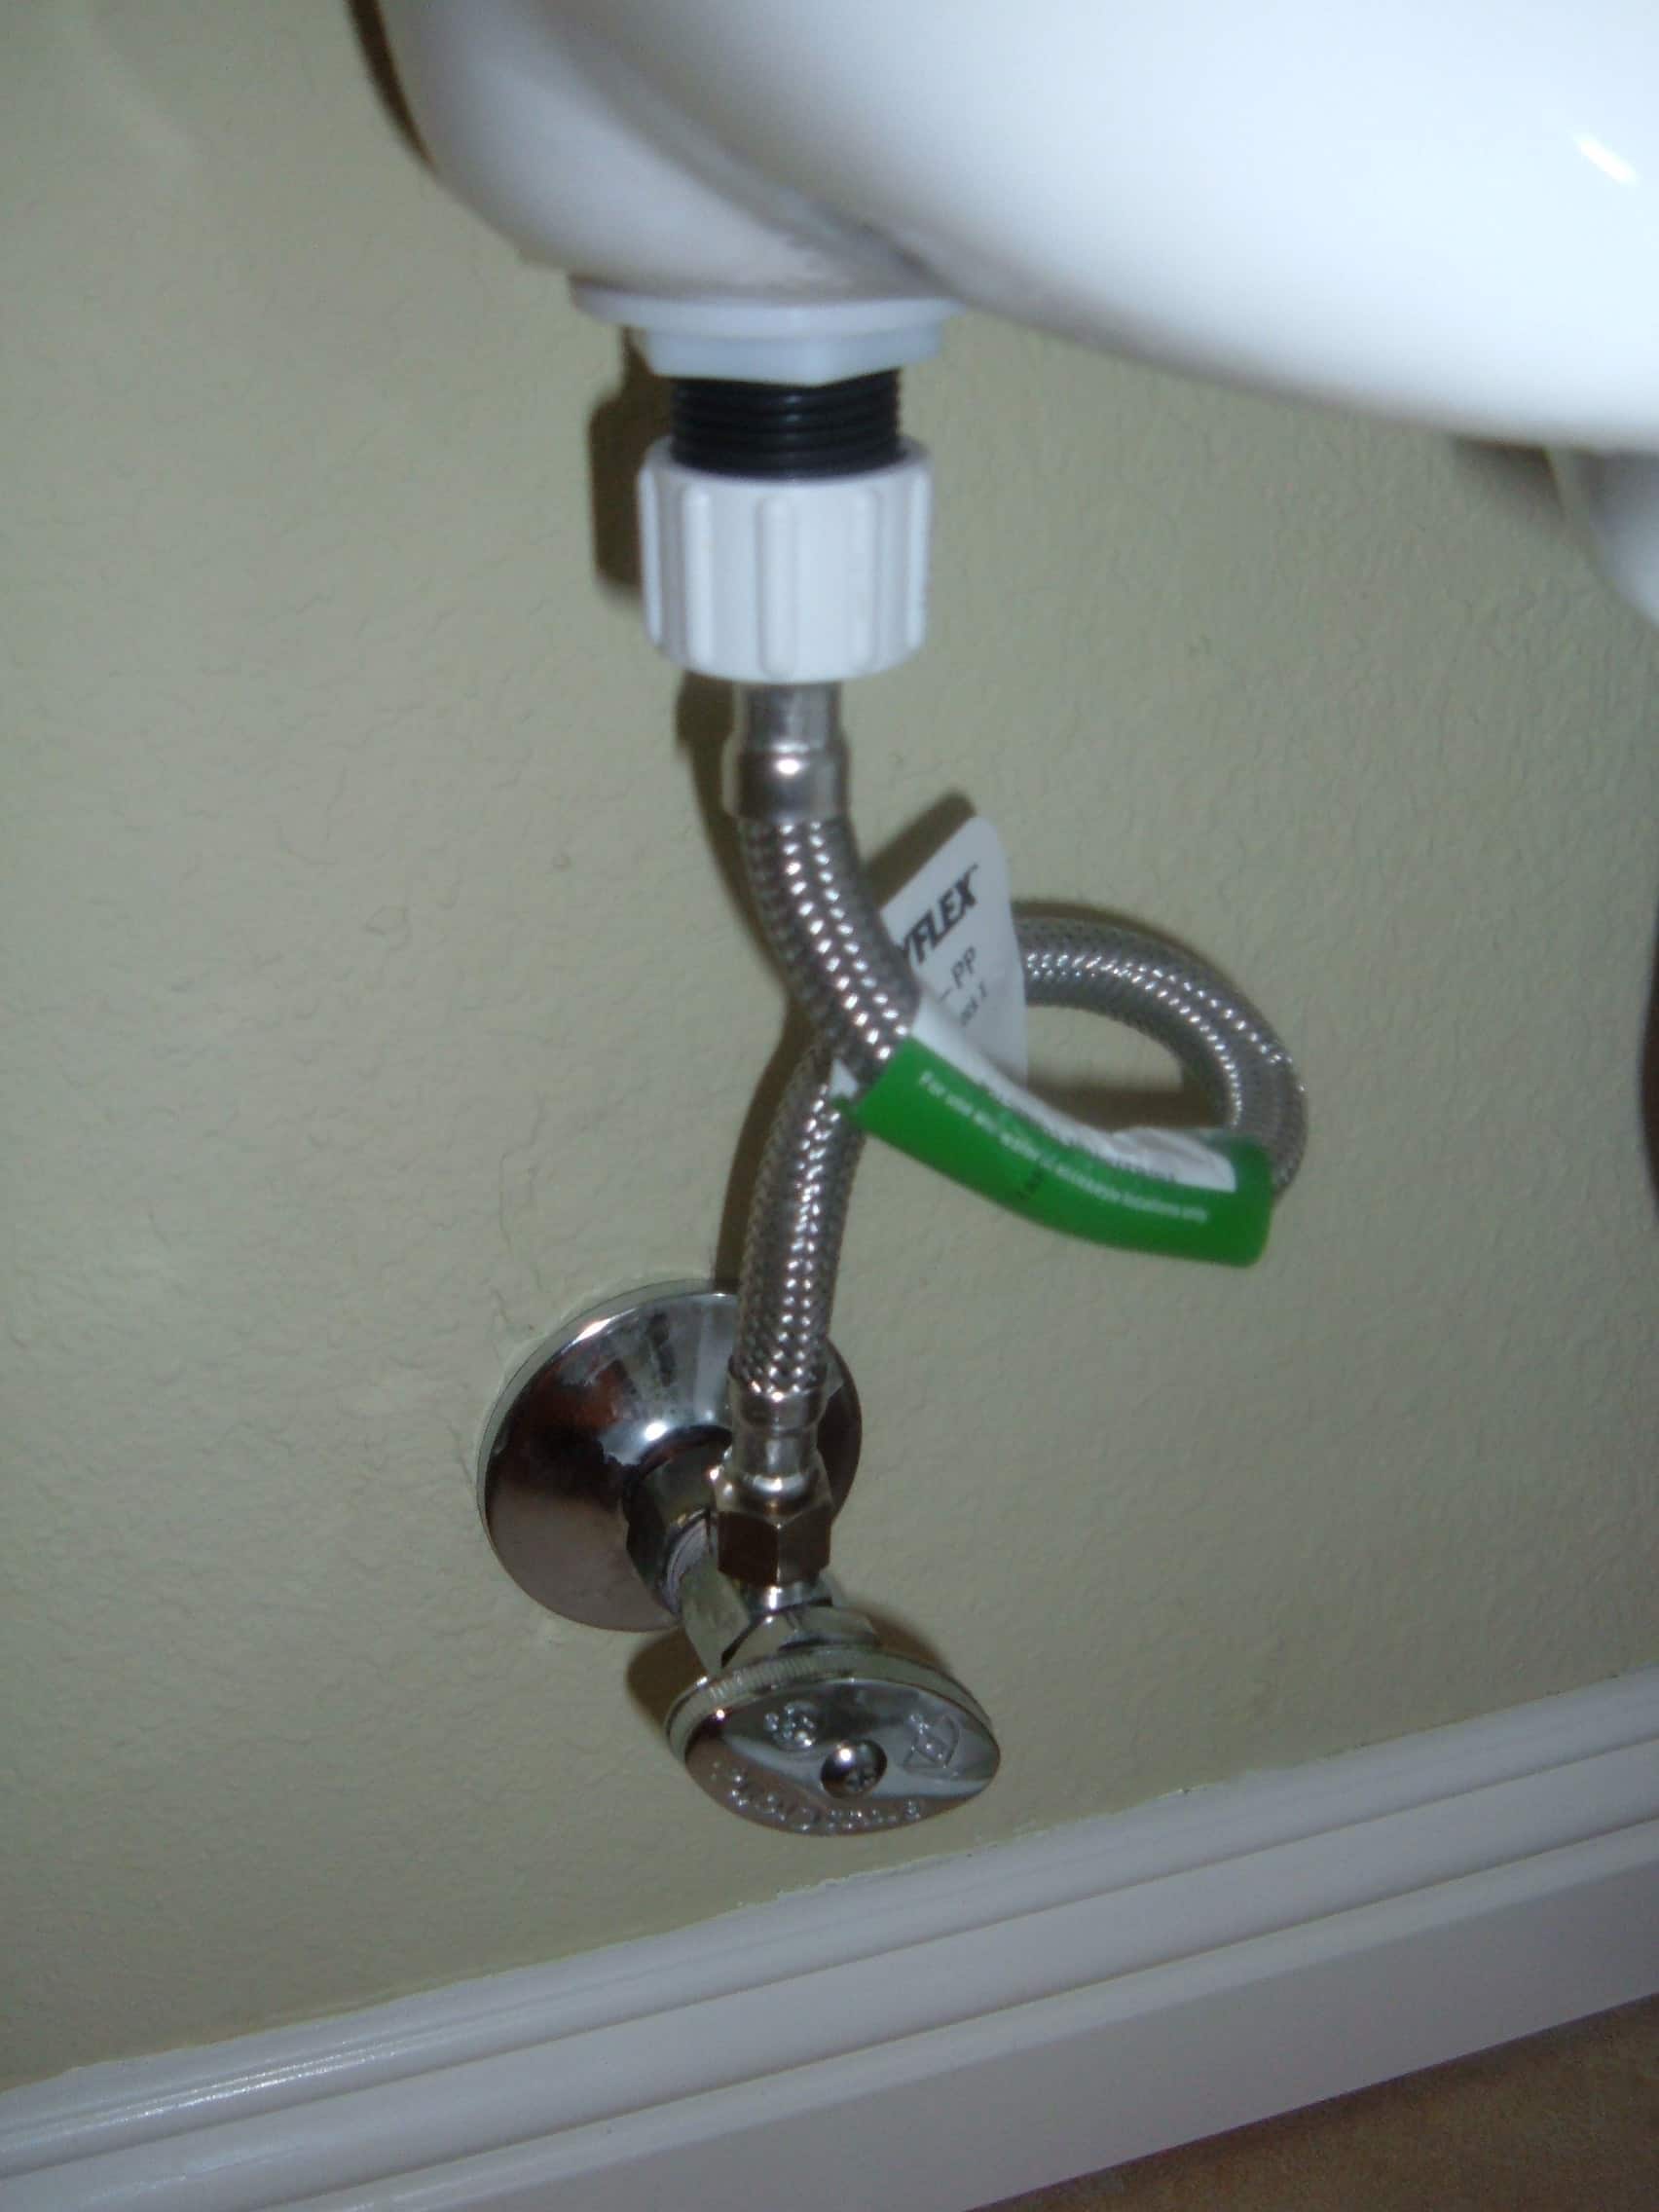
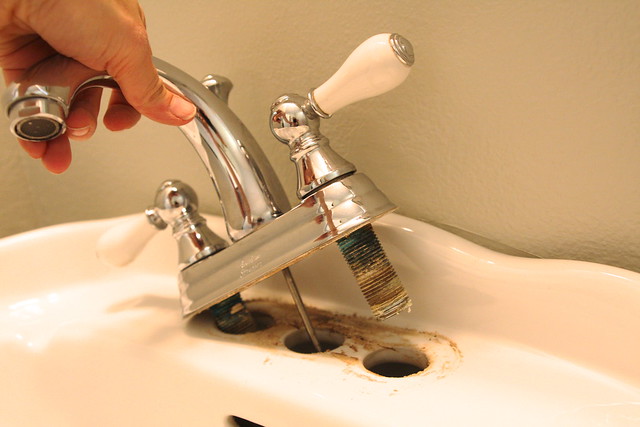
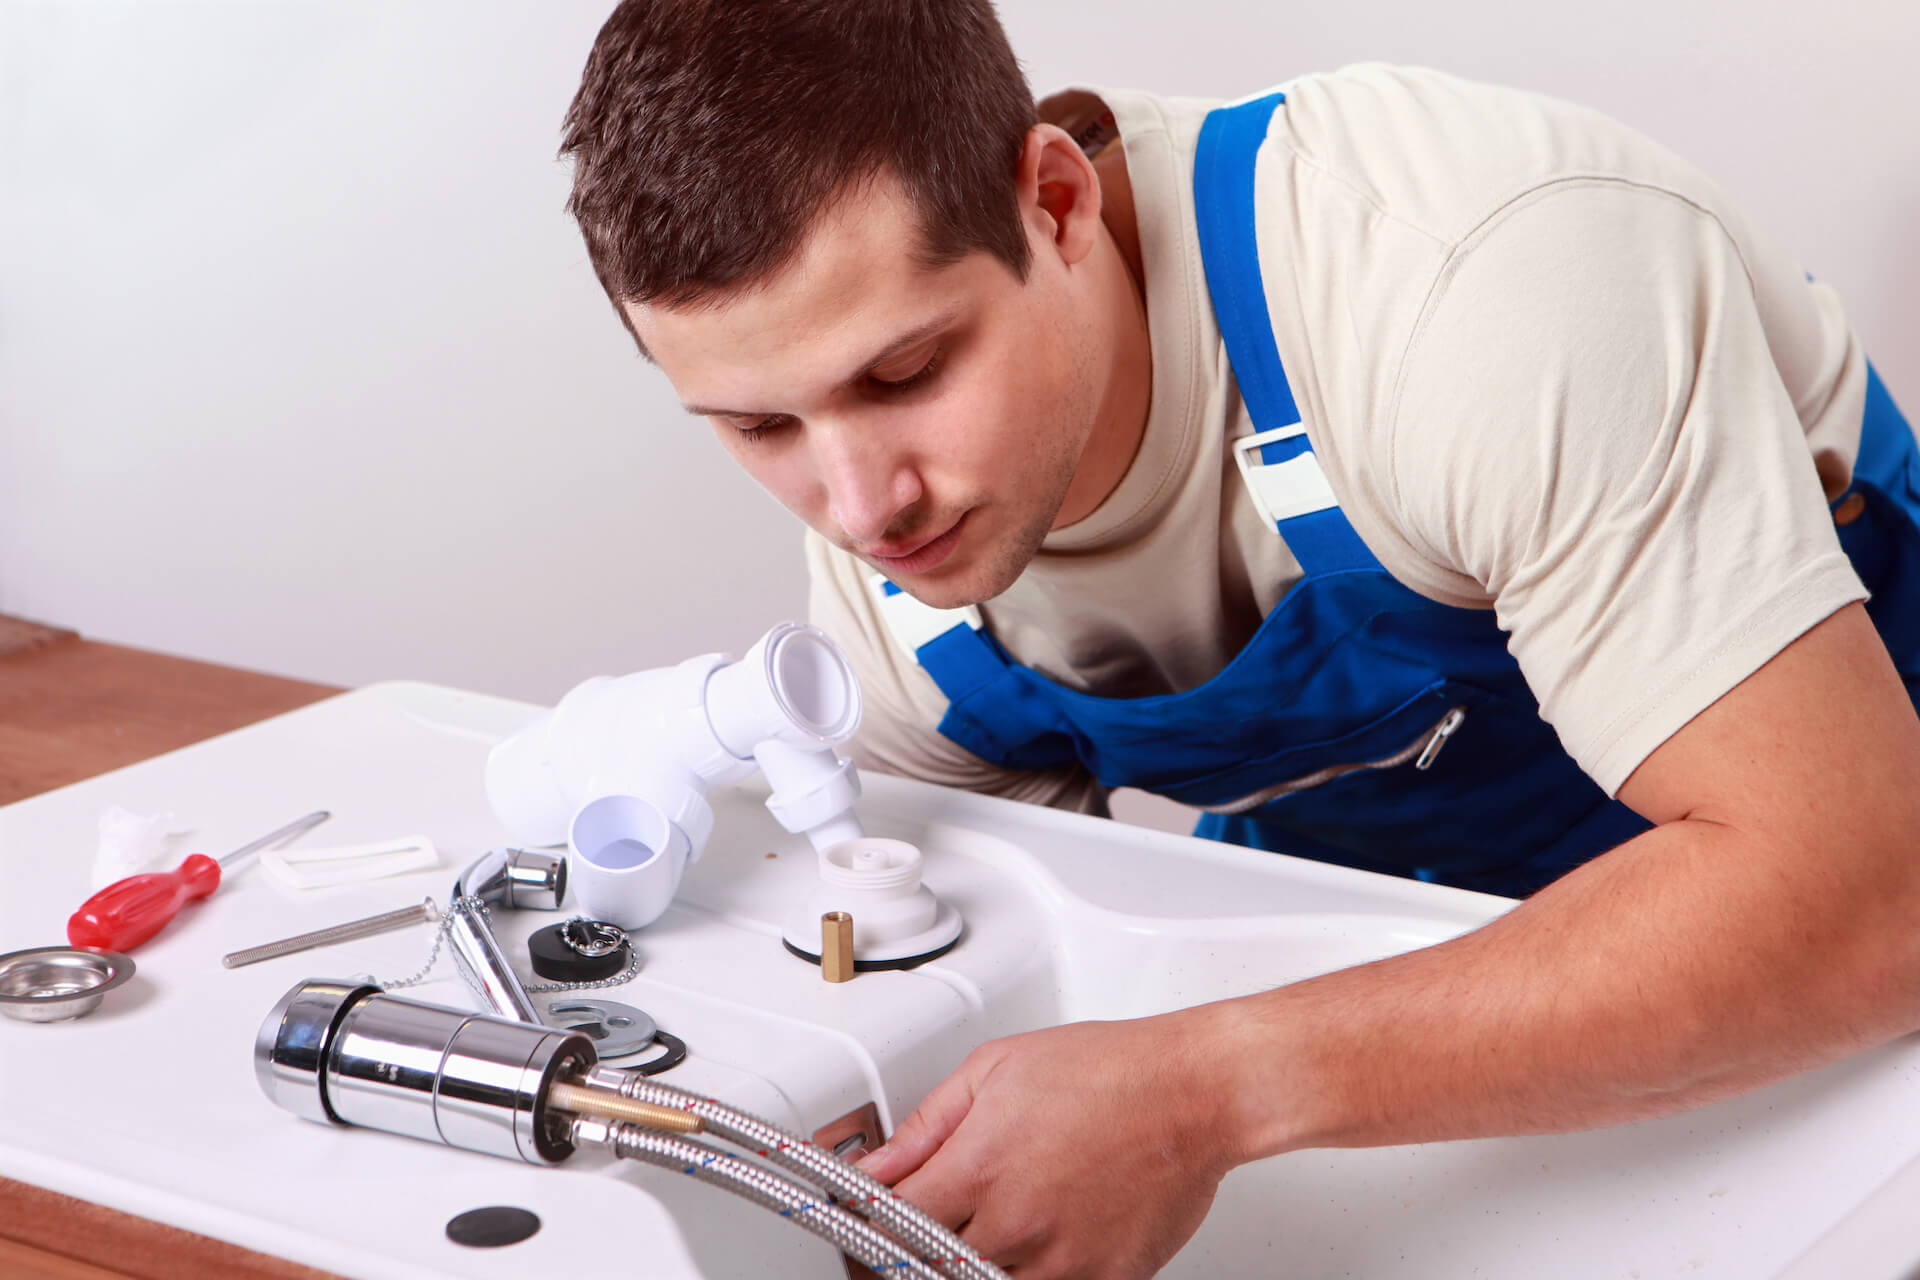
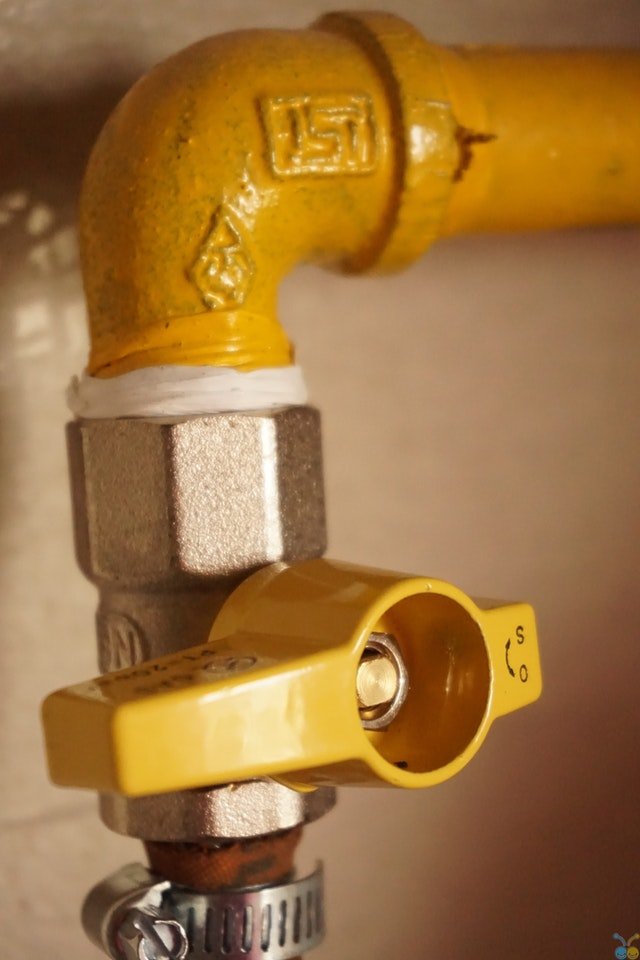
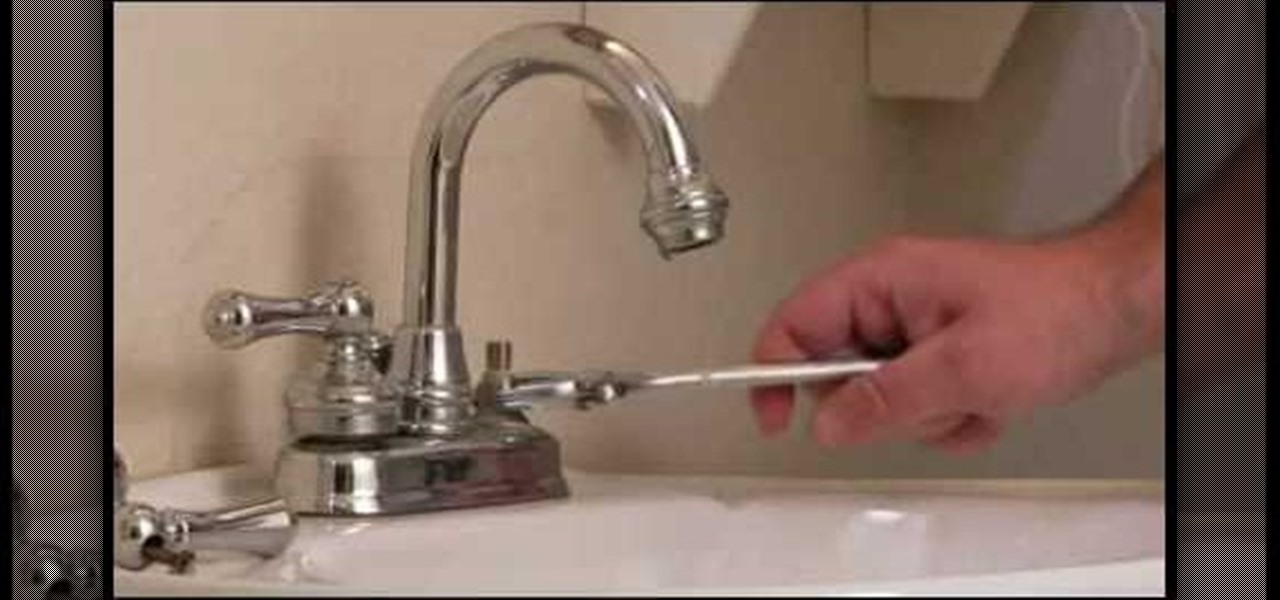
Dealing with a leaky bathroom sink faucet can be frustrating and can also lead to wasted water and a higher water bill. However, fixing a leaky faucet is a relatively simple task that can save you money in the long run. Follow these steps to fix a leaky bathroom sink faucet on your own. Step 1: Turn off the Water Supply The first step in fixing a leaky bathroom sink faucet is to turn off the water supply. Look for the shutoff valve under the sink and turn it clockwise to shut off the water. If you can't find the shutoff valve, you may need to turn off the main water supply to your house. Step 2: Remove the Handle Once the water supply is turned off, you can start disassembling the faucet. Begin by removing the handle. Depending on the type of faucet you have, you may need to use a screwdriver or an Allen wrench to remove the handle. If there is a decorative cap covering the screw, use a flat head screwdriver to pry it off first. Step 3: Replace the O-Ring or Washer Underneath the handle, you will find an O-ring or washer that may be causing the leak. These parts can become worn over time and may need to be replaced. Take the old O-ring or washer to a hardware store to find an exact replacement. Install the new part and reassemble the handle. Step 4: Check the Cartridge or Valve If replacing the O-ring or washer doesn't solve the problem, the issue may lie with the cartridge or valve. These parts can also become worn and may need to be replaced. Again, take the old part to a hardware store to find an exact replacement. Install the new part and reassemble the handle. Step 5: Turn the Water Supply Back On Once you have reassembled the faucet, turn the water supply back on and test for leaks. If the faucet is still leaking, you may need to call a plumber for further assistance. How to Fix a Leaky Bathroom Sink Faucet
If your bathroom sink faucet is leaking, there are a few common causes that you can troubleshoot before calling a plumber. Here are some possible reasons for a leaky bathroom sink faucet and how to address them. Loose Connections The most common cause of a leaky faucet is loose connections. Over time, the connections between the various parts of the faucet can become loose, causing leaks. To fix this issue, tighten all connections with a wrench or pliers. Worn Out Seals or O-Rings Seals and O-rings can become worn out over time, causing leaks. To fix this issue, replace the worn out parts with new ones. Make sure to take the old parts to a hardware store to find an exact replacement. Corroded Valve Seat The valve seat is the connection between the faucet and the spout. If this part becomes corroded, it can cause leaks. To fix this issue, use a valve seat wrench to remove the valve seat and replace it with a new one. Damaged Cartridge or Valve If the valve seat is not the issue, the problem may lie with the cartridge or valve. These parts can become damaged over time and may need to be replaced. Again, make sure to take the old parts to a hardware store to find an exact replacement. Excessive Water Pressure In some cases, a leaky faucet can be caused by excessive water pressure. To fix this issue, you may need to install a pressure-reducing valve or adjust the water pressure at the main water supply. Troubleshooting Common Bathroom Sink Faucet Leaks
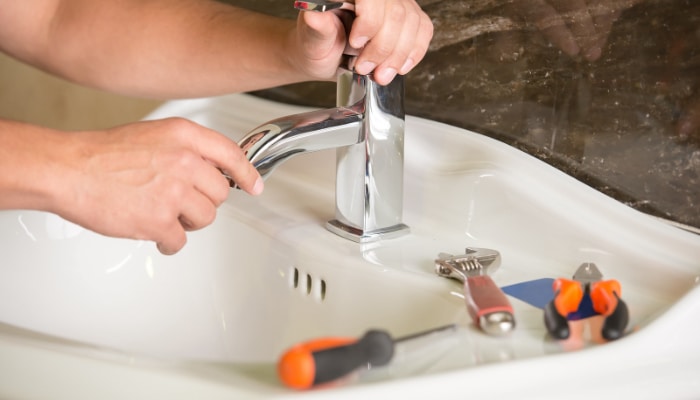
Fixing a leaky bathroom sink faucet doesn't always require the help of a professional plumber. With the right tools and knowledge, you can easily repair a leaky faucet on your own. Here are some tips for a successful DIY bathroom sink faucet repair. Gather the Necessary Tools To repair a leaky faucet, you will need a few tools, including a wrench or pliers, a screwdriver or Allen wrench, and replacement parts such as O-rings, washers, cartridges, or valves. Make sure to have these tools on hand before starting the repair. Follow Instructions Carefully Before starting the repair, make sure to read the instructions carefully. If you are unsure about any step, consult a tutorial video or seek advice from a hardware store employee. Take Your Time Fixing a leaky faucet can be a time-consuming process, so make sure to allocate enough time for the repair. Rushing through the process can lead to mistakes and further problems down the line. Be Patient Fixing a leaky faucet may require some trial and error, so be patient. If the first attempt doesn't solve the issue, try again or seek help from a professional. DIY Bathroom Sink Faucet Repair
A leaky bathroom sink faucet can be caused by various factors. Understanding the underlying cause of the leak can help you prevent it from happening in the future. Here are some common causes of bathroom sink faucet leaks. Worn Out Parts Over time, the various parts of a faucet, such as O-rings, washers, cartridges, and valves, can become worn out and may need to be replaced. Regularly checking and replacing these parts can prevent leaks. Loose Connections As mentioned earlier, loose connections can cause leaks. Make sure to regularly check and tighten all connections to prevent leaks. Corrosion Corrosion can occur in the valve seat, causing leaks. Regularly cleaning and maintaining the valve seat can prevent corrosion and leaks. Excessive Water Pressure High water pressure can put extra strain on your faucet and cause leaks. Consider installing a pressure-reducing valve or adjusting the water pressure at the main supply to prevent this issue. Hard Water Hard water can cause mineral buildup in your faucet, which can lead to leaks. Consider installing a water softener to prevent this problem. Causes of Bathroom Sink Faucet Leaks
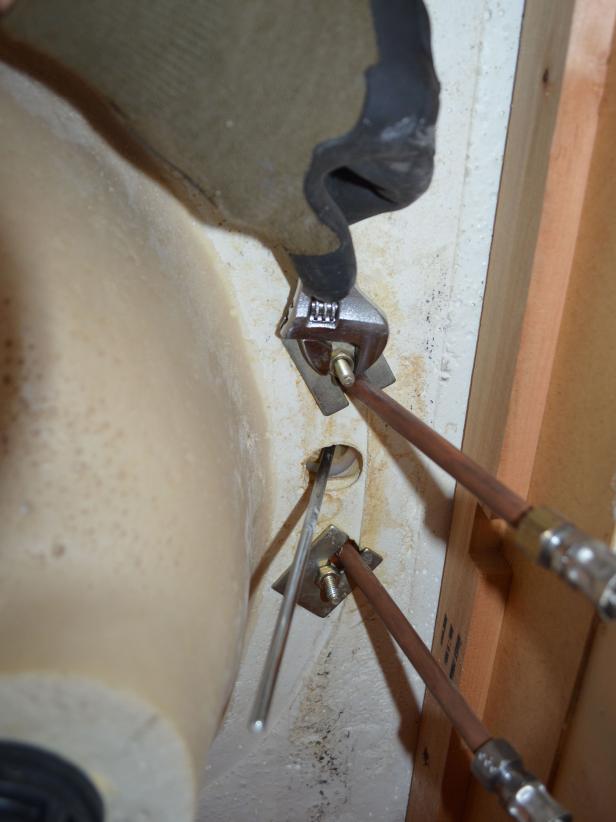
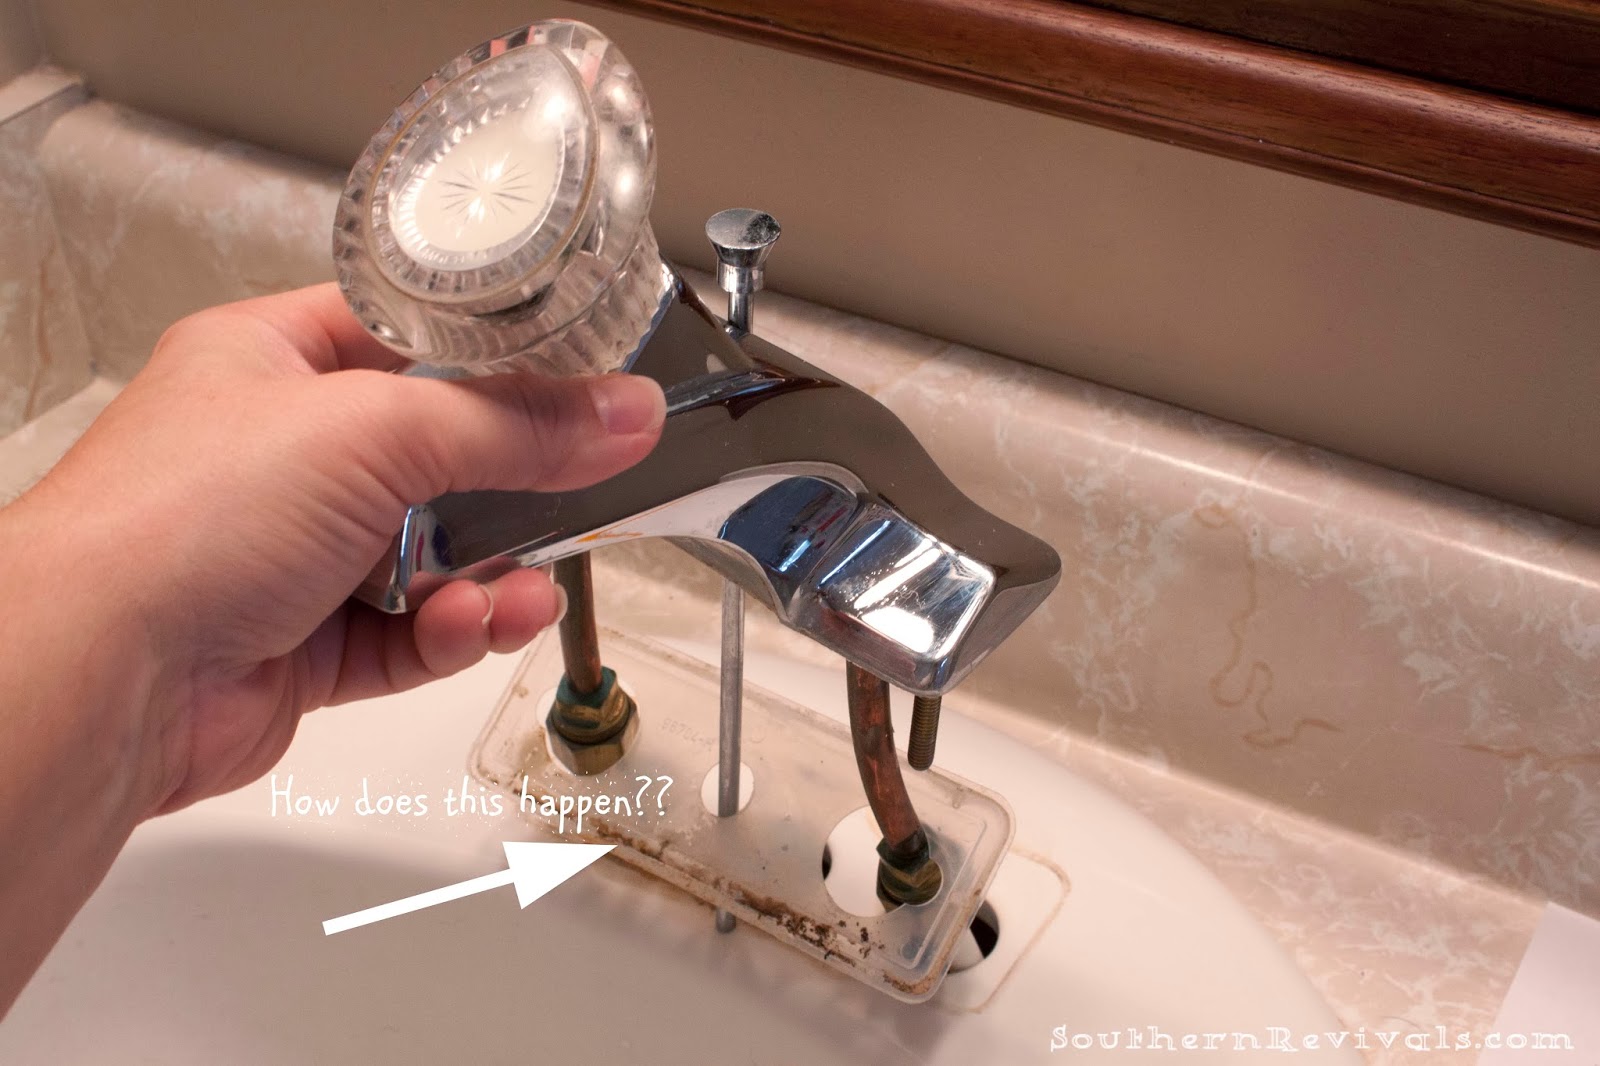
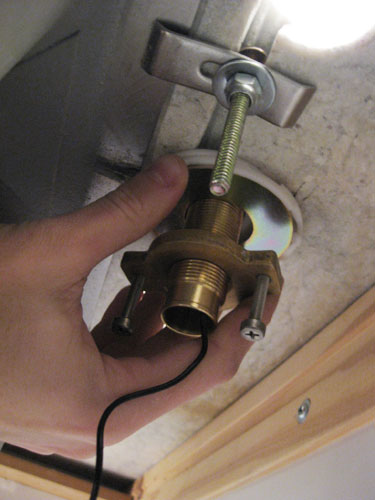
If your bathroom sink faucet is beyond repair, you may need to replace it altogether. While this may seem like a daunting task, it can be done with the right tools and instructions. Here's how to replace a bathroom sink faucet. Step 1: Turn off the Water Supply As with fixing a leaky faucet, the first step in replacing a faucet is to turn off the water supply. Look for the shutoff valve under the sink and turn it clockwise to shut off the water. Step 2: Remove the Old Faucet Next, remove the old faucet by disconnecting the water lines and removing the mounting hardware. You may need to use a wrench or pliers to loosen some of the connections. Step 3: Install the New Faucet Follow the manufacturer's instructions to install the new faucet. Make sure to use plumber's tape on the connections to prevent leaks. Step 4: Reconnect the Water Lines Once the new faucet is installed, reconnect the water lines and make sure all connections are tight. Step 5: Turn the Water Supply Back On Turn the water supply back on and test the new faucet for leaks. If everything is working properly, you have successfully replaced your bathroom sink faucet. How to Replace a Bathroom Sink Faucet
While a leaky faucet is the most common problem with bathroom sink faucets, there are other issues that may arise. Here are some common bathroom sink faucet problems and how to address them. Dripping Faucet A dripping faucet can be caused by a variety of issues, such as worn out parts, corrosion, or excessive water pressure. Follow the steps outlined earlier in this article to troubleshoot and fix a dripping faucet. Low Water Pressure If your faucet is experiencing low water pressure, it may be due to a clogged aerator. Remove the aerator and clean it out thoroughly to restore water pressure. Water Temperature Issues If your faucet is not producing hot water, the issue may lie with the water heater. If your hot water heater is working properly, the problem may be a faulty faucet. Consider replacing the faucet or seeking help from a professional. Strange Noises If your faucet is making strange noises, it may be due to a loose washer or valve. Tighten all connections and replace any worn out parts to eliminate the noise. Common Bathroom Sink Faucet Problems
Prevention is always better than having to deal with a leaky faucet. Here are some tips for preventing bathroom sink faucet leaks. Regular Maintenance Regularly checking and maintaining your faucet, including tightening connections and replacing worn out parts, can prevent leaks from occurring. Use Plumbers Tape When installing or repairing a faucet, make sure to use plumber's tape on all connections to prevent leaks. Don't Overtighten Connections While it's essential to have tight connections, over-tightening can cause damage and lead to leaks. Use the appropriate tools to tighten connections to avoid overtightening. Install a Water Softener As mentioned earlier, hard water can cause mineral buildup in a faucet, leading to leaks. Consider installing a water softener to prevent this issue. Tips for Preventing Bathroom Sink Faucet Leaks
Fixing a leaky bathroom sink faucet requires a few essential tools. Make sure to have these tools on hand before starting the repair. Wrench or Pliers These tools will be needed to loosen and tighten connections on the faucet. Screwdriver or Allen Wrench Depending on the type of faucet, you may need one of these tools to remove the handle and access the internal parts. Replacement Parts If you are replacing any parts of the faucet, make sure to have the exact replacements on hand. Plumber's Tape This tape is used to seal connections and prevent leaks. Tools Needed for Fixing a Leaky Bathroom Sink Faucet
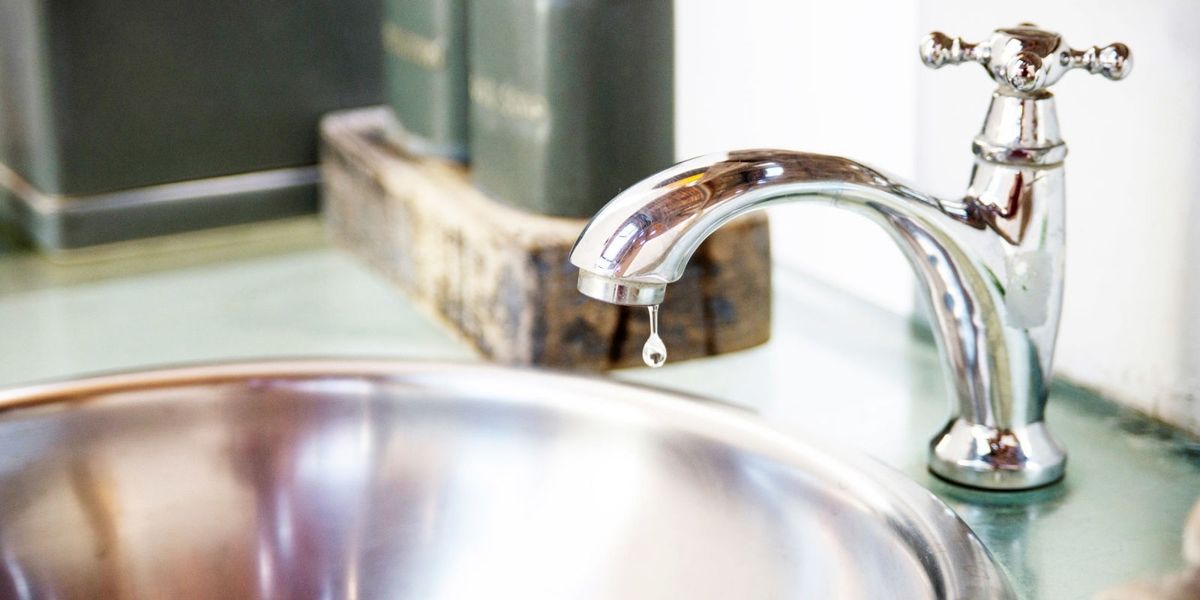
A dripping bathroom sink faucet can be annoying and can also lead to wasted water and a higher water bill. Here's how to identify and fix a dripping faucet. Step 1: Determine the Cause of the Drip The first step in fixing a dripping faucet is to determine the cause of the drip. This could be due to worn out parts, loose connections, or an issue with the cartridge or valve. Step 2: Disassemble the Faucet Once you have identified the cause of the drip, you can disassemble the faucet and access the internal parts for repair or replacement. Step 3: Replace Worn Out Parts If the drip is caused by worn out parts such as O-rings or washers, replace them with new ones. Make sure to take the old parts to a hardware store to find exact replacements. Step 4: Tighten Connections If the drip is caused by loose connections, tighten them with a wrench or pliers. Step 5: Replace the Cartridge or Valve If the drip is caused by a faulty cartridge or valve, replace it with a new one. Step 6: Test for Leaks Once you have reassembled the faucet, turn the water supply back on and test for leaks. If the faucet is still dripping, you may need to call a professional for further assistance. How to Identify and Fix a Dripping Bathroom Sink Faucet
If your bathroom sink faucet handle is leaking, it may be due to a worn out handle or a loose connection. Here's how to repair a leaky bathroom sink faucet handle. Step 1: Turn off the Water Supply The first step in repairing a leaky handle is to turn off the water supply. Look for the shutoff valve under the sink and turn it clockwise to shut off the water. Step 2: Remove the Handle How to Repair a Leaky Bathroom Sink Faucet Handle
The Importance of Fixing Leaking Bathroom Sink Faucets

The Dangers of Ignoring a Leaking Faucet
 When it comes to house design, every detail matters. From the color of the walls to the type of flooring, each element contributes to the overall look and feel of a home. However, one aspect that is often overlooked is the functionality and maintenance of household fixtures, such as bathroom sink faucets. While a leaking faucet may seem like a minor issue, it can actually lead to major problems if left unaddressed.
Besides being an annoyance, a leaking faucet can also lead to wasted water and higher utility bills.
According to the Environmental Protection Agency, a single leaky faucet can waste up to 3,000 gallons of water per year. That's not only bad for the environment, but it can also have a significant impact on your wallet. By fixing a leaking faucet, you can save money on your water bill and reduce your household's water consumption.
Damage to Your Home
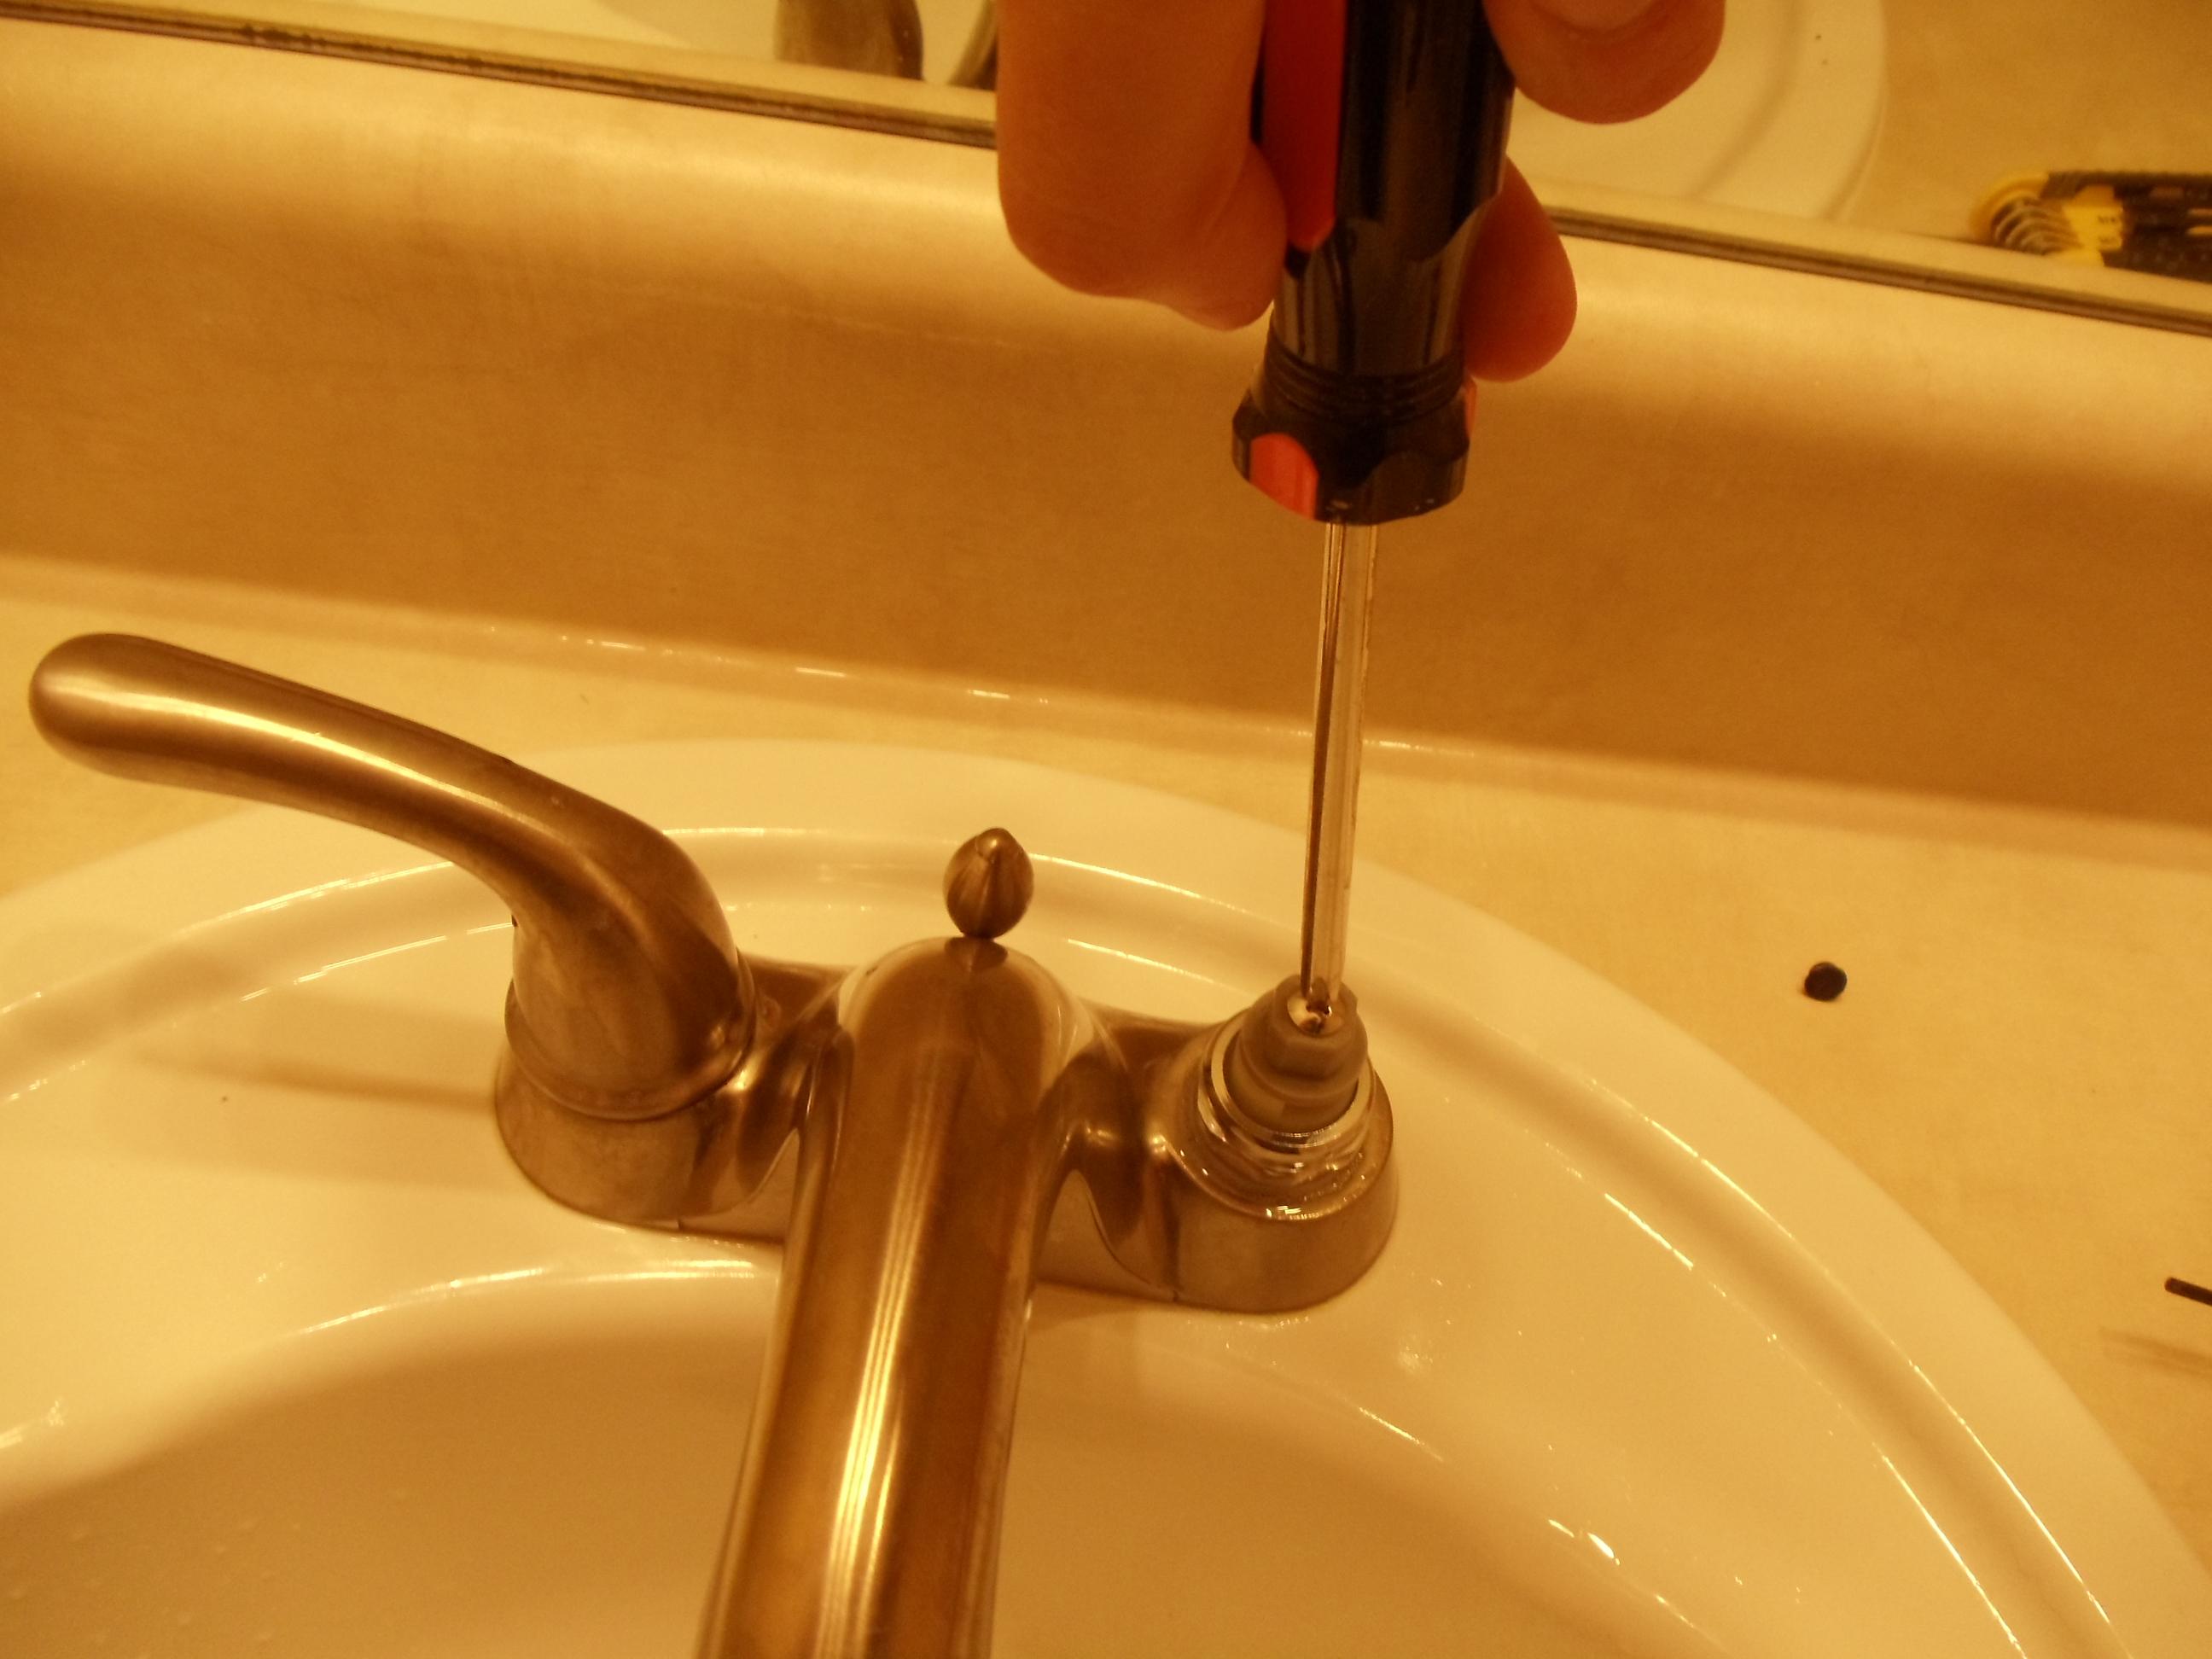 In addition to wasting water and money, a leaking bathroom sink faucet can also cause damage to your home. The constant dripping of water can lead to corrosion and rust, which can eventually weaken the sink and cause it to leak even more. This can lead to water damage in your bathroom, which can be costly to repair.
Furthermore, a leaking faucet can also cause mold and mildew growth, which can be harmful to your health.
Mold and mildew thrive in damp environments, and a leaking faucet provides the perfect breeding ground for these harmful substances.
Preventing Further Issues
 Fixing a leaking bathroom sink faucet is not only important for the functionality and aesthetics of your home, but it can also prevent more significant and costly issues in the future. By addressing the problem early on, you can avoid more extensive repairs or replacements down the line.
Not to mention, a functioning faucet is essential for daily tasks such as washing your hands, brushing your teeth, and doing dishes.
Don't let a small leak turn into a big headache – take care of it as soon as possible.
Conclusion
 In conclusion, a leaking bathroom sink faucet may seem like a minor issue, but it can have significant consequences if ignored. From wasting water and money to causing damage to your home and health, a leaking faucet can lead to various problems. Don't let a small leak turn into a big problem –
take care of it promptly to ensure the functionality, efficiency, and safety of your home.
Remember, every detail counts when it comes to house design, and maintaining your bathroom sink faucet is no exception.


