How to Replace a Bathroom Sink Drain Washer
If you've noticed a leak in your bathroom sink, it could be due to a faulty drain washer. Over time, these small rubber or silicone rings can wear out and cause water to leak from your sink. Luckily, replacing a sink drain washer is a simple and inexpensive DIY project that can save you from calling a plumber. In this guide, we'll walk you through the steps of replacing a bathroom sink drain washer so you can fix that leak once and for all.
How to Replace a Sink Drain Washer in a Bathroom
The first step in replacing a sink drain washer is to gather all the necessary tools and materials. You'll need an adjustable wrench, a flathead screwdriver, a new drain washer, and plumber's putty. Make sure to choose a drain washer that is the same size and shape as your old one.
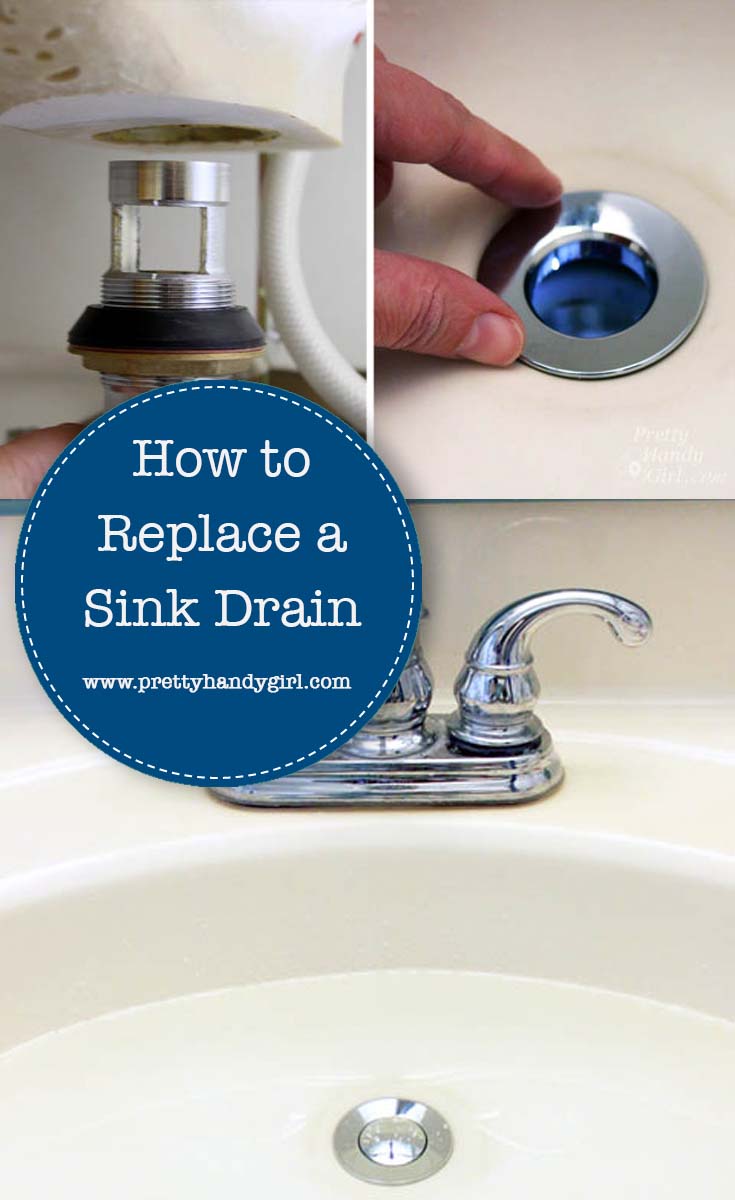
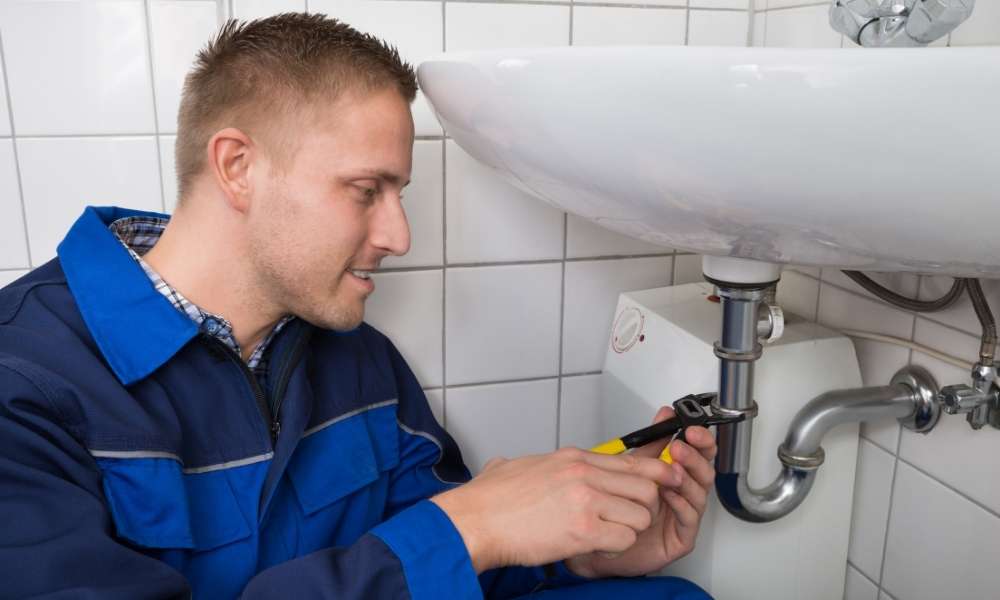
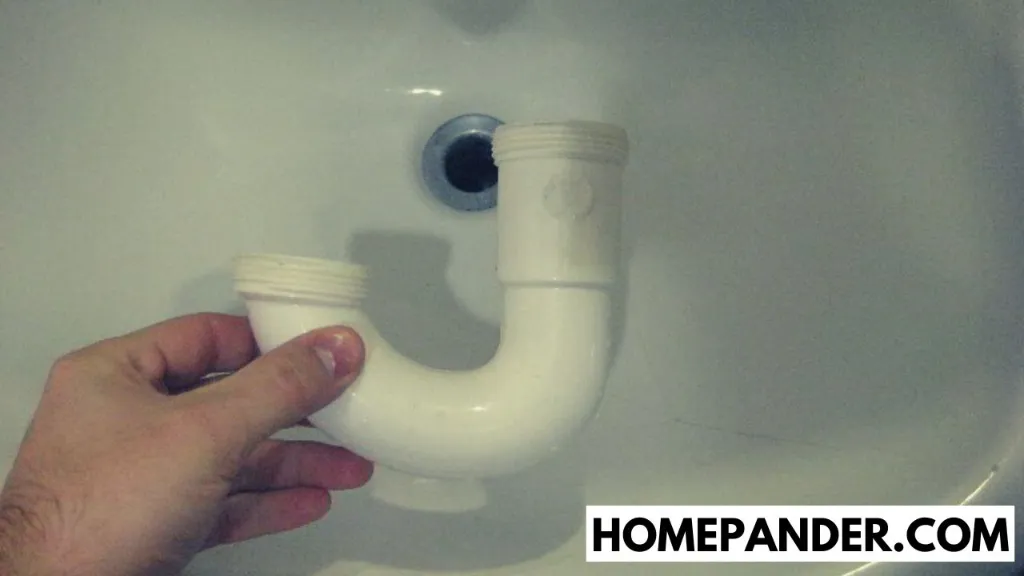
Start by shutting off the water supply to your sink. Then, use your adjustable wrench to unscrew the drain pipe from the bottom of the sink. A small amount of water may drain out, so be sure to have a bucket or towel handy to catch any excess water.
Next, use your flathead screwdriver to remove the old drain washer from the bottom of the sink and clean any debris or buildup from the area. Apply a thin layer of plumber's putty around the opening of the drain and then place the new drain washer on top.
Finally, reattach the drain pipe to the bottom of the sink and tighten with your adjustable wrench. Turn the water supply back on and check for any leaks. If everything looks good, you've successfully replaced your sink drain washer!
DIY Bathroom Sink Drain Washer Replacement
Replacing a sink drain washer may seem like a daunting task, but with the right tools and a little bit of know-how, it's a project that anyone can tackle. Not only will you save money by doing it yourself, but you'll also have the satisfaction of fixing a problem in your home on your own.
If you're a beginner in DIY projects, don't worry. Just follow the steps outlined above and take your time. With a little patience and attention to detail, you'll have your bathroom sink running smoothly in no time.
Step-by-Step Guide for Replacing a Bathroom Sink Drain Washer
Step 1: Gather all necessary tools and materials.
Step 2: Shut off the water supply to your sink.
Step 3: Unscrew the drain pipe from the bottom of the sink using an adjustable wrench.
Step 4: Remove the old drain washer and clean the area.
Step 5: Apply plumber's putty to the opening of the drain.
Step 6: Place the new drain washer on top of the putty.
Step 7: Reattach the drain pipe and tighten with the adjustable wrench.
Step 8: Turn the water supply back on and check for leaks.
Step 9: Enjoy your leak-free bathroom sink!
Quick and Easy Bathroom Sink Drain Washer Replacement
Replacing a sink drain washer doesn't have to be a complicated process. With the right tools and a little bit of confidence, you can easily complete this project in under an hour. Don't let a leaky sink frustrate you any longer – follow our quick and easy guide for a hassle-free repair.
Essential Tools for Replacing a Bathroom Sink Drain Washer
Having the right tools on hand is crucial for any DIY project, and replacing a sink drain washer is no exception. Here are the essential tools you'll need to successfully complete this task:
Adjustable wrench: This versatile tool will come in handy for loosening and tightening the drain pipe.
Flathead screwdriver: Used to remove the old drain washer and clean the area.
New drain washer: Make sure to choose a replacement washer that is the same size and shape as your old one.
Plumber's putty: This waterproof sealant is essential for creating a tight and leak-free seal around the drain.
Tips for Choosing the Right Replacement Washer for Your Bathroom Sink Drain
When it comes to choosing a replacement washer for your bathroom sink drain, there are a few things to keep in mind:
Size and shape: Make sure to choose a drain washer that is the same size and shape as your old one. This will ensure a proper fit and prevent any leaks.
Material: Drain washers can be made of rubber or silicone. Both are effective at creating a tight seal, but silicone washers tend to be more durable and long-lasting.
Brand compatibility: Some sinks may require a specific brand of drain washer. Make sure to check your sink's manufacturer recommendations before purchasing a replacement.
Common Mistakes to Avoid When Replacing a Bathroom Sink Drain Washer
Replacing a sink drain washer may seem like a straightforward task, but there are a few common mistakes that can lead to problems down the road:
Not using enough plumber's putty: A thin layer of plumber's putty is essential for creating a tight seal around the drain. Using too little putty can result in leaks.
Incorrectly sizing the washer: Make sure to choose a replacement washer that is the same size and shape as your old one. Using the wrong size can lead to leaks and other issues.
Not cleaning the area properly: Before installing the new drain washer, make sure to thoroughly clean the area to prevent any debris or buildup from affecting the seal.
How to Know When It's Time to Replace Your Bathroom Sink Drain Washer
It's important to keep an eye out for signs that your bathroom sink drain washer may need to be replaced. These include:
Leaking water: If you notice water leaking from your sink, it could be due to a faulty drain washer.
Visible wear and tear: Over time, drain washers can become worn out and cracked, making them less effective at creating a seal.
Difficulty in turning the drain: If you're having trouble turning the drain pipe under your sink, it could be due to a worn-out drain washer.
Professional vs. DIY: Which is the Best Option for Replacing a Bathroom Sink Drain Washer?
While hiring a professional plumber may seem like the easier option, replacing a sink drain washer is a simple and cost-effective DIY project. With the right tools and a little bit of time, you can easily fix a leaky sink without breaking the bank.
However, if you're not comfortable with DIY projects or if you're dealing with a more complicated plumbing issue, it may be best to hire a professional for the job.
In conclusion, replacing a bathroom sink drain washer is a simple and necessary task that any homeowner can do. By following our step-by-step guide and avoiding common mistakes, you can easily fix that pesky leak and keep your bathroom sink running smoothly. Remember to choose quality materials and take your time to ensure a successful repair. Happy DIY-ing!
Why Replacing Your Bathroom Sink Drain Washer is Important for House Design

The Importance of Maintaining Your Bathroom Sink Drain Washer
 When it comes to house design, every detail matters. From the color of the walls to the type of flooring, every element contributes to the overall aesthetic and functionality of a home. However, there is one often overlooked aspect of house design that can have a major impact - the bathroom sink drain washer.
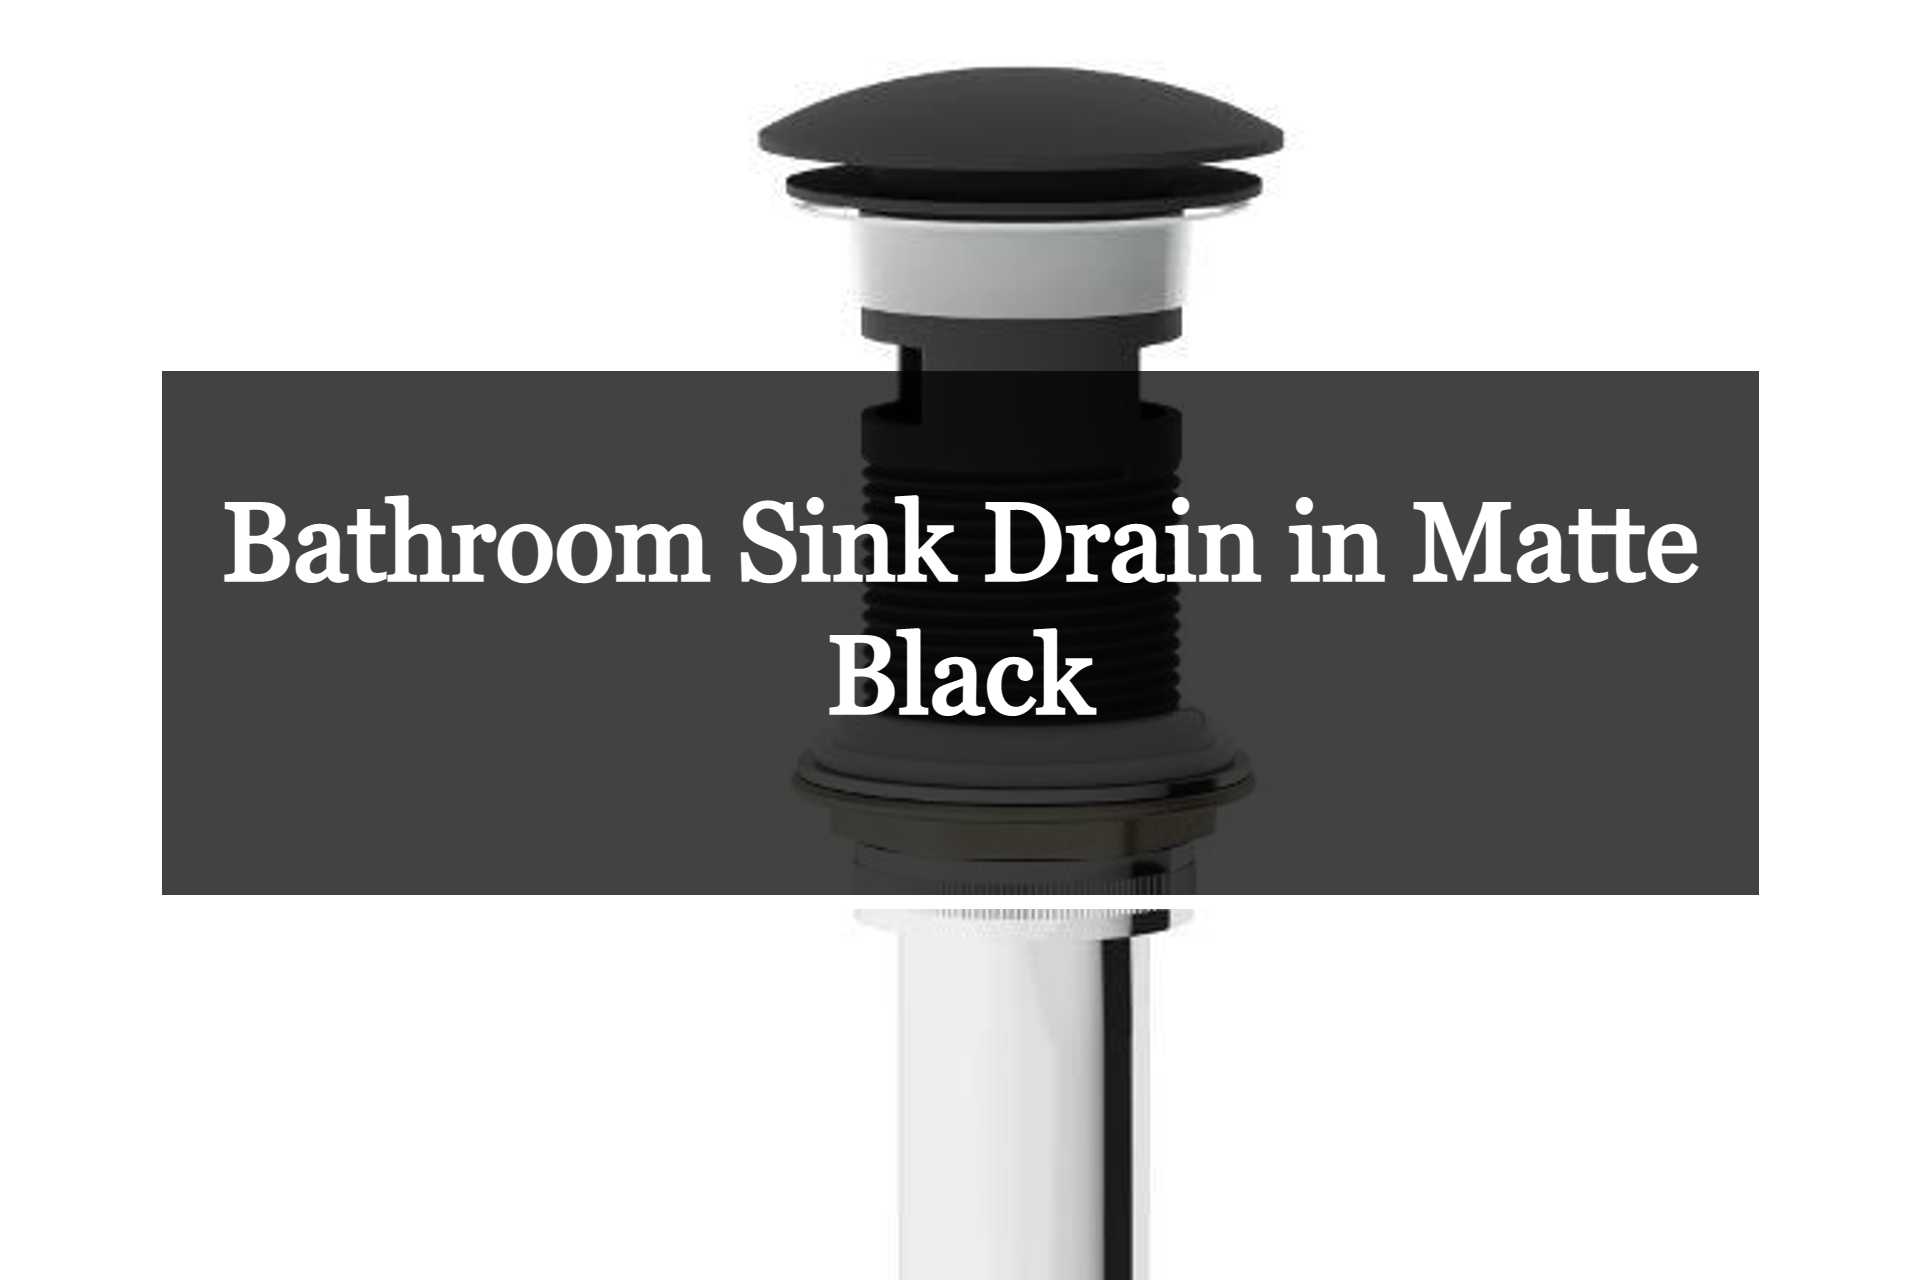
Bathroom sink drain washers
may seem like a small and insignificant component, but they play a crucial role in keeping your bathroom functioning properly. These small rubber or plastic rings are located at the base of the sink drain and create a tight seal to prevent water from leaking out. Over time, these washers can become worn or damaged, leading to leaks and potential water damage.
The Effects of a Leaking Bathroom Sink Drain Washer
 A leaking bathroom sink drain washer may not seem like a big deal, but it can have serious consequences for your house design. The constant drip of water can cause unsightly stains on your sink and surrounding countertops. It can also lead to the growth of mold and mildew, which not only affects the appearance of your bathroom but can also pose health risks for you and your family.
Moreover, a leaking
bathroom sink drain washer
can also lead to more serious structural issues. If left unchecked, the water can seep into the walls or under the sink, causing damage to the foundation and potentially weakening the structure of your house. This can lead to costly repairs and even compromise the safety of your home.
The Benefits of Replacing Your Bathroom Sink Drain Washer
 Replacing your bathroom sink drain washer is a simple and affordable solution that can have a significant impact on your house design. Not only will it prevent leaks and potential water damage, but it can also improve the overall functionality of your bathroom. A properly functioning sink will make your daily routine smoother and more enjoyable.
In addition, replacing your bathroom sink drain washer can also have aesthetic benefits. Old, worn-out washers can make your sink look dull and unappealing. By replacing them with new, clean washers, you can instantly refresh the appearance of your bathroom and give it a more polished and well-maintained look.
In Conclusion
 In the grand scheme of house design, the bathroom sink drain washer may seem insignificant, but it plays a crucial role in maintaining the functionality and appearance of your bathroom. Don't overlook this small but important component - replacing your bathroom sink drain washer can save you from potential damage, improve the aesthetic of your bathroom, and ultimately contribute to a well-designed home.






:max_bytes(150000):strip_icc()/bathroom-sink-drain-installation-2718843-02-61e5ecbee1e949be8d8f45ac4f5a6797.jpg)

















.jpg)


