Basic Kitchen Sink Installation


Basic Kitchen Sink Installation


How to Install a Kitchen Sink


How to Install a Kitchen Sink


DIY Kitchen Sink Installation


DIY Kitchen Sink Installation


Step-by-Step Kitchen Sink Installation


Step-by-Step Kitchen Sink Installation


Basic Tools for Kitchen Sink Installation


Basic Tools for Kitchen Sink Installation


:max_bytes(150000):strip_icc()/CorianIntegratedKitchenSink-5a79c545c6733500374dc276.JPG)


Cost of Basic Kitchen Sink Installation

Cost of Basic Kitchen Sink Installation


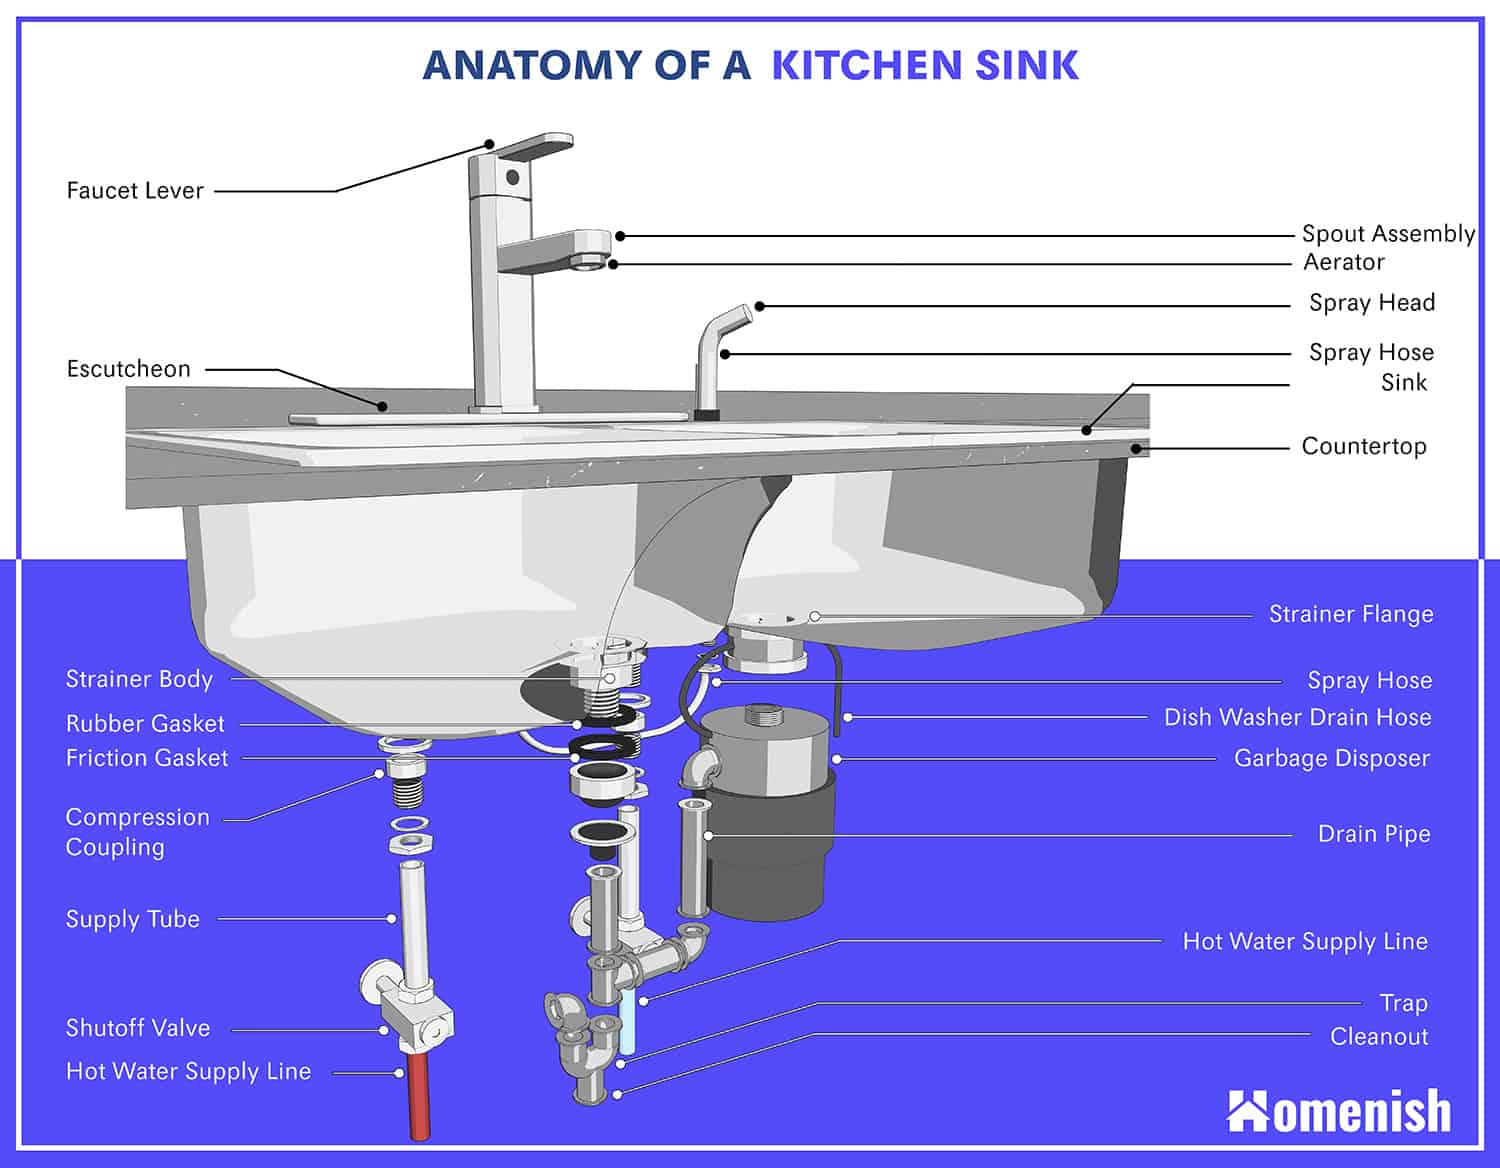
Basic Plumbing for Kitchen Sink Installation


Basic Plumbing for Kitchen Sink Installation


/how-to-install-a-sink-drain-2718789-hero-24e898006ed94c9593a2a268b57989a3.jpg)


Basic Electrical for Kitchen Sink Installation


Basic Electrical for Kitchen Sink Installation
Basic Cabinet Preparation for Kitchen Sink Installation


Basic Cabinet Preparation for Kitchen Sink Installation


Basic Countertop Cutting for Kitchen Sink Installation


Basic Countertop Cutting for Kitchen Sink Installation


How to Install a Basic Kitchen Sink
:no_upscale()/cdn.vox-cdn.com/uploads/chorus_asset/file/19495086/drain_0.jpg)
Step 3: Prepare the Sink Area
 After you have chosen and purchased your desired kitchen sink, the next step is to prepare the area where it will be installed. This is an important step as it will ensure that the installation process goes smoothly and the sink is properly supported and secured.
First, you need to clear out the area where the sink will be installed. Remove any items or clutter from the countertops and cabinets underneath the sink. This will give you enough space to work and prevent any obstructions during the installation process.
Next, measure and mark the location where the sink will be placed. Use a measuring tape and a pencil to mark the exact dimensions of the sink on the countertop. This will serve as a guide for cutting the hole for the sink.
If your sink comes with a template, place it over the marked area and trace the outline onto the countertop. If not, you can create your own template by placing the sink upside down on a large piece of cardboard or paper and tracing around it. Cut out the template and use it to mark the sink's dimensions on the countertop.
After you have chosen and purchased your desired kitchen sink, the next step is to prepare the area where it will be installed. This is an important step as it will ensure that the installation process goes smoothly and the sink is properly supported and secured.
First, you need to clear out the area where the sink will be installed. Remove any items or clutter from the countertops and cabinets underneath the sink. This will give you enough space to work and prevent any obstructions during the installation process.
Next, measure and mark the location where the sink will be placed. Use a measuring tape and a pencil to mark the exact dimensions of the sink on the countertop. This will serve as a guide for cutting the hole for the sink.
If your sink comes with a template, place it over the marked area and trace the outline onto the countertop. If not, you can create your own template by placing the sink upside down on a large piece of cardboard or paper and tracing around it. Cut out the template and use it to mark the sink's dimensions on the countertop.
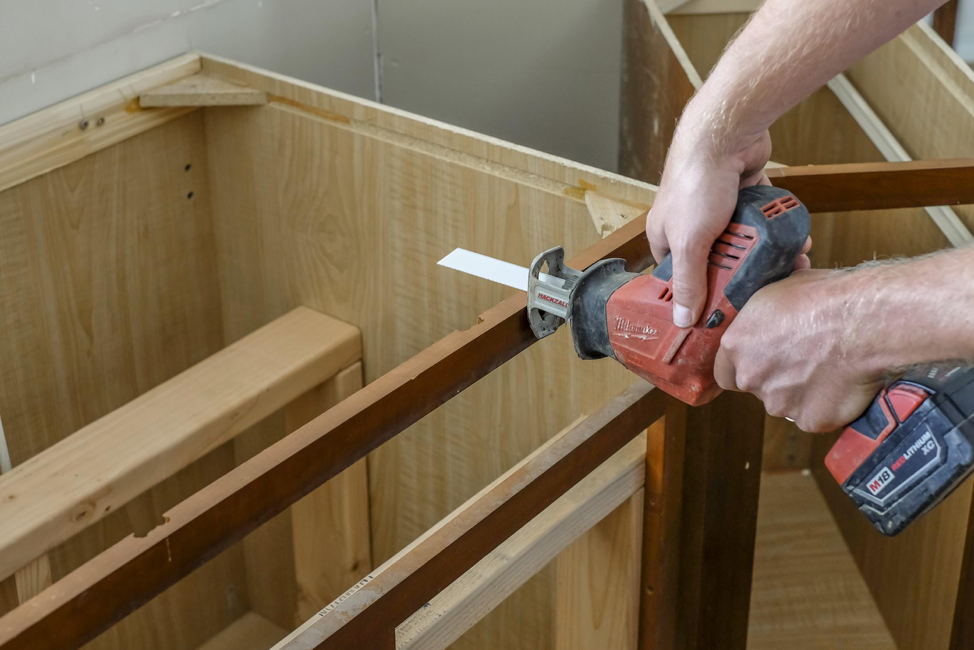
Step 4: Cut the Hole for the Sink
 Once you have the sink's dimensions marked on the countertop, it's time to cut the hole for the sink. This step requires precision and caution to ensure that the hole is the right size and shape for the sink.
Using a jigsaw or a hole saw, carefully cut along the marked outline. If you are using a jigsaw, start at one corner and slowly follow the marked line. If you are using a hole saw, start at the center of the marked circle and work your way outwards.
After cutting the hole, test the fit of the sink. If it doesn't fit, use sandpaper or a file to smooth out any rough edges and adjust the size of the hole accordingly.
Once you have the sink's dimensions marked on the countertop, it's time to cut the hole for the sink. This step requires precision and caution to ensure that the hole is the right size and shape for the sink.
Using a jigsaw or a hole saw, carefully cut along the marked outline. If you are using a jigsaw, start at one corner and slowly follow the marked line. If you are using a hole saw, start at the center of the marked circle and work your way outwards.
After cutting the hole, test the fit of the sink. If it doesn't fit, use sandpaper or a file to smooth out any rough edges and adjust the size of the hole accordingly.
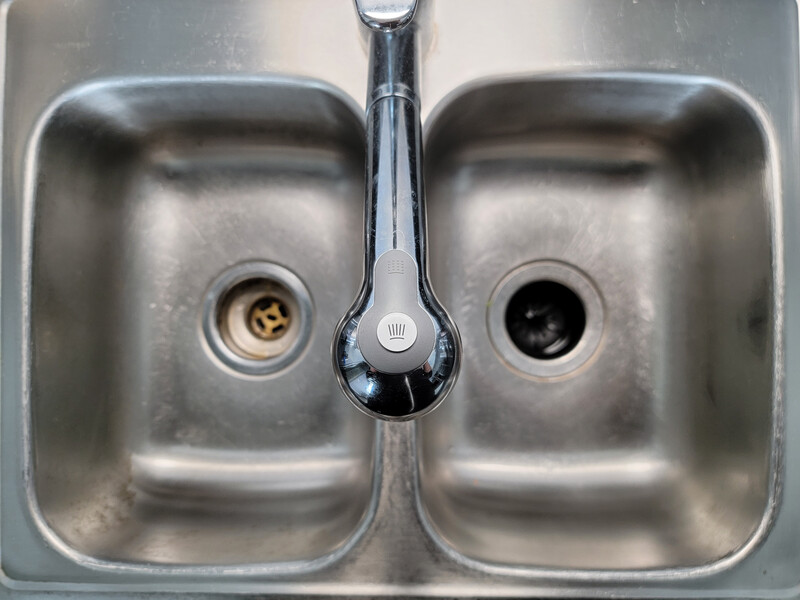
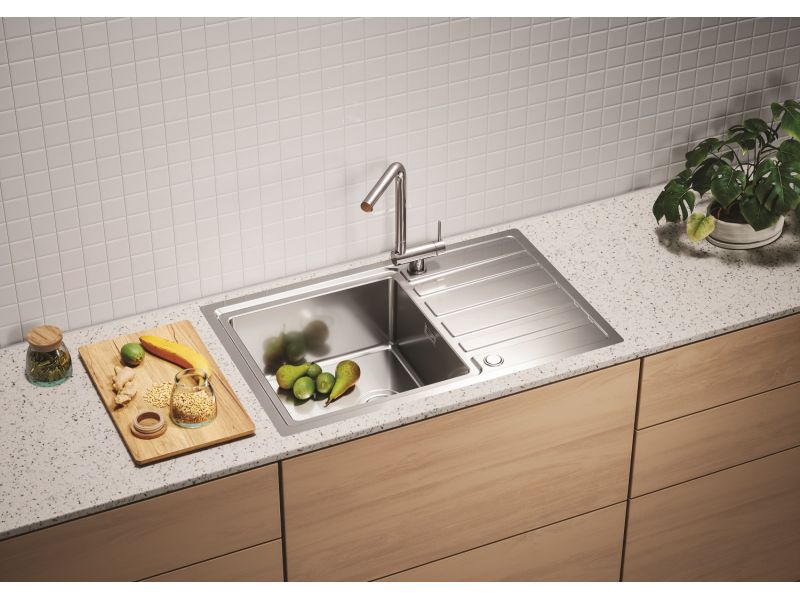
Step 5: Install the Sink
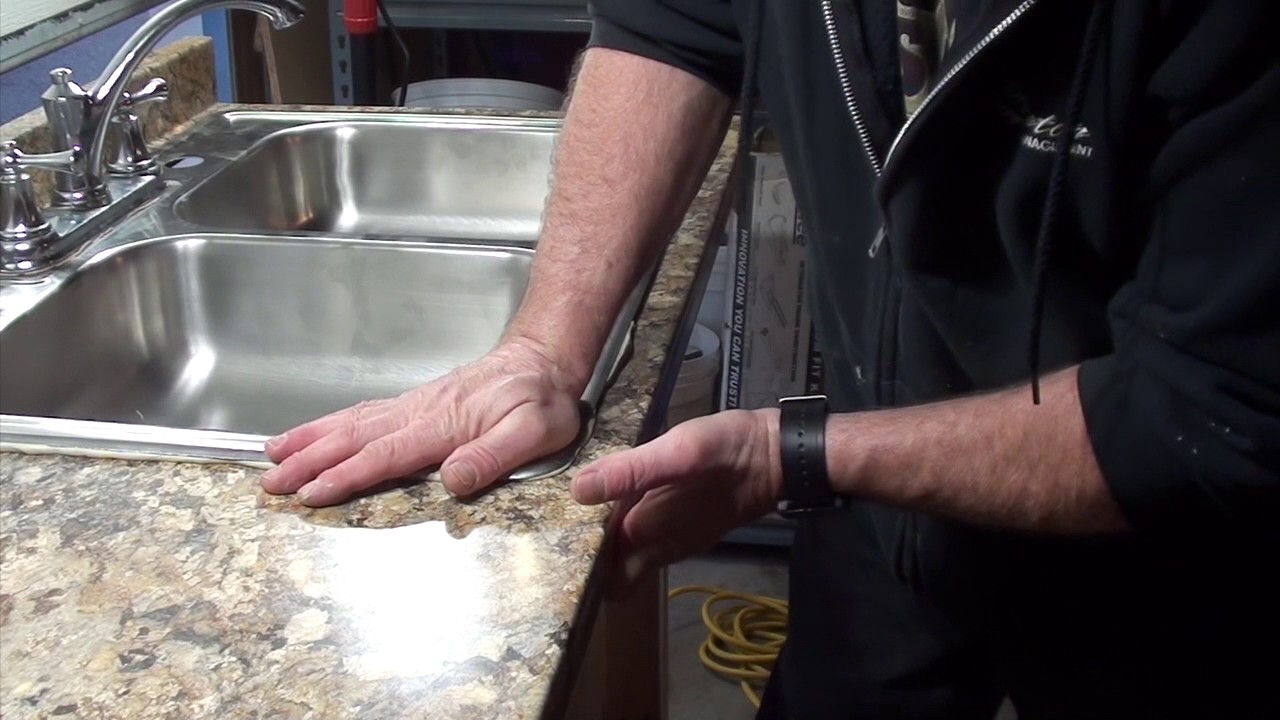
 Once the hole is cut and the sink fits perfectly, it's time to install it. Apply a thin bead of silicone caulk around the edge of the hole and place the sink into the opening. Make sure it is centered and level before moving on to the next step.
Next, attach the mounting clips or brackets provided with the sink to secure it in place. These can be screwed into the underside of the countertop or glued with epoxy. Check the manufacturer's instructions for specific installation guidelines.
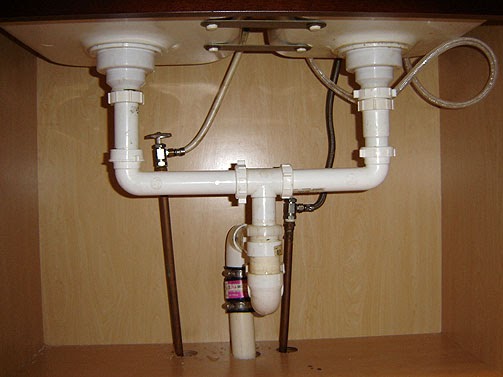
Finally, connect the sink's drain and water supply lines. This may require the help of a plumber if you are not familiar with plumbing installations. Once everything is connected and in place, run water through the sink to test for any leaks.
Congratulations, you have successfully installed a basic kitchen sink! With proper preparation and careful installation, your new sink will not only provide functionality to your kitchen but also add to its overall design and aesthetic.
Once the hole is cut and the sink fits perfectly, it's time to install it. Apply a thin bead of silicone caulk around the edge of the hole and place the sink into the opening. Make sure it is centered and level before moving on to the next step.
Next, attach the mounting clips or brackets provided with the sink to secure it in place. These can be screwed into the underside of the countertop or glued with epoxy. Check the manufacturer's instructions for specific installation guidelines.
Finally, connect the sink's drain and water supply lines. This may require the help of a plumber if you are not familiar with plumbing installations. Once everything is connected and in place, run water through the sink to test for any leaks.
Congratulations, you have successfully installed a basic kitchen sink! With proper preparation and careful installation, your new sink will not only provide functionality to your kitchen but also add to its overall design and aesthetic.