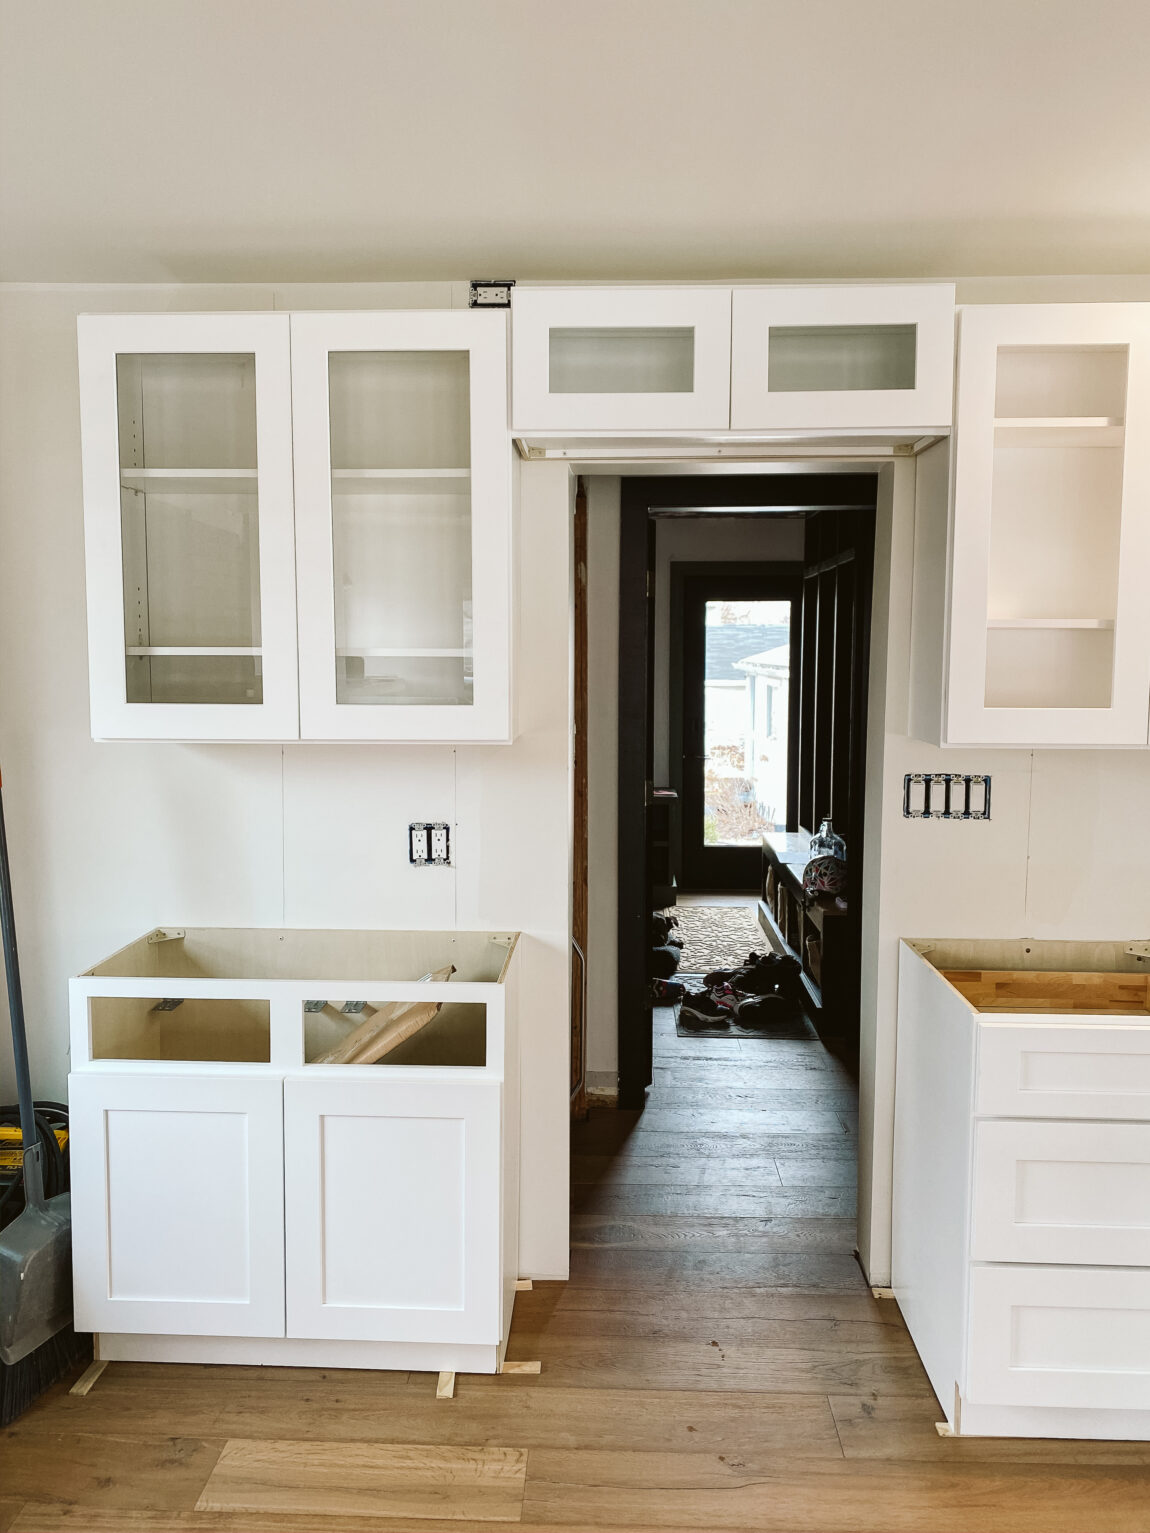
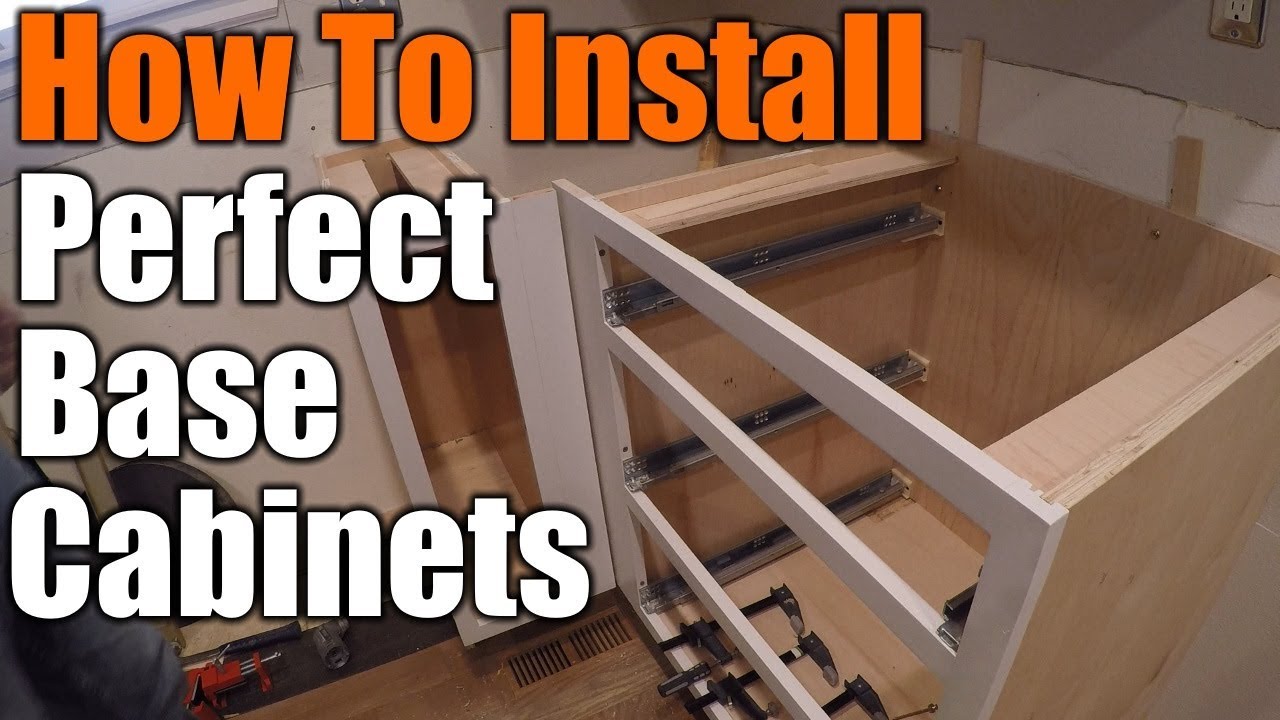
Before you can attach your kitchen base cabinets to the wall, you need to make sure you have all the necessary tools and materials. This includes a level, drill, screws, stud finder, and a helper to assist with holding the cabinets in place. It's also important to measure and mark the layout of your cabinets on the wall to ensure they are properly aligned. Pro Tip: Make sure to also check the weight of your cabinets to ensure they can be safely attached to the wall. 1. Preparing for the Installation

How to Install Kitchen Cabinets - The Home Depot


Using a stud finder, locate the wall studs where you will be attaching the cabinets. It's important to secure the cabinets to the studs for maximum support and stability. Once you have found the studs, mark their locations with a pencil. Pro Tip: If you are unable to find studs, you can also use toggle bolts for added support. 2. Finding the Wall Studs

How to Install Kitchen Cabinets - The Home Depot
Before attaching the cabinets to the wall, you need to make sure they are properly prepared. This includes removing any doors and shelves, as well as drilling pilot holes into the back of the cabinets for the screws to go through. Pro Tip: You can also add adhesive strips or brackets to the back of the cabinets for added support. 3. Preparing the Cabinets
How to Install Kitchen Cabinets - The Home Depot

With the help of your assistant, lift the cabinets onto the marked locations on the wall. Use a level to ensure they are straight and then screw them into the wall studs using the pilot holes you drilled earlier. If you are using toggle bolts, make sure to follow the manufacturer's instructions for installation. Pro Tip: It's important to attach the cabinets to each other as well to create a solid and seamless installation. 4. Attaching the Cabinets to the Wall


How to Install Kitchen Cabinets - The Home Depot
Once all the cabinets are attached to the wall, use a level to check for any gaps between the cabinets and the wall. If there are any gaps, use shims to fill them in and secure the cabinets in place. You can also add additional screws or brackets for added support. Pro Tip: Make sure to also check for any gaps between the individual cabinets and adjust them as needed for a seamless look. 5. Securing the Cabinets


How to Install Kitchen Cabinets - The Home Depot
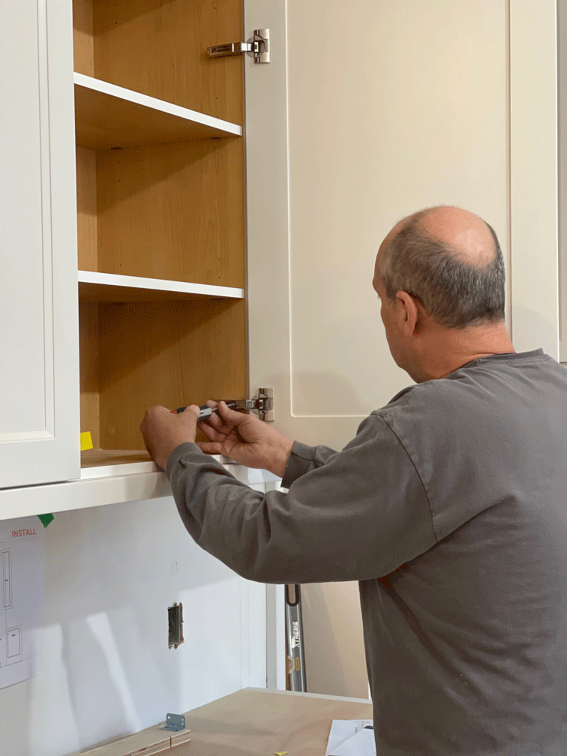
After the cabinets are securely attached to the wall, you can reattach the doors and shelves. Use a drill to screw in the hinges and shelves to the cabinets. Make sure to also adjust the doors so they are aligned and level with each other. Pro Tip: If you are installing new cabinets, you can also add soft-close hinges for a more modern and convenient touch. 6. Reattaching Doors and Shelves
How to Install Kitchen Cabinets - The Home Depot
Once your cabinets are installed, you can add any finishing touches such as trim or molding to create a polished look. This can also help cover any gaps or imperfections between the cabinets and the wall. Pro Tip: If you are painting your cabinets, it's best to do so before attaching them to the wall for easier and more thorough coverage. 7. Adding Finishing Touches
How to Install Kitchen Cabinets - The Home Depot
After all the cabinets are installed, it's important to double check for stability and make any necessary adjustments. This includes making sure the doors and drawers open and close smoothly and that the cabinets are securely attached to the wall and each other. Pro Tip: Test out the weight capacity of your cabinets by placing heavier items inside to ensure they can hold up over time. 8. Double Checking for Stability
How to Install Kitchen Cabinets - The Home Depot
To keep your kitchen cabinets securely attached to the wall, it's important to regularly check for any loose screws or brackets and make any necessary repairs. You can also use wood glue to reinforce any weak spots or add additional support if needed. Pro Tip: Wipe down your cabinets regularly with a gentle cleaner to prevent any buildup and maintain their appearance. 9. Maintaining Your Cabinets

How to Install Kitchen Cabinets - The Home Depot
With your cabinets securely attached to the wall, you can now enjoy your new and improved kitchen. Whether you are using them for storage or as a focal point in your space, your kitchen cabinets are an essential and functional addition to your home. Pro Tip: Keep your cabinets looking like new by avoiding harsh chemicals and excessive moisture, and always handle them with care. 10. Enjoy Your New Kitchen Cabinets
How to Install Kitchen Cabinets - The Home Depot

Additional Tips for Attaching Kitchen Base Cabinets to the Wall

Properly Measure and Mark Your Wall
 Before attaching the kitchen base cabinets to the wall, it is important to properly measure and mark your wall. This will ensure that your cabinets are installed in a straight line and at the correct height. Use a measuring tape to determine the distance between the ceiling and the top of your cabinets. Then, use a level and pencil to mark this height on the wall. Next, use a stud finder to locate the studs in your wall and mark their location with a pencil. This will help you determine where to place your screws for maximum stability.
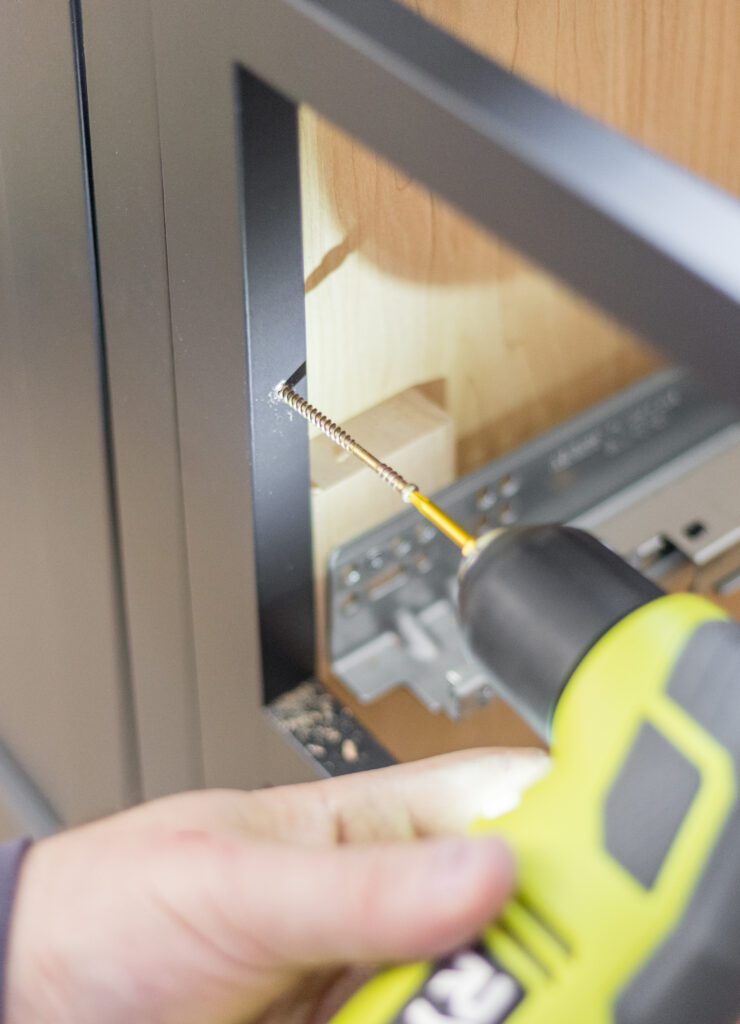
Pre-Drill Holes for Screws
 To avoid splitting the wood, it is important to
pre-drill holes for screws
before attaching the base cabinets to the wall. Use a drill bit that is slightly smaller than the diameter of your screws. This will make it easier to drive the screws into the wall and prevent the wood from splitting. Be sure to pre-drill holes at each stud location to ensure maximum support for your cabinets.
To avoid splitting the wood, it is important to
pre-drill holes for screws
before attaching the base cabinets to the wall. Use a drill bit that is slightly smaller than the diameter of your screws. This will make it easier to drive the screws into the wall and prevent the wood from splitting. Be sure to pre-drill holes at each stud location to ensure maximum support for your cabinets.
Utilize Cabinet Brackets
 Another helpful tip for attaching kitchen base cabinets to the wall is to utilize
cabinet brackets
. These brackets are designed to provide additional support and stability for your cabinets. They are typically installed at the top of the cabinet and attached directly to the wall. This will help prevent your cabinets from sagging or pulling away from the wall over time.
Another helpful tip for attaching kitchen base cabinets to the wall is to utilize
cabinet brackets
. These brackets are designed to provide additional support and stability for your cabinets. They are typically installed at the top of the cabinet and attached directly to the wall. This will help prevent your cabinets from sagging or pulling away from the wall over time.
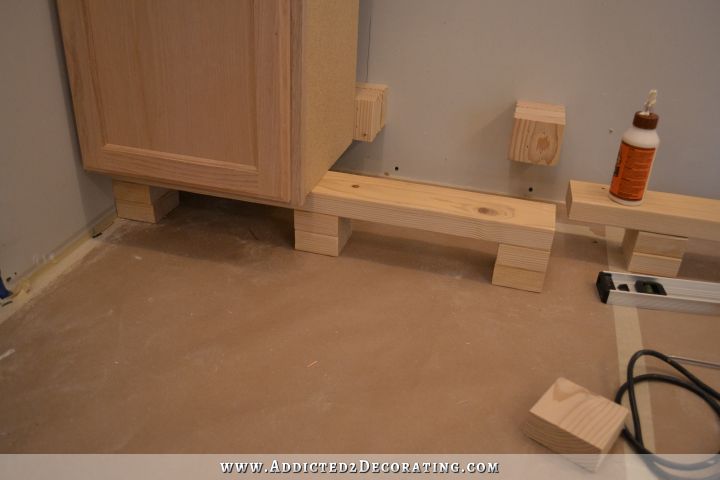
Use Leveling Legs
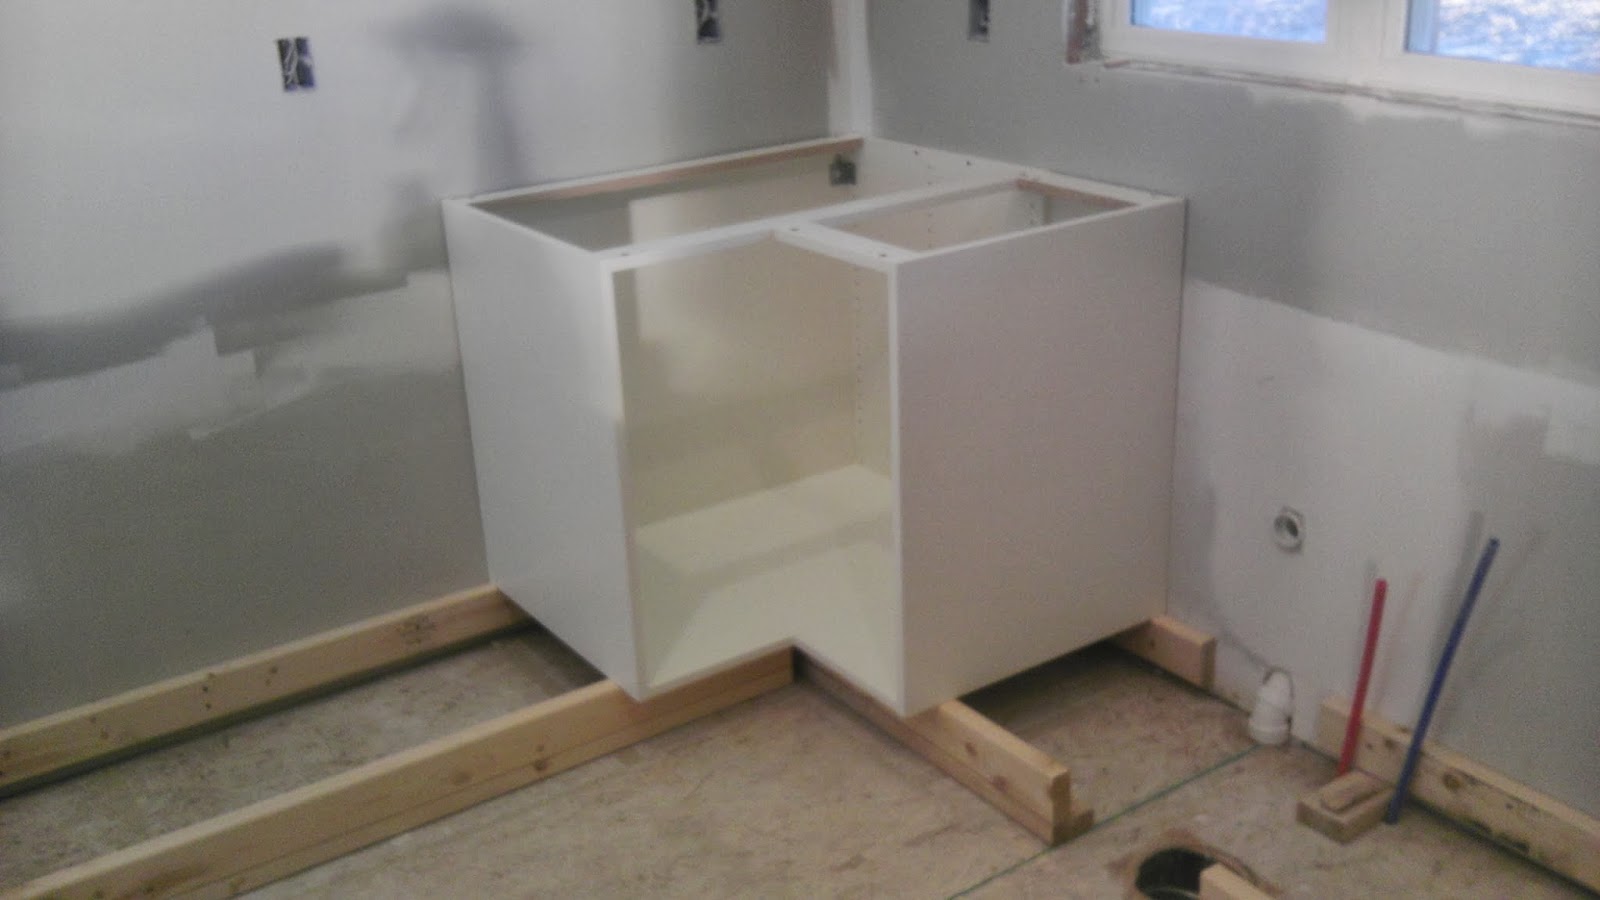 Most kitchen base cabinets come with
leveling legs
that can be adjusted to ensure the cabinets are level and stable. Before attaching the cabinets to the wall, use a level to check for any unevenness. If needed, adjust the leveling legs to ensure that your cabinets are level and will sit flush against the wall once installed.
Most kitchen base cabinets come with
leveling legs
that can be adjusted to ensure the cabinets are level and stable. Before attaching the cabinets to the wall, use a level to check for any unevenness. If needed, adjust the leveling legs to ensure that your cabinets are level and will sit flush against the wall once installed.
Secure Cabinets to Each Other
 In addition to attaching the cabinets to the wall, it is important to secure them to each other for added stability. This can be done by using
cabinet screws
to connect adjacent cabinets together. This will create a strong and stable base for your kitchen cabinets.
In addition to attaching the cabinets to the wall, it is important to secure them to each other for added stability. This can be done by using
cabinet screws
to connect adjacent cabinets together. This will create a strong and stable base for your kitchen cabinets.
Conclusion
 By following these additional tips, you can ensure that your kitchen base cabinets are securely attached to the wall and will provide a strong and stable foundation for your kitchen design. Remember to always measure and mark your wall, pre-drill holes for screws, utilize cabinet brackets and leveling legs, and secure cabinets to each other for maximum stability. With these steps, you can confidently install your kitchen base cabinets and create a beautiful and functional space for your home.