How to Attach a Bathroom Sink to a Countertop
Are you looking to update your bathroom with a new sink and countertop? One important aspect of this project is attaching the sink to the countertop. This may seem like a daunting task, but with the right tools and knowledge, it can be a simple and successful DIY project. In this article, we will guide you through the process of attaching a bathroom sink to a countertop step by step. Let's get started!


How to Attach a Bathroom Sink to a Countertop


:max_bytes(150000):strip_icc()/8_IMG_3767-56a4a2753df78cf772835b72.JPG)

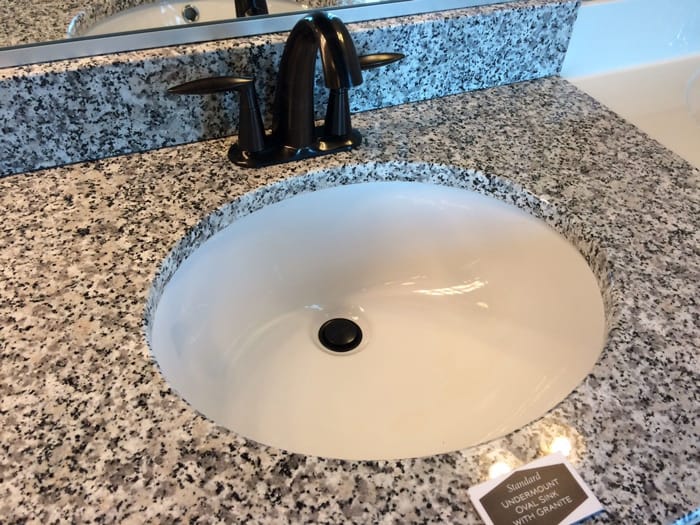
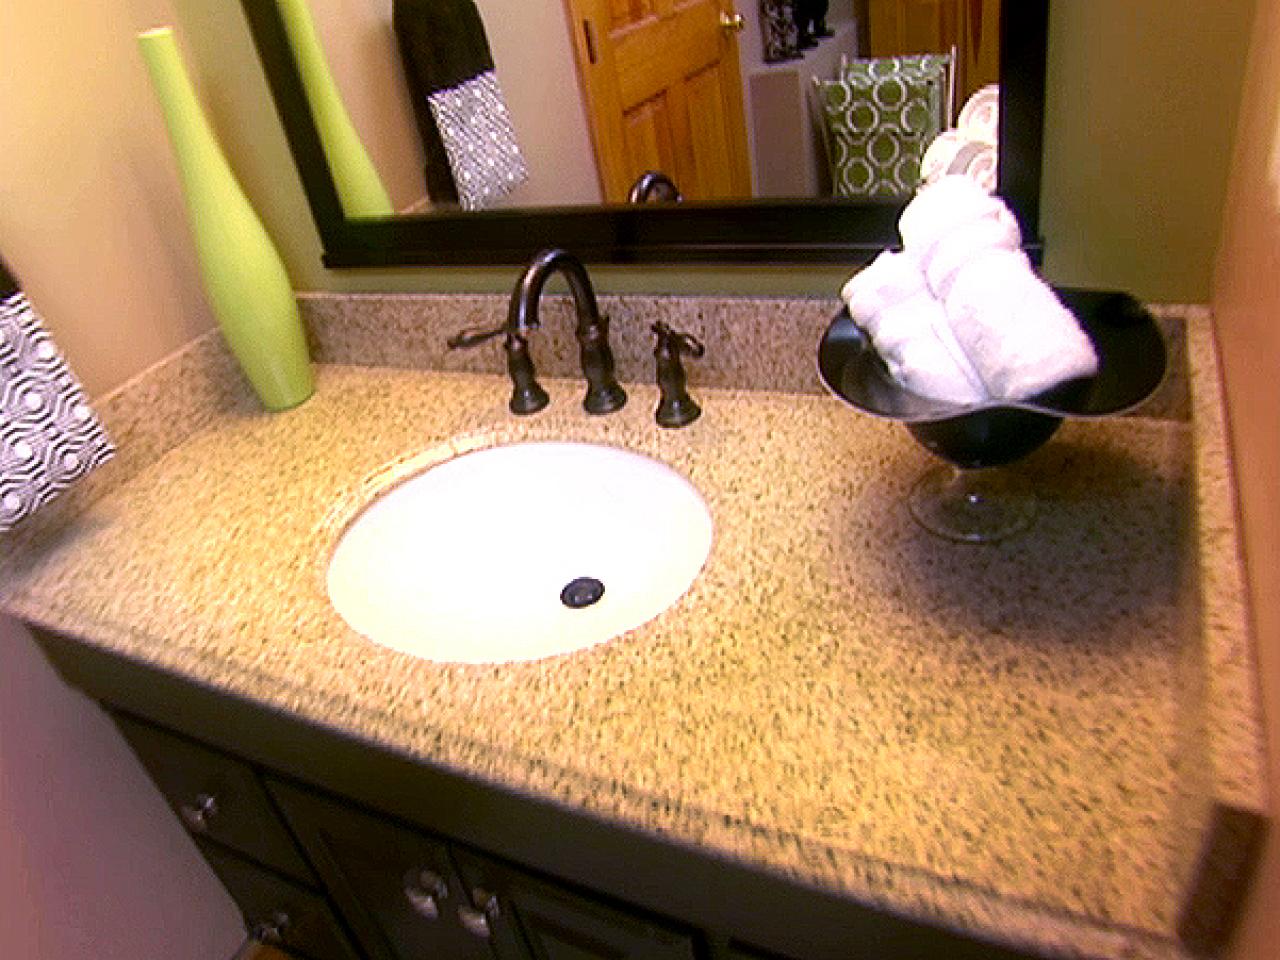
How to Install a Bathroom Sink on a Countertop
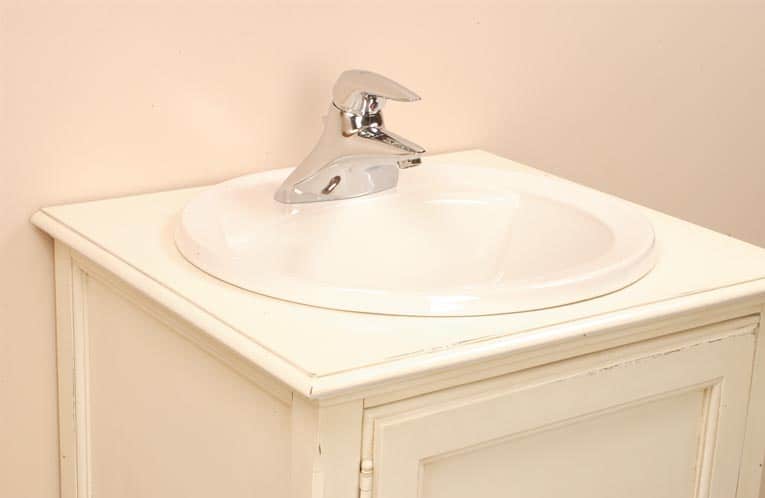
Before we begin, it's important to choose the right sink and countertop that will fit together properly. Make sure the sink has a lip or flange that will sit on top of the countertop. You will also need to have the appropriate tools and materials on hand, such as a drill, screws, and silicone caulk.


How to Install a Bathroom Sink on a Countertop


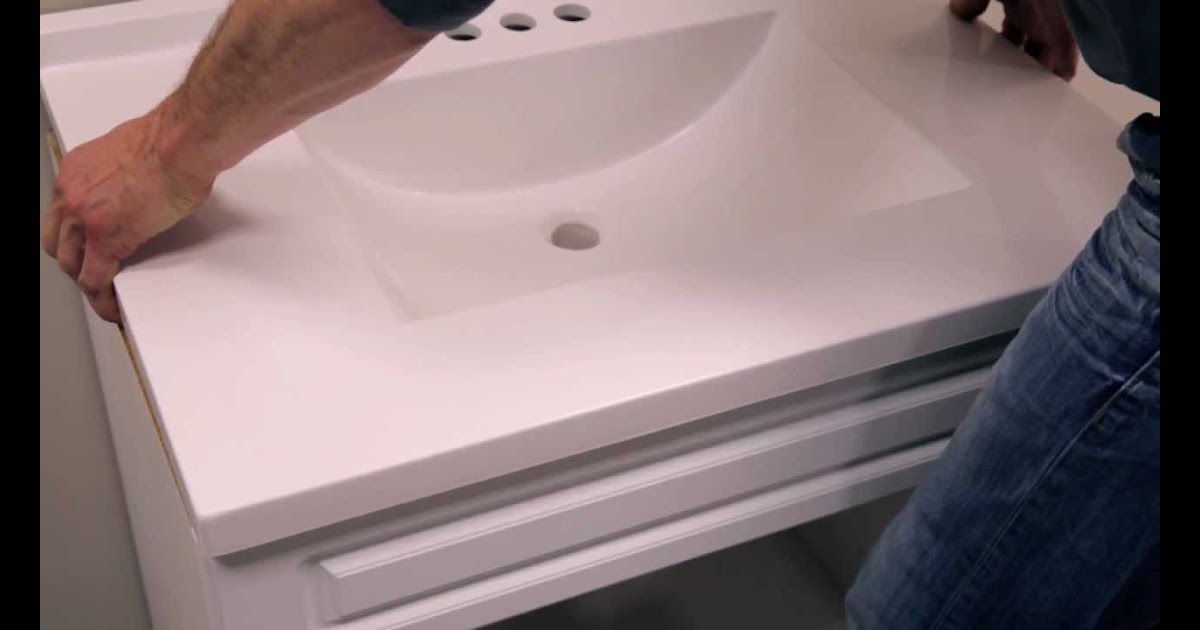
DIY Bathroom Sink Installation on a Countertop
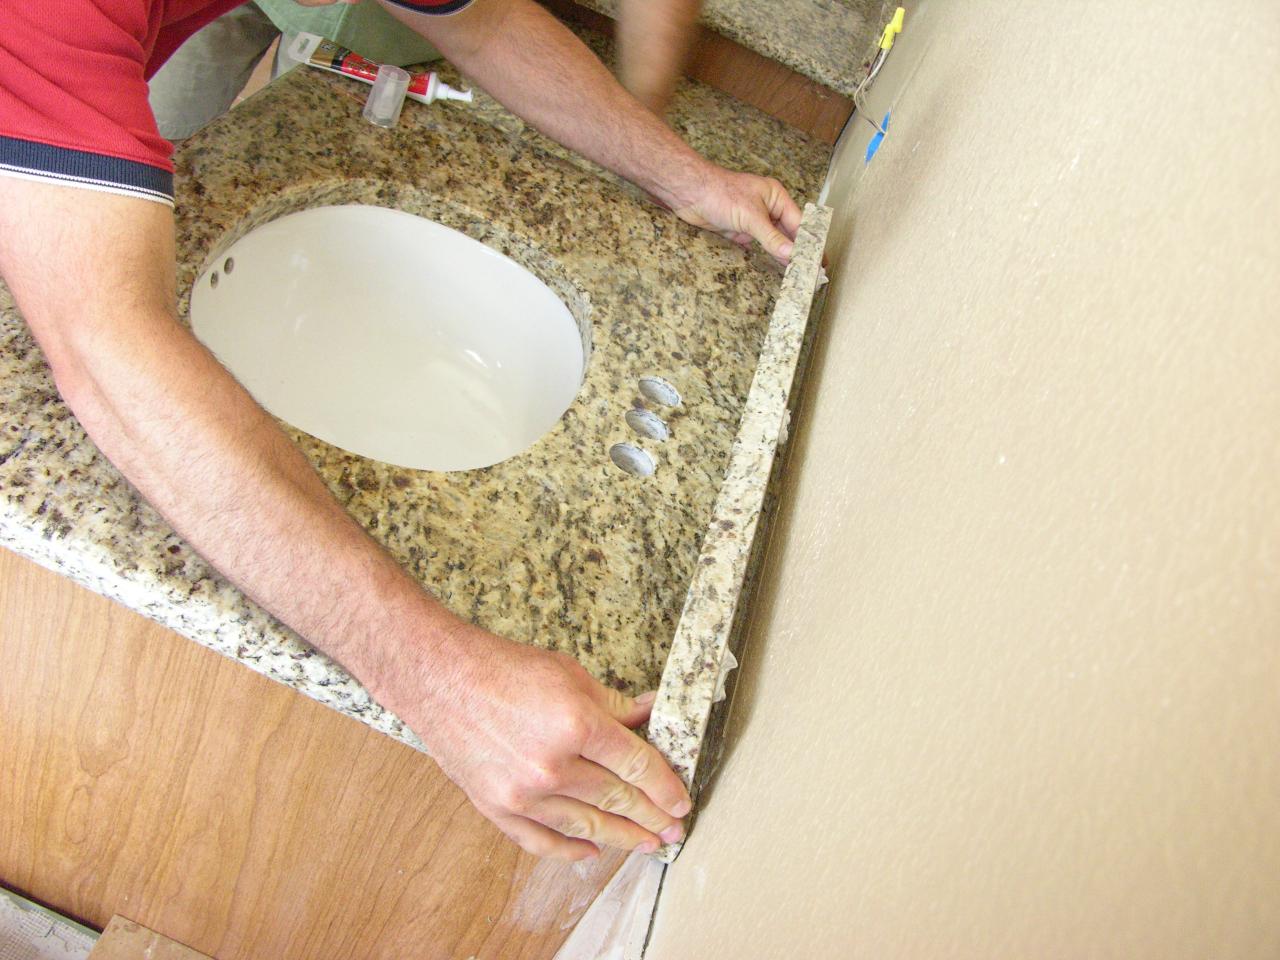
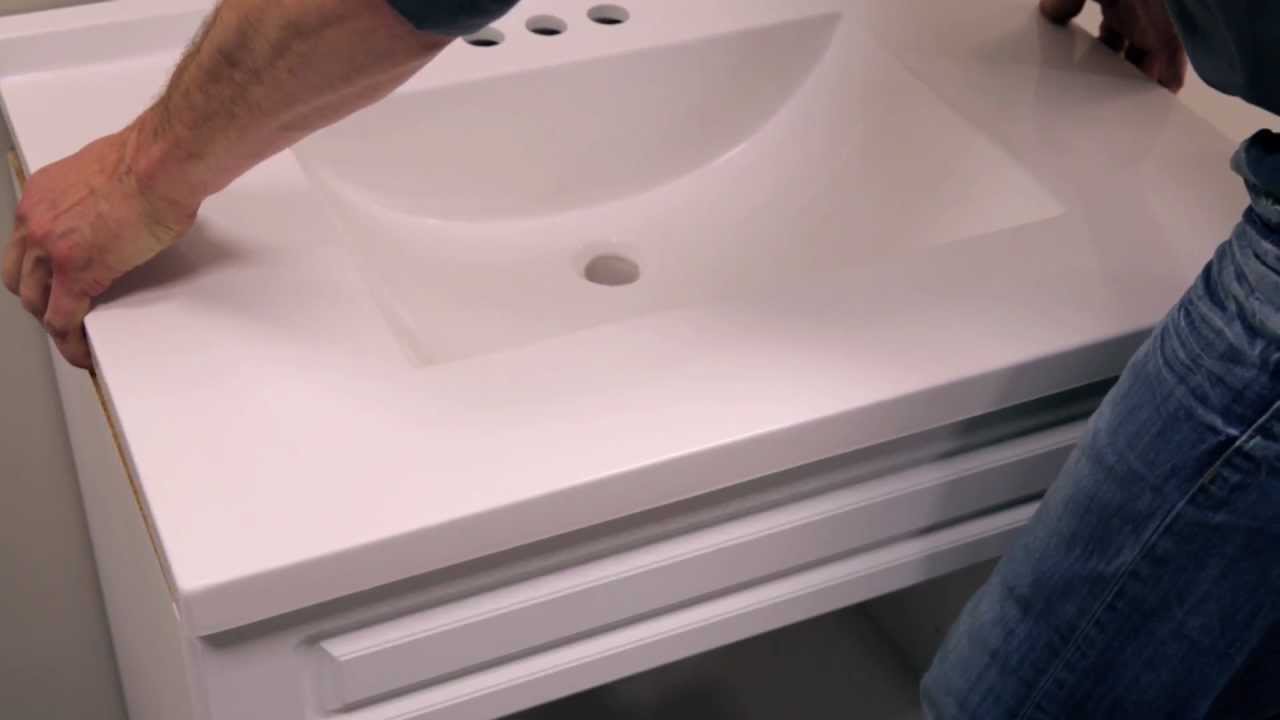
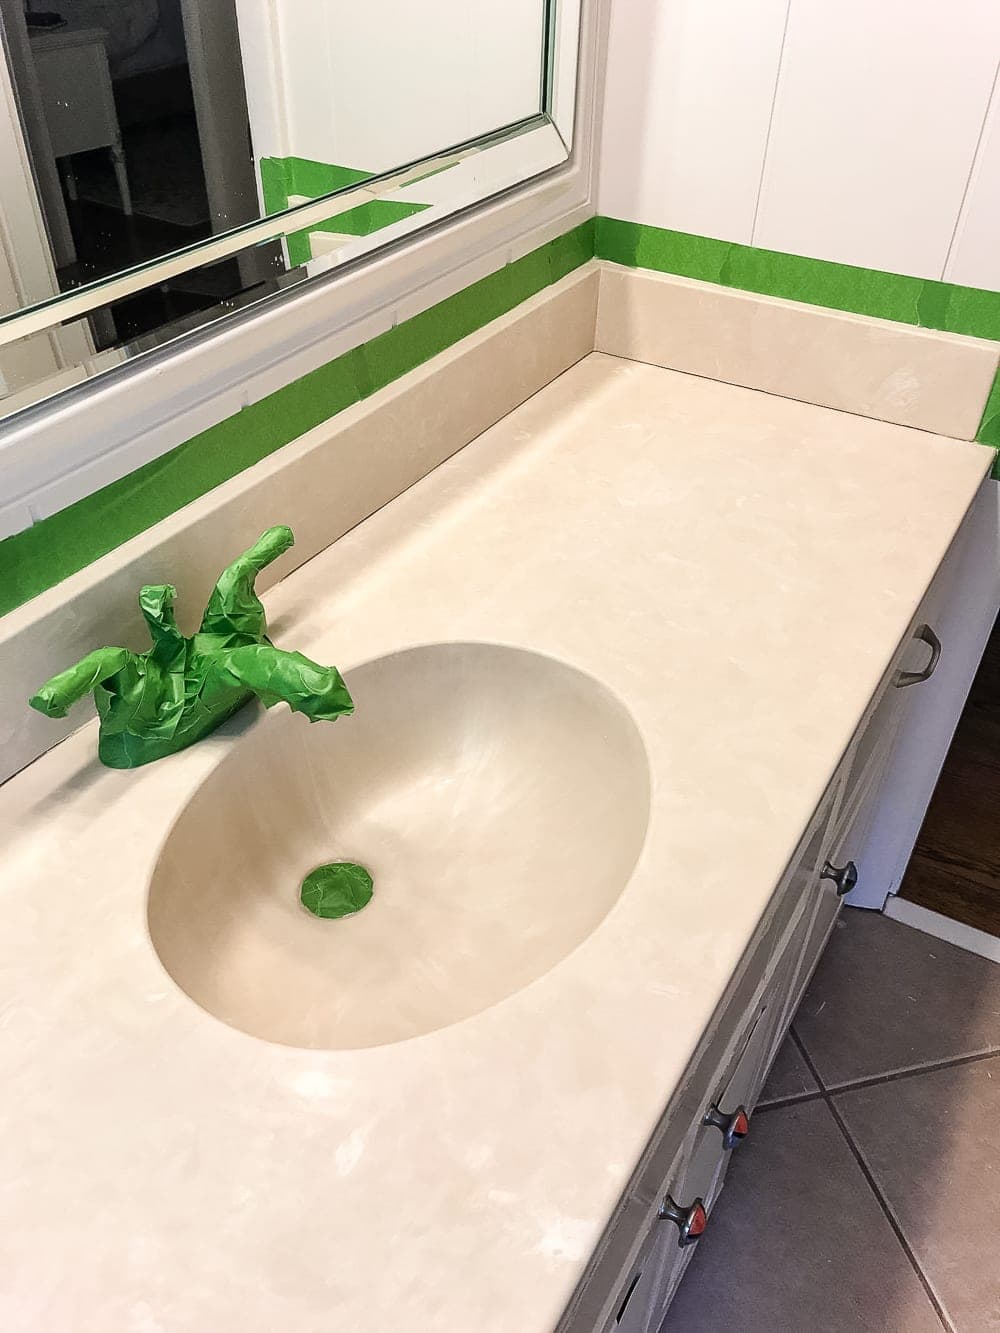
Attaching a bathroom sink to a countertop is a DIY project that can save you money and give you a sense of accomplishment. Start by laying the countertop upside down on a flat surface. Place the sink on top of the countertop in the desired location, making sure it is centered and level.


DIY Bathroom Sink Installation on a Countertop


Step-by-Step Guide for Attaching a Bathroom Sink to a Countertop
Step 1: Measure and Mark - Use a pencil to mark the placement of the sink on the countertop. Make sure to include the location of the drain and any mounting holes on the sink.
Step 2: Pre-drill Holes - Use a drill with a small drill bit to pre-drill holes in the countertop where the sink will be attached.
Step 3: Apply Silicone Caulk - Apply a thin bead of silicone caulk around the edge of the sink where it will meet the countertop.
Step 4: Place Sink on Countertop - Carefully place the sink on top of the countertop, lining up the drain and mounting holes with the markings you made earlier.
Step 5: Secure Sink to Countertop - Use screws to secure the sink to the countertop through the pre-drilled holes. Make sure the sink is firmly attached and level.
Step 6: Clean Up Excess Caulk - Use a damp cloth to clean up any excess caulk around the edges of the sink.


Step-by-Step Guide for Attaching a Bathroom Sink to a Countertop


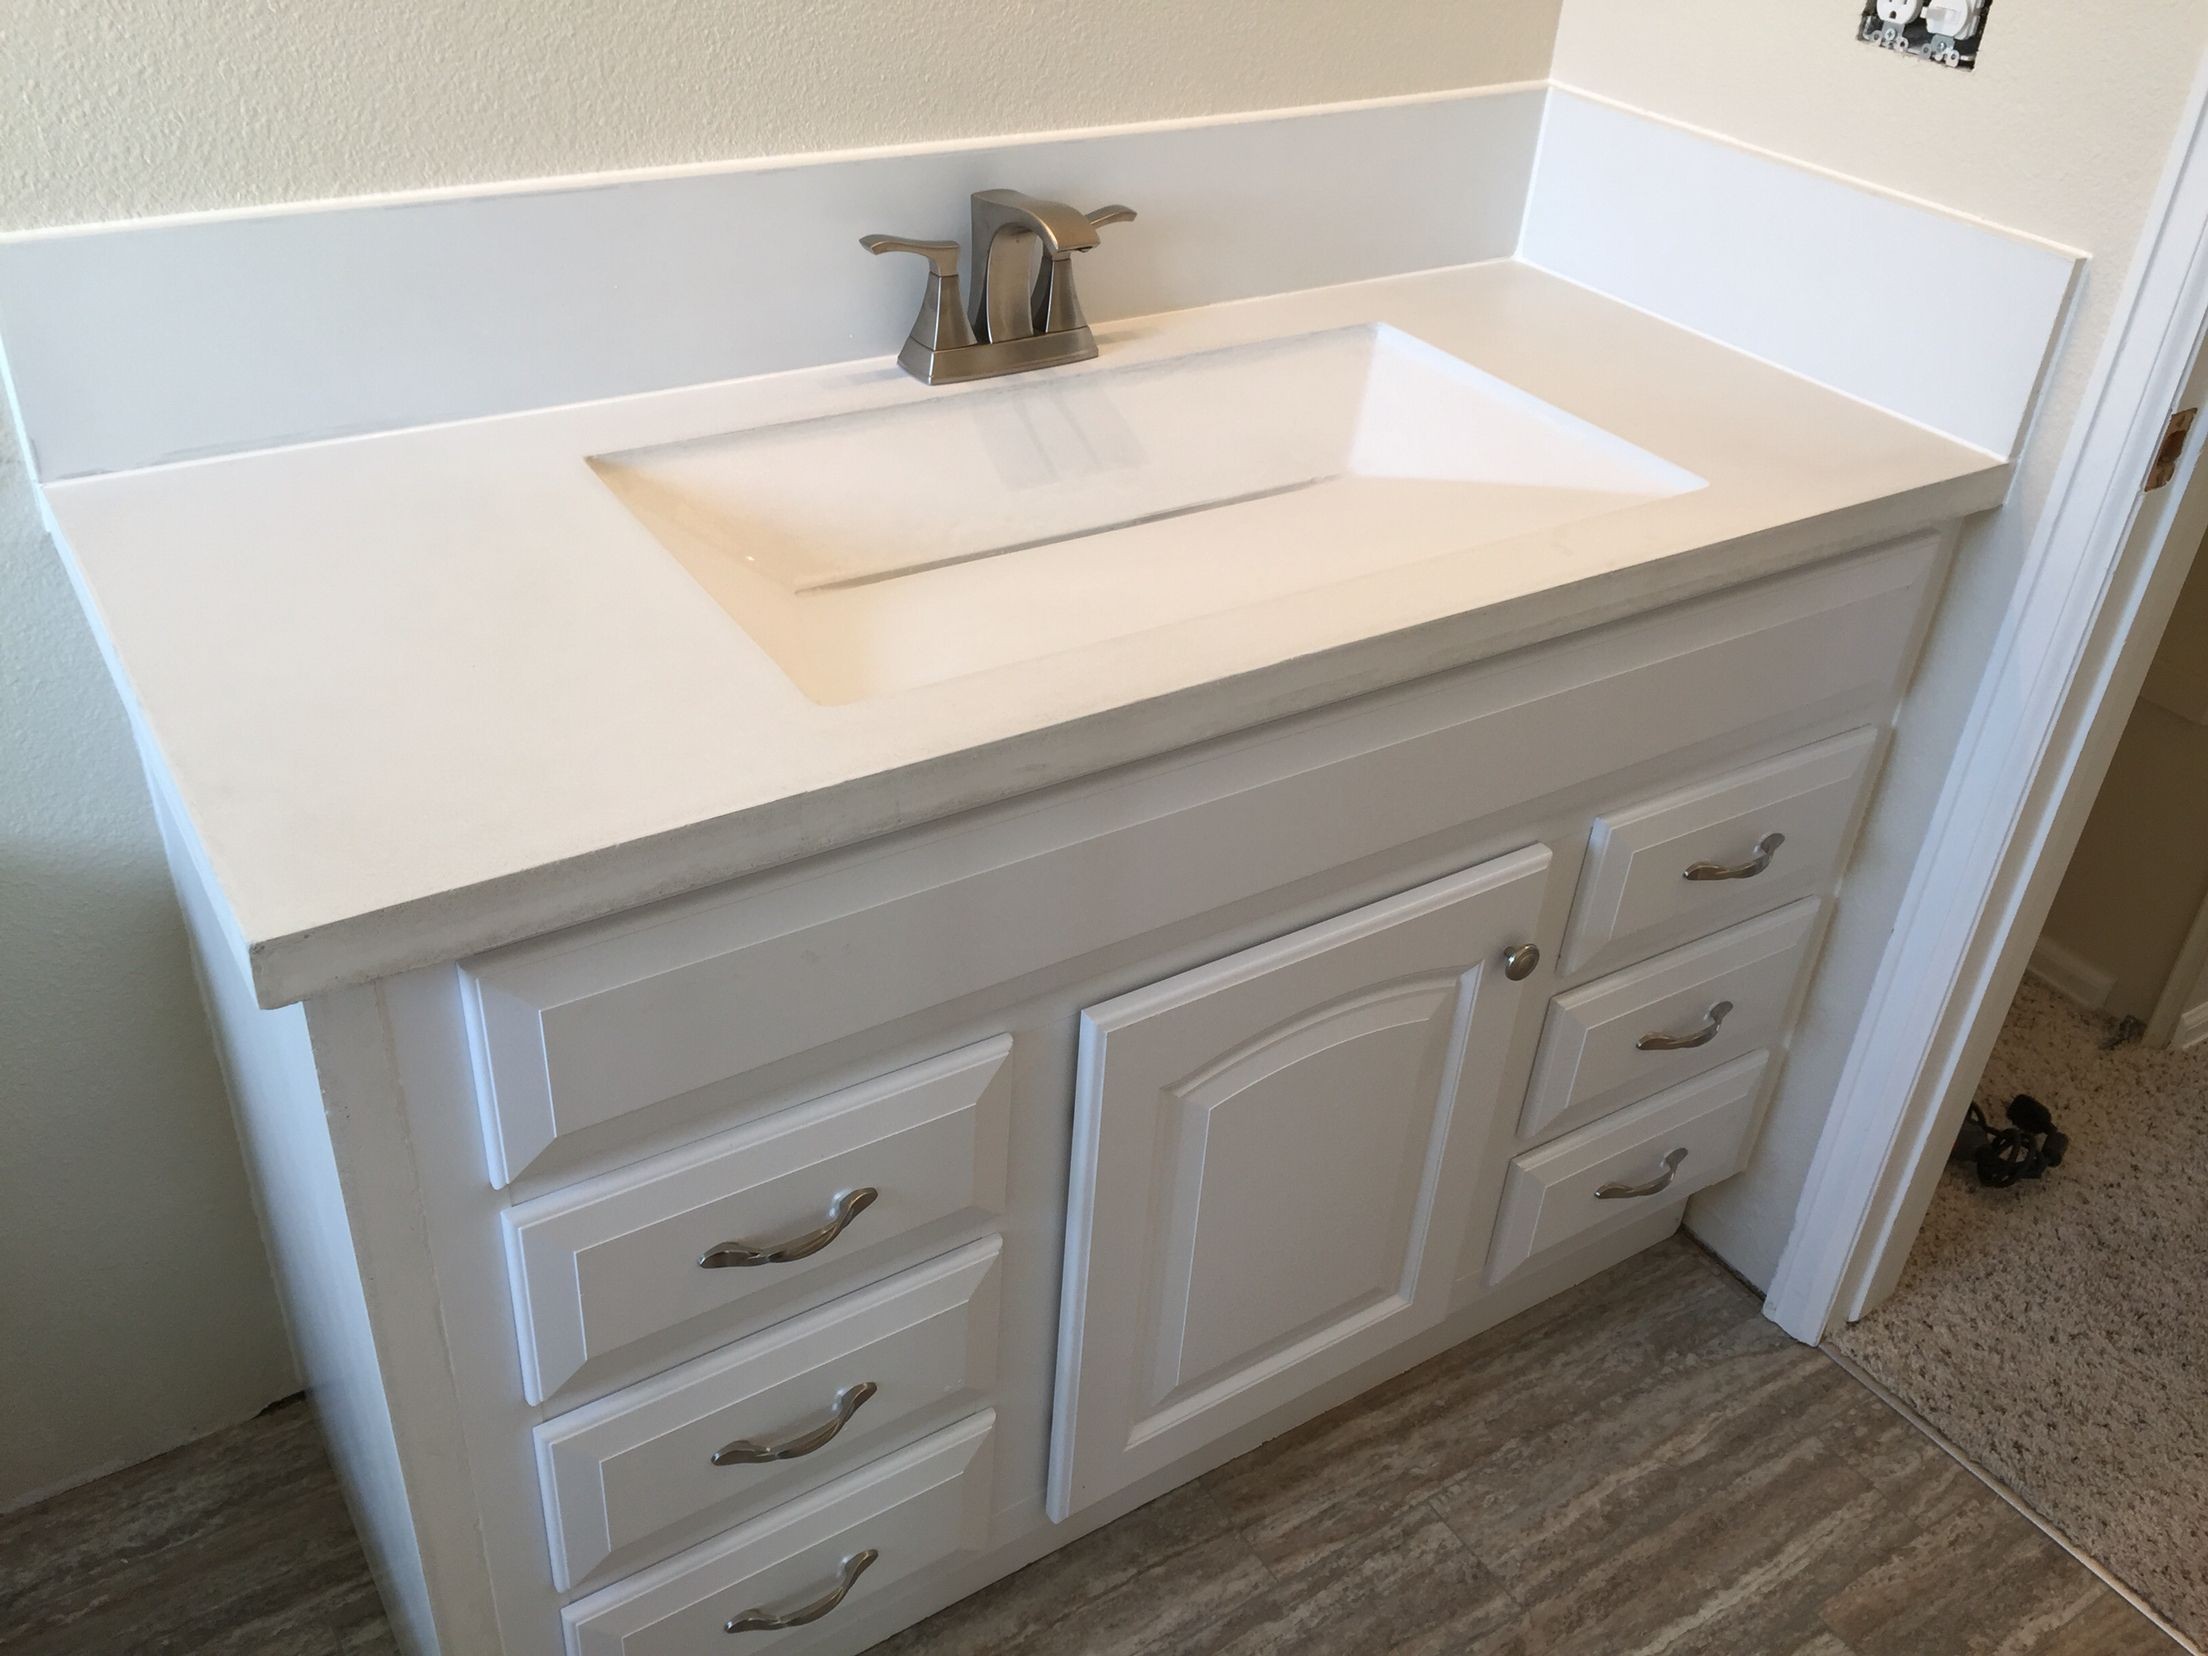
Securely Mounting a Bathroom Sink to a Countertop
Properly securing the sink to the countertop is crucial to prevent any shifting or movement over time. Make sure to use enough screws to firmly attach the sink to the countertop, but be careful not to over-tighten them, as this can crack the sink.


Securely Mounting a Bathroom Sink to a Countertop


Best Practices for Attaching a Bathroom Sink to a Countertop
To ensure a successful attachment of your bathroom sink to the countertop, here are a few best practices to keep in mind:
- Use the appropriate tools for the job.
- Measure and mark carefully to ensure proper placement.
- Use silicone caulk to create a watertight seal between the sink and countertop.
- Make sure the sink is securely attached with enough screws.
- Clean up any excess caulk for a neat and professional finish.


Best Practices for Attaching a Bathroom Sink to a Countertop


Tools and Materials Needed for Attaching a Bathroom Sink to a Countertop
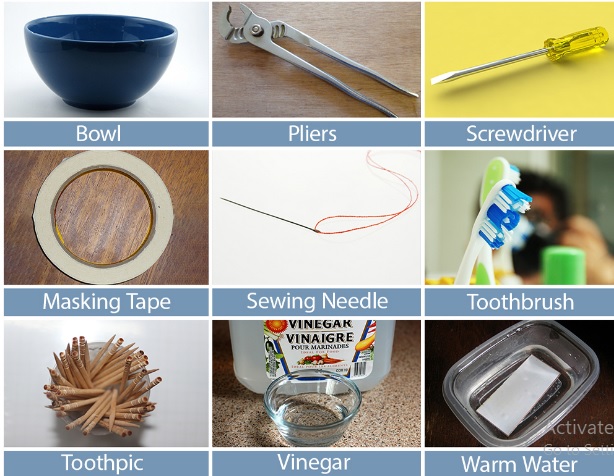
To successfully attach your bathroom sink to a countertop, you will need the following tools and materials:
- Drill
- Screws
- Screwdriver
- Silicone caulk
- Pencil
- Damp cloth


Tools and Materials Needed for Attaching a Bathroom Sink to a Countertop


Common Mistakes to Avoid When Attaching a Bathroom Sink to a Countertop
While attaching a bathroom sink to a countertop may seem like a simple task, there are some common mistakes that can lead to problems down the road. Here are a few to avoid:
- Not using enough screws to securely attach the sink.
- Over-tightening screws, which can cause the sink to crack.
- Not properly lining up the drain and mounting holes with the markings on the countertop.
- Not using silicone caulk to create a watertight seal between the sink and countertop.


Common Mistakes to Avoid When Attaching a Bathroom Sink to a Countertop


Tips and Tricks for a Successful Bathroom Sink and Countertop Attachment
Here are a few tips and tricks to help you successfully attach your bathroom sink to the countertop:
- Use a level to ensure the sink is straight and level on the countertop.
- Place a towel or soft cloth under the sink while attaching it to prevent scratching the countertop.
- Use a damp cloth to smooth out the silicone caulk for a clean finish.


Tips and Tricks for a Successful Bathroom Sink and Countertop Attachment


Professional vs. DIY: Attaching a Bathroom Sink to a Countertop
Attaching a bathroom sink to a countertop is a task that can be done by a professional or as a DIY project. Hiring a professional can ensure a perfect and seamless attachment, but it can also be costly. DIY can save money, but it requires careful attention to detail and the right tools to avoid any mistakes.
In conclusion, attaching a bathroom sink to a countertop is an achievable DIY project with the right tools and knowledge. By following these steps and best practices, you can successfully complete this project and give your bathroom a fresh new look. Happy renovating!


Professional vs. DIY: Attaching a Bathroom Sink to a Countertop


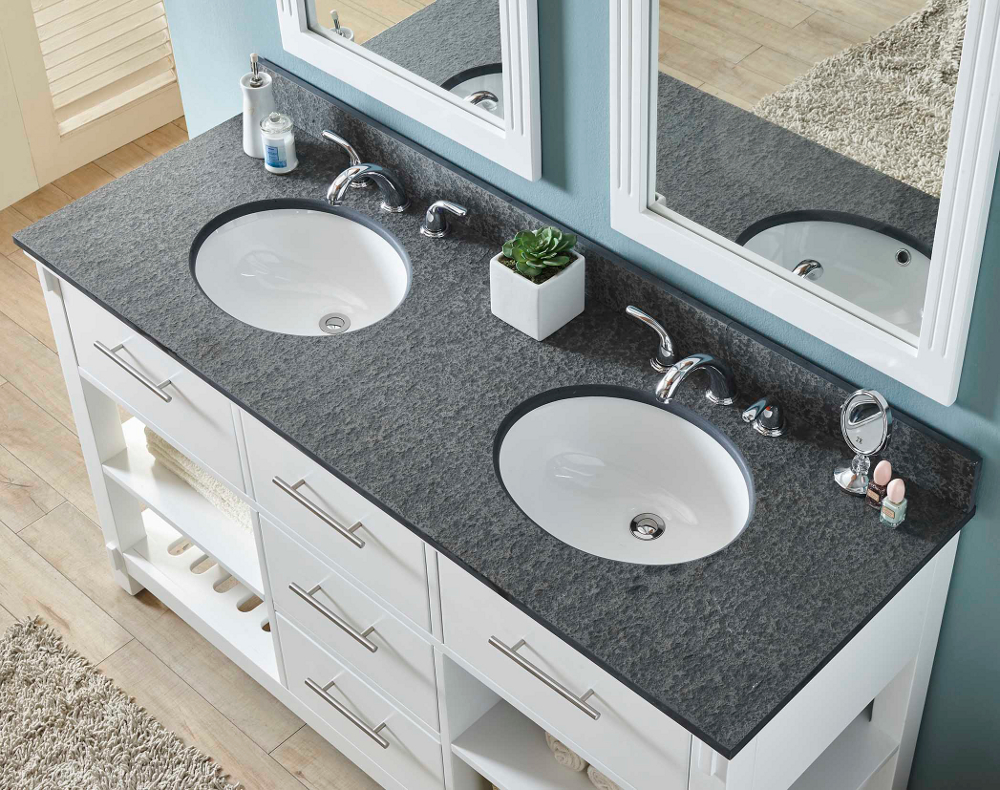
Attaching a Bathroom Sink to a Countertop: A Guide to a Sturdy and Stylish Design
 When designing a bathroom, every detail matters, from the flooring to the fixtures. One essential element that needs careful consideration is the
bathroom sink
. Not only does it serve a functional purpose, but it also adds to the overall aesthetic of the space.
Attaching a bathroom sink to a countertop
is a crucial step in achieving a sturdy and stylish design. In this article, we will discuss the process of attaching a bathroom sink to a countertop, including the materials and tools needed, as well as tips for a professional and long-lasting installation.
When designing a bathroom, every detail matters, from the flooring to the fixtures. One essential element that needs careful consideration is the
bathroom sink
. Not only does it serve a functional purpose, but it also adds to the overall aesthetic of the space.
Attaching a bathroom sink to a countertop
is a crucial step in achieving a sturdy and stylish design. In this article, we will discuss the process of attaching a bathroom sink to a countertop, including the materials and tools needed, as well as tips for a professional and long-lasting installation.
Materials and Tools Needed
 Before starting the installation process, gather all the necessary materials and tools to ensure a smooth and efficient process. The materials needed for attaching a bathroom sink to a countertop include the sink, the countertop, silicone adhesive, and sink clips or brackets. The type of sink and countertop you choose will depend on your personal preferences and the overall design of your bathroom. Make sure to choose high-quality materials that will withstand daily use and moisture. The tools you will need are a power drill, a screwdriver, a level, a pencil, and a measuring tape.
The Installation Process
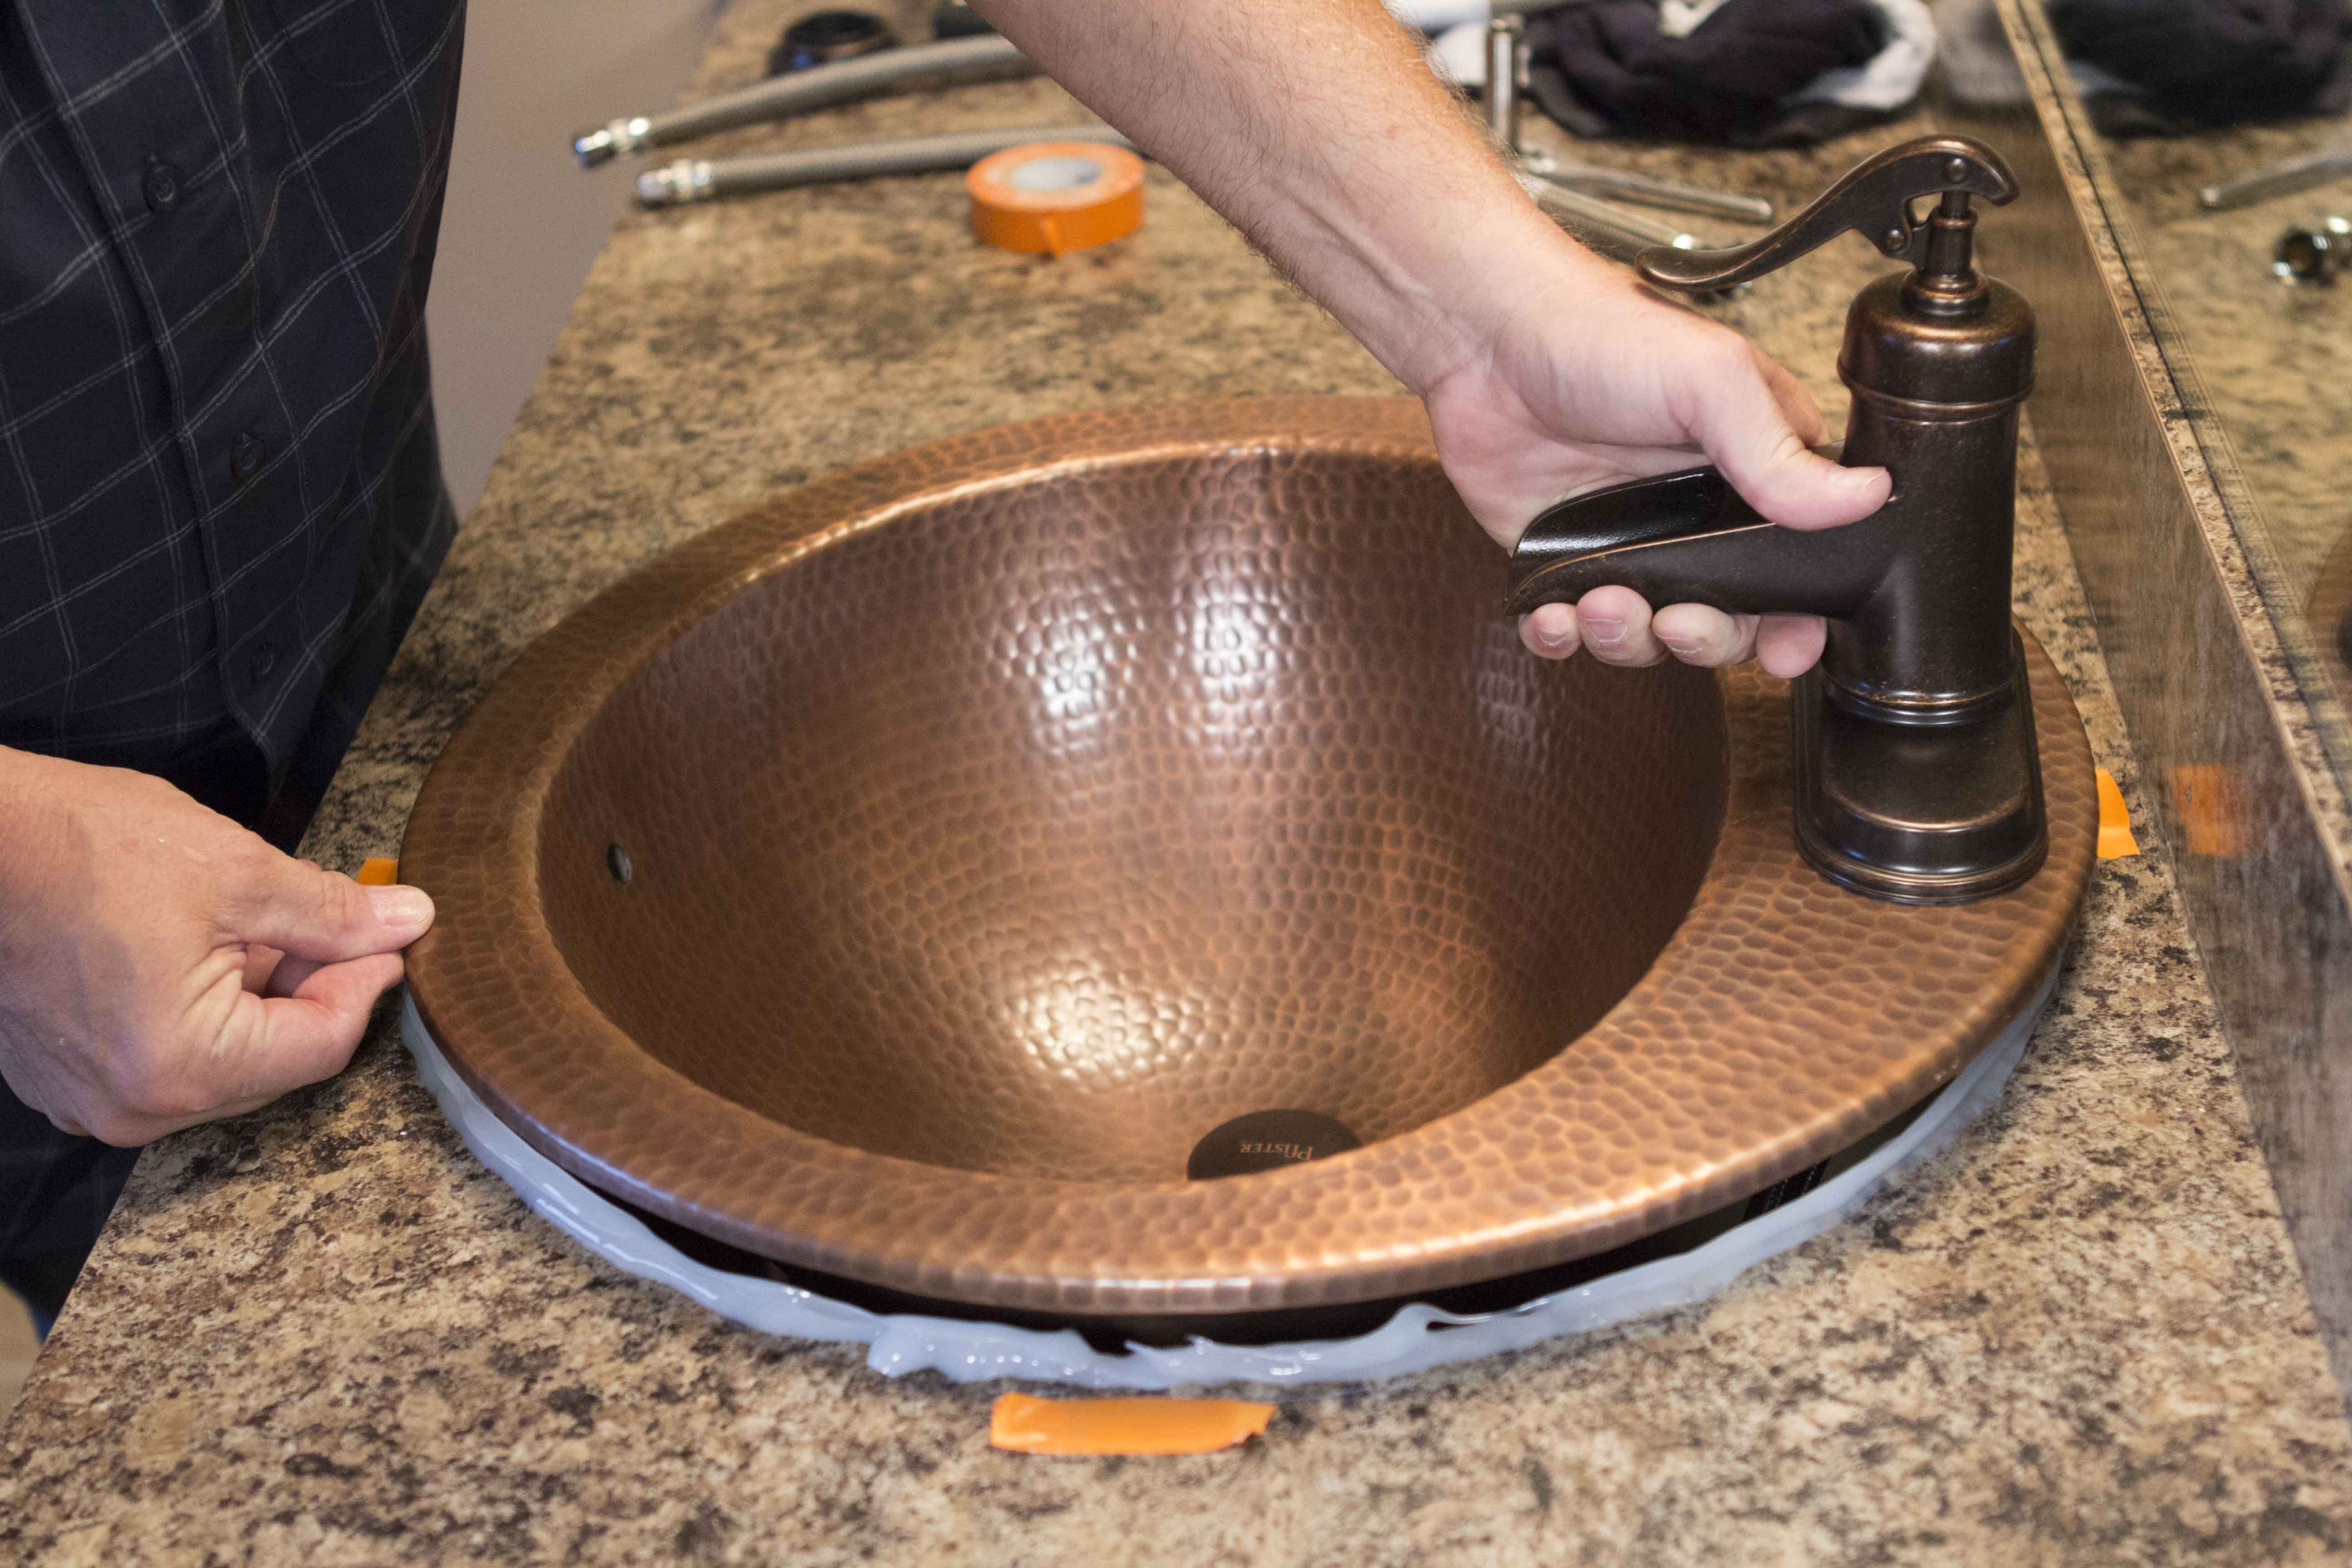 To begin the installation process, start by measuring and marking the location of the sink on the countertop. Use a level to ensure that the sink will sit evenly on the countertop. Next, drill holes on the marked spots for the sink clips or brackets. These will help secure the sink to the countertop. Apply silicone adhesive around the edges of the sink and carefully place it on the countertop, making sure it sits evenly. Once the sink is in place, secure it with the sink clips or brackets using a screwdriver.
Tips for a Professional and Long-Lasting Installation
 To ensure a professional and long-lasting installation, here are some additional tips to keep in mind. Firstly, make sure to follow the manufacturer's instructions for the sink and countertop you have chosen. This will ensure that you use the correct materials and techniques for your specific sink and countertop. Additionally, be generous with the silicone adhesive to create a strong bond between the sink and countertop. Use a damp cloth to clean up any excess adhesive before it dries. Finally, let the adhesive cure for at least 24 hours before using the sink to ensure a sturdy and secure attachment.
Attaching a bathroom sink to a countertop may seem like a daunting task, but with the right materials and techniques, it can be a simple and rewarding process. By following the steps outlined in this article and keeping these tips in mind, you can achieve a professional and stylish design for your bathroom. Remember to choose high-quality materials and tools, and take your time during the installation process to ensure a sturdy and long-lasting attachment. With these tips, you can confidently attach a bathroom sink to a countertop and create a beautiful and functional space for your home.
To ensure a professional and long-lasting installation, here are some additional tips to keep in mind. Firstly, make sure to follow the manufacturer's instructions for the sink and countertop you have chosen. This will ensure that you use the correct materials and techniques for your specific sink and countertop. Additionally, be generous with the silicone adhesive to create a strong bond between the sink and countertop. Use a damp cloth to clean up any excess adhesive before it dries. Finally, let the adhesive cure for at least 24 hours before using the sink to ensure a sturdy and secure attachment.
Attaching a bathroom sink to a countertop may seem like a daunting task, but with the right materials and techniques, it can be a simple and rewarding process. By following the steps outlined in this article and keeping these tips in mind, you can achieve a professional and stylish design for your bathroom. Remember to choose high-quality materials and tools, and take your time during the installation process to ensure a sturdy and long-lasting attachment. With these tips, you can confidently attach a bathroom sink to a countertop and create a beautiful and functional space for your home.