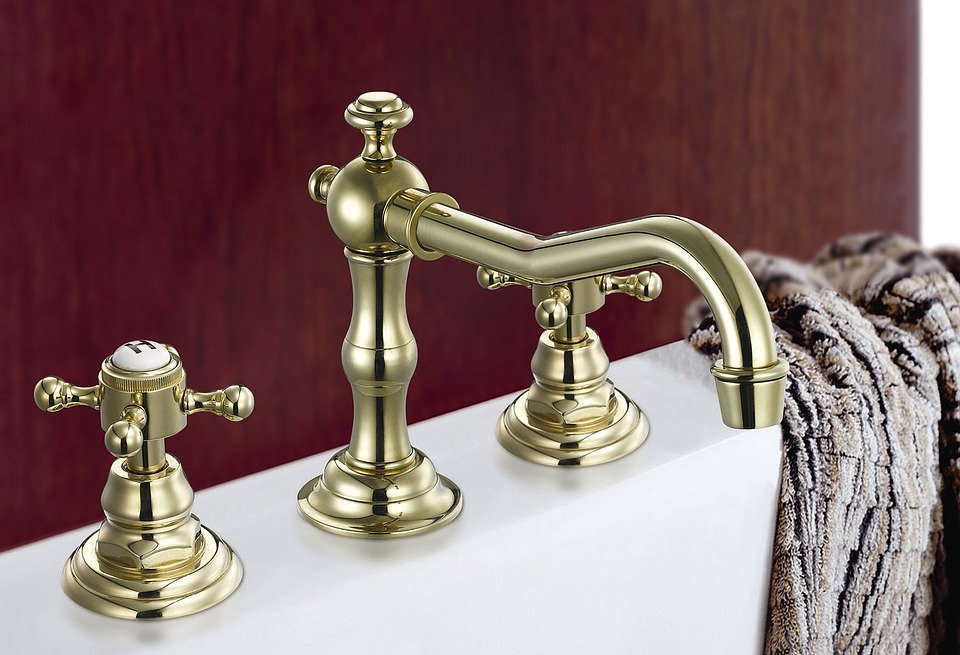
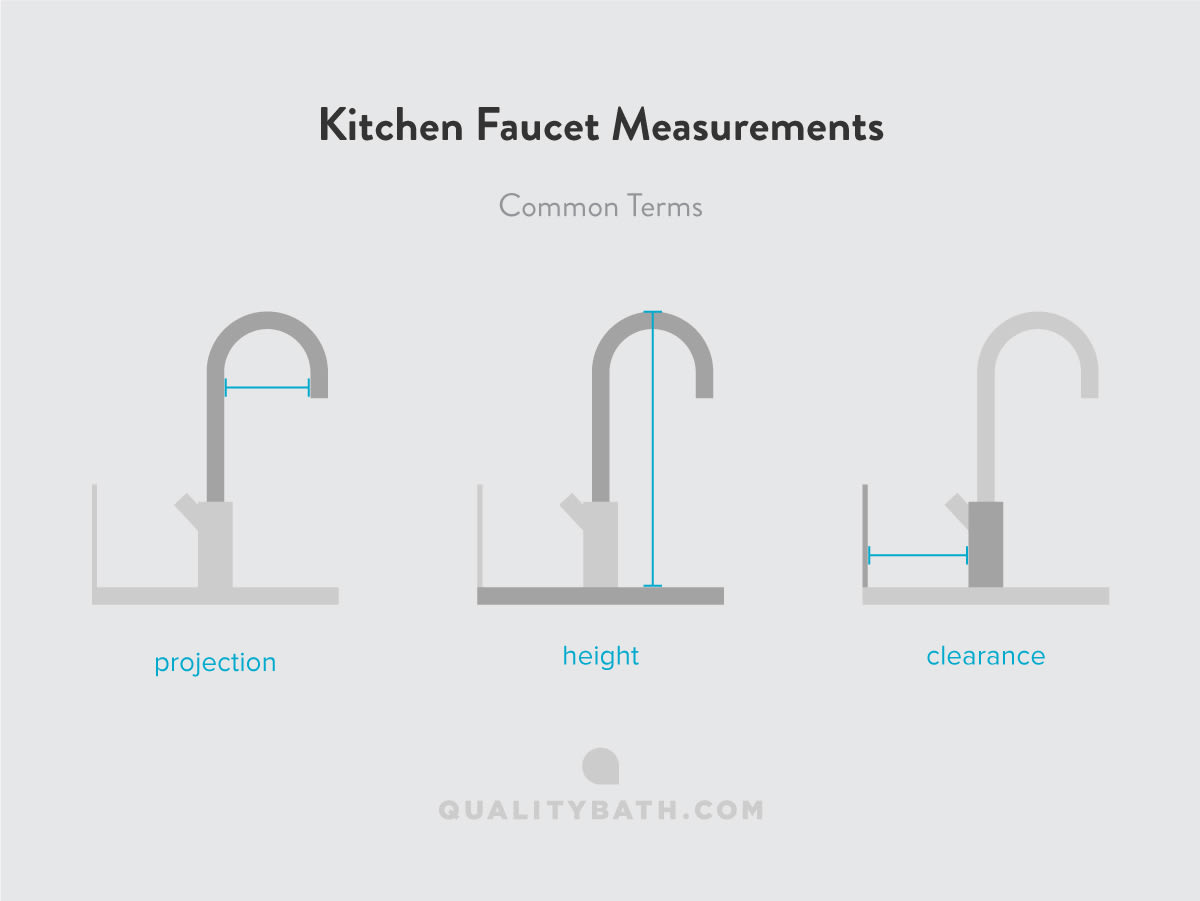
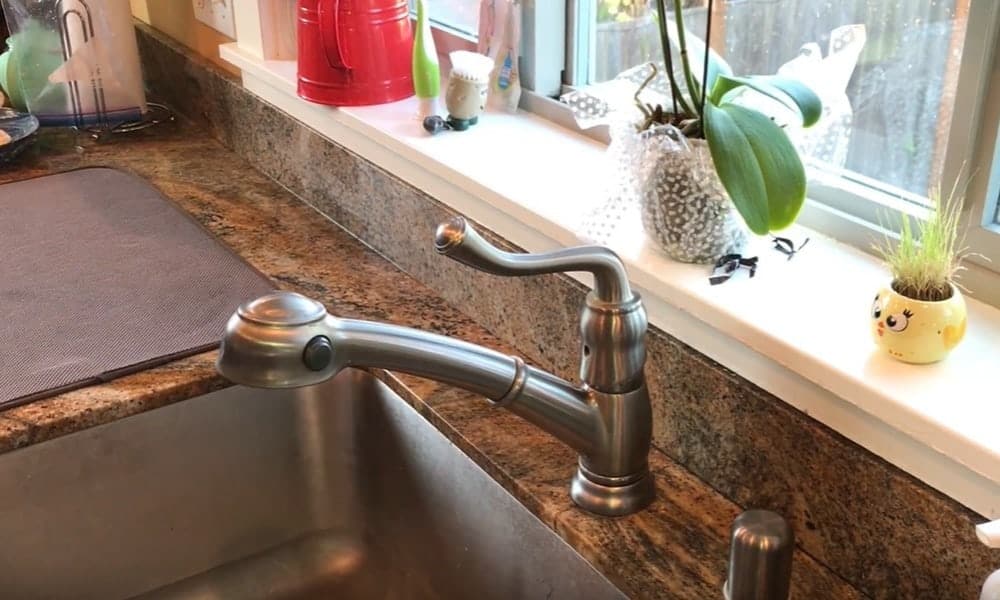
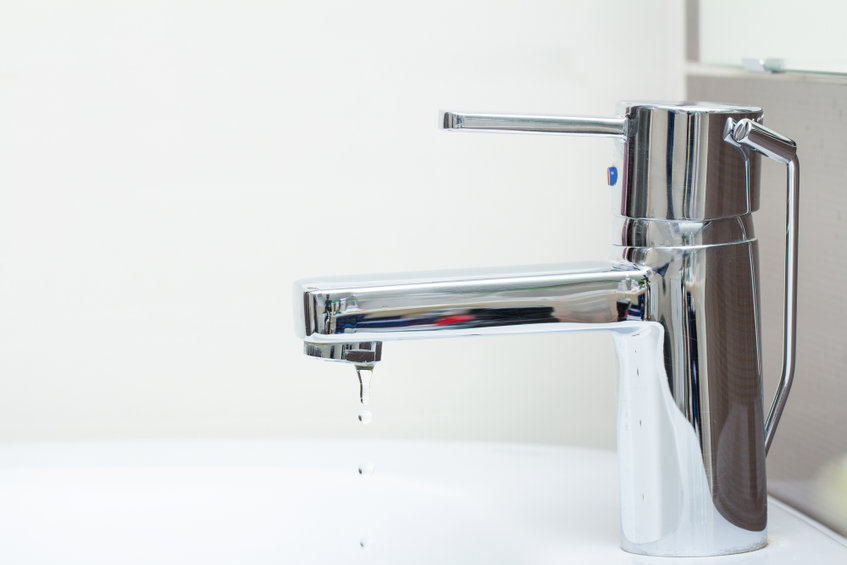
Attaching a faucet to a kitchen sink may seem like a daunting task, but with the right tools and knowledge, it can be a simple and rewarding DIY project. In this article, we will guide you through the process of attaching a faucet to your kitchen sink, step-by-step.1. How to Attach a Faucet to a Kitchen Sink


1. How to Attach a Faucet to a Kitchen Sink


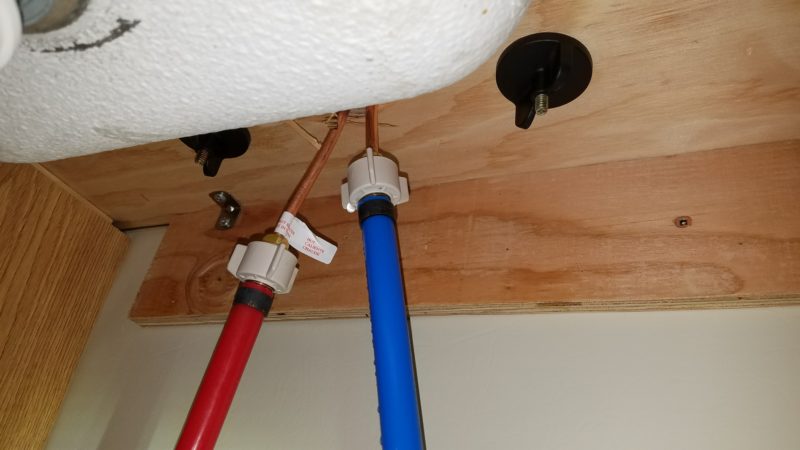

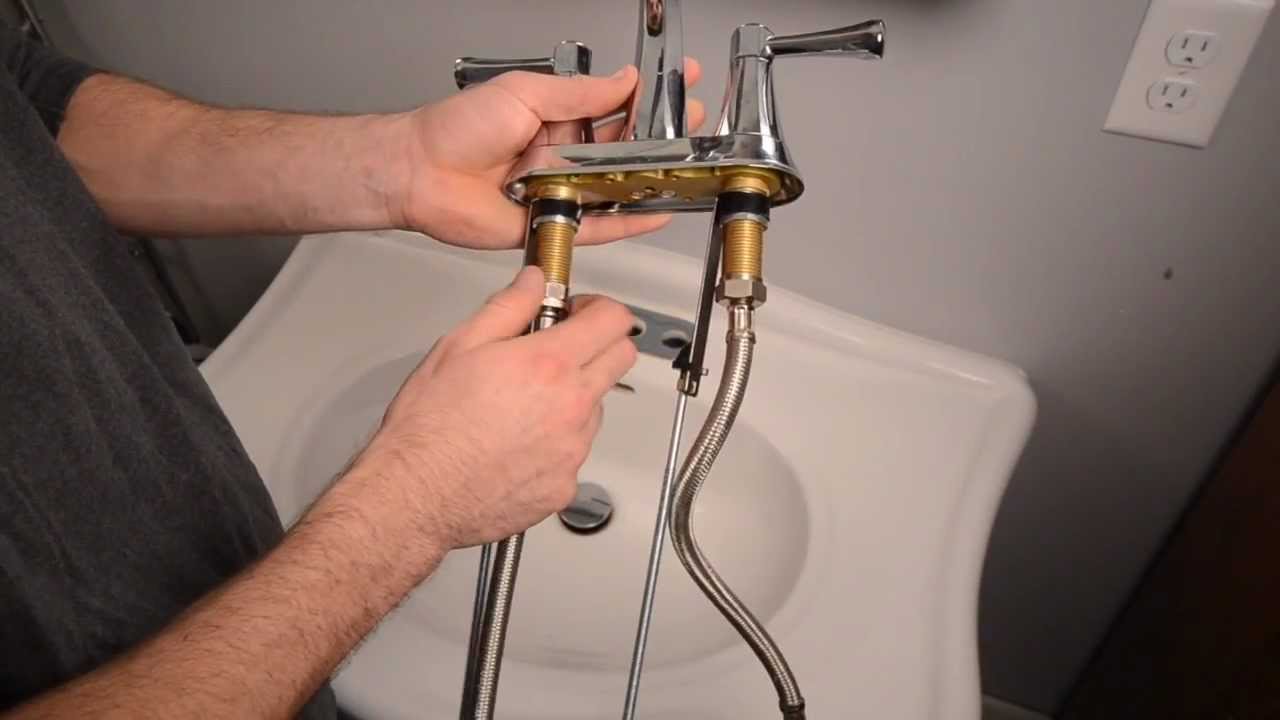


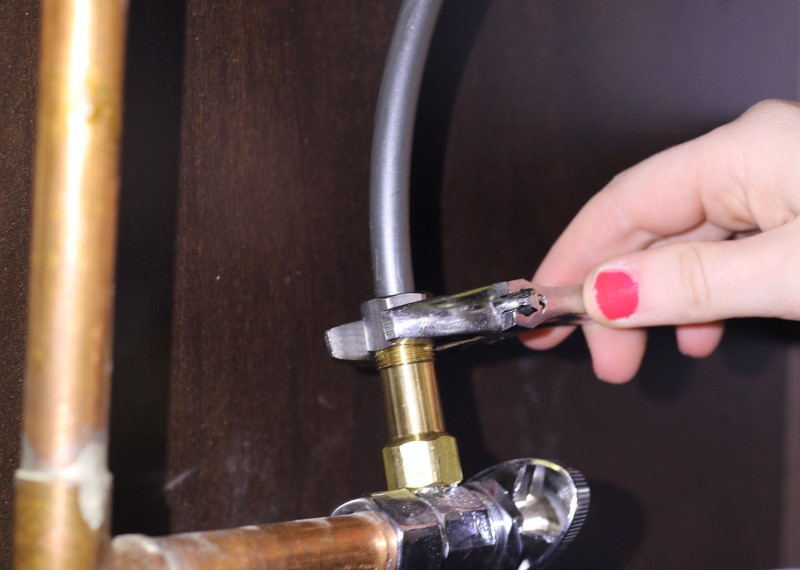
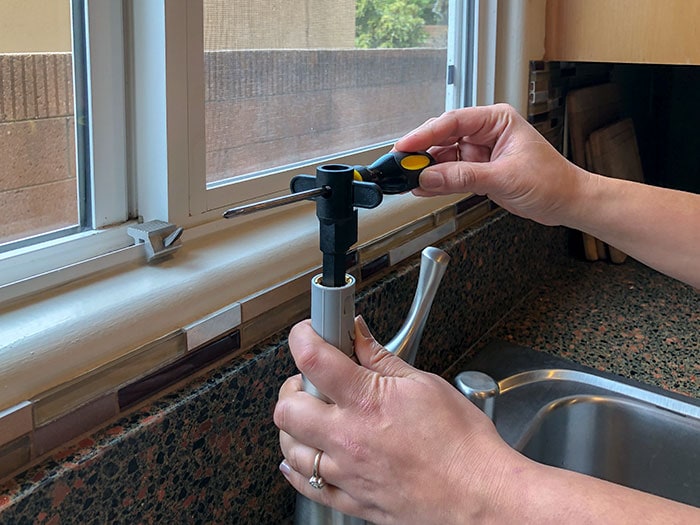
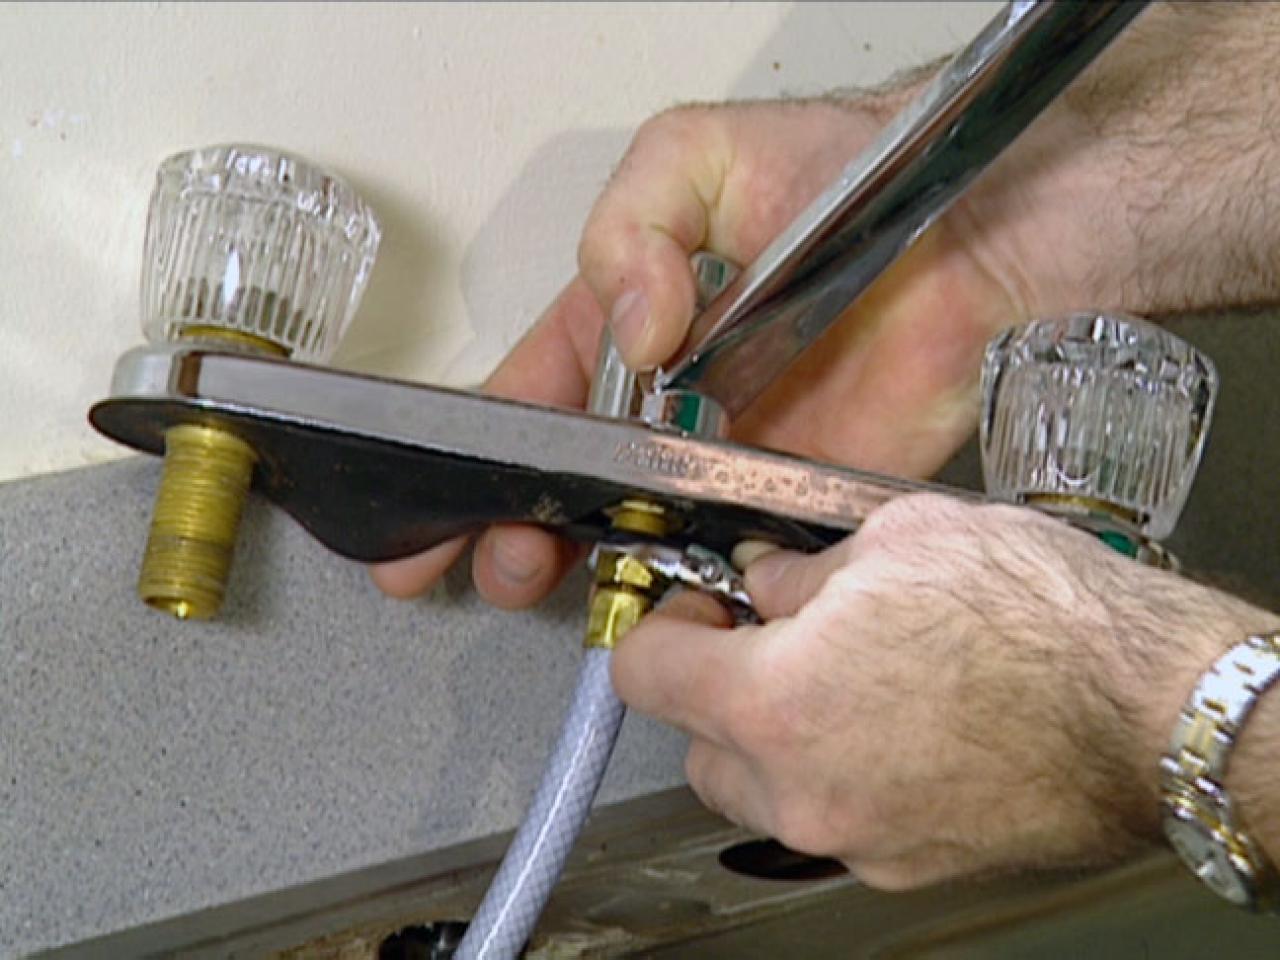
Before beginning, make sure to turn off the water supply to your sink. This can usually be done by turning off the shut-off valves located under the sink. Once the water is turned off, follow these steps: Step 1: Remove the old faucet (if applicable) by unscrewing the mounting nuts and disconnecting the water supply lines. Step 2: Clean the area around the mounting holes on the sink to ensure a smooth and secure attachment. Step 3: Place the rubber or plastic gasket provided with your new faucet onto the bottom of the faucet. Step 4: Insert the faucet into the mounting holes on the sink, making sure it is centered and straight. Step 5: From under the sink, place the mounting nuts onto the faucet and tighten them with a wrench. Step 6: Connect the water supply lines to the corresponding hot and cold water inlets on the faucet. Step 7: Turn the water supply back on and test the faucet for any leaks. Step 8: If there are no leaks, secure the faucet in place by tightening the mounting nuts further. Congratulations, you have successfully attached a faucet to your kitchen sink!2. Step-by-Step Guide for Attaching a Faucet to a Kitchen Sink


2. Step-by-Step Guide for Attaching a Faucet to a Kitchen Sink


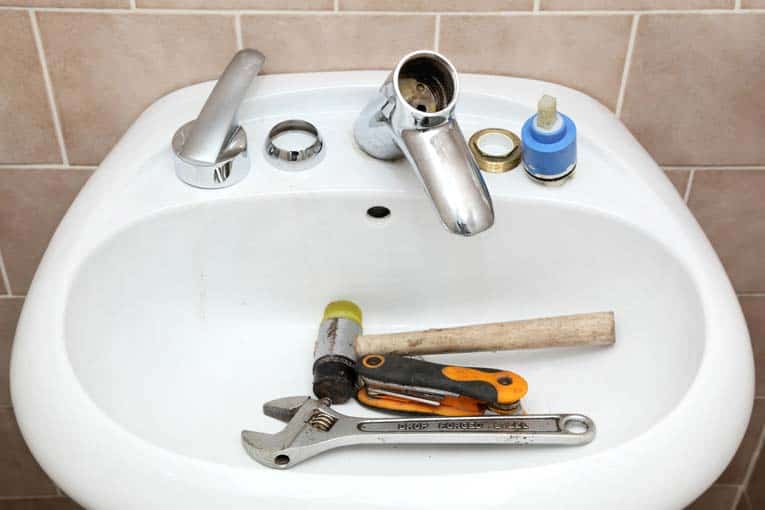
Before beginning the process, make sure you have the following tools and materials: Tools:3. Tools and Materials Needed for Attaching a Faucet to a Kitchen Sink


3. Tools and Materials Needed for Attaching a Faucet to a Kitchen Sink


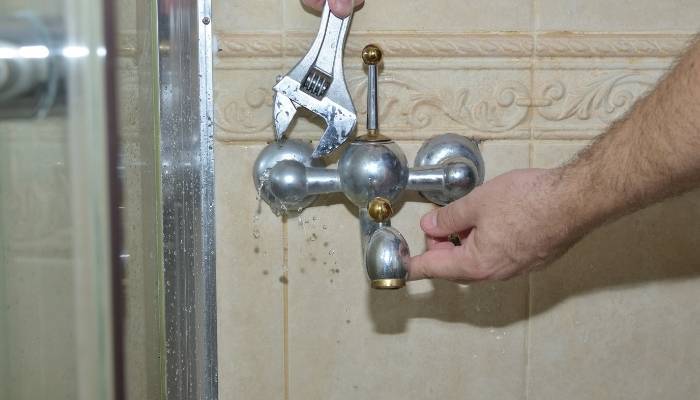
While attaching a faucet to a kitchen sink may seem straightforward, there are a few common mistakes that can be easily avoided: Mistake 1: Not turning off the water supply before beginning the process. Mistake 2: Not cleaning the area around the mounting holes on the sink, resulting in an unstable attachment. Mistake 3: Over-tightening the mounting nuts, which can cause damage to the faucet or sink. Mistake 4: Not securing the faucet in place, resulting in a wobbly faucet. Mistake 5: Forgetting to test for leaks before fully securing the faucet in place.4. Common Mistakes to Avoid When Attaching a Faucet to a Kitchen Sink


4. Common Mistakes to Avoid When Attaching a Faucet to a Kitchen Sink


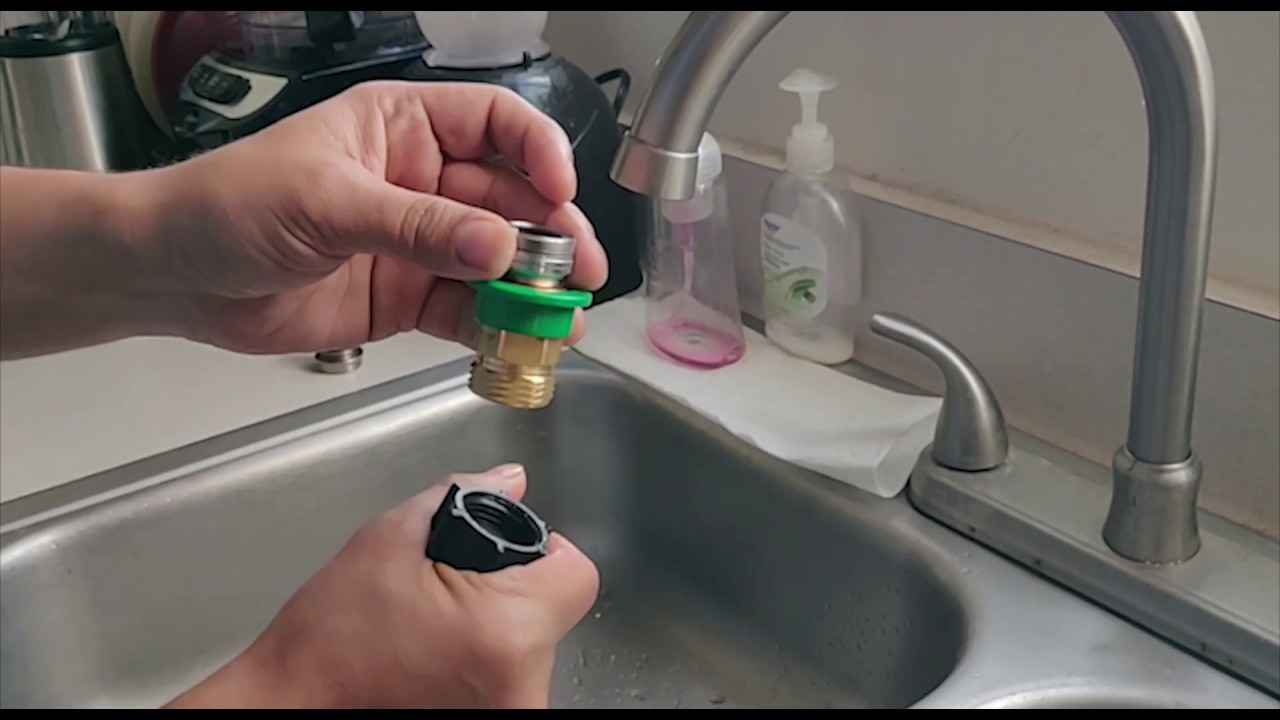
To ensure a successful and hassle-free attachment of your faucet to the kitchen sink, here are a few tips to keep in mind: Tip 1: Read the manufacturer's instructions carefully before beginning the process. Tip 2: Use Teflon tape on the water supply line connections to prevent leaks. Tip 3: Have a bucket or bowl handy to catch any water that may come out of the supply lines when disconnecting them. Tip 4: Test the faucet for both hot and cold water to ensure proper functionality.5. Tips for a Successful Faucet Attachment to a Kitchen Sink


5. Tips for a Successful Faucet Attachment to a Kitchen Sink


If you prefer a visual guide, there are many helpful video tutorials available online that can guide you through the process of attaching a faucet to a kitchen sink. Make sure to follow a reputable and trusted source for accurate information.6. Video Tutorial: Attaching a Faucet to a Kitchen Sink


6. Video Tutorial: Attaching a Faucet to a Kitchen Sink


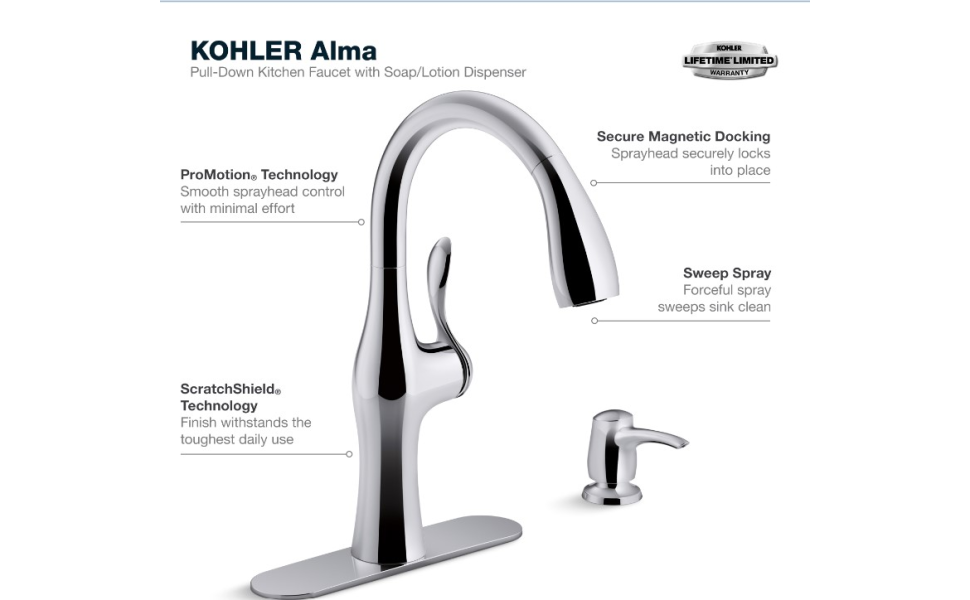
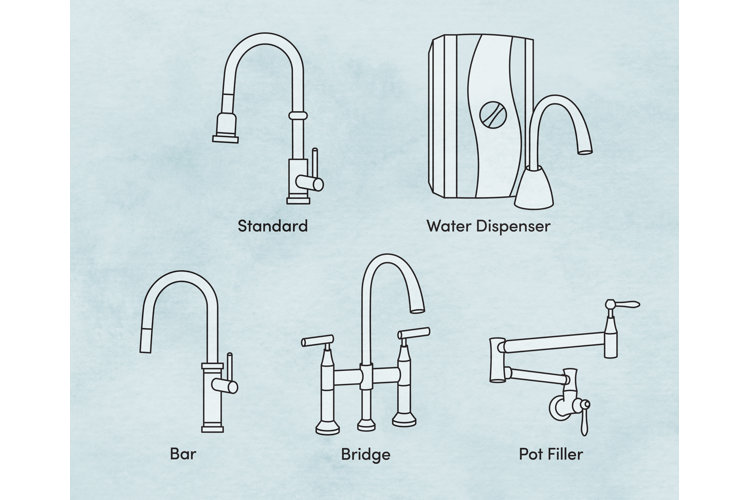
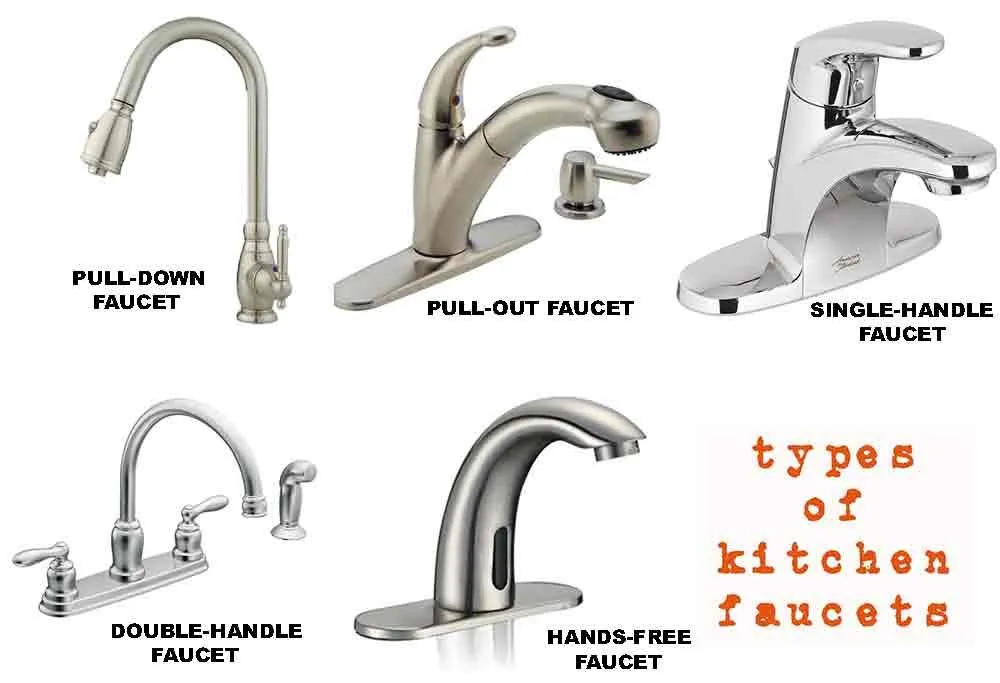
There are various types of faucets available in the market, such as single-handle, double-handle, pull-down, and pull-out faucets. While the basic process of attaching them to a kitchen sink remains the same, make sure to read the manufacturer's instructions for any specific steps or requirements for your chosen faucet type.7. Different Types of Faucets and How to Attach Them to a Kitchen Sink


7. Different Types of Faucets and How to Attach Them to a Kitchen Sink


If you encounter any issues during the process of attaching a faucet to your kitchen sink, here are a few common problems and their solutions: Issue 1: Leaks from the water supply connections. Solution: Check if the connections are tightened properly and use Teflon tape if necessary. Issue 2: Wobbly faucet. Solution: Make sure the faucet is centered and properly secured in place with the mounting nuts. Issue 3: Low water pressure. Solution: Check if the water supply lines are connected properly and not kinked. If the problem persists, there may be an issue with the faucet itself.8. Troubleshooting: Common Issues When Attaching a Faucet to a Kitchen Sink


8. Troubleshooting: Common Issues When Attaching a Faucet to a Kitchen Sink


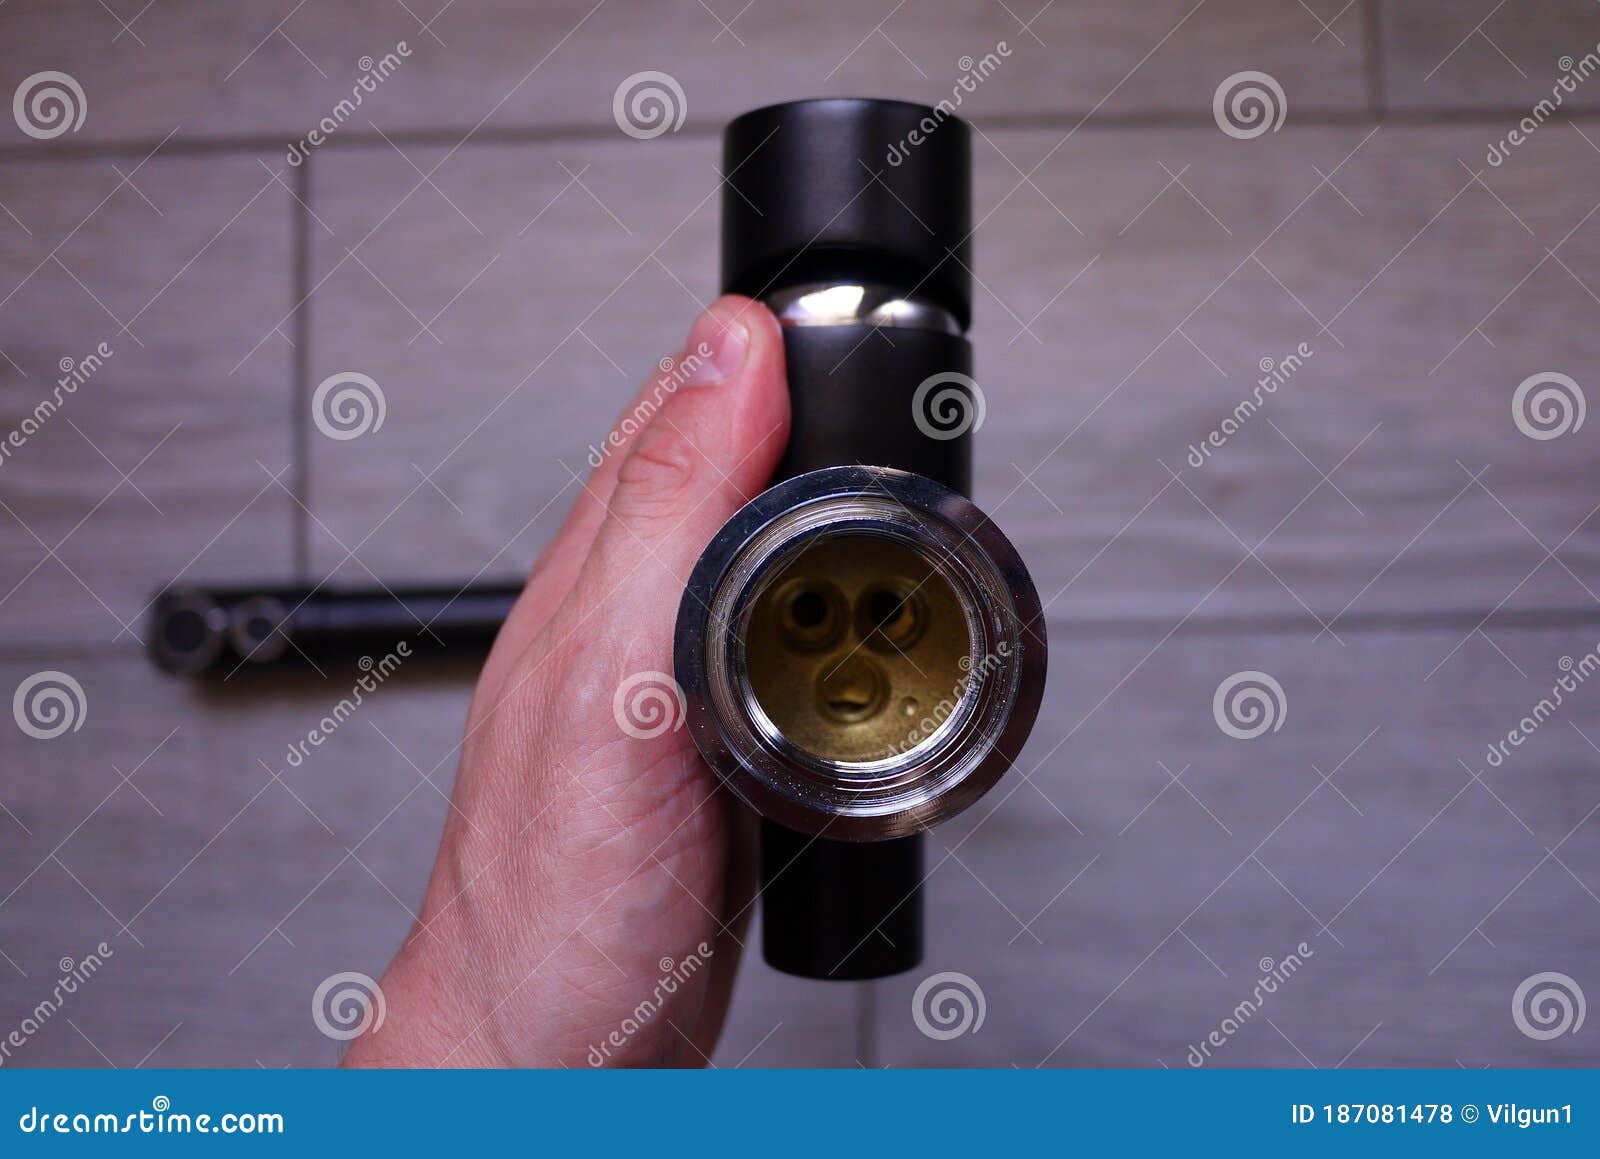
If you are replacing an old faucet with a new one, the process is similar to attaching a new faucet. However, make sure to properly disconnect and remove the old faucet before beginning the attachment process. Step 1: Turn off the water supply and disconnect the water supply lines from the old faucet. Step 2: Remove the mounting nuts and lift the old faucet out of the sink. Step 3: Clean the area around the mounting holes on the sink before attaching the new faucet.9. How to Remove and Replace an Old Faucet on a Kitchen Sink


9. How to Remove and Replace an Old Faucet on a Kitchen Sink


While attaching a faucet to a kitchen sink can be a satisfying DIY project, it may not be suitable for everyone. Here are some pros and cons to consider: Pros of DIY:10. Professional vs DIY: Pros and Cons of Attaching a Faucet to a Kitchen Sink


10. Professional vs DIY: Pros and Cons of Attaching a Faucet to a Kitchen Sink

:max_bytes(150000):strip_icc()/Kohler_KitchenFaucets_05-f2030f6922254c7baa371847f0aff7f8.jpg)


Why You Should Consider Attaching a Faucet to Your Kitchen Sink

The Importance of a Functional Faucet in Your Kitchen Design
 When it comes to designing your dream kitchen, every detail matters. From the countertops to the cabinets, homeowners spend a lot of time and money making sure everything is perfect. However, one crucial element that is often overlooked is the
faucet
. A faucet is not only a functional necessity, but it also adds to the overall aesthetic of your kitchen. Attaching a faucet to your kitchen sink is a simple yet impactful way to elevate your kitchen design.
When it comes to designing your dream kitchen, every detail matters. From the countertops to the cabinets, homeowners spend a lot of time and money making sure everything is perfect. However, one crucial element that is often overlooked is the
faucet
. A faucet is not only a functional necessity, but it also adds to the overall aesthetic of your kitchen. Attaching a faucet to your kitchen sink is a simple yet impactful way to elevate your kitchen design.
Benefits of Attaching a Faucet to Your Kitchen Sink
 A faucet is one of the most used fixtures in a kitchen, making it an essential part of your daily routine. By attaching a faucet to your kitchen sink, you can enjoy the following benefits:
1. Improved Functionality:
A faucet that is attached to your kitchen sink allows for easier access to water, making everyday tasks like cooking and cleaning more efficient.
2. Saves Space:
By attaching the faucet directly to the sink, you can free up counter space that would otherwise be occupied by a separate faucet fixture.
3. Seamless Design:
Attaching the faucet to the sink creates a more cohesive look, giving your kitchen a more streamlined and polished appearance.
A faucet is one of the most used fixtures in a kitchen, making it an essential part of your daily routine. By attaching a faucet to your kitchen sink, you can enjoy the following benefits:
1. Improved Functionality:
A faucet that is attached to your kitchen sink allows for easier access to water, making everyday tasks like cooking and cleaning more efficient.
2. Saves Space:
By attaching the faucet directly to the sink, you can free up counter space that would otherwise be occupied by a separate faucet fixture.
3. Seamless Design:
Attaching the faucet to the sink creates a more cohesive look, giving your kitchen a more streamlined and polished appearance.
How to Attach a Faucet to Your Kitchen Sink
 Attaching a faucet to your kitchen sink may seem like a daunting task, but with the right tools and a little bit of knowledge, it can be a simple DIY project. Here are the steps to follow:
1. Gather Supplies:
You will need a new faucet, a basin wrench, plumber's putty, and Teflon tape.
2. Shut Off Water Supply:
Before starting any work, make sure to turn off the water supply to your sink.
3. Remove Old Faucet:
Using a basin wrench, loosen and remove the old faucet from the sink.
4. Install New Faucet:
Follow the manufacturer's instructions to install the new faucet, making sure to use plumber's putty and Teflon tape for a secure and leak-free attachment.
5. Turn On Water Supply:
Once the new faucet is securely attached, turn the water supply back on and test for any leaks.
Attaching a faucet to your kitchen sink may seem like a daunting task, but with the right tools and a little bit of knowledge, it can be a simple DIY project. Here are the steps to follow:
1. Gather Supplies:
You will need a new faucet, a basin wrench, plumber's putty, and Teflon tape.
2. Shut Off Water Supply:
Before starting any work, make sure to turn off the water supply to your sink.
3. Remove Old Faucet:
Using a basin wrench, loosen and remove the old faucet from the sink.
4. Install New Faucet:
Follow the manufacturer's instructions to install the new faucet, making sure to use plumber's putty and Teflon tape for a secure and leak-free attachment.
5. Turn On Water Supply:
Once the new faucet is securely attached, turn the water supply back on and test for any leaks.
In Conclusion
 Attaching a faucet to your kitchen sink may seem like a small detail, but it can have a big impact on the overall design and functionality of your kitchen. By following these simple steps, you can easily upgrade your kitchen and enjoy the benefits of a well-attached faucet. Don't overlook this important element in your kitchen design and make sure to choose a faucet that not only looks great but also meets your functional needs.


