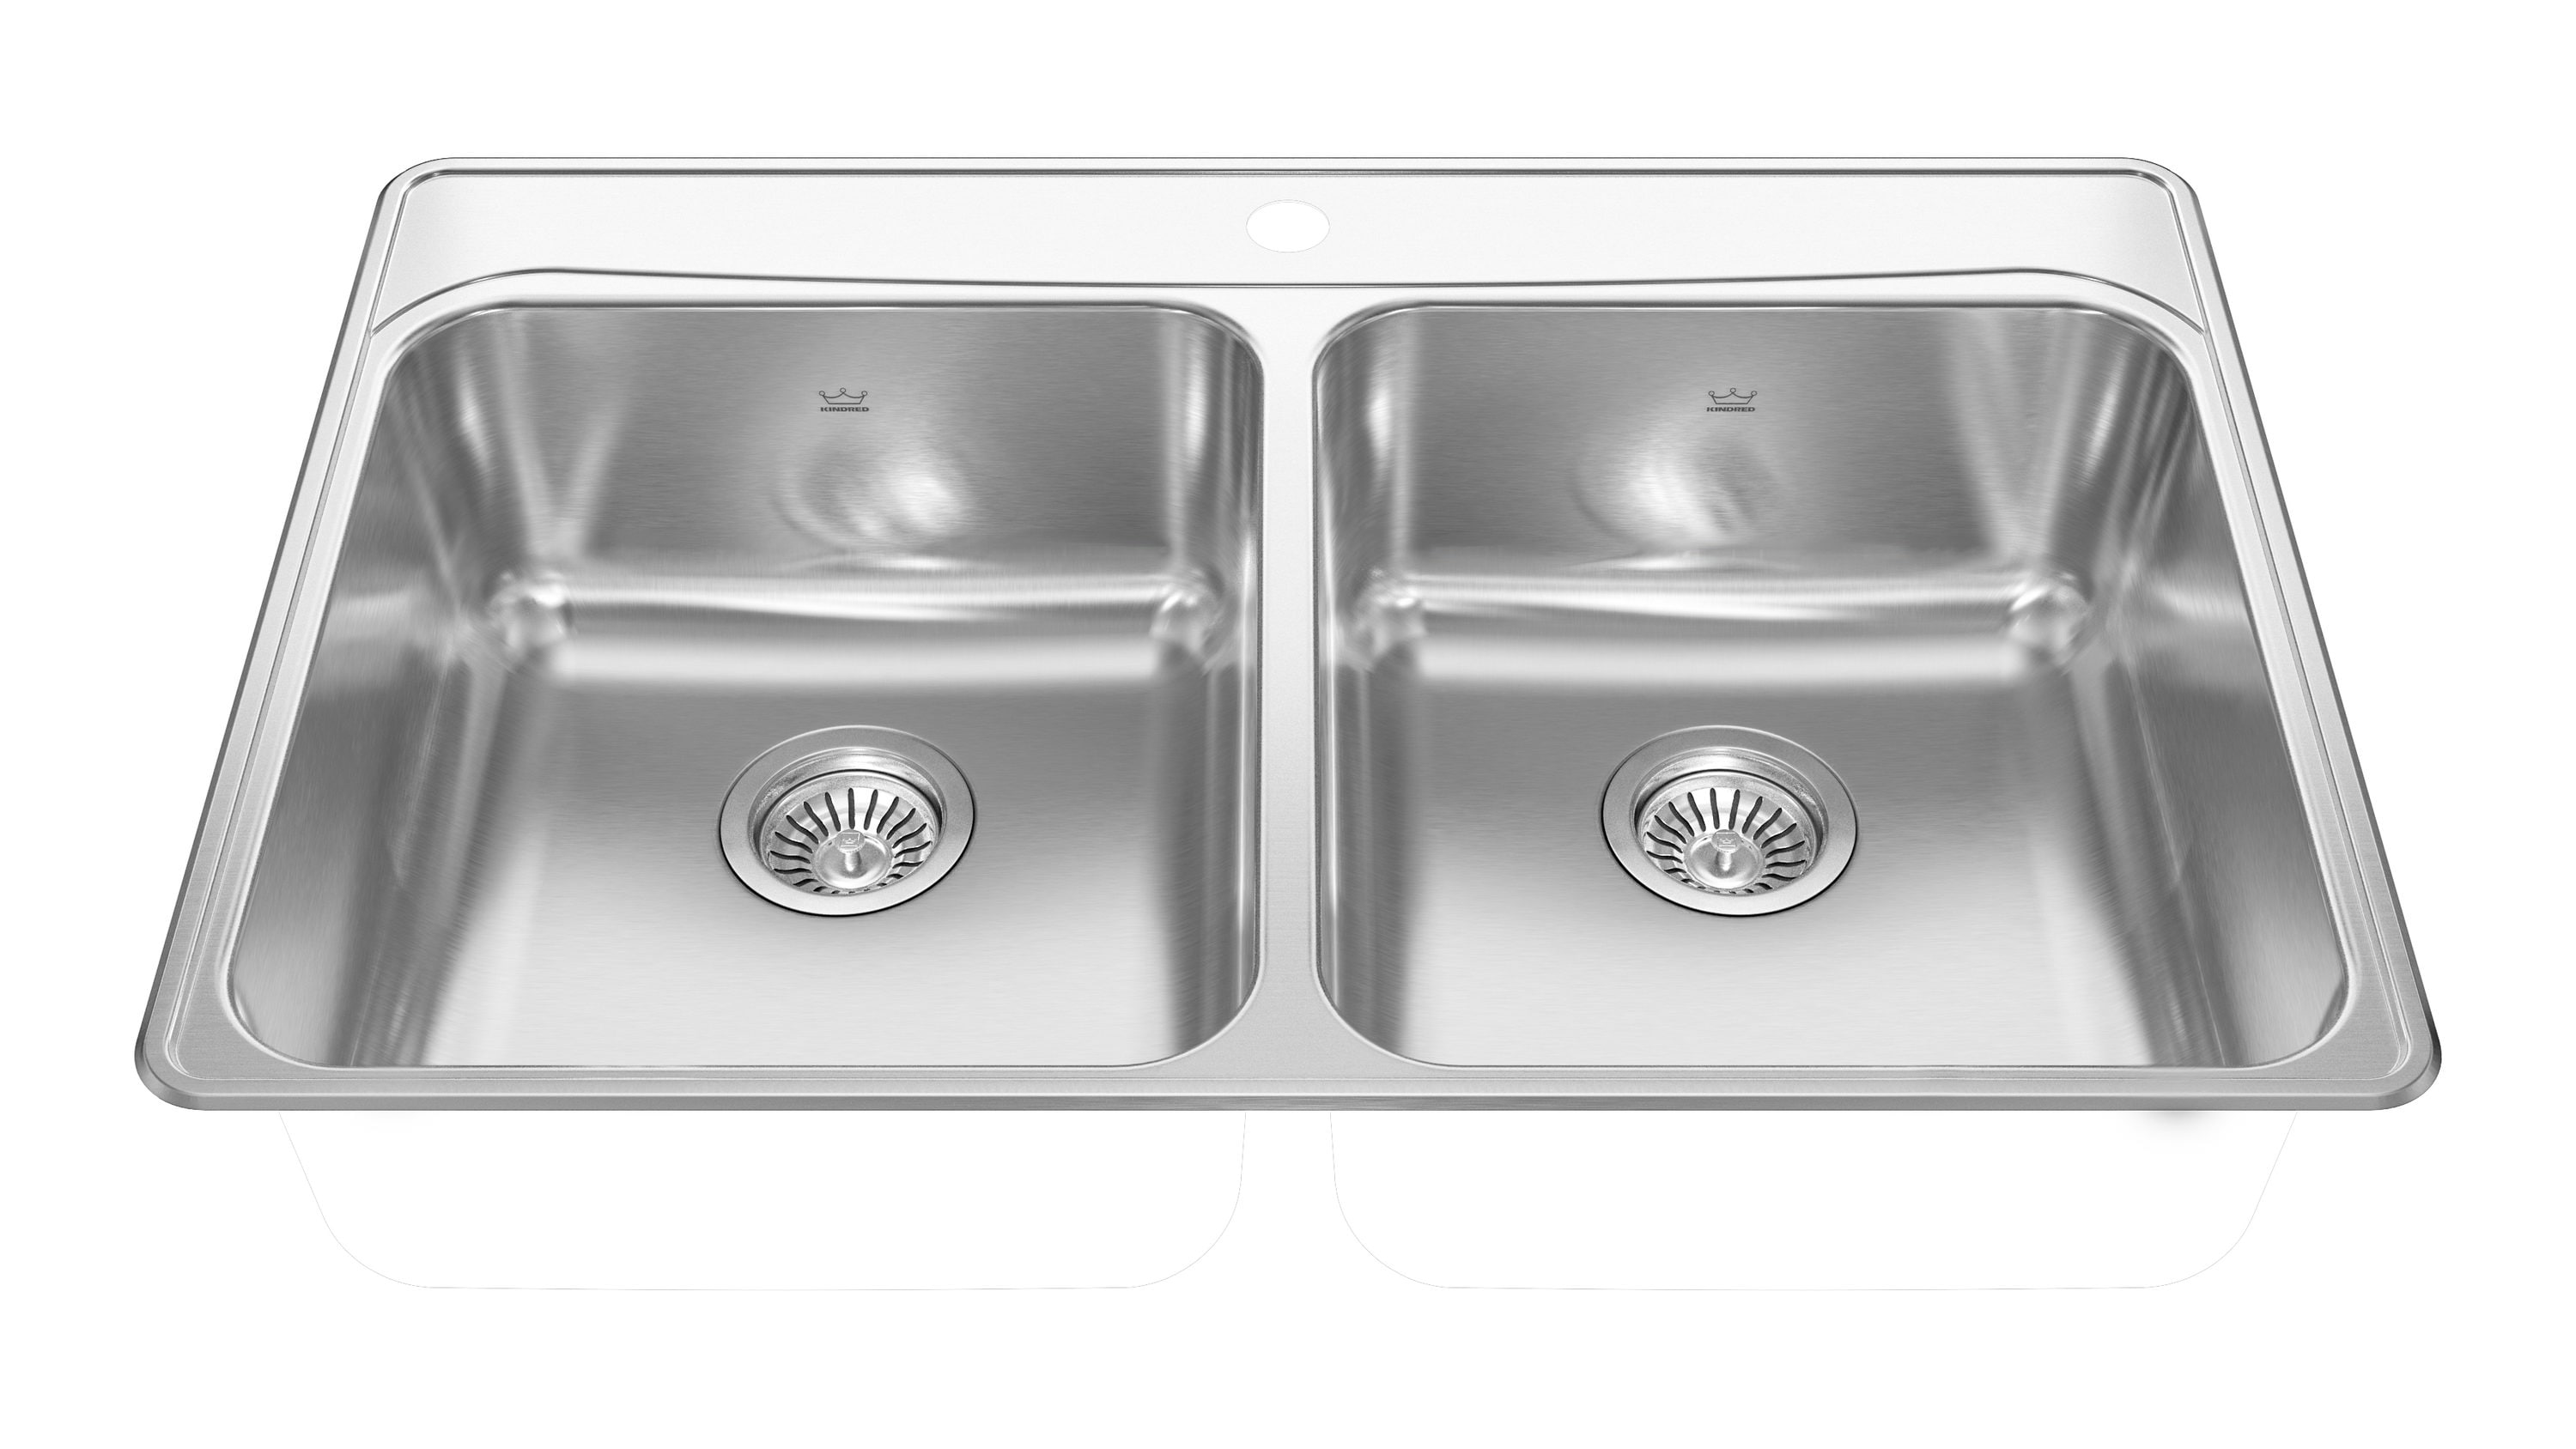
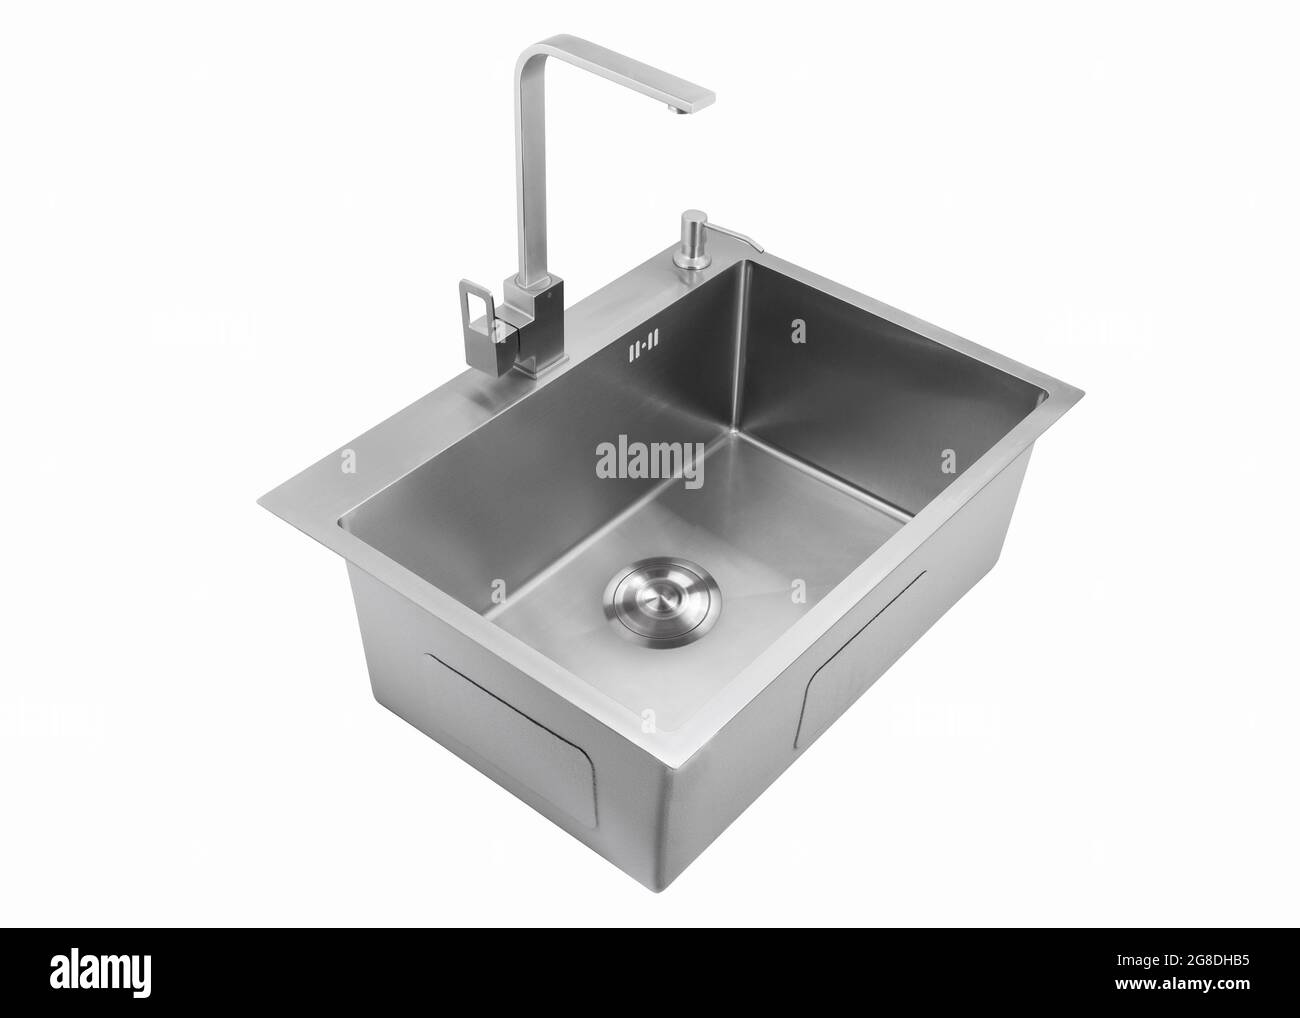
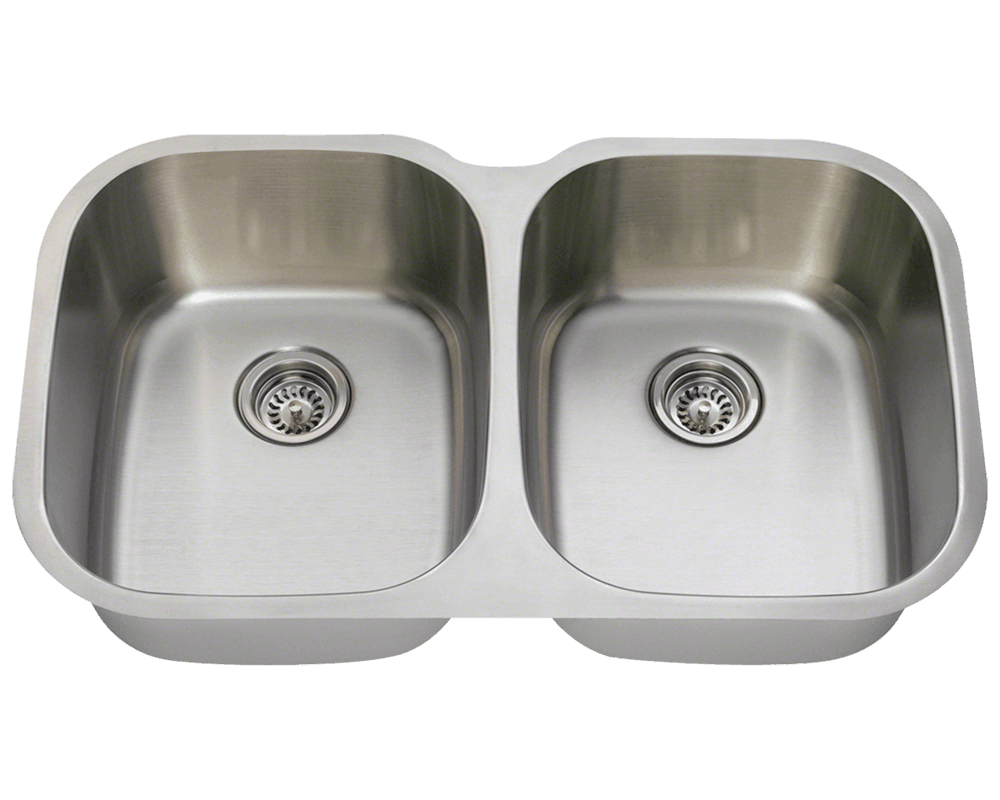
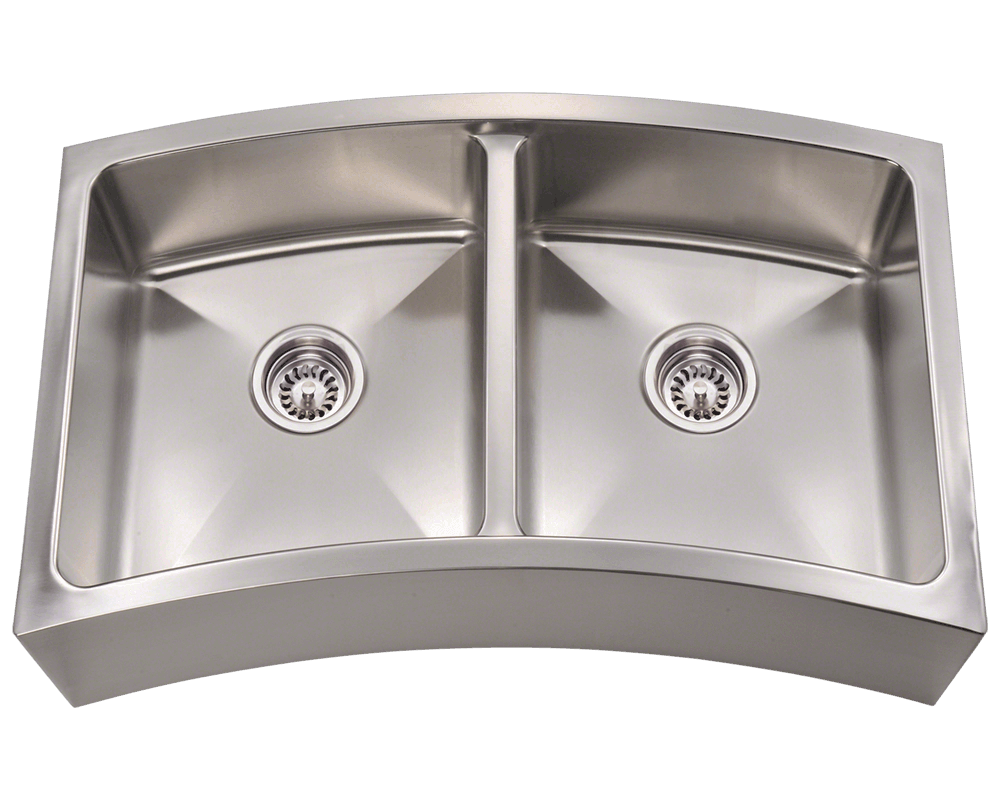
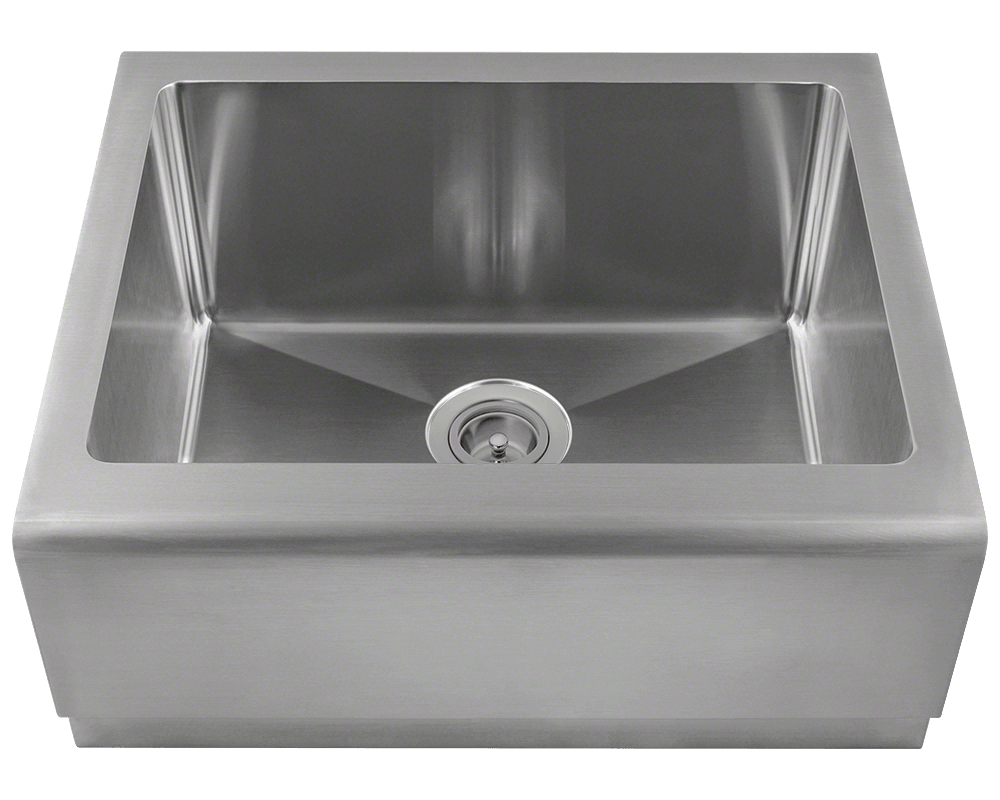
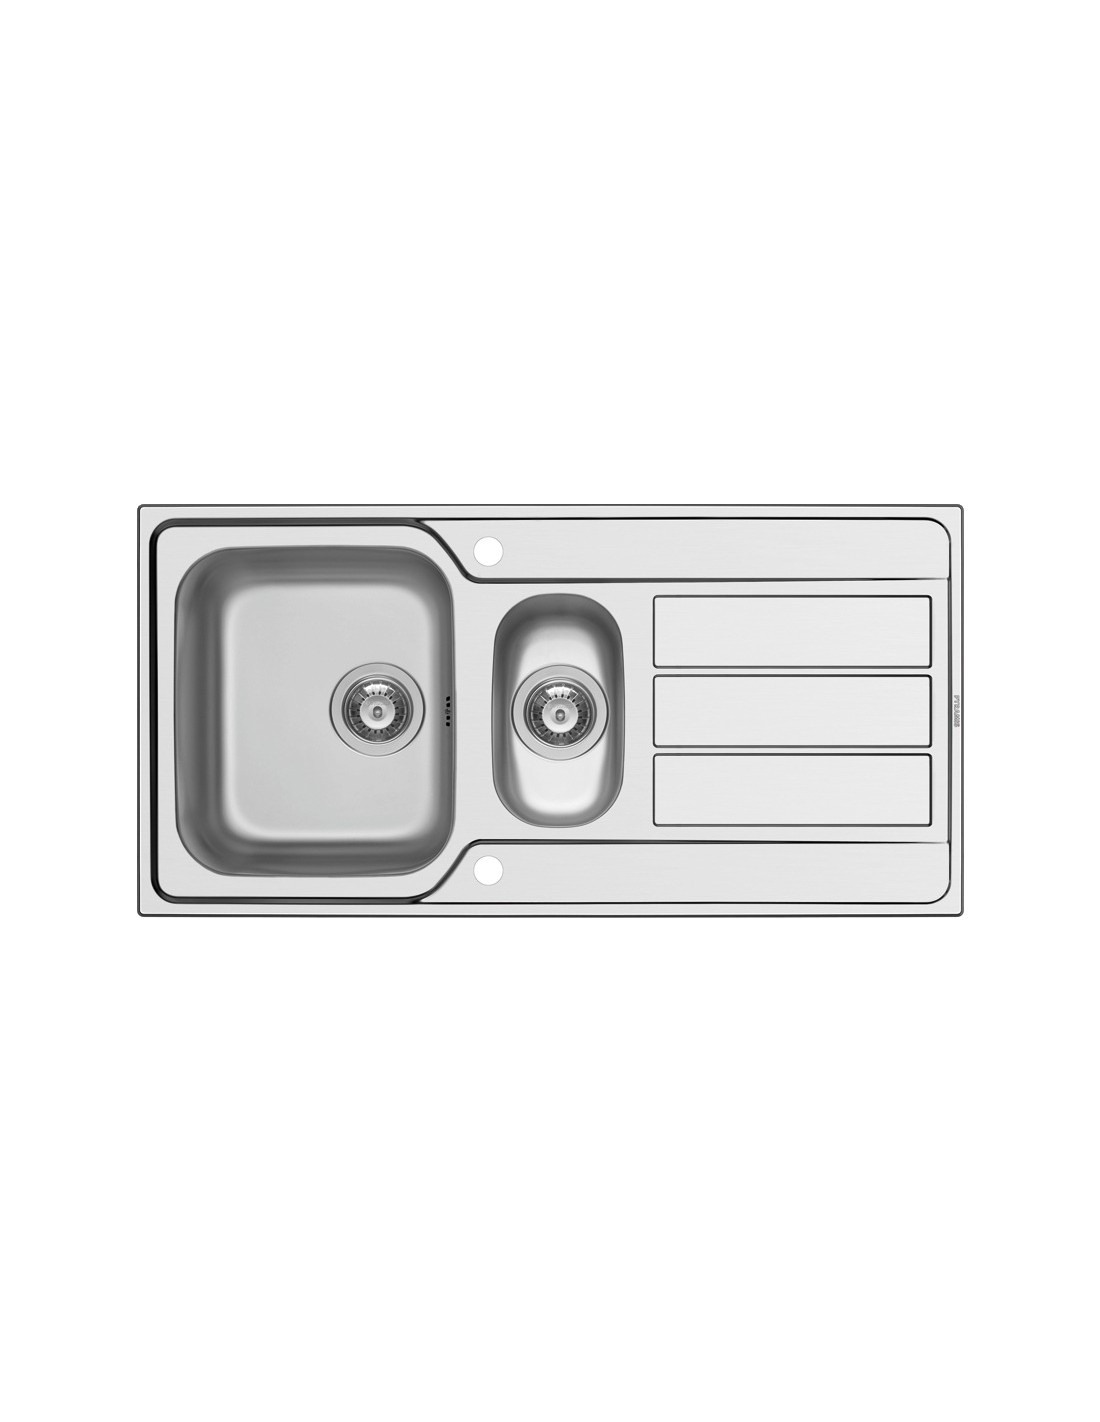
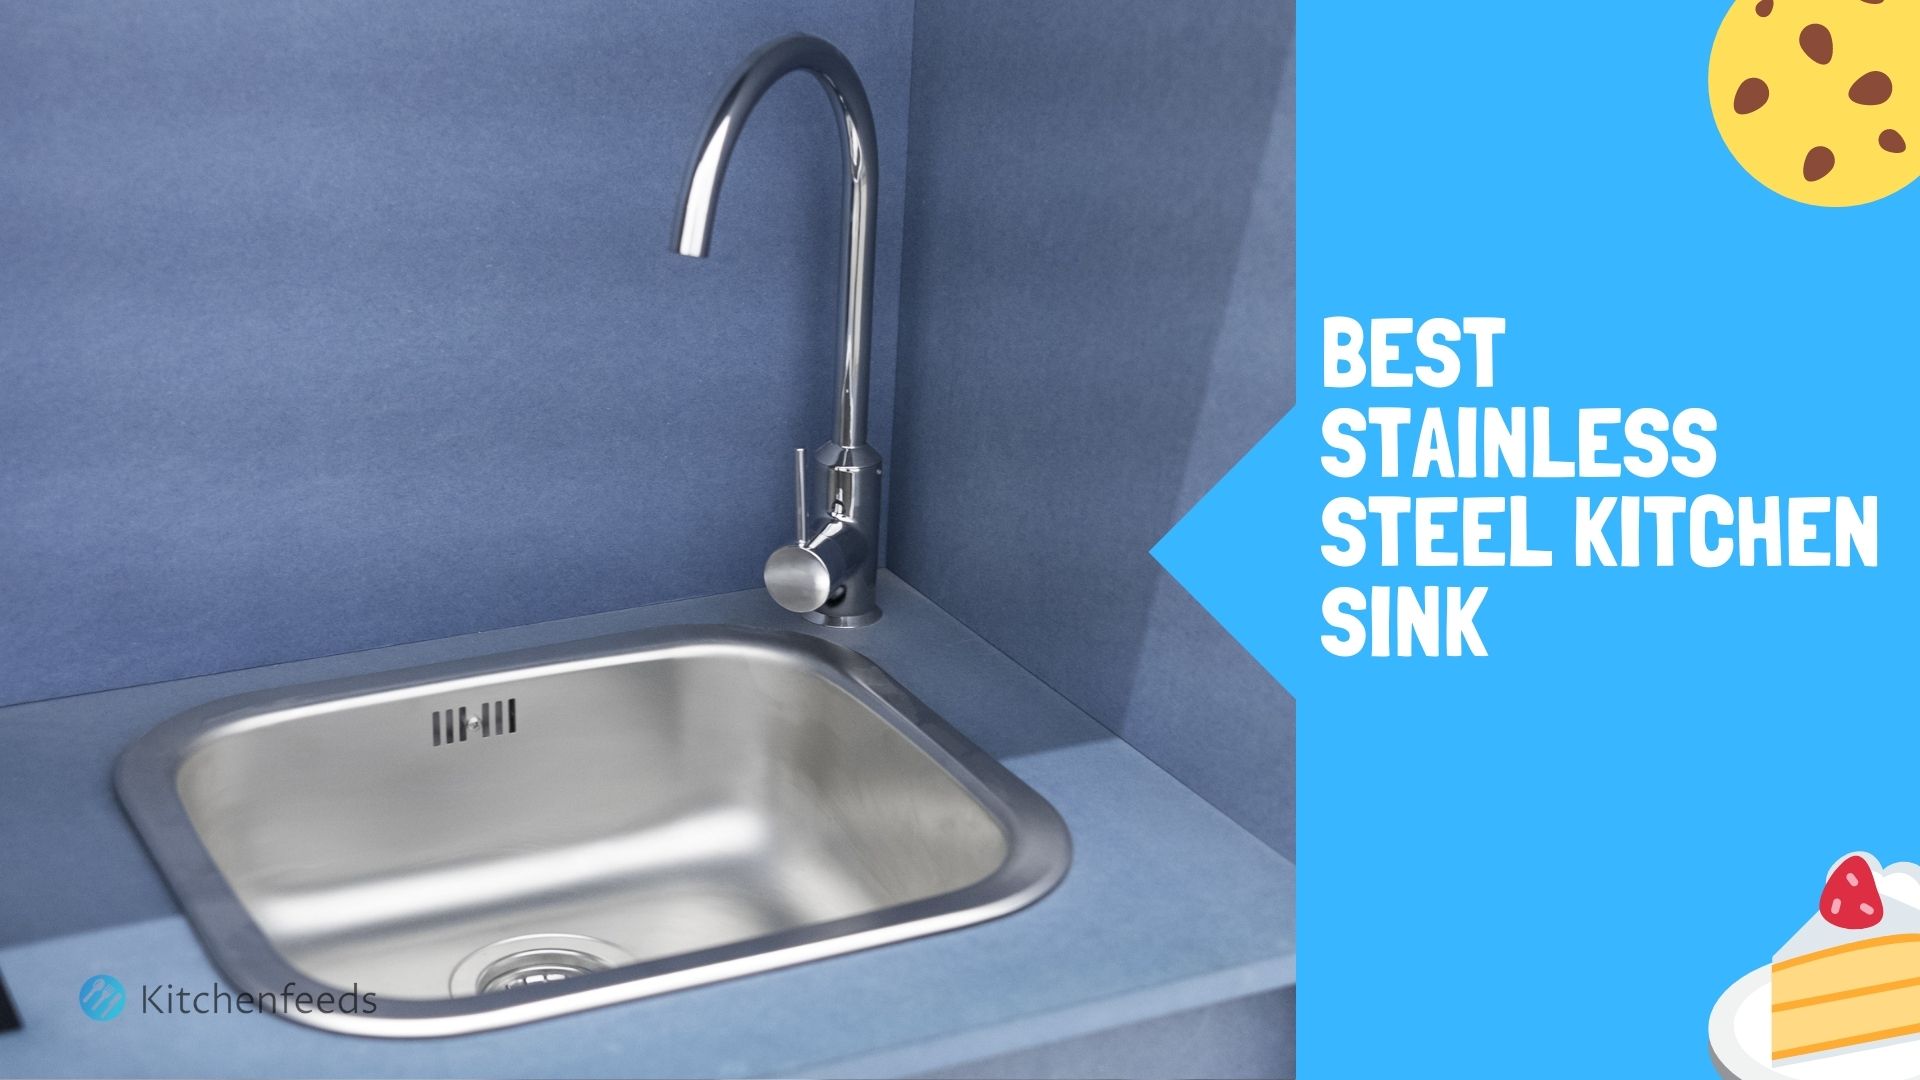
If you're tired of your old kitchen sink and looking to upgrade to a sleek and modern stainless steel sink, you may be wondering how to attach legs to it. The good news is, attaching legs to a stainless steel kitchen sink is a relatively simple process that can be completed in just a few easy steps. First, make sure you have all the necessary tools and materials on hand. This includes a drill, screws, a wrench, and of course, the legs. Once you have everything you need, follow this step-by-step guide to successfully attach legs to your stainless steel kitchen sink.1. How to Attach Legs to a Stainless Steel Kitchen Sink


1. How to Attach Legs to a Stainless Steel Kitchen Sink


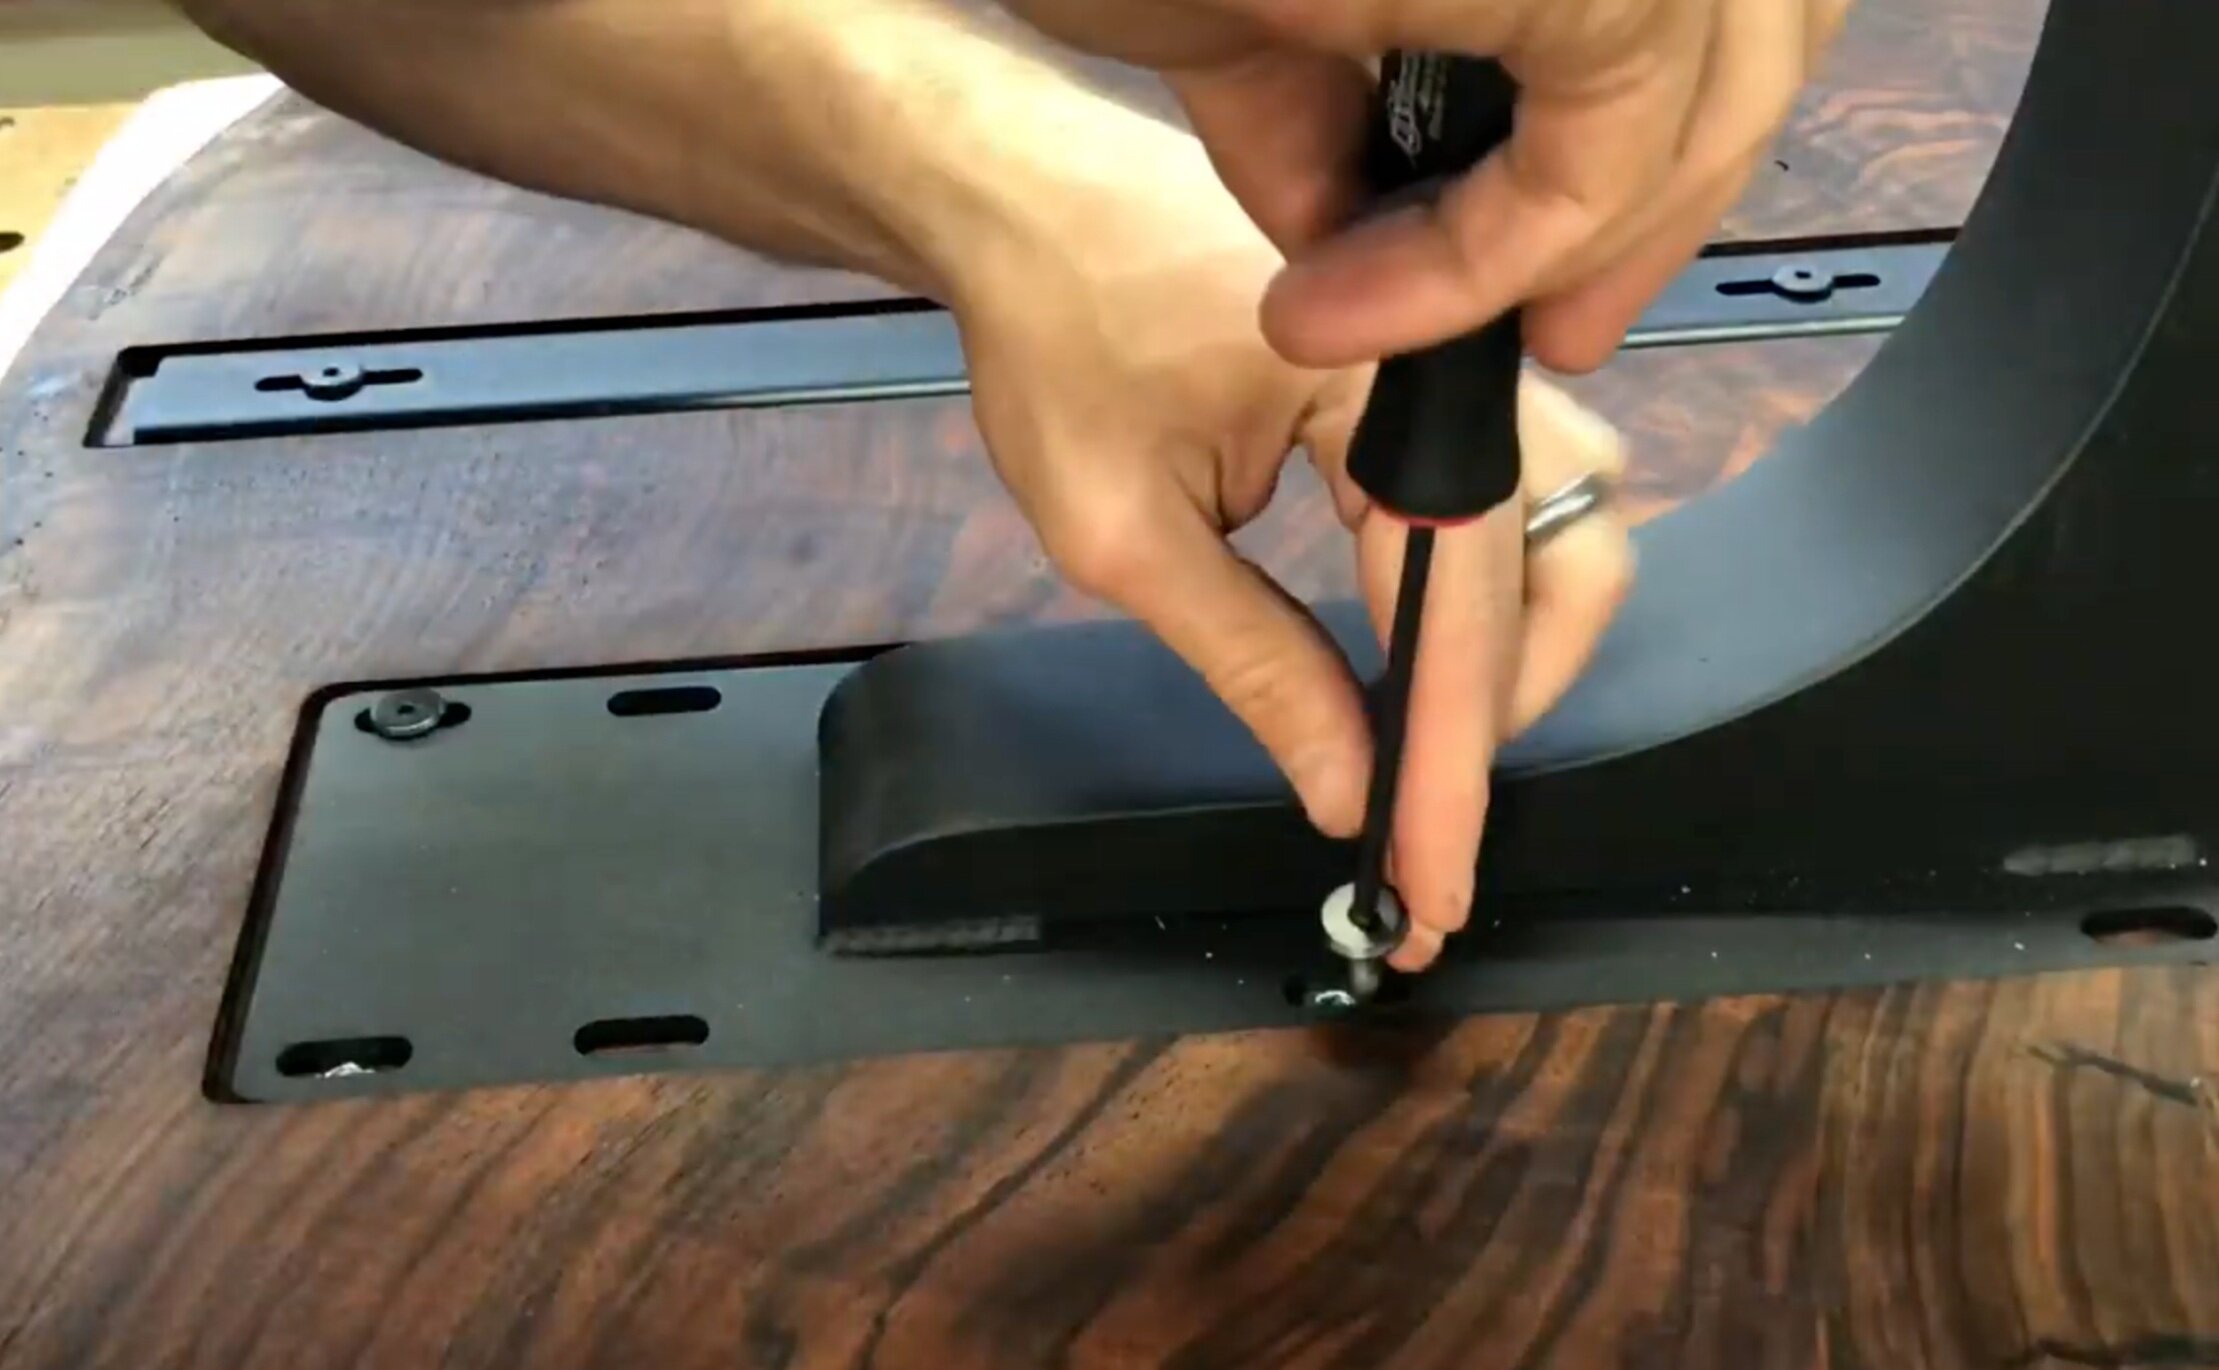
Step 1: Begin by flipping your sink upside down and placing it on a stable surface. This will give you better access to the bottom of the sink where the legs will be attached. Step 2: Use a measuring tape to determine the placement of the legs. Keep in mind that the legs should be placed evenly and in the corners of the sink for maximum stability. Step 3: Once you have determined the placement, use a marker to make small dots where the screws will go. Step 4: Using a drill, make small pilot holes where you marked the dots. This will make it easier to screw in the legs. Step 5: Take the legs and screw them into the pilot holes using a wrench. Make sure they are securely attached. Step 6: Flip the sink back over and make sure it is stable. If the sink wobbles, adjust the legs until it is level.2. Step-by-Step Guide for Attaching Legs to a Stainless Steel Kitchen Sink


2. Step-by-Step Guide for Attaching Legs to a Stainless Steel Kitchen Sink


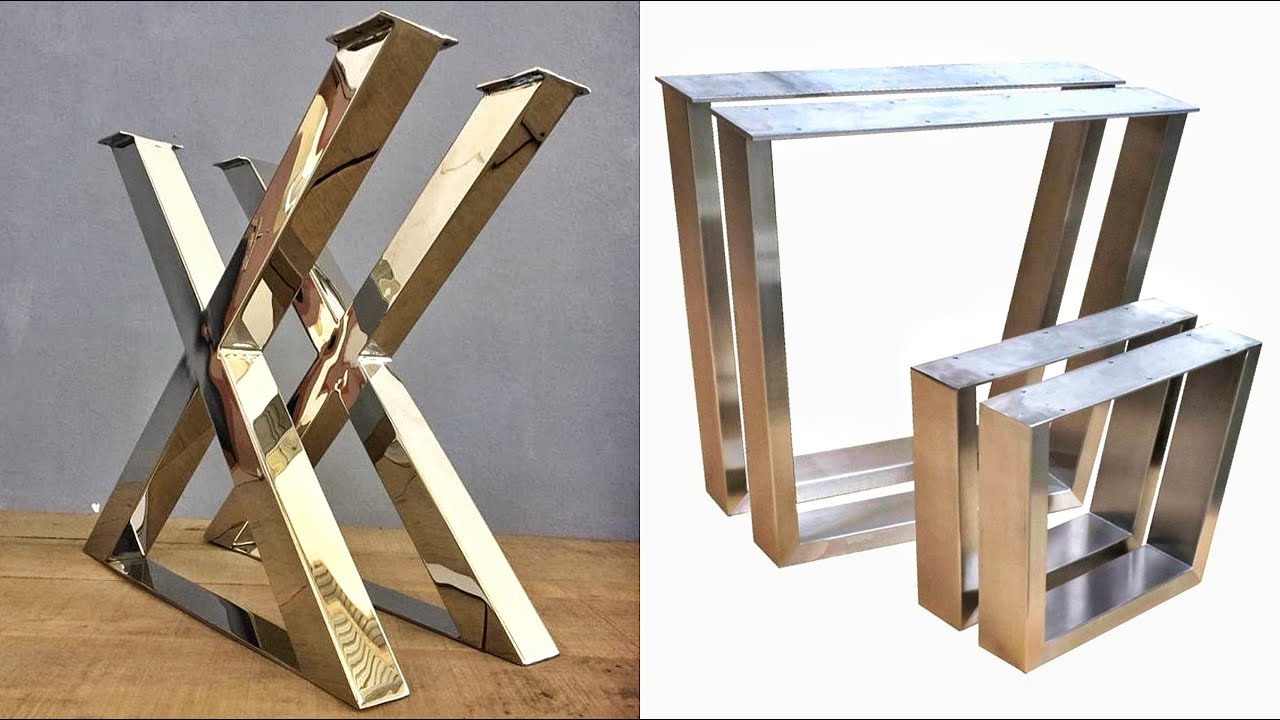
- Drill - Screws - Wrench - Measuring Tape - Marker - Legs3. Tools and Materials Needed to Attach Legs to a Stainless Steel Kitchen Sink


3. Tools and Materials Needed to Attach Legs to a Stainless Steel Kitchen Sink


- Double check the placement of the legs before drilling to avoid any mistakes. - Use a wrench to ensure the legs are tightly secured to the sink. - If the sink is still wobbly after attaching the legs, try adjusting the placement of the legs. - If you are unsure about drilling into your sink, consult a professional for assistance.4. Tips for Successfully Attaching Legs to a Stainless Steel Kitchen Sink

4. Tips for Successfully Attaching Legs to a Stainless Steel Kitchen Sink


- Not measuring properly and ending up with uneven legs. - Using the wrong size screws that may not securely hold the legs in place. - Forgetting to adjust the legs and ending up with a wobbly sink.5. Common Mistakes to Avoid When Attaching Legs to a Stainless Steel Kitchen Sink


5. Common Mistakes to Avoid When Attaching Legs to a Stainless Steel Kitchen Sink


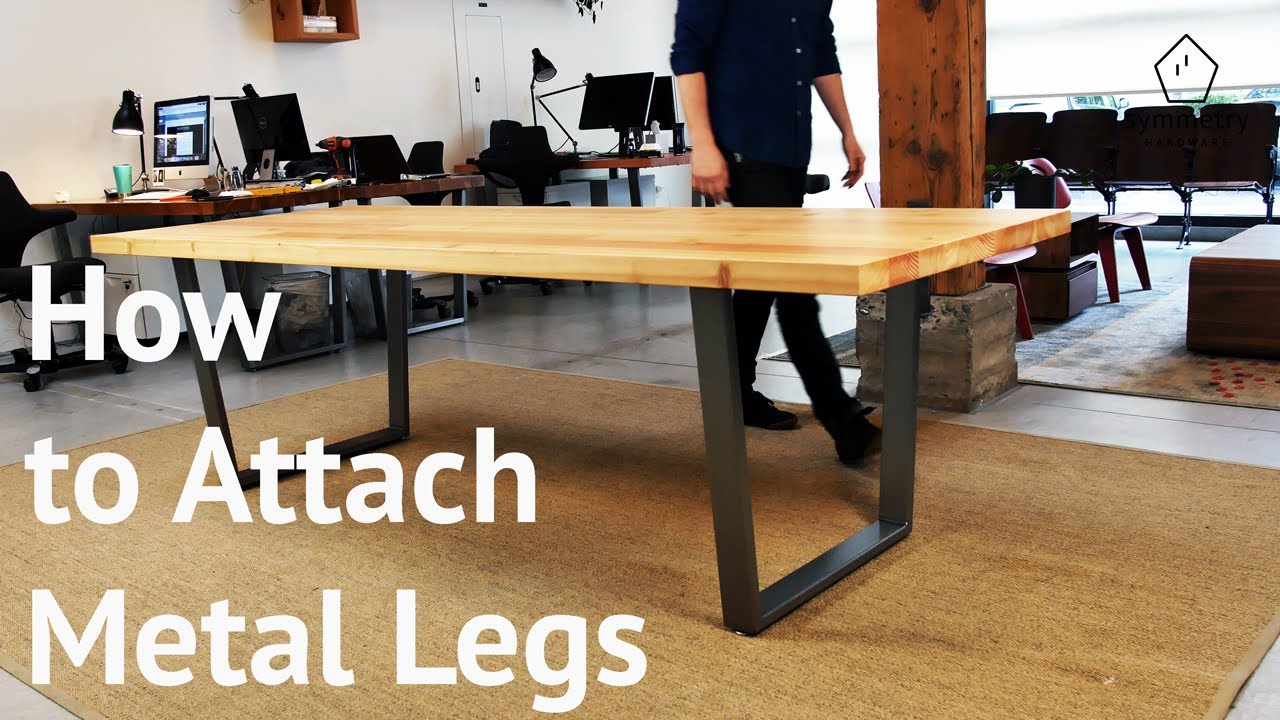
If you're a visual learner, check out this helpful video tutorial that walks you through the process of attaching legs to a stainless steel kitchen sink.6. Video Tutorial: Attaching Legs to a Stainless Steel Kitchen Sink


6. Video Tutorial: Attaching Legs to a Stainless Steel Kitchen Sink


Ensuring your sink legs are securely attached is important for the stability and longevity of your sink. Be sure to use the proper tools and materials and double check the placement and tightness of the legs before using your sink.7. How to Securely Attach Legs to a Stainless Steel Kitchen Sink

7. How to Securely Attach Legs to a Stainless Steel Kitchen Sink


- Use a drill bit specifically designed for stainless steel to avoid damaging the sink. - Use stainless steel screws to prevent rusting. - Make sure the legs are evenly placed and secured tightly to avoid any wobbling.8. Best Practices for Attaching Legs to a Stainless Steel Kitchen Sink

8. Best Practices for Attaching Legs to a Stainless Steel Kitchen Sink

If you encounter any issues while attaching legs to your stainless steel kitchen sink, such as wobbling or uneven legs, try adjusting the placement of the legs or seeking professional assistance.9. Troubleshooting: Issues with Attaching Legs to a Stainless Steel Kitchen Sink
9. Troubleshooting: Issues with Attaching Legs to a Stainless Steel Kitchen Sink


If drilling into your sink is not an option, there are alternative methods for attaching legs to a stainless steel kitchen sink. These include using adhesive or suction cups specifically designed for sinks. However, keep in mind that these methods may not provide as much stability as drilling in legs. With these tips and guidelines, you can easily attach legs to your stainless steel kitchen sink and achieve a sleek and modern look in your kitchen. Just be sure to take your time and follow the steps carefully for a successful installation.10. Alternative Methods for Attaching Legs to a Stainless Steel Kitchen Sink


10. Alternative Methods for Attaching Legs to a Stainless Steel Kitchen Sink

How to Properly Attach Legs to a Stainless Steel Kitchen Sink
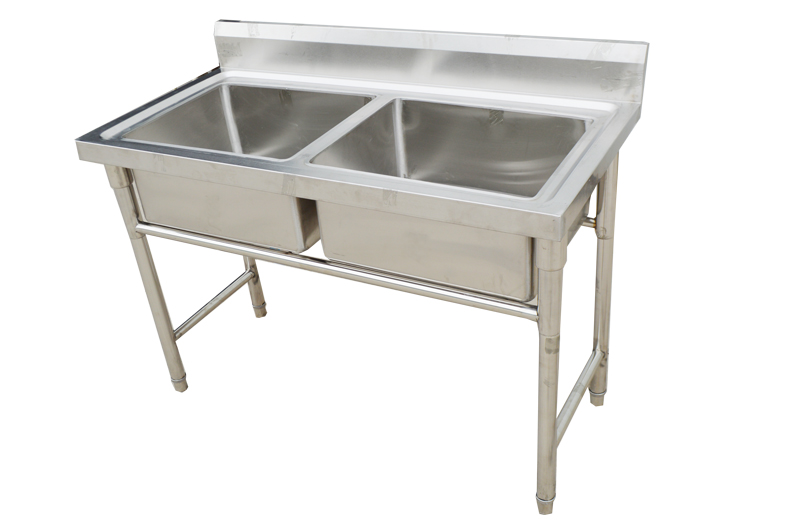
Why Add Legs to a Stainless Steel Kitchen Sink?
 Adding legs to a stainless steel kitchen sink can greatly improve the overall design and functionality of your kitchen. Not only does it elevate the sink, making it more comfortable to use, but it also provides valuable storage space underneath. This is especially useful in smaller kitchens where space is limited.
Materials Needed:
 Before we dive into the steps of attaching legs to a stainless steel kitchen sink, let's first gather all the necessary materials:
- Stainless steel kitchen sink
- Sink legs (can be purchased separately or as part of a sink package)
- Measuring tape
- Drill
- Screws
- Level
- Pencil
Step 1: Measure and Mark
 Start by measuring the distance between the bottom of your sink and the floor. This will determine the length of your sink legs. Using a pencil, mark the desired height on each corner of the sink.
Step 2: Pre-drill Holes
 Using a drill, pre-drill holes on the marked spots. This will prevent the screws from slipping and make it easier to secure the legs to the sink.
Step 3: Attach Legs to Sink
 Next, attach the legs to the sink by aligning them with the pre-drilled holes. Use screws to secure them in place. Make sure to use a level to ensure that the legs are straight and the sink is stable.
Step 4: Secure Legs to Floor
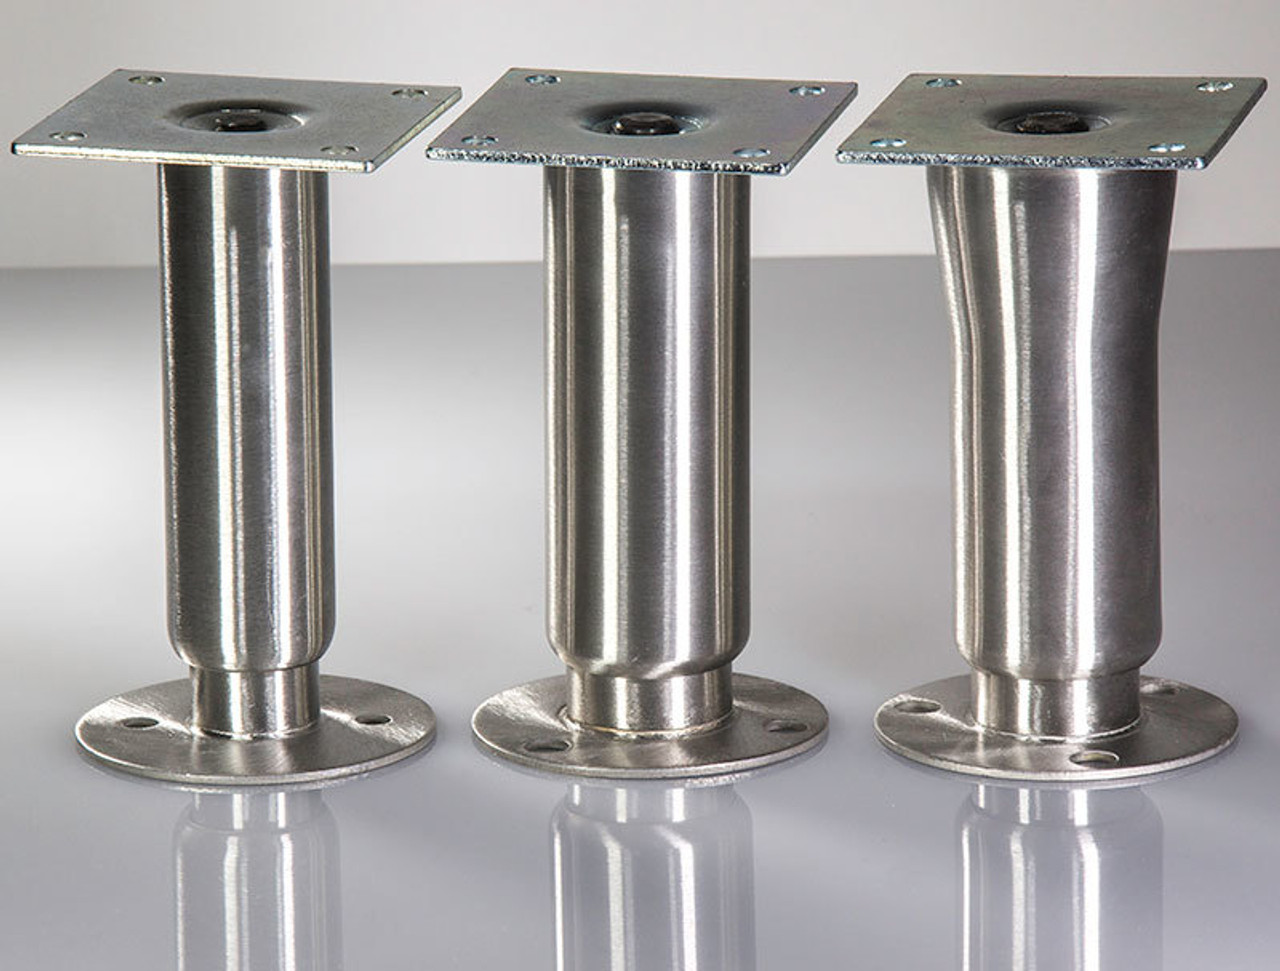 Once the legs are attached to the sink, it's time to secure them to the floor. This will provide additional stability and prevent the sink from wobbling. Use screws to secure the legs to the floor, making sure they are level and evenly spaced.
Step 5: Test It Out
 After all the legs are securely attached, give the sink a gentle shake to test its stability. If it feels sturdy and doesn't wobble, then congratulations, you have successfully attached legs to your stainless steel kitchen sink!
Featured keyword:
stainless steel kitchen sink
After all the legs are securely attached, give the sink a gentle shake to test its stability. If it feels sturdy and doesn't wobble, then congratulations, you have successfully attached legs to your stainless steel kitchen sink!
Featured keyword:
stainless steel kitchen sink
Main keywords: attach legs, house design, functionality, storage space, elevate, smaller kitchen, space, limited, materials, measuring tape, drill, screws, level, pencil, pre-drill holes, attach, secure, floor, wobbling


:max_bytes(150000):strip_icc()/2019-11-06_StudioMunroe_BAMV-0288-Edit_LRG-6f4a5e025ed749adb01bcfae8d78dea8.jpg)


