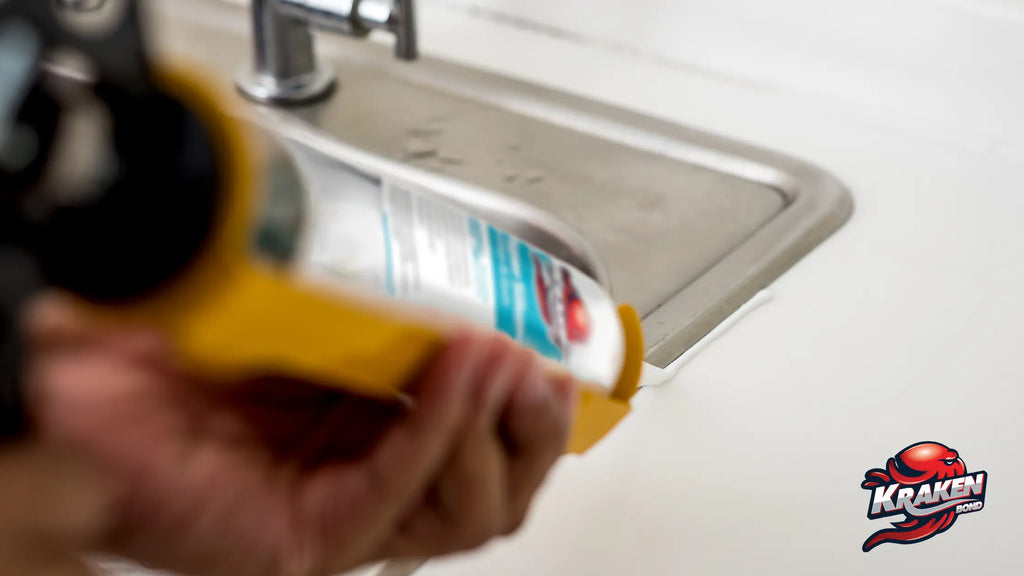
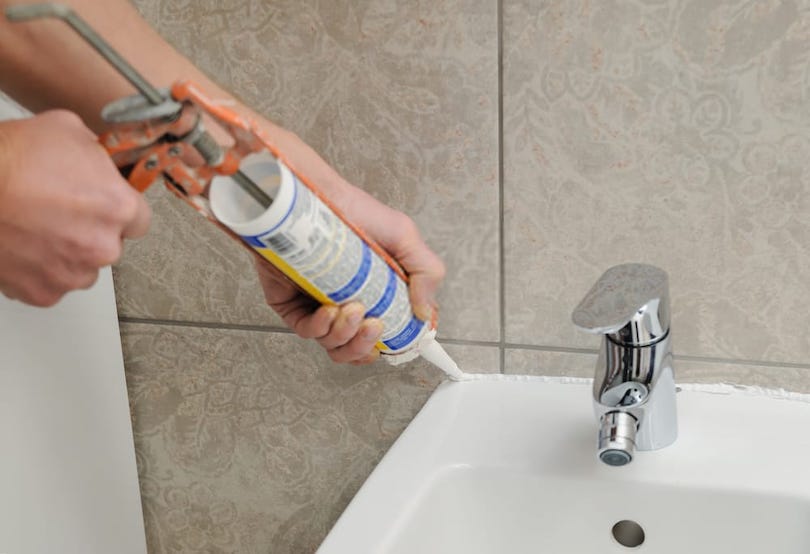
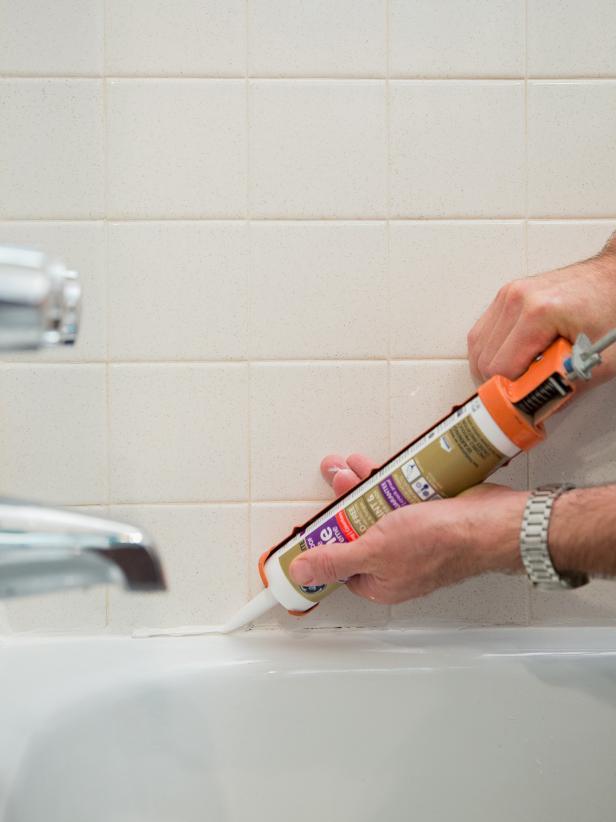
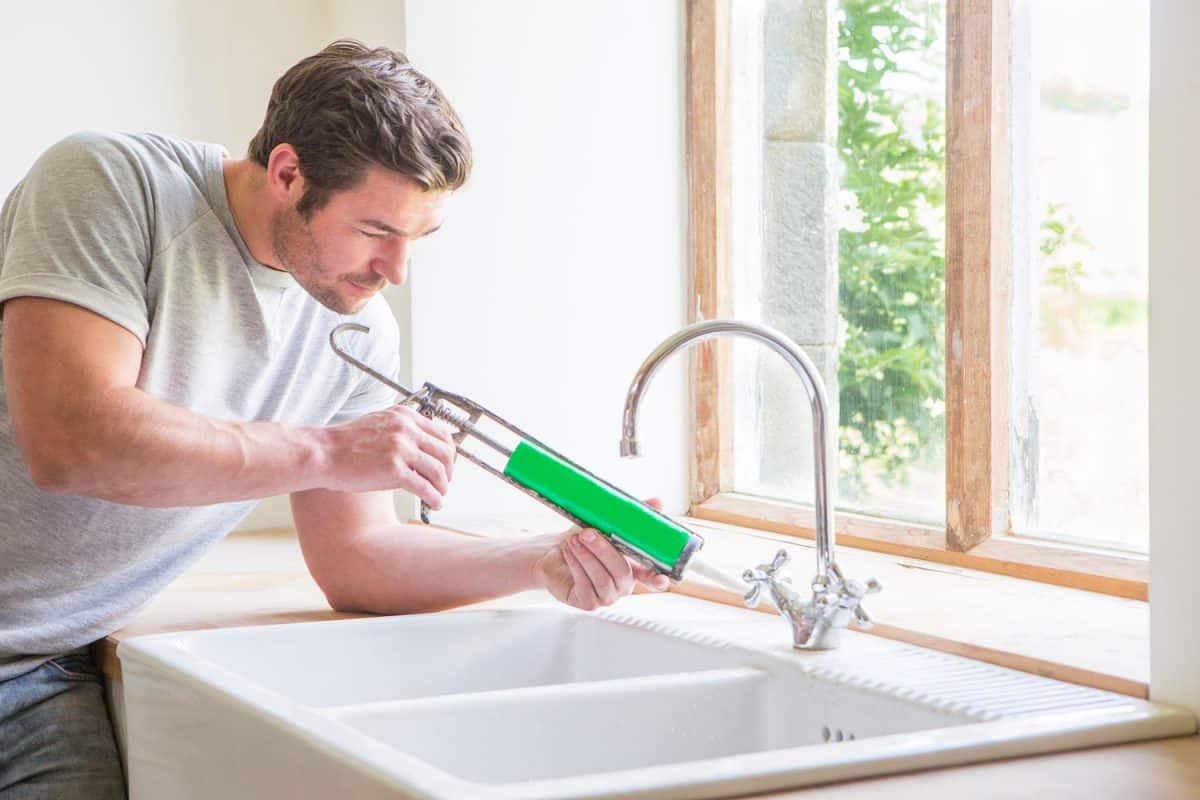
Caulking your kitchen sink is an important maintenance task that helps to keep your sink looking clean and prevents water damage. However, it can seem like a daunting task if you've never done it before. But don't worry, with the right tools and technique, you can easily achieve a professional-looking caulk line. Here's a step-by-step guide on how to apply caulk to your kitchen sink.How to Apply Caulk to a Kitchen Sink


How to Apply Caulk to a Kitchen Sink


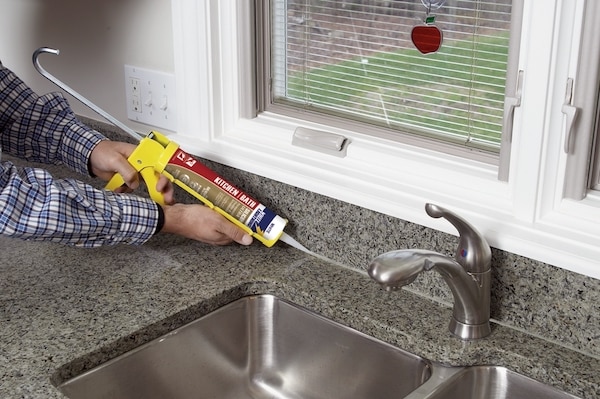


If you want your caulk job to last, it's important to do it correctly. The best way to caulk a kitchen sink is by following these simple steps:The Best Way to Caulk a Kitchen Sink


The Best Way to Caulk a Kitchen Sink


For a more detailed guide on how to caulk your kitchen sink, here are the steps broken down:Step-by-Step Guide for Caulking a Kitchen Sink


Step-by-Step Guide for Caulking a Kitchen Sink


To achieve a professional-looking caulk line, here are some tips to keep in mind:Tips for Caulking a Kitchen Sink Like a Pro


Tips for Caulking a Kitchen Sink Like a Pro


:max_bytes(150000):strip_icc()/caulking-the-bathroom-187091313-a22e0cfc811d4ed6870673079cf17bbf.jpg)

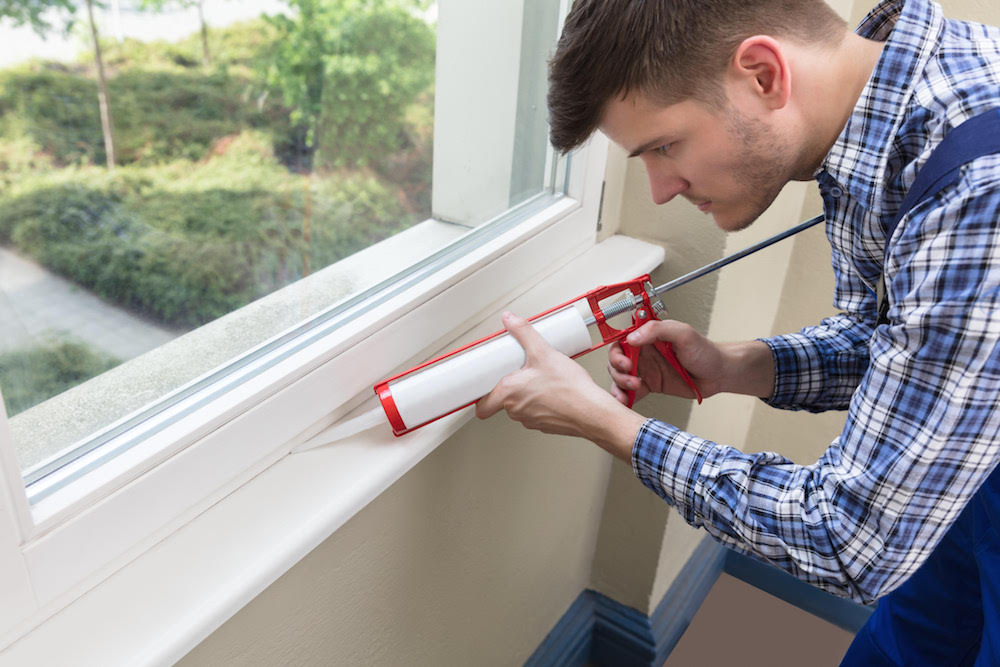
Having the right tools can make all the difference when it comes to caulking your kitchen sink. Here are some essential tools you'll need:Essential Tools for Caulking a Kitchen Sink


Essential Tools for Caulking a Kitchen Sink


Caulking may seem like a simple task, but there are some common mistakes that can ruin the final result. Here are some mistakes to avoid when caulking your kitchen sink:Common Mistakes to Avoid When Caulking a Kitchen Sink


Common Mistakes to Avoid When Caulking a Kitchen Sink


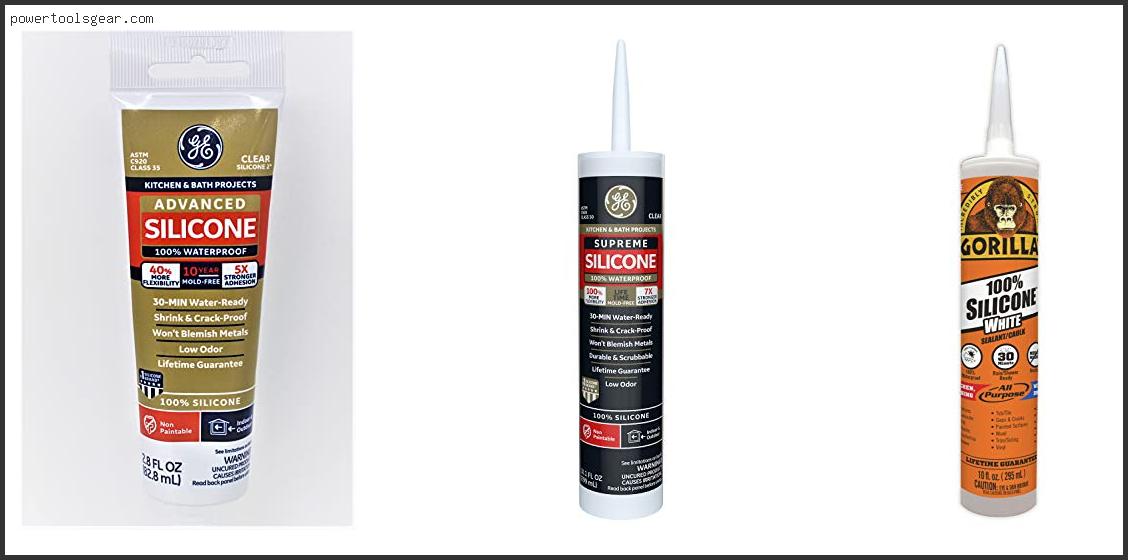
As mentioned earlier, silicone caulk is the best option for kitchen sinks. It is waterproof, flexible, and resistant to mold and mildew. When choosing a color, make sure to match it to your sink or countertop for a seamless look.Choosing the Right Caulk for Your Kitchen Sink


Choosing the Right Caulk for Your Kitchen Sink


It's recommended to re-caulk your kitchen sink every 1-2 years to maintain a clean and watertight seal. However, if you notice any cracks or mold growth before that, it's best to re-caulk immediately.How Often Should You Re-Caulk Your Kitchen Sink?


How Often Should You Re-Caulk Your Kitchen Sink?


If you're re-caulking your kitchen sink, you'll need to remove the old caulk first. Here's how:Removing Old Caulk from a Kitchen Sink


Removing Old Caulk from a Kitchen Sink
:max_bytes(150000):strip_icc()/how-to-remove-old-caulk-1824827-01-3d0370c59e124dbbaa6560c68bab111c.jpg)


:max_bytes(150000):strip_icc()/caulk-removal-tool-56ec7f1b3df78ce5f83535fe.jpg)


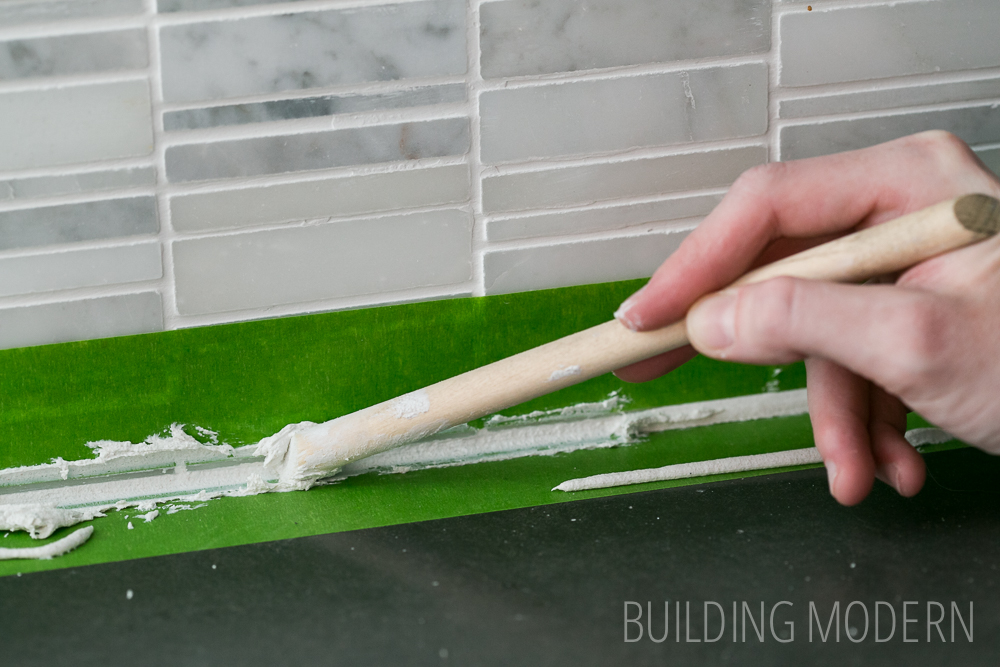
To achieve a perfectly smooth caulk line, follow these steps:How to Achieve a Perfectly Smooth Caulk Line on Your Kitchen Sink


How to Achieve a Perfectly Smooth Caulk Line on Your Kitchen Sink


Why Applying Calk to Your Kitchen Sink is Essential for a Beautiful and Functional Design

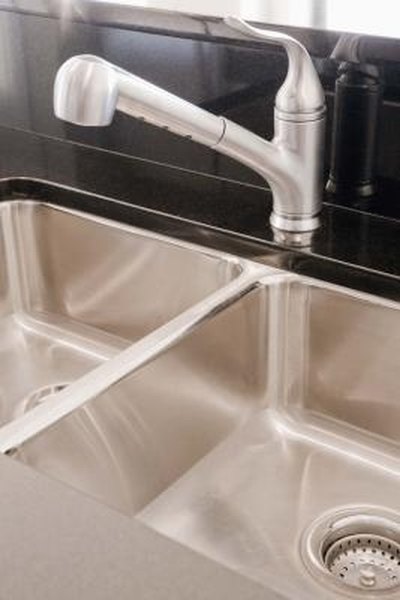
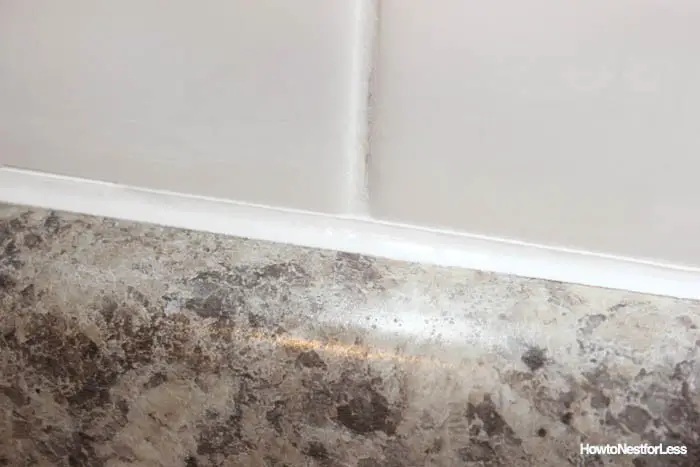
Protect Your Kitchen Sink from Water Damage
 When it comes to designing a kitchen, the sink is often the center of attention. It's where we wash dishes, prepare food, and even fill up our water glasses. But what many people don't realize is that without proper
calking
around the sink, water can seep into the cracks and cause damage to your countertops and cabinets. Applying
calk
to the edges of your kitchen sink creates a waterproof seal that will prevent any water from leaking through and causing costly damage to your beautiful kitchen design.
When it comes to designing a kitchen, the sink is often the center of attention. It's where we wash dishes, prepare food, and even fill up our water glasses. But what many people don't realize is that without proper
calking
around the sink, water can seep into the cracks and cause damage to your countertops and cabinets. Applying
calk
to the edges of your kitchen sink creates a waterproof seal that will prevent any water from leaking through and causing costly damage to your beautiful kitchen design.
Keep Your Kitchen Clean and Hygienic
 A
calked
kitchen sink not only protects your countertops and cabinets from water damage, but it also helps to keep your kitchen clean and hygienic. Without a proper seal, food particles and liquids can get trapped in the crevices between your sink and countertop, creating a breeding ground for bacteria. By applying
calk
around your kitchen sink, you are creating a barrier that prevents any food or liquids from getting stuck and making it easy to wipe away any spills or messes. This not only keeps your kitchen looking neat and tidy, but it also promotes a healthy and hygienic environment for cooking and meal preparation.
A
calked
kitchen sink not only protects your countertops and cabinets from water damage, but it also helps to keep your kitchen clean and hygienic. Without a proper seal, food particles and liquids can get trapped in the crevices between your sink and countertop, creating a breeding ground for bacteria. By applying
calk
around your kitchen sink, you are creating a barrier that prevents any food or liquids from getting stuck and making it easy to wipe away any spills or messes. This not only keeps your kitchen looking neat and tidy, but it also promotes a healthy and hygienic environment for cooking and meal preparation.
Add a Finishing Touch to Your Kitchen Design
 In addition to its practical benefits,
calking
can also add a polished and finished look to your kitchen design. With a variety of colors and finishes available, you can choose a
calk
that matches your kitchen's color scheme and complements your overall design aesthetic. A neatly
calked
kitchen sink can give your kitchen a professional and high-end appearance, making it a standout feature in your home.
In addition to its practical benefits,
calking
can also add a polished and finished look to your kitchen design. With a variety of colors and finishes available, you can choose a
calk
that matches your kitchen's color scheme and complements your overall design aesthetic. A neatly
calked
kitchen sink can give your kitchen a professional and high-end appearance, making it a standout feature in your home.
Conclusion
 In conclusion, when it comes to designing a functional and beautiful kitchen,
calking
is an essential step that should not be overlooked. By protecting your kitchen from water damage, promoting cleanliness and hygiene, and adding a finishing touch to your design,
calking
around your kitchen sink is a simple and effective way to enhance your kitchen's overall look and functionality. So, whether you're in the process of designing a new kitchen or looking to update your current one, don't forget to
calk
your kitchen sink for a truly stunning and practical result.
In conclusion, when it comes to designing a functional and beautiful kitchen,
calking
is an essential step that should not be overlooked. By protecting your kitchen from water damage, promoting cleanliness and hygiene, and adding a finishing touch to your design,
calking
around your kitchen sink is a simple and effective way to enhance your kitchen's overall look and functionality. So, whether you're in the process of designing a new kitchen or looking to update your current one, don't forget to
calk
your kitchen sink for a truly stunning and practical result.