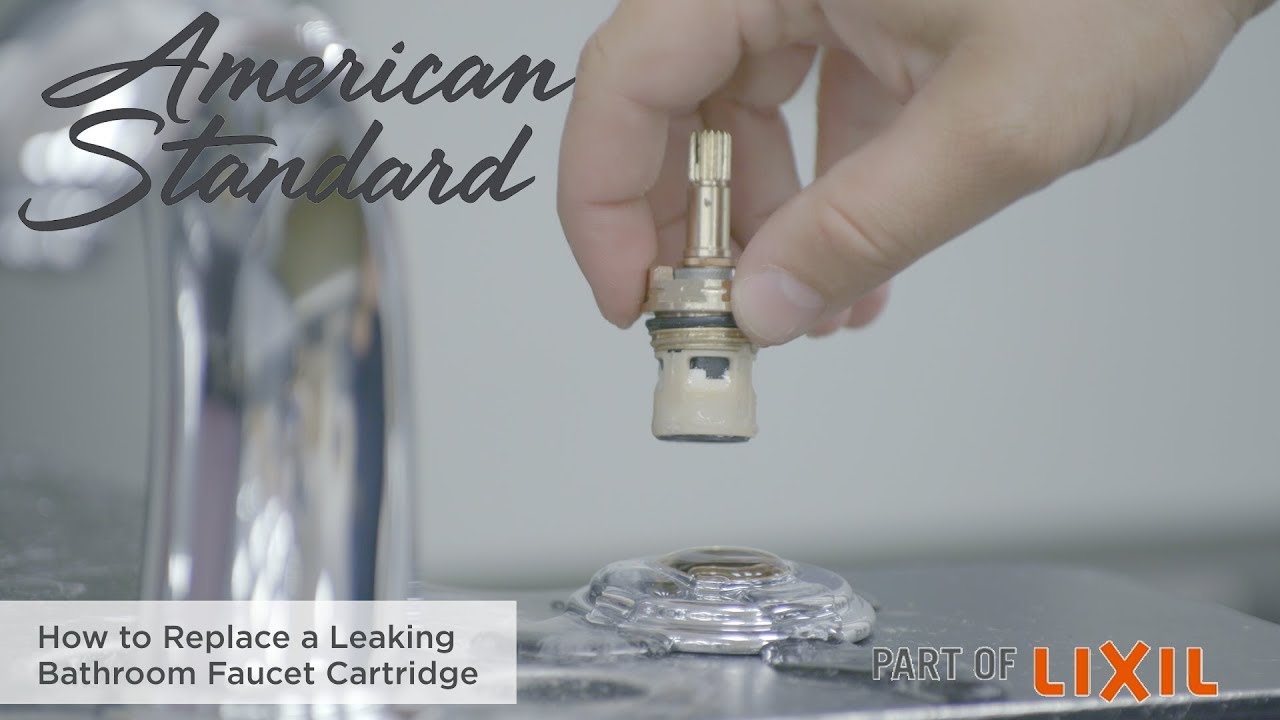
American Standard Bathroom Sink Cartridge Replacement: A Step-by-Step Guide
If your American Standard bathroom sink cartridge is showing signs of wear and tear, it may be time for a replacement. This essential component controls the flow and temperature of water in your sink, so it's important to ensure it's functioning properly. In this guide, we'll walk you through the steps of replacing your American Standard bathroom sink cartridge so you can have a fully functioning sink in no time.

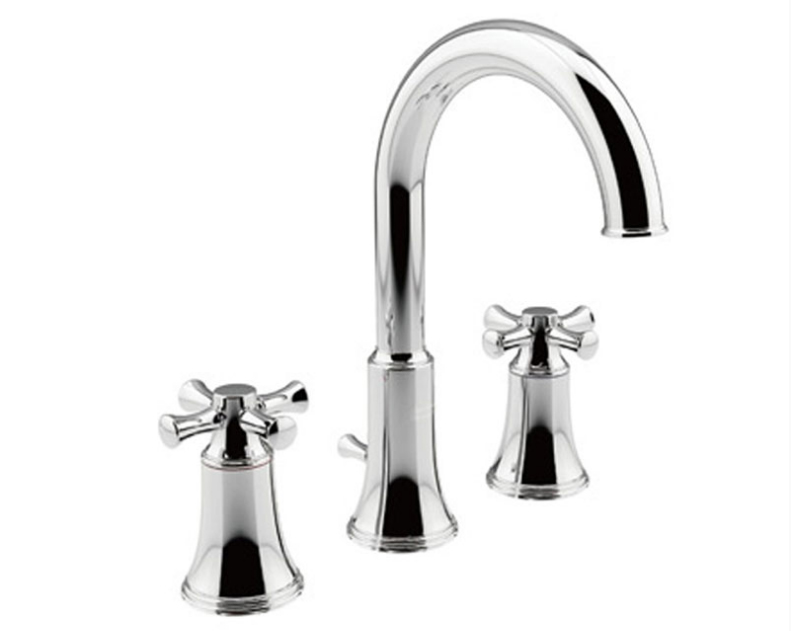
American Standard Bathroom Sink Cartridge Replacement


American Standard Sink Cartridge: What You Need to Know
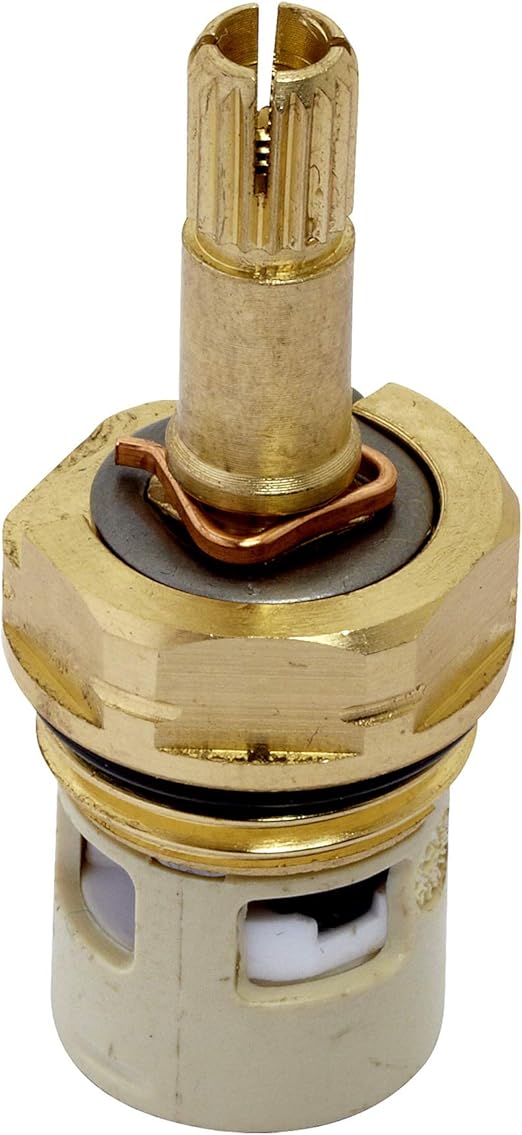
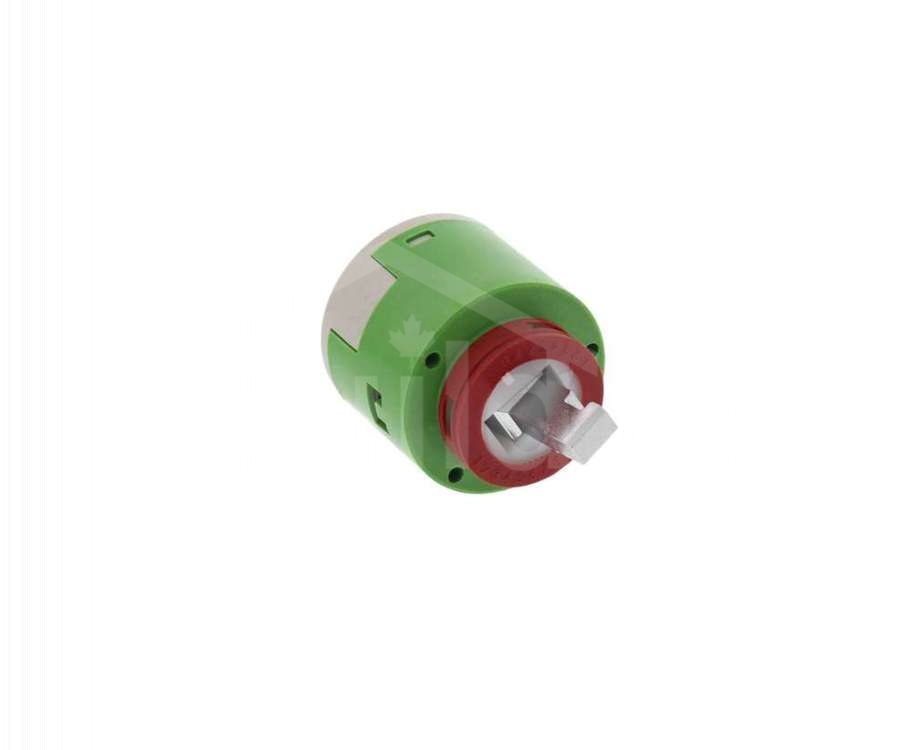
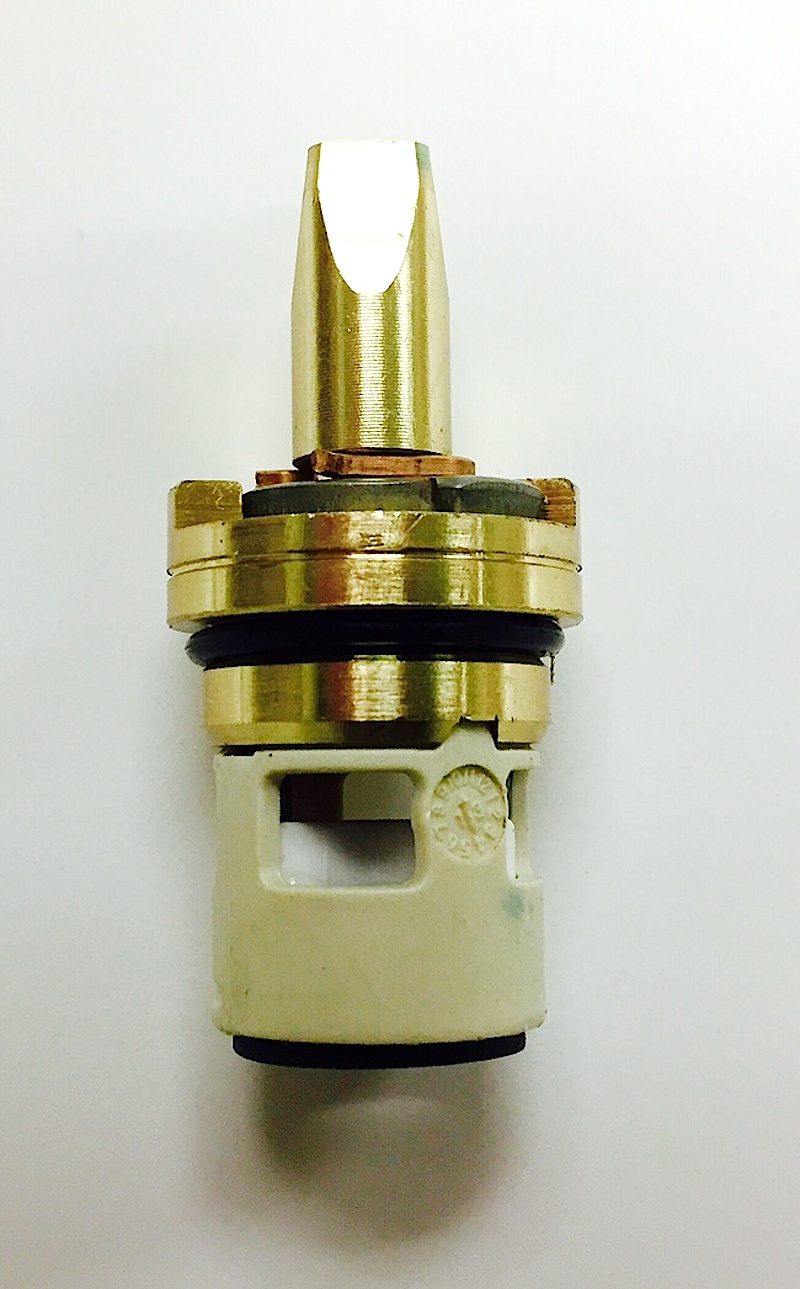
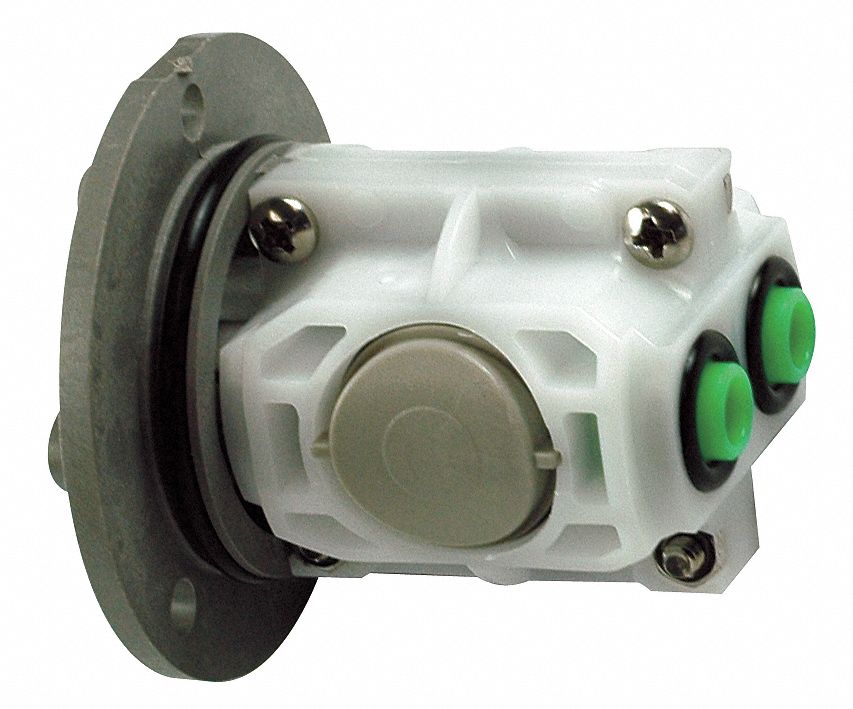
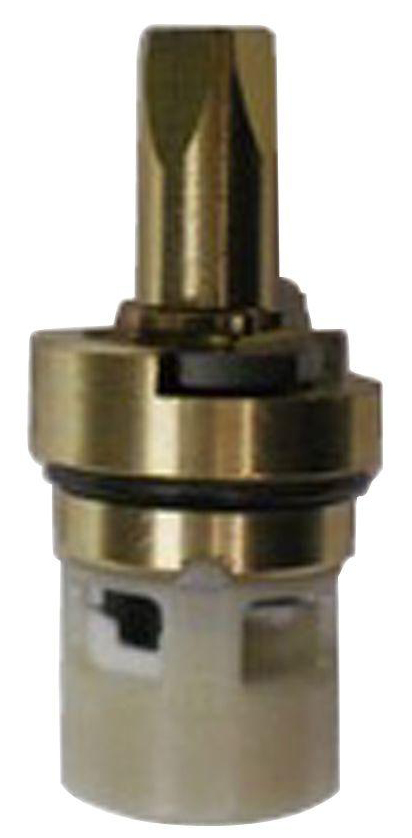
The American Standard sink cartridge is a crucial part of your sink's functionality. It controls the flow and temperature of water, and over time, it can wear down and malfunction. Signs that your sink cartridge needs to be replaced include leaks, reduced water flow, and difficulty adjusting temperature. If you're experiencing any of these issues, it may be time for a replacement.


American Standard Sink Cartridge


Step 1: Gather Your Materials
Before starting the replacement process, make sure you have all the necessary materials on hand. You will need a new American Standard sink cartridge, a flat-head screwdriver, pliers, and a wrench. It's also helpful to have a towel or cloth to wipe down the sink and a bucket to catch any excess water.
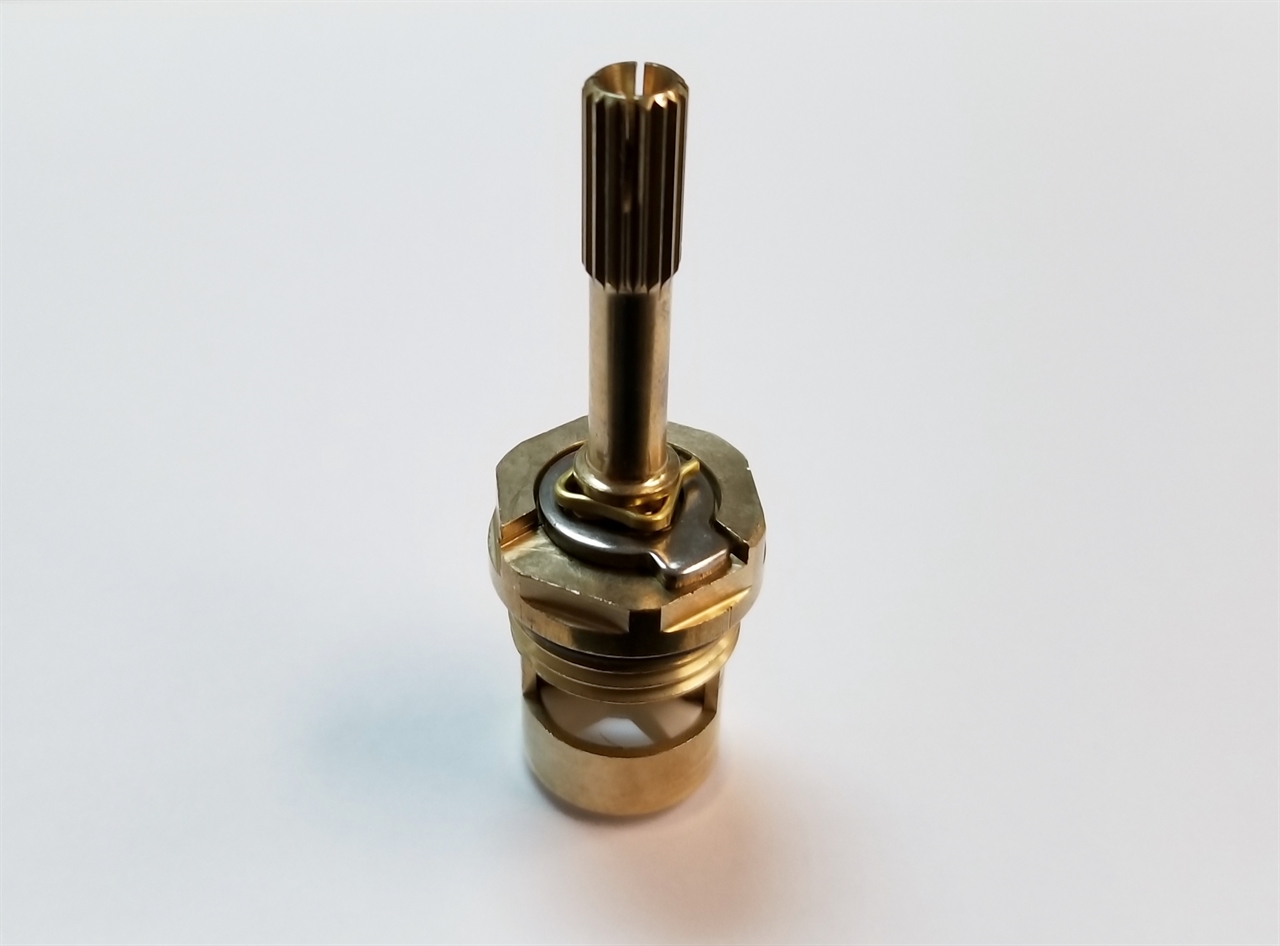
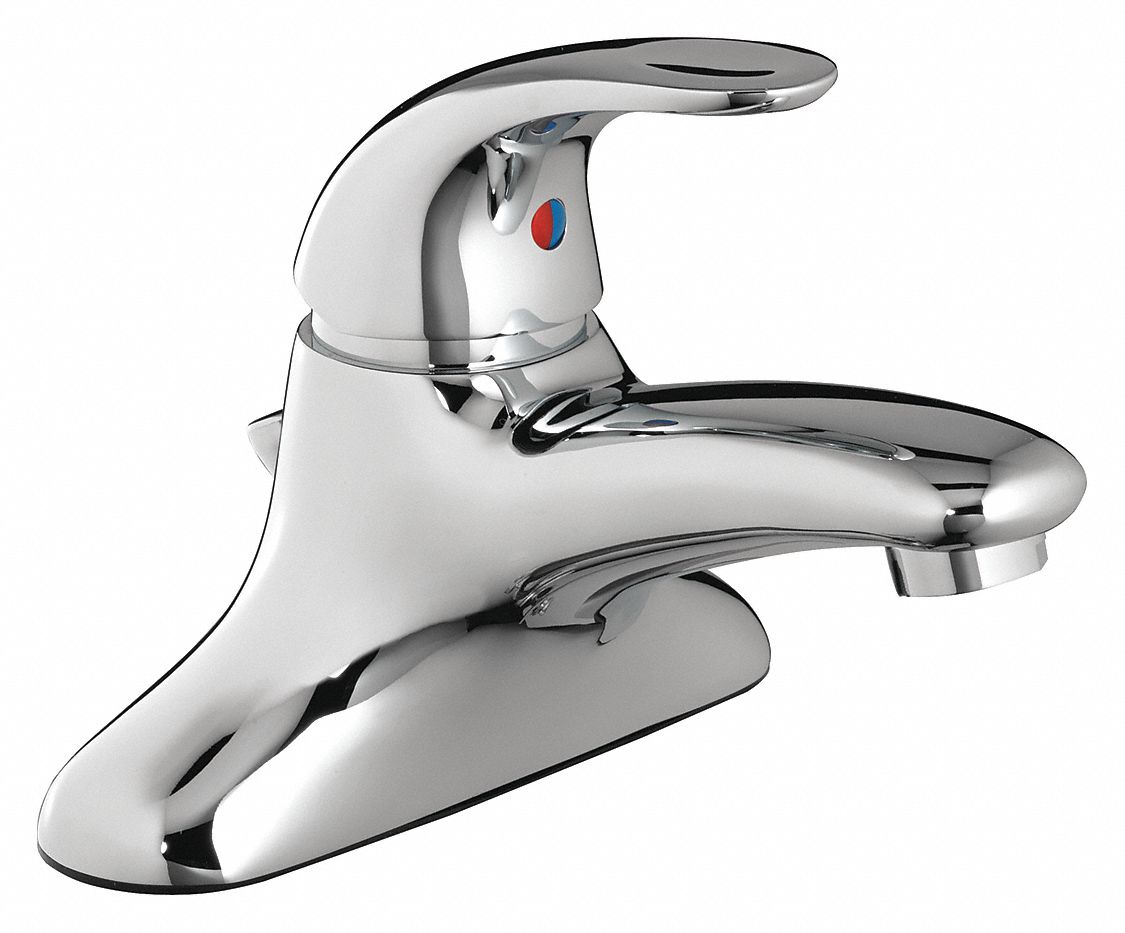
American Standard Faucet Cartridge


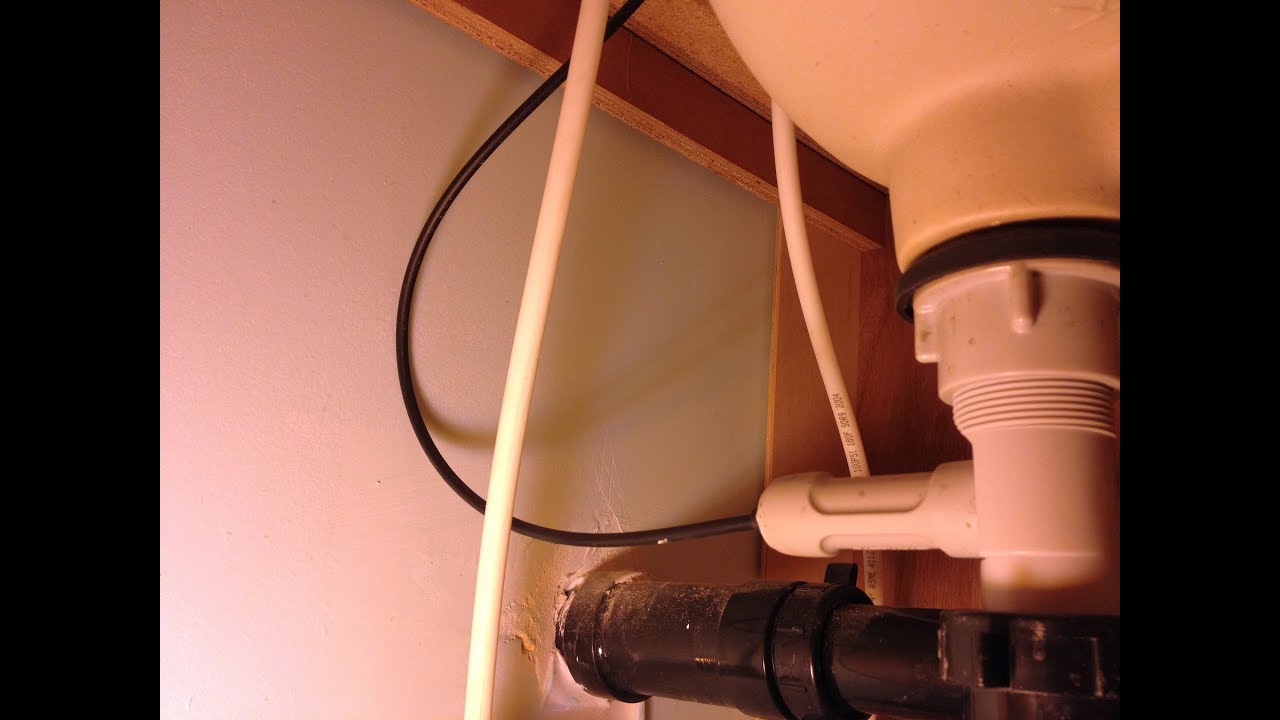
Step 2: Turn Off the Water Supply
Before you begin, you'll need to turn off the water supply to your sink. Look for the shut-off valves under the sink and turn them clockwise to shut off the water. If you can't find these valves, you may need to shut off the main water supply to your home.


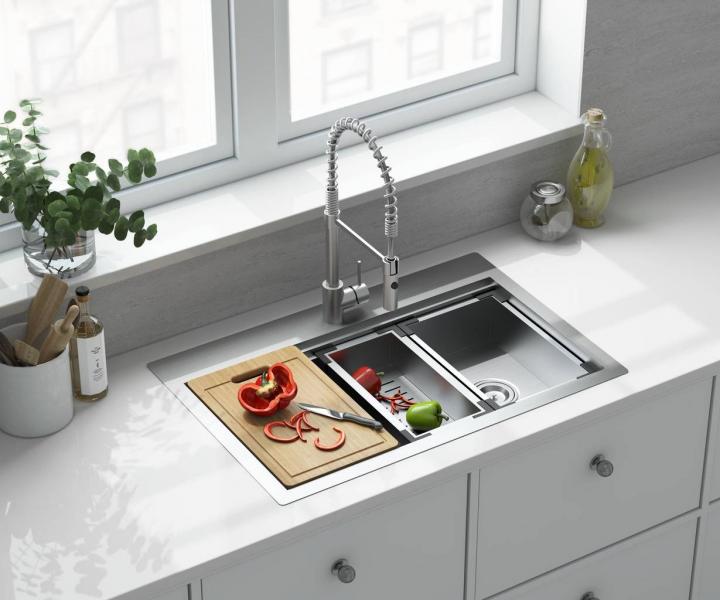
American Standard Cartridge Replacement


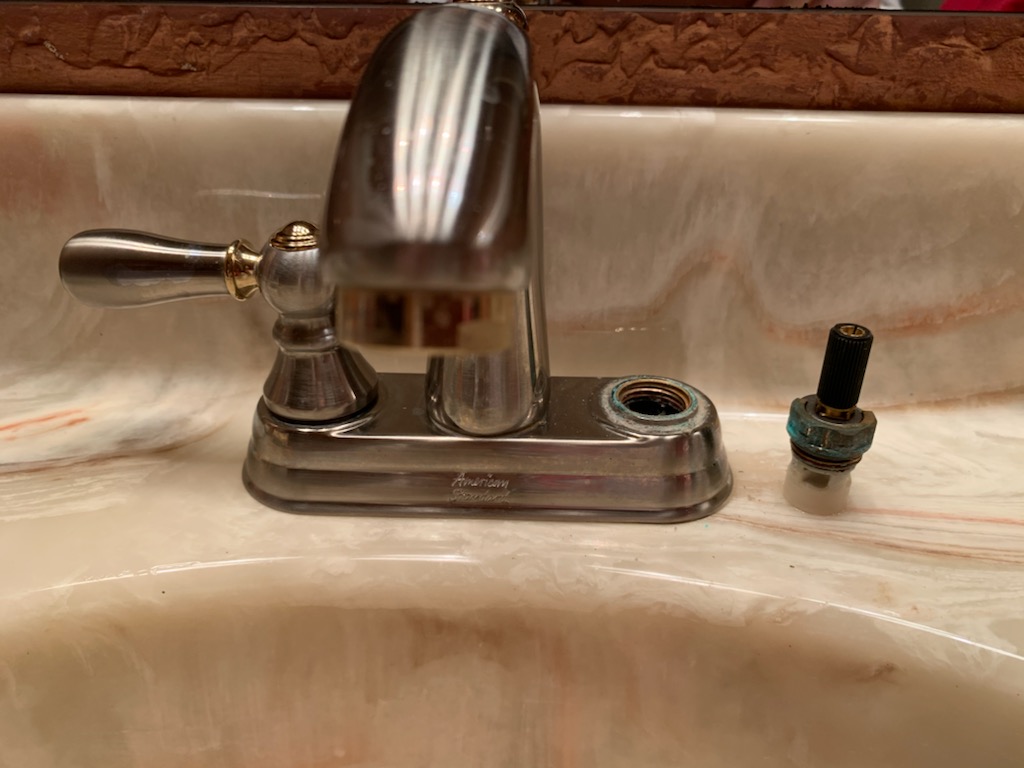

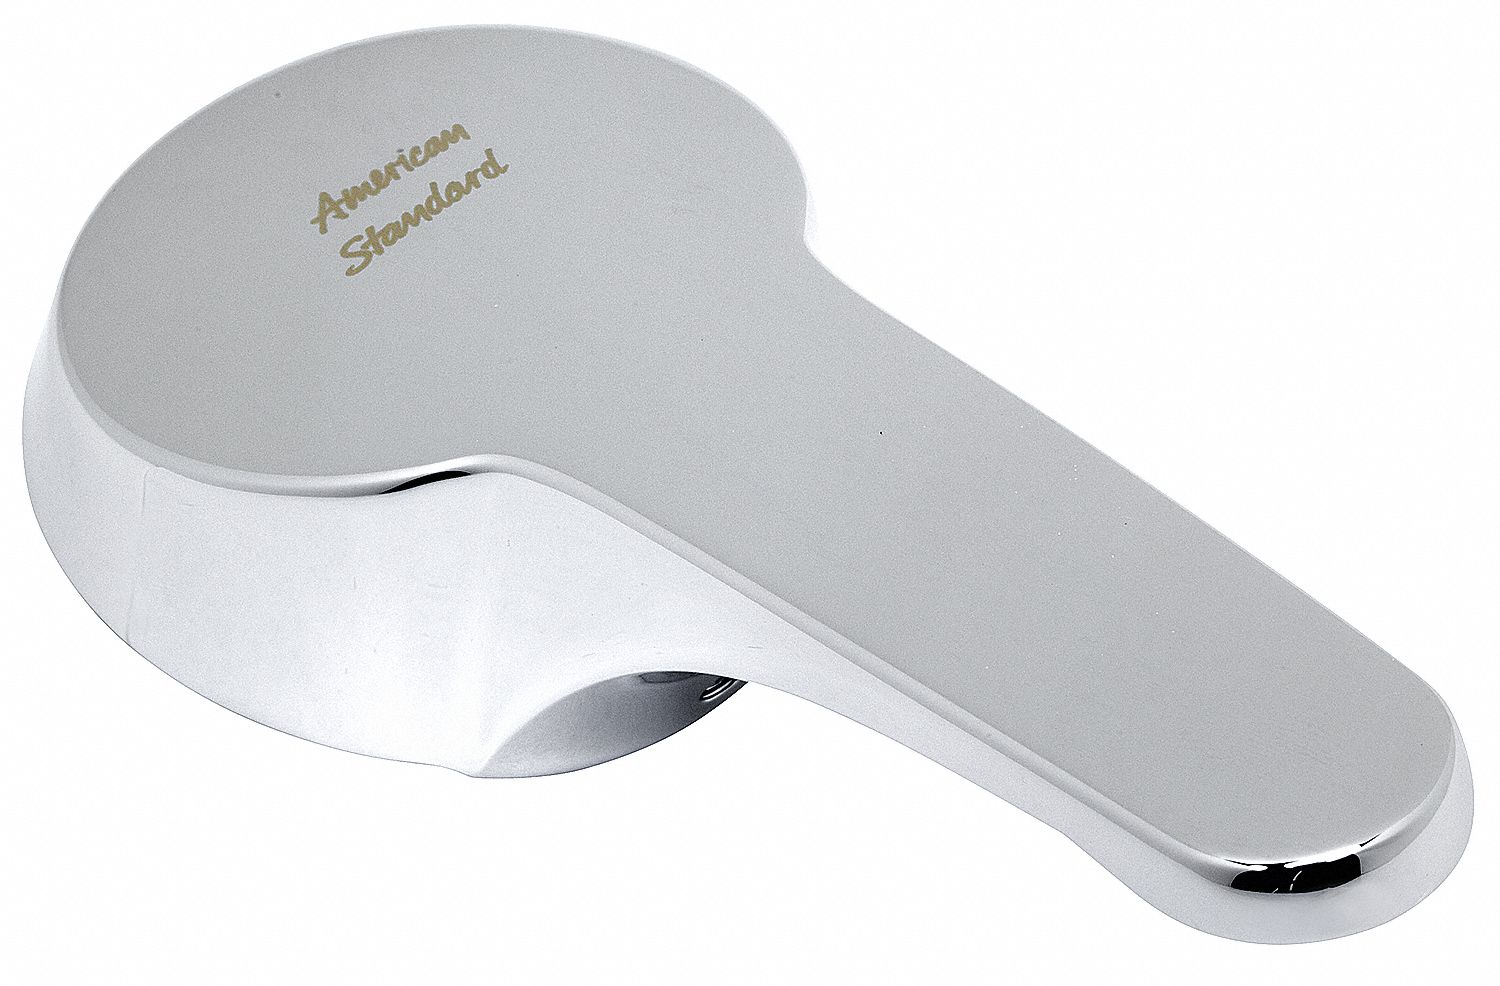
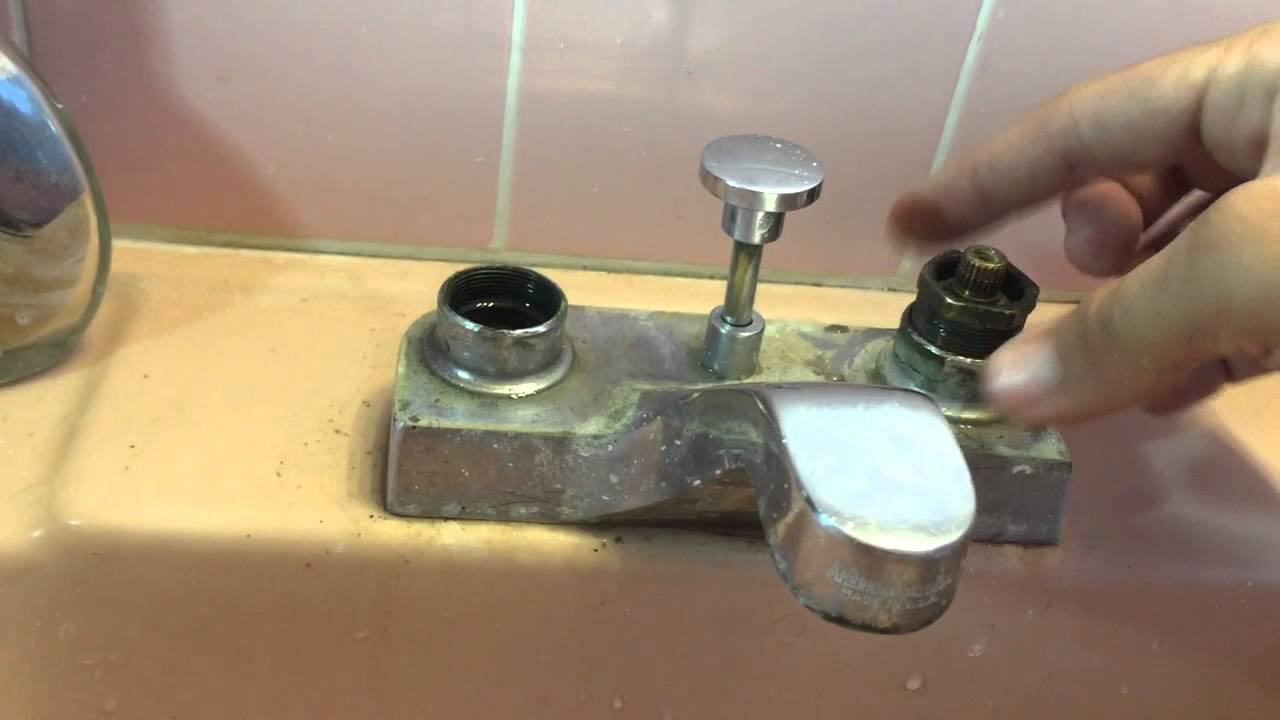
Step 3: Remove the Handle and Trim
Using a flat-head screwdriver, carefully remove the handle and trim from your sink. This will expose the cartridge, which is located underneath.

American Standard Bathroom Faucet Cartridge
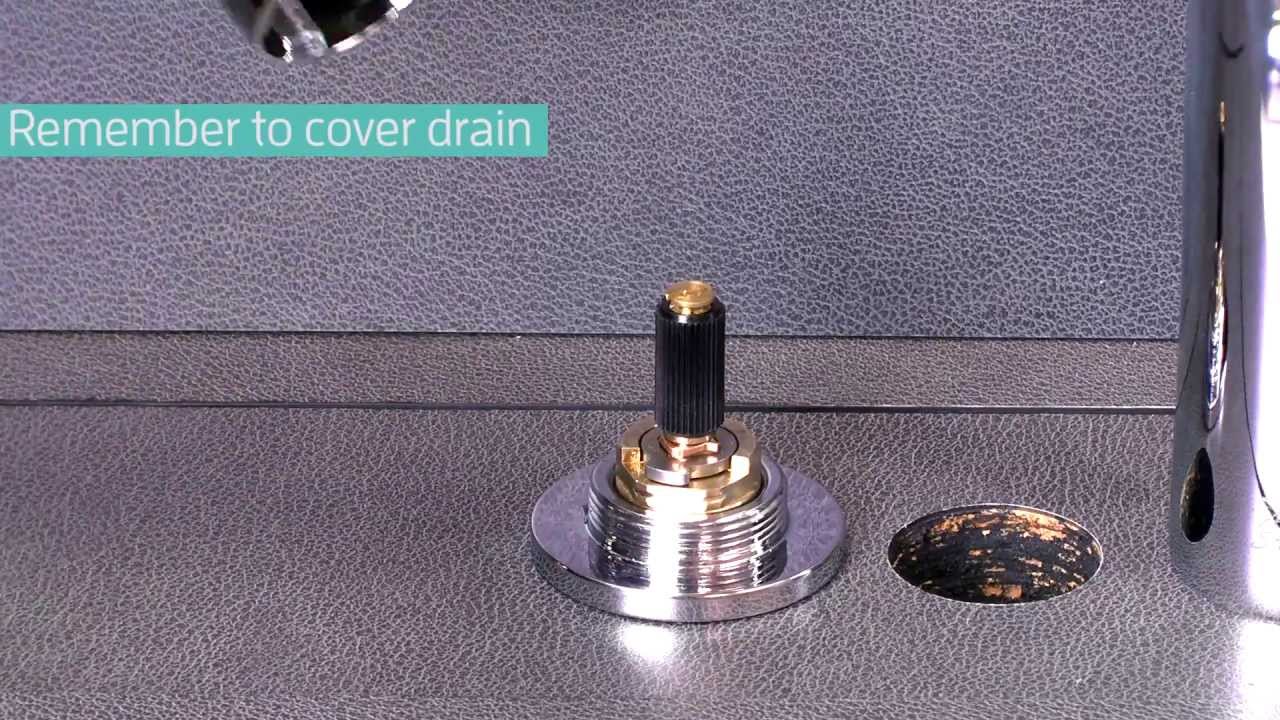
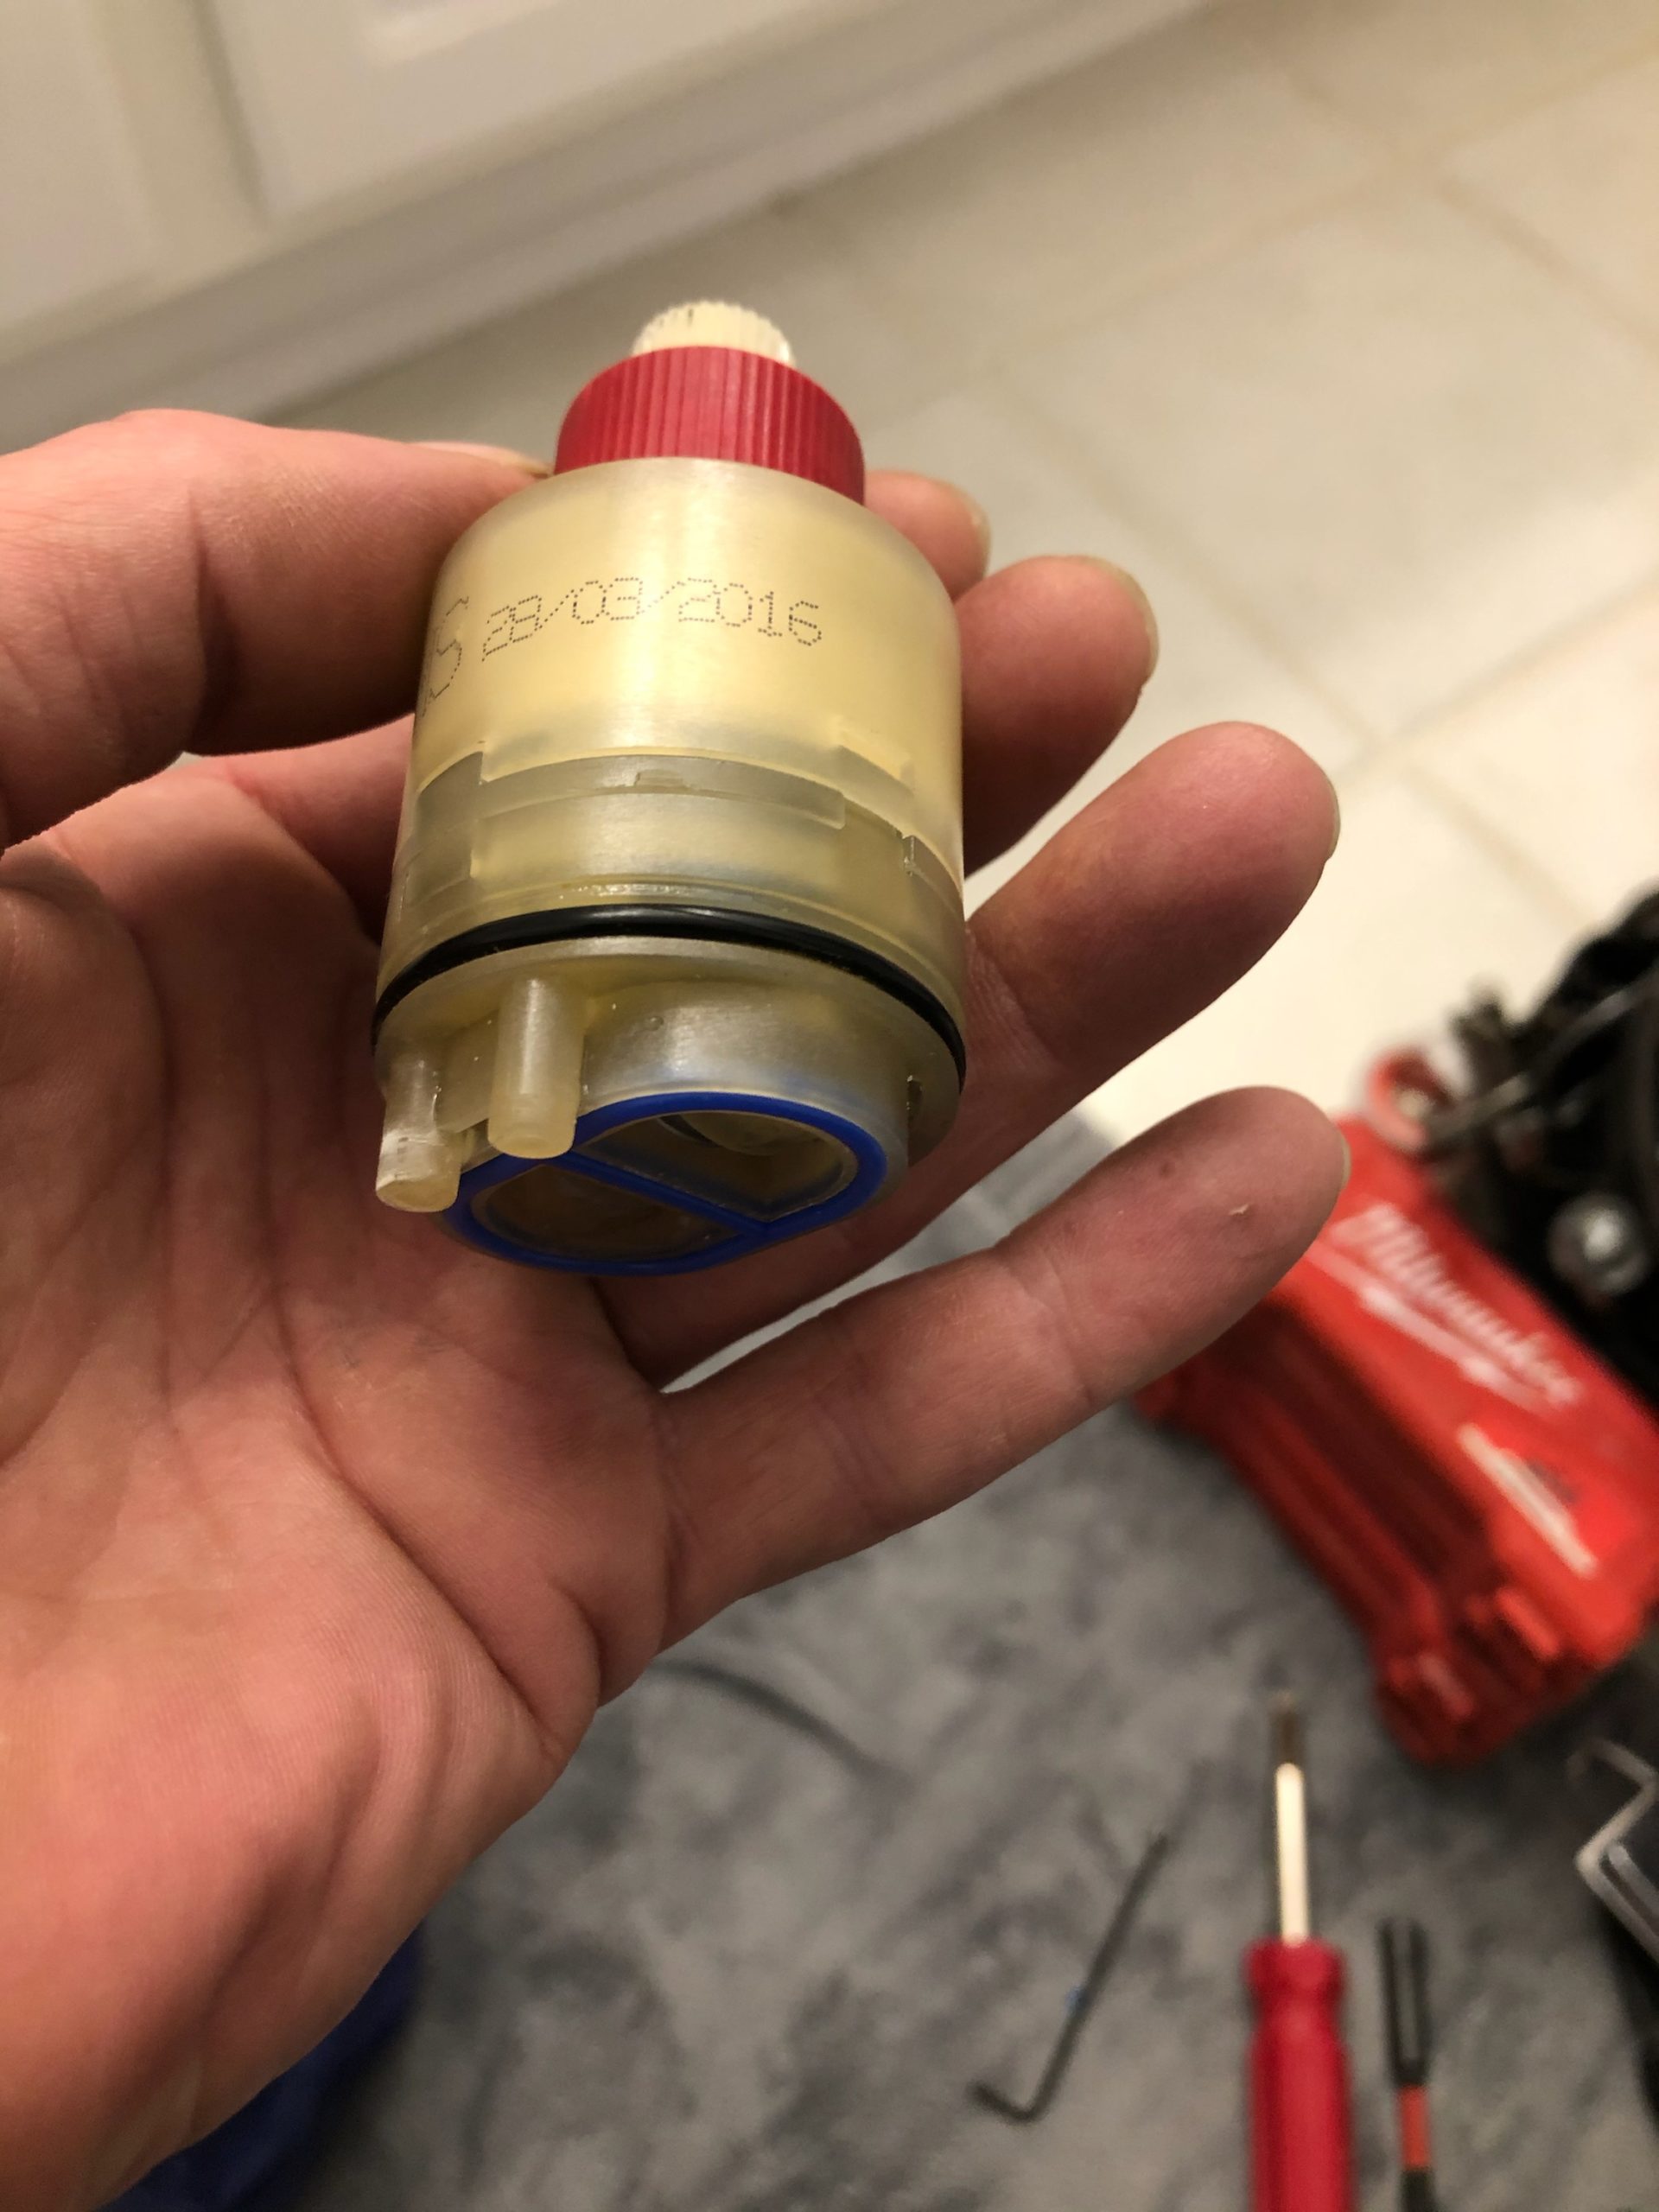
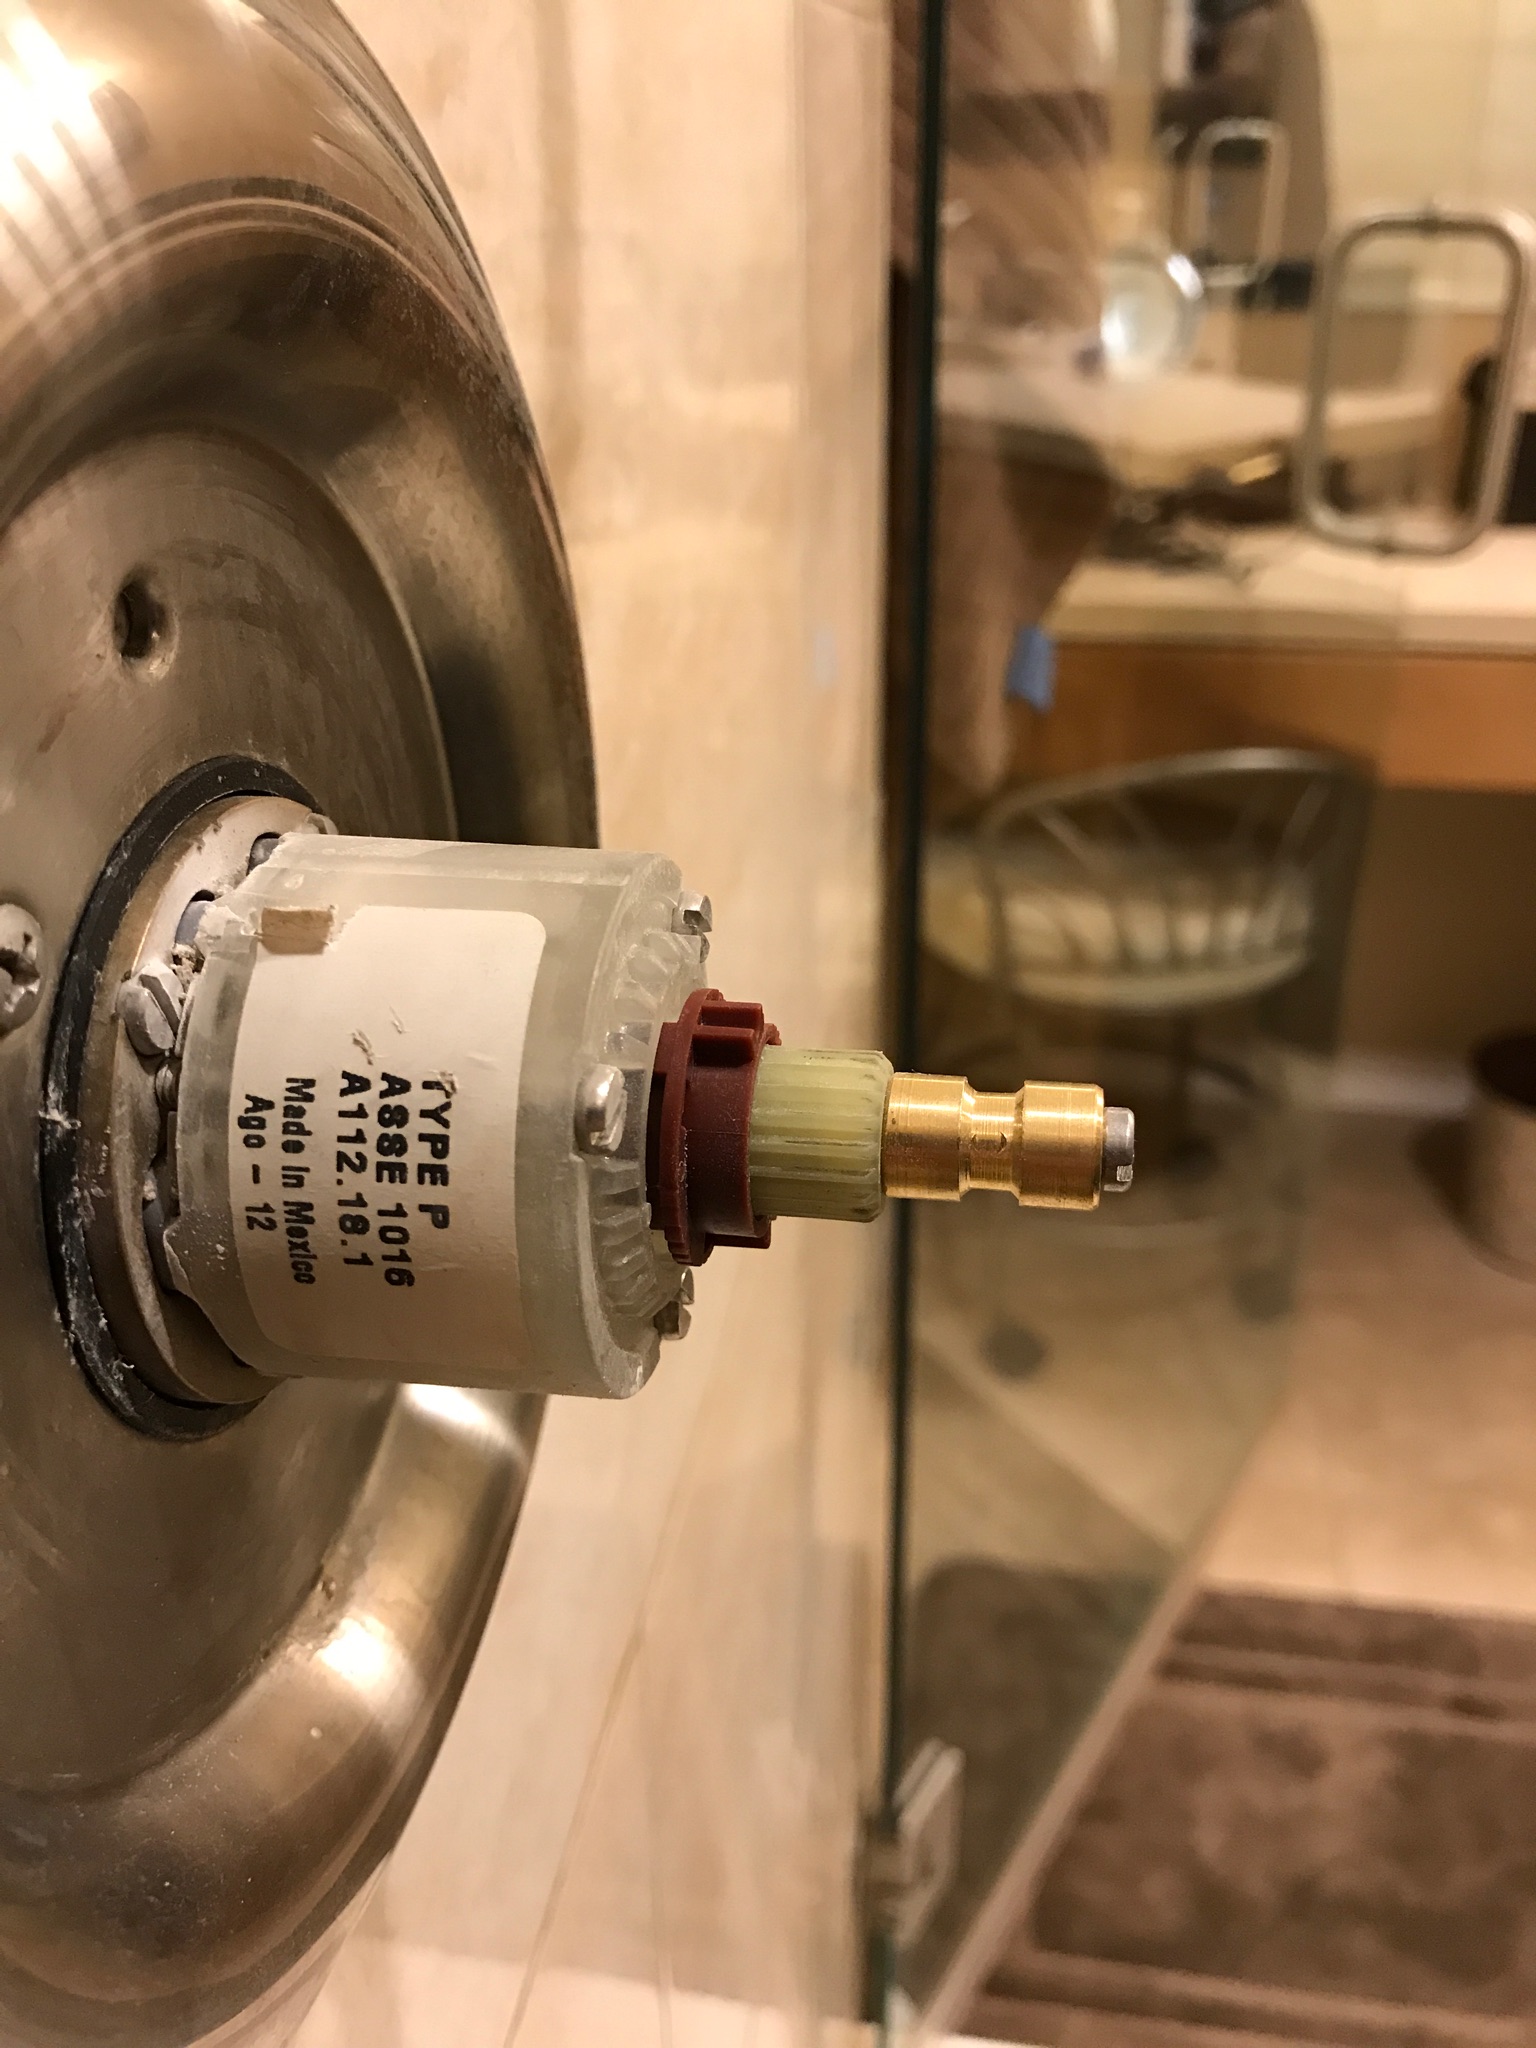
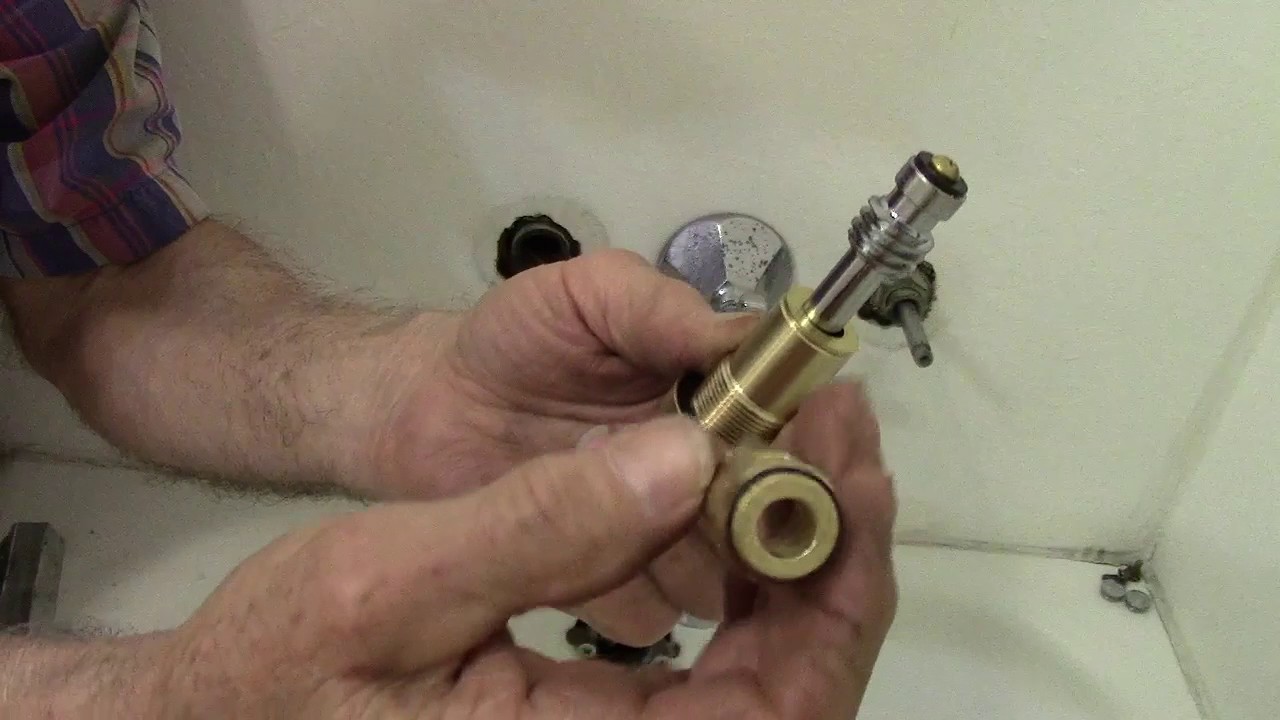
Step 4: Remove the Cartridge
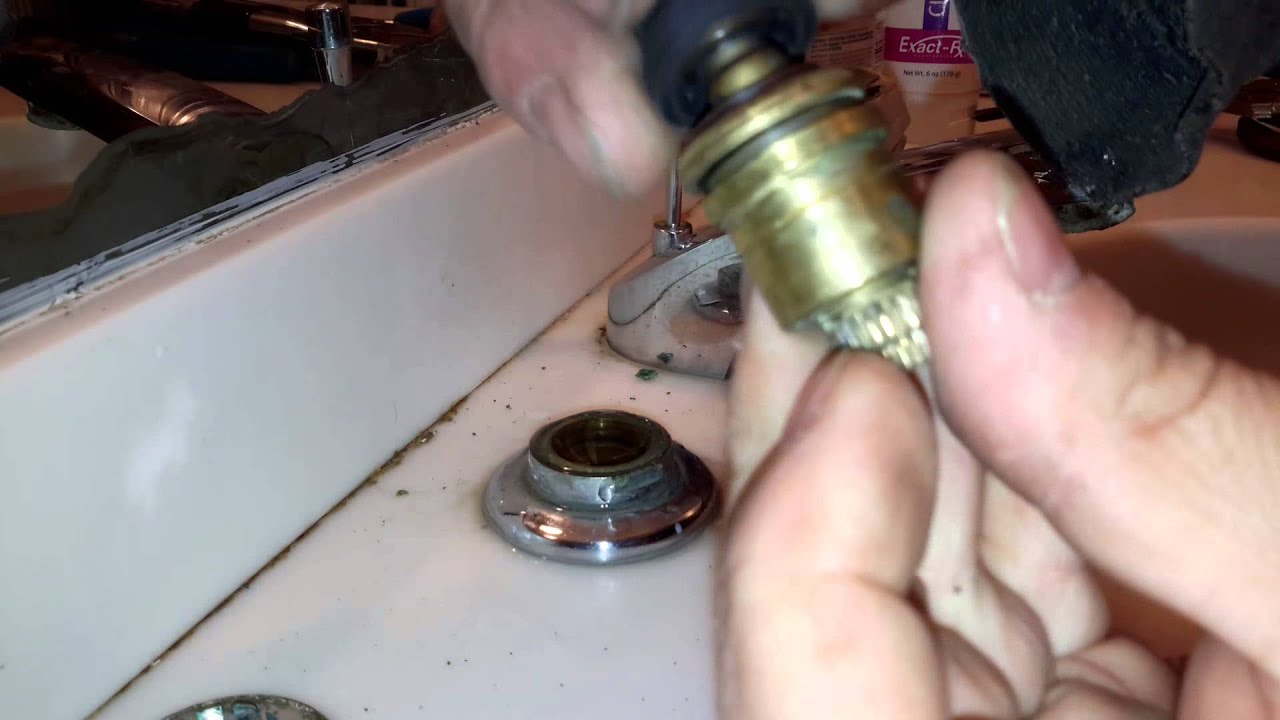
Using pliers, gently loosen and remove the retaining clip that holds the cartridge in place. Once the clip is removed, you should be able to pull out the old cartridge with ease.

American Standard Sink Cartridge Replacement

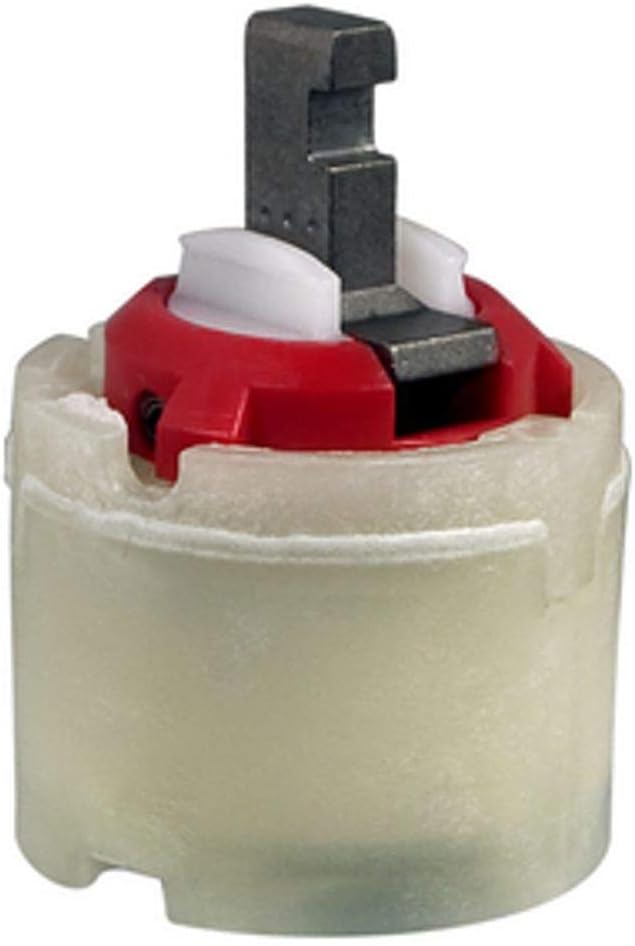
Step 5: Install the New Cartridge
Take your new American Standard sink cartridge and insert it into the same spot where the old one was removed. Make sure it's aligned properly and push it all the way in. Then, secure it in place with the retaining clip.

American Standard Cartridge for Bathroom Sink
Step 6: Reattach the Handle and Trim
Once the new cartridge is in place, reattach the handle and trim to the sink. Make sure everything is securely in place and tighten any screws if necessary.


American Standard Bathroom Sink Cartridge Repair
Step 7: Turn the Water Supply Back On
Now it's time to turn the water supply back on. Slowly turn the shut-off valves counterclockwise to allow water to flow back into the sink. Check for any leaks and make sure the water is flowing properly.

American Standard Sink Cartridge Repair


Step 8: Test the Sink
Finally, turn on the sink and test the water flow and temperature. Make any necessary adjustments and check for any leaks. If everything looks good, then your American Standard bathroom sink cartridge replacement was successful!
Congratulations, you have successfully replaced your American Standard sink cartridge and restored your sink's functionality. If you ever need to replace the cartridge again, you now have the knowledge and skills to do so with ease.

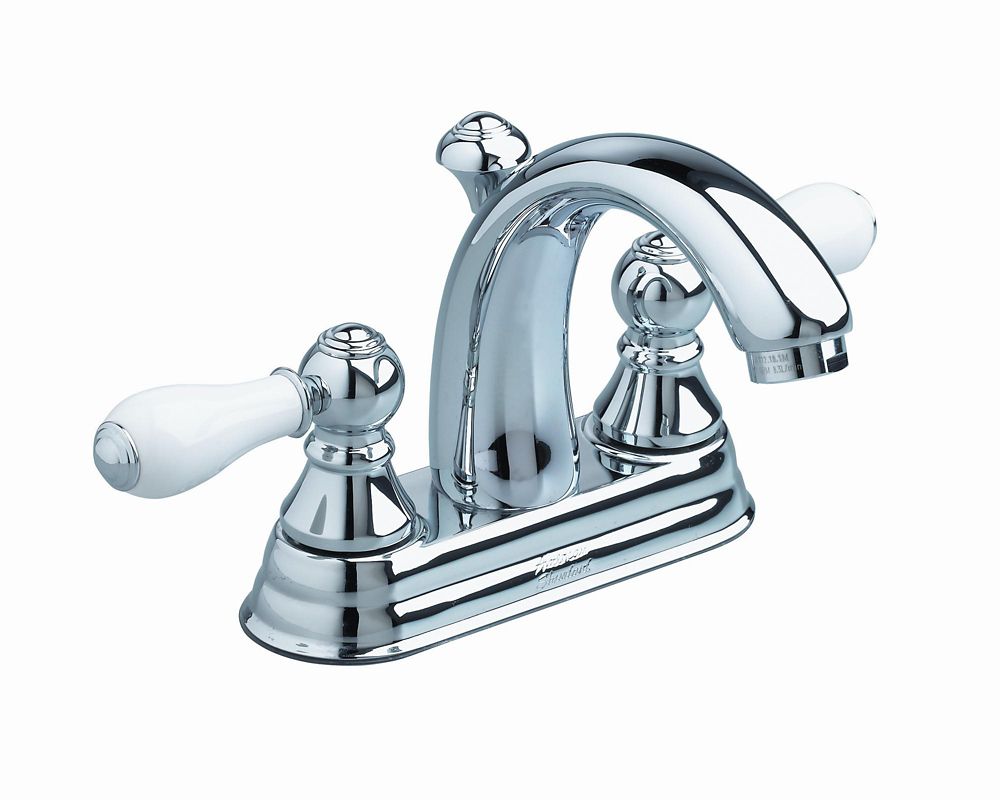
American Standard Cartridge for Bathroom Faucet
The Importance of Upgrading to an American Standard Bathroom Sink Cartridge
Enhance the Functionality and Aesthetics of Your Bathroom
 When it comes to designing and decorating a house, bathrooms are often overlooked. However, a well-designed and functional bathroom can greatly enhance the overall value and appeal of your home. One important component to consider when designing your bathroom is the
American Standard bathroom sink cartridge
, which not only plays a crucial role in the functionality of your sink but also has a significant impact on the aesthetics of your bathroom.
When it comes to designing and decorating a house, bathrooms are often overlooked. However, a well-designed and functional bathroom can greatly enhance the overall value and appeal of your home. One important component to consider when designing your bathroom is the
American Standard bathroom sink cartridge
, which not only plays a crucial role in the functionality of your sink but also has a significant impact on the aesthetics of your bathroom.
Efficient Water Flow and Temperature Control
 The
American Standard bathroom sink cartridge
is a small but essential part of your sink that helps regulate the water flow and temperature. With its advanced design and technology, it ensures a smooth and consistent water flow, making your daily tasks in the bathroom more efficient and convenient. Additionally, it allows for precise temperature control, giving you the perfect balance of hot and cold water for your desired comfort.
The
American Standard bathroom sink cartridge
is a small but essential part of your sink that helps regulate the water flow and temperature. With its advanced design and technology, it ensures a smooth and consistent water flow, making your daily tasks in the bathroom more efficient and convenient. Additionally, it allows for precise temperature control, giving you the perfect balance of hot and cold water for your desired comfort.
Long-lasting Durability
 When investing in a bathroom sink cartridge, durability is key. The
American Standard bathroom sink cartridge
is crafted with high-quality materials, making it resistant to wear and tear. This means it can withstand frequent use and last for a long time, saving you the hassle and cost of constantly replacing it.
When investing in a bathroom sink cartridge, durability is key. The
American Standard bathroom sink cartridge
is crafted with high-quality materials, making it resistant to wear and tear. This means it can withstand frequent use and last for a long time, saving you the hassle and cost of constantly replacing it.
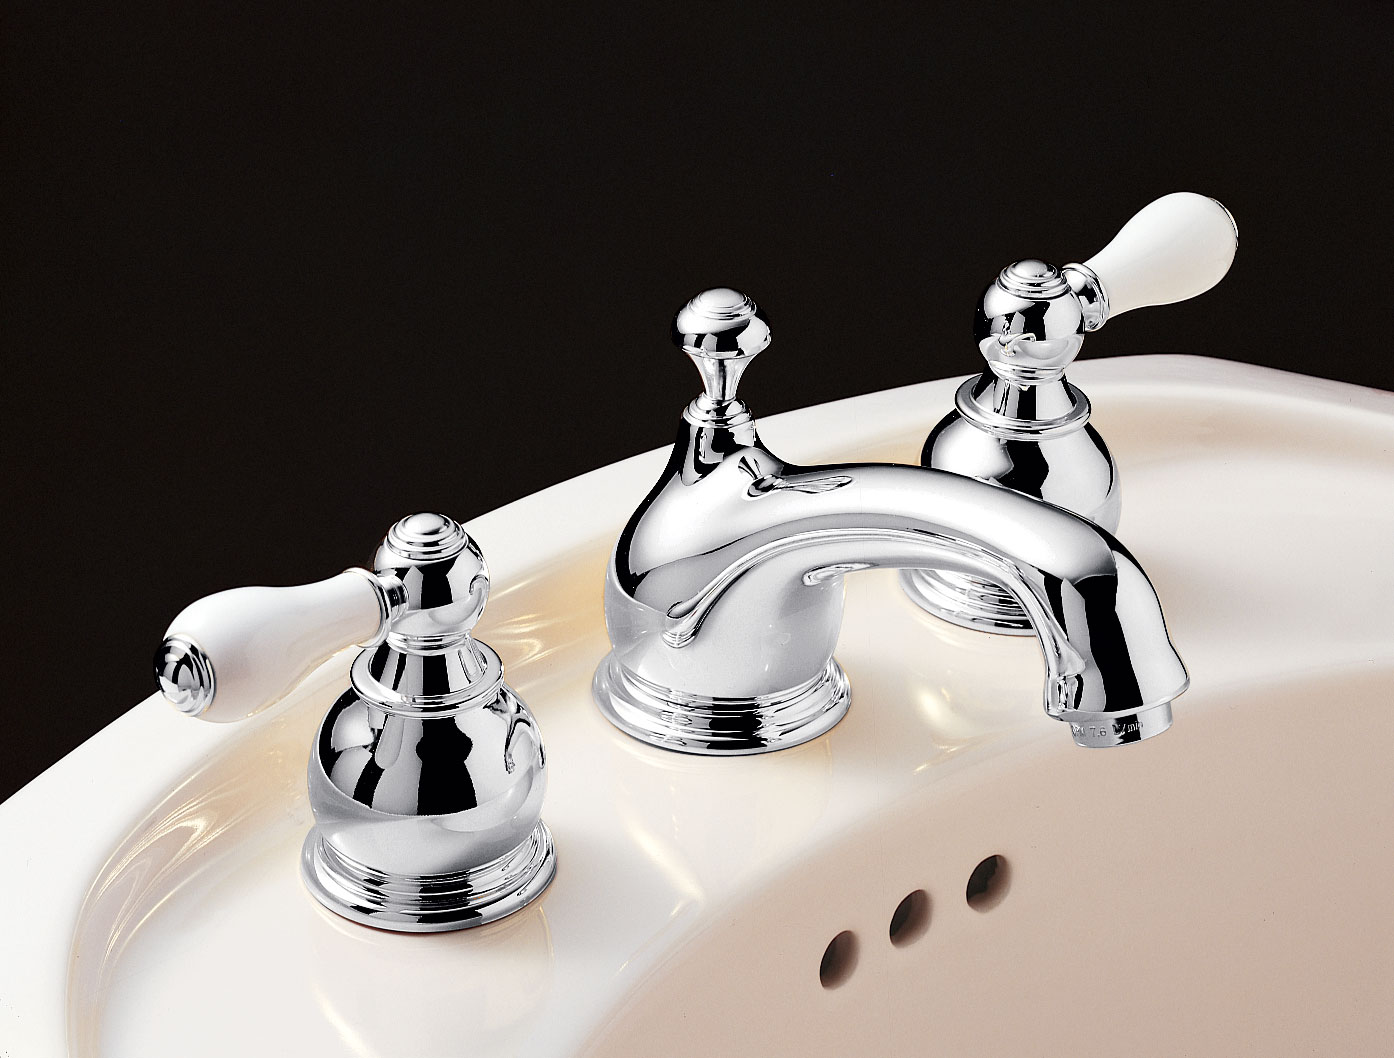
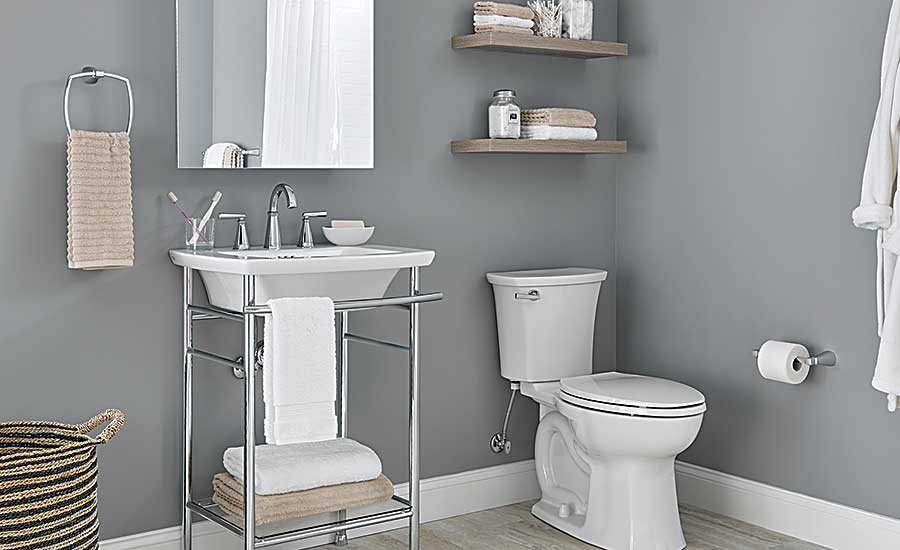
Upgrade Your Bathroom Design
 Aside from its functionality, the
American Standard bathroom sink cartridge
also adds to the overall design and aesthetic of your bathroom. With its sleek and modern design, it can elevate the look of your sink and complement any bathroom style. Whether you have a traditional or contemporary bathroom, there is a
American Standard bathroom sink cartridge
that will suit your design preferences.
In conclusion, upgrading to an
American Standard bathroom sink cartridge
is a wise investment for your bathroom. It not only enhances the functionality and efficiency of your sink, but also adds to the overall design and appeal of your bathroom. So why settle for a mediocre bathroom sink cartridge when you can have the best with American Standard? Upgrade now and experience the difference.
Aside from its functionality, the
American Standard bathroom sink cartridge
also adds to the overall design and aesthetic of your bathroom. With its sleek and modern design, it can elevate the look of your sink and complement any bathroom style. Whether you have a traditional or contemporary bathroom, there is a
American Standard bathroom sink cartridge
that will suit your design preferences.
In conclusion, upgrading to an
American Standard bathroom sink cartridge
is a wise investment for your bathroom. It not only enhances the functionality and efficiency of your sink, but also adds to the overall design and appeal of your bathroom. So why settle for a mediocre bathroom sink cartridge when you can have the best with American Standard? Upgrade now and experience the difference.