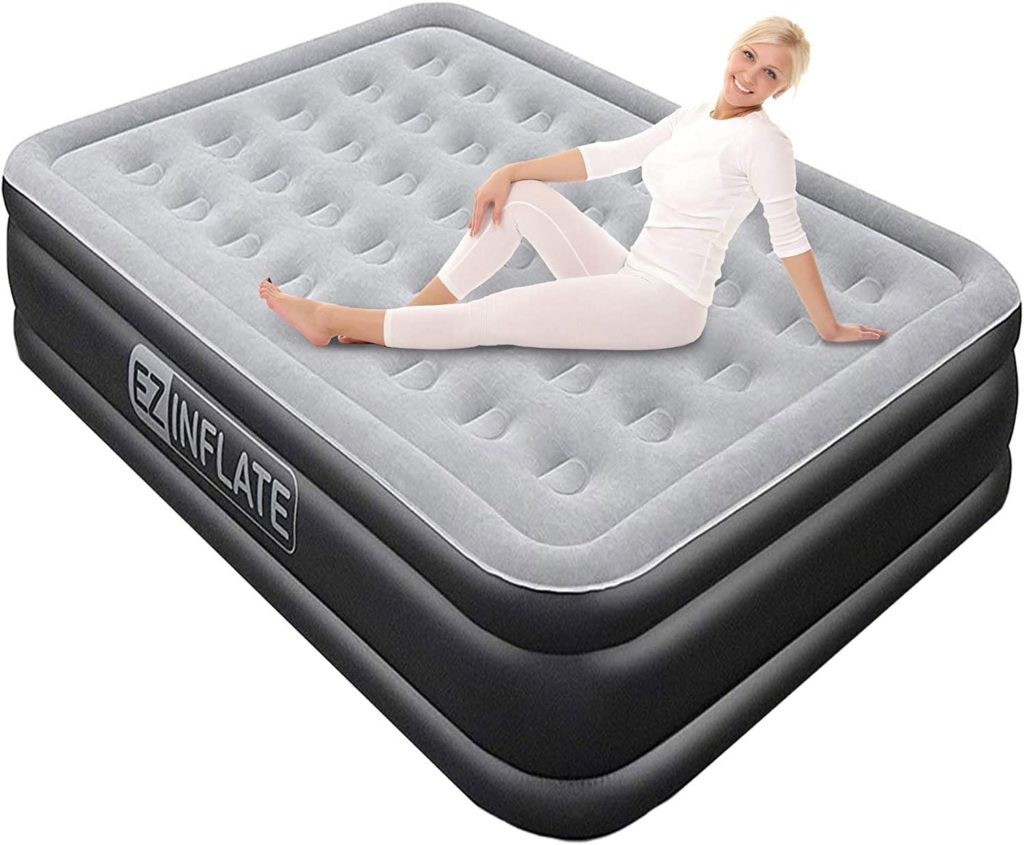
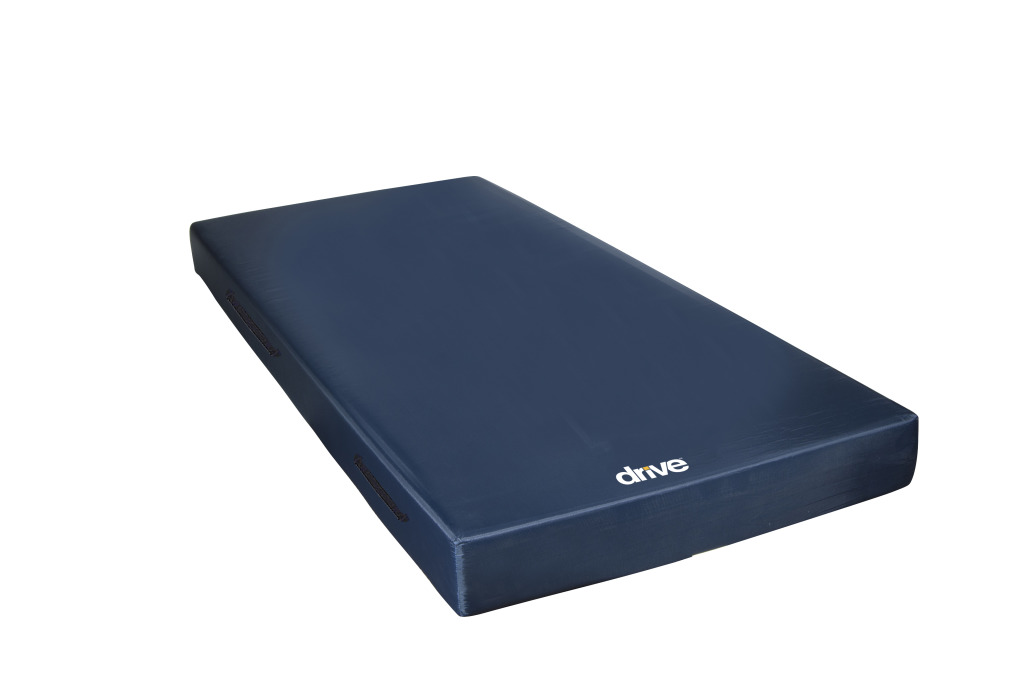
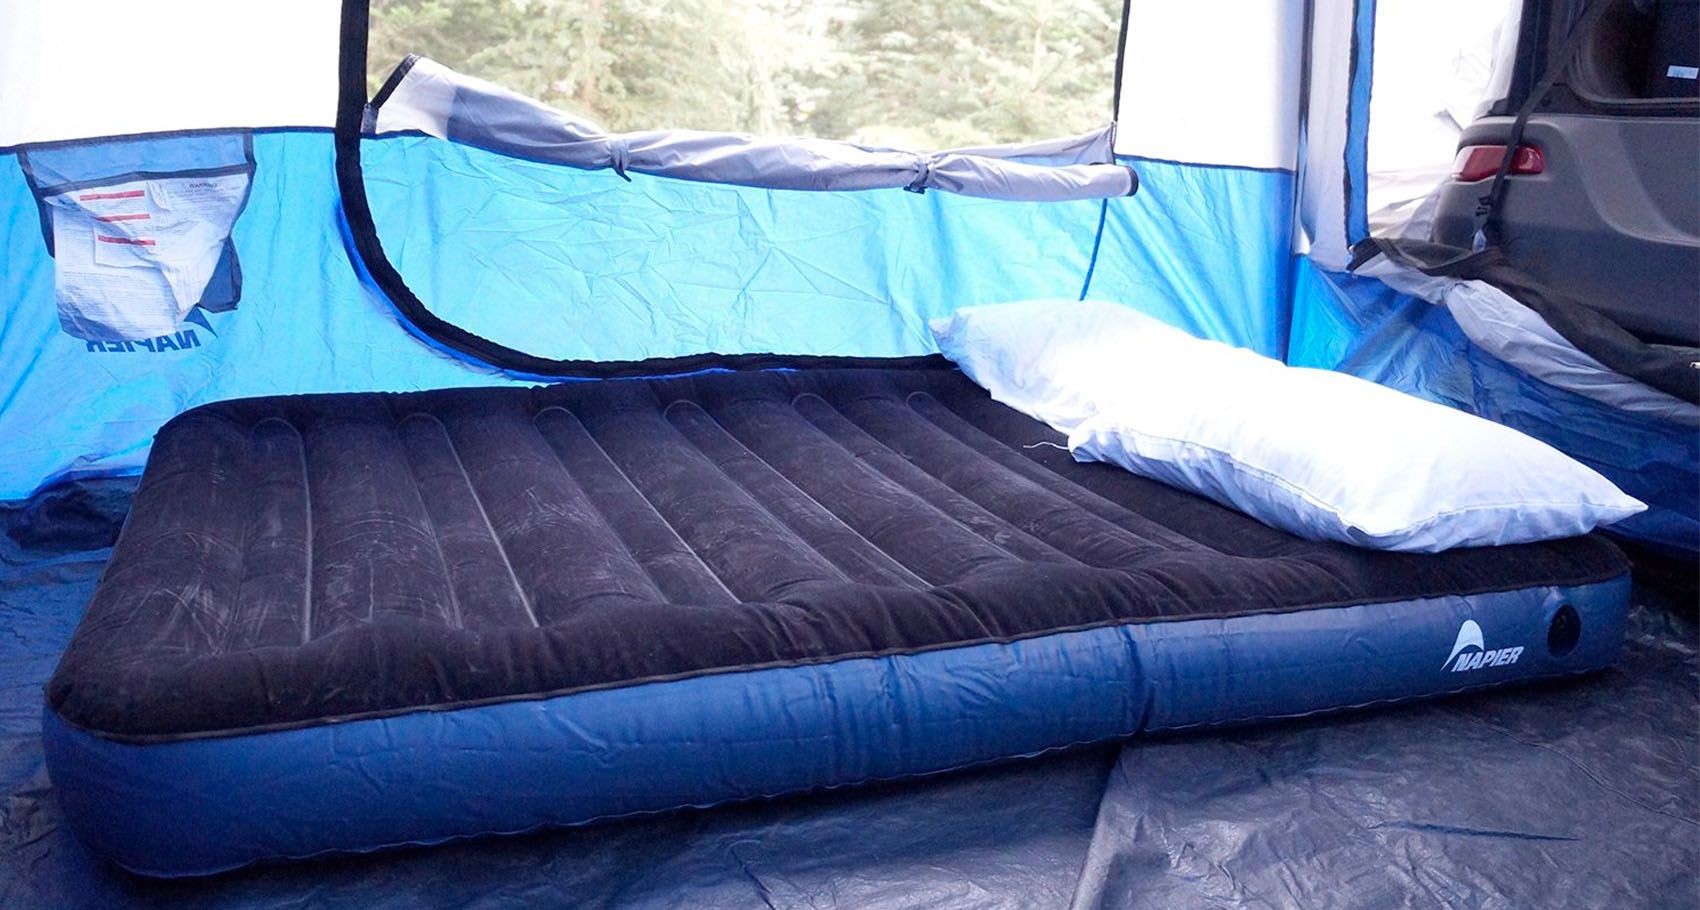
An air mattress is a convenient and comfortable solution for those who need a temporary sleeping space. However, over time, the cap of an air mattress may become damaged or lost, causing the air to leak out and making it unusable. Instead of throwing away your air mattress and buying a new one, why not try replacing the cap yourself? Not only is it a cost-effective solution, but it's also easy to do with just a few simple tools and materials. In this guide, we'll show you how to replace an air mattress cap in just a few easy steps.How to Replace an Air Mattress Cap

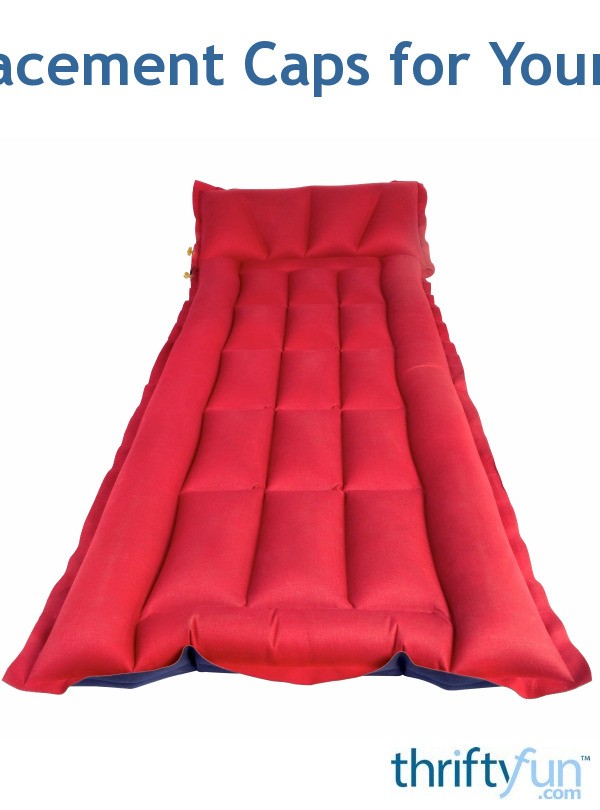
How to Replace an Air Mattress Cap
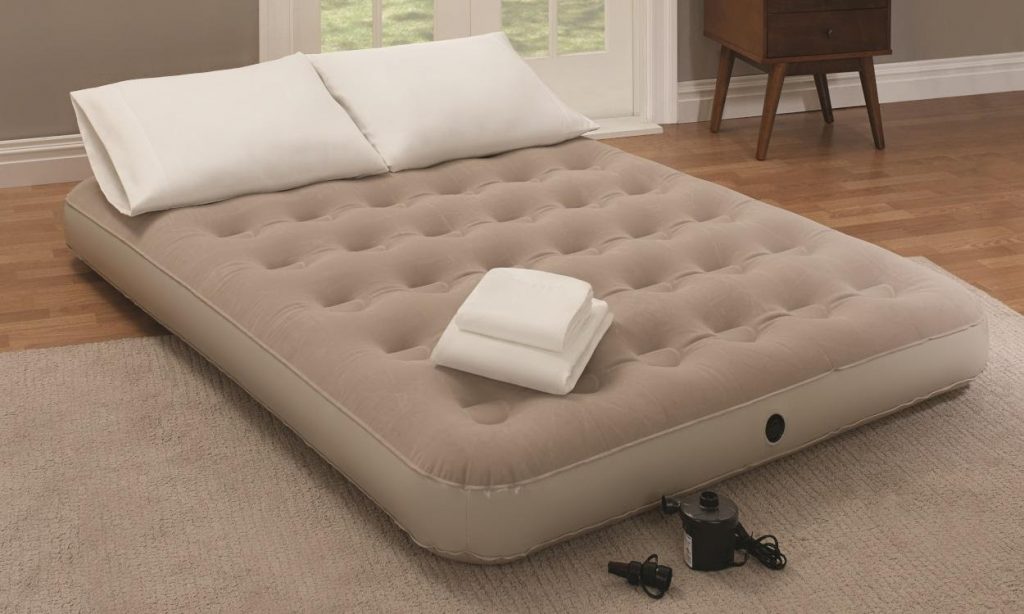


If you're someone who enjoys DIY projects, then replacing your air mattress cap is a great opportunity to put your skills to the test. All you need is a new cap, some glue, and a few basic tools to get the job done. Not only will you save money, but you'll also feel a sense of accomplishment knowing that you fixed your air mattress instead of replacing it. So, let's get started on this DIY air mattress cap replacement guide!DIY Air Mattress Cap Replacement


DIY Air Mattress Cap Replacement


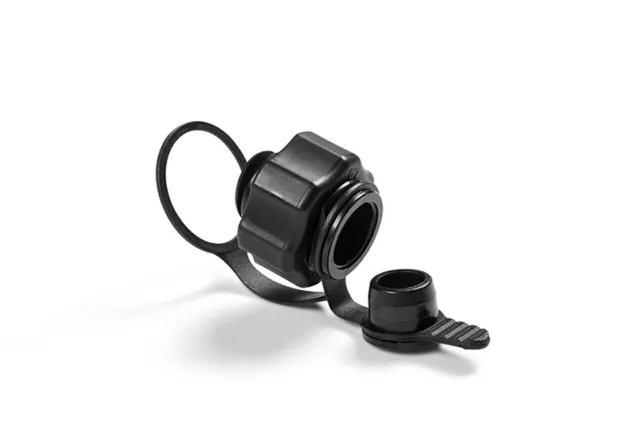
Replacing an air mattress cap may seem like a daunting task, but it's actually quite simple. The first step is to gather all the necessary materials and tools. You will need a new cap, preferably one that is the same size and shape as your old cap. You will also need some strong glue, such as super glue or epoxy. Additionally, you will need a pair of scissors, a pencil, and some sandpaper.Easy DIY Air Mattress Cap Replacement


Easy DIY Air Mattress Cap Replacement


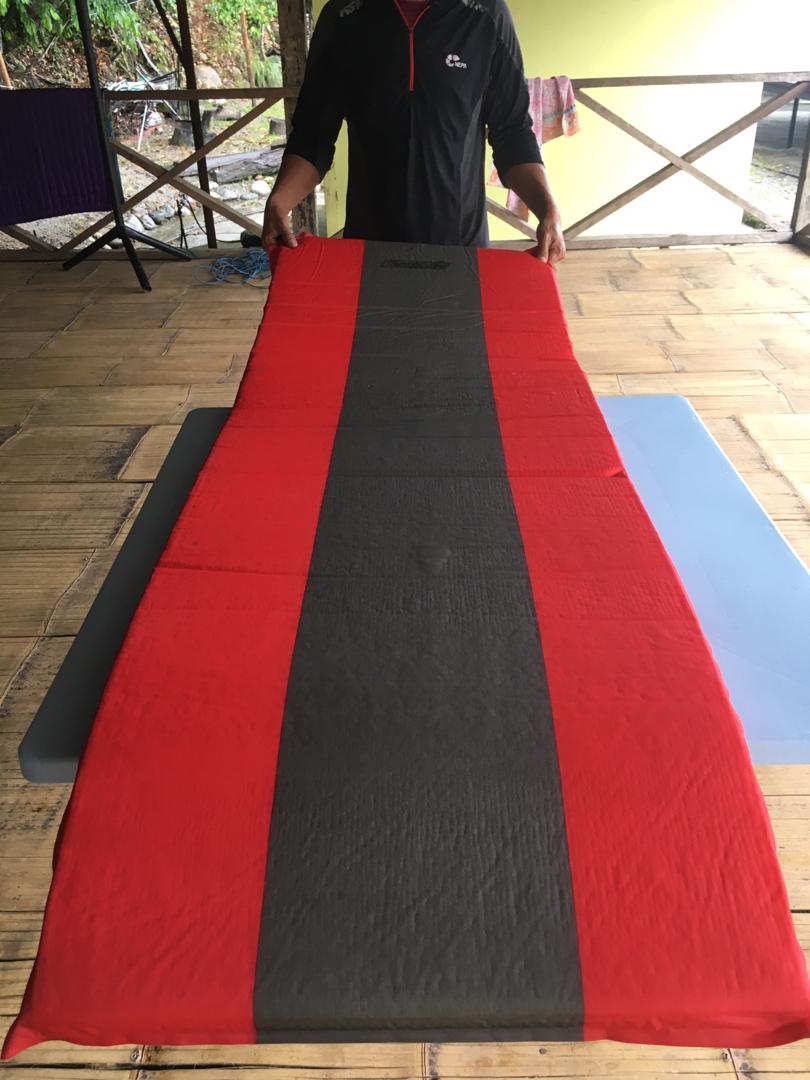
Now that you have all the materials and tools ready, it's time to start replacing the cap on your air mattress. Follow these step-by-step instructions for an easy DIY air mattress cap replacement: Step 1: Begin by cleaning the area where the old cap was attached to the air mattress. Use a damp cloth to remove any dirt, dust, or debris. Step 2: Take your new cap and use a pencil to trace around it on the air mattress where you want it to be placed. This will serve as a guide for the next step. Step 3: Using a pair of scissors, carefully cut along the traced line on the air mattress. Be sure to cut through all the layers of the mattress to create a hole for the new cap. Step 4: Next, use sandpaper to smooth out the edges of the hole you just cut. This will ensure that the new cap will sit flush against the mattress and create a tight seal. Step 5: Apply a small amount of glue around the edges of the hole on the air mattress. It's important not to use too much glue, as it may cause the cap to stick to the mattress and make it difficult to remove in the future. Step 6: Carefully place the new cap on top of the glue, making sure it is aligned with the hole. Press down firmly to ensure a strong bond between the cap and the mattress. Step 7: Let the glue dry completely before inflating your air mattress and using it. This will ensure that the cap is securely attached and will not come off when you're using the mattress.Step-by-Step Air Mattress Cap Replacement


Step-by-Step Air Mattress Cap Replacement


As you can see, replacing an air mattress cap is a simple and easy DIY project that anyone can do. Not only will it save you money, but it will also extend the life of your air mattress. However, if you're not a fan of DIY projects or don't have the time to do it yourself, you can always take your air mattress to a professional for repair.DIY Air Mattress Repair: Cap Replacement


DIY Air Mattress Repair: Cap Replacement


If you're short on time and need a quick fix for your air mattress, you can also use a temporary solution until you can replace the cap properly. One option is to use duct tape to cover the hole where the old cap was attached. While this may not be a long-term solution, it can buy you some time until you can get a new cap.Quick and Simple Air Mattress Cap Replacement


Quick and Simple Air Mattress Cap Replacement

Replacing an air mattress cap is just one of the many DIY fixes you can do for your air mattress. From patching holes to fixing leaks, there are many ways to extend the life of your air mattress and save money in the long run. So, before you toss out your old air mattress, consider trying out some DIY repairs first.DIY Air Mattress Fix: Replacing the Cap


DIY Air Mattress Fix: Replacing the Cap


Now that you know how easy it is to replace an air mattress cap, you can confidently tackle this DIY project and keep your air mattress in top condition. Just remember to take your time, use the right materials, and follow the steps carefully to ensure a successful replacement. With a new cap, your air mattress will be as good as new and ready for a comfortable night's sleep.Replacing an Air Mattress Cap: A DIY Guide


Replacing an Air Mattress Cap: A DIY Guide


By now, you should have all the knowledge and skills needed to replace the cap on your air mattress. Remember, this is just one of the many DIY repairs you can do for your air mattress. With a little bit of effort and some basic tools, you can save money and keep your air mattress in good condition for years to come.DIY Air Mattress Repair: How to Replace the Cap

DIY Air Mattress Repair: How to Replace the Cap

Replacing an air mattress cap may seem like a daunting task, but with this DIY guide, it's a simple and cost-effective solution. So, instead of throwing away your air mattress, give this DIY project a try and see the results for yourself. With a new cap, your air mattress will be ready for many more comfortable nights of sleep. Air Mattress Cap Replacement: A DIY Solution


Air Mattress Cap Replacement: A DIY Solution

Why Air Mattress Cap Replacement is Essential for DIY House Design

Introduction
 When it comes to designing your own house, there are many factors to consider such as the layout, furniture, and overall aesthetic. However, one aspect that is often overlooked is the functionality of your furniture and appliances. This is where air mattress cap replacement comes in. While it may seem like a small detail, having a functional air mattress can make a huge difference in your DIY house design. In this article, we will discuss the importance of air mattress cap replacement and how it can enhance your overall house design.
The Importance of Air Mattress Cap Replacement
 Air mattress cap replacement
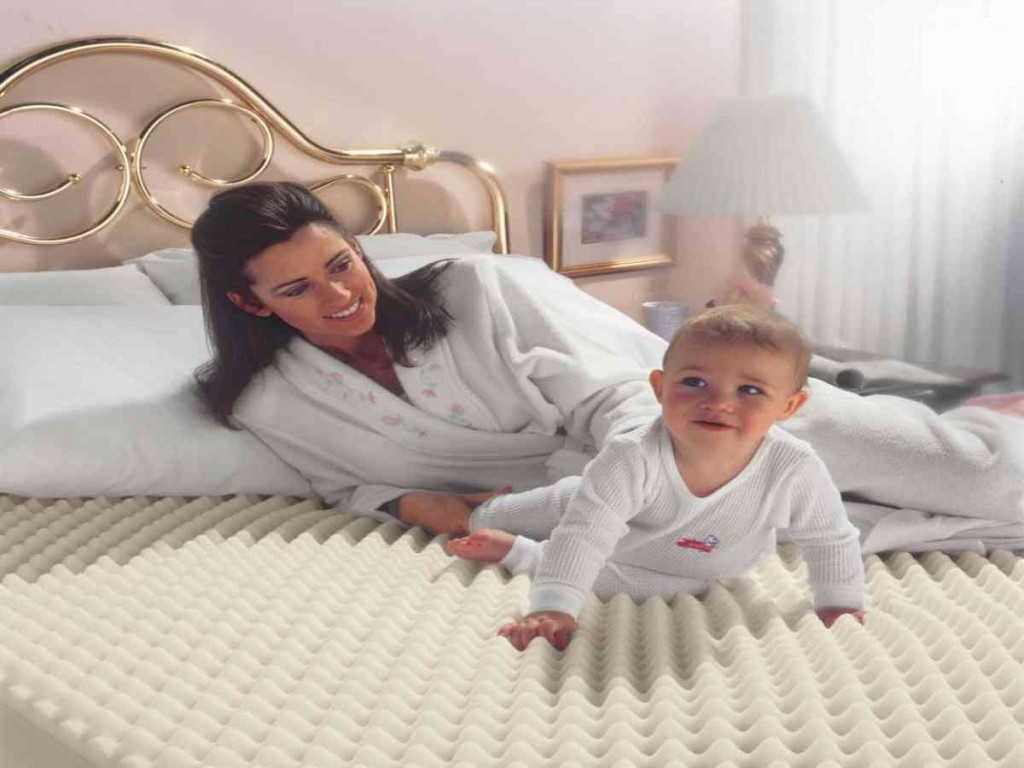
may not be something that immediately comes to mind when designing your own house, but it is a crucial element to consider. An air mattress is not just a piece of furniture for occasional use, it can also serve as a permanent bed for guests or even for yourself. Therefore, it is important to ensure that your air mattress is in good condition and has a functional cap.
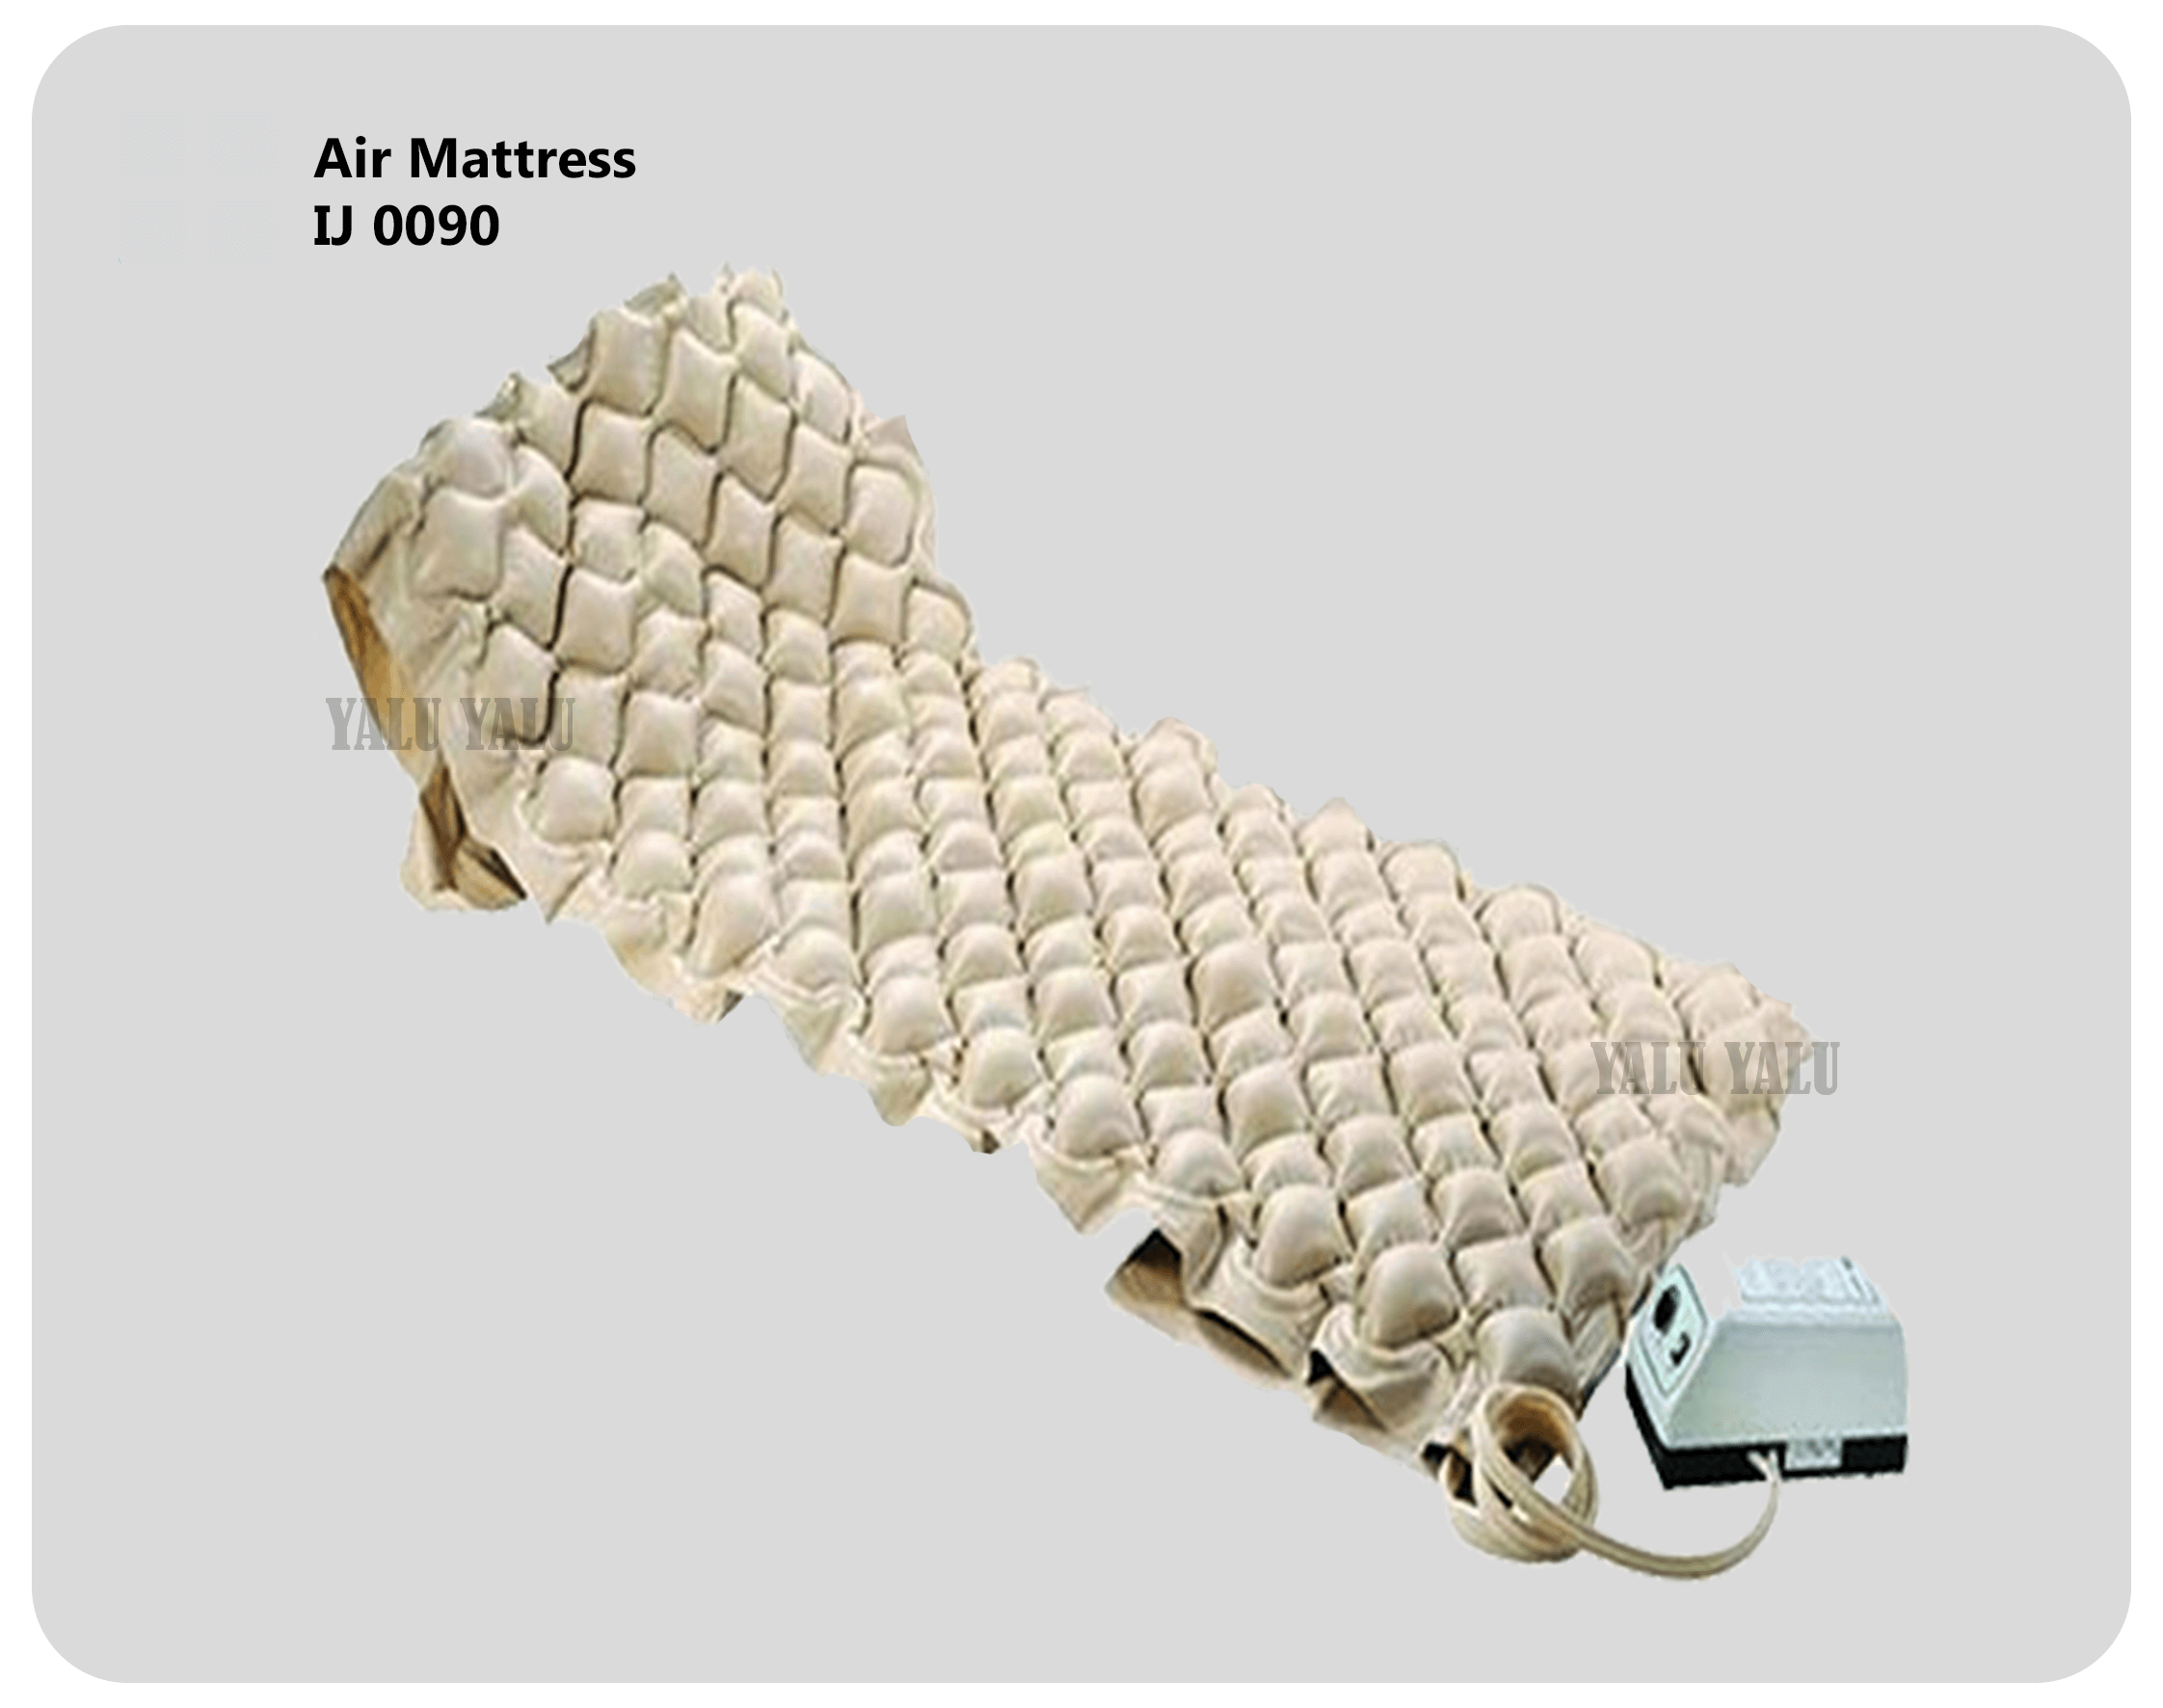
The cap
is the part of the air mattress that keeps the air locked in and maintains its firmness. Over time, due to wear and tear, the cap may become damaged or worn out. This can lead to a deflated air mattress, which not only affects the comfort of your guests but also the overall look of your house design. A deflated air mattress can make your house look messy and uninviting. This is why regular air mattress cap replacement is essential for maintaining a functional and attractive house design.
Air mattress cap replacement
may not be something that immediately comes to mind when designing your own house, but it is a crucial element to consider. An air mattress is not just a piece of furniture for occasional use, it can also serve as a permanent bed for guests or even for yourself. Therefore, it is important to ensure that your air mattress is in good condition and has a functional cap.
The cap
is the part of the air mattress that keeps the air locked in and maintains its firmness. Over time, due to wear and tear, the cap may become damaged or worn out. This can lead to a deflated air mattress, which not only affects the comfort of your guests but also the overall look of your house design. A deflated air mattress can make your house look messy and uninviting. This is why regular air mattress cap replacement is essential for maintaining a functional and attractive house design.
Enhancing Your House Design
 Aside from the practical benefits of air mattress cap replacement, it can also enhance the overall
aesthetic
of your house design. With the rise of minimalistic and modern house designs, having a bulky and outdated air mattress can ruin the overall look. By replacing the cap of your air mattress, you can choose a design that complements your house design and adds to its overall appeal. From sleek and simple to bold and colorful, there are many options available to fit your personal style and house design.
In addition, replacing your air mattress cap can also improve the
functionality
of your air mattress. With advancements in technology, there are now caps available that come with additional features such as built-in pumps or adjustable firmness levels. These features not only make your air mattress more convenient to use but also add a touch of modernity to your house design.
Aside from the practical benefits of air mattress cap replacement, it can also enhance the overall
aesthetic
of your house design. With the rise of minimalistic and modern house designs, having a bulky and outdated air mattress can ruin the overall look. By replacing the cap of your air mattress, you can choose a design that complements your house design and adds to its overall appeal. From sleek and simple to bold and colorful, there are many options available to fit your personal style and house design.
In addition, replacing your air mattress cap can also improve the
functionality
of your air mattress. With advancements in technology, there are now caps available that come with additional features such as built-in pumps or adjustable firmness levels. These features not only make your air mattress more convenient to use but also add a touch of modernity to your house design.
Conclusion
 In conclusion, air mattress cap replacement is an important aspect to consider when designing your own house. It not only ensures the functionality of your air mattress but also enhances the overall aesthetic of your house. By regularly replacing your air mattress cap, you can maintain a comfortable and stylish house design that will impress your guests and make you feel proud of your DIY project. So don't overlook the small details, and give your air mattress the attention it deserves for a successful house design.