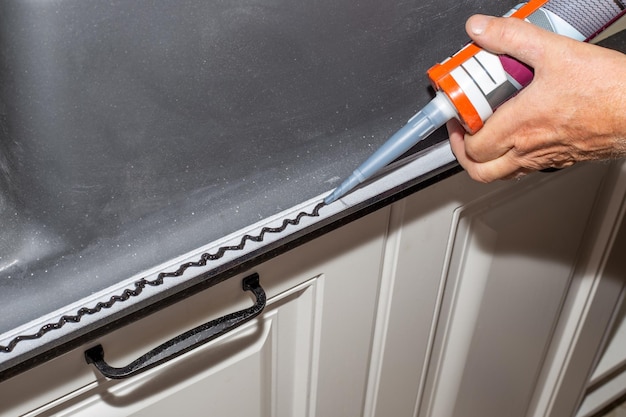
Adding a kitchen sink rim may seem like a daunting task, but with the right tools and knowledge, it can be a simple and rewarding DIY project. A kitchen sink rim is the finishing touch to any kitchen sink installation, providing a clean and polished look. In this guide, we will walk you through the steps of installing a kitchen sink rim, ensuring a professional-looking finish that will enhance the overall appearance of your kitchen.1. How to Install a Kitchen Sink Rim


1. How to Install a Kitchen Sink Rim


If your current kitchen sink rim is looking worn or outdated, replacing it is a cost-effective way to give your kitchen a fresh new look. This can easily be done as a DIY project, saving you time and money. With the proper tools and materials, you can remove the old rim and install a new one in just a few simple steps.2. DIY Kitchen Sink Rim Replacement


2. DIY Kitchen Sink Rim Replacement


Before beginning the installation process, make sure you have all the necessary tools and materials. This includes a new kitchen sink rim, plumber's putty, a putty knife, a screwdriver, and a wrench. Start by removing the old rim, cleaning the area thoroughly, and applying plumber's putty around the edges of the sink opening. Then, carefully place the new rim on top and secure it with screws. Finally, use a wrench to tighten the mounting clips and wipe away any excess putty.3. Step-by-Step Guide for Adding a Kitchen Sink Rim

3. Step-by-Step Guide for Adding a Kitchen Sink Rim


While installing a kitchen sink rim may seem like a simple task, there are a few common mistakes that can easily be avoided. These include not using enough plumber's putty, not properly aligning the rim, and not tightening the mounting clips enough. By taking your time and following the steps carefully, you can ensure a successful installation without any major mishaps.4. Common Mistakes to Avoid When Adding a Kitchen Sink Rim


4. Common Mistakes to Avoid When Adding a Kitchen Sink Rim


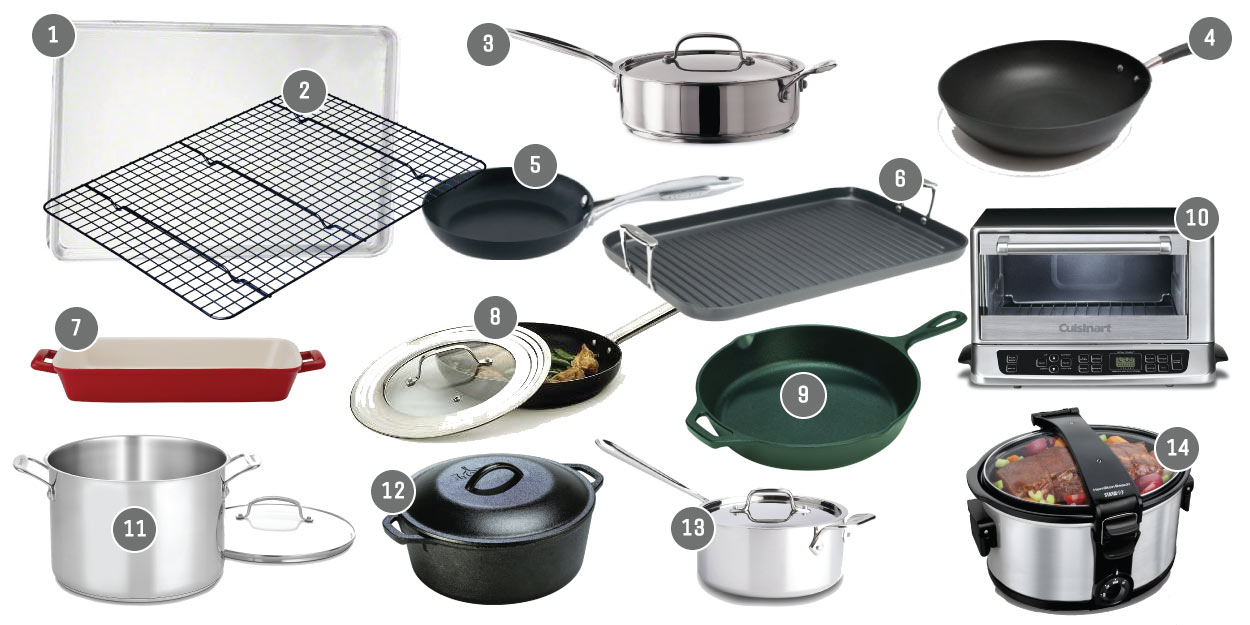
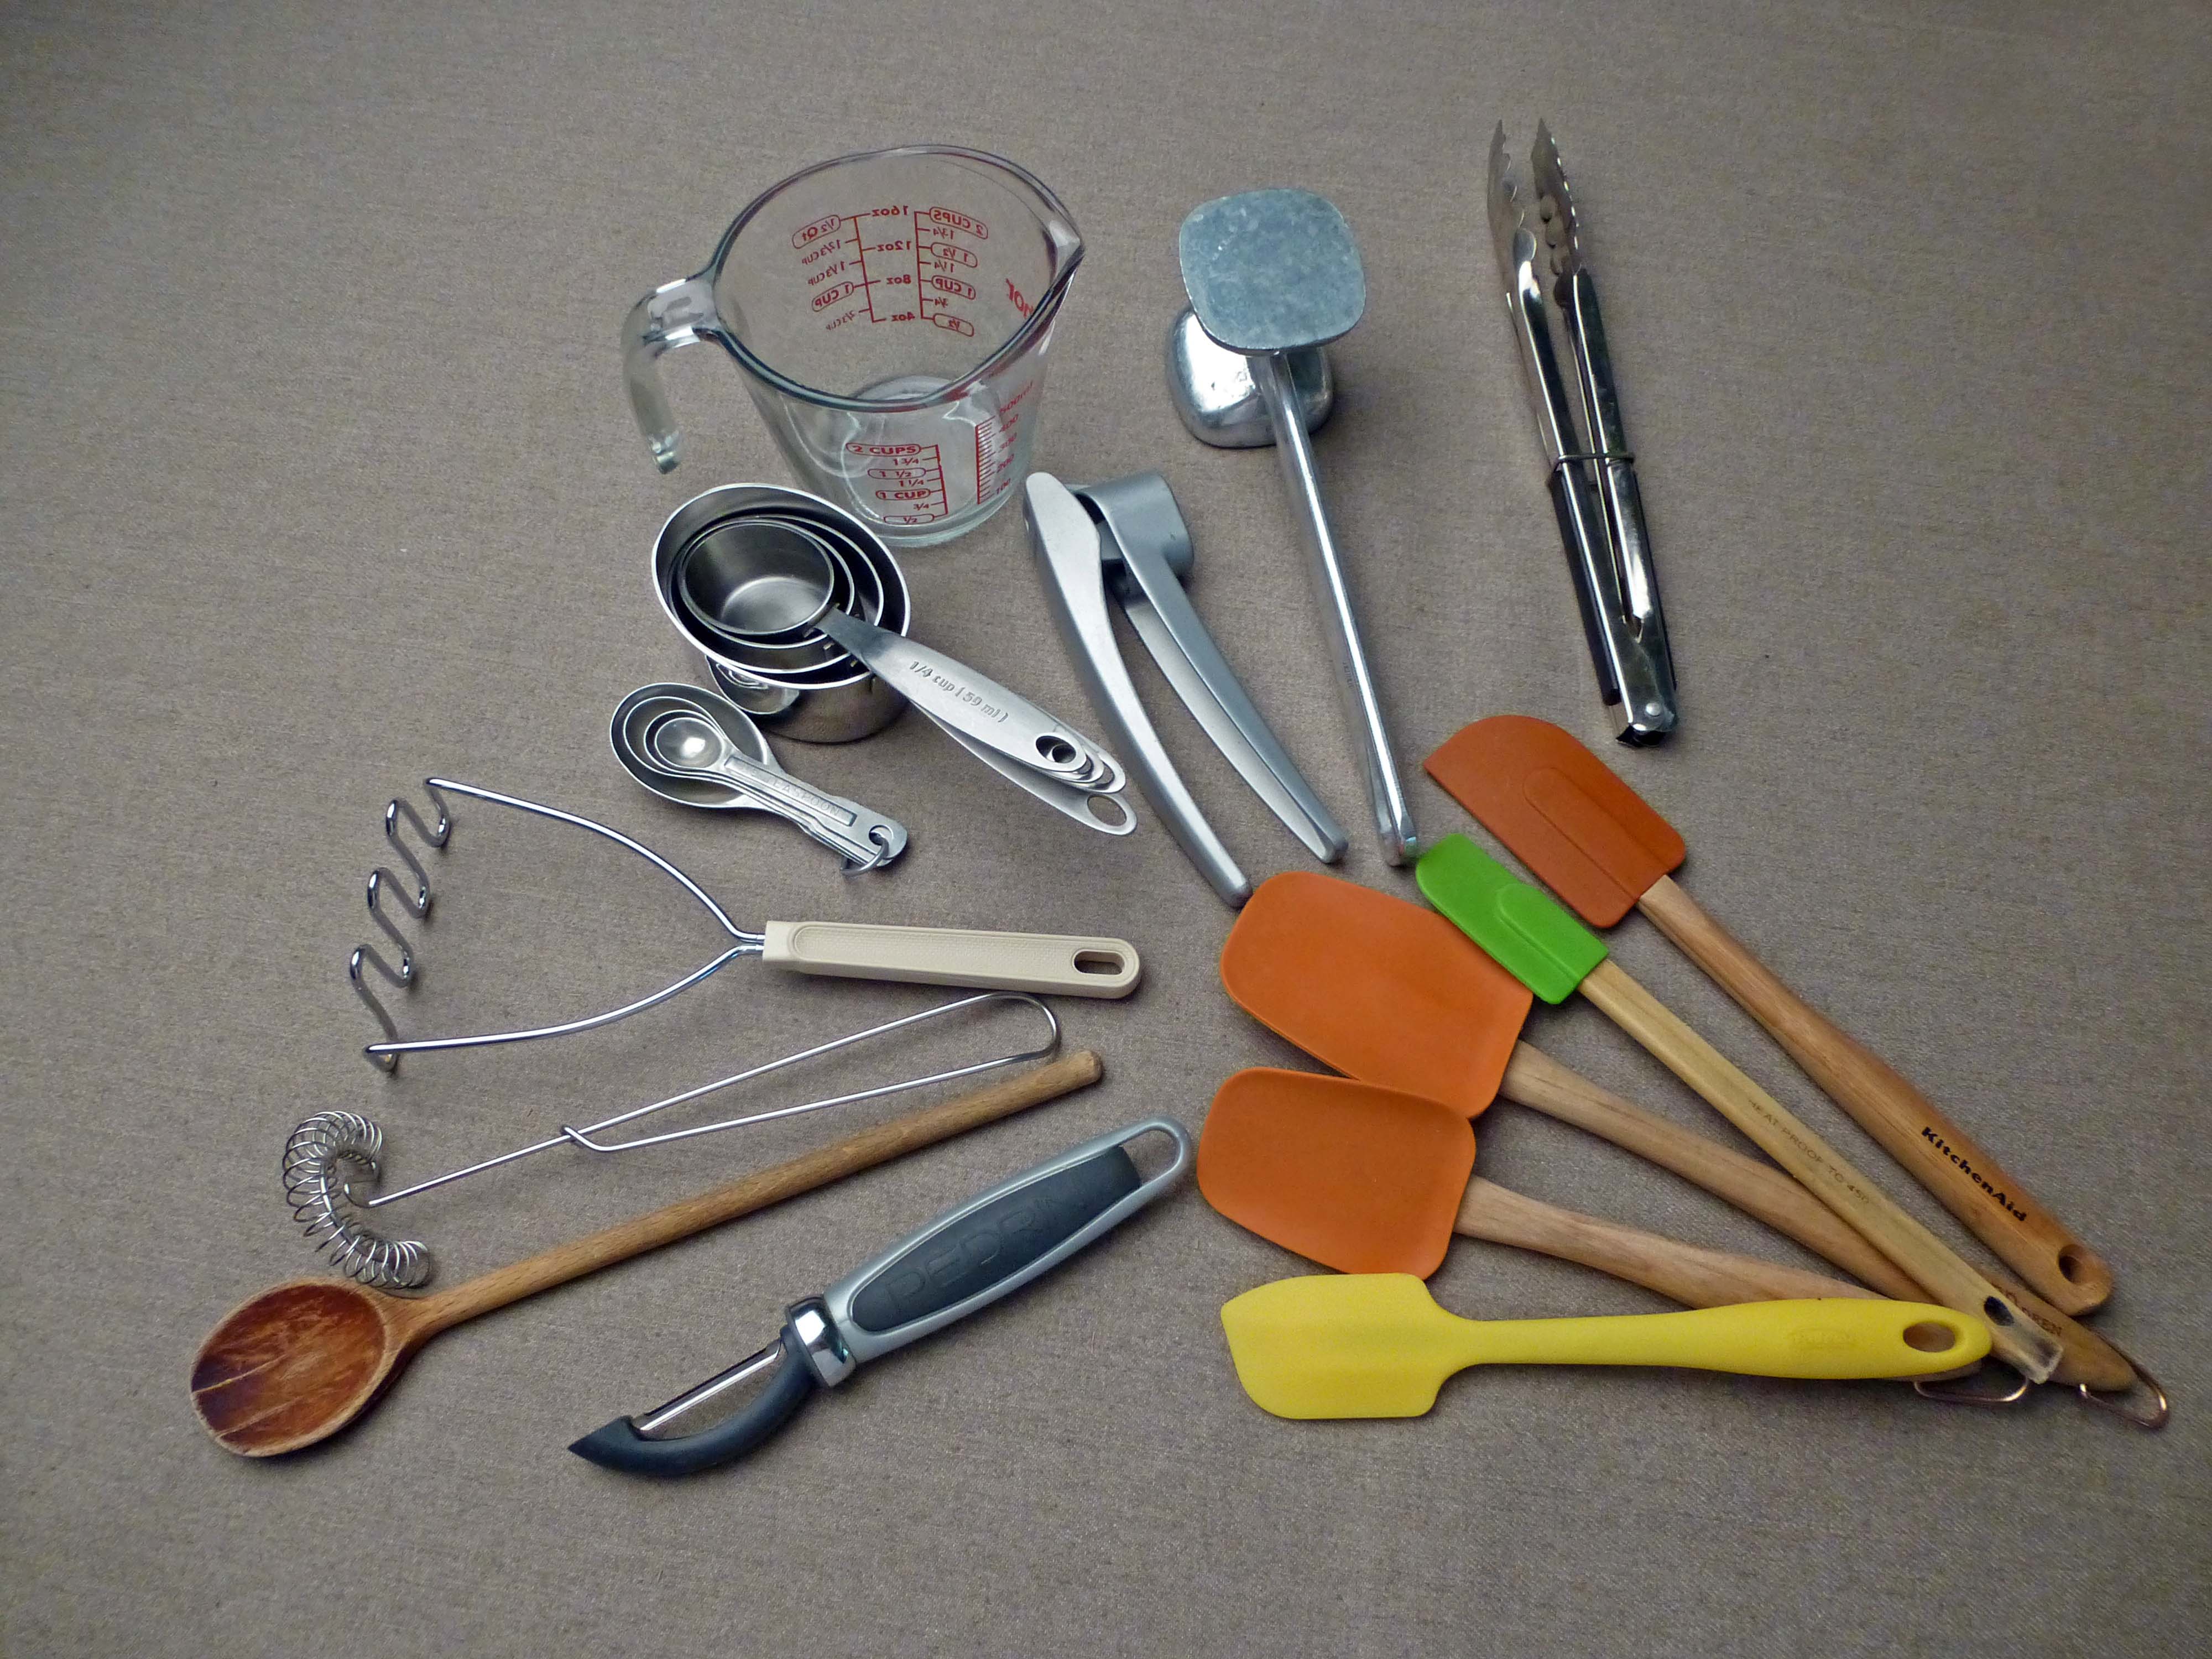
In order to successfully install a kitchen sink rim, you will need the right tools and materials. These include a new kitchen sink rim, plumber's putty, a putty knife, a screwdriver, a wrench, and a clean cloth for wiping away excess putty. Having these items on hand will make the installation process much smoother and more efficient.5. Tools and Materials Needed for Adding a Kitchen Sink Rim


5. Tools and Materials Needed for Adding a Kitchen Sink Rim


When it comes to adding a kitchen sink rim, there are a few tips that can help ensure a successful installation. First, make sure to measure the sink opening accurately to ensure the new rim will fit properly. Additionally, use a generous amount of plumber's putty to create a secure seal and prevent any water leaks. Finally, tighten the mounting clips evenly to ensure the rim is securely in place.6. Tips for a Successful Kitchen Sink Rim Installation


6. Tips for a Successful Kitchen Sink Rim Installation

/how-to-install-a-sink-drain-2718789-hero-24e898006ed94c9593a2a268b57989a3.jpg)

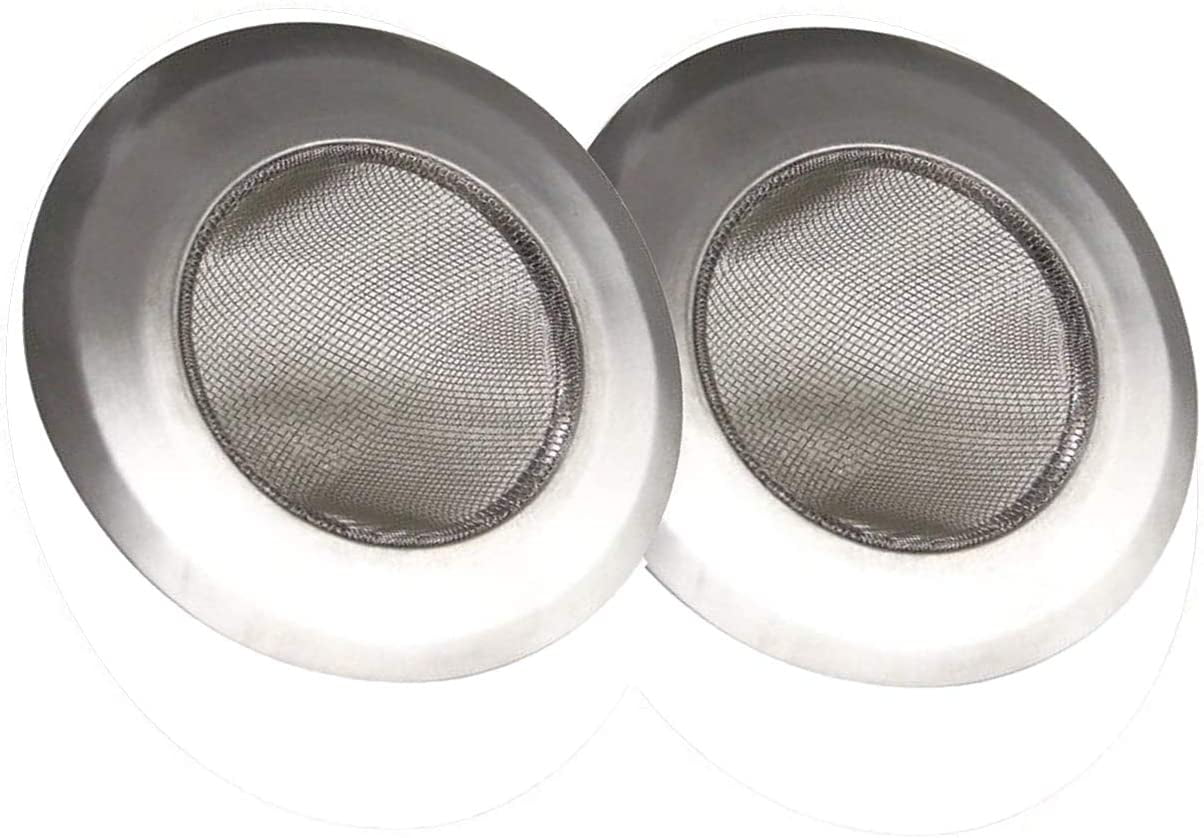
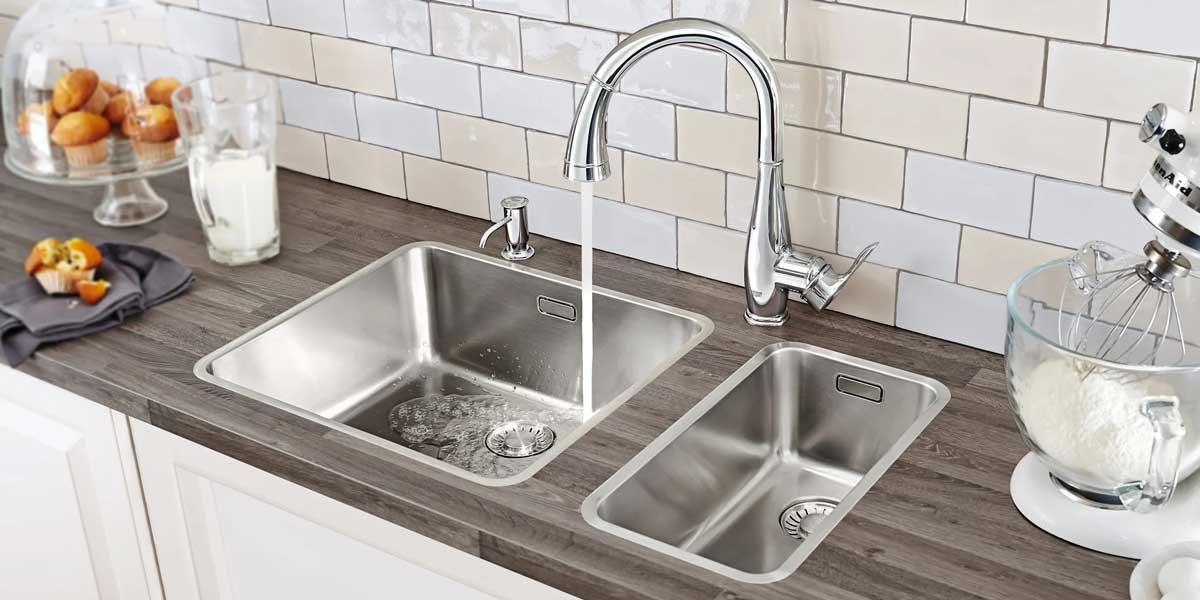
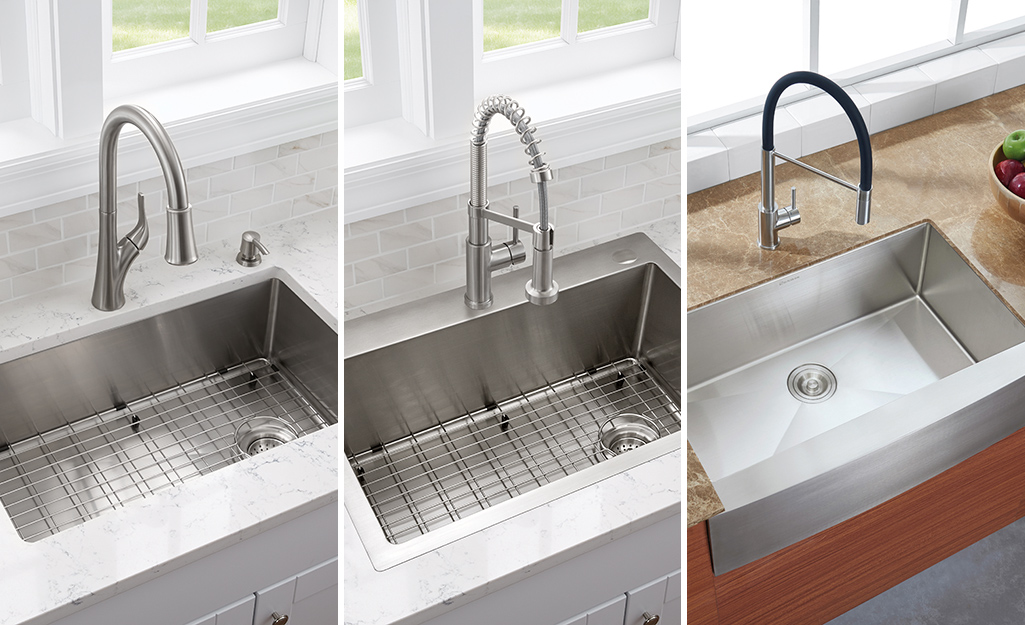
There are a variety of kitchen sink rims available on the market, each with its own unique features and benefits. Some popular options include self-rimming or drop-in rims, undermount rims, and flush-mount rims. Before making a purchase, consider the style and functionality that best fits your kitchen's needs.7. Understanding the Different Types of Kitchen Sink Rims


7. Understanding the Different Types of Kitchen Sink Rims

:max_bytes(150000):strip_icc()/Basic-kitchen-sink-types-1821207_color_rev-0b539306b9ef4236a136624ad2a89a4c.jpg)


Proper measurement is crucial when adding a new kitchen sink rim. To ensure accuracy, measure the length and width of your sink opening and add about 1 inch to each measurement. This will allow for a slight overhang and ensure a proper fit. If you are unsure, it is always best to consult a professional for accurate measurements.8. How to Measure for a New Kitchen Sink Rim


8. How to Measure for a New Kitchen Sink Rim


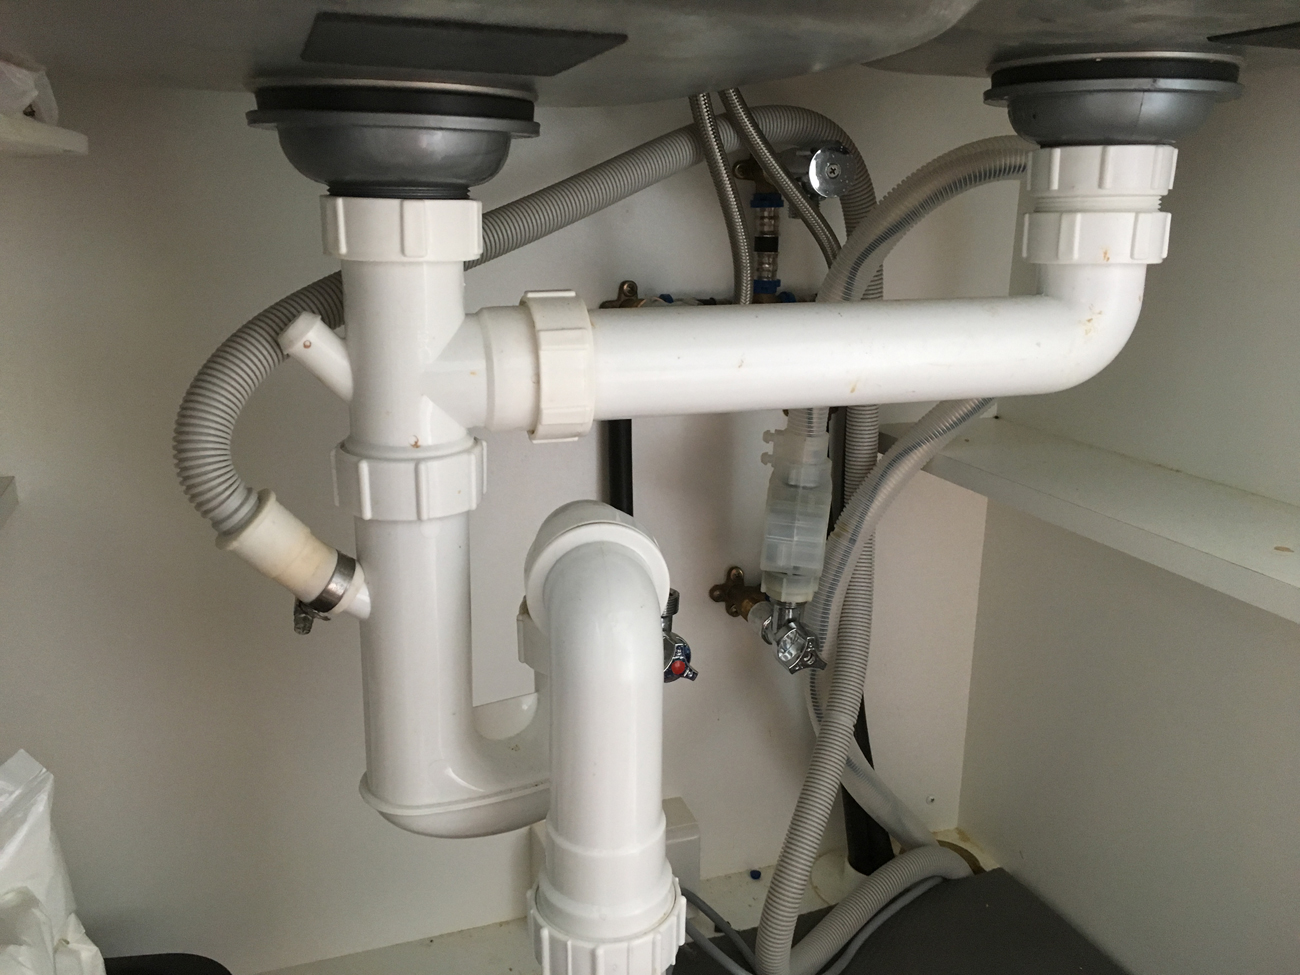


During the installation process, it is possible to encounter some common issues. These can include difficulty removing the old rim, leaks, or uneven installation. If you encounter any issues, refer to the manufacturer's instructions or consult a professional for assistance. It is important to address any issues promptly to avoid any potential damage to your kitchen.9. Troubleshooting Common Issues with Kitchen Sink Rim Installation


9. Troubleshooting Common Issues with Kitchen Sink Rim Installation


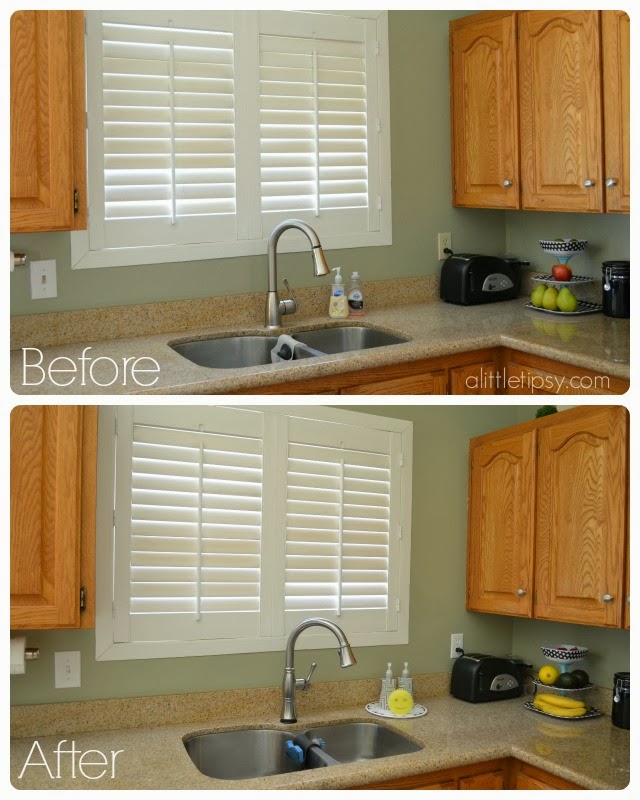
Adding a kitchen sink rim not only enhances the appearance of your kitchen, but it also has practical benefits as well. A properly installed rim can prevent water leaks and damage to the countertop and cabinets, as well as provide a secure surface for a variety of kitchen tasks. Additionally, a new rim can give your kitchen a refreshed and modern look, increasing the value of your home.10. Benefits of Adding a Kitchen Sink Rim to Your Home

10. Benefits of Adding a Kitchen Sink Rim to Your Home


Benefits of Adding a Kitchen Sink Rim to Your House Design

Enhanced Aesthetics
 Adding a kitchen sink rim to your house design can greatly enhance the overall aesthetics of your kitchen. The rim creates a clean and sleek look, adding a touch of elegance to the space. With various styles and materials to choose from, you can easily find a rim that complements your kitchen's design and adds a cohesive look to the room. The rim can also act as a focal point, drawing the eye and making a statement in your kitchen.
Increased Functionality
 Aside from its aesthetic benefits, a kitchen sink rim also adds functionality to your space. It provides a raised edge around the sink, preventing water and other liquids from spilling onto your countertops. This is especially useful for busy kitchens where spills and messes are common. Additionally, the rim can act as a drying rack for dishes, allowing them to air dry without taking up precious counter space.
Easy Installation
 Adding a kitchen sink rim is a relatively easy and straightforward process. With the right tools and materials, you can install it yourself or hire a professional to do it for you. This makes it a convenient and cost-effective way to upgrade your kitchen without having to undergo a major renovation. The rim can also be easily removed and replaced if you ever want to change up the look of your kitchen.
Durable and Long-Lasting
 Kitchen sink rims are typically made from durable materials such as stainless steel, porcelain, or stone, making them resistant to scratches, stains, and heat. This makes them a practical addition to any kitchen, as they can withstand daily wear and tear. With proper maintenance, a kitchen sink rim can last for many years, making it a worthwhile investment for your home.
In conclusion, adding a kitchen sink rim to your house design can bring many benefits, from enhancing aesthetics to increasing functionality. It is a simple and cost-effective way to upgrade your kitchen and add a touch of style to the space. With its durability and ease of installation, a kitchen sink rim is a practical choice for any homeowner looking to improve their kitchen's design. So why not consider adding one to your kitchen today?
Kitchen sink rims are typically made from durable materials such as stainless steel, porcelain, or stone, making them resistant to scratches, stains, and heat. This makes them a practical addition to any kitchen, as they can withstand daily wear and tear. With proper maintenance, a kitchen sink rim can last for many years, making it a worthwhile investment for your home.
In conclusion, adding a kitchen sink rim to your house design can bring many benefits, from enhancing aesthetics to increasing functionality. It is a simple and cost-effective way to upgrade your kitchen and add a touch of style to the space. With its durability and ease of installation, a kitchen sink rim is a practical choice for any homeowner looking to improve their kitchen's design. So why not consider adding one to your kitchen today?


