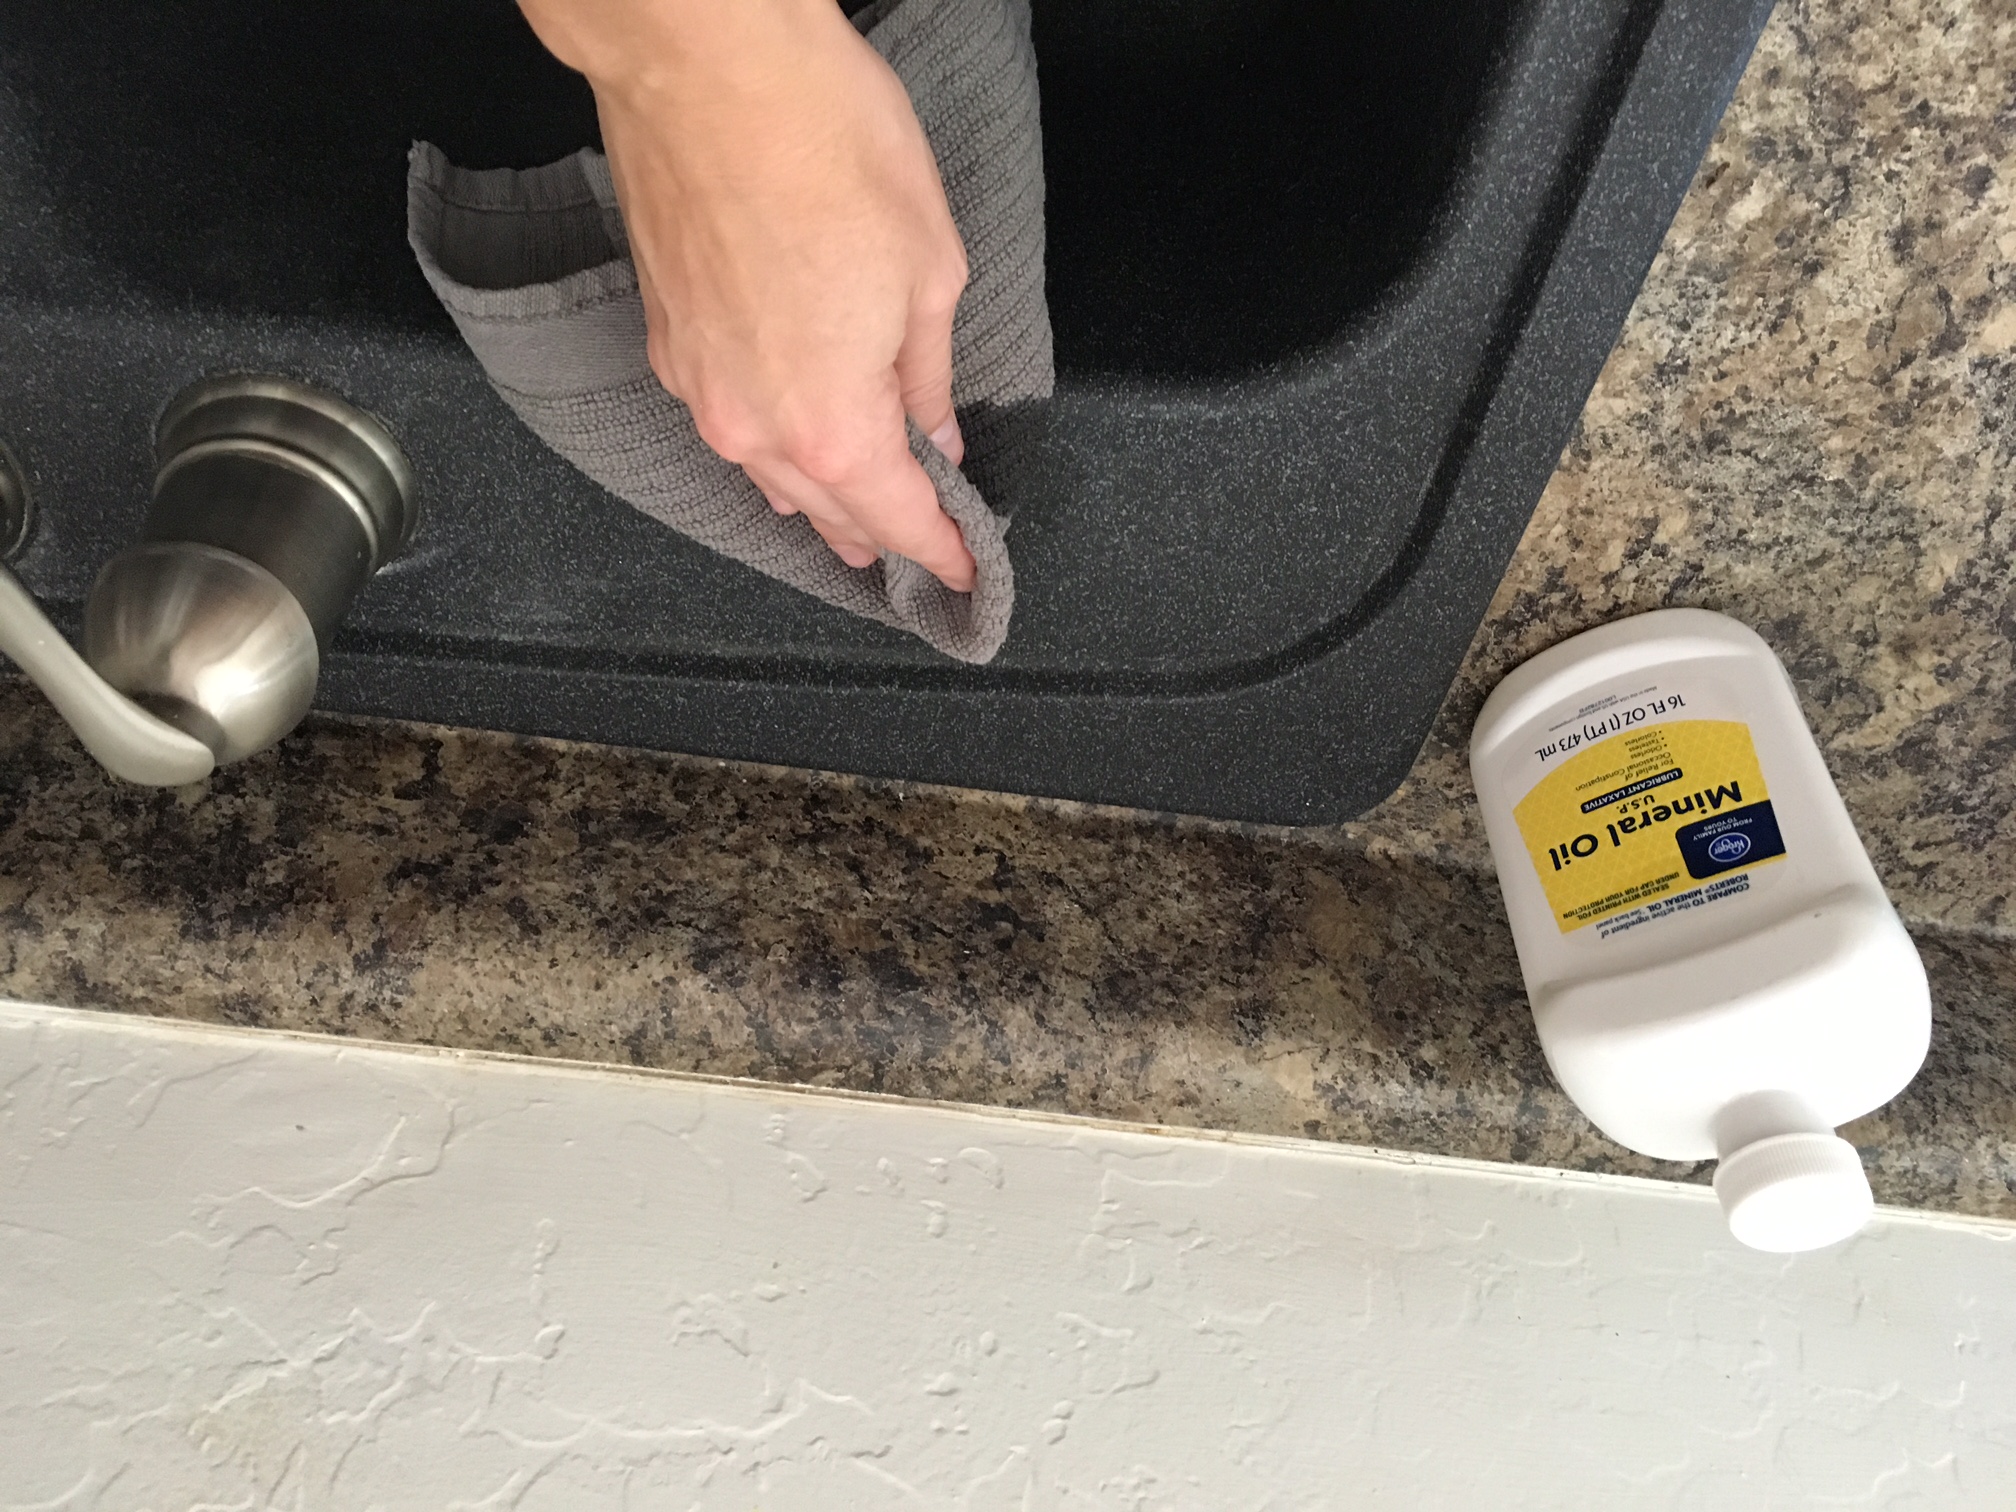
Acrylic Composite Kitchen Sink Installation and Cleaning
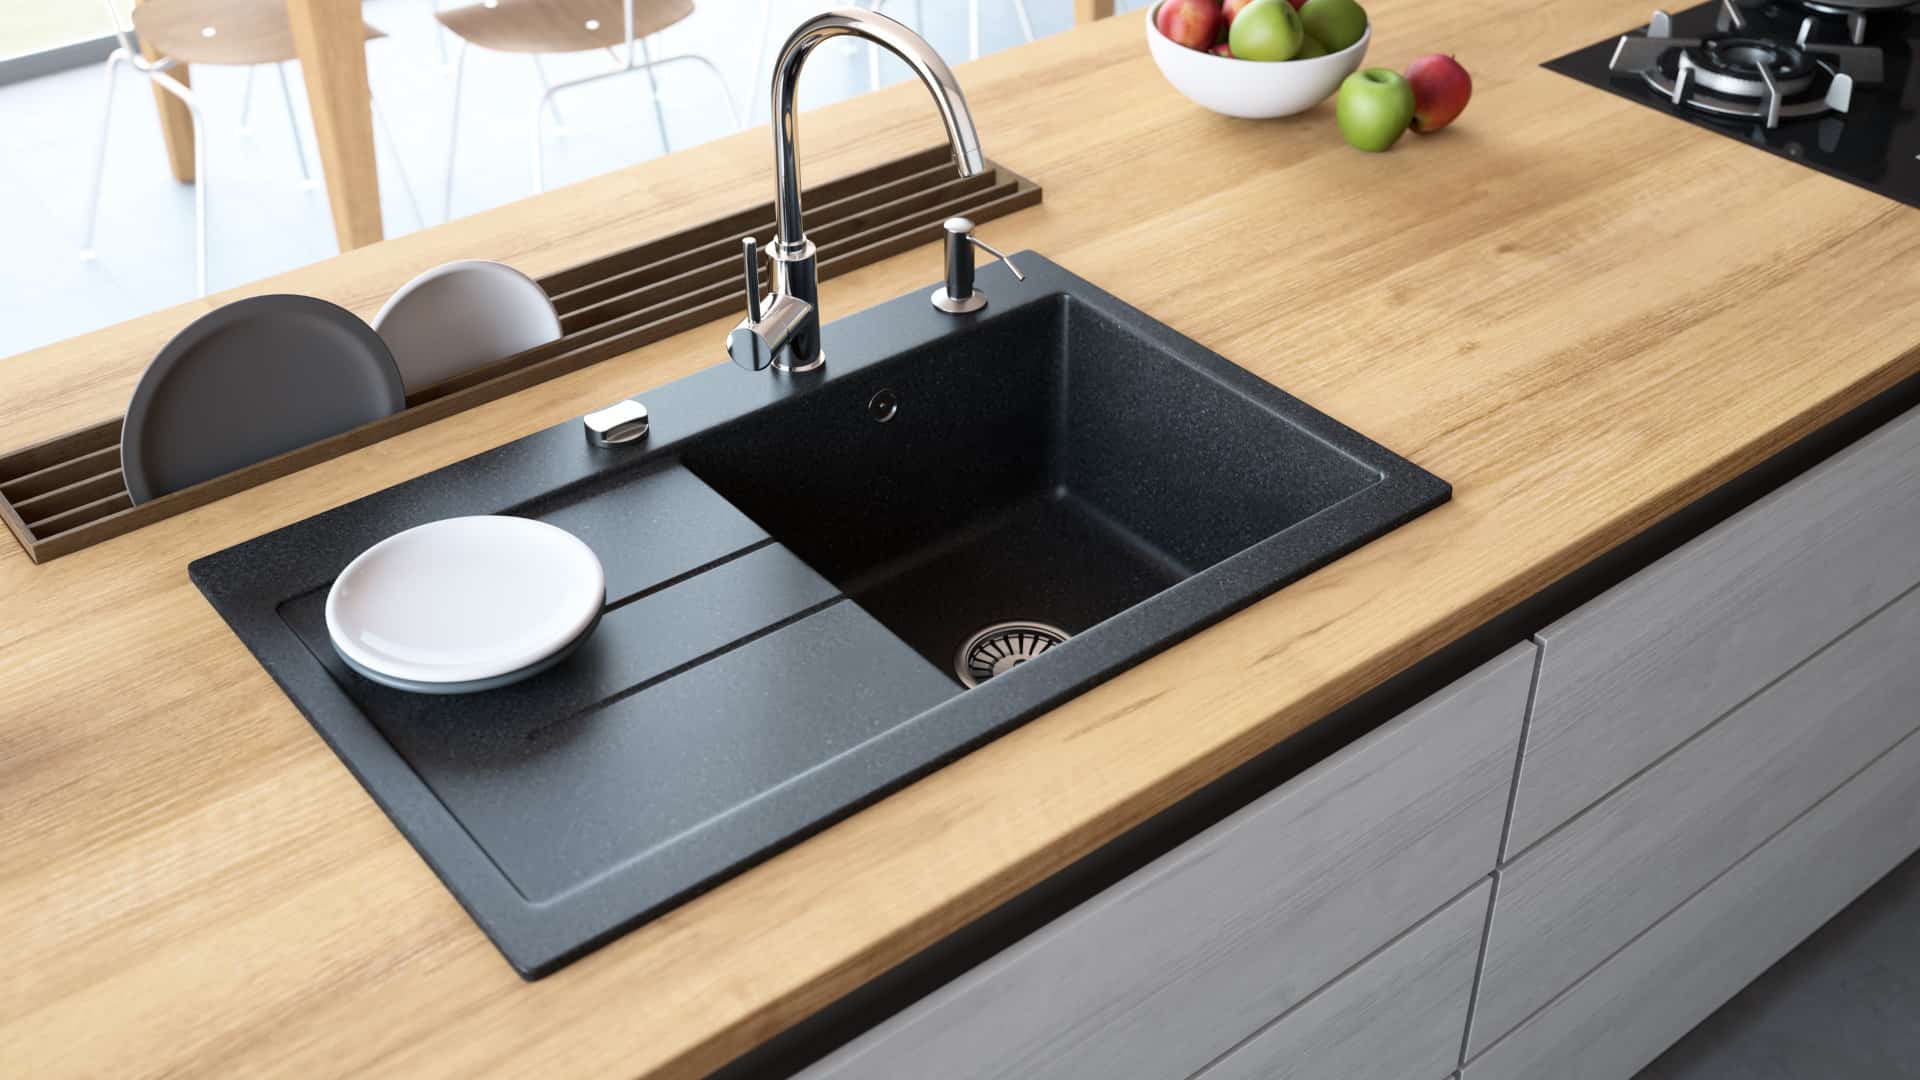
An acrylic composite kitchen sink is a popular choice for modern kitchens due to its durability, affordability, and easy maintenance. It is made from a combination of acrylic resin and natural materials such as granite, quartz, or marble. This results in a strong and beautiful sink that can withstand daily use and still look like new.
How to Install an Acrylic Composite Kitchen Sink
Installing an acrylic composite kitchen sink is a straightforward process that can be completed in a few simple steps. Before starting the installation, make sure to read the manufacturer's instructions carefully and gather all the necessary tools.
Step 1: Prepare the Sink and Countertop
The first step is to prepare the sink and countertop for installation. This involves cutting a hole in the countertop according to the sink's dimensions. Make sure to measure accurately and use a jigsaw to cut out the hole.
Step 2: Apply Sealant
Before placing the sink in the hole, apply a bead of silicone sealant around the edges of the hole. This will help create a watertight seal and prevent any leaks.
Step 3: Place the Sink
Carefully place the sink into the hole and press it down to secure it in place. Make sure it is level and centered before moving on to the next step.
Step 4: Secure the Sink
Using the manufacturer's recommended method, secure the sink to the countertop. This usually involves using clips or brackets that can be tightened to hold the sink in place.
Step 5: Connect the Plumbing
Once the sink is securely in place, connect the plumbing. Make sure to follow the manufacturer's instructions and use the correct tools for a proper and leak-free installation.
Step-by-Step Guide for Cleaning an Acrylic Composite Kitchen Sink
Cleaning an acrylic composite kitchen sink is a simple process that can be done using everyday household products. Here is a step-by-step guide to help you keep your sink looking clean and shiny:
Step 1: Rinse the Sink
Before cleaning, rinse the sink with warm water to remove any food debris or dirt.
Step 2: Use a Mild Cleaner
For daily cleaning, use a mild dish soap or a gentle all-purpose cleaner. Mix the cleaner with warm water and use a soft cloth or sponge to wipe down the sink surface.
Step 3: Scrub Gently
If there are stubborn stains or residue, use a non-abrasive scrubbing pad to gently scrub the surface. Avoid using harsh chemicals or abrasive cleaners as they can damage the sink's finish.
Step 4: Rinse and Dry
Rinse the sink with warm water and dry it with a clean, soft cloth. This will prevent water spots and keep your sink looking shiny.
Step 5: Use Baking Soda for Tough Stains
If there are tough stains or discoloration, mix baking soda with water to make a paste. Apply the paste to the stained area and let it sit for a few minutes before scrubbing with a soft brush. Rinse and dry as usual.
Best Practices for Installing and Maintaining an Acrylic Composite Kitchen Sink
To ensure your acrylic composite kitchen sink stays in top condition, here are some best practices to follow:
1. Read the Manufacturer's Instructions
Before starting the installation, make sure to read the manufacturer's instructions carefully. This will ensure you follow the correct installation process and use the recommended products for cleaning and maintenance.
2. Use Non-Abrasive Cleaners
To prevent scratches and damage to the sink's surface, use non-abrasive cleaners and gentle scrubbing pads. Avoid using harsh chemicals or steel wool.
3. Avoid Extreme Temperatures
Acrylic composite sinks can withstand high temperatures, but it's best to avoid placing hot pans or pots directly on the sink's surface. This can cause damage and discoloration over time.
4. Clean Regularly
Regular cleaning is key to maintaining the appearance of an acrylic composite sink. Make it a part of your kitchen cleaning routine to keep your sink looking like new.
Benefits of Using an Acrylic Composite Kitchen Sink
There are many benefits to choosing an acrylic composite kitchen sink for your home:
1. Durability: Acrylic composite sinks are resistant to scratches, stains, and heat, making them a durable option for busy kitchens.
2. Aesthetics: With a variety of colors and designs available, acrylic composite sinks can add a touch of elegance and style to any kitchen.
3. Easy Maintenance: Unlike other materials, acrylic composite sinks are easy to clean and maintain, making them a popular choice for busy homeowners.
4. Affordability: Compared to other sink materials, acrylic composite sinks are an affordable option without compromising on quality and style.
Common Mistakes to Avoid When Installing an Acrylic Composite Kitchen Sink
While installing an acrylic composite kitchen sink is a simple process, there are some common mistakes that should be avoided:
1. Not Measuring Accurately: A small measurement error can result in an ill-fitting sink, which can cause leaks and other issues.
2. Using the Wrong Tools: Make sure to use the recommended tools for installation to avoid damaging the sink's surface.
3. Not Sealing Properly: Properly sealing the sink is crucial to prevent leaks and maintain its durability.
How to Properly Seal an Acrylic Composite Kitchen Sink
Sealing an acrylic composite kitchen sink is a simple process that can be done in a few easy steps:
Step 1: Clean the Sink
Before sealing, make sure the sink is clean and dry. Use a non-abrasive cleaner to remove any dirt or residue.
Step 2: Apply Sealant
Using a silicone sealant, apply a thin bead around the edges of the sink. Make sure to cover all gaps and seams.
Step 3: Smooth the Sealant
Using your finger or a caulk smoothing tool, gently smooth the sealant to create a neat and even seal.
Step 4: Let it Dry
Let the sealant dry for at least 24 hours before using the sink or running water through it.
Recommended Cleaning Products for Acrylic Composite Kitchen Sinks
When it comes to cleaning an acrylic composite kitchen sink, it's important to use the right products to avoid damaging the sink's surface. Here are some recommended cleaning products:
1. Soft Scrub All-Purpose Cleaner: This gentle cleaner is perfect for daily cleaning and can remove stubborn stains without damaging the sink's surface.
2. Bar Keepers Friend Cleanser: This non-abrasive cleaner is great for removing tough stains and keeping your sink looking shiny and new.
3. Baking Soda: A natural and gentle cleaning agent, baking soda can be used to remove stains and discoloration from an acrylic composite sink.
Tips for Removing Stains from an Acrylic Composite Kitchen Sink
While acrylic composite sinks are resistant to stains, they can still develop discoloration over time. Here are some tips to help you remove stubborn stains:
1. Use a Gentle Scrubbing Pad: Avoid using steel wool or other abrasive materials that can scratch the sink's surface. Instead, use a non-abrasive scrubbing pad to gently remove stains.
2. Try a Homemade Cleaner: Mix equal parts water and white vinegar to make a natural and effective cleaner for removing stains from an acrylic composite sink.
3. Use a Plastic Scraper: For tougher stains, use a plastic scraper to gently remove the stain without damaging the sink's surface.
How to Prevent Scratches on an Acrylic Composite Kitchen Sink
Prevention is key when it comes to maintaining the appearance of an acrylic composite kitchen sink. Here are some tips to prevent scratches:
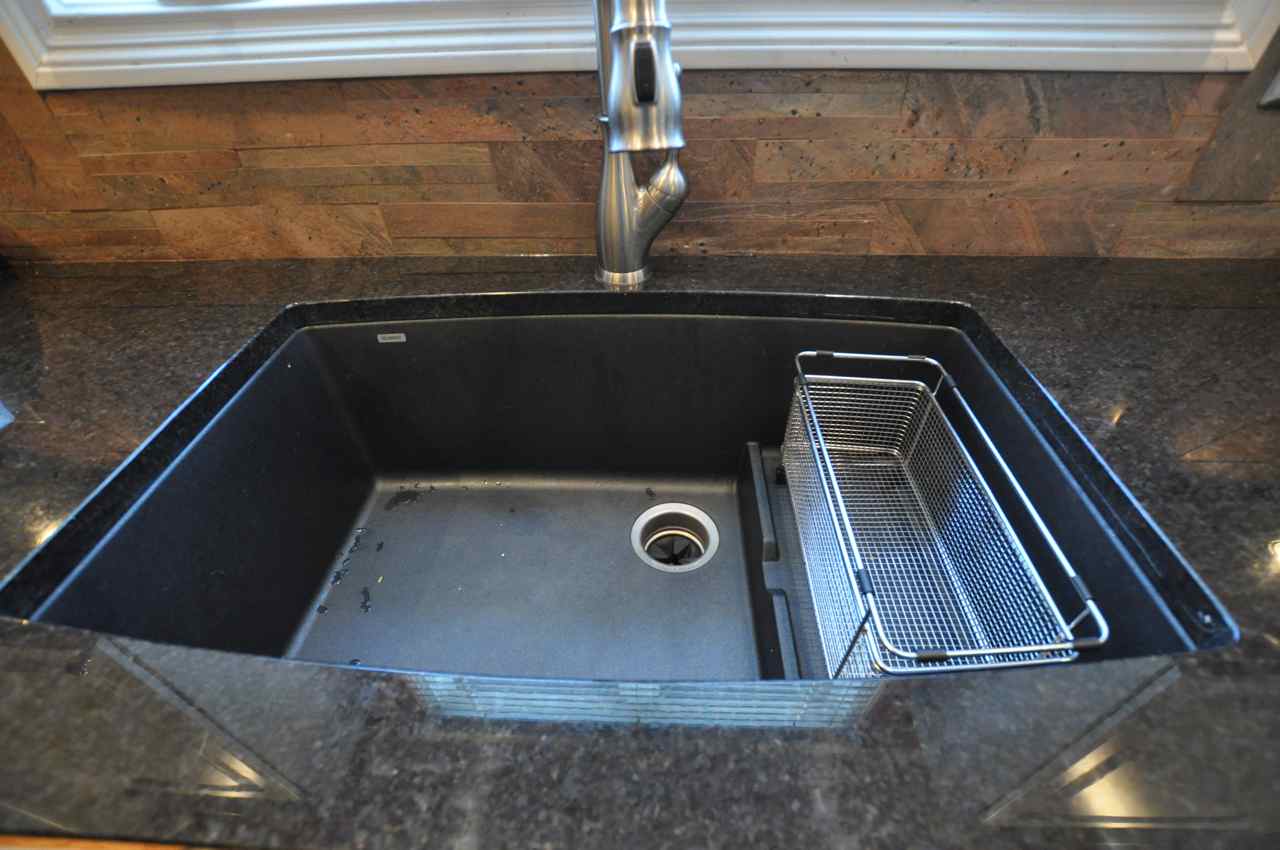
1. Use a Sink Grid: A sink grid can protect the sink's surface from scratches caused by pots and pans.
2. Avoid Harsh Chemicals: Harsh chemicals can damage the sink's finish, so it's best to avoid using them for cleaning.
3. Wipe with a Soft Cloth: After each use, wipe the sink with a soft cloth to remove any dirt or debris that can cause scratches.
With proper installation, maintenance, and cleaning, an acrylic composite kitchen sink can keep your kitchen looking beautiful and functional for many years to come. Follow these tips and enjoy a clean and stunning sink in your modern kitchen.
The Benefits of Choosing an Acrylic Composite Kitchen Sink for Your Home

Enhance the Aesthetic Appeal of Your Kitchen
 When it comes to designing your dream kitchen, every detail matters. From the color scheme to the type of appliances, homeowners put a lot of thought into creating a space that is both functional and visually appealing.
Choosing an acrylic composite kitchen sink
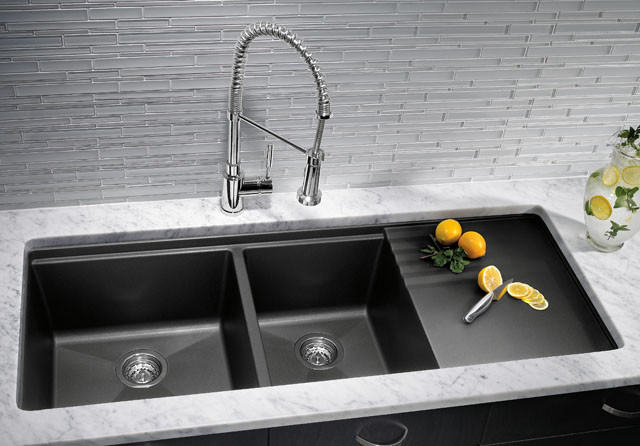
can add a touch of elegance and modernity to your kitchen. These sinks are available in a variety of colors and finishes, making it easy to find one that complements your overall kitchen design. Plus, their sleek and seamless appearance can make your kitchen look more spacious and streamlined.
Durable and Long-Lasting
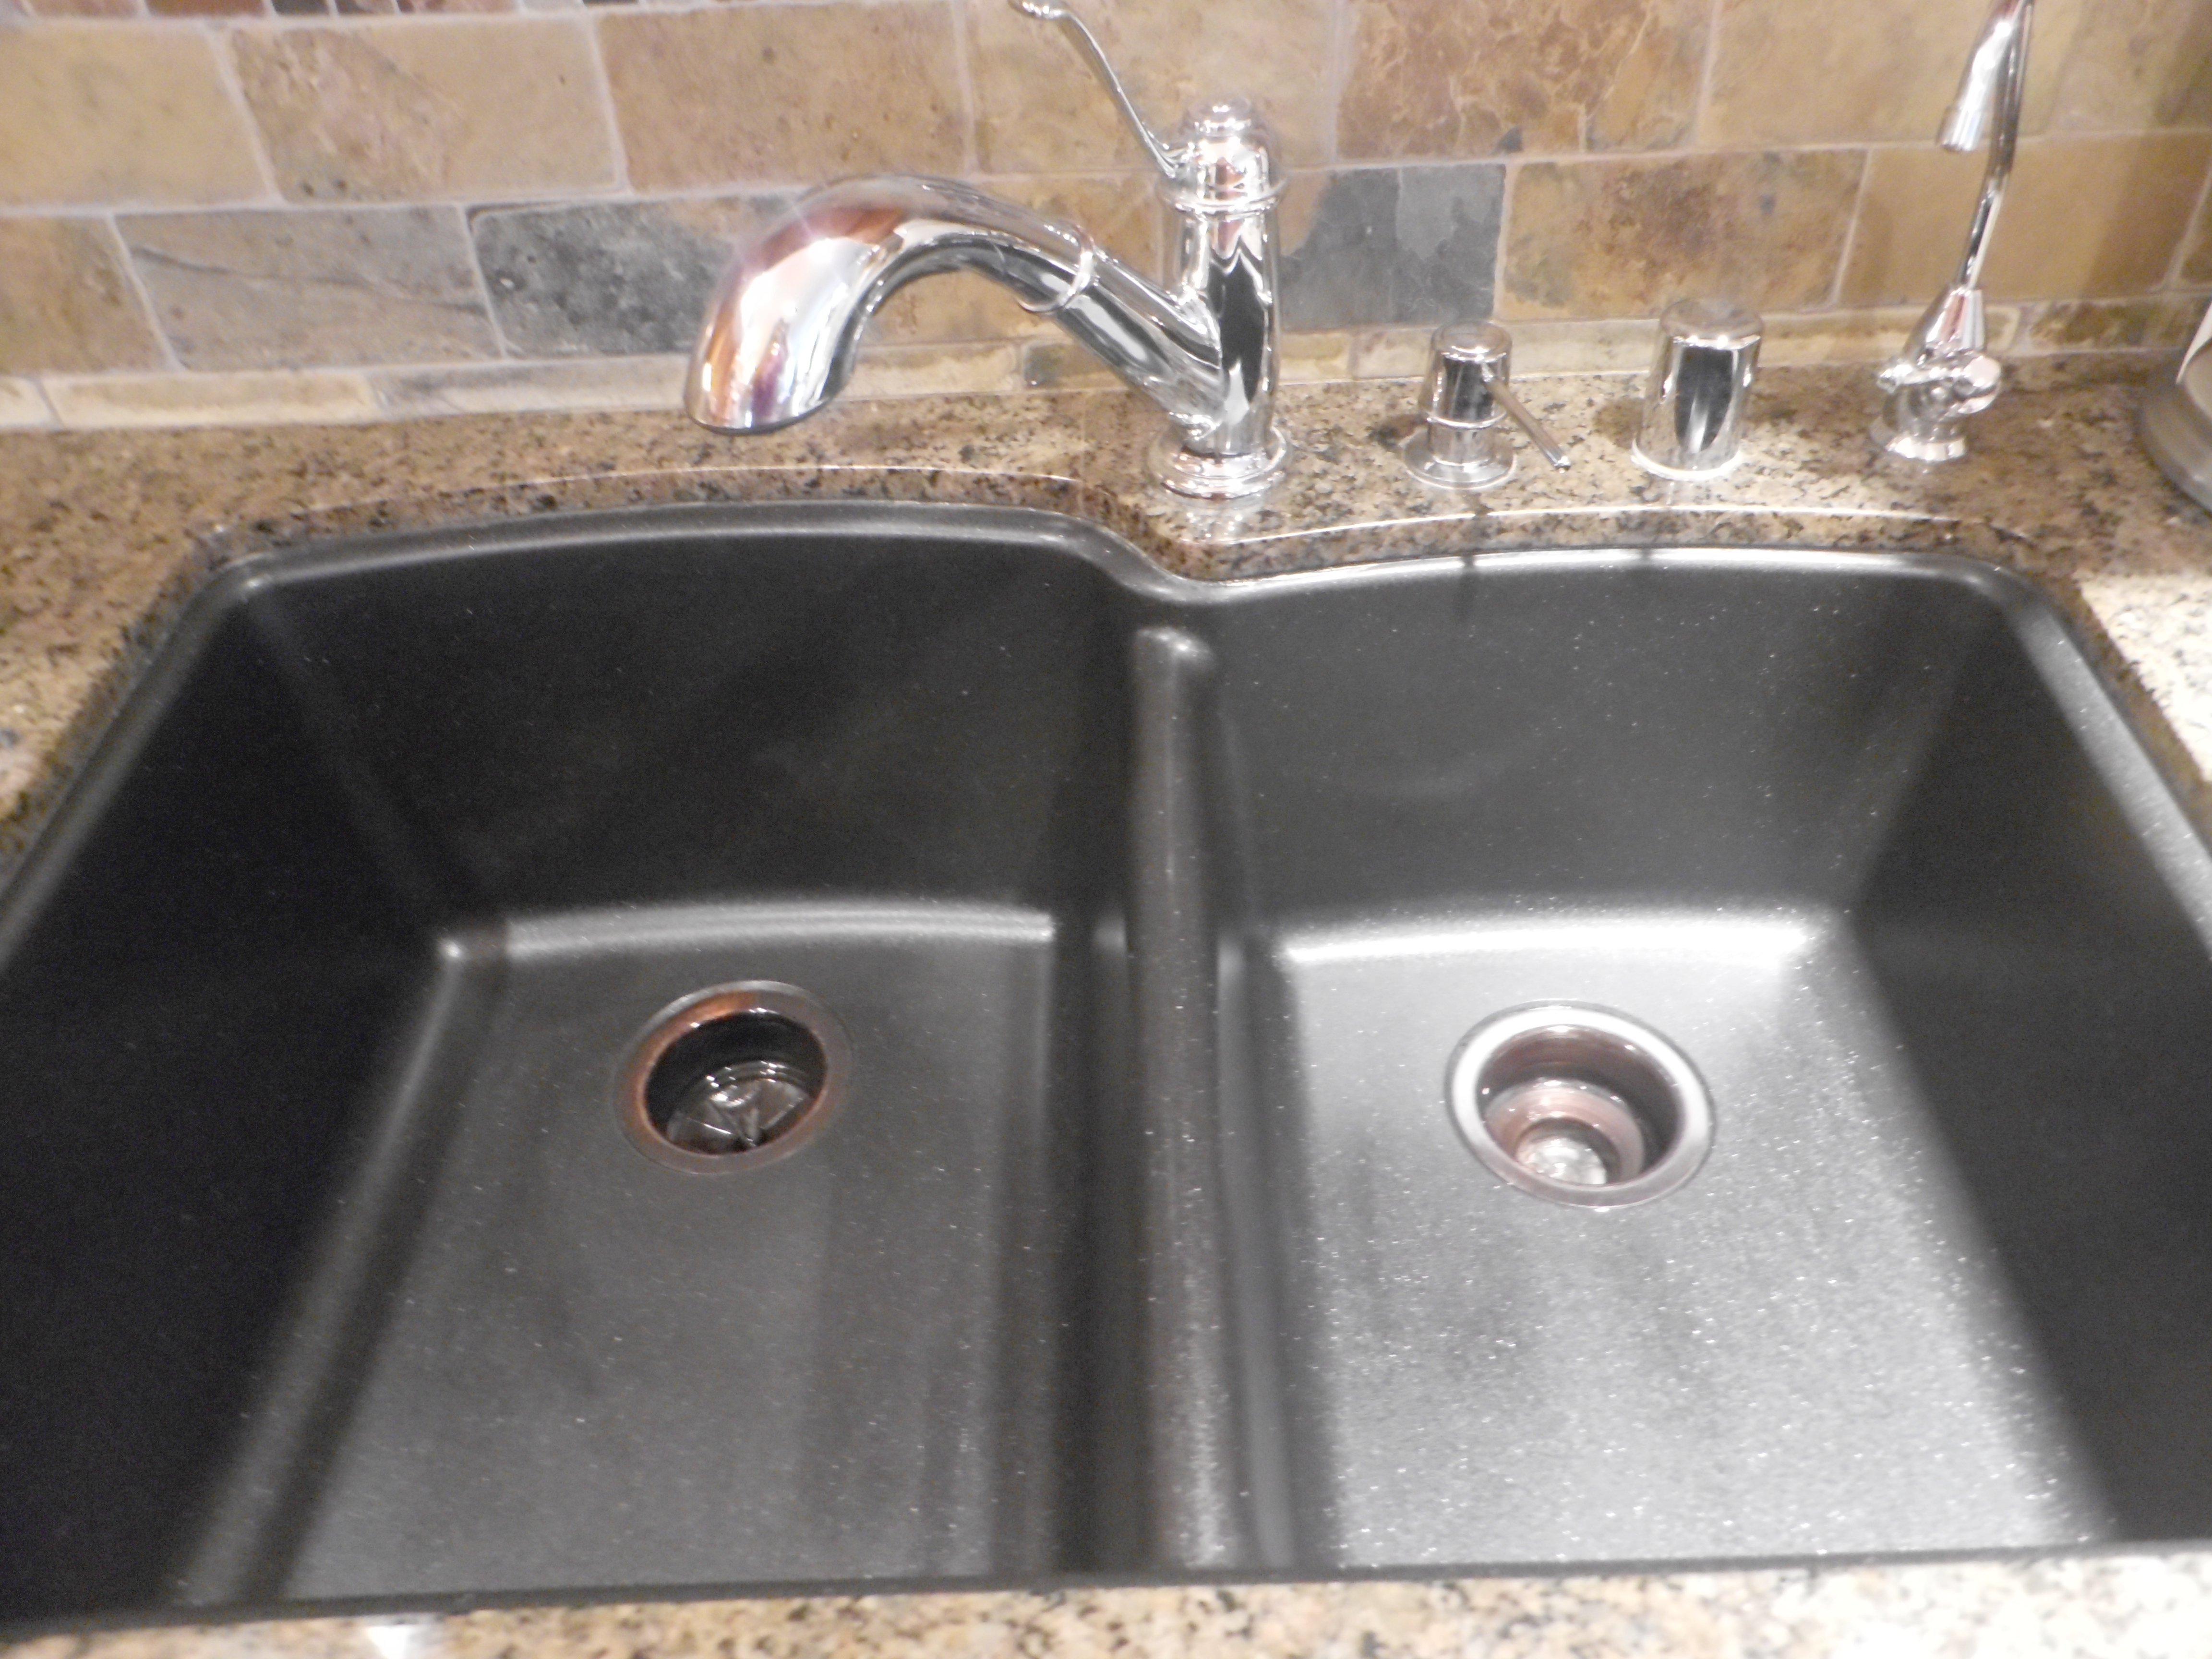 A kitchen sink is a highly utilized fixture in any home, which is why it's important to choose one that can withstand daily wear and tear.
Acrylic composite sinks
are made from a combination of acrylic resins and granite or quartz particles, making them extremely durable and resistant to scratches, stains, and heat. This means you won't have to worry about damaging your sink with hot pots and pans or sharp utensils. With proper care and maintenance, an acrylic composite sink can last for many years, making it a worthwhile investment for your home.
Easy Installation and Maintenance
 One of the biggest advantages of choosing an acrylic composite kitchen sink is its ease of installation. These sinks are lightweight and can be easily installed by a professional without the need for any additional support structures. This not only saves time and money on installation, but it also makes them a great option for remodeling projects. In terms of maintenance, acrylic composite sinks are non-porous, which means they are resistant to bacteria and mold growth. This makes them easy to clean and maintain, keeping your kitchen hygienic and free from any unpleasant odors.
Cost-Effective Option
 Compared to other types of kitchen sinks,
acrylic composite sinks
are a more cost-effective option. They offer the same durability and aesthetic appeal as more expensive materials such as granite or quartz, but at a fraction of the cost. This makes them a popular choice for homeowners who want to achieve a high-end look without breaking the bank. Additionally, their low maintenance and long-lasting nature can save you money in the long run, as you won't have to replace them as frequently as other sink materials.
In conclusion,
acrylic composite kitchen sinks
are a great choice for any homeowner looking to enhance the aesthetic appeal and functionality of their kitchen. With their durability, easy installation and maintenance, and cost-effectiveness, they are a practical and stylish addition to any home. Consider incorporating an acrylic composite sink into your kitchen design for a sleek and modern look that will last for years to come.














.jpg)


