As the cold winter months approach, it's important to prepare your outdoor kitchen sink for the freezing temperatures. This can help prevent damage and ensure that your sink is in good working condition when spring arrives. Here's a step-by-step guide to help you winterize your outdoor kitchen sink: Step 1: Turn off the water supply to your outdoor kitchen sink. This will prevent water from freezing and potentially damaging your pipes. Step 2: Disconnect any hoses or attachments from the sink. Step 3: Drain the water from the sink and any attached pipes. You can do this by opening the faucet and letting the water run until it stops flowing. Step 4: Use a wet/dry vacuum to remove any excess water from the sink and pipes. Step 5: Insulate the pipes to protect them from freezing temperatures. You can use foam pipe insulation or heat tape for this step. Step 6: Cover the sink with a weatherproof cover to protect it from snow and ice. Step 7: If your outdoor kitchen sink has a garbage disposal, run it with a mixture of water and white vinegar to clean and freshen it before winter. Following these steps will help ensure that your outdoor kitchen sink is properly winterized and ready to use again in the spring.1. Winterizing Outdoor Kitchen Sink: A Step-by-Step Guide


1. Winterizing Outdoor Kitchen Sink: A Step-by-Step Guide


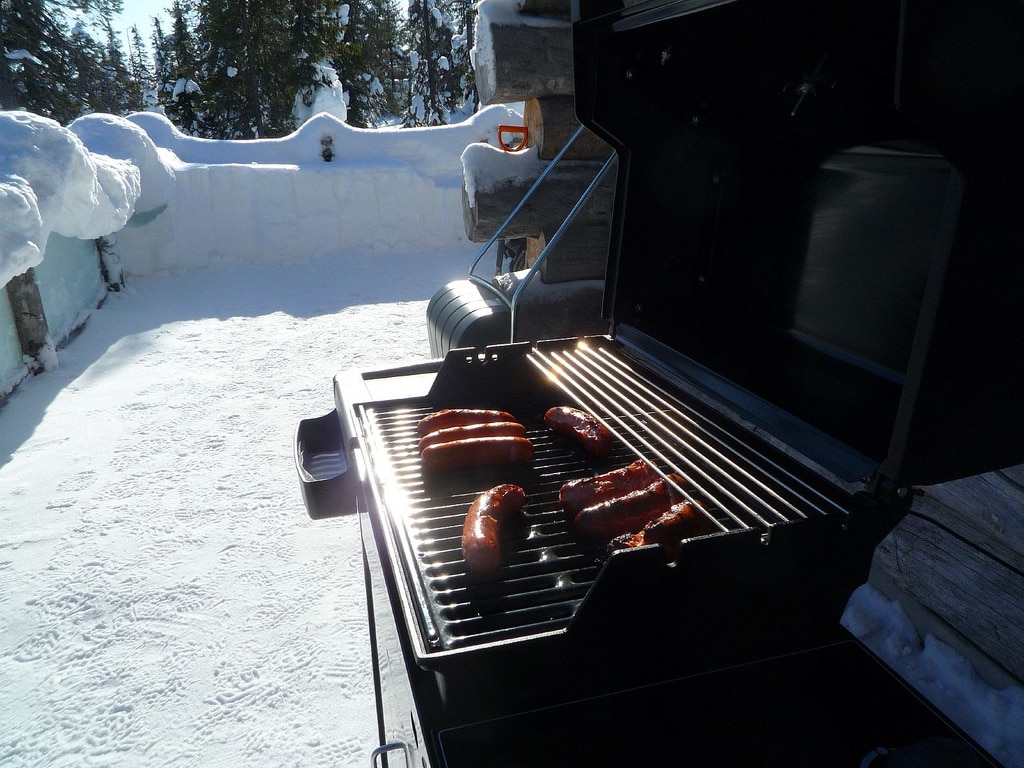
Winterizing your outdoor kitchen sink is an important task that should not be overlooked. Here are some tips to help you prepare your sink for the cold winter months: Tip 1: Inspect your sink for any cracks or damage. If you notice any issues, it's best to get them fixed before winter to prevent further damage. Tip 2: Clean your sink thoroughly before winter. This will help prevent any residue or debris from freezing and causing damage. Tip 3: If your sink has a built-in soap dispenser, make sure to empty and clean it before winter. This will prevent the soap from freezing and causing damage. Tip 4: Remove any outdoor kitchen appliances, such as a grill or refrigerator, from the area around your sink. This will make it easier to cover and protect the sink during winter. Tip 5: If your outdoor kitchen sink has a hot water supply, make sure to drain and turn off the water heater before winter. By following these tips, you can ensure that your outdoor kitchen sink is properly prepared for the winter season.2. How to Prepare Your Outdoor Kitchen Sink for Winter


2. How to Prepare Your Outdoor Kitchen Sink for Winter


Aside from preparing your outdoor kitchen sink, there are a few other tips and tricks you can use to winterize your entire outdoor kitchen. Here are some ideas: Tip 1: Use weatherproof covers for all of your outdoor kitchen appliances, including your sink, grill, and refrigerator. Tip 2: If you have a built-in outdoor kitchen sink, consider installing a frost-proof faucet. This will prevent the faucet from freezing and potentially bursting during winter. Tip 3: Store any outdoor kitchen utensils, dishes, and supplies in a dry and protected area during winter. Tip 4: If you have an outdoor kitchen sink with a drain, make sure to thoroughly clean and remove any debris before winter. This will prevent clogs and potential damage. Tip 5: Consider installing a heat source near your outdoor kitchen, such as a patio heater or heat lamp. This can help prevent freezing temperatures and keep your outdoor kitchen functional during winter. By utilizing these tips and tricks, you can ensure that your entire outdoor kitchen is properly winterized and protected from the harsh winter weather.3. Winterizing Your Outdoor Kitchen: Tips and Tricks


3. Winterizing Your Outdoor Kitchen: Tips and Tricks


One of the biggest concerns when winterizing your outdoor kitchen sink is protecting it from freezing temperatures. Here are some strategies you can use to prevent your sink from freezing: Strategy 1: Insulate the pipes and faucet. This will help prevent them from freezing and potentially bursting. Strategy 2: Use a space heater or heat lamp near your sink to keep the area warm and prevent freezing. Strategy 3: Leave the faucet open slightly to allow a small trickle of water to flow. This can help prevent the pipes from freezing. Strategy 4: If you have a built-in outdoor kitchen sink, consider installing an insulated cabinet to protect it from freezing temperatures. Using these strategies can help ensure that your outdoor kitchen sink is safe from freezing temperatures and in good working condition come spring.4. Protecting Your Outdoor Kitchen Sink from Freezing Temperatures


4. Protecting Your Outdoor Kitchen Sink from Freezing Temperatures


Winterizing your outdoor kitchen sink is not just about protecting it from potential damage, it's also about maintaining the longevity of your sink. Here's why it's important: Reason 1: Freezing temperatures can cause pipes and faucets to burst, resulting in costly repairs. Reason 2: Debris and residue left in the sink during winter can cause clogs and damage to the sink. Reason 3: Mold and mildew can grow in the sink if it's not properly cleaned and drained before winter. Reason 4: A winterized outdoor kitchen sink is easier to maintain and prepare for use in the spring. By winterizing your outdoor kitchen sink, you can save yourself time, money, and potential headaches in the long run.5. The Importance of Winterizing Your Outdoor Kitchen Sink


5. The Importance of Winterizing Your Outdoor Kitchen Sink


Winterizing your outdoor kitchen sink may seem like a daunting task, but it's actually quite simple. Here are a few things you should know: Fact 1: Freezing temperatures can cause water to expand and potentially burst pipes and faucets. Fact 2: Draining and insulating your pipes can prevent them from freezing and causing damage. Fact 3: Properly cleaning and draining your sink before winter can prevent mold and mildew growth. Fact 4: Winterizing your outdoor kitchen sink can save you time, money, and potential headaches in the future. By understanding the basics of winterizing your outdoor kitchen sink, you can effectively prepare it for the winter season.6. Winterizing Your Outdoor Kitchen: What You Need to Know


6. Winterizing Your Outdoor Kitchen: What You Need to Know


Maintaining your outdoor kitchen sink during winter is just as important as preparing it for the season. Here are some maintenance tasks you can do during winter: Task 1: Check on your sink periodically to make sure the cover is secure and there are no signs of damage or debris. Task 2: If you notice any issues, such as a leak or damage, address them immediately to prevent further damage. Task 3: If you have a built-in outdoor kitchen sink, make sure the cabinet is properly insulated and protected from freezing temperatures. Task 4: If you have a hot water supply to your sink, make sure to check on the water heater periodically and address any issues if needed. By regularly maintaining your outdoor kitchen sink during winter, you can ensure that it stays in good condition and is ready for use when spring arrives.7. Outdoor Kitchen Sink Maintenance: Winter Edition

7. Outdoor Kitchen Sink Maintenance: Winter Edition


When winterizing your outdoor kitchen sink, there are a few common mistakes that you should avoid to prevent potential damage. Here are some things to keep in mind: Mistake 1: Not properly draining the sink and pipes can result in freezing and potential damage. Mistake 2: Forgetting to turn off the water supply to your sink can also result in freezing and damage. Mistake 3: Not properly insulating the pipes and faucet can leave them vulnerable to freezing temperatures. Mistake 4: Neglecting to clean and drain the sink can result in mold and mildew growth. By avoiding these common mistakes, you can ensure that your outdoor kitchen sink is properly winterized and protected from potential damage.8. Winterizing Your Outdoor Kitchen Sink: Common Mistakes to Avoid


8. Winterizing Your Outdoor Kitchen Sink: Common Mistakes to Avoid


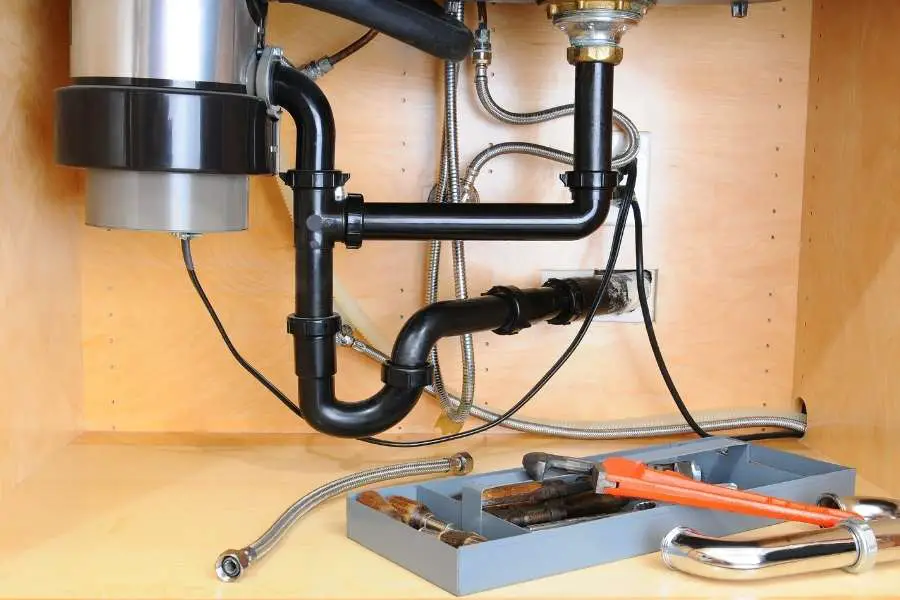
If you're not sure how to drain and winterize your outdoor kitchen sink, here's a quick step-by-step guide: Step 1: Turn off the water supply to your sink. Step 2: Disconnect any hoses or attachments from the sink. Step 3: Drain the water from the sink and any attached pipes. Step 4: Use a wet/dry vacuum to remove any excess water from the sink and pipes. Step 5: Insulate the pipes to protect them from freezing temperatures. Step 6: Cover the sink with a weatherproof cover. Following these steps will help ensure that your outdoor kitchen sink is properly drained and winterized.9. How to Drain and Winterize Your Outdoor Kitchen Sink


9. How to Drain and Winterize Your Outdoor Kitchen Sink


Here are some essential supplies and tools you will need to properly winterize your outdoor kitchen sink: Supply 1: Foam pipe insulation or heat tape. Supply 2: A weatherproof cover for your sink. Supply 3: A wet/dry vacuum. Supply 4: White vinegar for cleaning the sink. Tool 1: A wrench to disconnect hoses and attachments. Tool 2: A space heater or heat lamp for keeping the sink area warm. Having these essential supplies and tools on hand will make the winterizing process much easier and more effective.10. Winterizing Your Outdoor Kitchen Sink: Essential Supplies and Tools

10. Winterizing Your Outdoor Kitchen Sink: Essential Supplies and Tools
Why Winterizing Your Outdoor Kitchen Sink is Important for House Design

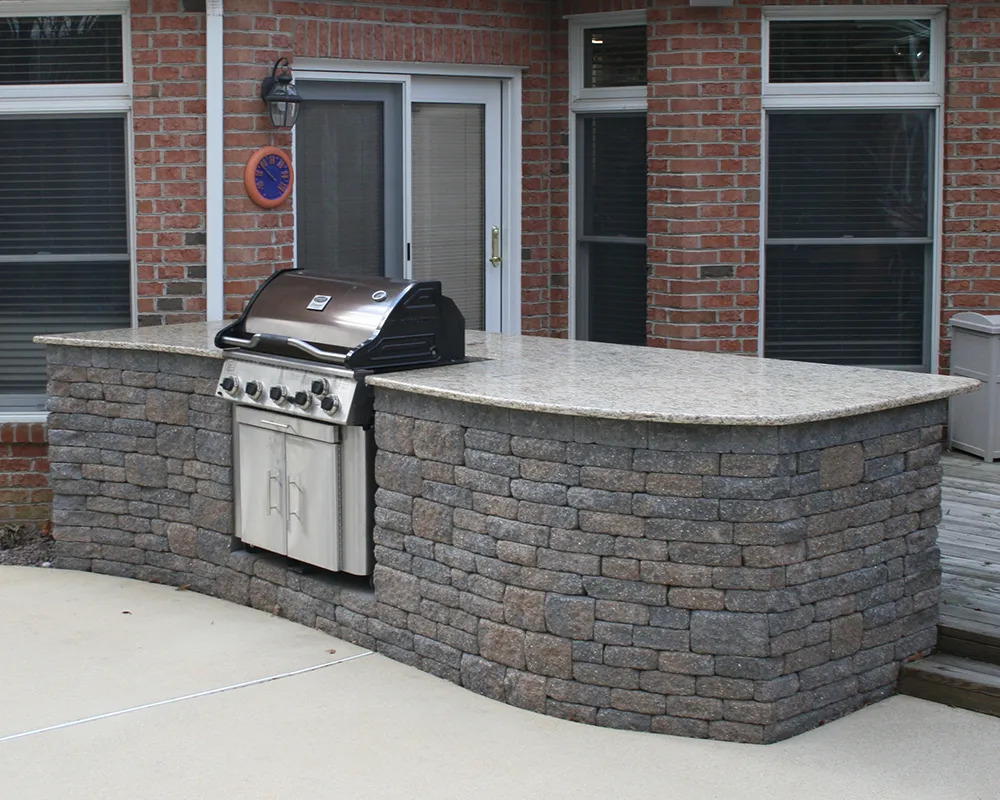
Having an outdoor kitchen is a great addition to any home. It allows you to enjoy cooking and dining in the fresh air while also entertaining guests. However, as the colder months approach, it is important to take the necessary steps to winterize your outdoor kitchen sink. This not only protects your equipment and plumbing from potential damage, but it also maintains the overall design and functionality of your outdoor space.
The Effects of Cold Weather on Your Outdoor Kitchen Sink
As temperatures drop, the water in your outdoor kitchen sink can freeze and cause damage to your pipes and fixtures. This can result in costly repairs and potentially render your sink unusable in the future. Additionally, if you have a gas-powered sink, cold weather can cause the gas lines to freeze, making it impossible to use your sink at all.
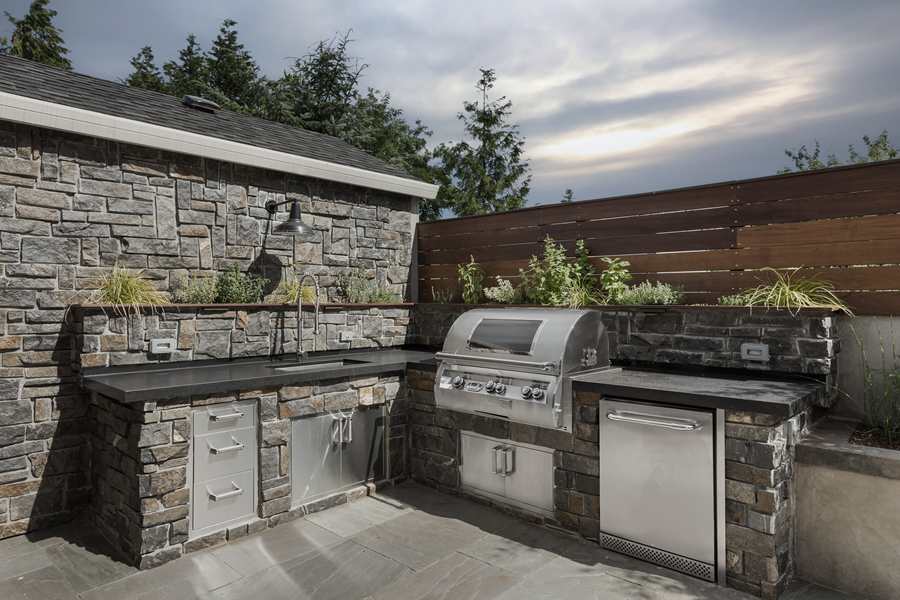
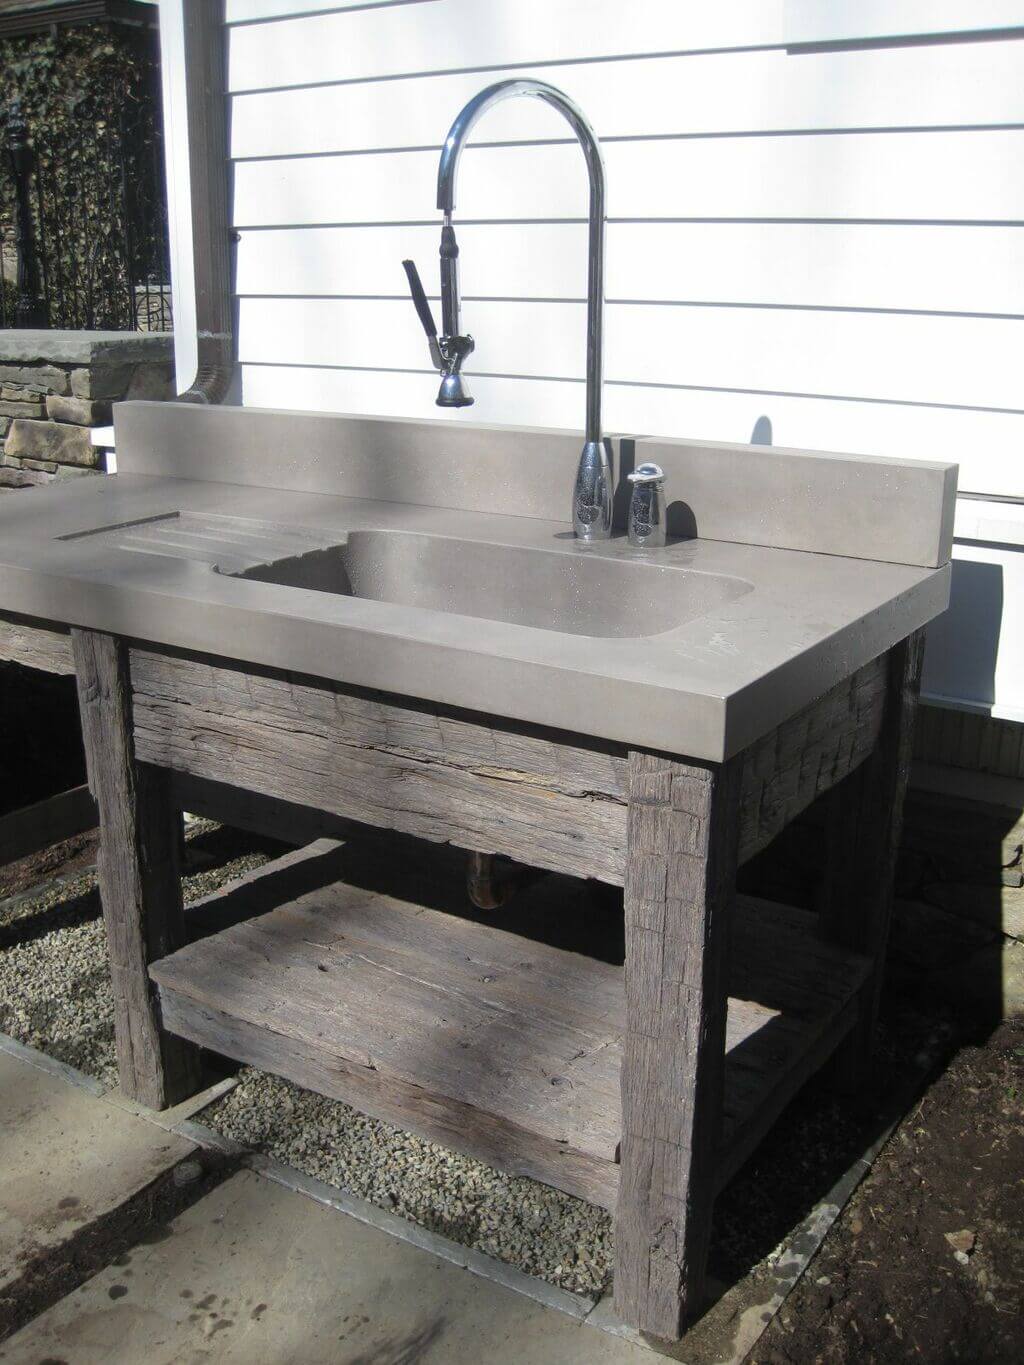
Moreover, the cold can also cause damage to your sink's materials, such as granite or concrete. These materials can crack or chip when exposed to freezing temperatures, diminishing the aesthetic appeal of your outdoor kitchen.
Steps to Winterize Your Outdoor Kitchen Sink

The first step in winterizing your outdoor kitchen sink is to shut off the water supply and drain all of the water from the pipes. This includes disconnecting any hoses and draining them completely. You can also pour antifreeze into the pipes to prevent any remaining water from freezing and causing damage.
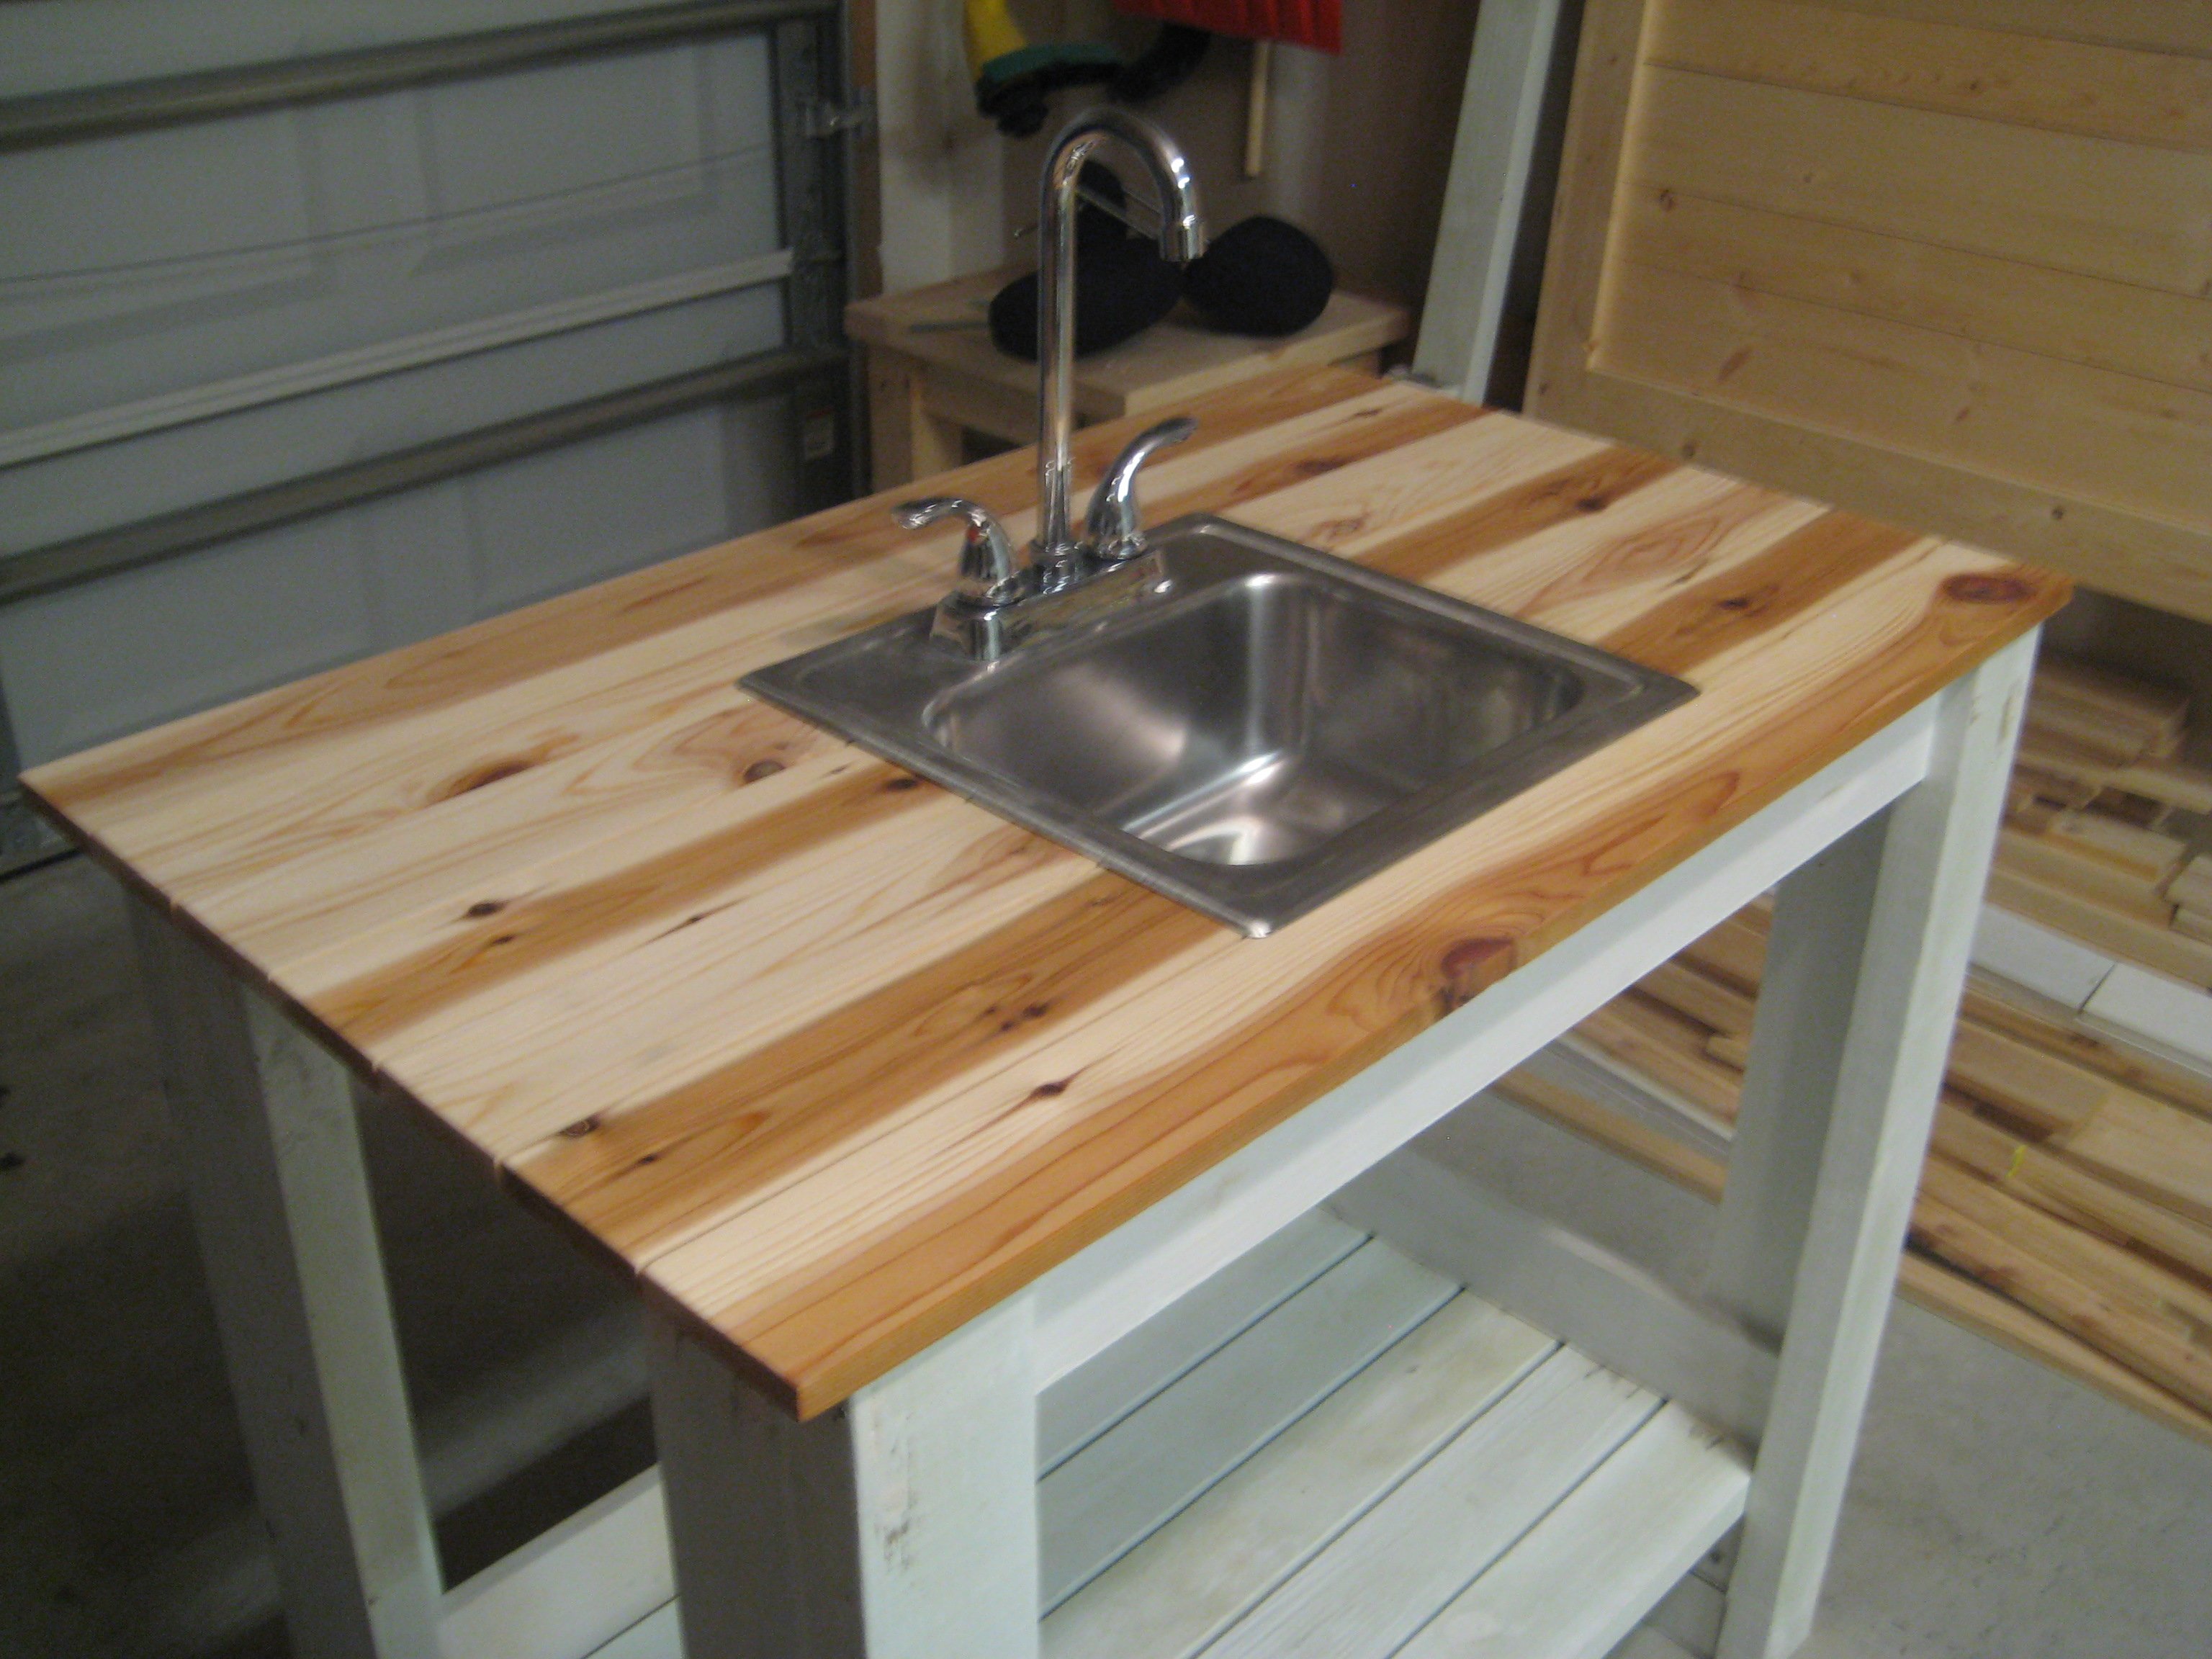
Next, it is important to protect your sink's materials from the cold. Covering your sink with a tarp or waterproof cover can help prevent any damage caused by snow or ice. You can also use a sealant specific to your sink's material to provide an extra layer of protection.
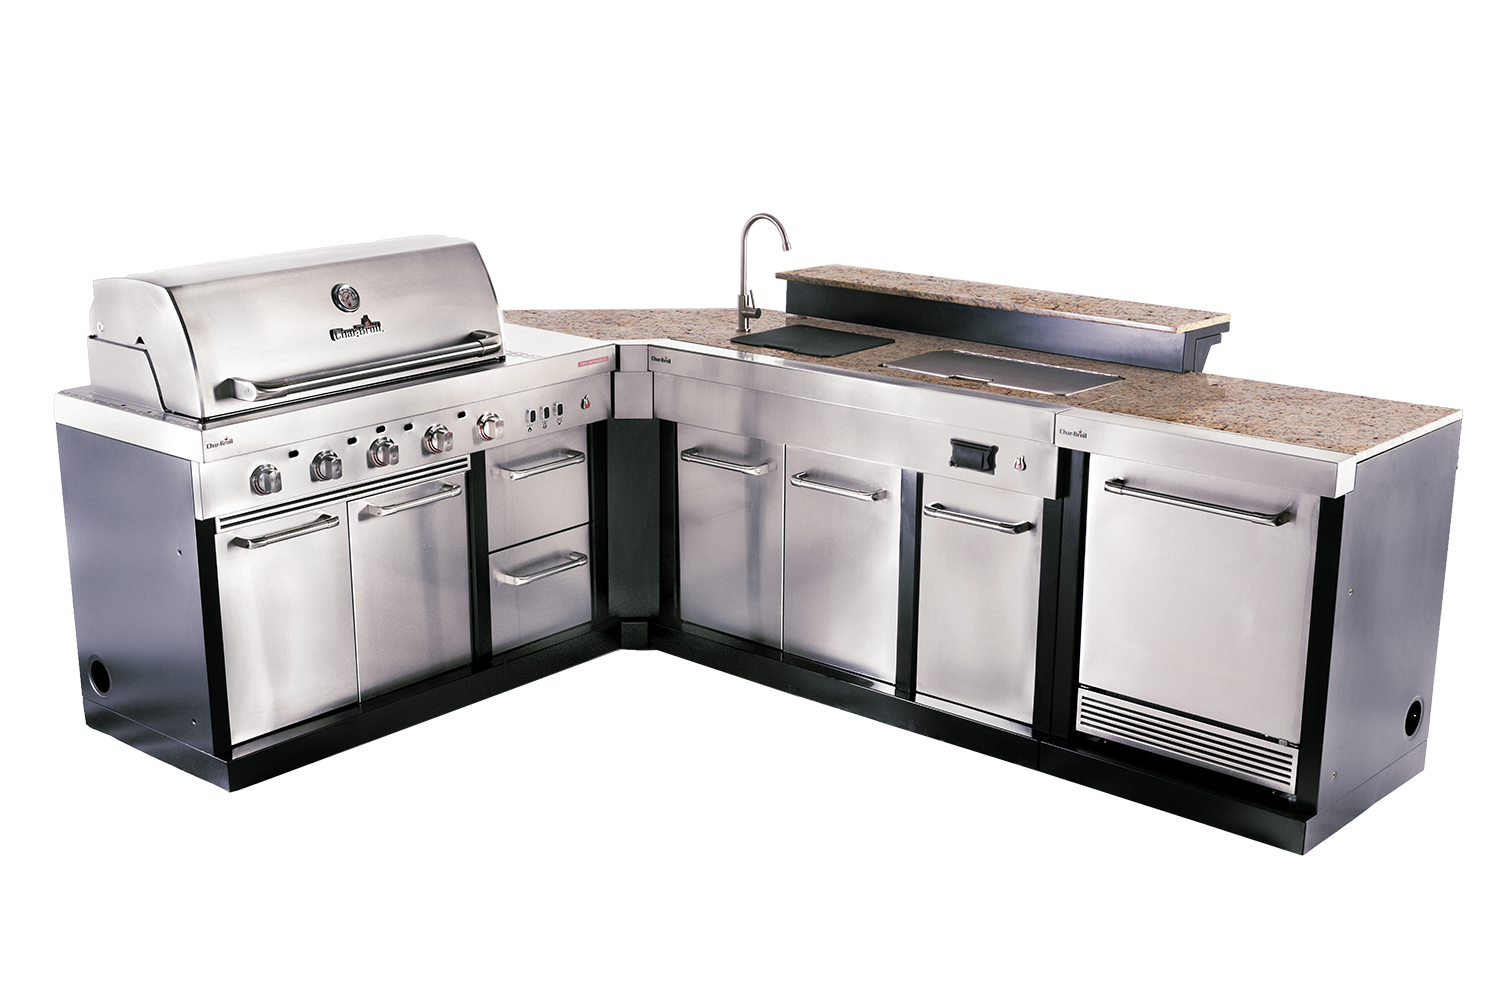
For gas-powered sinks, it is essential to turn off the gas supply and drain the lines to prevent freezing. You may also want to cover the gas lines and connections with insulation to further protect them from the cold.
Benefits of Winterizing Your Outdoor Kitchen Sink

By taking the time to properly winterize your outdoor kitchen sink, you are not only protecting your equipment and plumbing, but you are also maintaining the design and functionality of your outdoor space. This ensures that when spring comes, you can easily resume using your outdoor sink without any costly repairs or replacements.
Furthermore, winterizing your outdoor kitchen sink can also save you money in the long run. By preventing damage and potential repairs, you are avoiding additional expenses that could arise from neglecting to winterize your sink.
In conclusion, winterizing your outdoor kitchen sink is an essential step in maintaining the overall design and functionality of your outdoor space. By following these simple steps, you can protect your sink and ultimately save money in the long run. Don't let the cold weather ruin your outdoor kitchen experience – take the time to properly winterize your sink and enjoy it for years to come.