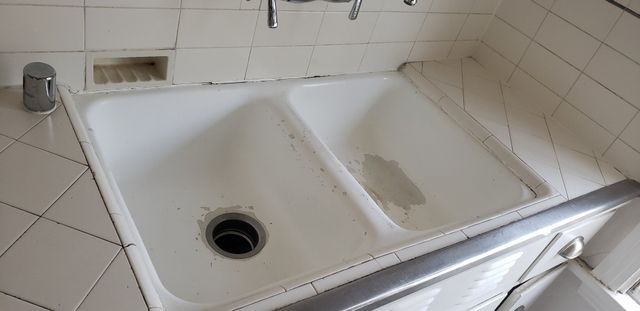
Before you begin the process of refinishing your ceramic kitchen sink with brush on paint, you need to make sure that the surface is properly cleaned and sanded. This is an important step to ensure that the paint adheres to the sink properly, giving you a smooth and long-lasting finish. Use a non-abrasive cleaner to clean the sink and then sand it lightly with a fine-grit sandpaper to remove any gloss or rough spots.1. Prepare for Refinishing: Cleaning and Sanding
To protect the surrounding areas of your sink, use painter's tape to cover the edges and any fixtures that you don't want to get paint on. This will also help you achieve clean and precise lines on the edges of your sink.2. Tape Off the Sink
Priming your sink is crucial in ensuring that the paint adheres properly and evenly. Use a high-quality primer specifically designed for ceramic surfaces and apply it evenly with a brush. Let it dry completely before moving on to the next step.3. Apply Primer
When it comes to refinishing your ceramic sink, it's important to choose a paint that is specifically made for this purpose. Epoxy-based paints work best for ceramic surfaces and come in a variety of colors to choose from. Make sure to read the instructions carefully and follow the recommended drying time.4. Choose the Right Paint
Using a high-quality brush, apply the paint in thin and even coats. Make sure to follow the recommended drying time between each coat. Depending on the paint you choose, you may need to apply multiple coats for best results.5. Apply the Paint
After the final coat has dried, lightly sand the surface of the sink with a fine-grit sandpaper to remove any imperfections or bubbles. Then, use a soft cloth to buff the surface and give it a smooth and shiny finish.6. Sand and Buff
To protect your newly refinished sink, it's important to seal it with a clear, waterproof sealant. This will also help prevent any chipping or peeling in the future. Follow the instructions on the sealant and let it dry completely before using your sink.7. Seal the Sink
Once the sealant has dried, carefully remove the painter's tape from the edges of your sink. This will reveal clean and precise lines, giving your sink a professional finish.8. Remove the Tape
Even though the paint may feel dry to the touch, it's important to let it cure for the recommended time before using your sink. This will ensure that the paint has fully adhered and will provide a long-lasting finish.9. Let it Cure
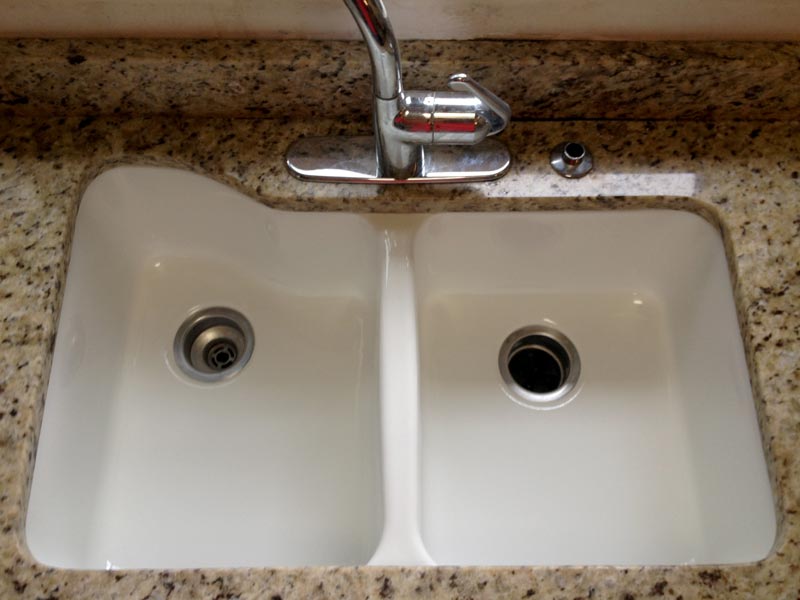
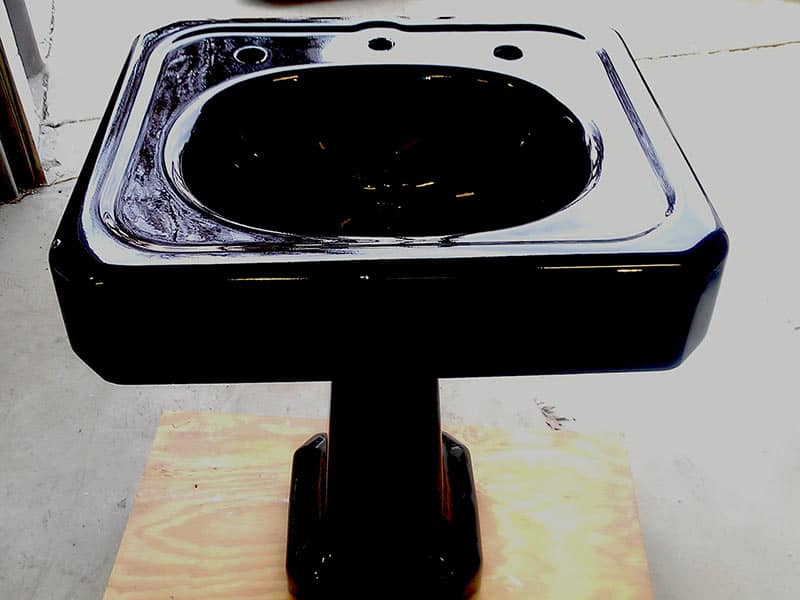
After following all the steps and letting your sink cure, it's time to enjoy your newly refinished ceramic kitchen sink! Not only will it give your kitchen a fresh and updated look, but it will also save you the cost of replacing your sink. With these simple steps, you can easily refinish your ceramic kitchen sink with brush on paint and achieve professional-looking results. So, don't be afraid to give your sink a makeover and transform your kitchen without breaking the bank!10. Enjoy Your Refinished Sink
Transform Your Kitchen with a Freshly Refinished Ceramic Sink

The Importance of a Well-Designed Kitchen
 A well-designed kitchen is the heart of any home. It is where we gather to cook, eat, and socialize with family and friends. That's why it's important to have a kitchen that not only functions efficiently but also reflects your personal style. One aspect of kitchen design that often gets overlooked is the sink. However, the sink is an essential part of any kitchen and can make a big impact on the overall look and feel of the space. If you have an old, worn-out ceramic sink, don't despair! Instead, consider refinishing it with brush-on paint to give your kitchen a fresh, new look.
Why Choose Brush-On Paint for Refinishing?
 There are several options for refinishing a ceramic sink, such as spray-on or roll-on paint. However, brush-on paint is often the preferred method because of its precision and control. With brush-on paint, you can easily cover up any imperfections or scratches on your sink and achieve a smooth, even finish. It also allows for better coverage in hard-to-reach areas, such as around the edges and corners of the sink.
The Process of Refinishing Your Ceramic Sink
 The first step in refinishing your ceramic sink is to clean it thoroughly with a degreaser and then lightly sand the surface to remove any gloss or shine. Next, apply a bonding primer to ensure the paint adheres properly. Once the primer is dry, it's time to apply the brush-on paint. Start with the edges and corners, using a small brush for precision, and then move on to the larger areas with a foam brush. Apply two to three coats, allowing each coat to dry completely before adding the next. Finally, finish with a clear topcoat for added protection and shine.
Featured keywords:
Refinishing, Ceramic kitchen sink, Brush-on paint
Benefits of Refinishing Your Ceramic Sink
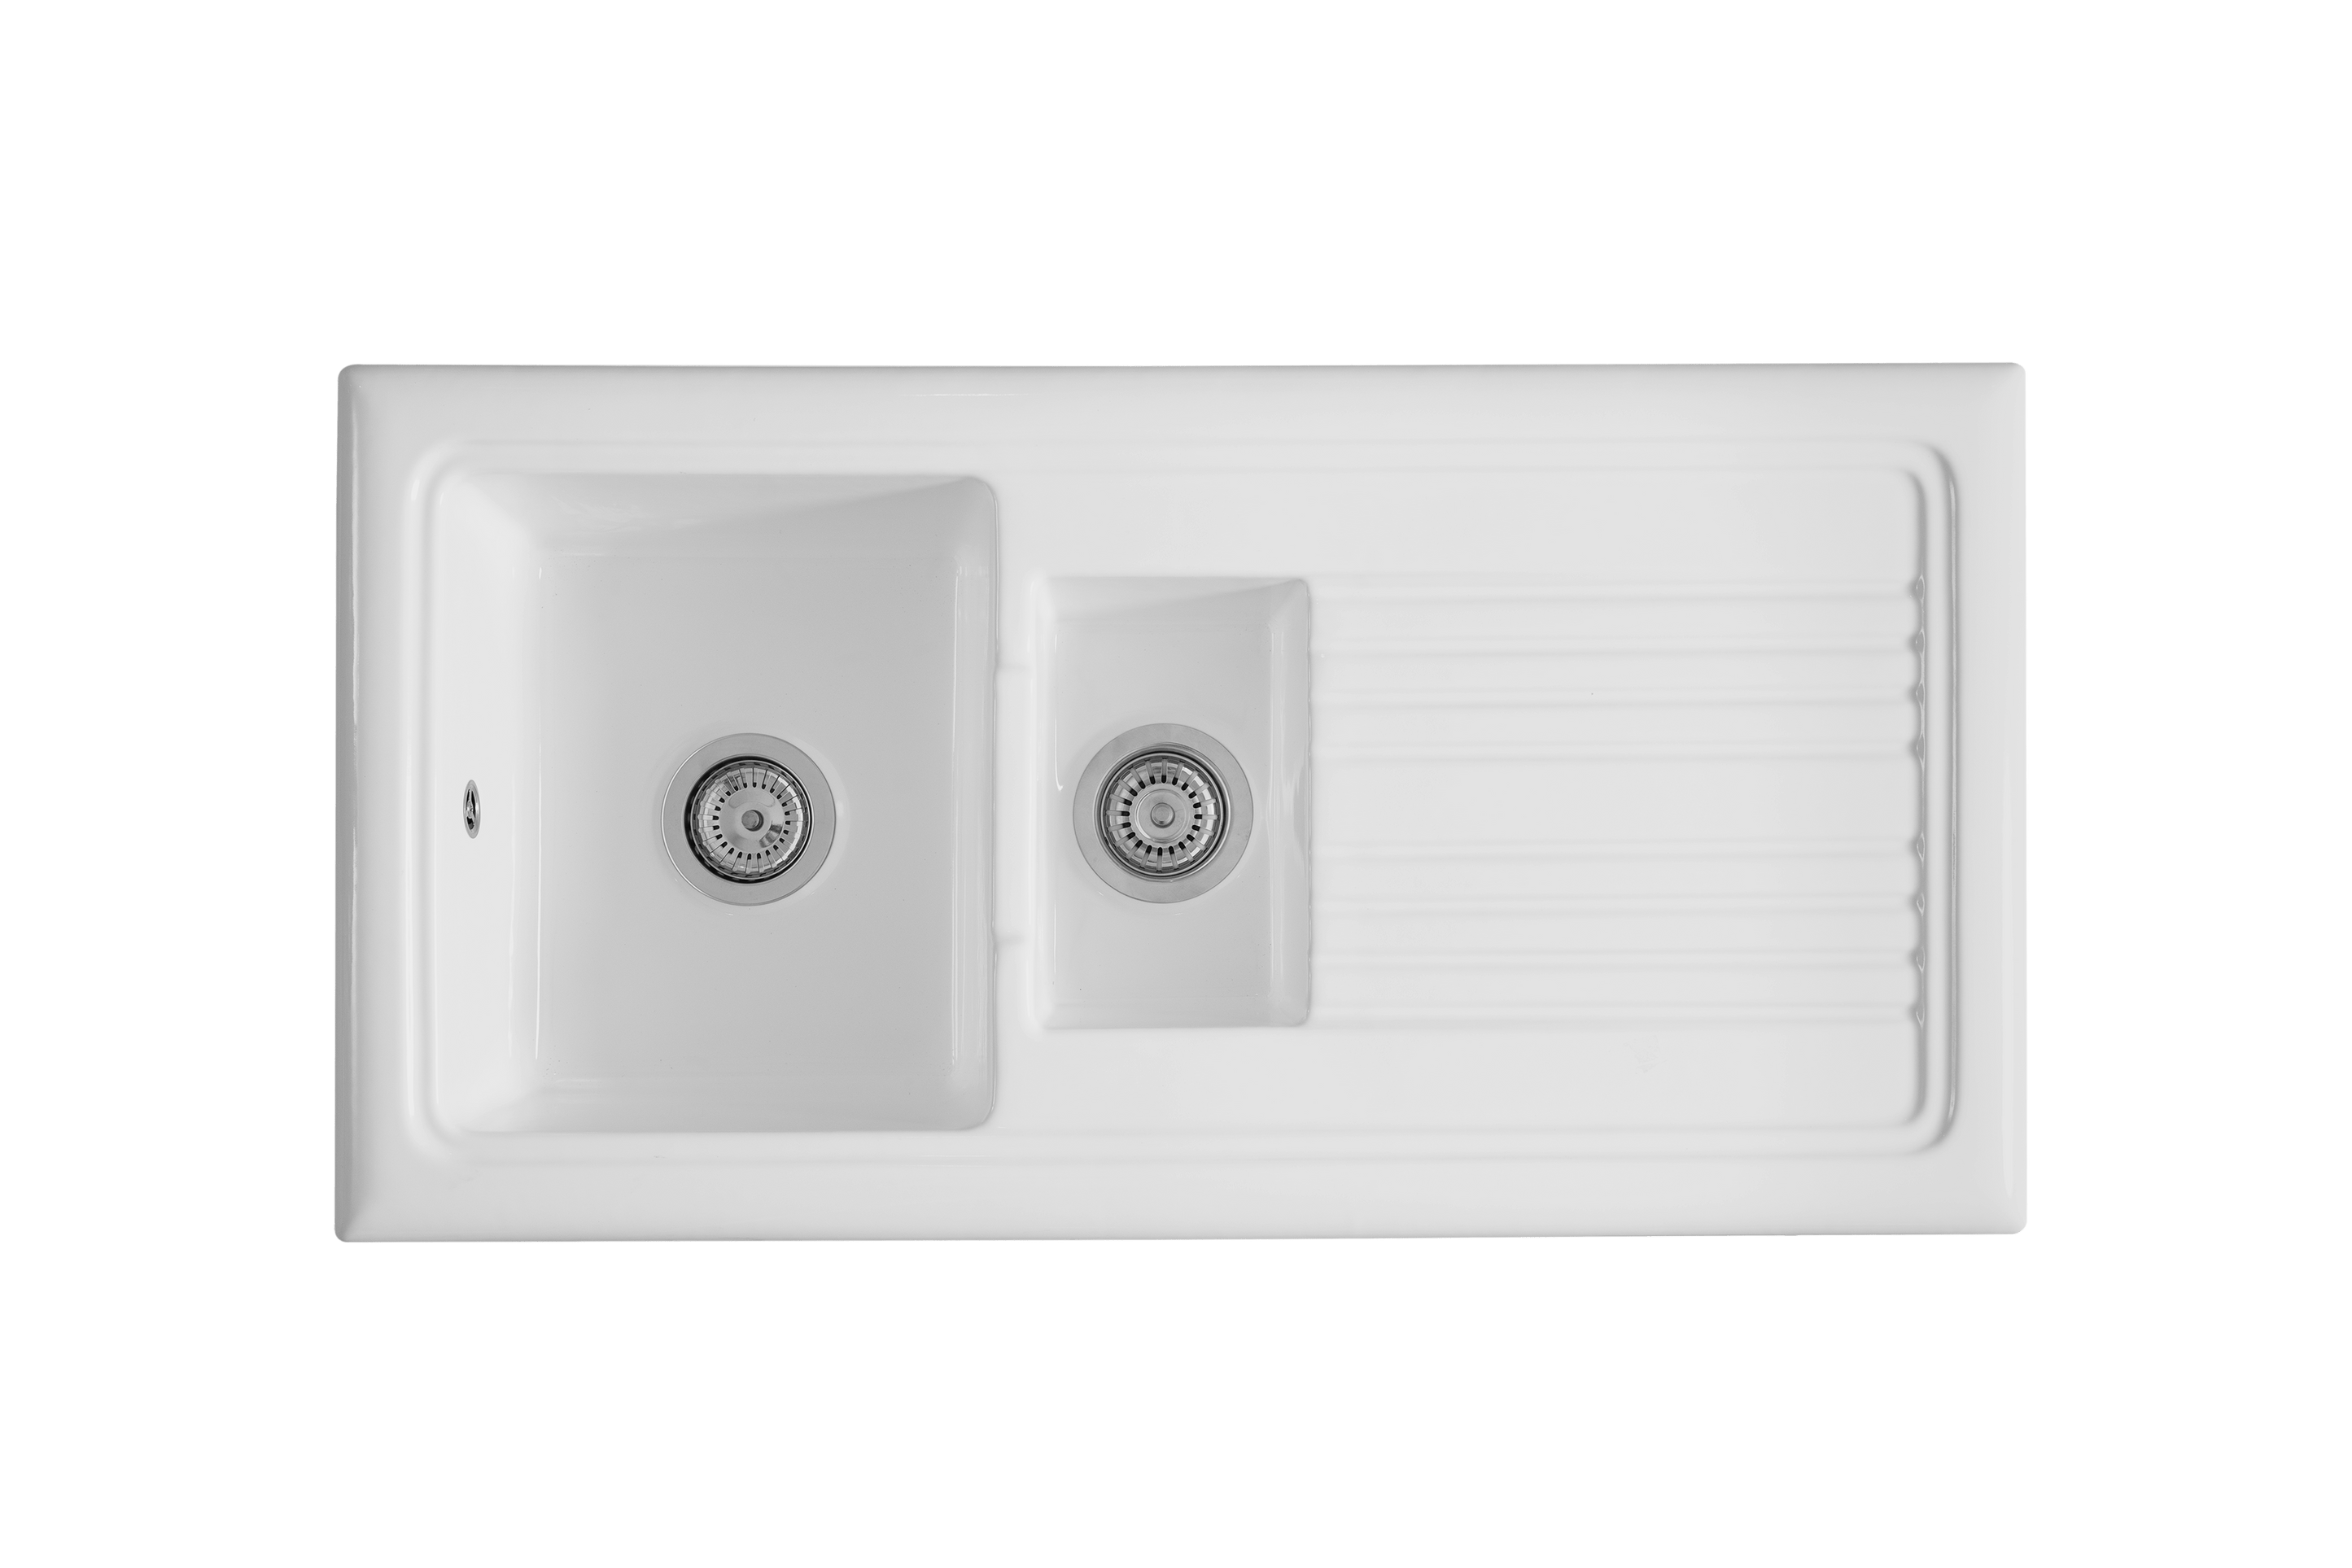 Refinishing your ceramic sink with brush-on paint is a cost-effective and time-efficient way to give your kitchen a fresh new look. It is also a great alternative to replacing your sink, which can be costly and time-consuming. With a wide variety of colors to choose from, you can easily match your sink to your kitchen's color scheme or add a pop of color for a bold statement. Additionally, refinishing your sink can increase its durability and make it easier to clean, saving you time and effort in the long run.
Conclusion
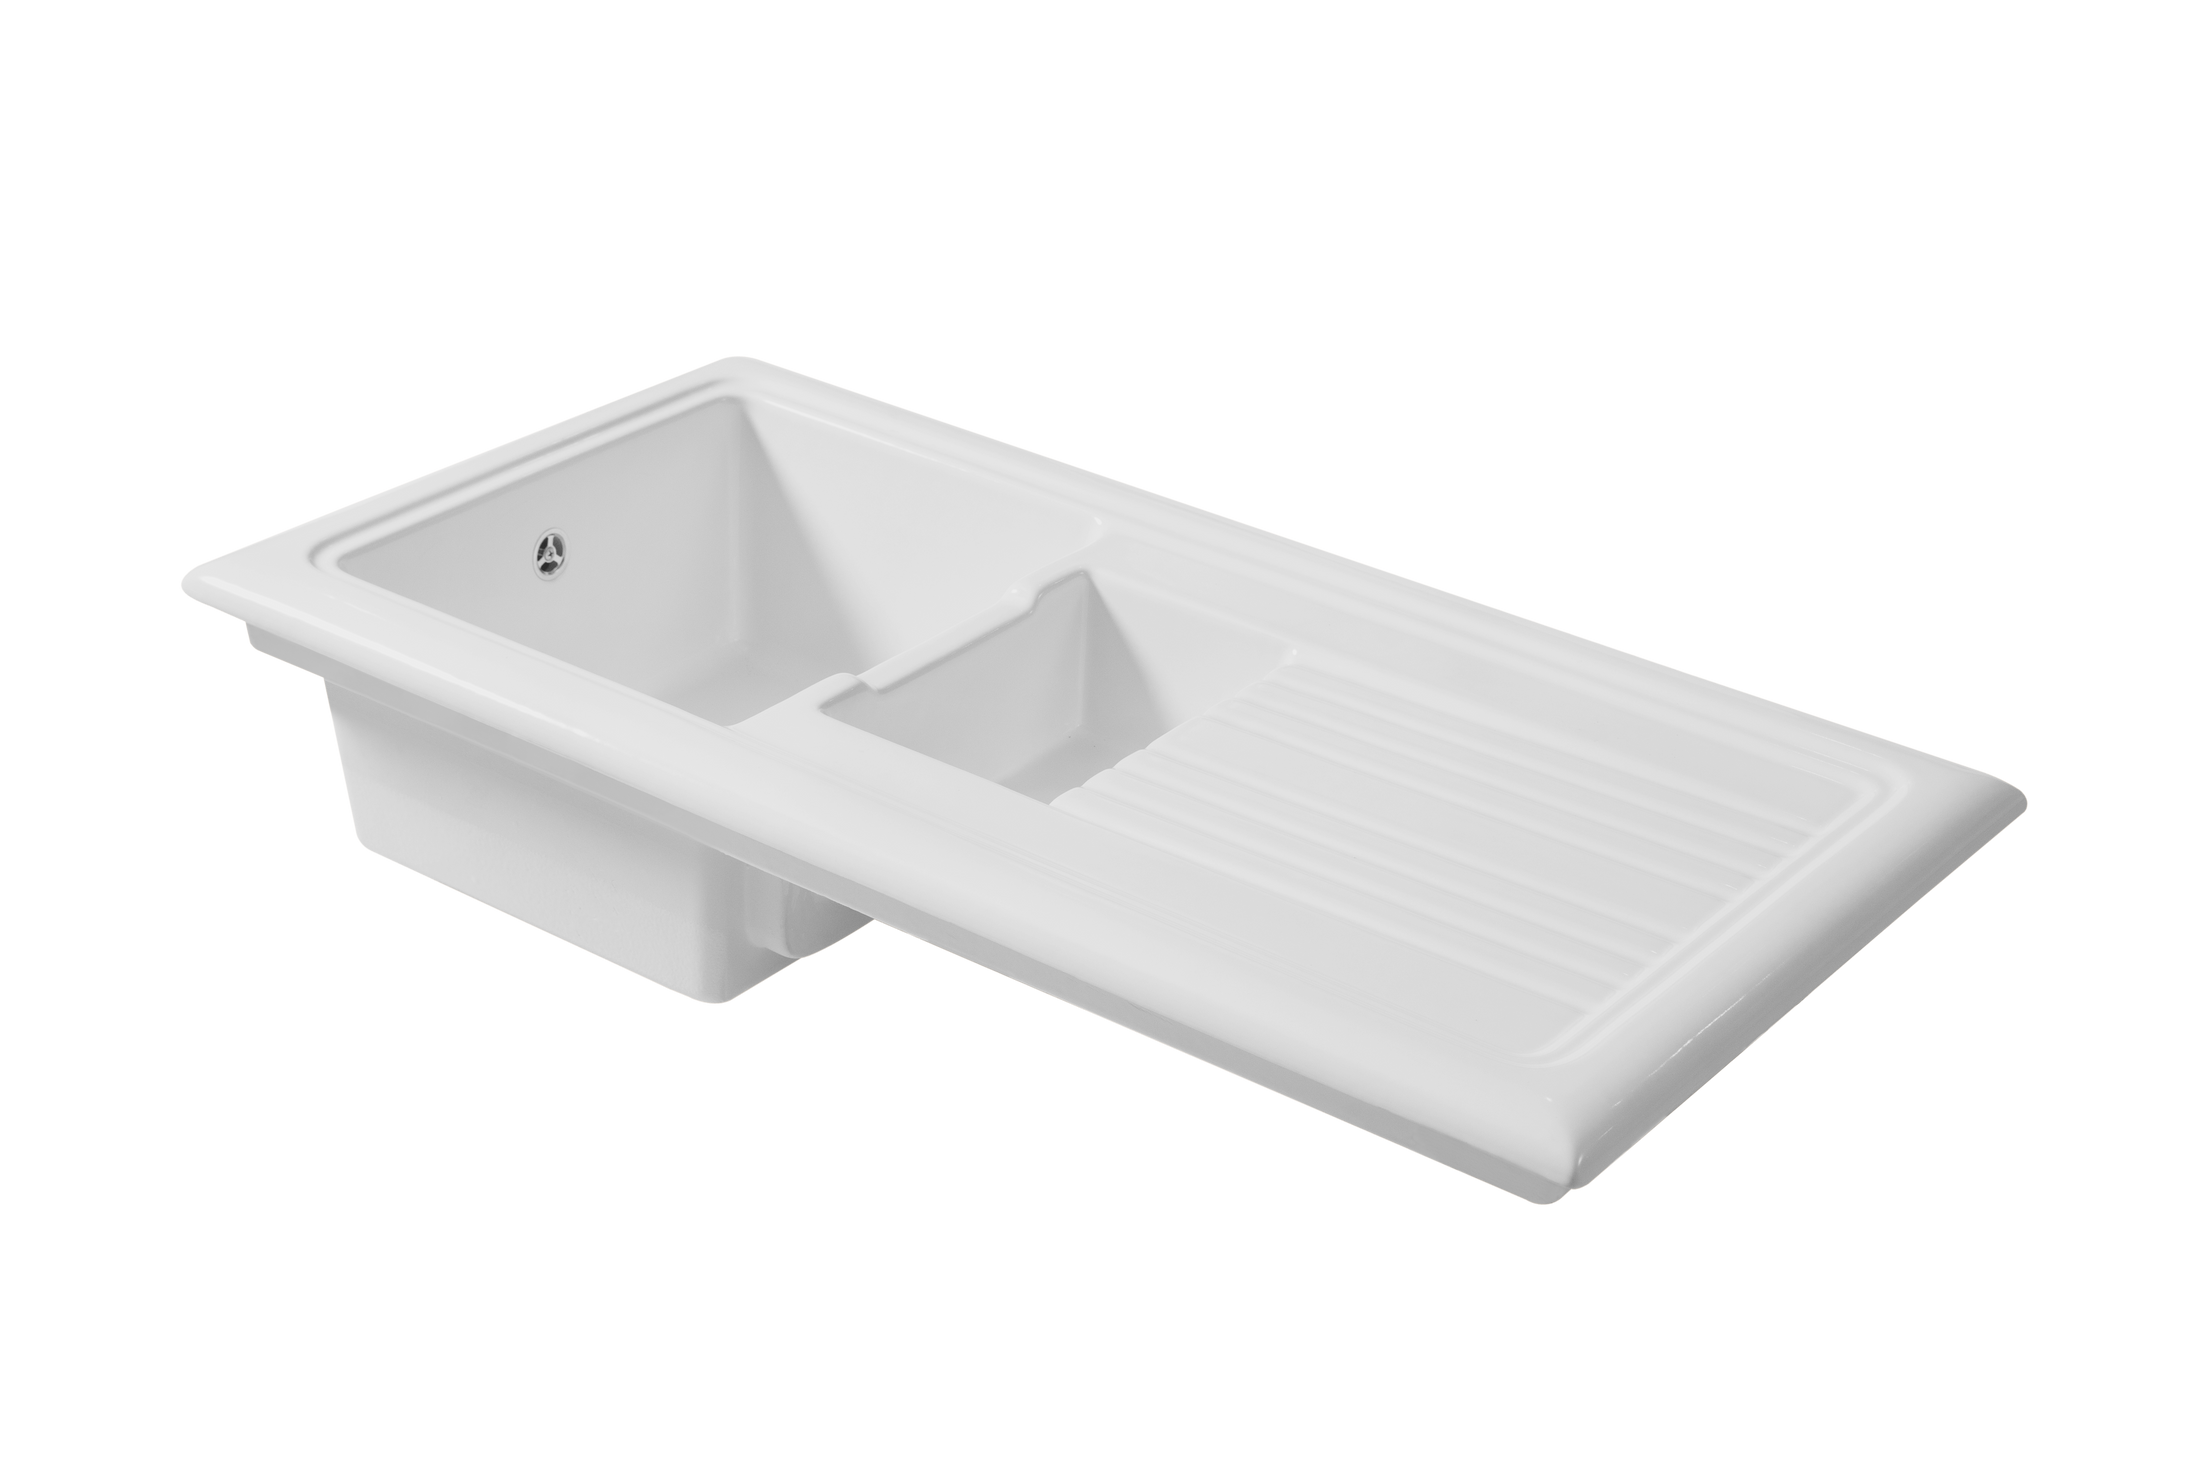 In conclusion, refinishing your ceramic kitchen sink with brush-on paint is a great way to transform your kitchen without breaking the bank. It is a simple and effective DIY project that can make a big impact on the overall design of your kitchen. So, why wait? Grab your brush and start refinishing your sink today!


