Plumbers putty is a handy and versatile tool that can be used for a variety of plumbing tasks, including sealing a bathroom sink. It is a clay-like substance that is easy to work with and provides a strong seal. In this article, we will discuss the top 10 ways to use plumbers putty on a bathroom sink and how to do it like a pro.Using Plumbers Putty on Bathroom Sink


Using Plumbers Putty on Bathroom Sink


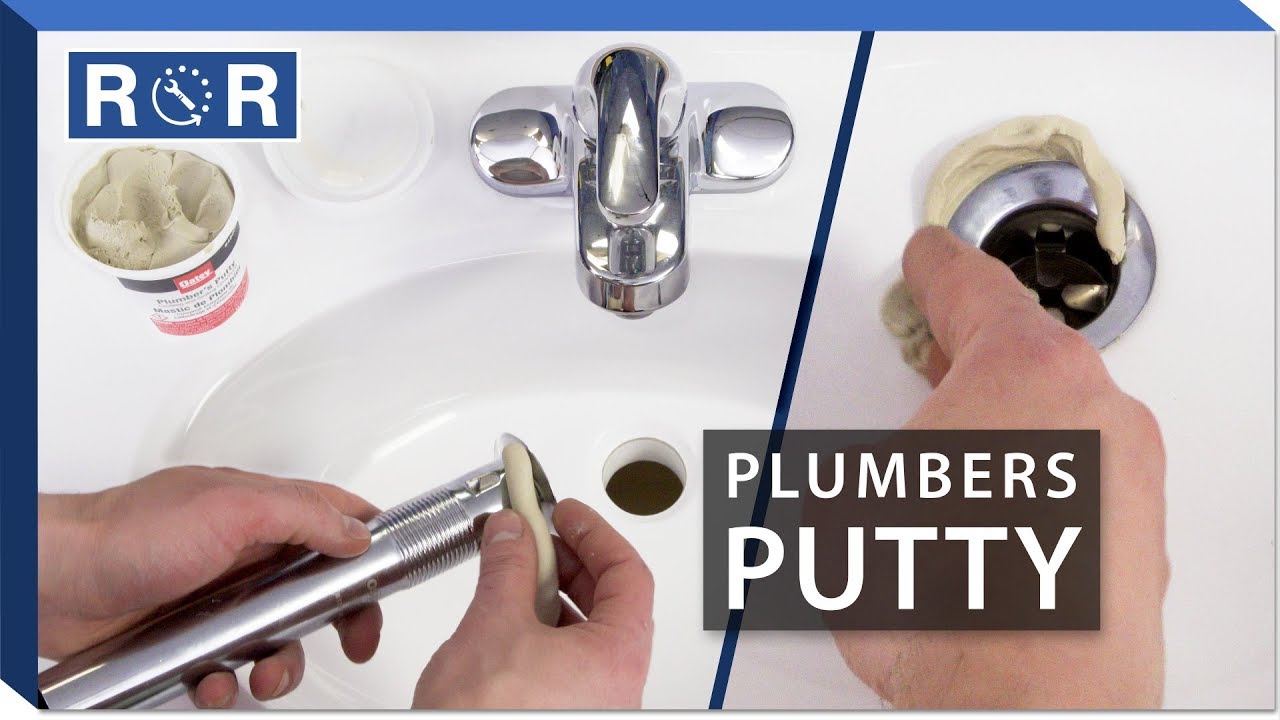
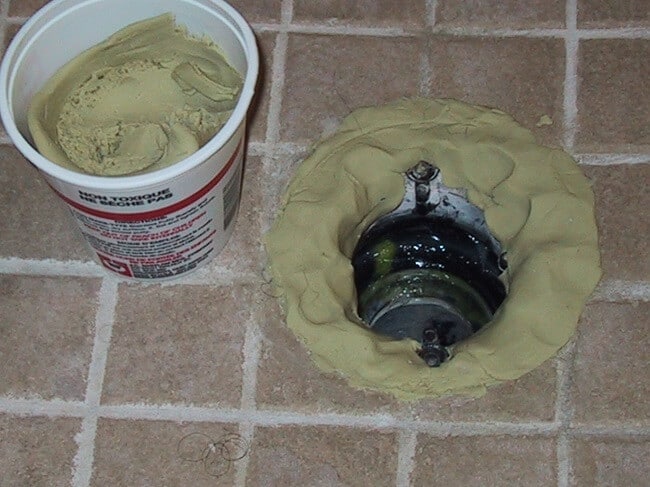
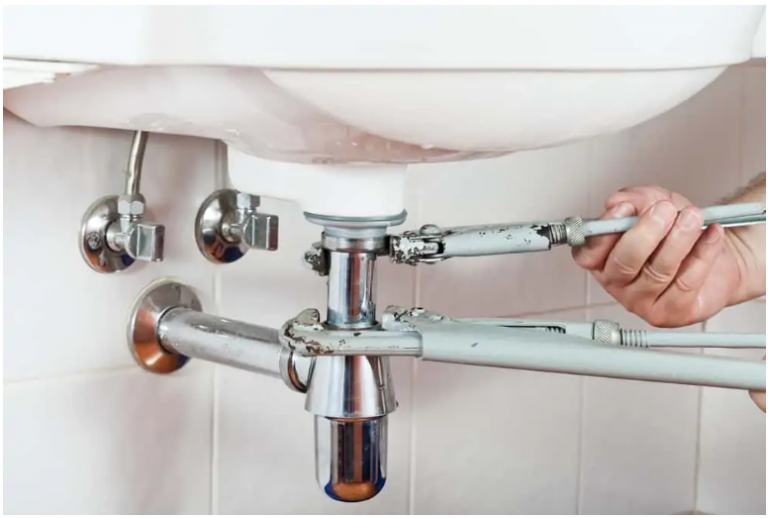
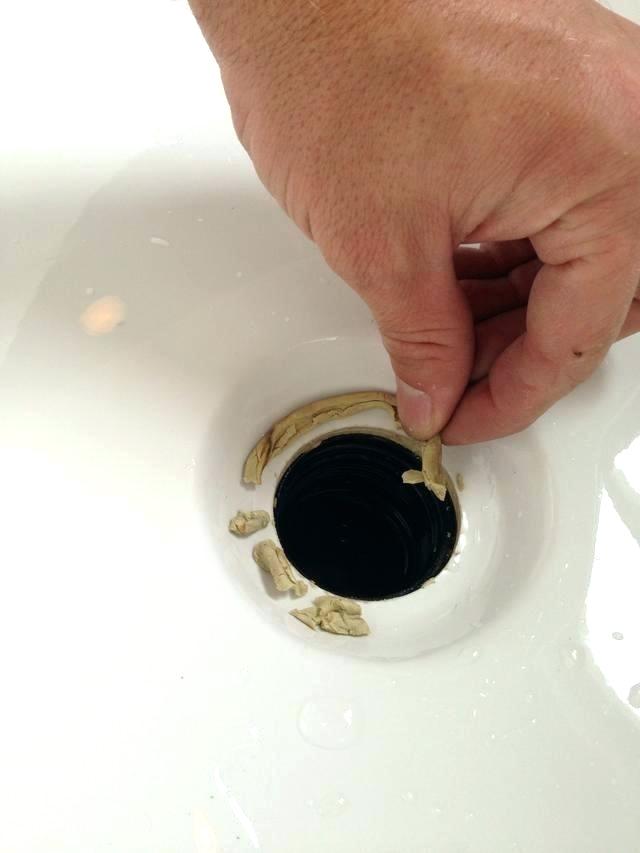
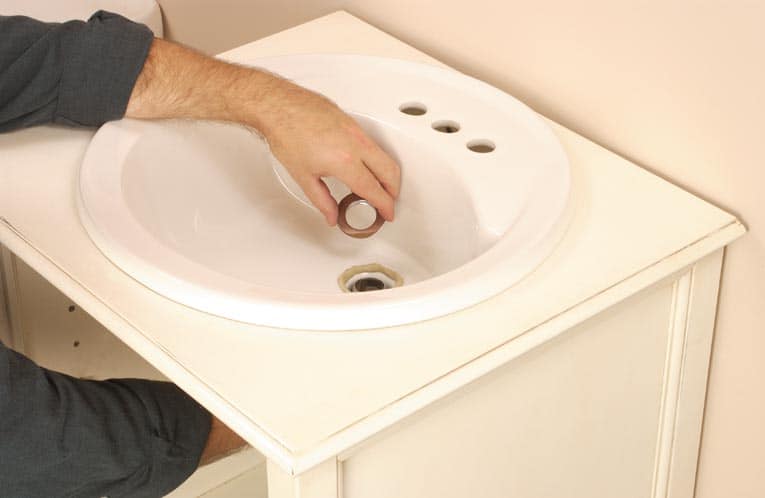
The first step in using plumbers putty on a bathroom sink is to clean the area where the putty will be applied. This includes removing any old putty, dirt, or debris. Once the area is clean, take a small amount of putty and roll it into a thin rope. Next, place the putty rope around the perimeter of the sink drain and press it firmly into place. Use your fingers to smooth out any excess putty and ensure that it is evenly distributed. If necessary, use a putty knife to trim off any excess putty.How to Apply Plumbers Putty on a Bathroom Sink


How to Apply Plumbers Putty on a Bathroom Sink


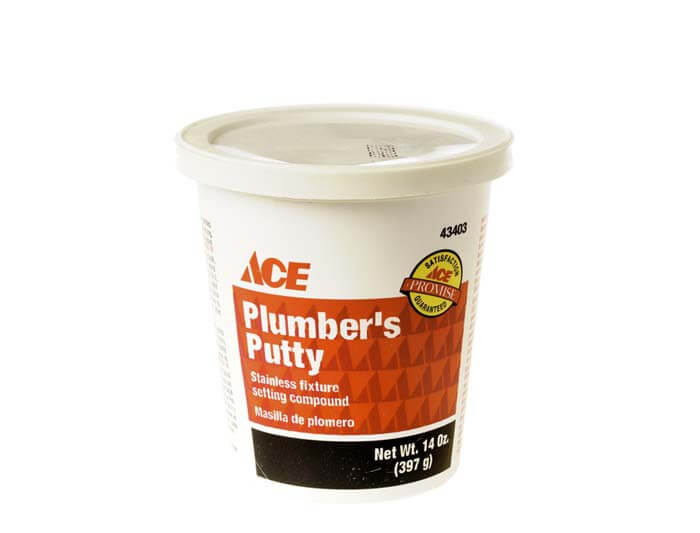
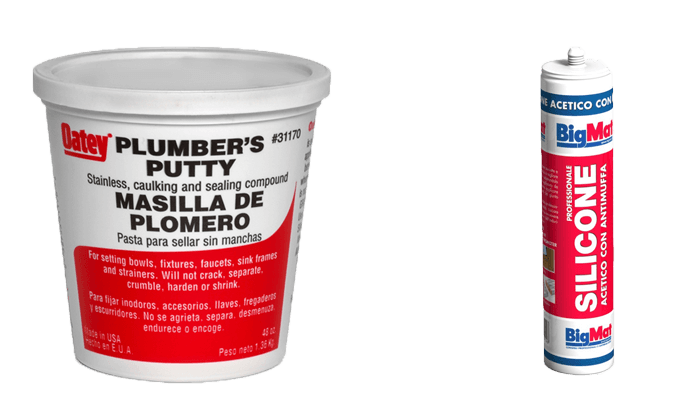
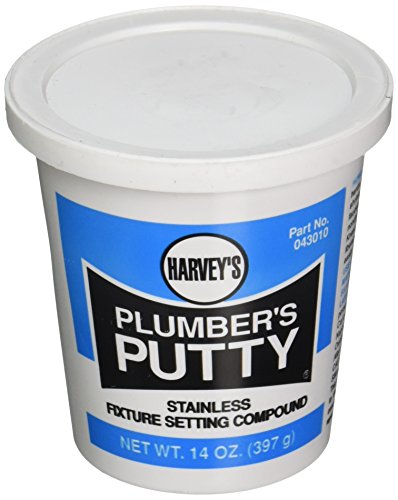
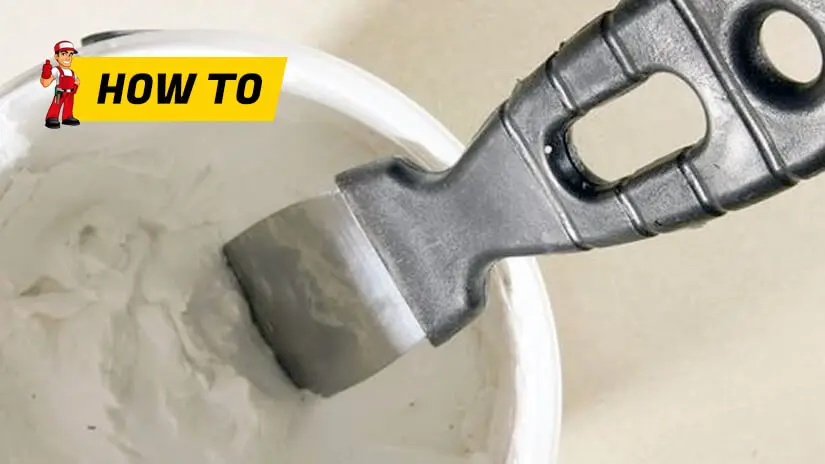
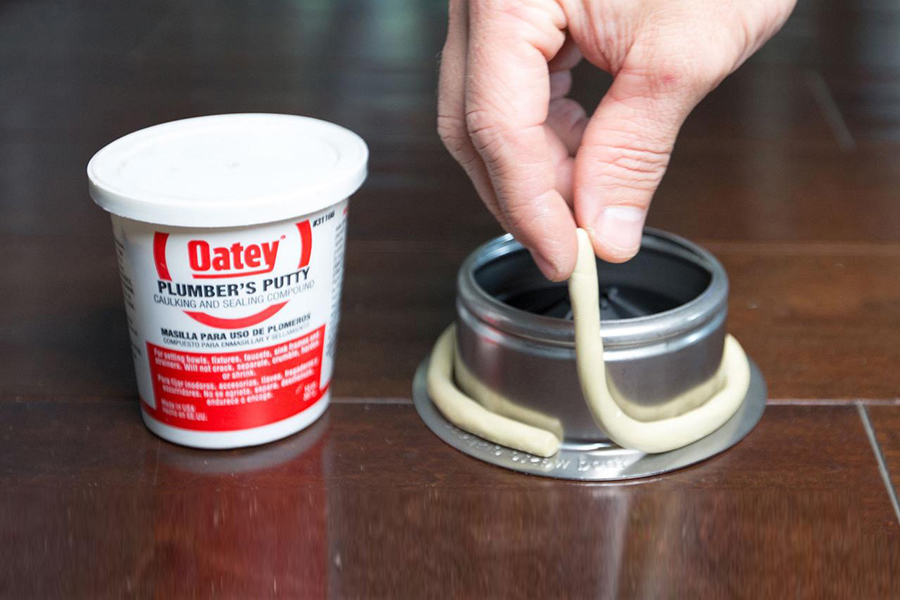
When it comes to choosing the best plumbers putty for your bathroom sink, there are a few factors to consider. Look for a putty that is waterproof, mold and mildew resistant, and can withstand high temperatures. Some popular options include Oatey Plumbers Putty, Hercules Sta-Put Ultra Plumbers Putty, and JB Weld KwikWeld Epoxy Putty Stick.Best Plumbers Putty for Bathroom Sink


Best Plumbers Putty for Bathroom Sink


:max_bytes(150000):strip_icc()/185313098-56a73c255f9b58b7d0e81636.jpg)

To help you better understand the process of using plumbers putty on a bathroom sink, here is a step-by-step guide:Step-by-Step Guide for Using Plumbers Putty on Bathroom Sink
Step-by-Step Guide for Using Plumbers Putty on Bathroom Sink

Using plumbers putty on a bathroom sink offers several benefits, including:Benefits of Using Plumbers Putty on Bathroom Sink

Benefits of Using Plumbers Putty on Bathroom Sink


While using plumbers putty is a relatively simple process, there are some common mistakes that people make. These include:Common Mistakes When Using Plumbers Putty on Bathroom Sink


Common Mistakes When Using Plumbers Putty on Bathroom Sink


/185313098-56a73c255f9b58b7d0e81636.jpg)
If you need to remove plumbers putty from your bathroom sink, the process is relatively straightforward. Simply use a putty knife or scraper to gently scrape away the putty. You may also use a cleaning solution, such as mineral spirits, to help dissolve and remove the putty.How to Remove Plumbers Putty from Bathroom Sink
How to Remove Plumbers Putty from Bathroom Sink


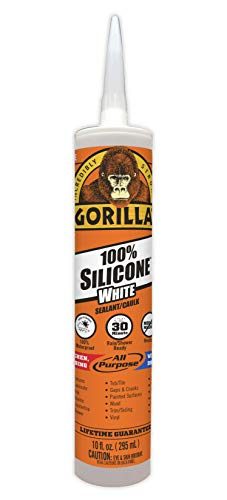
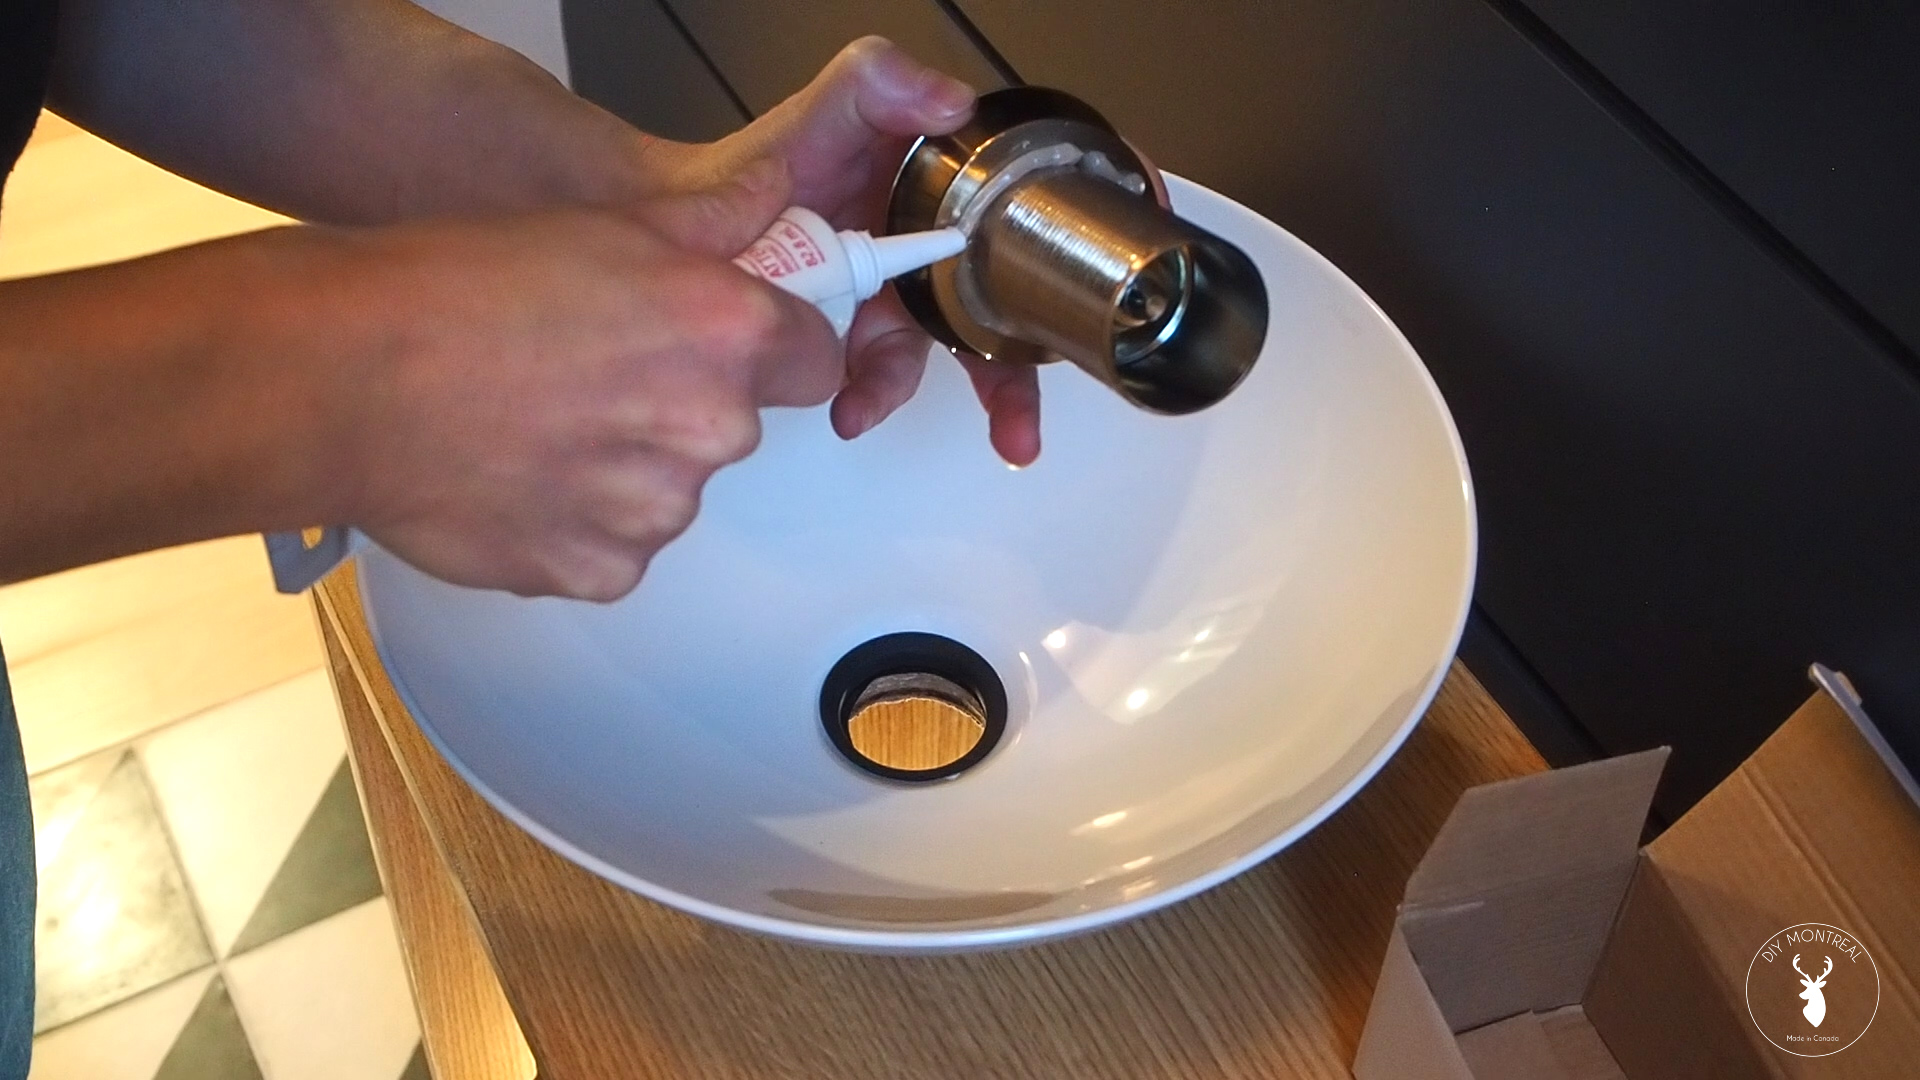
If you prefer not to use plumbers putty on your bathroom sink, there are a few alternative products you can consider:Alternative Products to Plumbers Putty for Bathroom Sink


Alternative Products to Plumbers Putty for Bathroom Sink
To ensure that you get the best results when using plumbers putty on your bathroom sink, here are a few tips to keep in mind:Tips for Using Plumbers Putty on Bathroom Sink Like a Pro


Tips for Using Plumbers Putty on Bathroom Sink Like a Pro

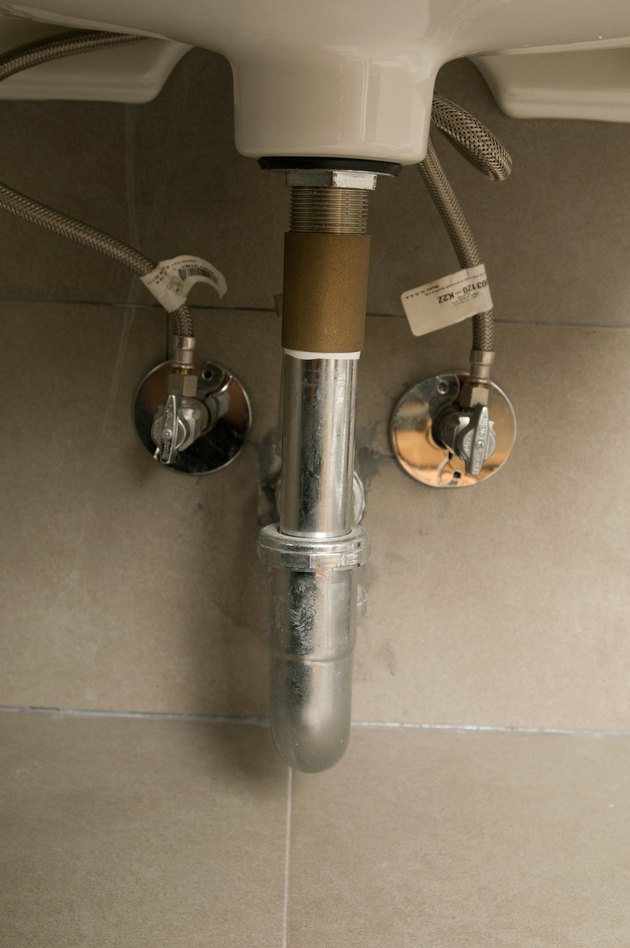
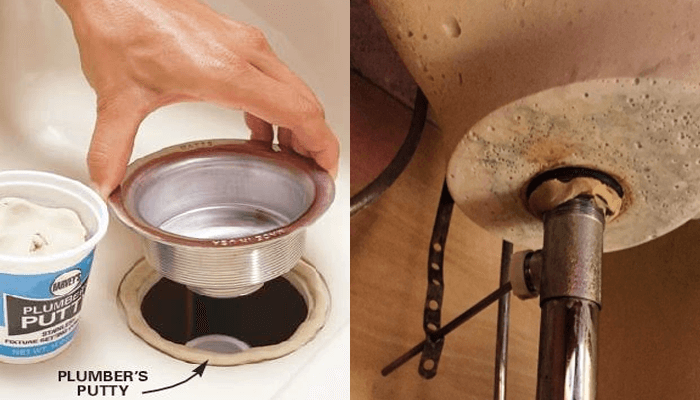
Sealing a bathroom sink drain with plumbers putty is a simple process that can be done in just a few minutes. By following the steps outlined in this article, you can easily create a strong and durable seal that will prevent leaks and keep your sink functioning properly. Remember to choose the right putty for the job, and always follow the manufacturer's instructions for best results.How to Seal a Bathroom Sink Drain with Plumbers Putty


How to Seal a Bathroom Sink Drain with Plumbers Putty


How to Properly Use Plumbers Putty on Your Bathroom Sink
Introduction
 When it comes to designing your dream house, every detail counts. From the color of the walls to the type of flooring, each decision plays a role in creating a cohesive and functional space. One of the most important areas to consider is the bathroom, and specifically, the sink. A bathroom sink not only serves as a functional feature, but it can also add to the overall aesthetic of your bathroom. However, installing a bathroom sink requires proper techniques and materials to ensure a secure and long-lasting fit. One essential material to use is
plumbers putty
, which provides a strong seal between the sink and the countertop. In this article, we will discuss the importance of using plumbers putty on your bathroom sink and how to do it correctly.
When it comes to designing your dream house, every detail counts. From the color of the walls to the type of flooring, each decision plays a role in creating a cohesive and functional space. One of the most important areas to consider is the bathroom, and specifically, the sink. A bathroom sink not only serves as a functional feature, but it can also add to the overall aesthetic of your bathroom. However, installing a bathroom sink requires proper techniques and materials to ensure a secure and long-lasting fit. One essential material to use is
plumbers putty
, which provides a strong seal between the sink and the countertop. In this article, we will discuss the importance of using plumbers putty on your bathroom sink and how to do it correctly.
Why Use Plumbers Putty?
 Before we dive into the steps of using plumbers putty, it's important to understand why it is necessary in the first place. Plumbers putty is a type of
waterproof sealant
that is commonly used in plumbing projects. It is made from a combination of clay and linseed oil, making it
durable and long-lasting
. When applied between the sink and the countertop, it creates a tight and waterproof seal, preventing any leaks or water damage. Unlike silicone caulk, plumbers putty is
easy to remove and clean
, making it a more convenient option for future repairs or replacements.
Before we dive into the steps of using plumbers putty, it's important to understand why it is necessary in the first place. Plumbers putty is a type of
waterproof sealant
that is commonly used in plumbing projects. It is made from a combination of clay and linseed oil, making it
durable and long-lasting
. When applied between the sink and the countertop, it creates a tight and waterproof seal, preventing any leaks or water damage. Unlike silicone caulk, plumbers putty is
easy to remove and clean
, making it a more convenient option for future repairs or replacements.
How to Use Plumbers Putty on Your Bathroom Sink
 Now that you understand the importance of using plumbers putty, let's discuss how to use it properly on your bathroom sink. Here are the steps to follow:
1.
Clean the area:
Before applying plumbers putty, make sure the area between the sink and the countertop is clean and dry. Remove any old caulk or debris that may prevent the putty from adhering properly.
2.
Roll the putty into a rope:
Take a small amount of plumbers putty and roll it between your hands to form a thin, rope-like shape.
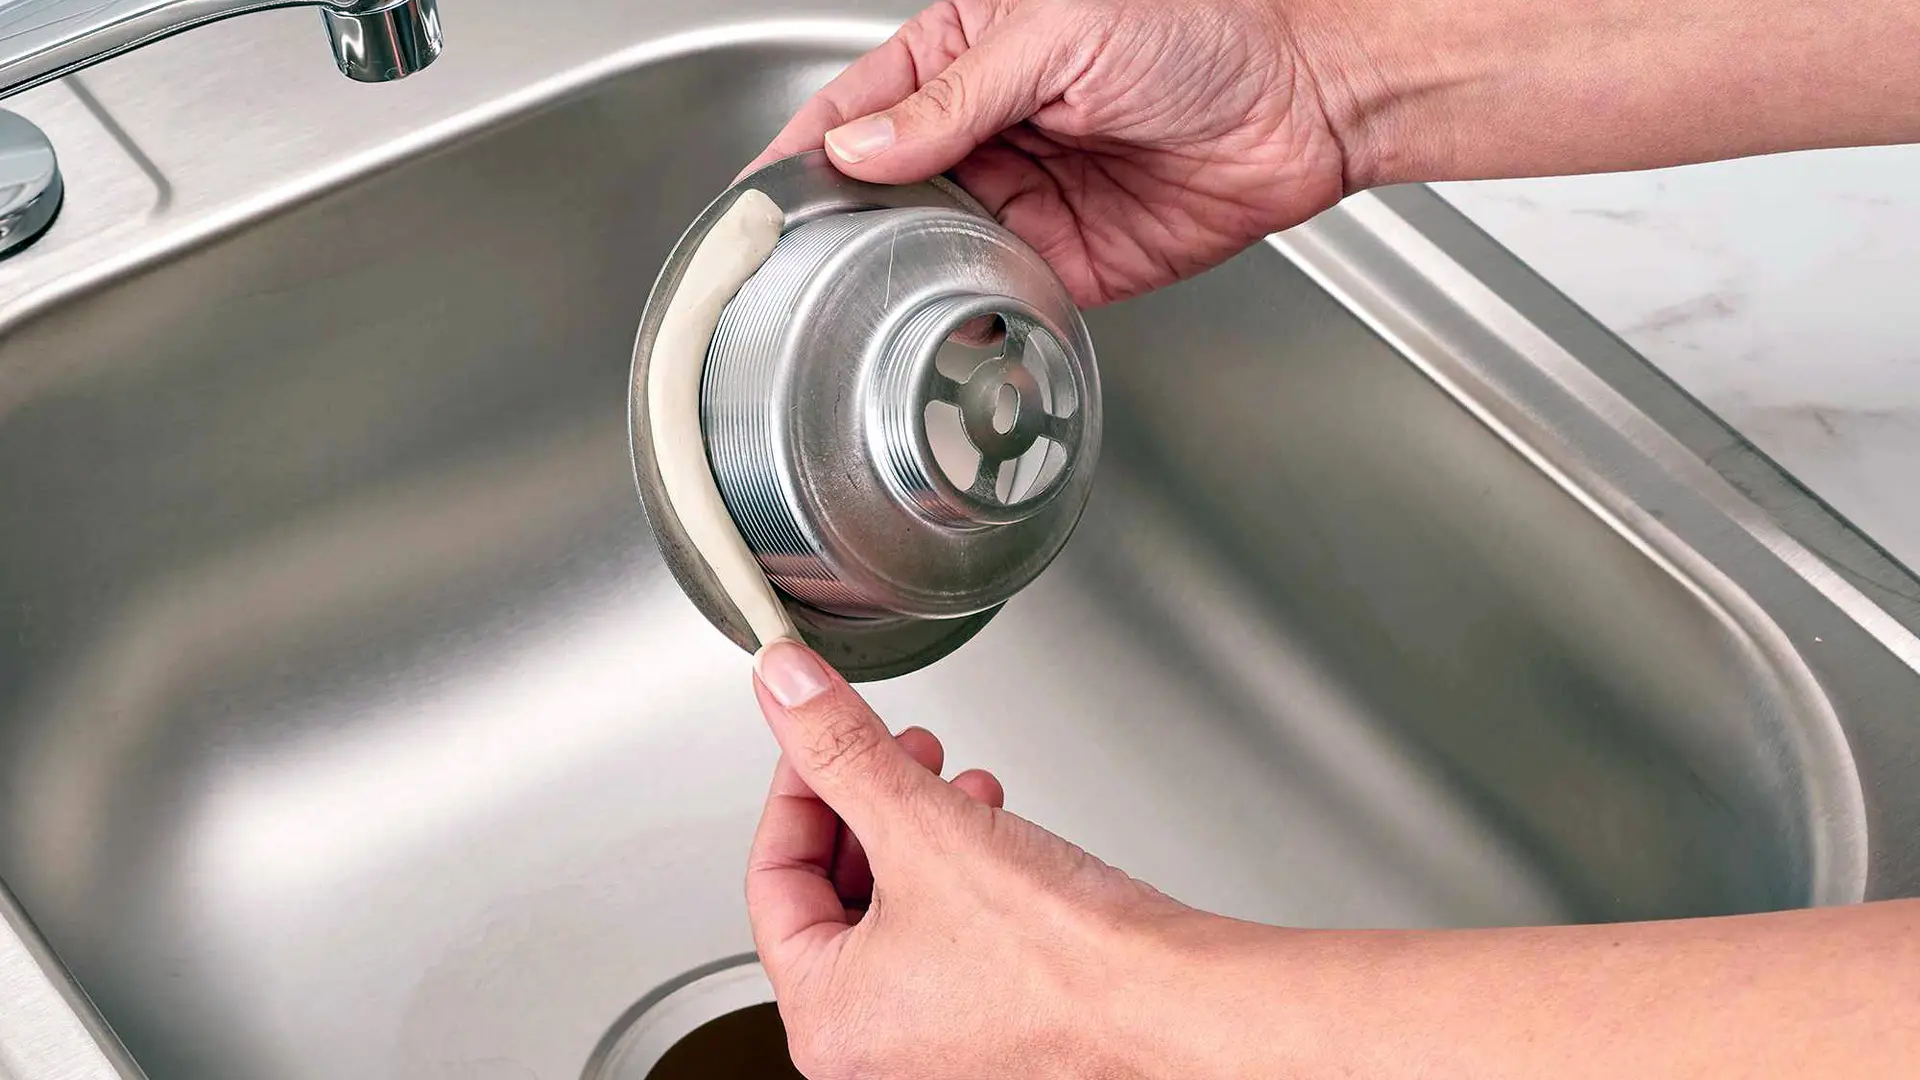
3.
Apply to the sink:
Place the putty rope along the edge of the sink, making sure it covers the entire perimeter. Press down gently to ensure it adheres to the sink.
4.
Place the sink:
Carefully place the sink onto the countertop, making sure it is properly aligned and centered.
5.
Tighten the clips:
Use clips or brackets to secure the sink to the countertop. This will help the putty form a tight seal between the two surfaces.
6.
Remove excess putty:
Use a putty knife or your fingers to remove any excess putty that may have squeezed out from the edges of the sink.
7.
Let it dry:
Allow the putty to dry for at least 24 hours before using the sink. This will ensure that it has formed a strong and waterproof seal.
Now that you understand the importance of using plumbers putty, let's discuss how to use it properly on your bathroom sink. Here are the steps to follow:
1.
Clean the area:
Before applying plumbers putty, make sure the area between the sink and the countertop is clean and dry. Remove any old caulk or debris that may prevent the putty from adhering properly.
2.
Roll the putty into a rope:
Take a small amount of plumbers putty and roll it between your hands to form a thin, rope-like shape.
3.
Apply to the sink:
Place the putty rope along the edge of the sink, making sure it covers the entire perimeter. Press down gently to ensure it adheres to the sink.
4.
Place the sink:
Carefully place the sink onto the countertop, making sure it is properly aligned and centered.
5.
Tighten the clips:
Use clips or brackets to secure the sink to the countertop. This will help the putty form a tight seal between the two surfaces.
6.
Remove excess putty:
Use a putty knife or your fingers to remove any excess putty that may have squeezed out from the edges of the sink.
7.
Let it dry:
Allow the putty to dry for at least 24 hours before using the sink. This will ensure that it has formed a strong and waterproof seal.
In Conclusion
 Using plumbers putty on your bathroom sink is a simple and effective way to ensure a secure and leak-free installation. By following these steps, you can have peace of mind knowing that your sink will not only look great but also function properly for years to come. Remember to always use high-quality plumbers putty and follow the manufacturer's instructions for best results. Happy designing!