How to Remove an Undermount Kitchen Sink
If you're looking to update your kitchen or simply replace your old undermount kitchen sink, you may be wondering how to remove it without damaging your countertops. Fortunately, with the right tools and techniques, removing an undermount kitchen sink can be a DIY project that anyone can tackle.
Removing an Undermount Kitchen Sink
Before you begin the removal process, it's important to have a plan in place. This will help ensure that the project goes smoothly and that your countertops are protected. Here's a step-by-step guide for removing an undermount kitchen sink.
Step-by-Step Guide for Removing an Undermount Kitchen Sink
Step 1: Start by disconnecting your sink from the plumbing. This may require turning off the water supply and detaching any pipes or fittings.
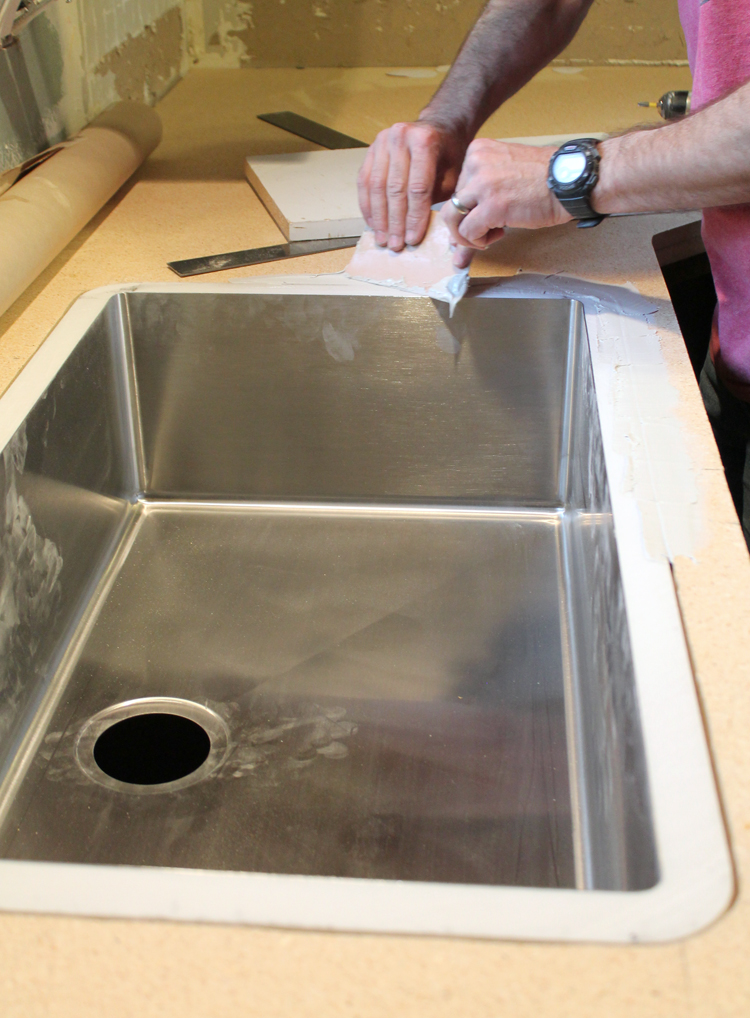
Step 2: Next, remove any caulk or adhesive that may be securing the sink to the countertop. A putty knife or utility knife can be useful for this step.
Step 3: Use a screwdriver to loosen any clips or brackets that may be holding the sink in place. These are typically located underneath the sink.
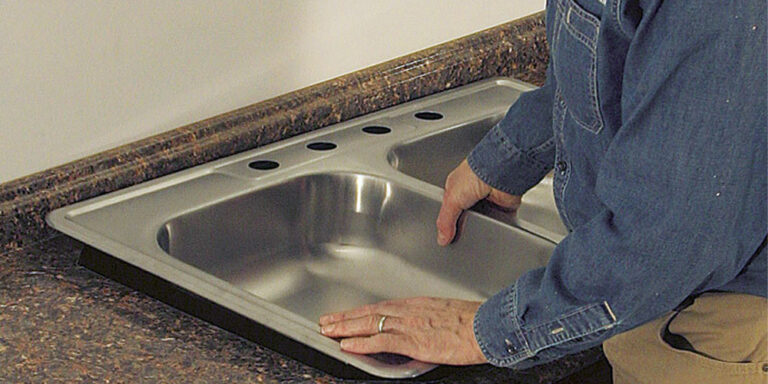
Step 4: With the sink now disconnected from the plumbing and loosened from the countertop, carefully lift it out and set it aside.
Step 5: Clean up any remaining caulk or adhesive from the countertop to prepare for the installation of your new sink.
DIY Undermount Kitchen Sink Removal
While hiring a professional may seem like the best option for removing an undermount kitchen sink, it can be a DIY project for those who are comfortable with basic home improvement tasks. With the right tools and techniques, you can safely remove your old sink and prepare for a new one.
Tools Needed for Undermount Kitchen Sink Removal
Putty knife or utility knife - for removing caulk or adhesive
Screwdriver - for loosening clips or brackets
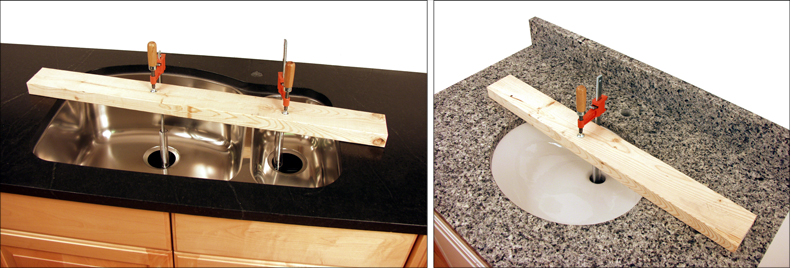
Plunger or suction cup - for lifting the sink out of the countertop
Removing an Undermount Kitchen Sink Without Damaging Countertops
The key to removing an undermount kitchen sink without damaging your countertops is to take your time and be gentle. Avoid using excessive force or prying tools, as this can cause cracks or chips in your countertop.
Removing an Undermount Kitchen Sink from Granite Countertops
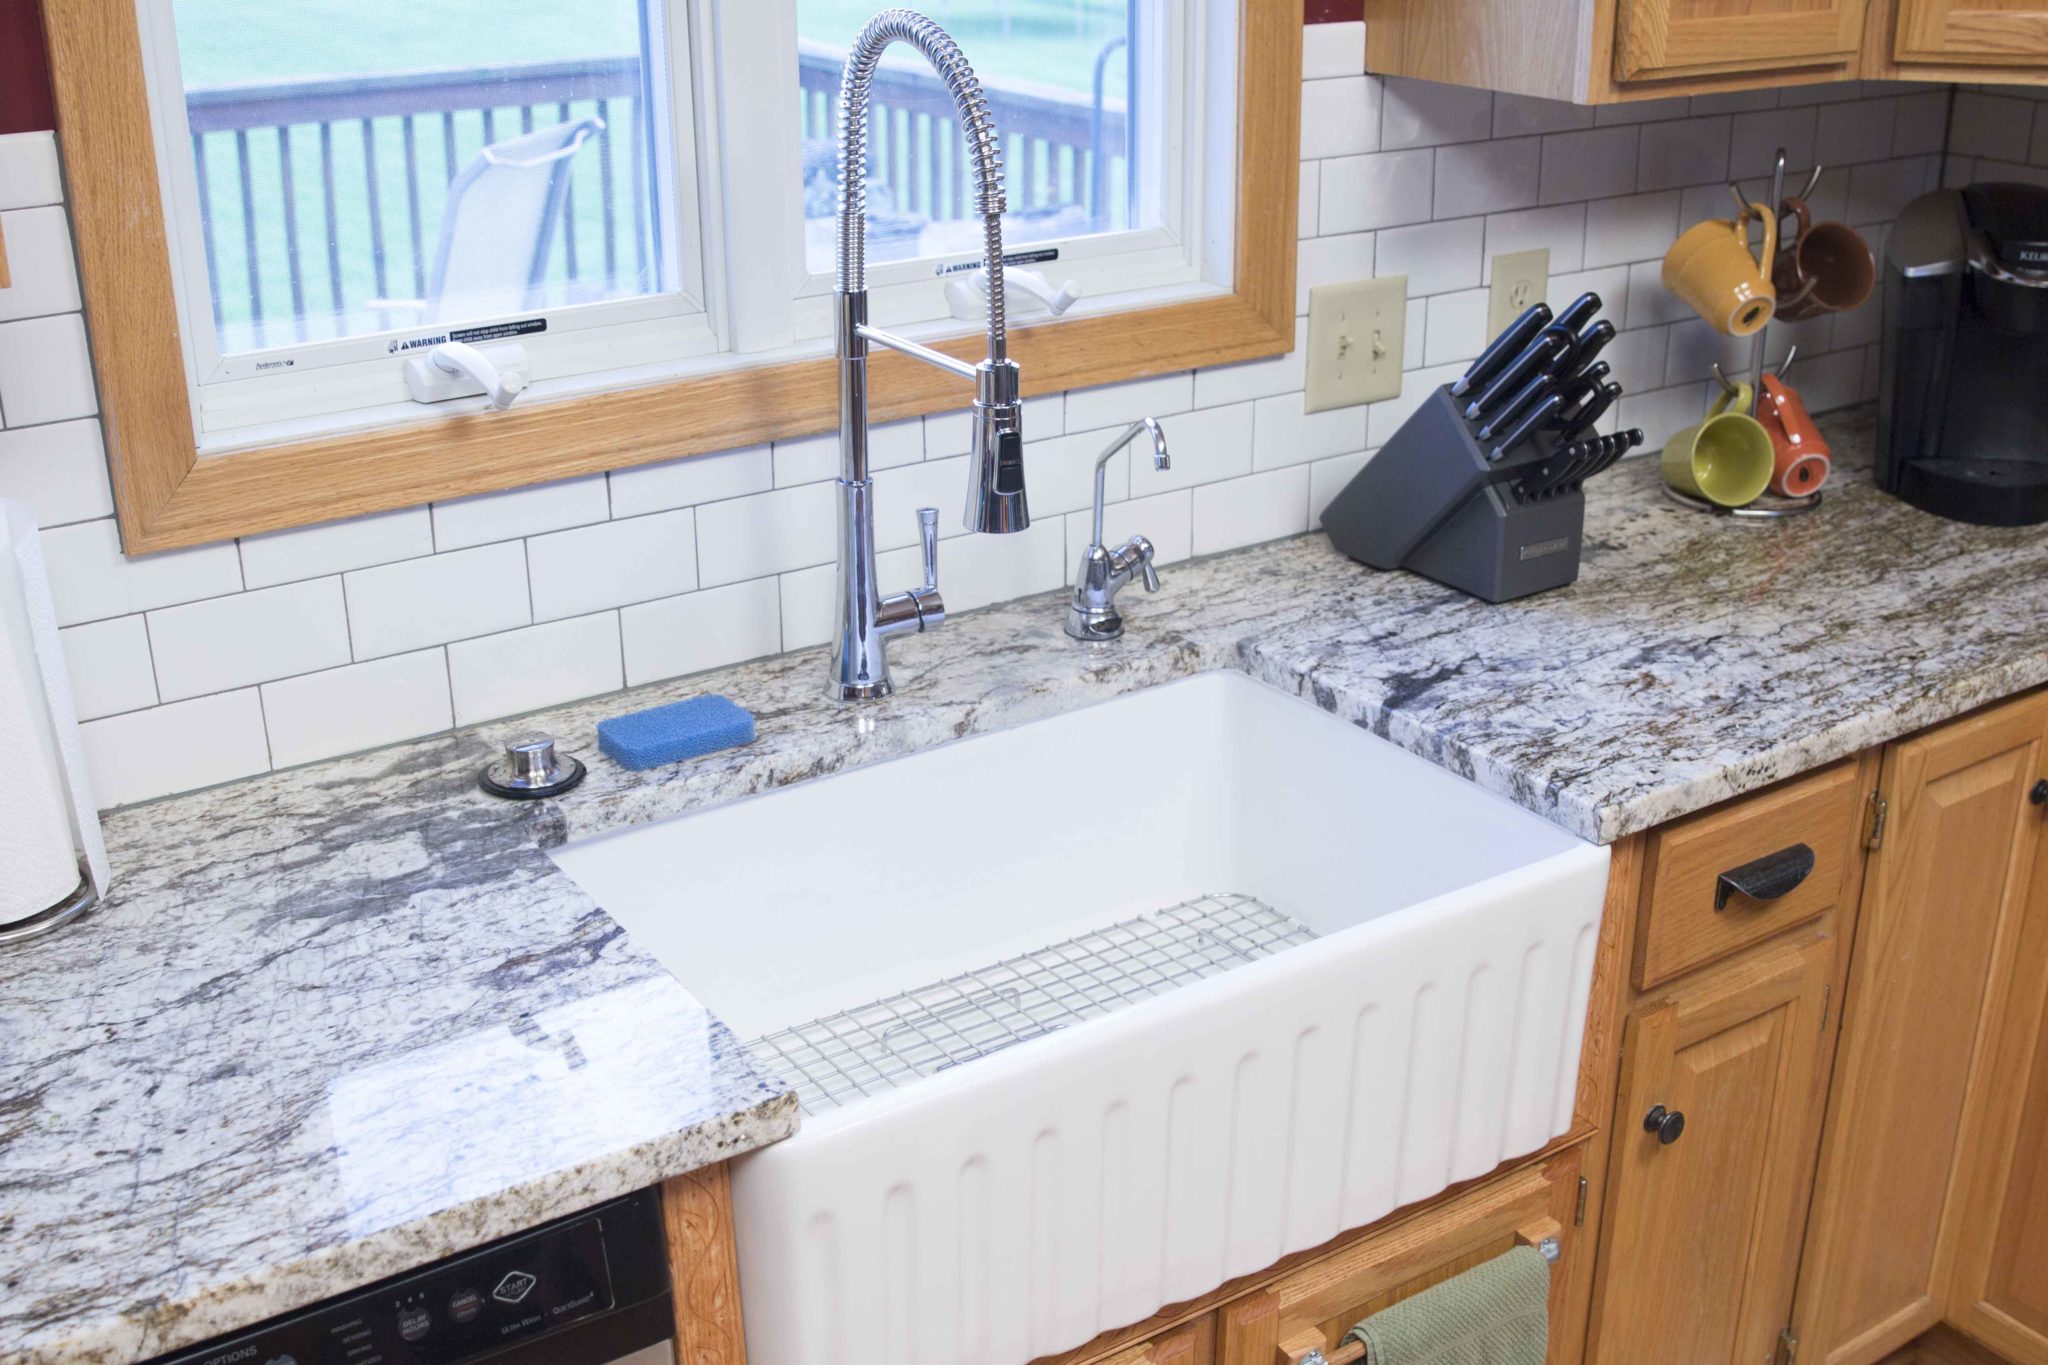
If you have granite countertops, you'll want to take extra care when removing an undermount kitchen sink. Granite is a durable material, but it can still be prone to cracks or chips if not handled properly.
To safely remove an undermount kitchen sink from granite countertops, use a plunger or suction cup to lift the sink out of the countertop. This will help prevent any damage to the granite.
Removing an Undermount Kitchen Sink from Quartz Countertops
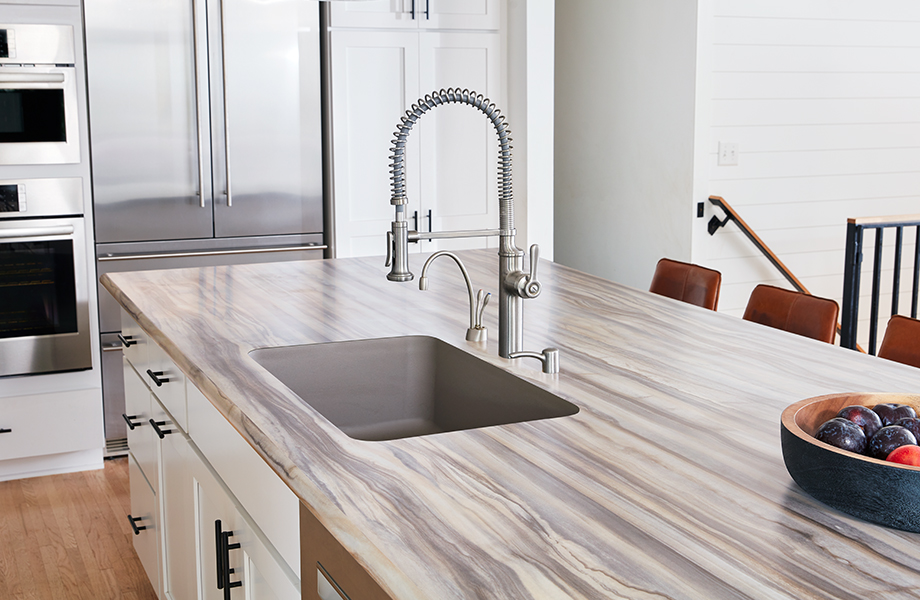
Similar to granite, quartz countertops can also be prone to cracking or chipping if not handled carefully. To remove an undermount kitchen sink from quartz countertops, follow the same steps as you would for granite - use a plunger or suction cup to lift the sink out of the countertop.
Removing an Undermount Kitchen Sink from Laminate Countertops
Laminate countertops are the most vulnerable to damage when removing an undermount kitchen sink. The laminate can easily chip or crack if too much force is used. To avoid this, use a plunger or suction cup to gently lift the sink out of the countertop.
Tips for Easy Undermount Kitchen Sink Removal
Here are a few additional tips to make undermount kitchen sink removal easier:
Tip 1: Have a helper on hand to assist with lifting the sink out of the countertop.
Tip 2: Use a hairdryer to soften any stubborn caulk or adhesive before attempting to remove it.
Tip 3: Place a towel or blanket under the sink to protect your countertops from scratches or dings.
Tip 4: If you're unsure about tackling the removal process yourself, consider hiring a professional to avoid any potential damage to your countertops.
With these tips and a little bit of patience, you can successfully remove an undermount kitchen sink without damaging your countertops. Just remember to take your time and be gentle, and you'll have your old sink removed in no time.
Why Choose an Undermount Kitchen Sink for Your Home?
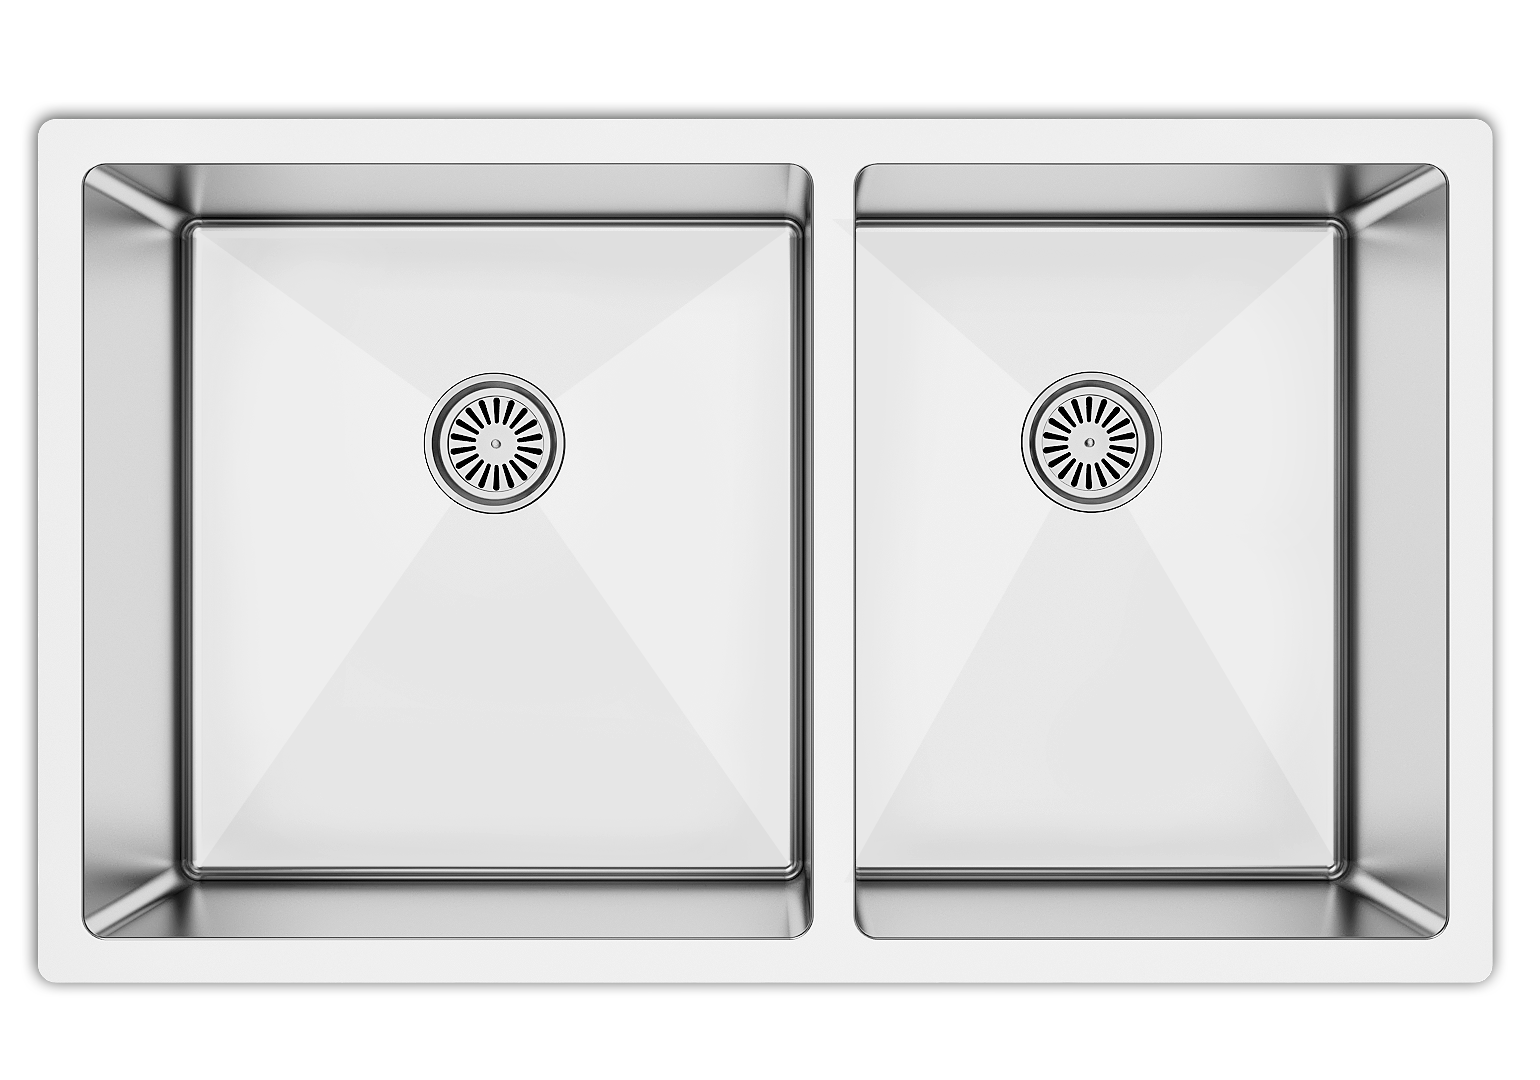
Seamless Design
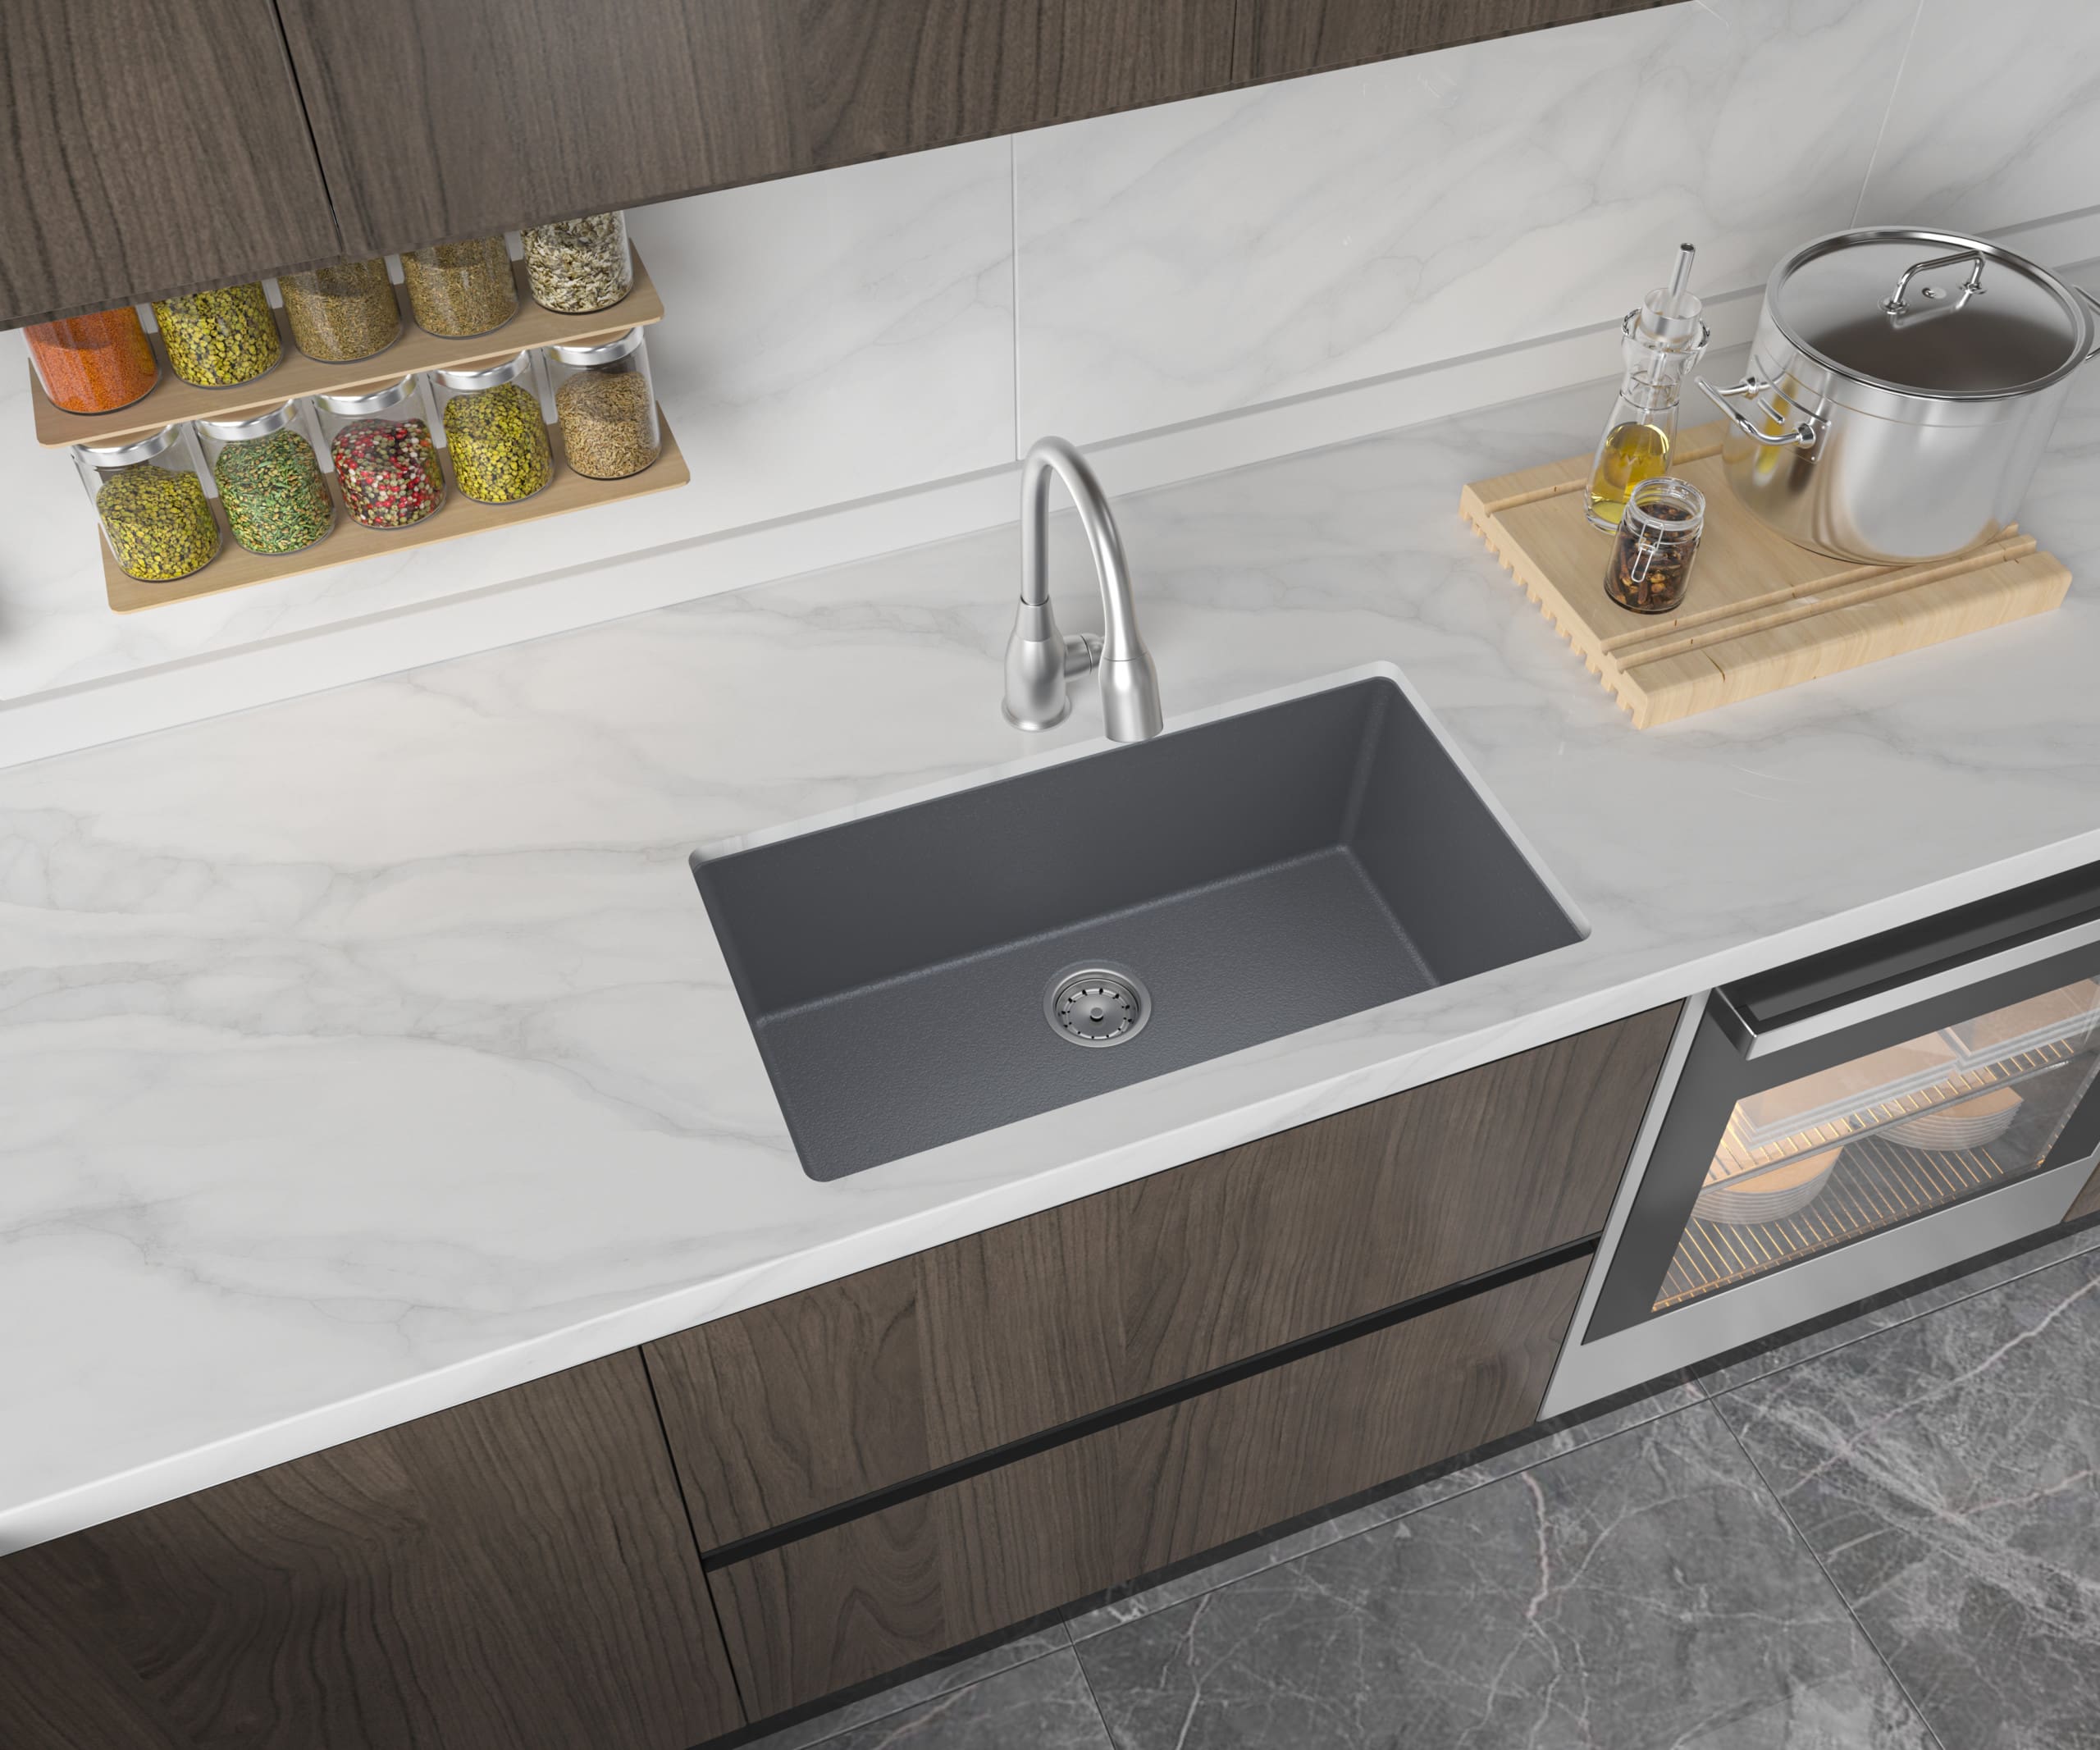
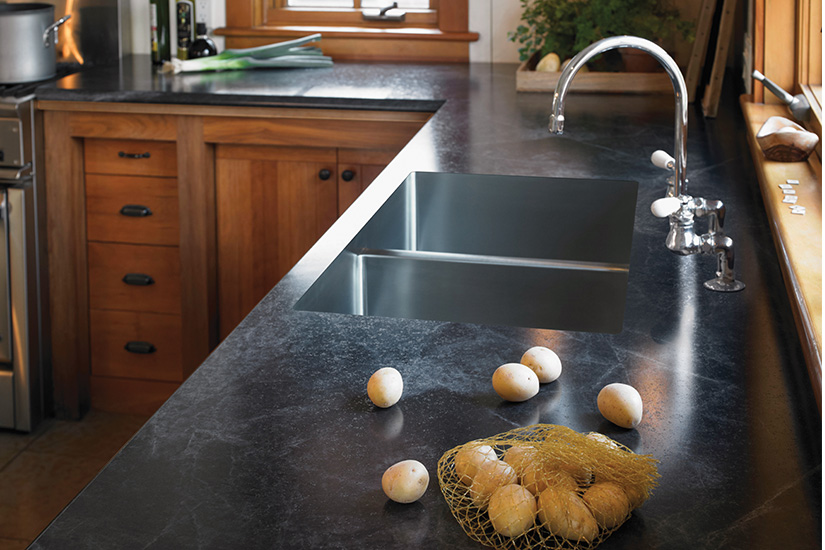
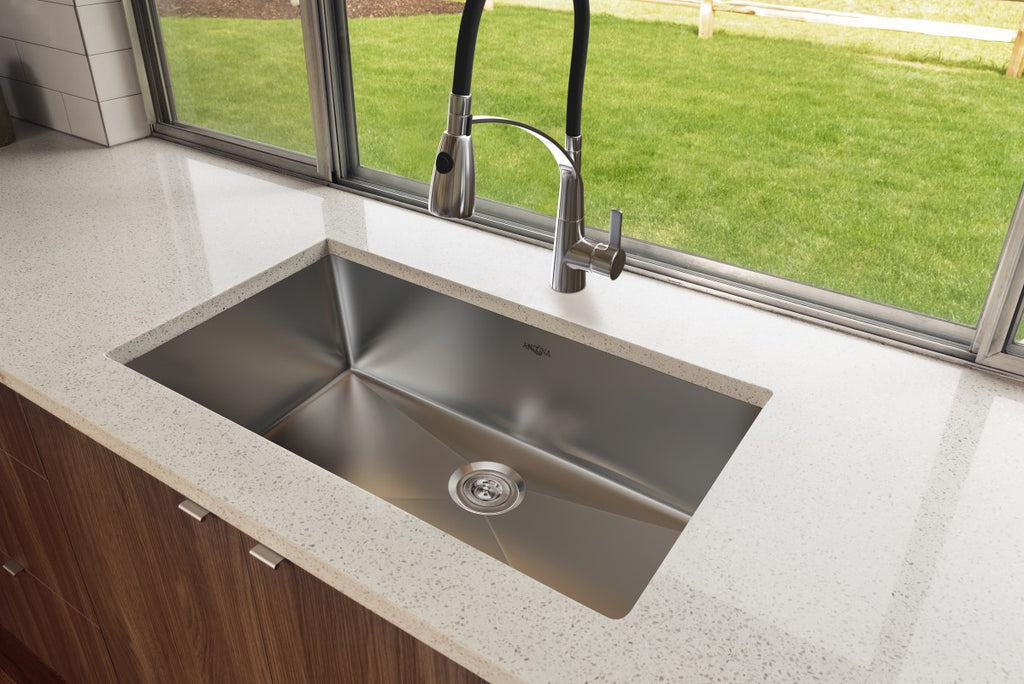
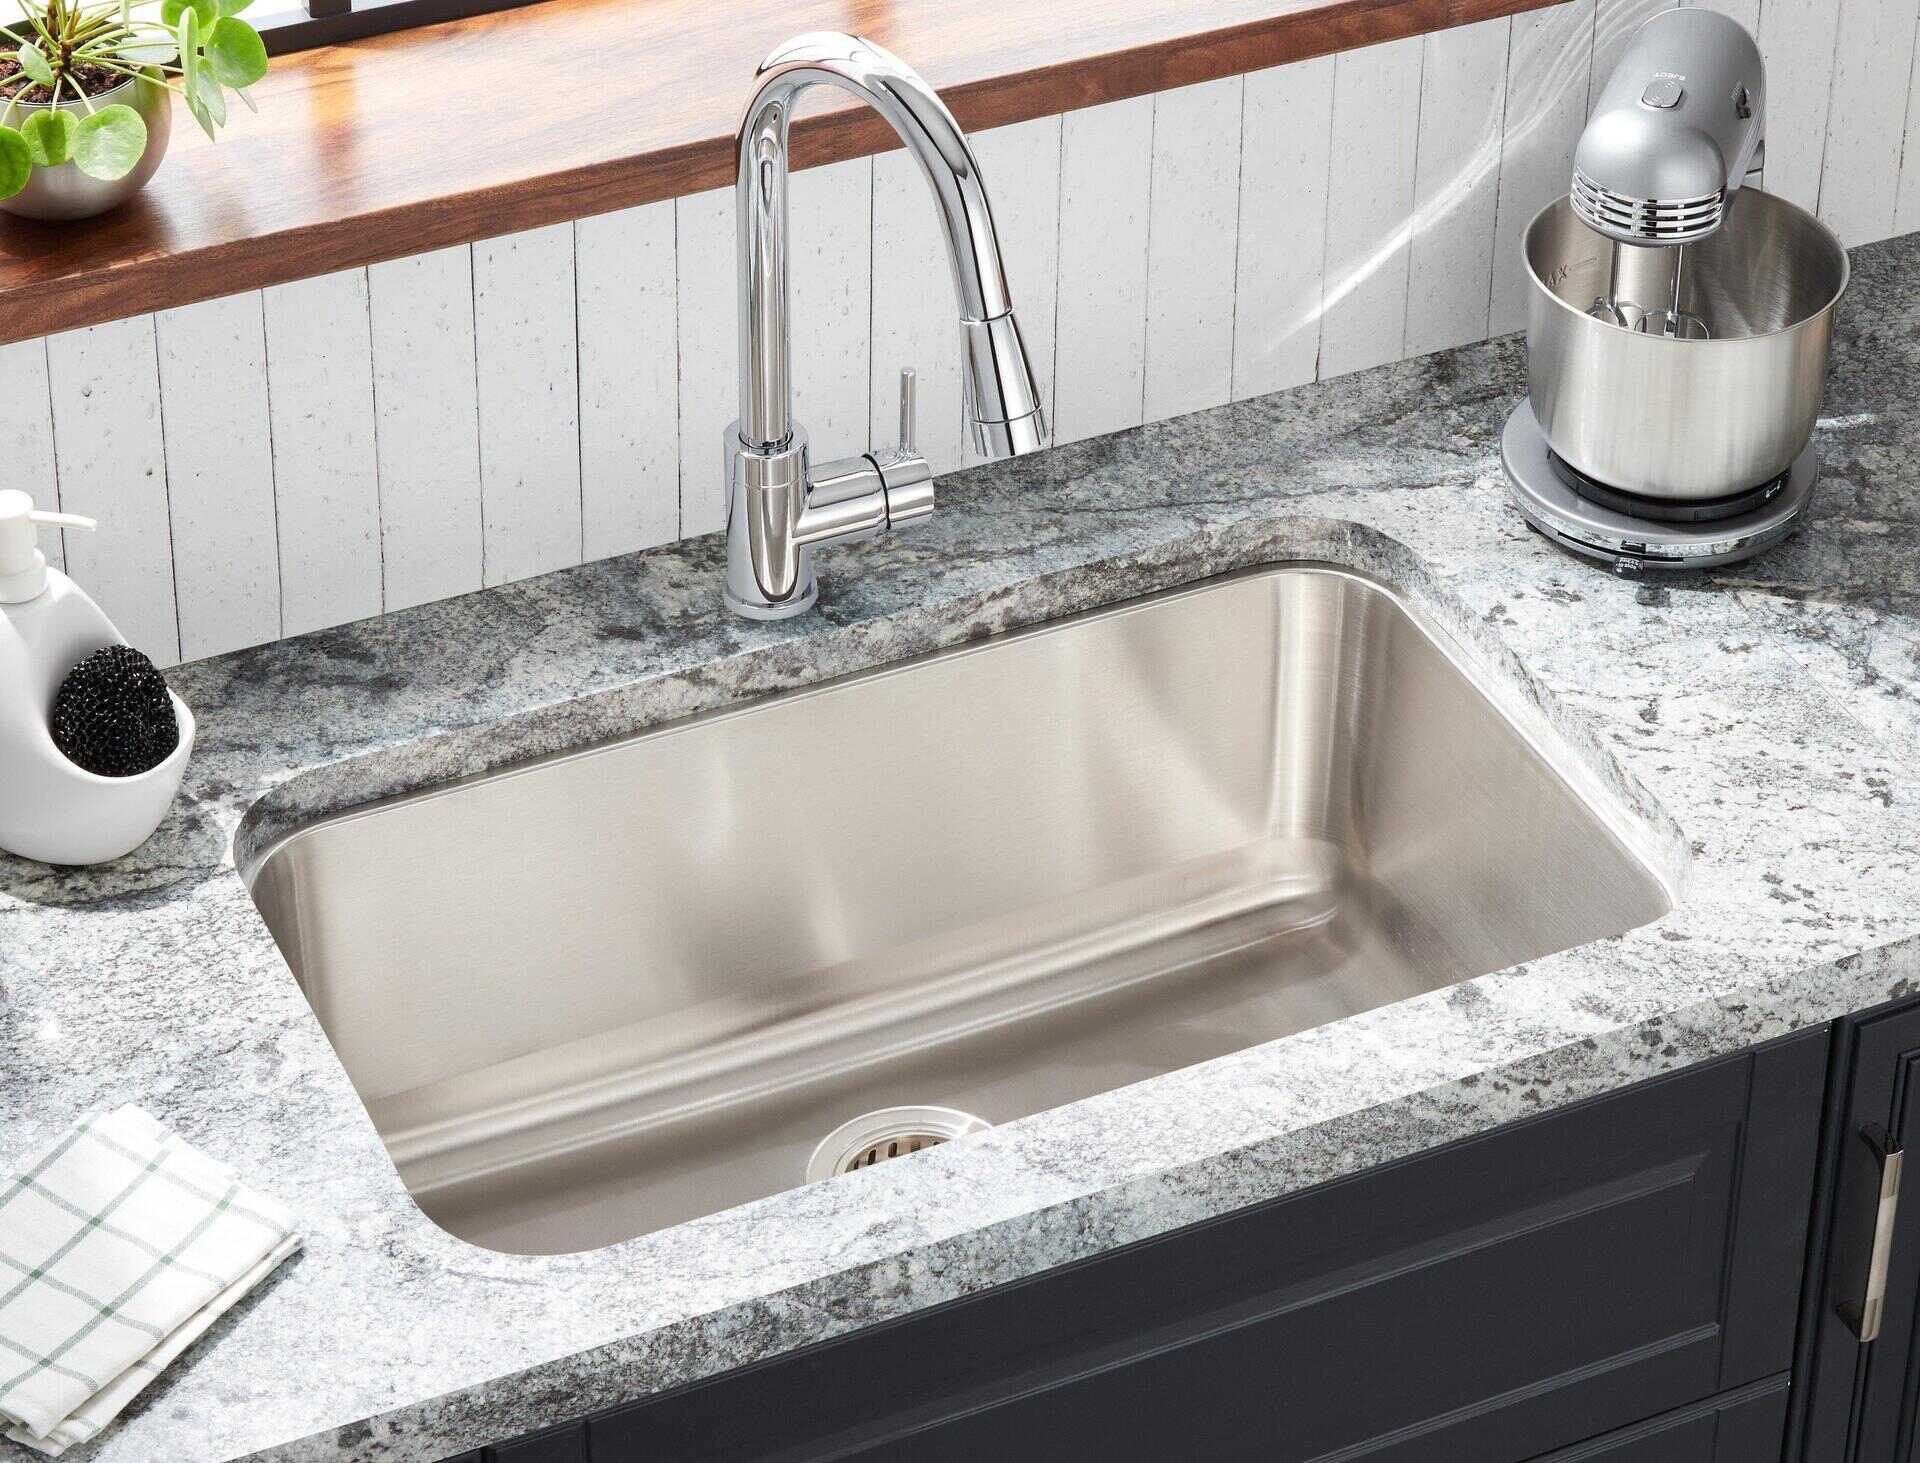 An undermount kitchen sink offers a sleek and modern look as it is installed under the countertop, creating a seamless and uninterrupted surface. This design allows for easy cleaning and prevents food and debris from getting stuck between the sink and the countertop.
Undermount kitchen sinks
also come in a variety of materials such as stainless steel, porcelain, and granite, allowing you to choose one that best fits your kitchen's style and aesthetic.
Maximized Counter Space
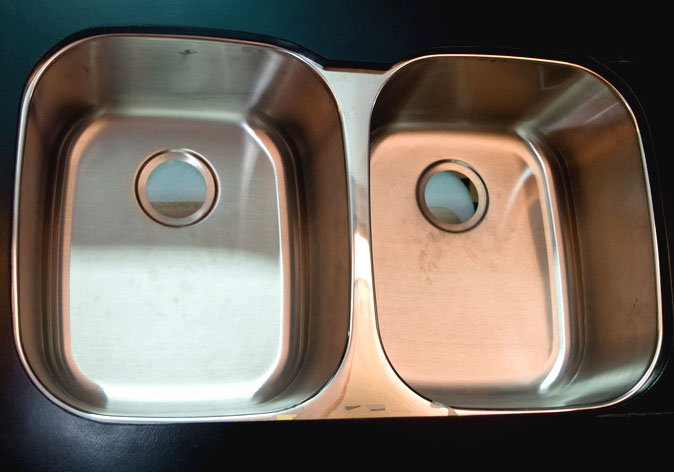 One of the main benefits of an undermount kitchen sink is the extra counter space it provides. With the sink mounted underneath the countertop, there is no need for a rim or lip, giving you more room to work with. This is especially beneficial for smaller kitchens where every inch of counter space counts. You can also add
accessories
such as cutting boards and drying racks on top of the sink, further maximizing the counter space.
Improved Functionality
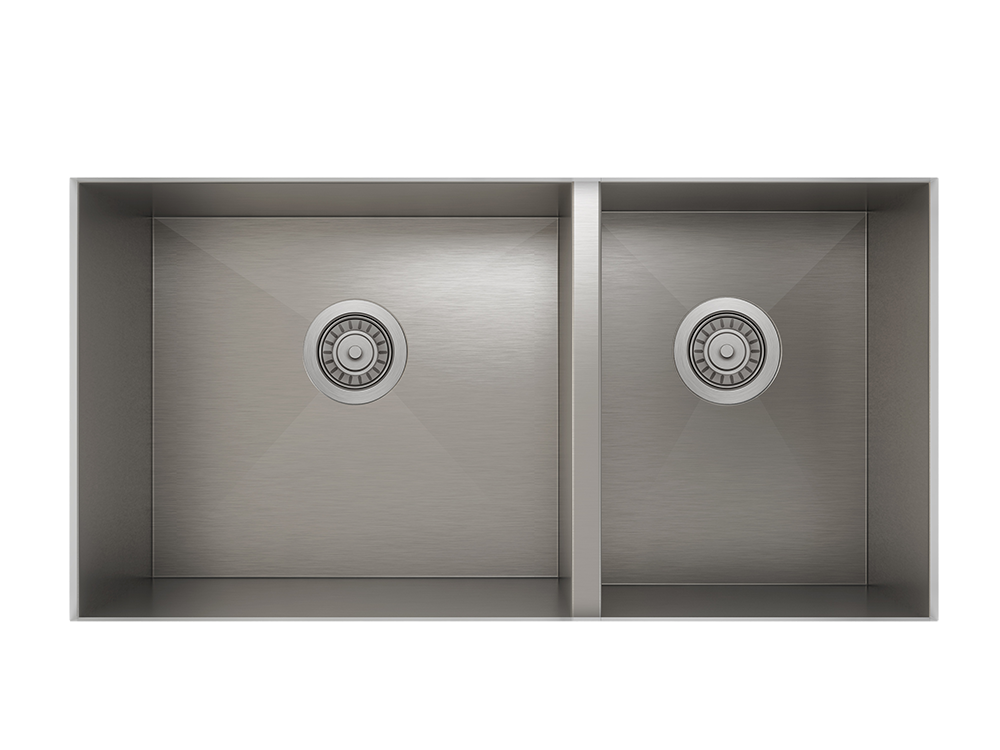
 Undermount kitchen sinks are typically deeper and wider than traditional top-mounted sinks, making them more functional and practical for everyday use. They also come in single or double-bowl options, allowing for more flexibility in terms of washing and draining dishes. The seamless design also eliminates any ledges or edges, making it easier to wipe down and maintain the sink's cleanliness.
Increased Home Value
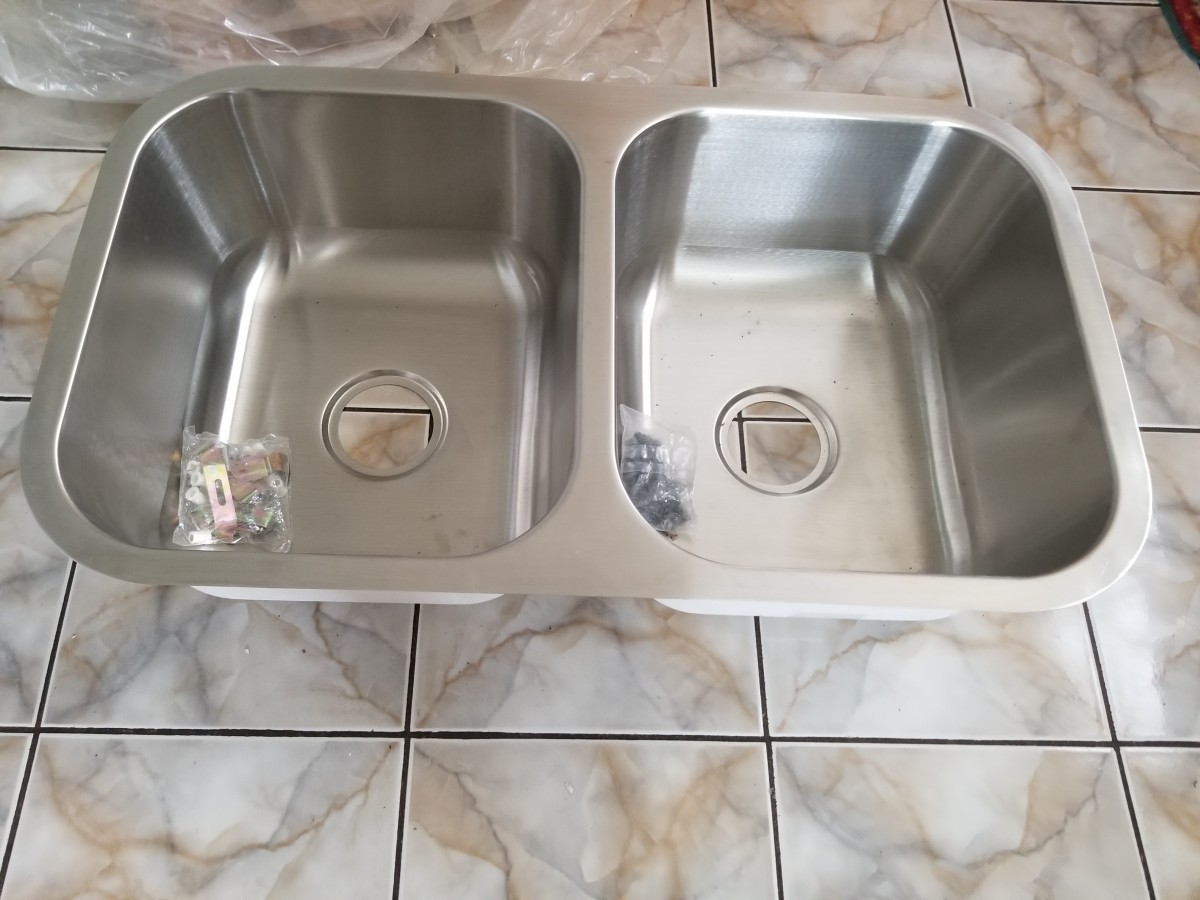 Investing in an undermount kitchen sink can also increase the value of your home. This modern and stylish addition to your kitchen can be a selling point for potential buyers, and it shows that you have put thought and effort into the design of your home. Additionally,
kitchen remodels
have one of the highest returns on investment, making it a wise choice for homeowners looking to add value to their property.
In Conclusion
 An
undermount kitchen sink
offers not only a sleek and modern design but also practicality and functionality for everyday use. It maximizes counter space, is easy to clean, and can add value to your home. If you're looking to upgrade your kitchen, consider removing your old top-mounted sink and replacing it with an undermount one for a more seamless and stylish look.







:no_upscale()/cdn.vox-cdn.com/uploads/chorus_asset/file/19495086/drain_0.jpg)


