Are you looking to update your kitchen and reinstall your undermount kitchen sink with beautiful Avonite countertops? This step-by-step guide will walk you through the process and provide helpful tips for a successful installation. Keep reading to learn more.How to Reinstall an Undermount Kitchen Sink with Avonite Countertops


How to Reinstall an Undermount Kitchen Sink with Avonite Countertops


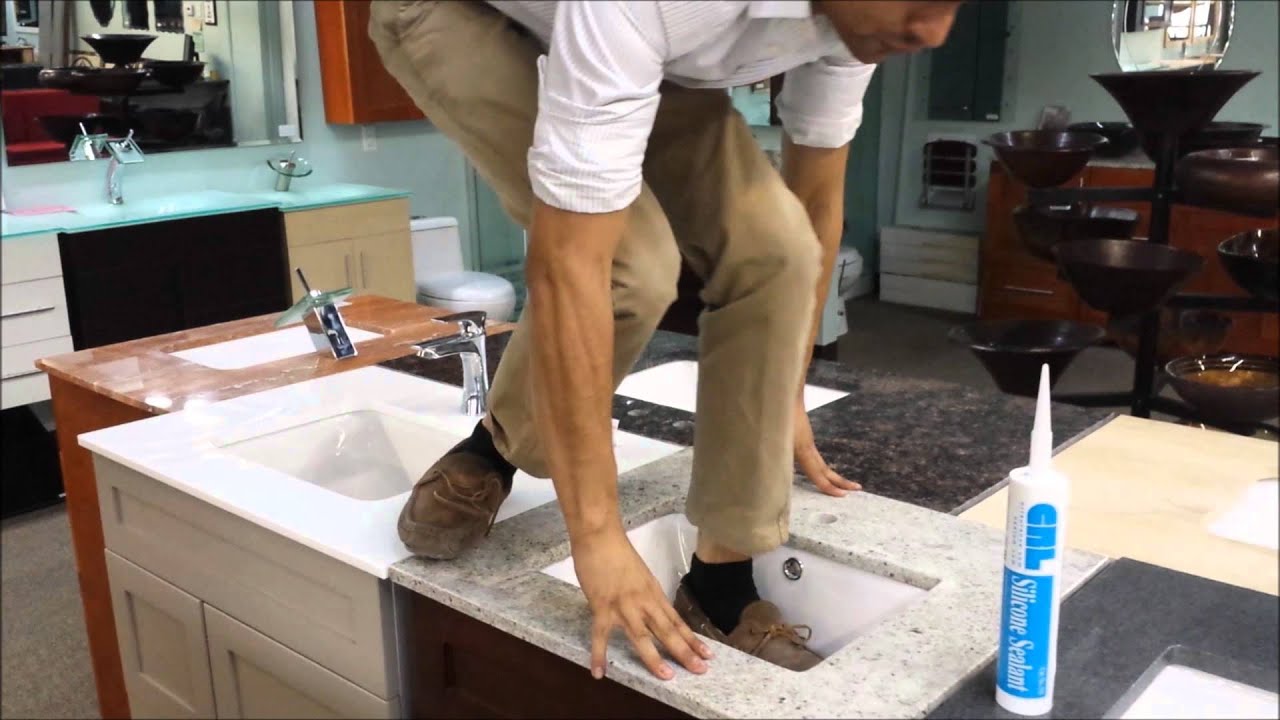
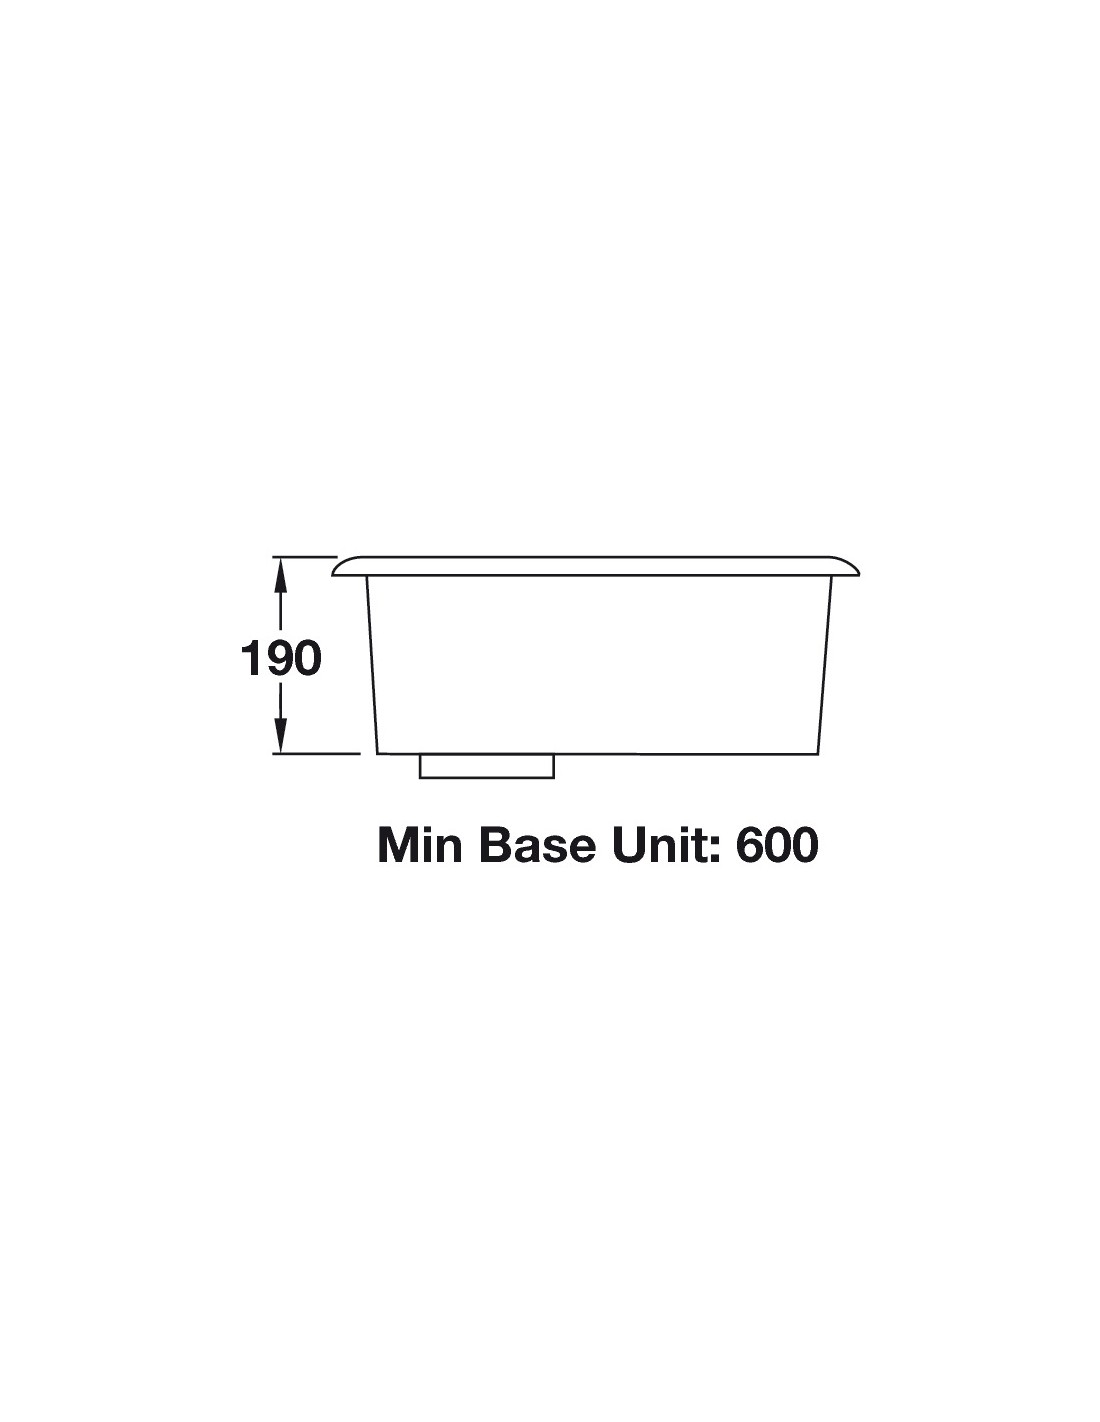
Reinstalling an undermount kitchen sink on Avonite countertops may seem like a daunting task, but with the right tools and materials, it can be done easily. Follow these steps for a seamless installation: Step 1: Gather all necessary tools and materials, including a drill, silicone adhesive, clamps, and a putty knife. Step 2: Begin by cleaning the Avonite countertops thoroughly. Use a non-abrasive cleaner and a soft cloth to remove any dirt or debris. Step 3: Measure and mark the placement of the sink on the countertop. Make sure to leave enough space for the faucet and handles. Step 4: Use a drill to create pilot holes along the marked lines. This will make it easier to cut out the sink hole. Step 5: Carefully cut along the marked lines with a jigsaw, making sure to follow the pilot holes and stay within the lines. Step 6: Test fit the sink to ensure it fits snugly into the cutout. Make any adjustments if necessary. Step 7: Apply a thin layer of silicone adhesive around the edge of the sink cutout. Step 8: Carefully lower the sink into place and press down firmly to secure it to the adhesive. Step 9: Use clamps to hold the sink in place while the adhesive dries. Follow the manufacturer's instructions for drying time. Step 10: Once the adhesive has dried, remove the clamps and clean up any excess adhesive with a putty knife.Step-by-Step Guide for Reinstalling an Undermount Kitchen Sink with Avonite Countertops


Step-by-Step Guide for Reinstalling an Undermount Kitchen Sink with Avonite Countertops


Here are a few tips to keep in mind for a successful undermount kitchen sink reinstallation on Avonite countertops: Tip 1: Make sure to choose a high-quality silicone adhesive that is specifically designed for undermount sinks. Tip 2: Leave at least 1 inch of space between the edge of the sink and the countertop for proper sealing and drainage. Tip 3: Use clamps or heavy objects to hold the sink in place while the adhesive dries to ensure a secure fit.Tips for Successfully Reinstalling an Undermount Kitchen Sink with Avonite Countertops


Tips for Successfully Reinstalling an Undermount Kitchen Sink with Avonite Countertops


To successfully install an undermount kitchen sink on Avonite countertops, you will need the following tools and materials: Tools: - Drill - Jigsaw - Clamps - Putty knife Materials: - Silicone adhesive - Non-abrasive cleaner - Soft clothTools and Materials Needed for Reinstalling an Undermount Kitchen Sink with Avonite Countertops


Tools and Materials Needed for Reinstalling an Undermount Kitchen Sink with Avonite Countertops

While installing an undermount kitchen sink on Avonite countertops may seem straightforward, there are some common mistakes to avoid. These include: Mistake 1: Using the wrong type of adhesive, which can lead to the sink not being properly secured. Mistake 2: Not leaving enough space between the sink and countertop, which can cause water to seep into the adhesive and loosen the sink. Mistake 3: Not properly cleaning and preparing the Avonite countertops before installation, which can affect the adhesion of the sink.Common Mistakes to Avoid When Reinstalling an Undermount Kitchen Sink with Avonite Countertops

Common Mistakes to Avoid When Reinstalling an Undermount Kitchen Sink with Avonite Countertops


To ensure a successful installation, it is important to properly clean and prepare the Avonite countertops before reinstalling an undermount sink. Follow these steps: Step 1: Use a non-abrasive cleaner and a soft cloth to thoroughly clean the countertops. Step 2: If there are any stains or scratches, use a fine-grit sandpaper to gently buff them out. Step 3: Wipe down the countertops with a damp cloth and let them dry completely.How to Properly Clean and Prepare Avonite Countertops for Undermount Sink Reinstallation


How to Properly Clean and Prepare Avonite Countertops for Undermount Sink Reinstallation


If you are looking to replace your undermount kitchen sink, here are the steps to safely remove it from Avonite countertops: Step 1: Carefully cut through the adhesive around the edge of the sink using a putty knife. Step 2: Gently lift the sink out of the cutout and set it aside. Step 3: Use a scraper or putty knife to remove any remaining adhesive from the countertop. Step 4: Clean the area thoroughly with a non-abrasive cleaner and let it dry completely before installing a new sink.Step-by-Step Instructions for Removing an Undermount Kitchen Sink from Avonite Countertops


Step-by-Step Instructions for Removing an Undermount Kitchen Sink from Avonite Countertops


Choosing the right adhesive for undermount sink installation is crucial for a successful reinstallation. Here are some factors to consider when selecting an adhesive: - Make sure it is specifically designed for undermount sinks. - It should be waterproof and able to withstand high temperatures. - Check the drying time and make sure it is compatible with your project timeline.How to Choose the Right Adhesive for Reinstalling an Undermount Kitchen Sink on Avonite Countertops


How to Choose the Right Adhesive for Reinstalling an Undermount Kitchen Sink on Avonite Countertops

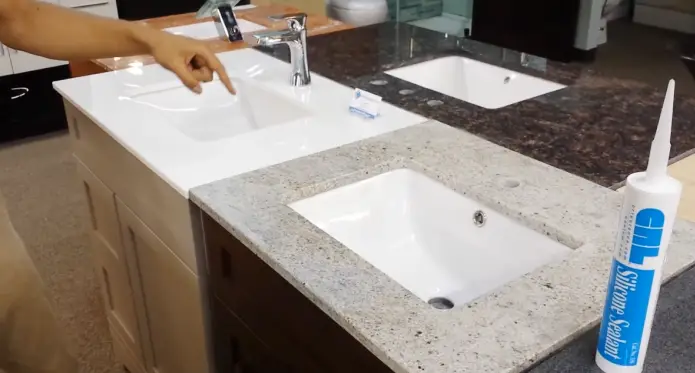


For a professional and seamless undermount kitchen sink reinstallation on Avonite countertops, consider these expert tips: Tip 1: Use a sealant around the edges of the sink for added protection against water damage. Tip 2: Apply the adhesive in a zig-zag pattern for maximum coverage and adhesion. Tip 3: Place a towel or cloth over the sink while working on the countertop to prevent any debris or tools from falling into the sink.Expert Tips for Reinstalling an Undermount Kitchen Sink on Avonite Countertops


Expert Tips for Reinstalling an Undermount Kitchen Sink on Avonite Countertops

While reinstalling an undermount sink on Avonite countertops can be a DIY project, there are many benefits to hiring a professional, including: - Professional installation ensures a secure and long-lasting result. - They have the necessary tools and expertise to complete the job efficiently. - Hiring a professional can save you time and hassle. With this step-by-step guide and helpful tips, you can easily reinstall an undermount kitchen sink on Avonite countertops and achieve a beautiful and functional kitchen. Remember to always use high-quality materials and take your time to ensure a successful installation. Happy renovating!Benefits of Hiring a Professional for Undermount Kitchen Sink Reinstallation on Avonite Countertops


Benefits of Hiring a Professional for Undermount Kitchen Sink Reinstallation on Avonite Countertops


Why Choose an Undermount Kitchen Sink for Your Avonite Countertop

The Perfect Combination of Functionality and Style
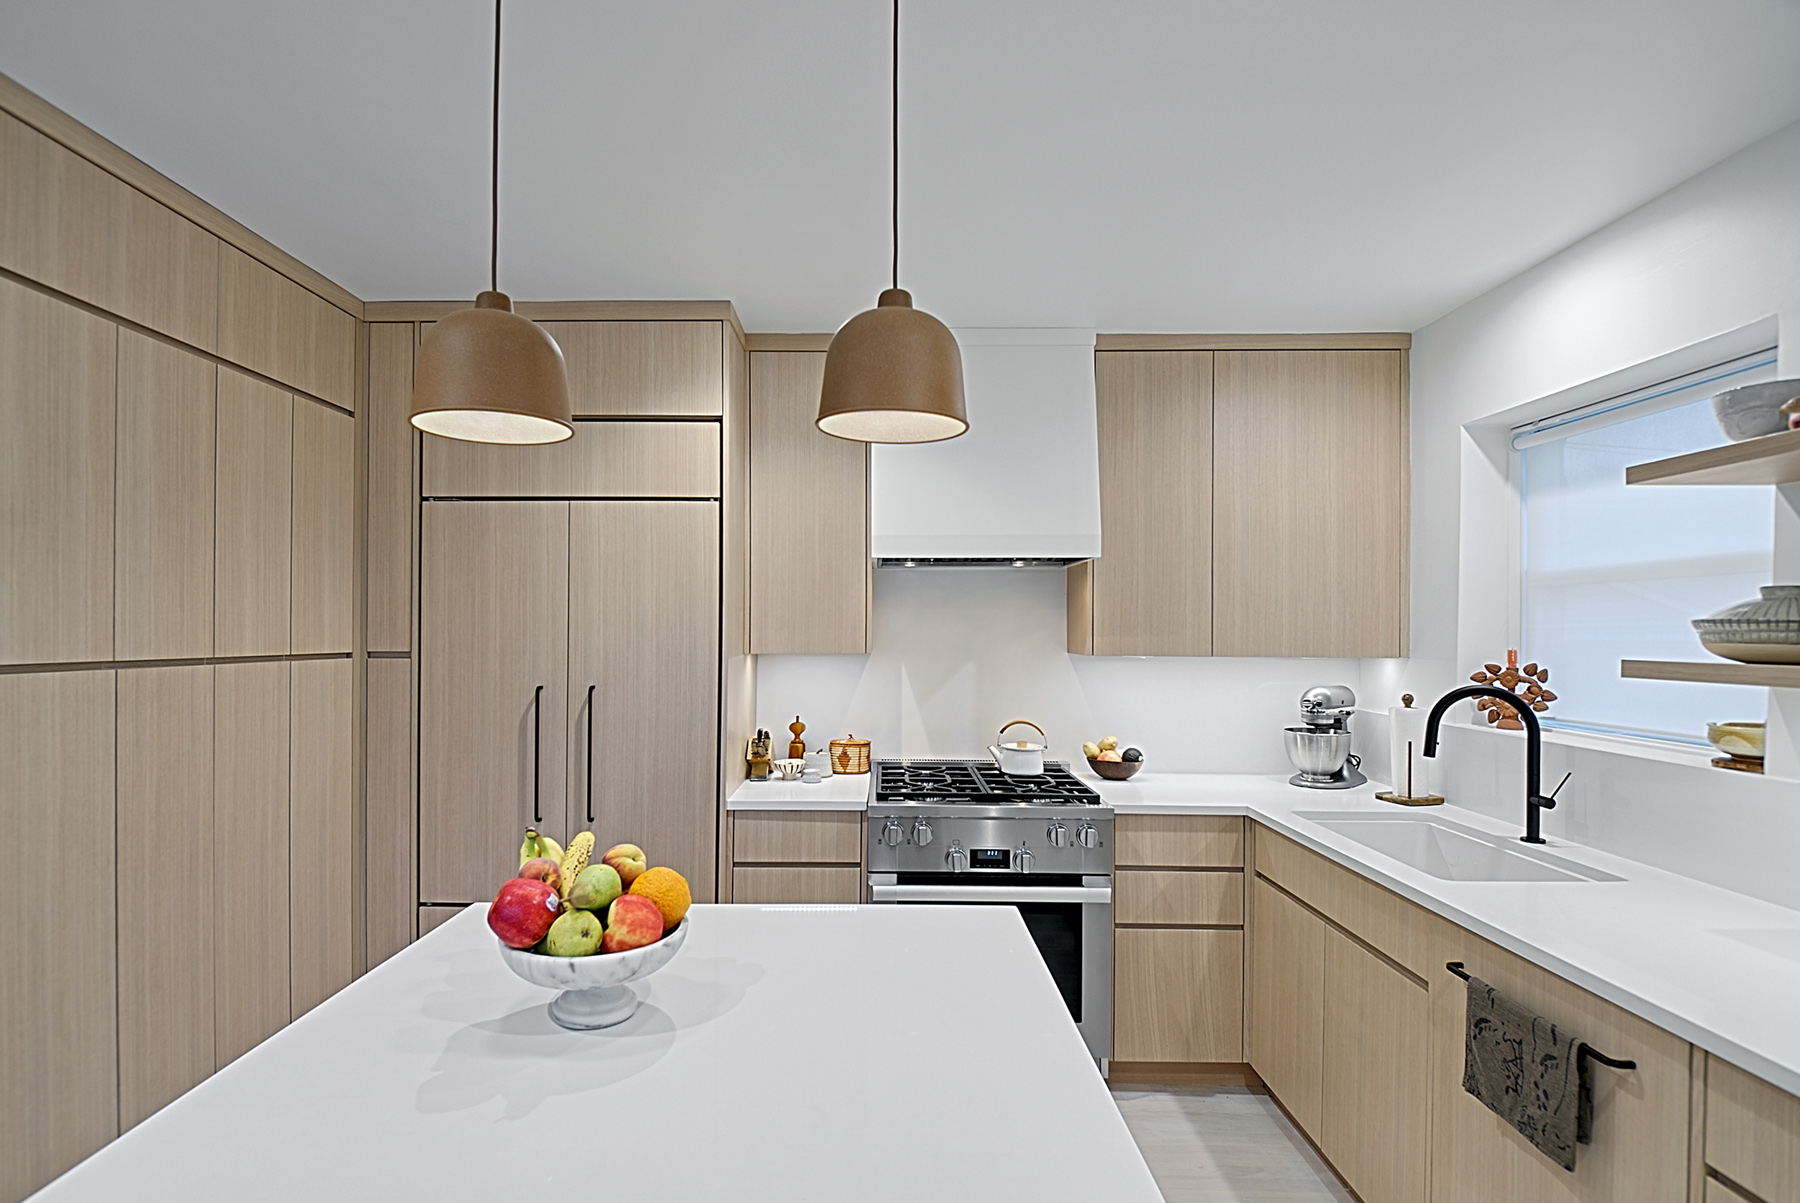
 If you are planning a kitchen renovation, one of the most important decisions you will have to make is choosing the right sink for your countertop. With so many options available, it can be overwhelming to narrow down the choices. However, if you have an avonite countertop, the best option for your sink would be an undermount kitchen sink.
Undermount kitchen sinks
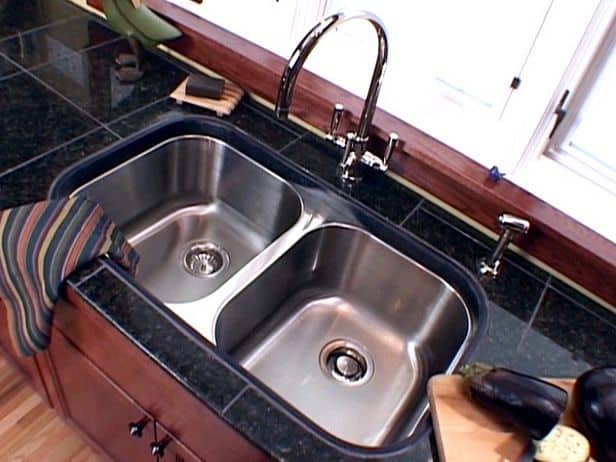
are installed below the countertop, providing a seamless look and a modern touch to your kitchen design. Not only are they aesthetically pleasing, but they also offer a range of benefits that make them a popular choice among homeowners.
If you are planning a kitchen renovation, one of the most important decisions you will have to make is choosing the right sink for your countertop. With so many options available, it can be overwhelming to narrow down the choices. However, if you have an avonite countertop, the best option for your sink would be an undermount kitchen sink.
Undermount kitchen sinks
are installed below the countertop, providing a seamless look and a modern touch to your kitchen design. Not only are they aesthetically pleasing, but they also offer a range of benefits that make them a popular choice among homeowners.
Maximize Your Space
 One of the main advantages of
undermount kitchen sinks
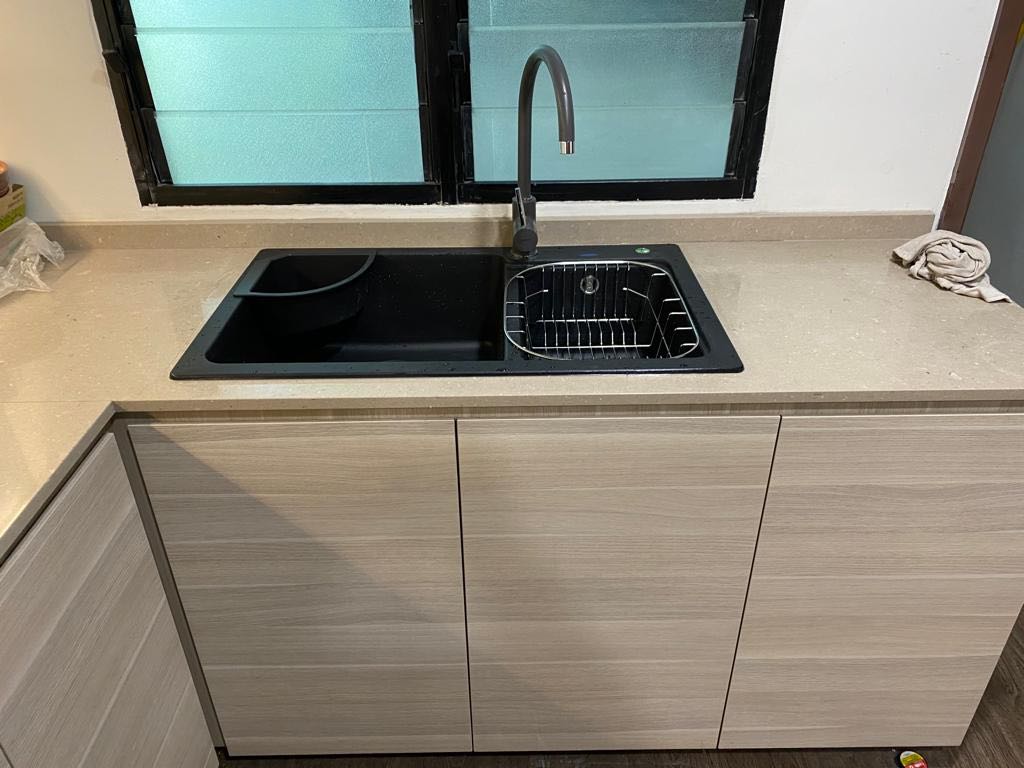
is the space-saving feature they offer. As they are installed below the countertop, there is no need for a bulky rim or edge that takes up valuable counter space. This makes the sink not only look sleek and clean, but also allows for more usable space on your countertop. With an avonite countertop, which is known for its seamless and smooth finish, the undermount sink complements the design perfectly, creating a spacious and functional kitchen workspace.
One of the main advantages of
undermount kitchen sinks
is the space-saving feature they offer. As they are installed below the countertop, there is no need for a bulky rim or edge that takes up valuable counter space. This makes the sink not only look sleek and clean, but also allows for more usable space on your countertop. With an avonite countertop, which is known for its seamless and smooth finish, the undermount sink complements the design perfectly, creating a spacious and functional kitchen workspace.
Durability and Easy Maintenance
 Avonite countertops
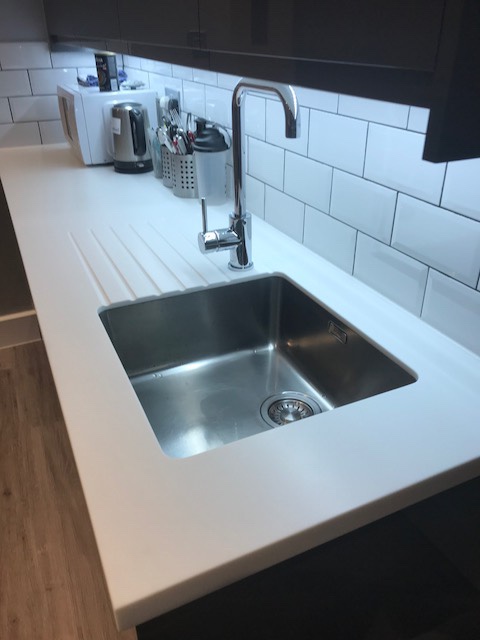
are known for their durability and low-maintenance upkeep, making them a popular choice for busy kitchens. Pairing it with an undermount kitchen sink only enhances these features. The lack of a rim or edge means there are no crevices for dirt and grime to accumulate, making cleaning a breeze. The seamless design also eliminates the risk of water or food particles getting stuck between the sink and the countertop, preventing any potential damage or mold growth.
Avonite countertops
are known for their durability and low-maintenance upkeep, making them a popular choice for busy kitchens. Pairing it with an undermount kitchen sink only enhances these features. The lack of a rim or edge means there are no crevices for dirt and grime to accumulate, making cleaning a breeze. The seamless design also eliminates the risk of water or food particles getting stuck between the sink and the countertop, preventing any potential damage or mold growth.
Enhance Your Kitchen Design
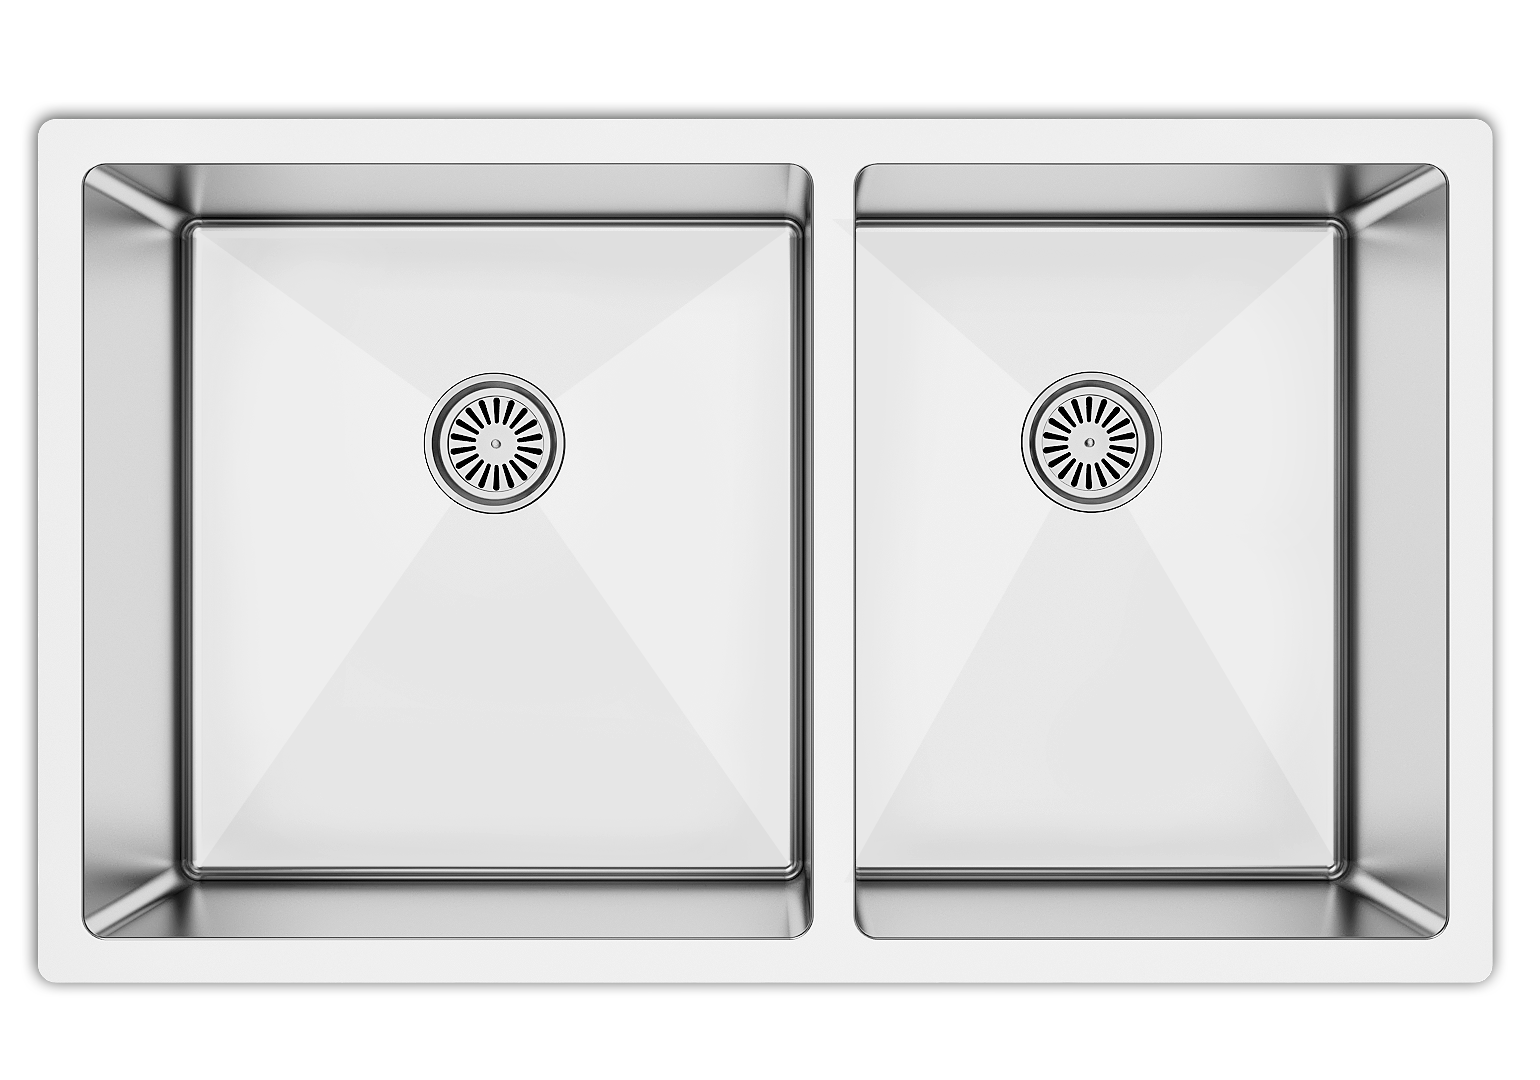
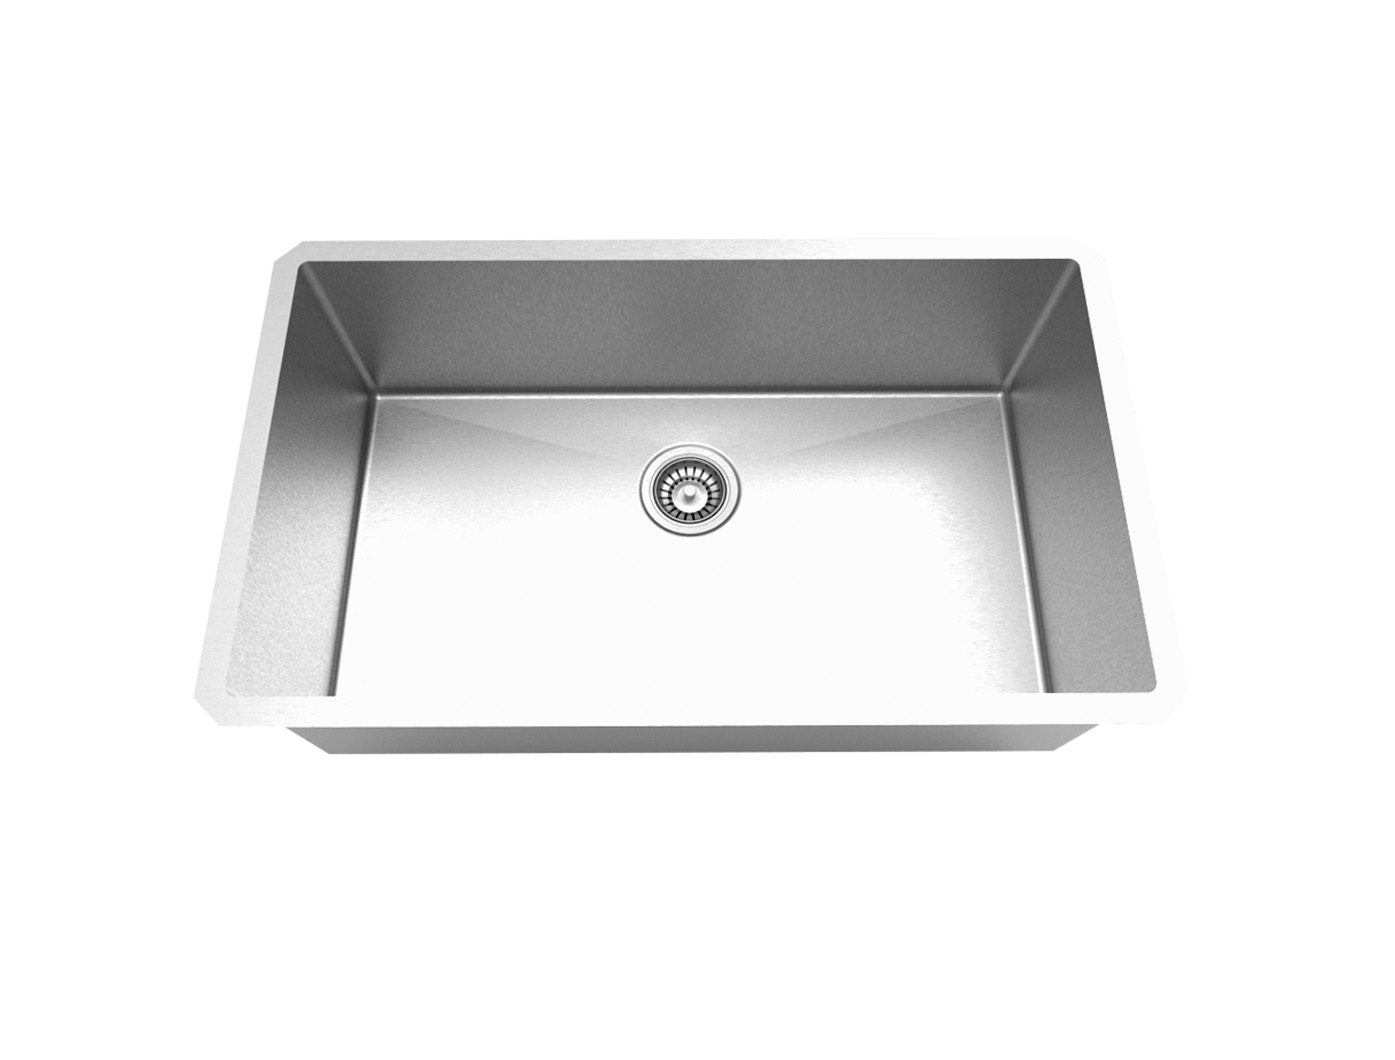
 Apart from the functionality and practicality, an undermount kitchen sink also adds a touch of elegance to your kitchen design. With a sleek and modern look, it can instantly elevate the overall aesthetic of your kitchen. Additionally, with the wide range of materials available for undermount sinks, you can easily find one that complements your avonite countertop, whether it is a classic stainless steel or a luxurious granite sink.
The Reinstallation Process
 If you already have an avonite countertop and want to switch to an undermount kitchen sink, it is a straightforward process. It involves removing the existing sink and cutting a hole in the avonite to fit the new sink. It is important to hire a professional for this task to ensure a proper and secure installation.
In conclusion, an undermount kitchen sink is the perfect choice for your avonite countertop. Not only does it maximize space and offer easy maintenance, but it also enhances the overall look of your kitchen. So why settle for a traditional overmount sink when you can have a sleek and functional undermount sink in your modern kitchen? Upgrade your kitchen design with an undermount kitchen sink and enjoy the benefits it has to offer.
If you already have an avonite countertop and want to switch to an undermount kitchen sink, it is a straightforward process. It involves removing the existing sink and cutting a hole in the avonite to fit the new sink. It is important to hire a professional for this task to ensure a proper and secure installation.
In conclusion, an undermount kitchen sink is the perfect choice for your avonite countertop. Not only does it maximize space and offer easy maintenance, but it also enhances the overall look of your kitchen. So why settle for a traditional overmount sink when you can have a sleek and functional undermount sink in your modern kitchen? Upgrade your kitchen design with an undermount kitchen sink and enjoy the benefits it has to offer.