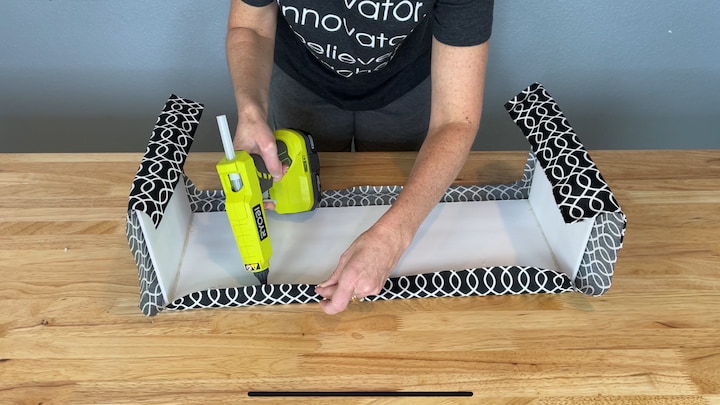
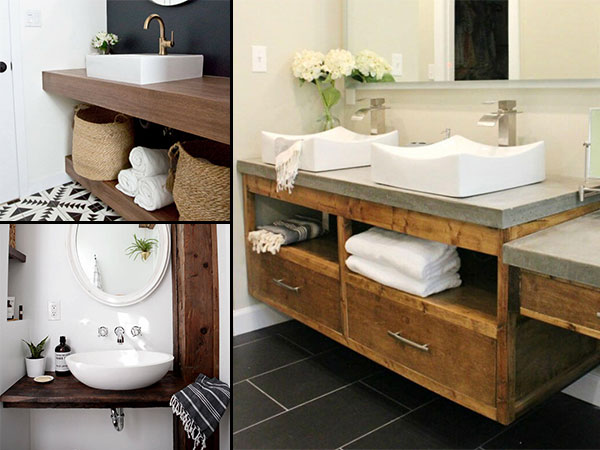
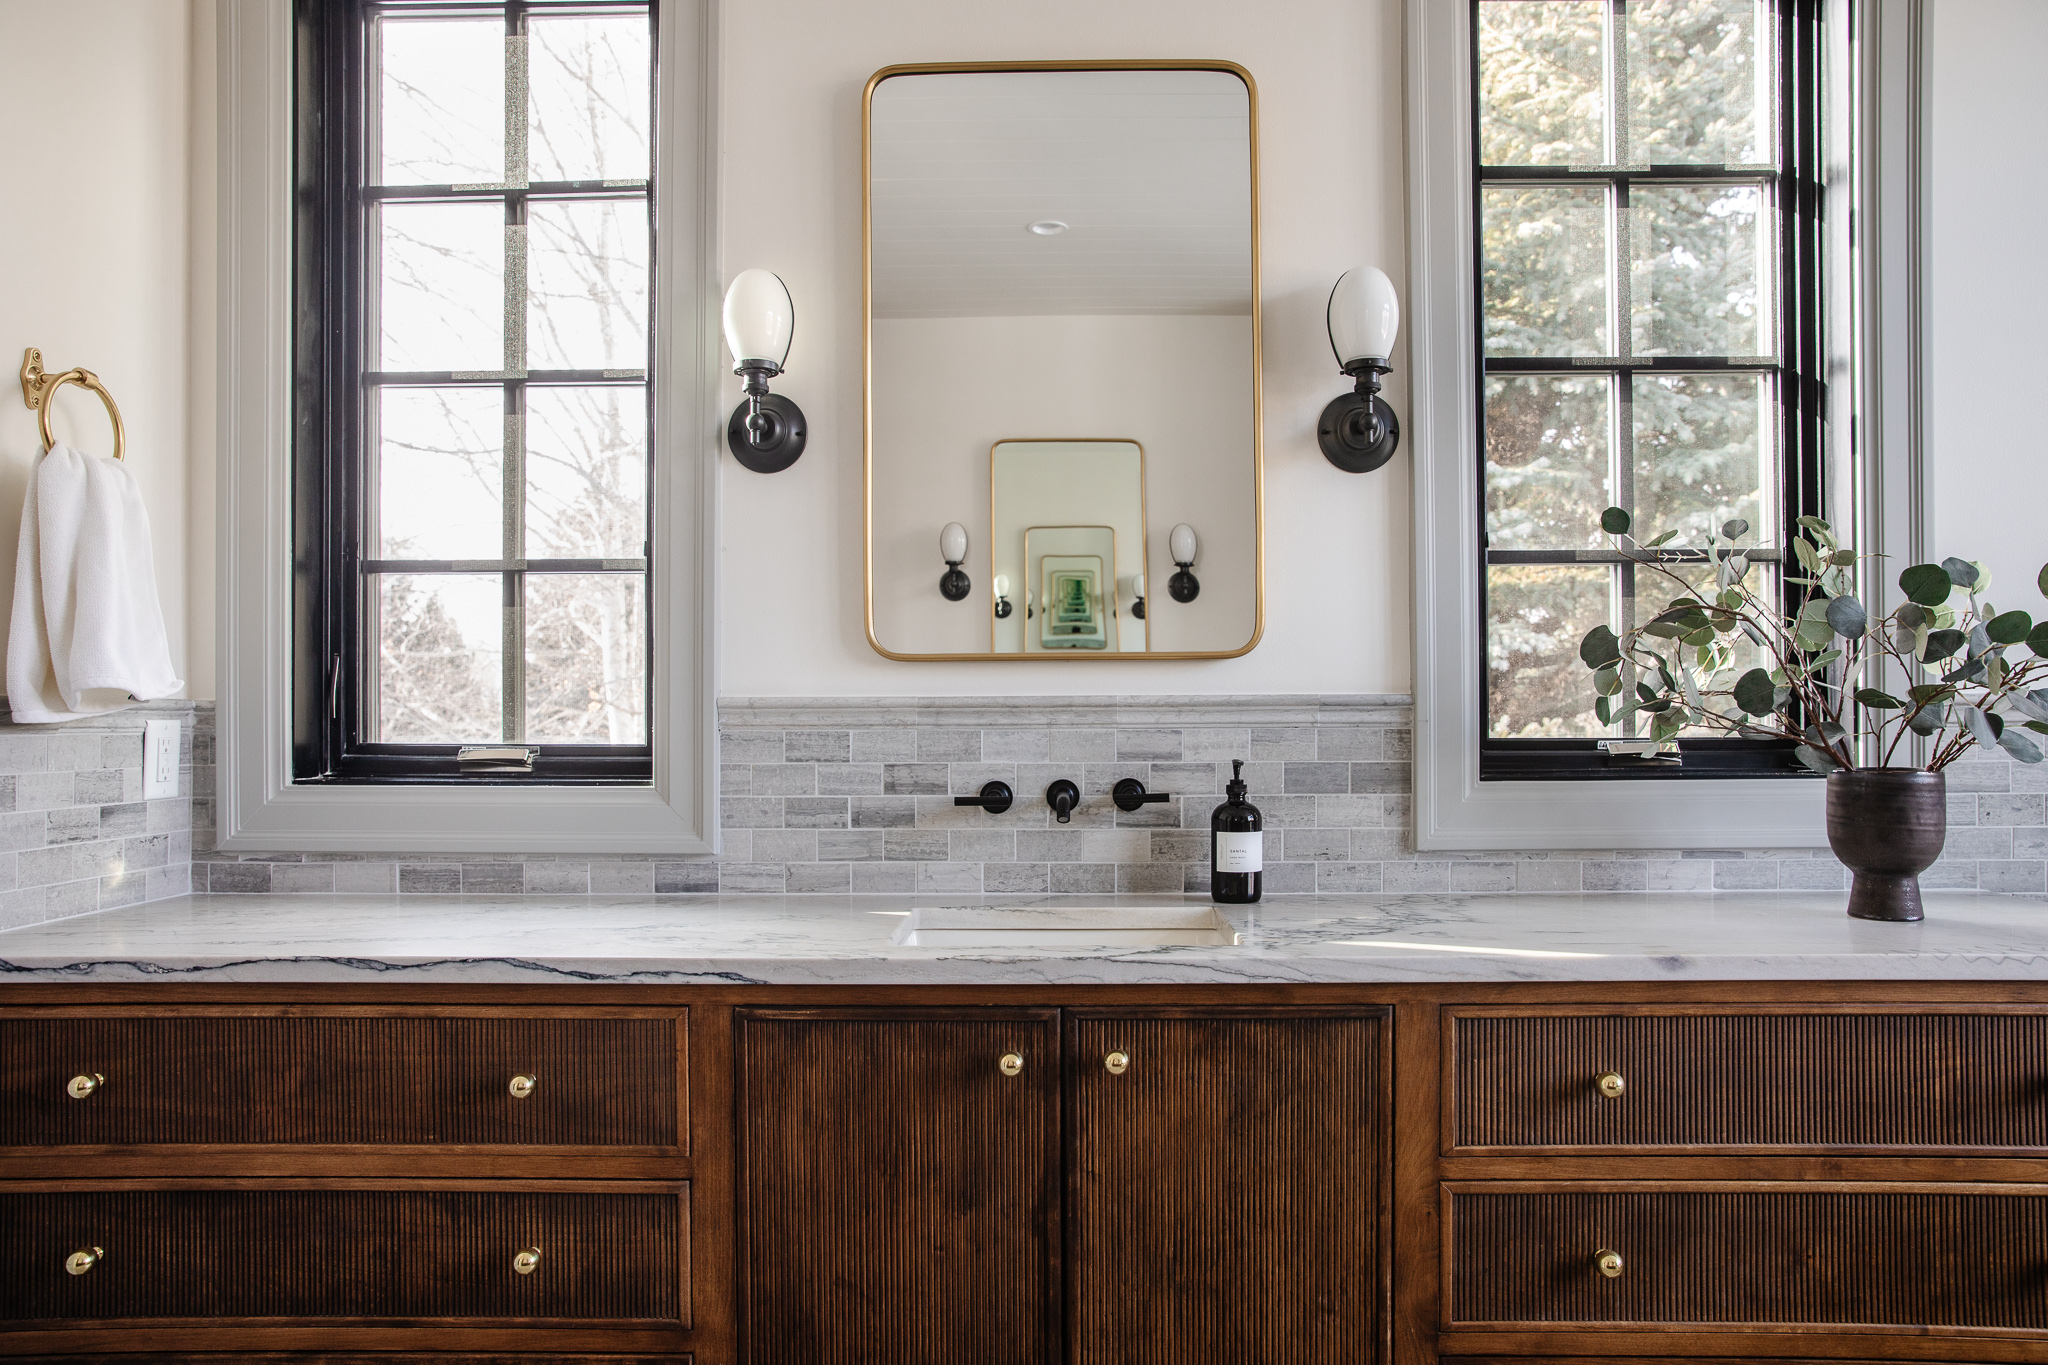
Are you tired of your old, outdated bathroom vanity? Looking to give your bathroom a fresh new look without breaking the bank? Look no further, because we have the perfect solution for you – a DIY bathroom vanity tutorial! With just a few simple tools and materials, you can transform your bathroom into a stylish and functional space. So roll up your sleeves and get ready to create your very own custom bathroom vanity. First things first, gather all the necessary materials for this project. This includes a vanity cabinet, countertop, sink, faucet, hardware, and any additional items you may want to add for a personal touch. Once you have all your materials, it’s time to get started on your DIY bathroom vanity. Follow these simple steps for a successful project:DIY Bathroom Vanity Tutorial


DIY Bathroom Vanity Tutorial

:max_bytes(150000):strip_icc()/build-something-diy-vanity-594402125f9b58d58ae21158.jpg)
:max_bytes(150000):strip_icc()/cherry-diy-bathroom-vanity-594414da5f9b58d58a099a36.jpg)


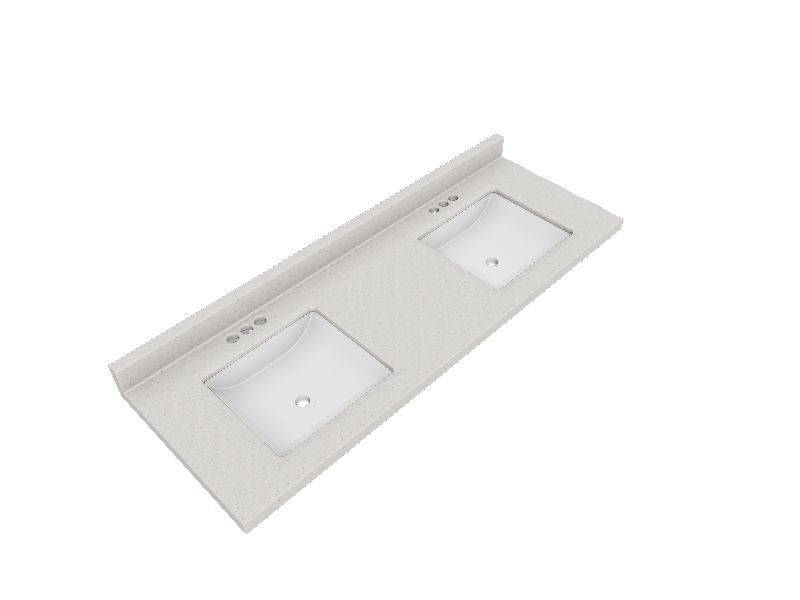
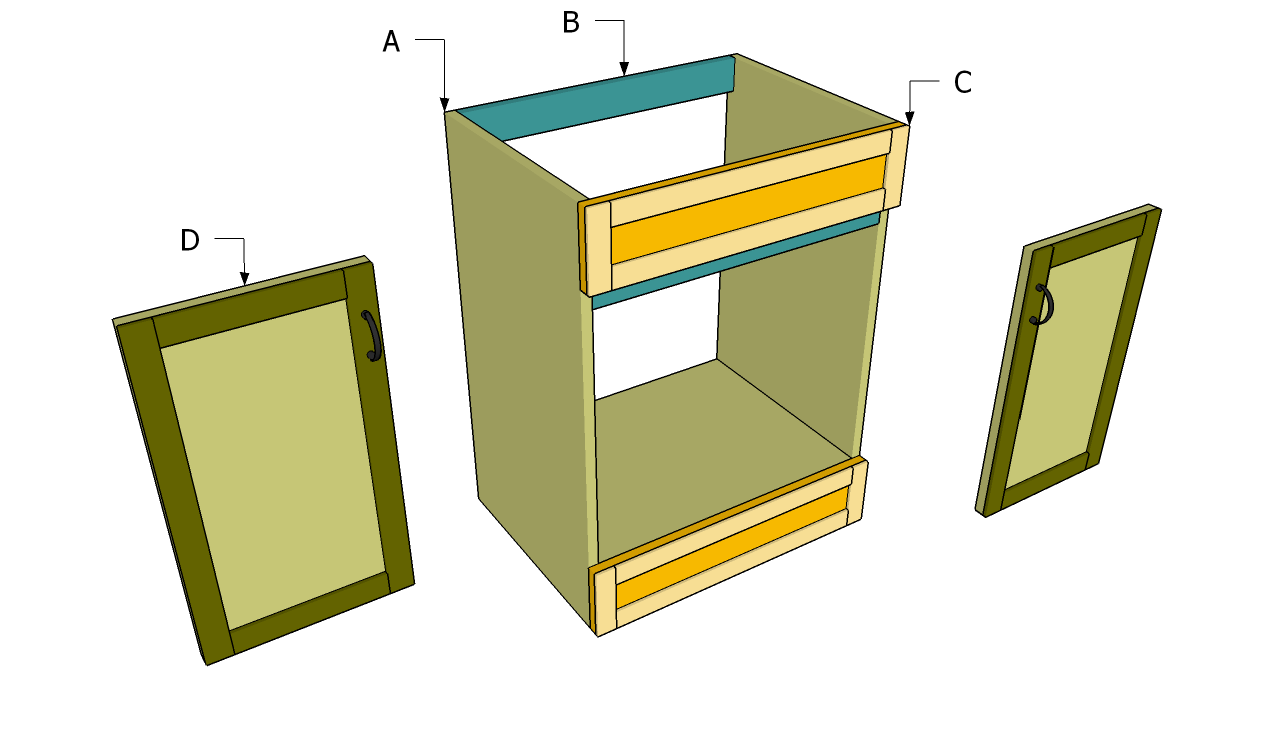
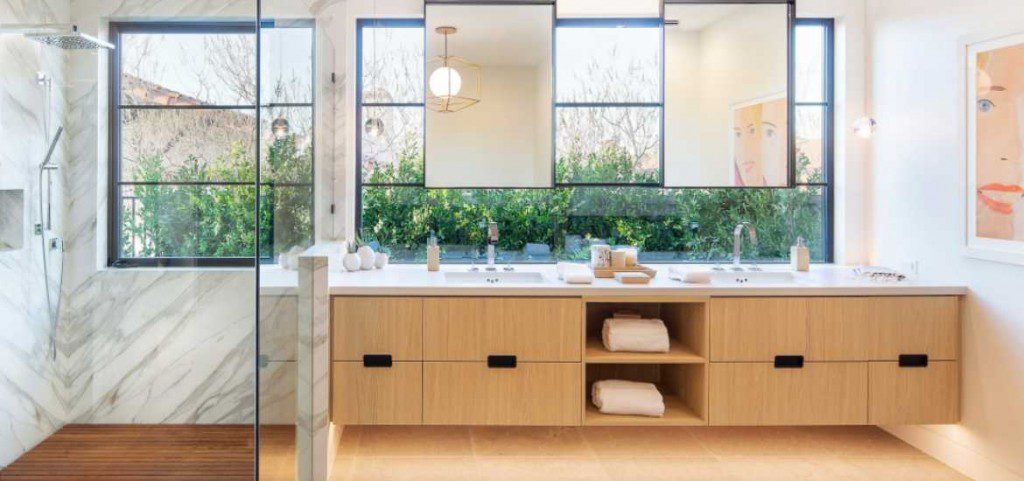
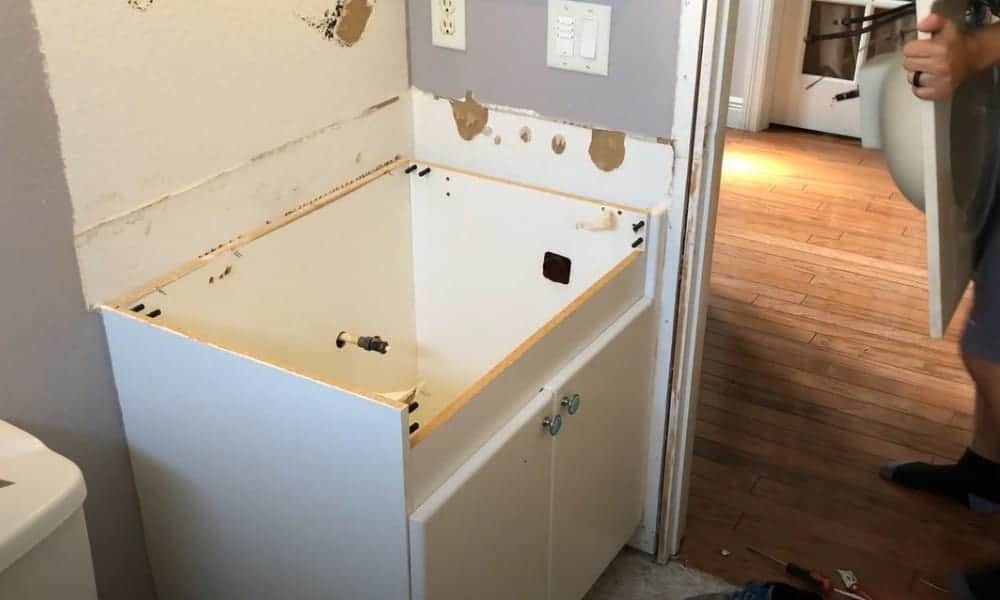
Step 1: Remove old vanity – Before you can start working on your new vanity, you’ll need to remove the old one. Turn off the water supply and disconnect the plumbing. Then, use a screwdriver to remove the vanity from the wall. Step 2: Measure and cut – Measure the space where your new vanity will go and mark the dimensions on your vanity cabinet. Use a saw to cut the cabinet to the appropriate size. Step 3: Assemble the cabinet – Follow the instructions provided with your vanity cabinet to put it together. This usually involves attaching the sides, shelves, and back panel with screws. Step 4: Install the countertop – Place the countertop on top of the vanity cabinet and secure it with adhesive and screws. Make sure it is level and secure. Step 5: Add the sink and faucet – Install your sink and faucet according to the manufacturer’s instructions. This may involve drilling holes in the countertop for the faucet and attaching the sink to the countertop. Step 6: Attach hardware – Choose your desired hardware, such as drawer pulls and knobs, and attach them to the vanity cabinet. Step 7: Install plumbing – Reconnect the plumbing to your new vanity, making sure everything is properly connected and sealed. Step 8: Finishing touches – Once everything is in place, add any final touches such as a backsplash or decorative elements to complete the look of your new vanity.Step-by-Step Bathroom Vanity Tutorial


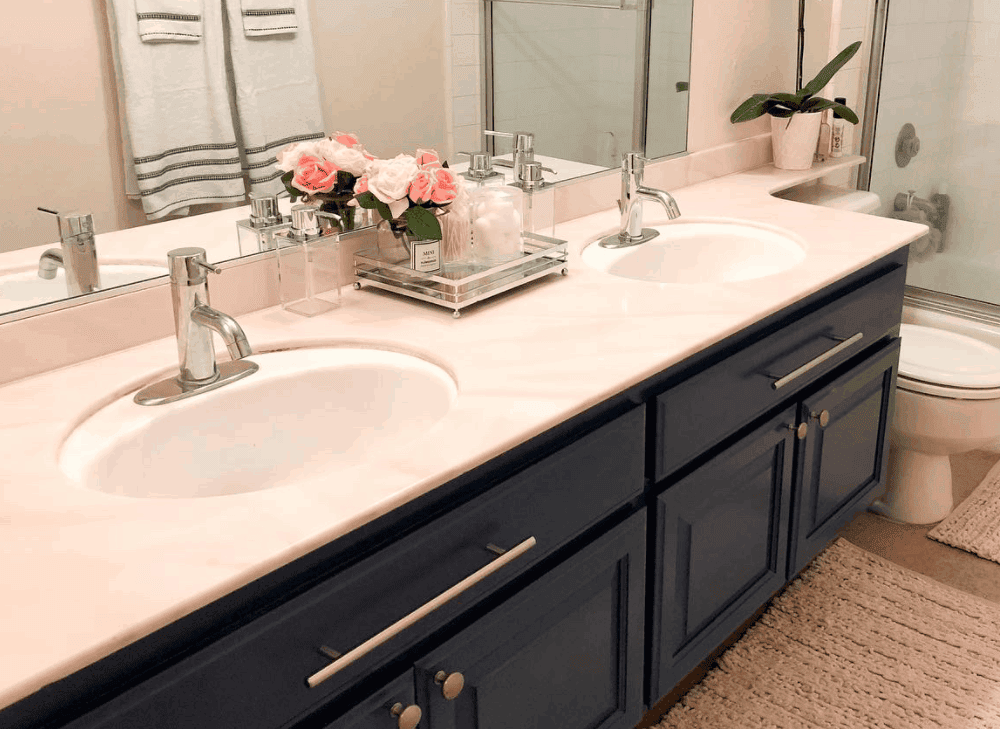
Step-by-Step Bathroom Vanity Tutorial


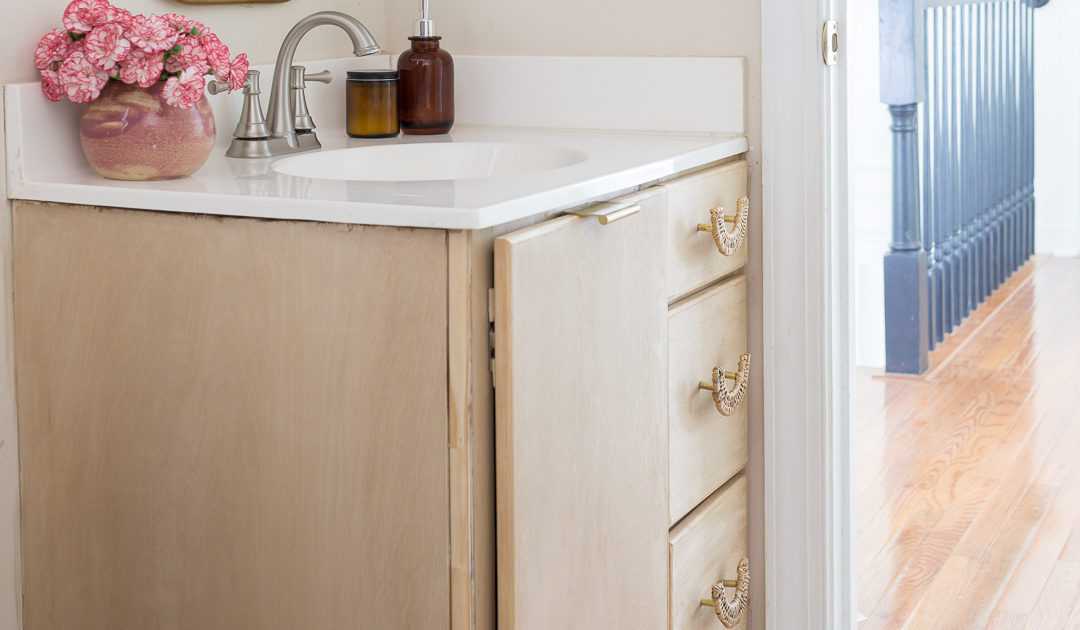
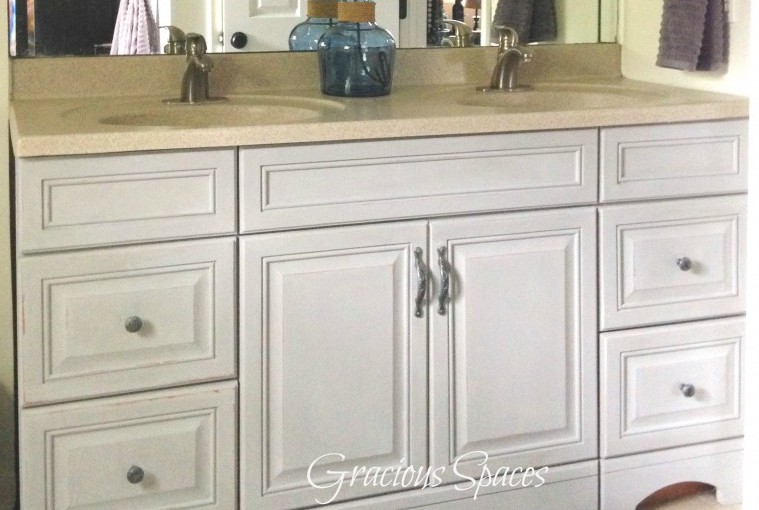
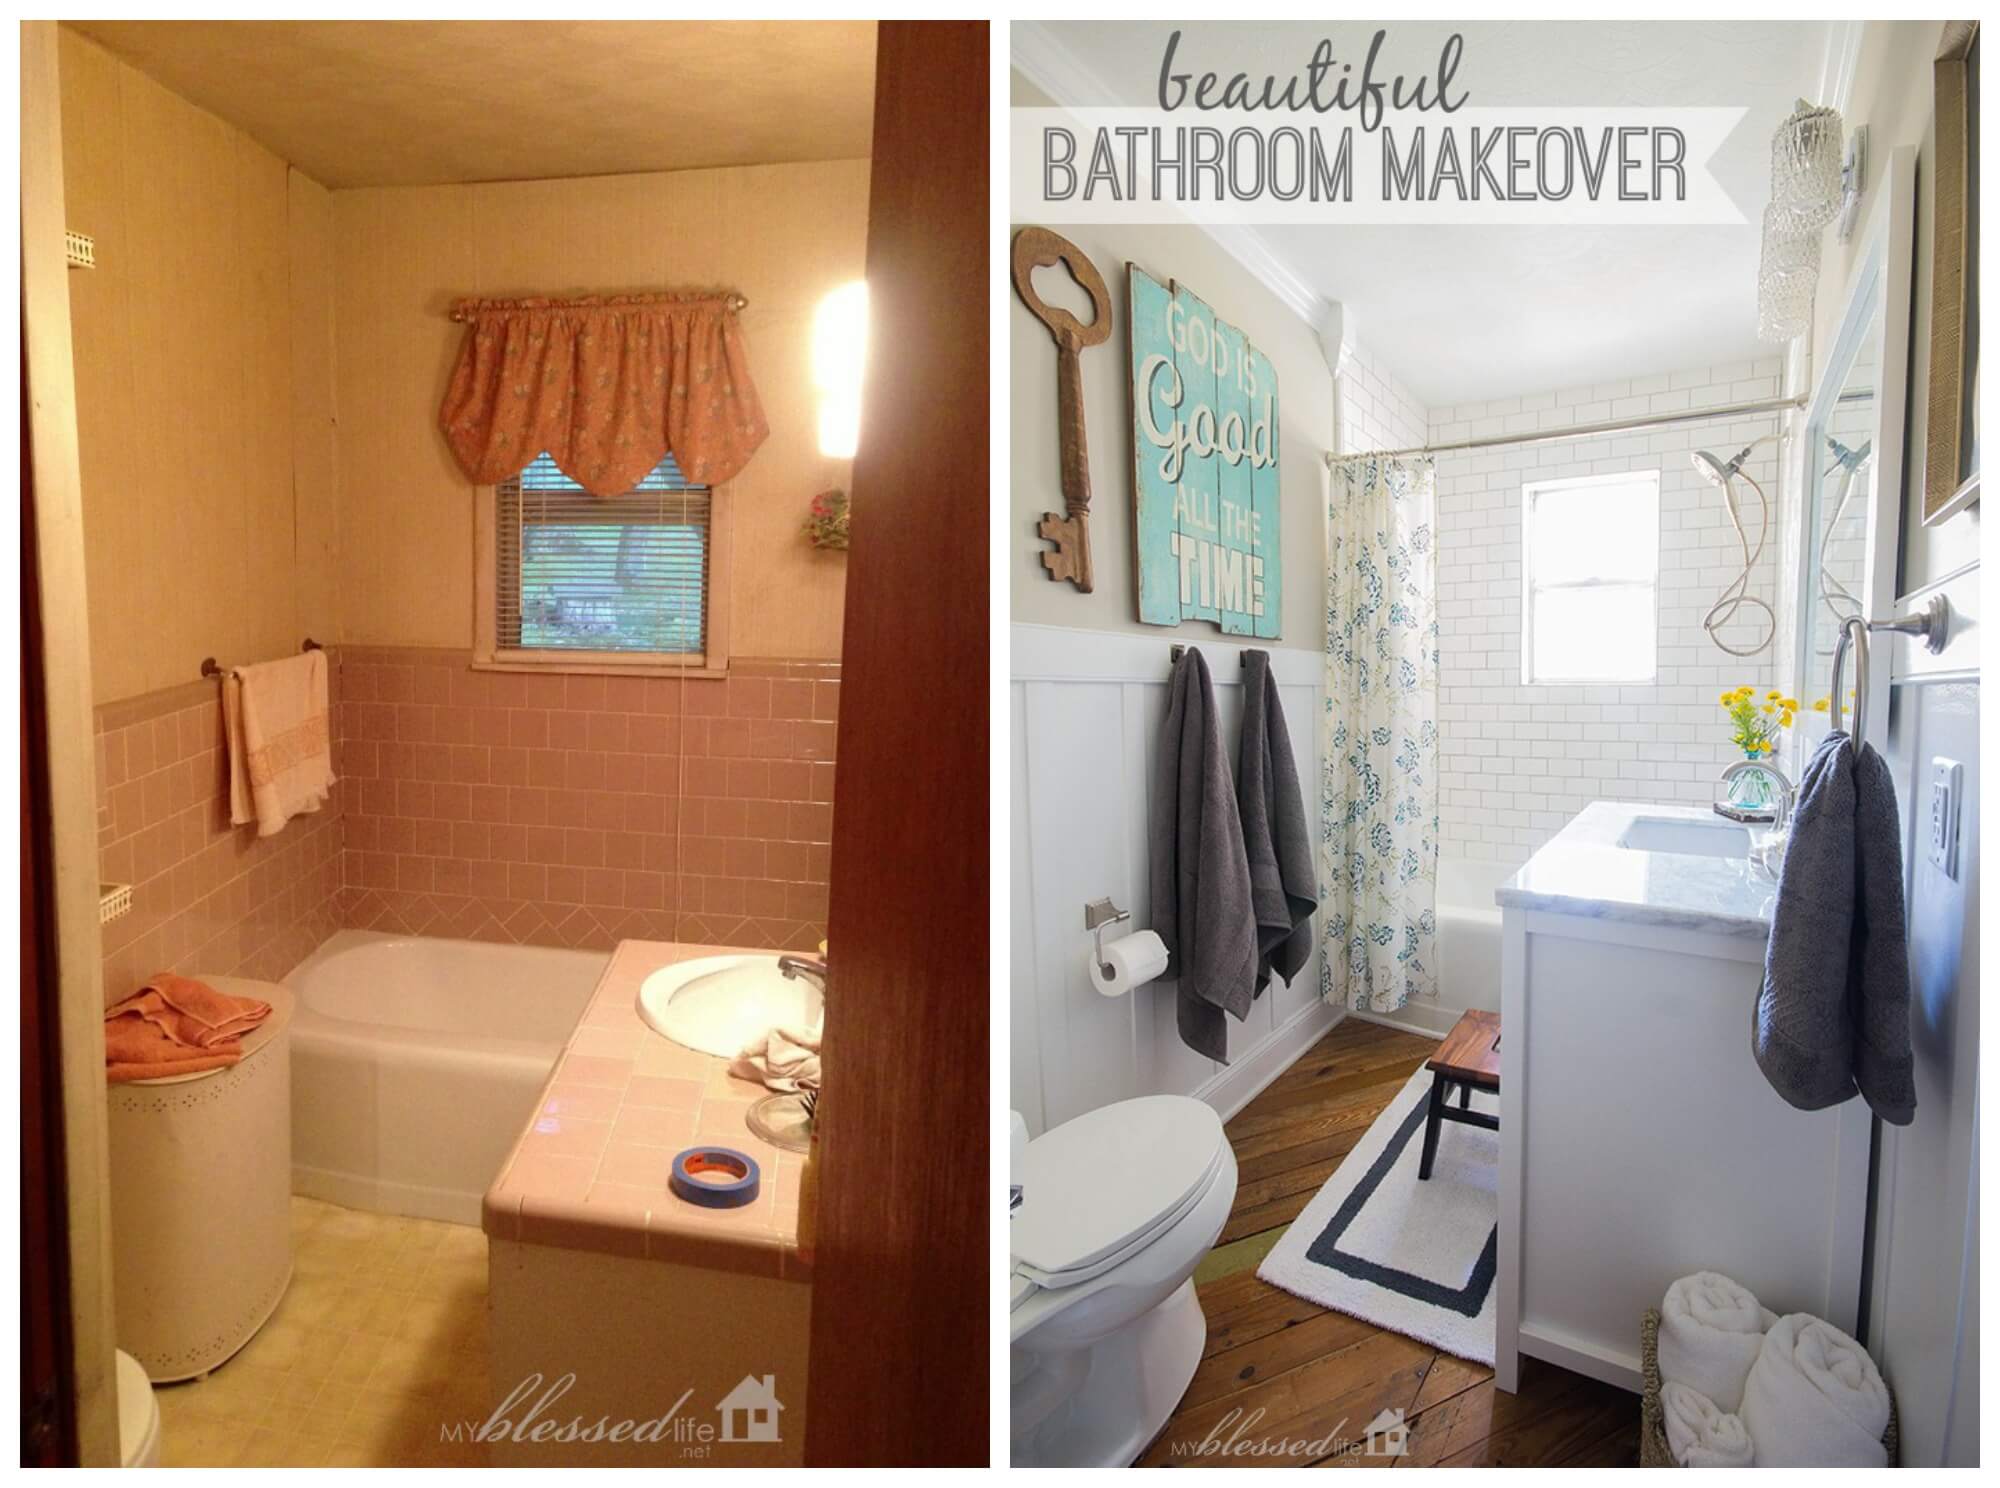
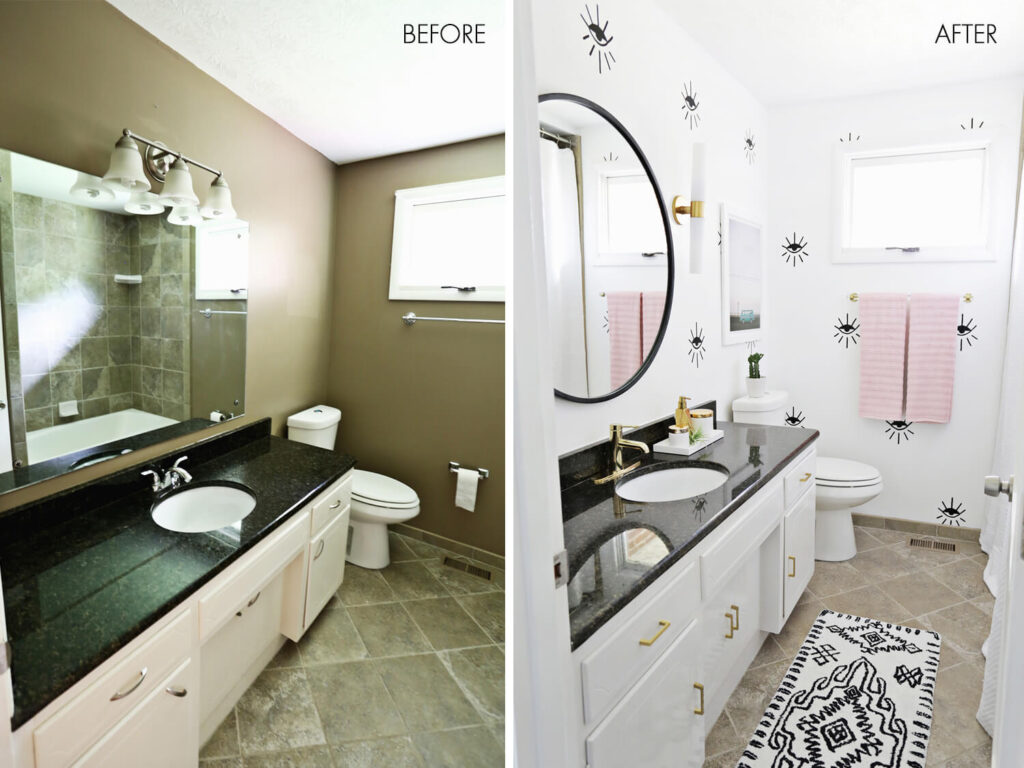
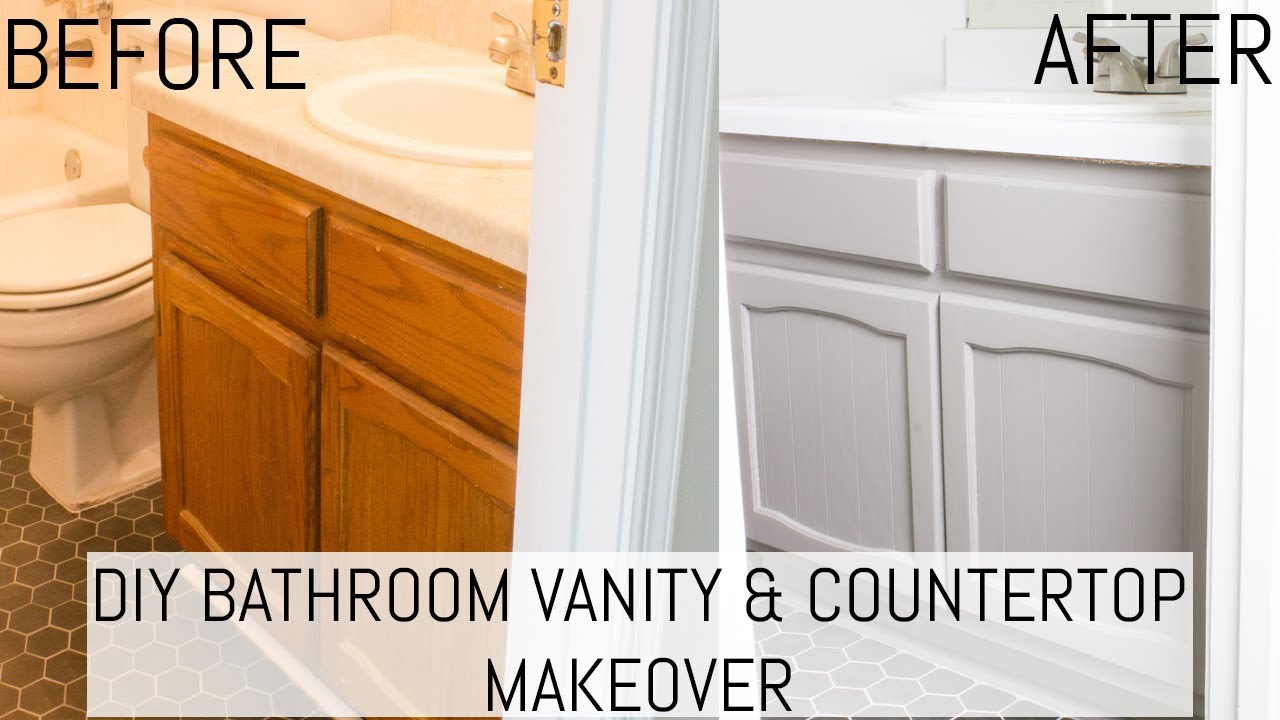
If you’re not looking to completely replace your vanity, but still want to give it a fresh new look, a bathroom vanity makeover may be just what you need. Follow these simple steps to transform your existing vanity: Step 1: Clean and sand – Start by cleaning your vanity thoroughly to remove any dirt and grime. Then, lightly sand the surface to create a rough texture for better paint adhesion. Step 2: Prime – Apply a coat of primer to the vanity, making sure to cover all surfaces. This will help the paint adhere and prevent any stains or discoloration from showing through. Step 3: Paint – Use a high-quality paint to give your vanity a fresh new color. Apply at least two coats, allowing adequate drying time in between each coat. Step 4: Add decorative elements – For a unique and personalized look, consider adding decorative elements such as stencils, decals, or even faux finish techniques to your newly painted vanity. Step 5: Seal – Once your paint is dry, seal it with a clear coat for added protection and durability.Bathroom Vanity Makeover Tutorial

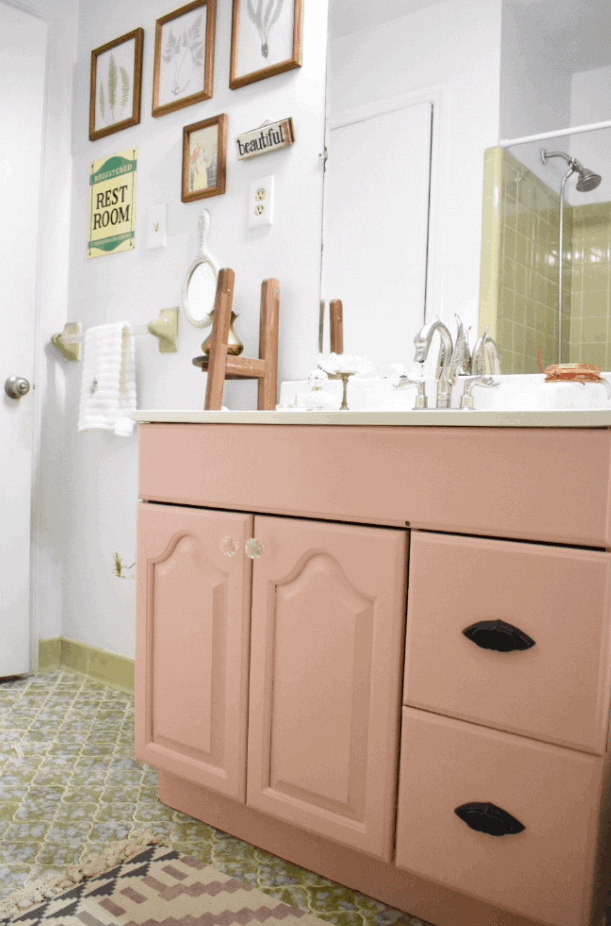

Bathroom Vanity Makeover Tutorial


Not the most handy person? Don’t worry, this easy bathroom vanity tutorial is perfect for beginners. With just a few simple steps, you can create a beautiful vanity that will make you feel like a pro. Step 1: Purchase a pre-made vanity – Skip the hassle of building a vanity from scratch and opt for a pre-made one. You can find these at most home improvement stores in a variety of styles and sizes. Step 2: Add a countertop – Purchase a countertop that fits your vanity and attach it using adhesive and screws. This will give your vanity a polished and finished look. Step 3: Install the sink and faucet – Follow the manufacturer’s instructions to install your chosen sink and faucet, making sure everything is properly connected and sealed. Step 4: Personalize – Add your own personal touch by choosing unique hardware, paint, or decorative elements to make your vanity stand out.Easy Bathroom Vanity Tutorial


Easy Bathroom Vanity Tutorial


On a tight budget? No problem! This budget-friendly bathroom vanity tutorial will show you how to create a stylish and functional vanity without breaking the bank. Step 1: Shop for bargains – Look for deals and discounts on vanity cabinets, countertops, and other materials. You can also check out thrift stores or online marketplaces for secondhand items at a fraction of the cost. Step 2: Repurpose – Get creative and think outside the box. Repurpose old furniture, such as a dresser or desk, to use as a vanity. This will not only save you money, but also give your bathroom a unique and personalized look. Step 3: DIY – Instead of purchasing a new countertop, consider making your own using inexpensive materials such as concrete or wood. You can also create your own sink using a bowl or basin. Step 4: Refinish – If you have an old vanity that just needs a little TLC, consider refinishing it instead of replacing it. This can be done with paint, stain, or varnish for a fresh new look.Budget-Friendly Bathroom Vanity Tutorial


Budget-Friendly Bathroom Vanity Tutorial


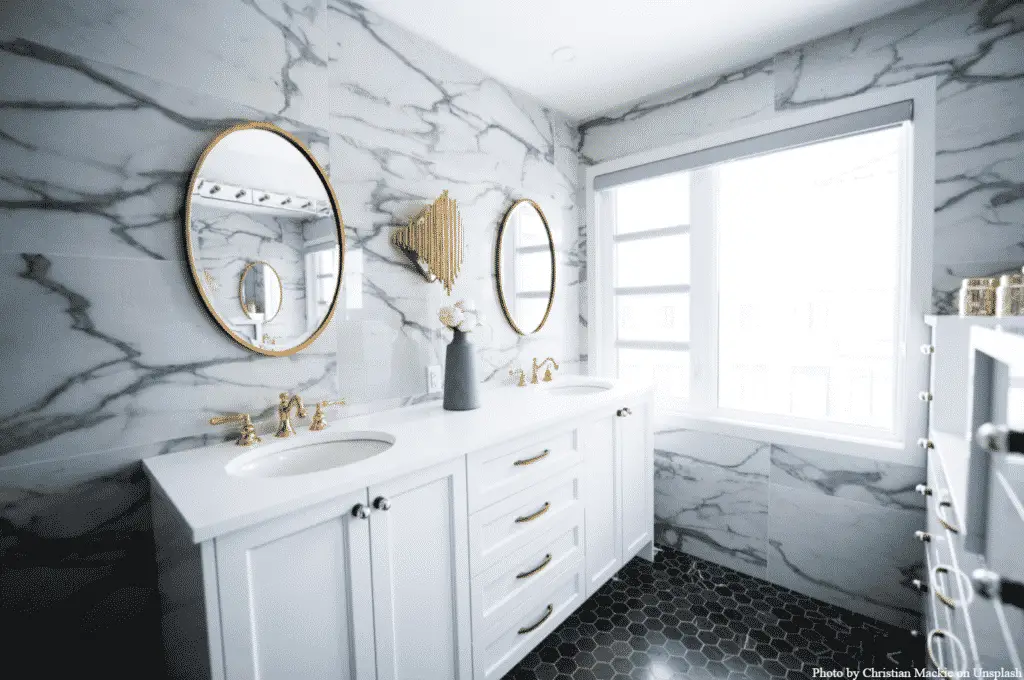
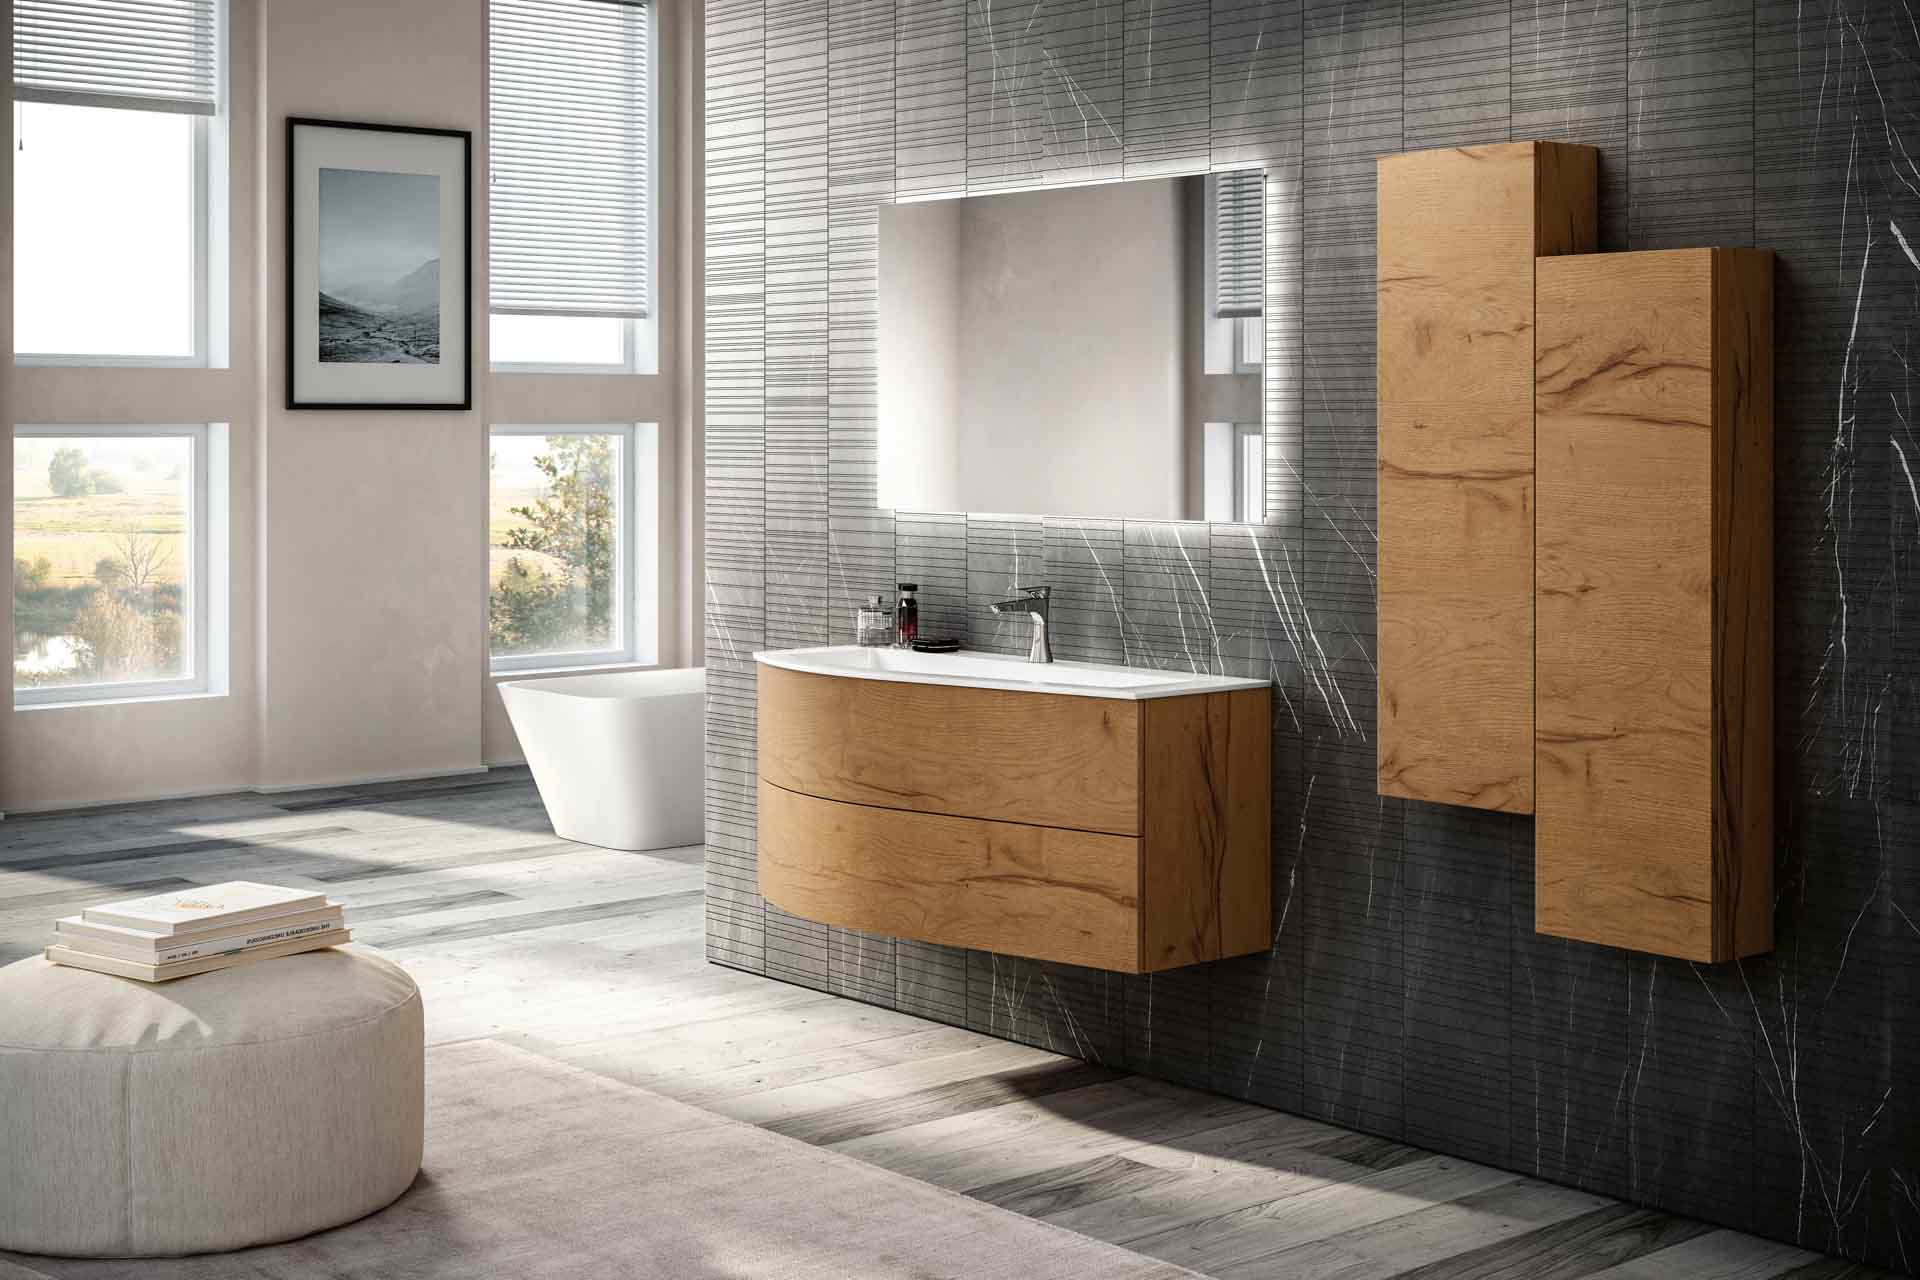
For those looking for a sleek and contemporary look, this modern bathroom vanity tutorial is for you. Follow these steps to create a vanity that will give your bathroom a modern and sophisticated feel. Step 1: Choose a simple design – Keep it simple and streamlined with a floating vanity or a slab-style cabinet for a modern look. Step 2: Opt for a monochromatic color scheme – Stick to a neutral color palette, such as white, black, or gray, for a clean and modern aesthetic. Step 3: Add minimal hardware – Stay away from ornate or decorative hardware and opt for sleek and minimal handles or knobs instead. Step 4: Include modern elements – Consider incorporating glass or metal accents into your vanity for a modern touch. Step 5: Keep it clutter-free – A modern bathroom vanity should have a clean and clutter-free surface. Use storage baskets or organizers inside the vanity cabinet to keep everything organized and out of sight.Modern Bathroom Vanity Tutorial
/katiehodgesdesignphotoAmyBartlam-7e609750377e48f999ea3338d0a71657.jpg)
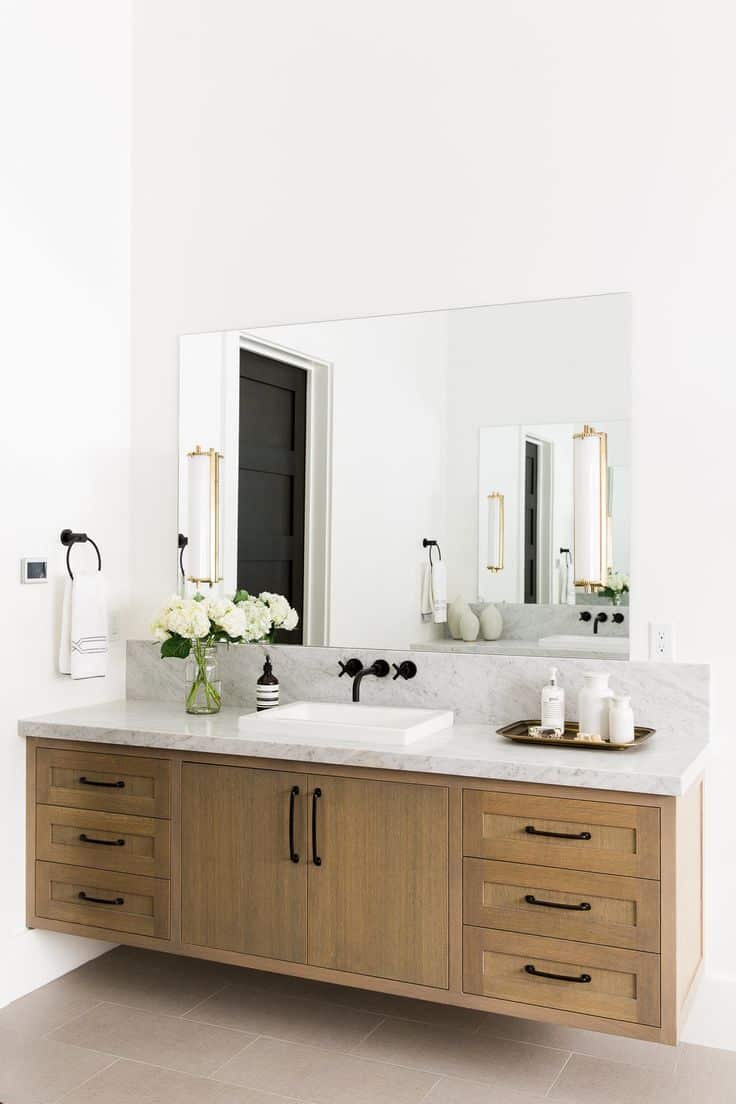
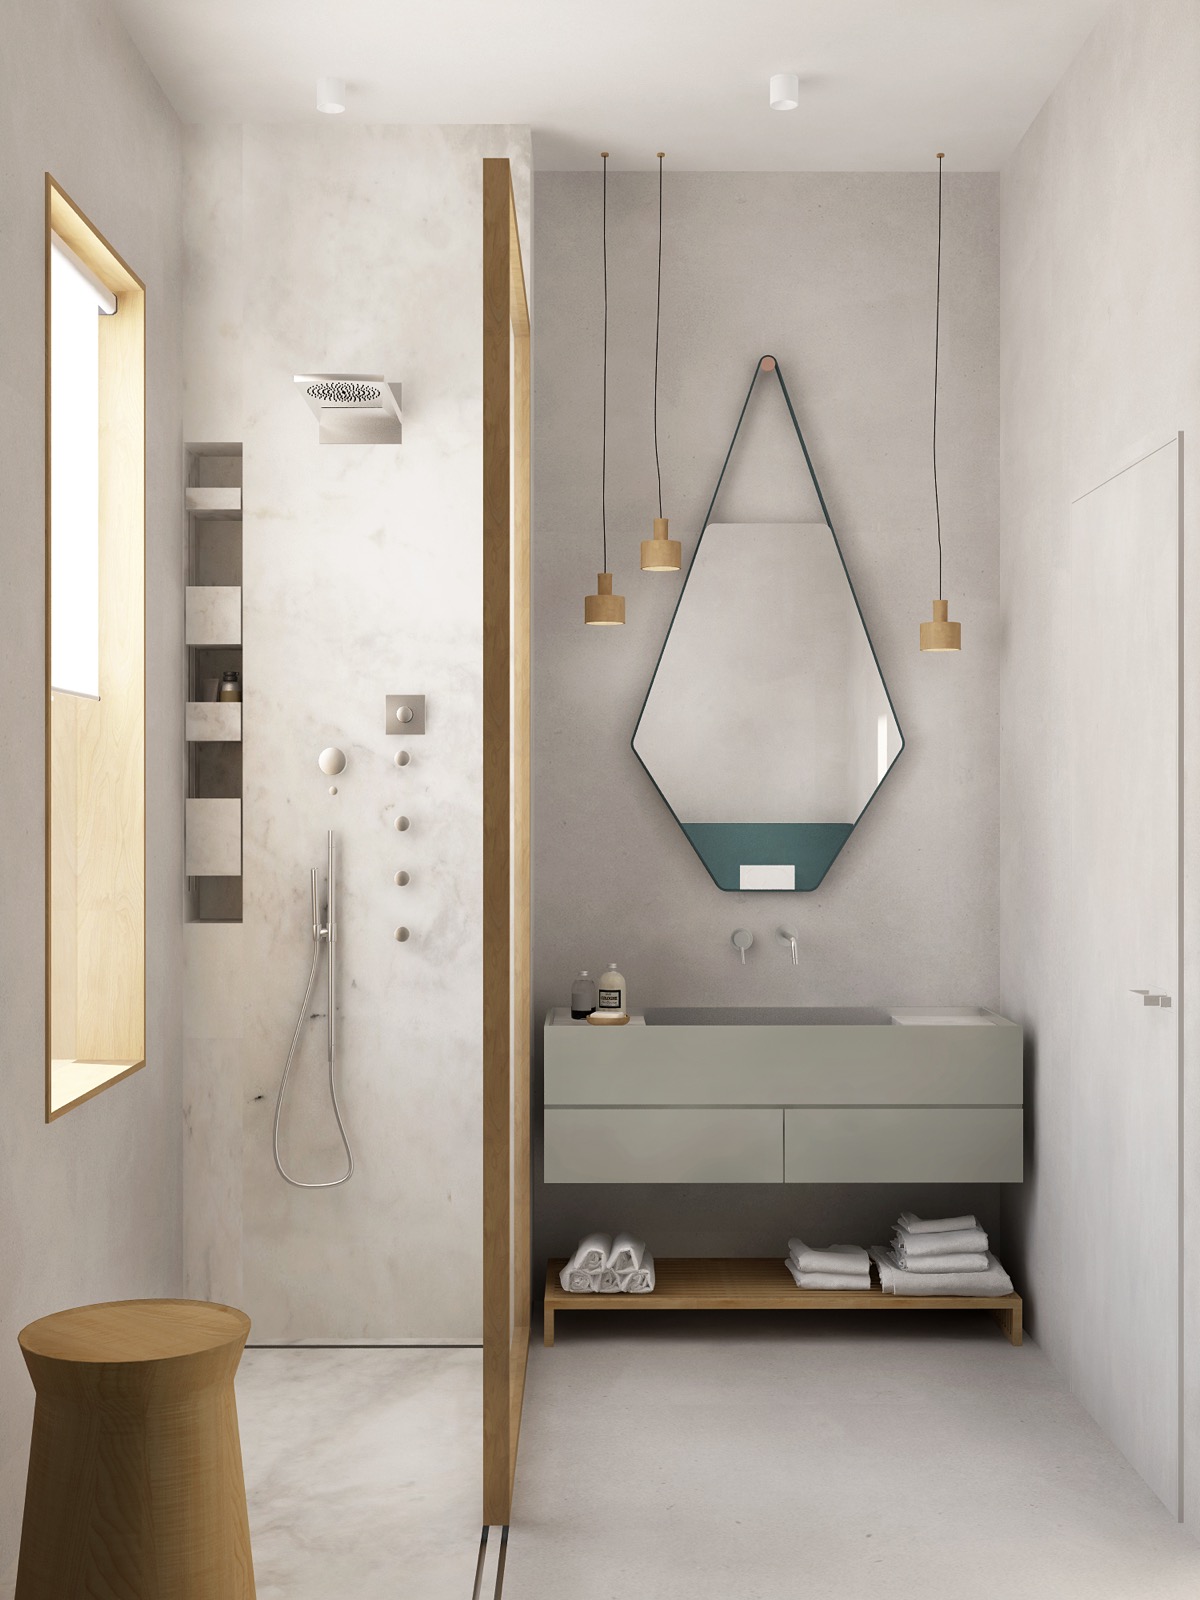
Modern Bathroom Vanity Tutorial


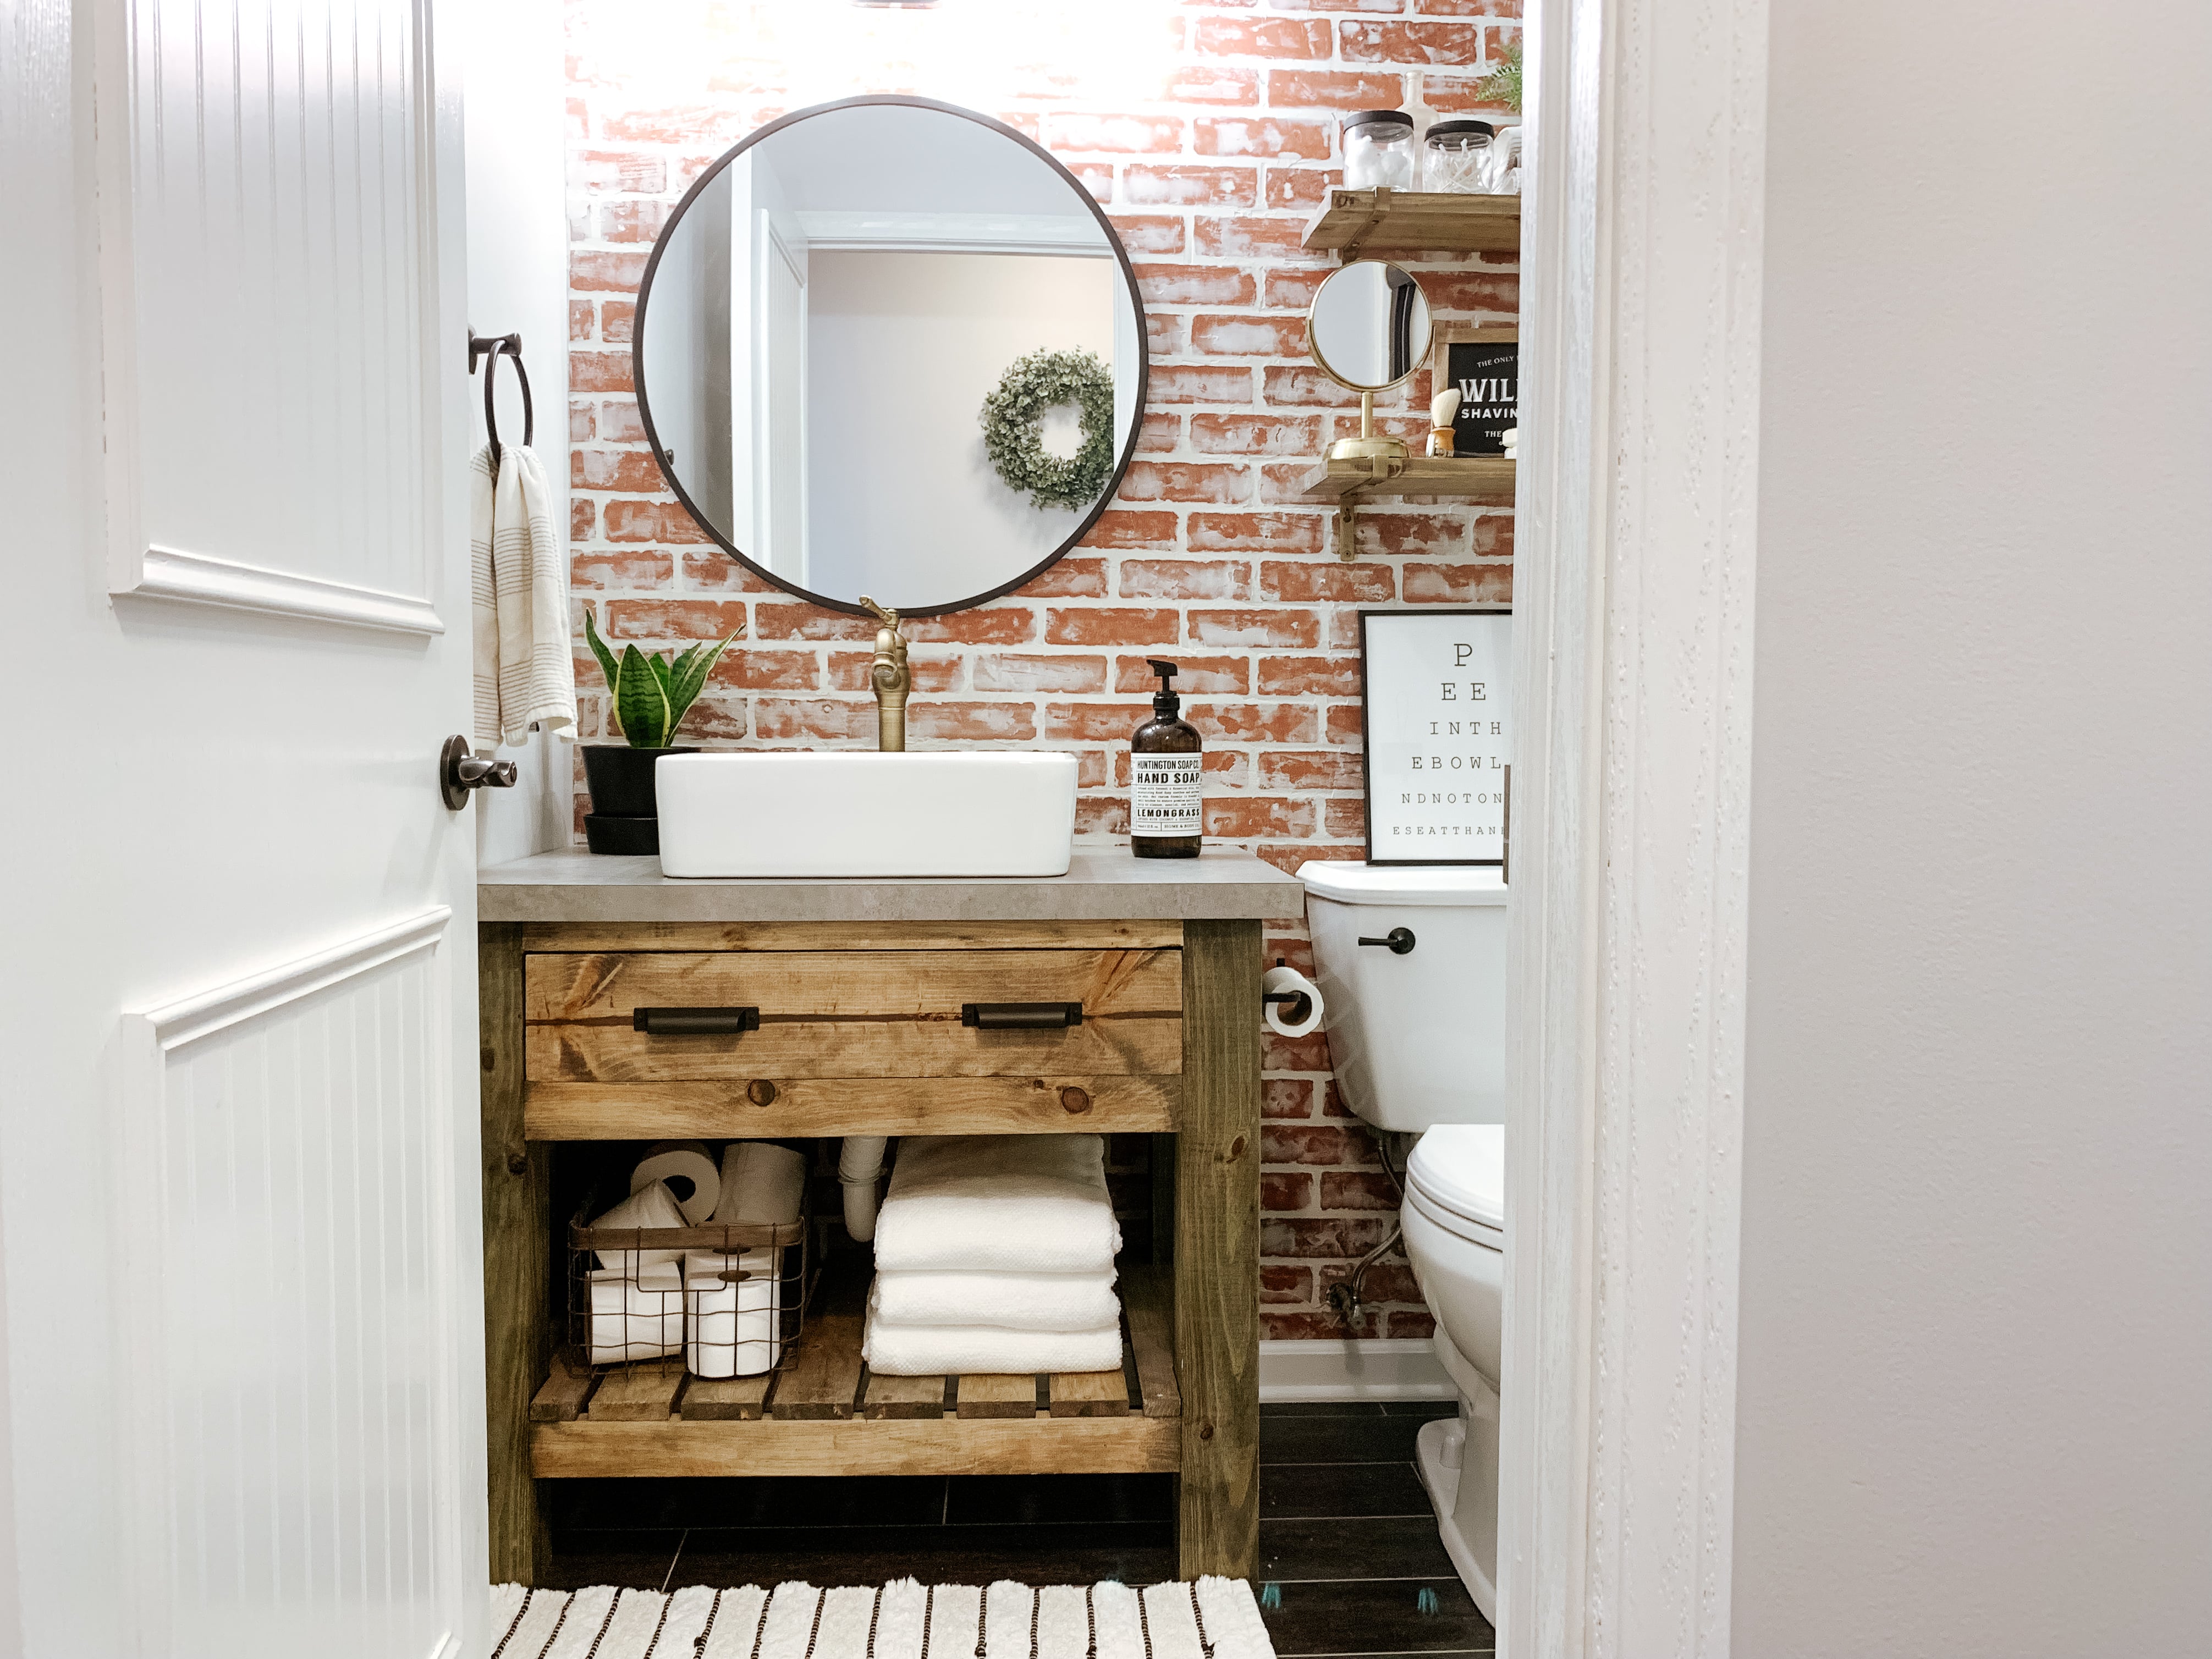
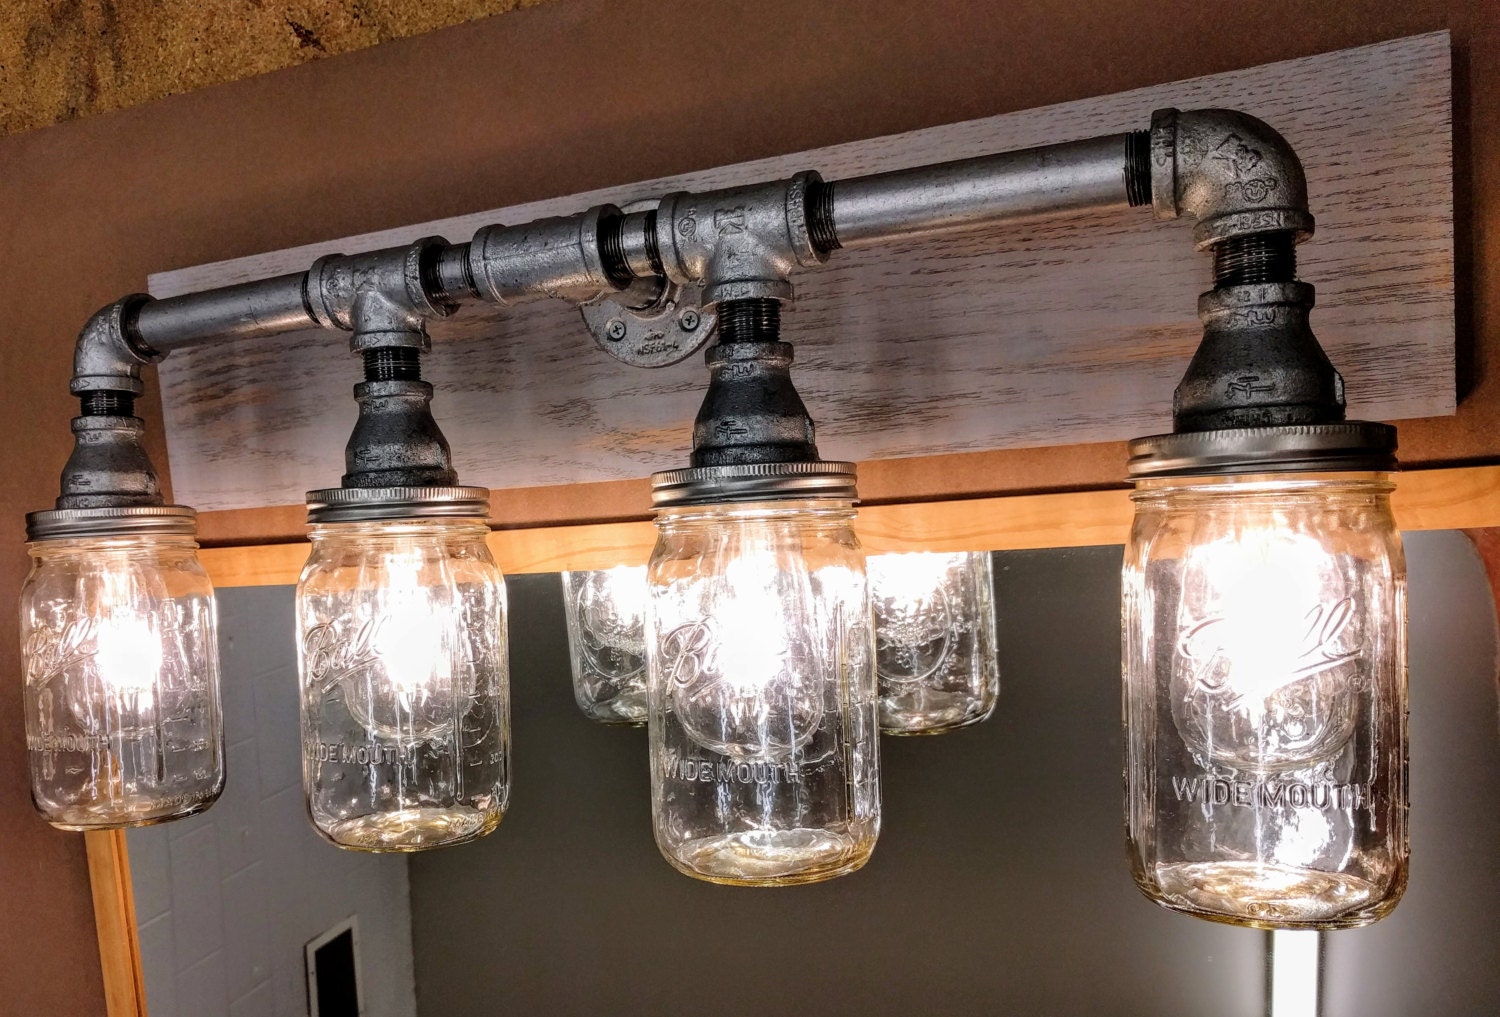
If you prefer a more natural and organic look, this rustic bathroom vanity tutorial is perfect for you. Follow these steps to create a vanity that will add warmth and charm to your bathroom. Step 1: Choose a wooden vanity – Look for a wooden vanity with a distressed finish or opt for a repurposed piece of furniture for a more rustic feel. Step 2: Add a natural stone countertop – Choose a granite, marble, or quartz countertop for a touch of luxury and a natural element. Step 3: Include rustic hardware – Choose antique or rustic-style hardware such as iron pulls or knobs to add to the rustic charm. Step 4: Use natural accents – Incorporate natural elements such as wooden trays, wicker baskets, or mason jars to add to the rustic feel. Step 5: Keep it simple – A rustic bathroom vanity should have a simple and uncluttered look. Use open shelves or woven baskets for storage to maintain the natural and rustic aesthetic.Rustic Bathroom Vanity Tutorial
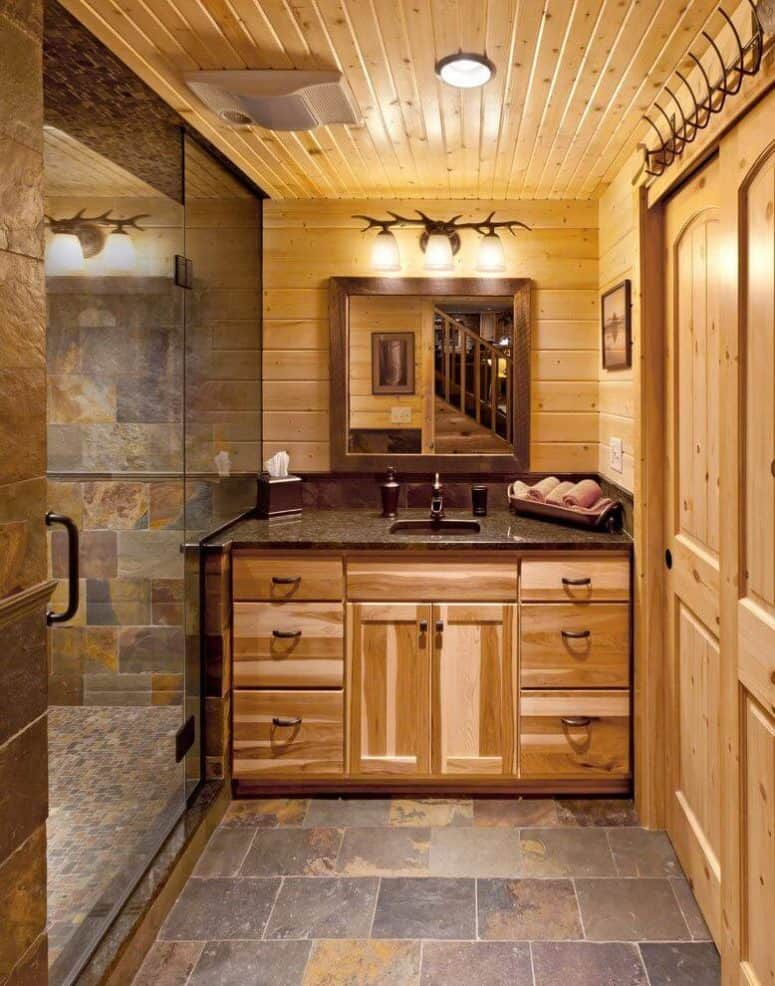


Rustic Bathroom Vanity Tutorial


For a modern and space-saving option, a floating bathroom vanity may be just what you need. Follow these steps to create a vanity that will add a sleek and contemporary touch to your bathroom. Step 1: Choose a floating vanity – Look for a vanity that has a simple and streamlined design and can be mounted to the wall. Step 2: Consider a floating countertop – To add to the floating effect, opt for a countertop that is also mounted to the wall instead of resting on the vanity cabinet. Step 3: Keep it minimal – A floating vanity should have a clean and uncluttered look. Choose minimal hardware and simple storage solutions to maintain the modern aesthetic. Step 4: Add lighting – For a dramatic effect, consider adding LED lighting to the bottom of the vanity for a floating effect and to create a soft glow in your bathroom. Step 5: Make it functional – To make the most of your floating vanity, consider adding storage solutions such as pull-out shelves or hidden compartments for a sleek and organized look.Floating Bathroom Vanity Tutorial


Floating Bathroom Vanity Tutorial


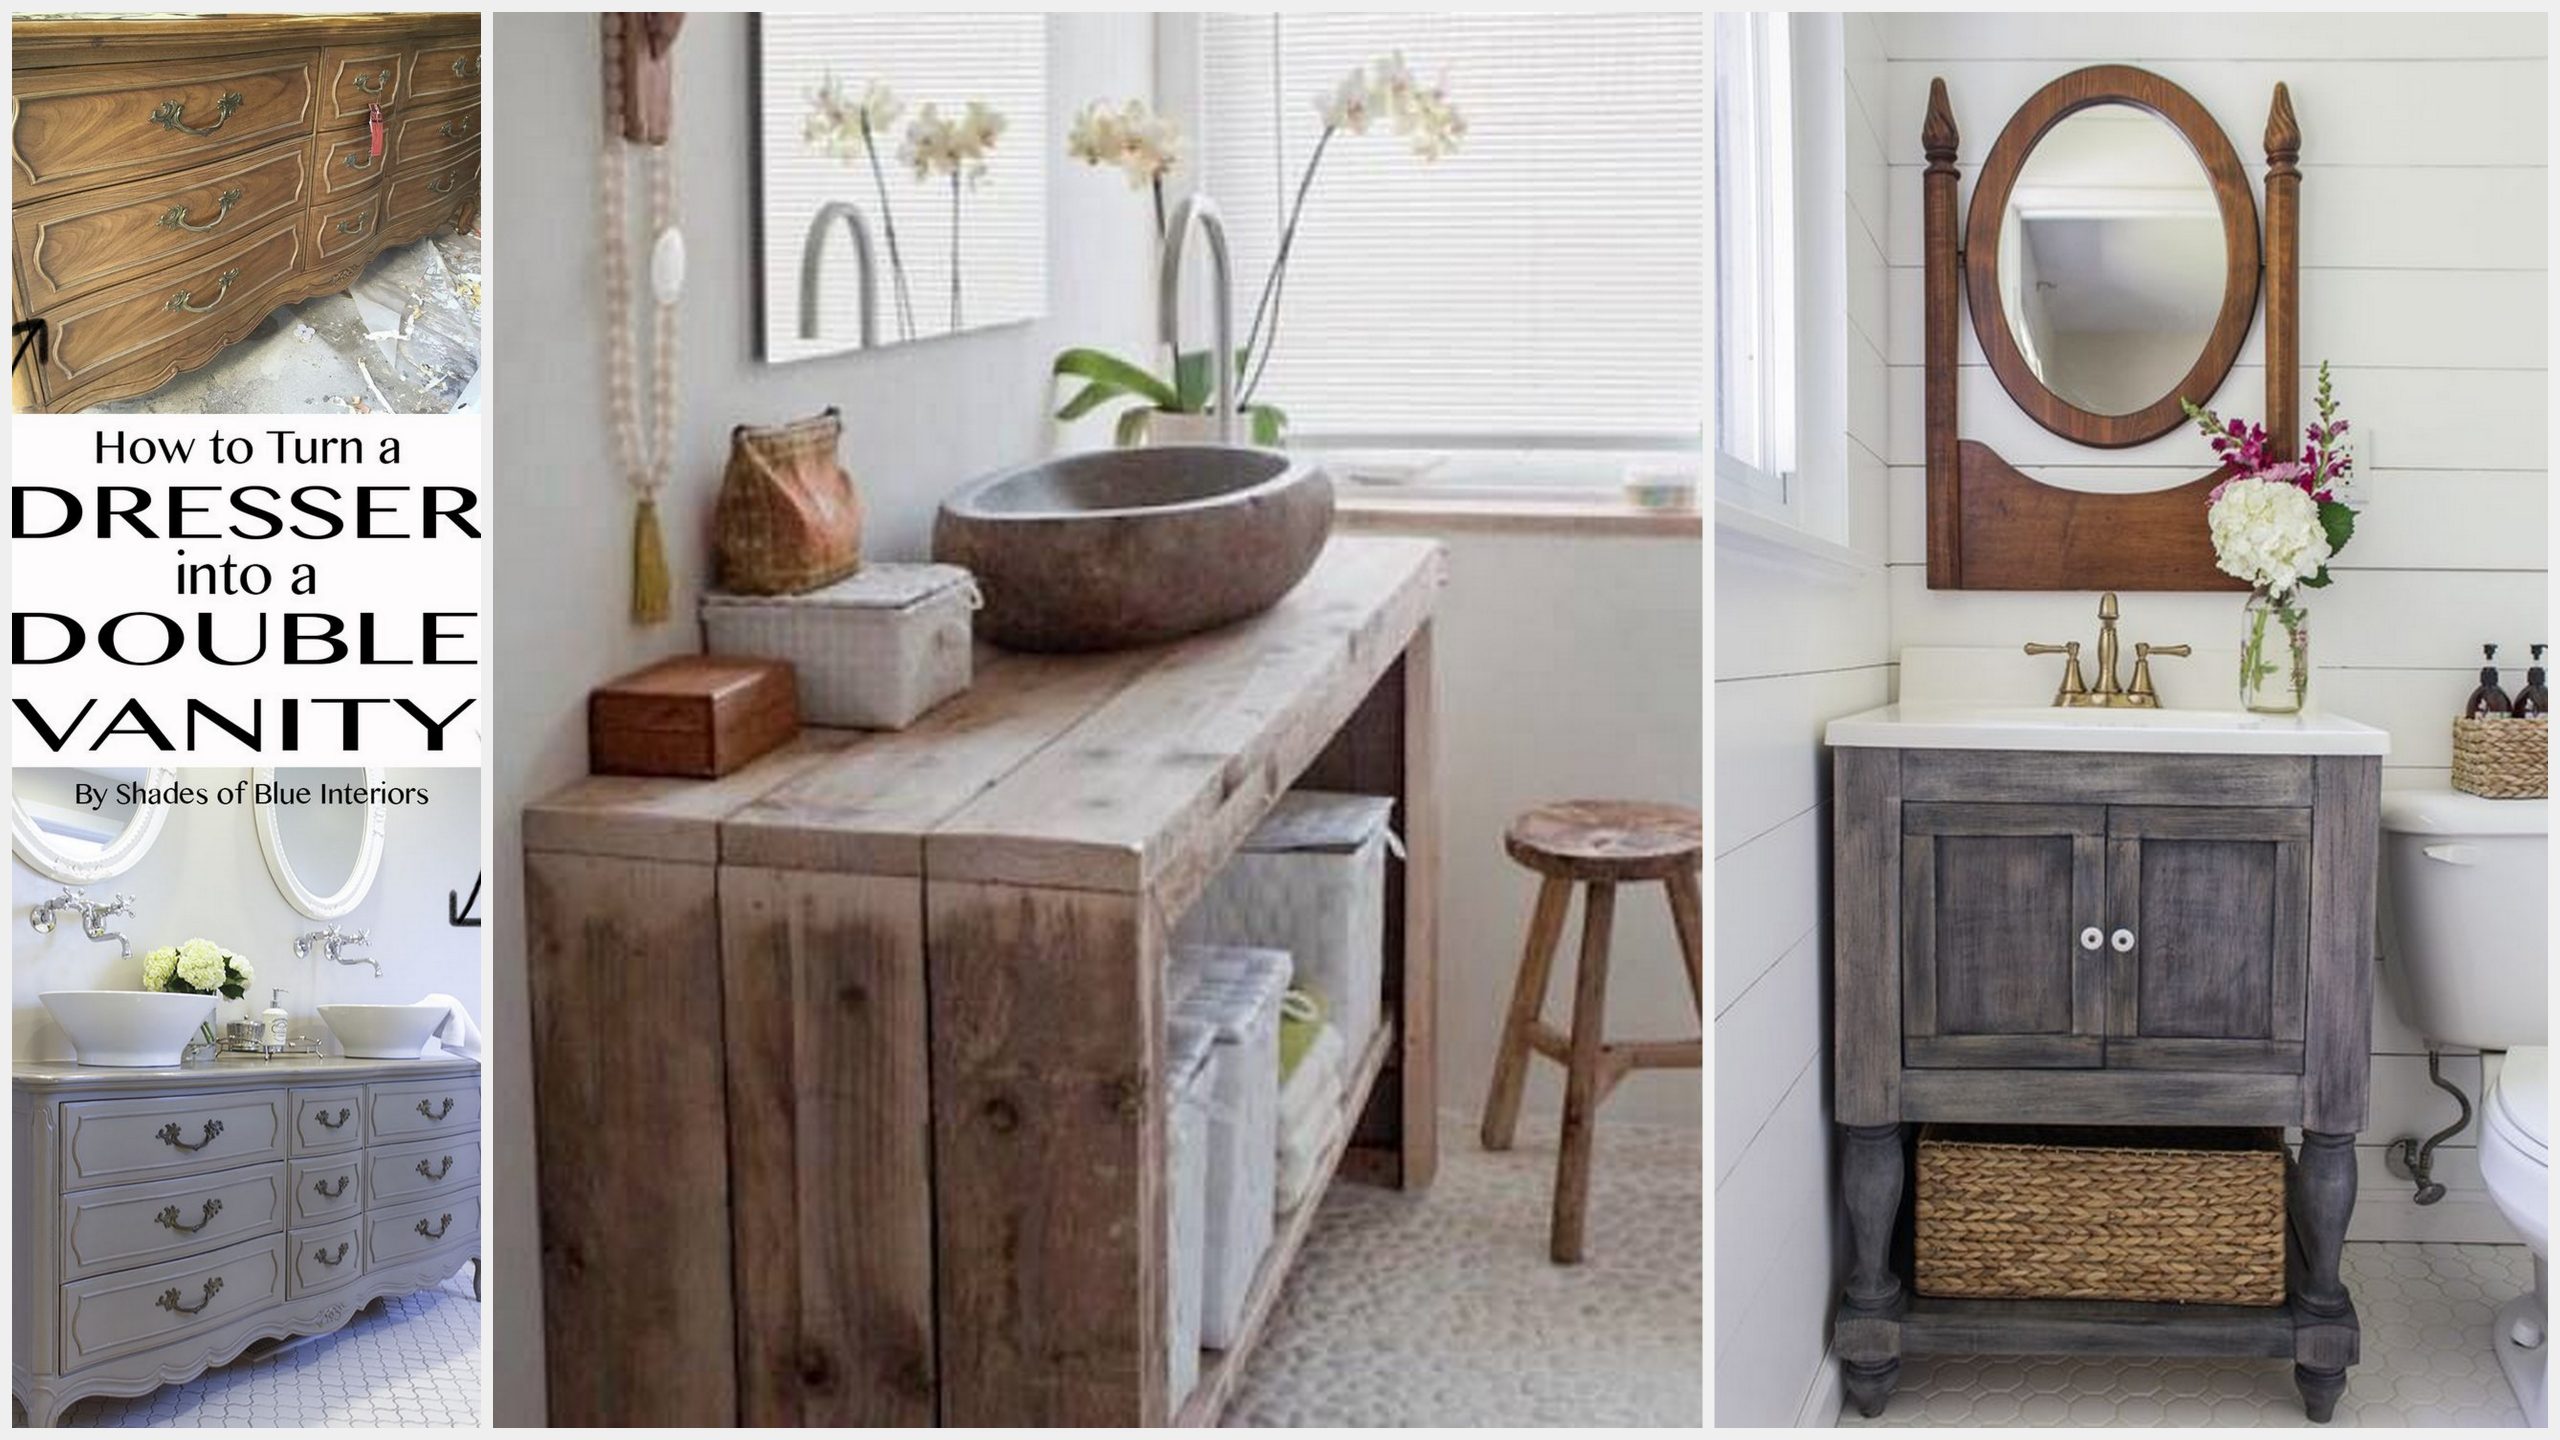
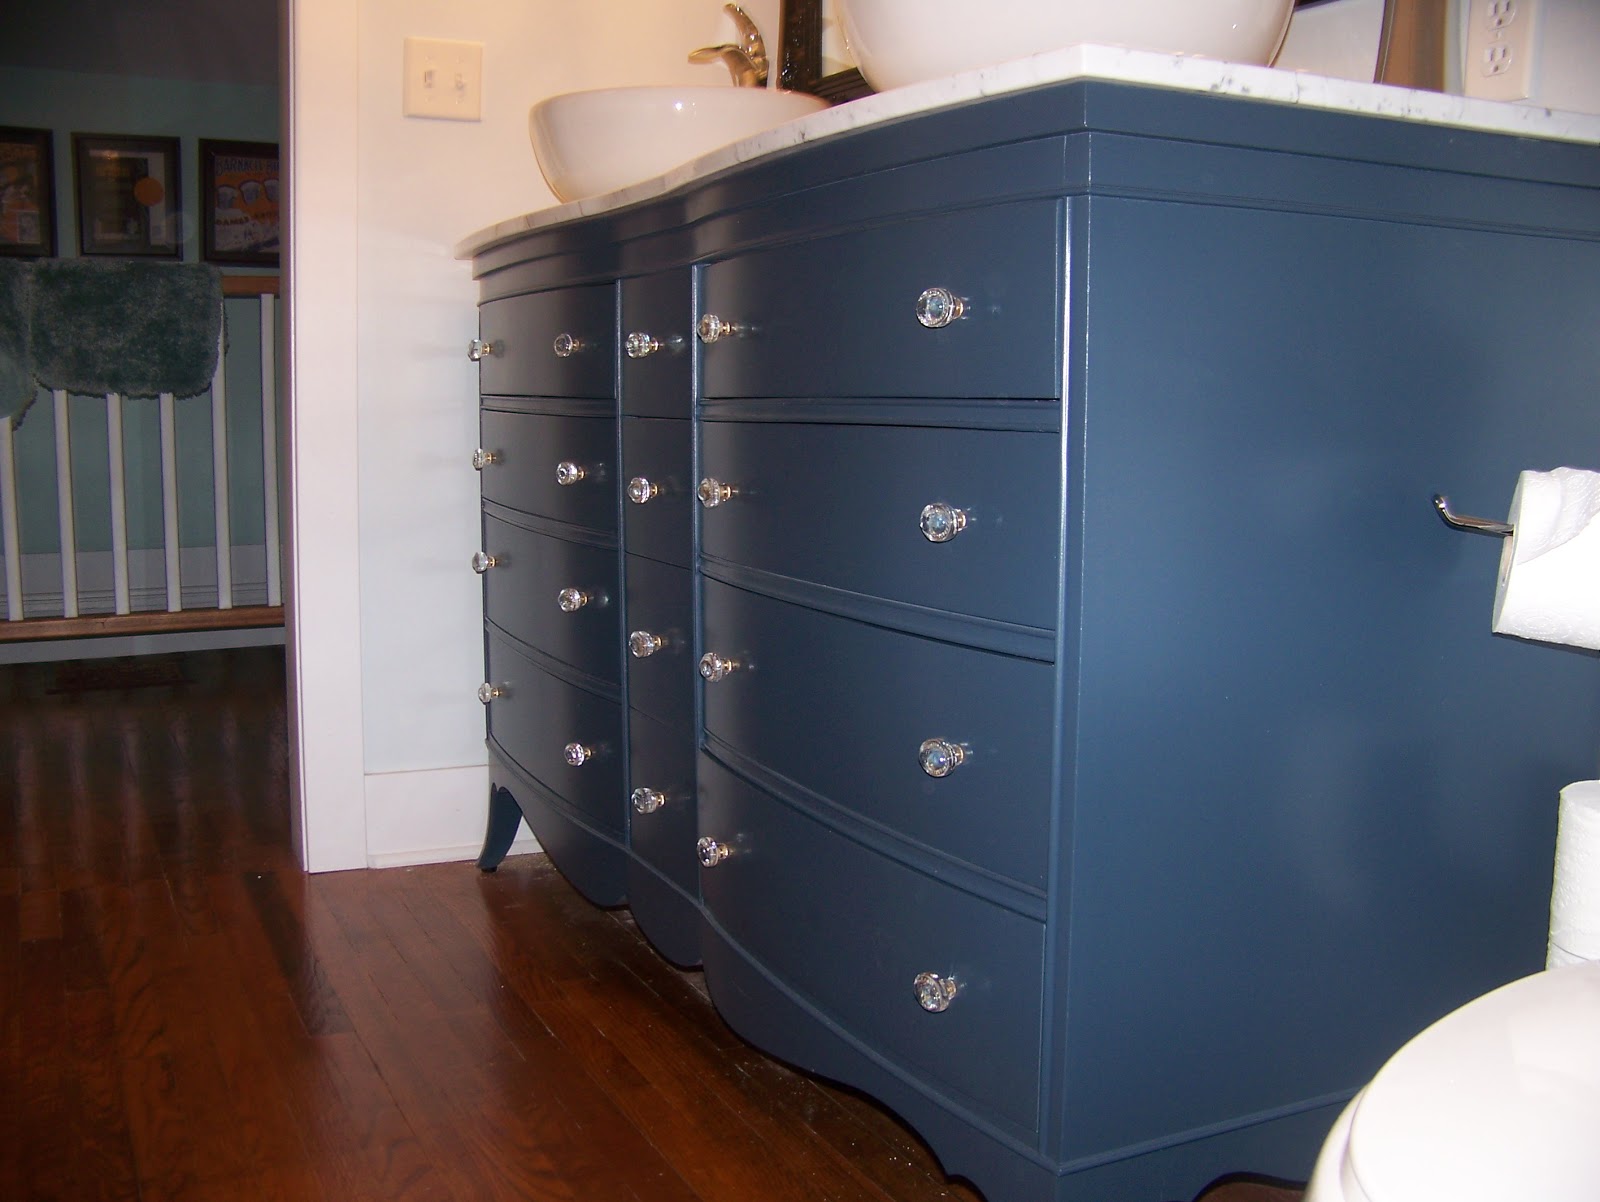
If you’re feeling creative and want a truly unique vanity, consider repurposing an old piece of furniture for your bathroom. Follow these steps to create a one-of-a-kind vanity that will make a statement in your bathroom. Step 1: Find a suitable piece – Look for a piece of furniture that is the right size and shape for your bathroom. This could be a dresser, desk, or even a sideboard. Step 2: Prep the furniture – Clean the furniture and remove any drawers or doors that may be in the way. Sand the surface to create a rough texture for better paint adhesion. Step 3: Add a countertop – Purchase a countertop that fits the dimensions of your furniture and attach it using adhesive and screws. Step 4: Create a sink – You can either purchase a sink that fits your countertop or get creative and create your own using a bowl or basin. Step 5: Personalize – Add your own personal touch by choosing paint, stain, or decorative elements to make your vanity truly unique.Repurposed Bathroom Vanity Tutorial
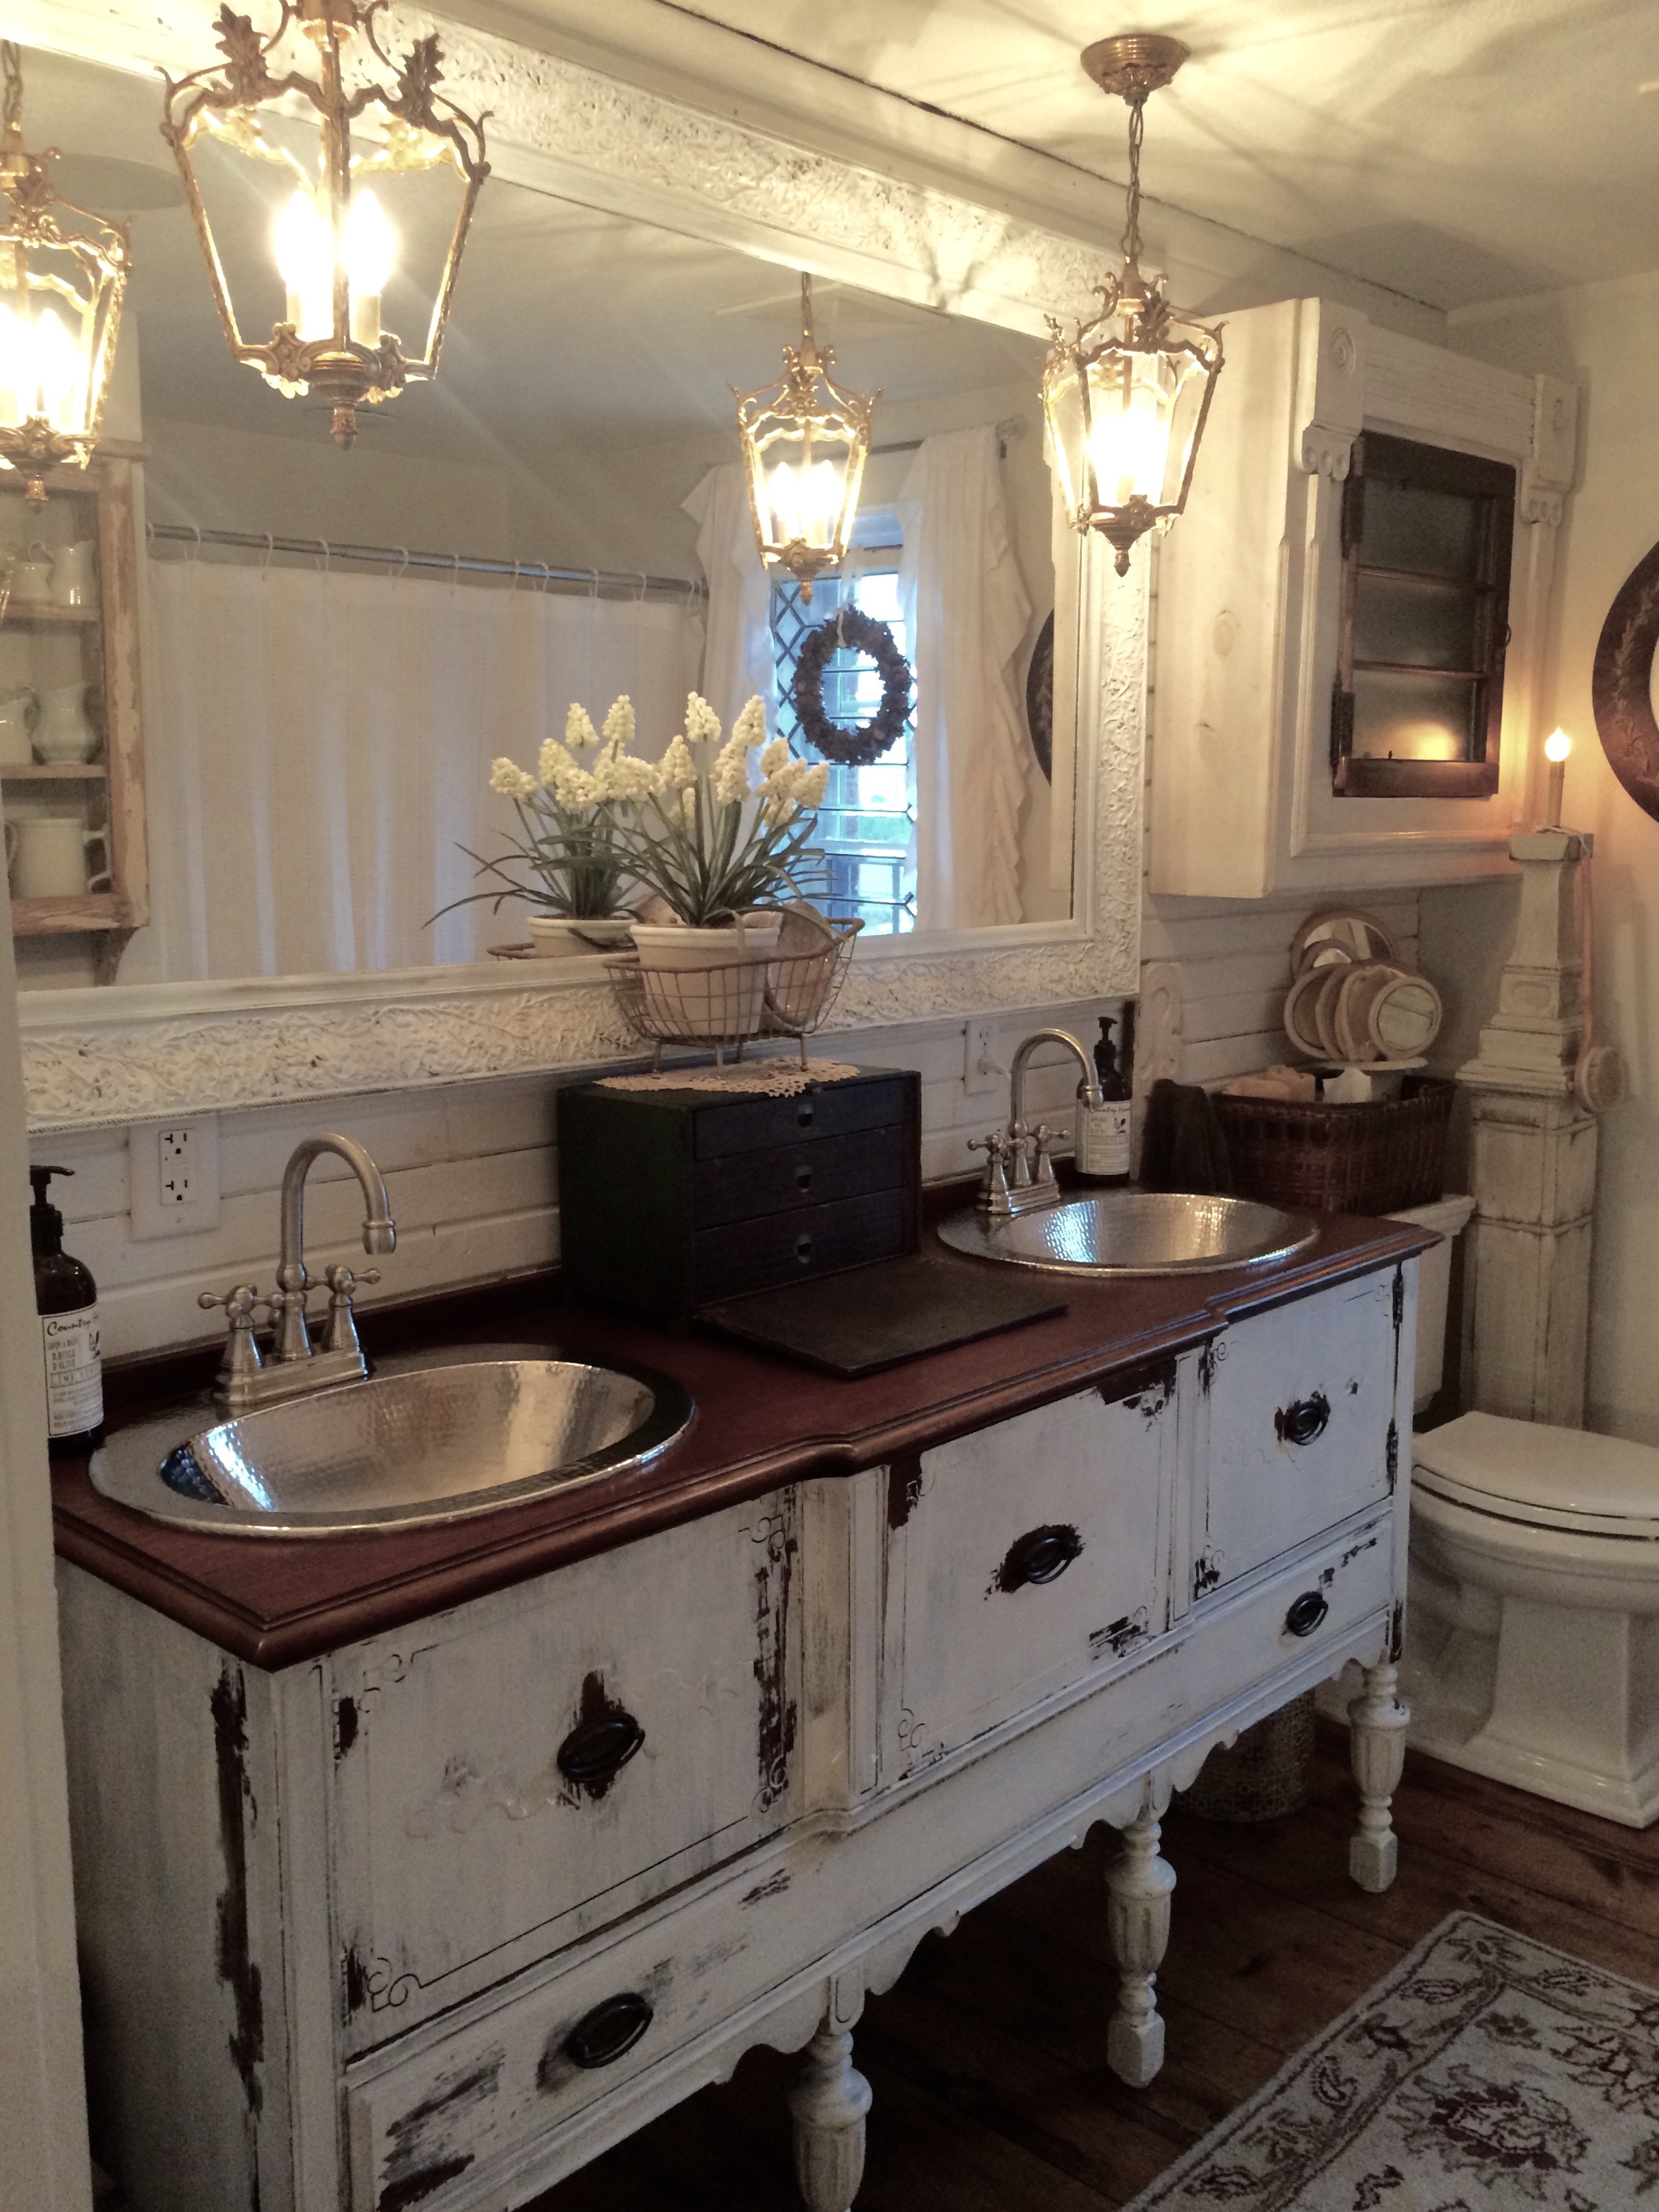


Repurposed Bathroom Vanity Tutorial
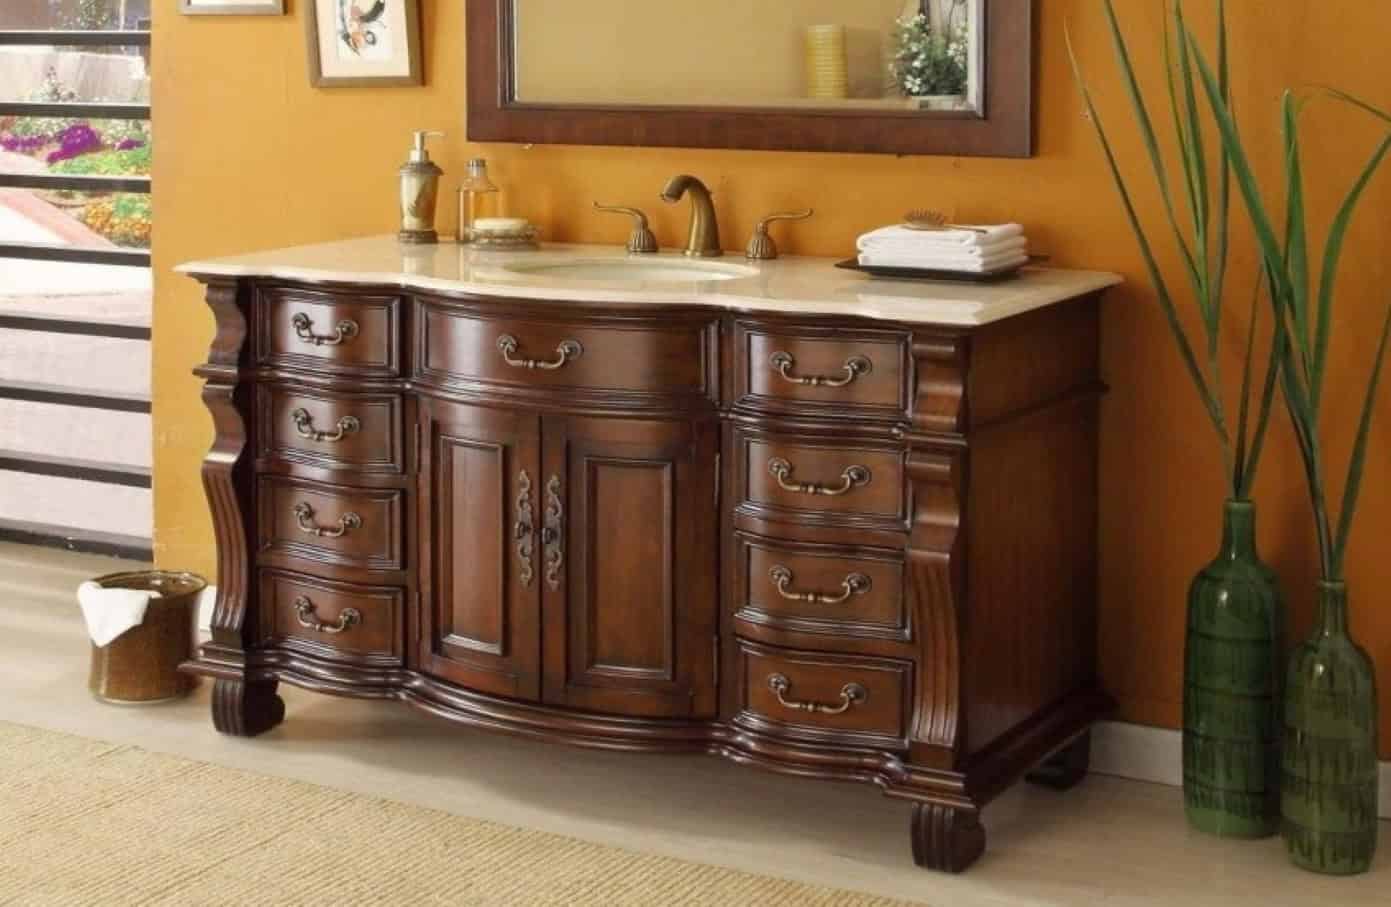


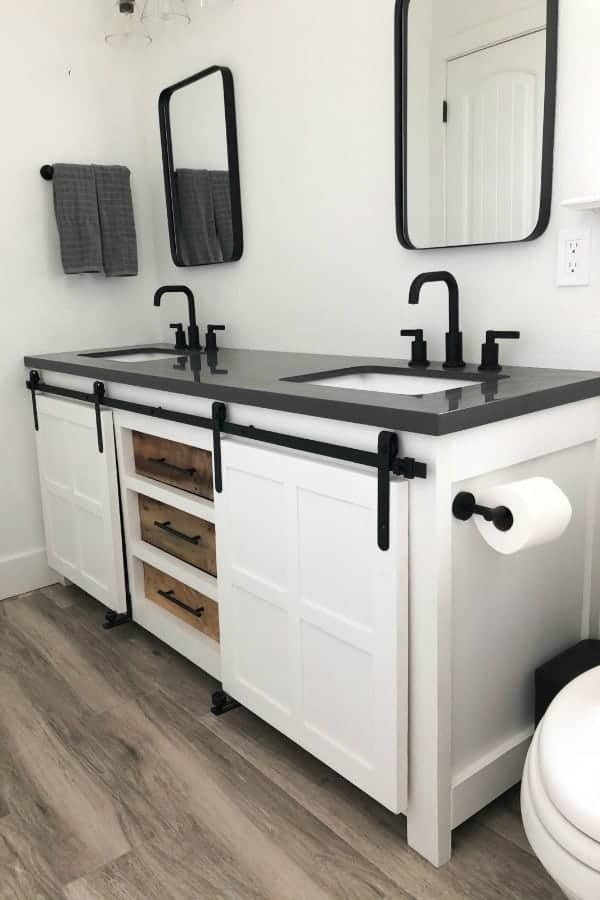
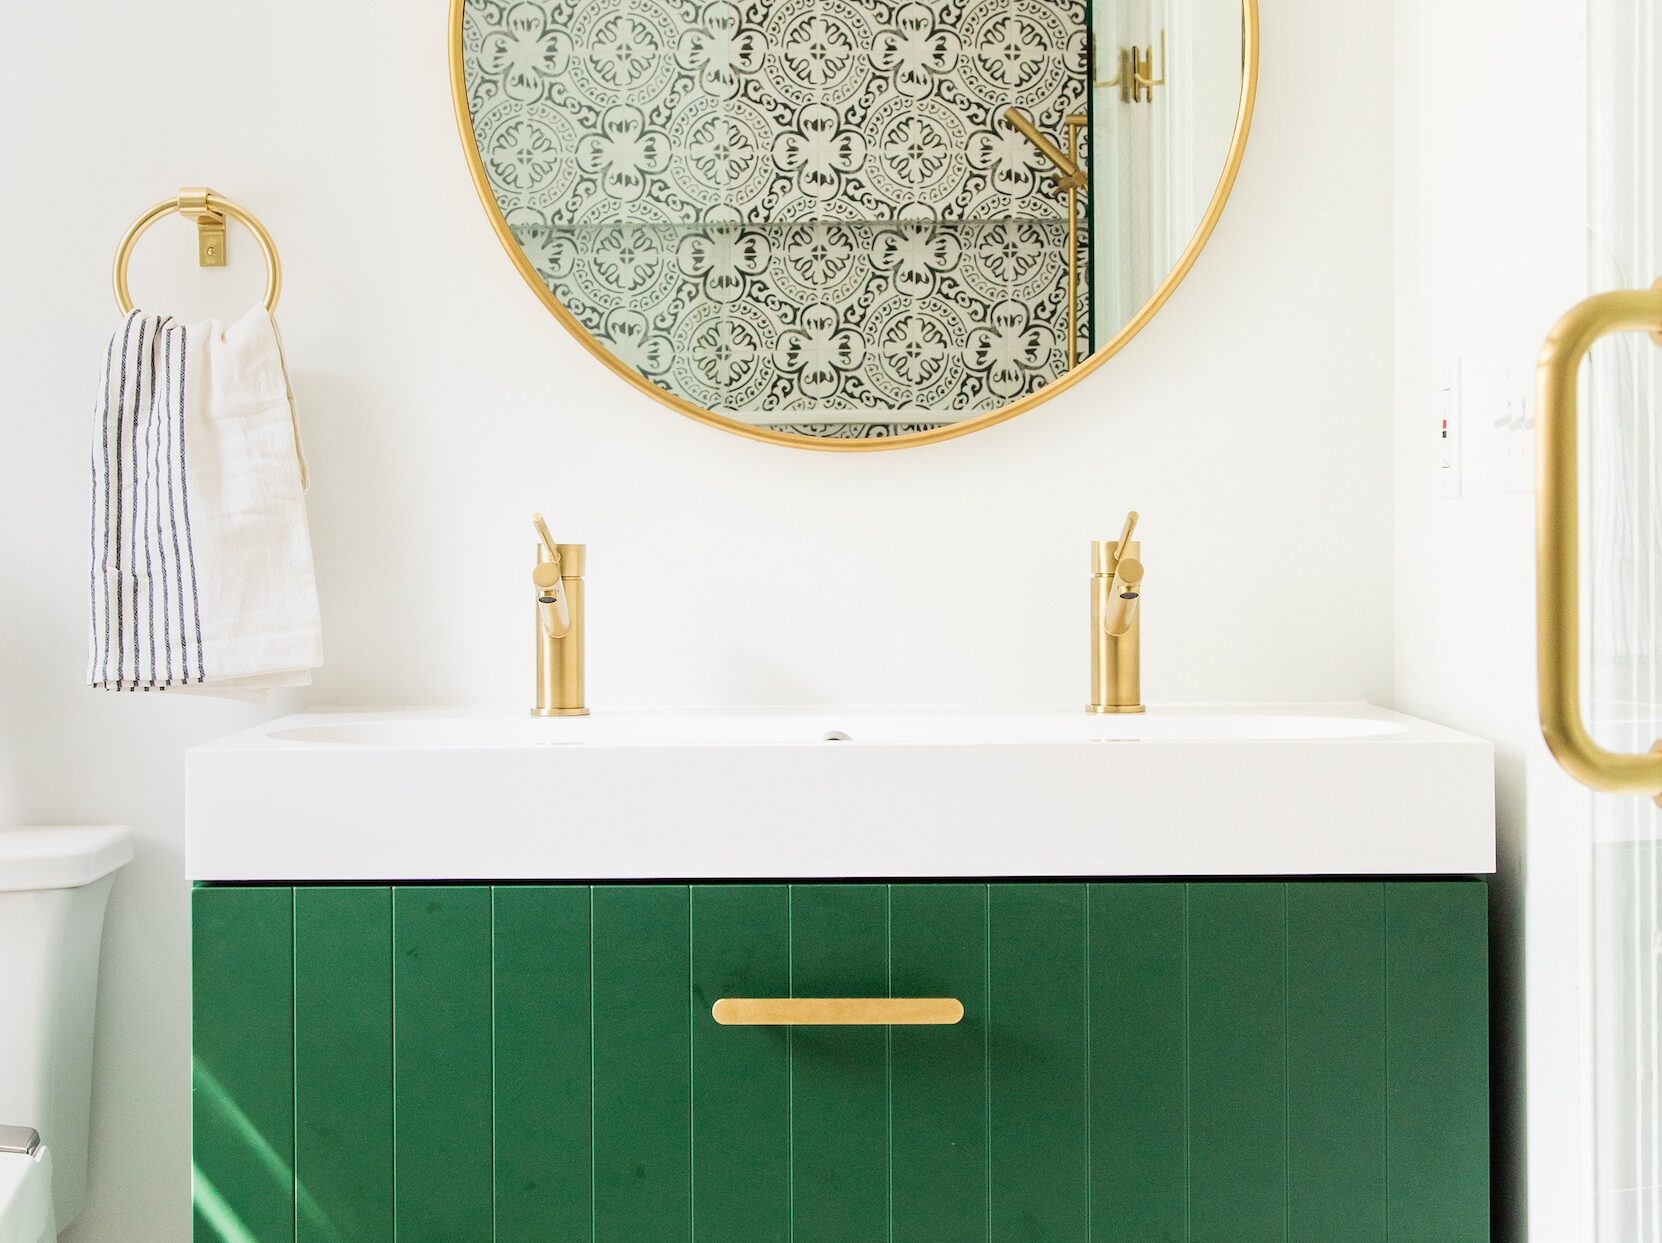
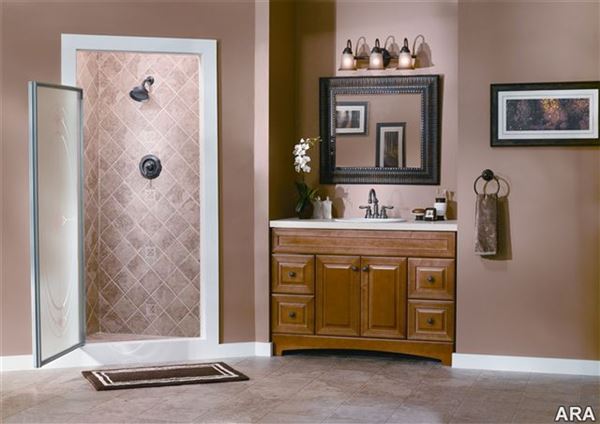
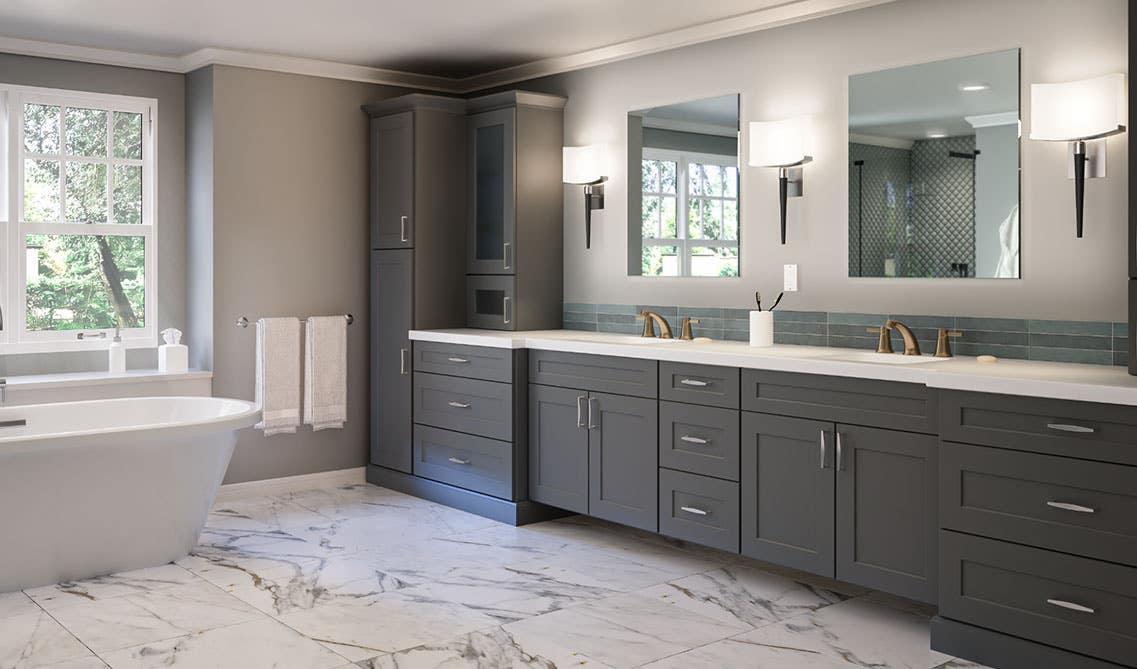
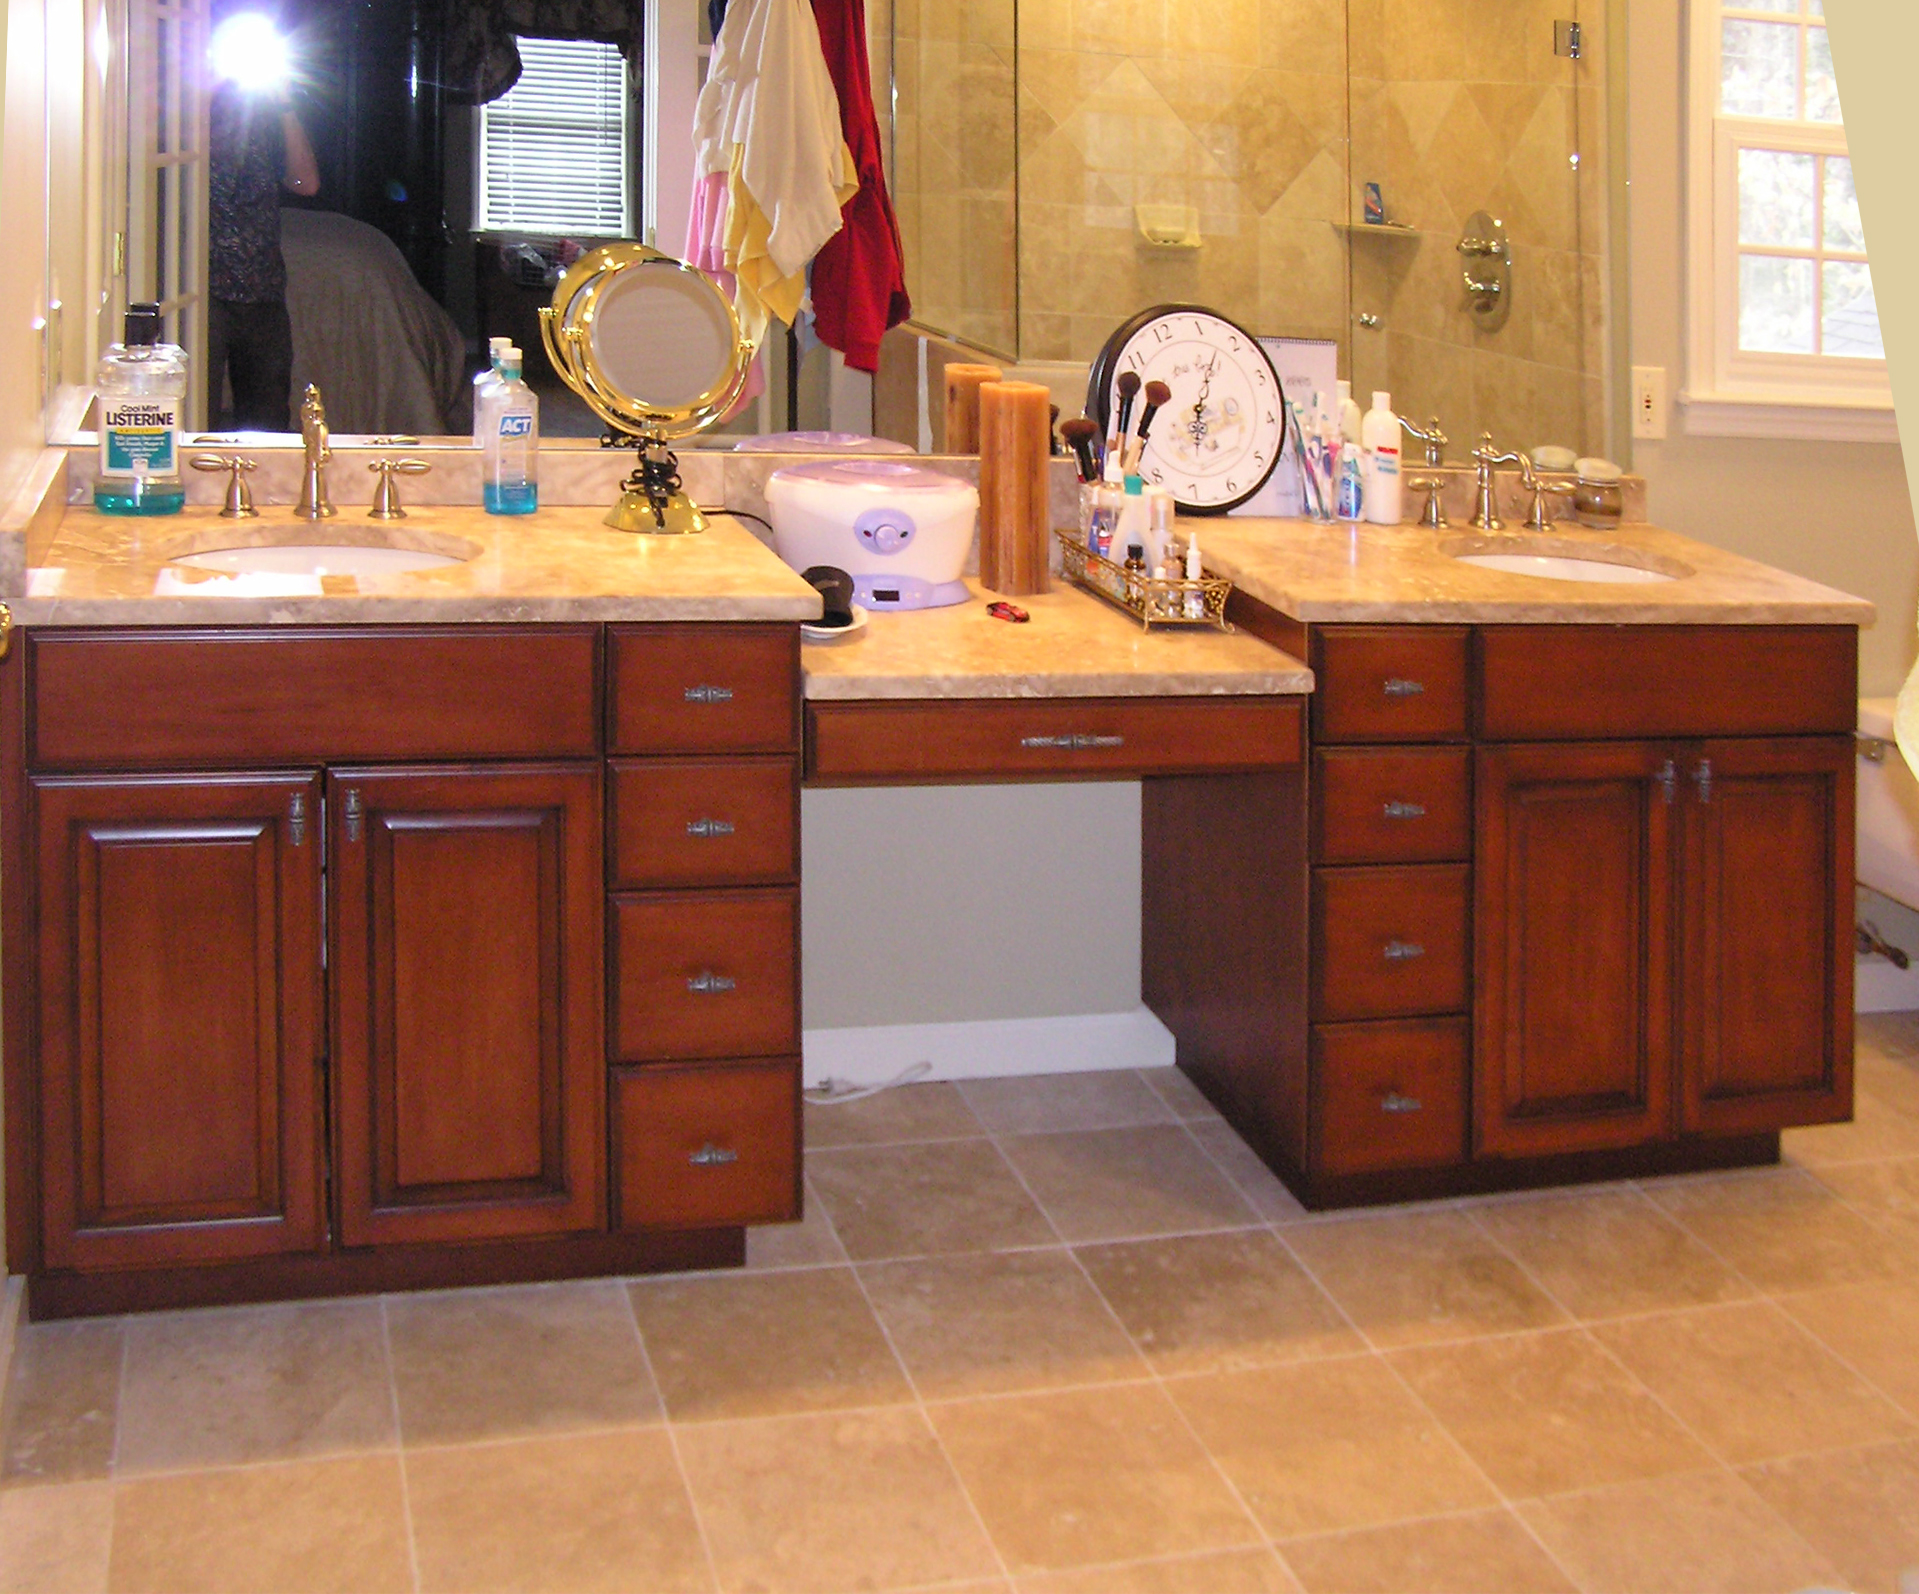
If you have a specific vision in mind for your bathroom vanity, a custom vanity may be the way to go. Follow these steps to create a vanity that is tailored to your needs and style. Step 1: Plan it out – Before starting your project, make sure you have a clear idea of what you want your vanity to look like. This may involve creating a sketch or using design software to visualize your vanity. Step 2: Choose your materials – You will need to purchase all the necessary materials for your custom vanity, such as a vanity cabinet, countertop, sink, faucet, and hardware. Step 3: Follow the instructions – Depending on the complexity of your custom vanity, you may need to follow blueprints or instructions provided by a professional to ensure everything is built and installed correctly.Custom Bathroom Vanity Tutorial


Custom Bathroom Vanity Tutorial


Choosing the Perfect Bathroom Vanity for Your Home
 When it comes to designing your bathroom, one of the most important elements to consider is the vanity. This piece of furniture not only serves as a functional storage space for all your toiletries, but it also sets the tone for the overall aesthetic of your bathroom. With so many options available in the market, it can be overwhelming to choose the right bathroom vanity for your home. But don't worry, we've got you covered with this tutorial on how to find the perfect bathroom vanity.
Consider Your Bathroom Size and Layout
 Before you start browsing through different vanity designs, it's crucial to assess the size and layout of your bathroom. This will help you determine the size and style of vanity that will best fit in your space. For smaller bathrooms, a wall-mounted vanity or a floating vanity will create an illusion of more space. On the other hand, if you have a larger bathroom, you can opt for a double vanity for a more luxurious feel.
Choose Between Freestanding or Built-in
 Another important decision to make is whether you want a freestanding or built-in vanity. Freestanding vanities are more versatile as they can be easily moved and replaced if needed. On the other hand, built-in vanities are great for creating a seamless look and can be customized to fit your specific needs and style.
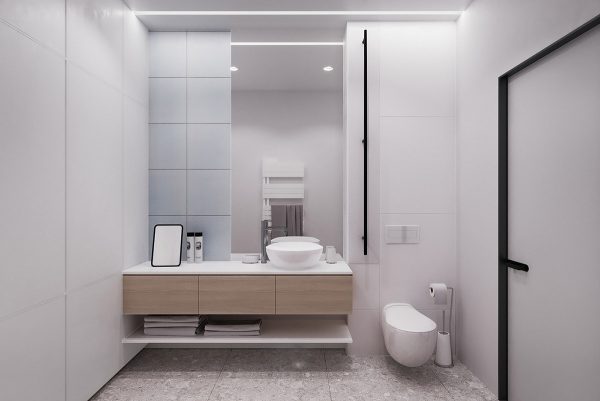
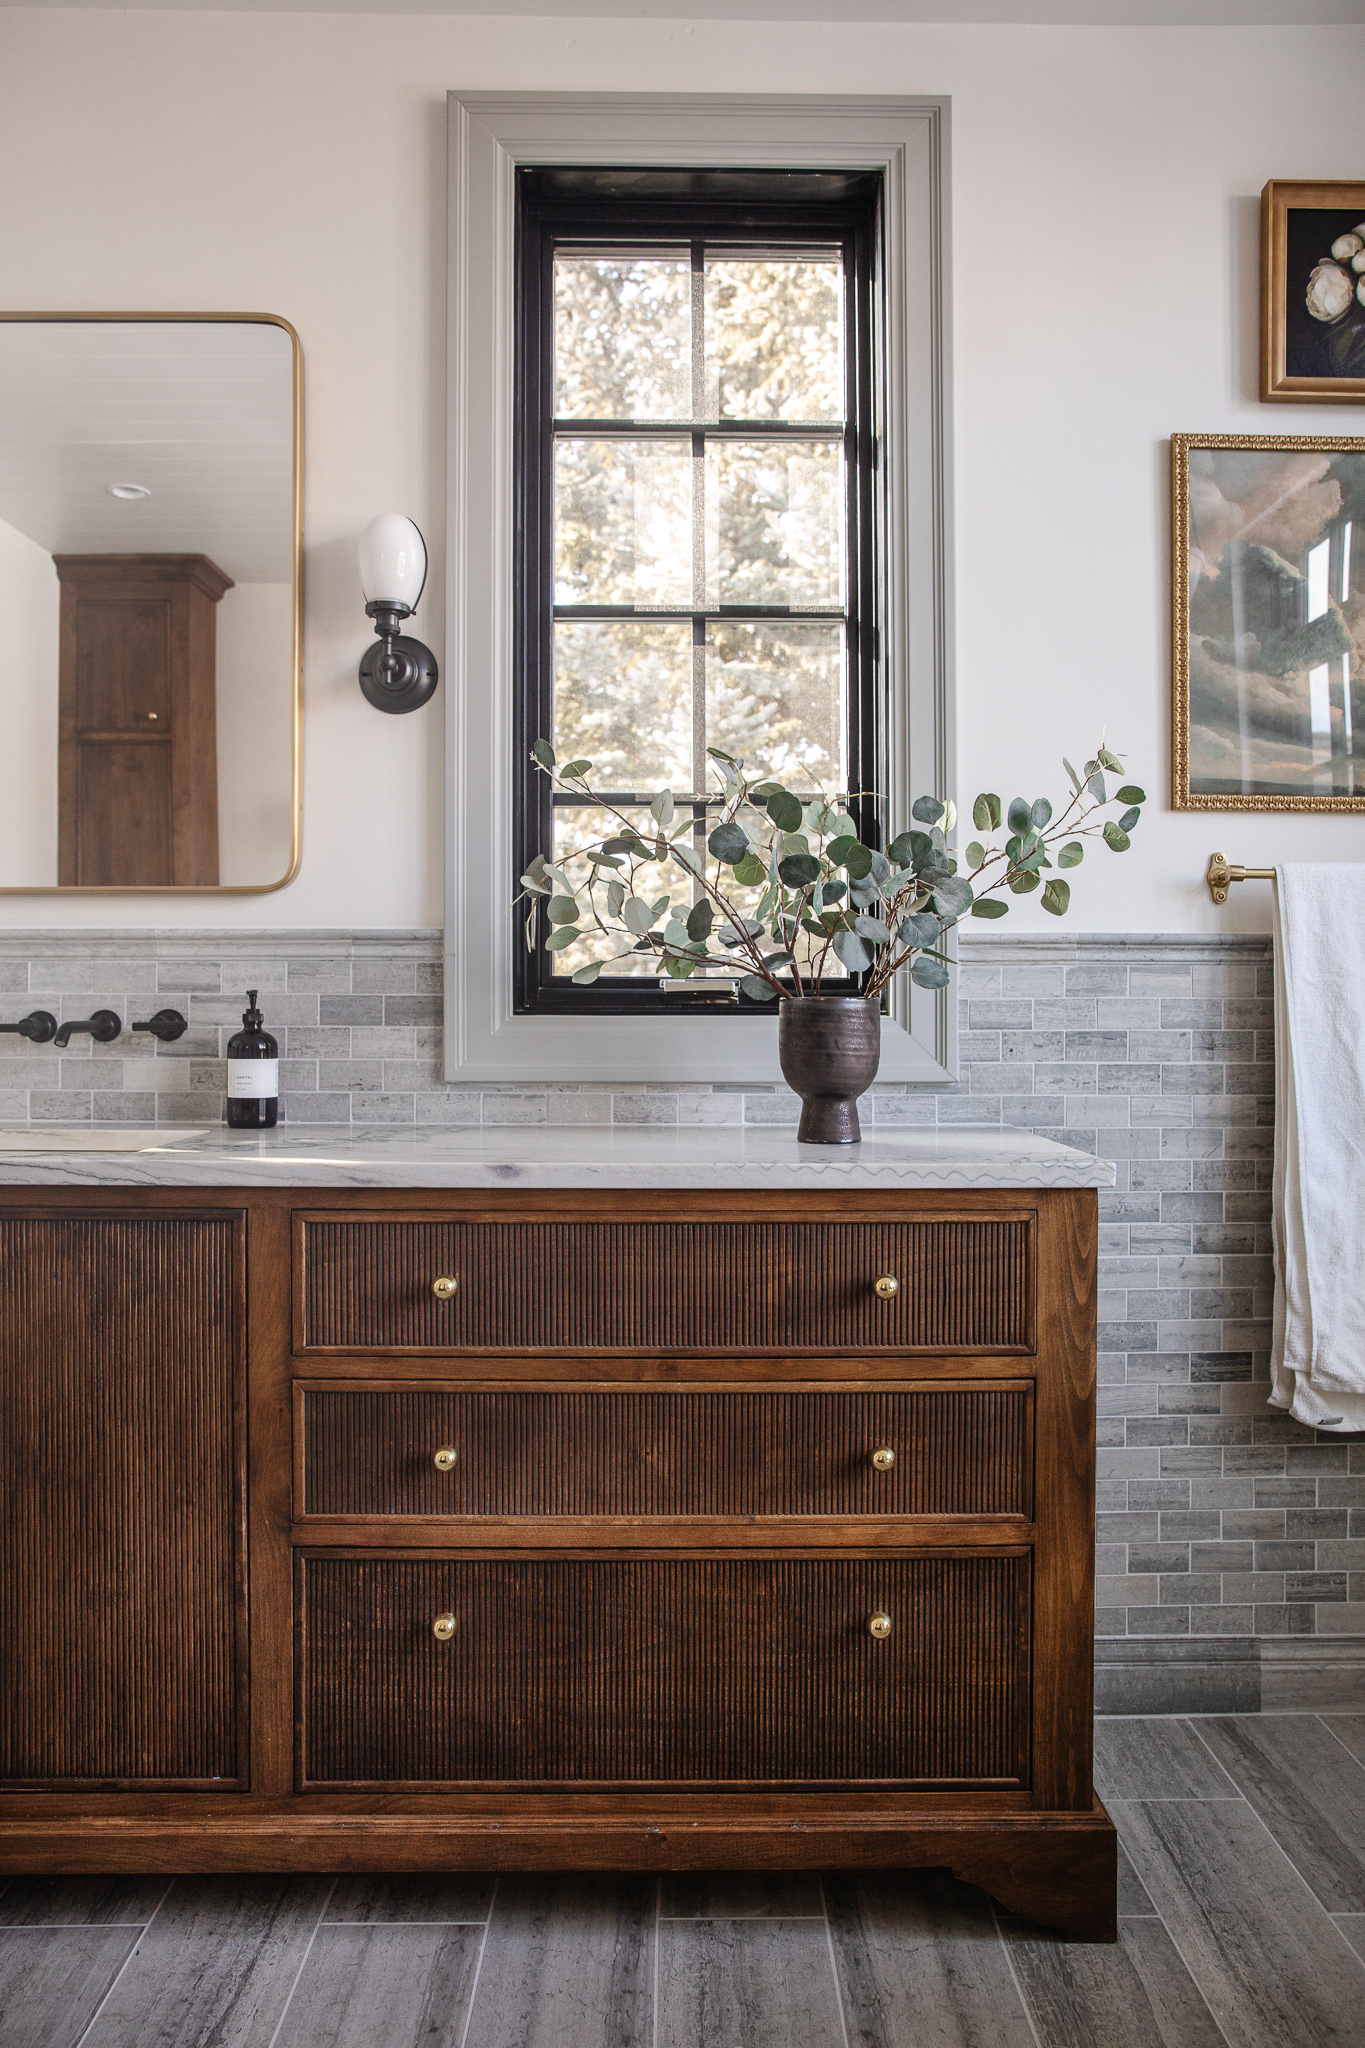
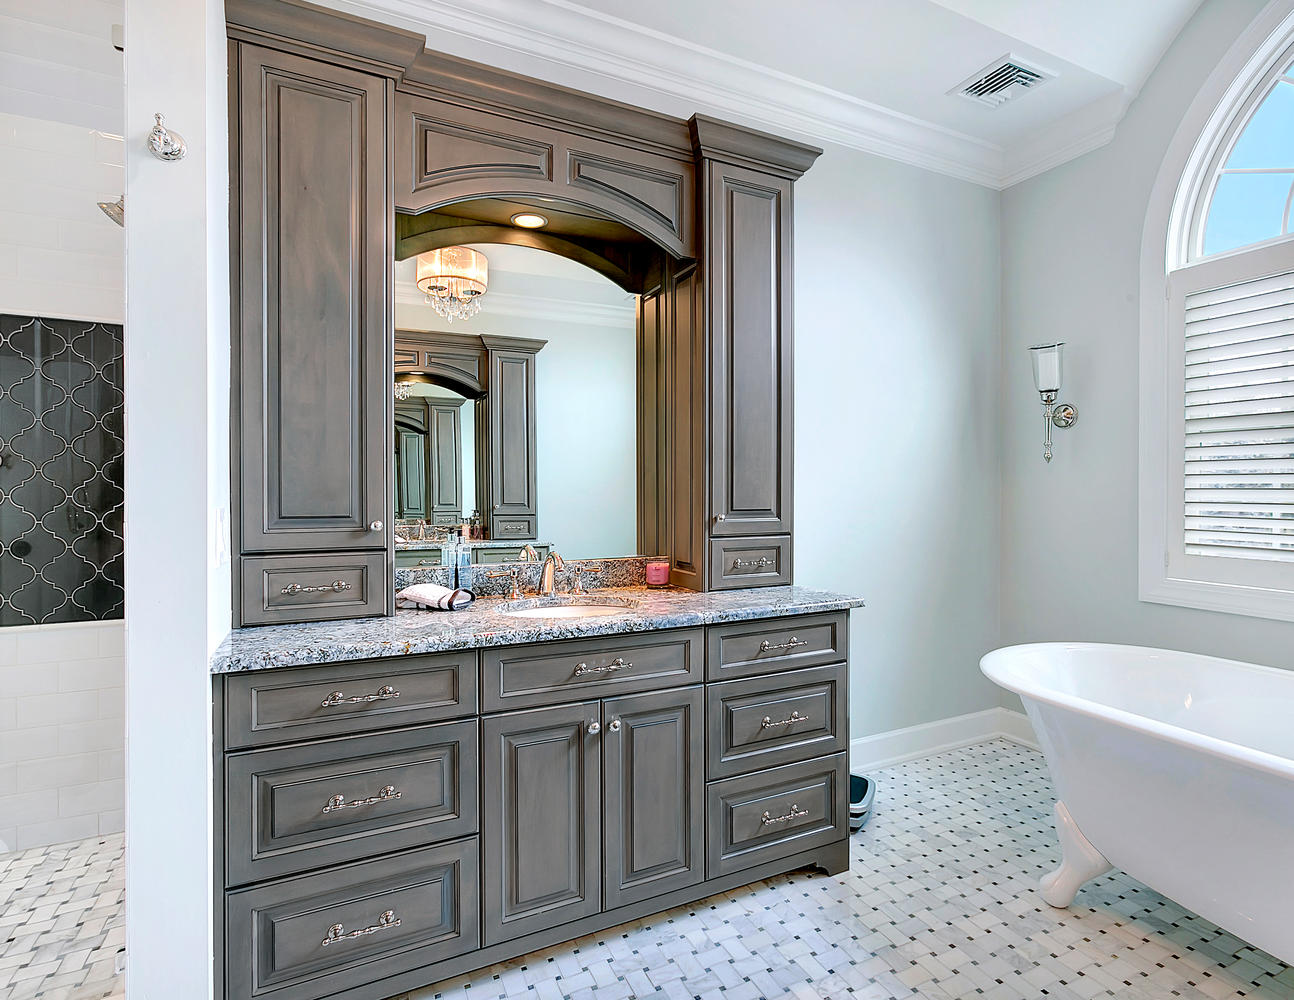
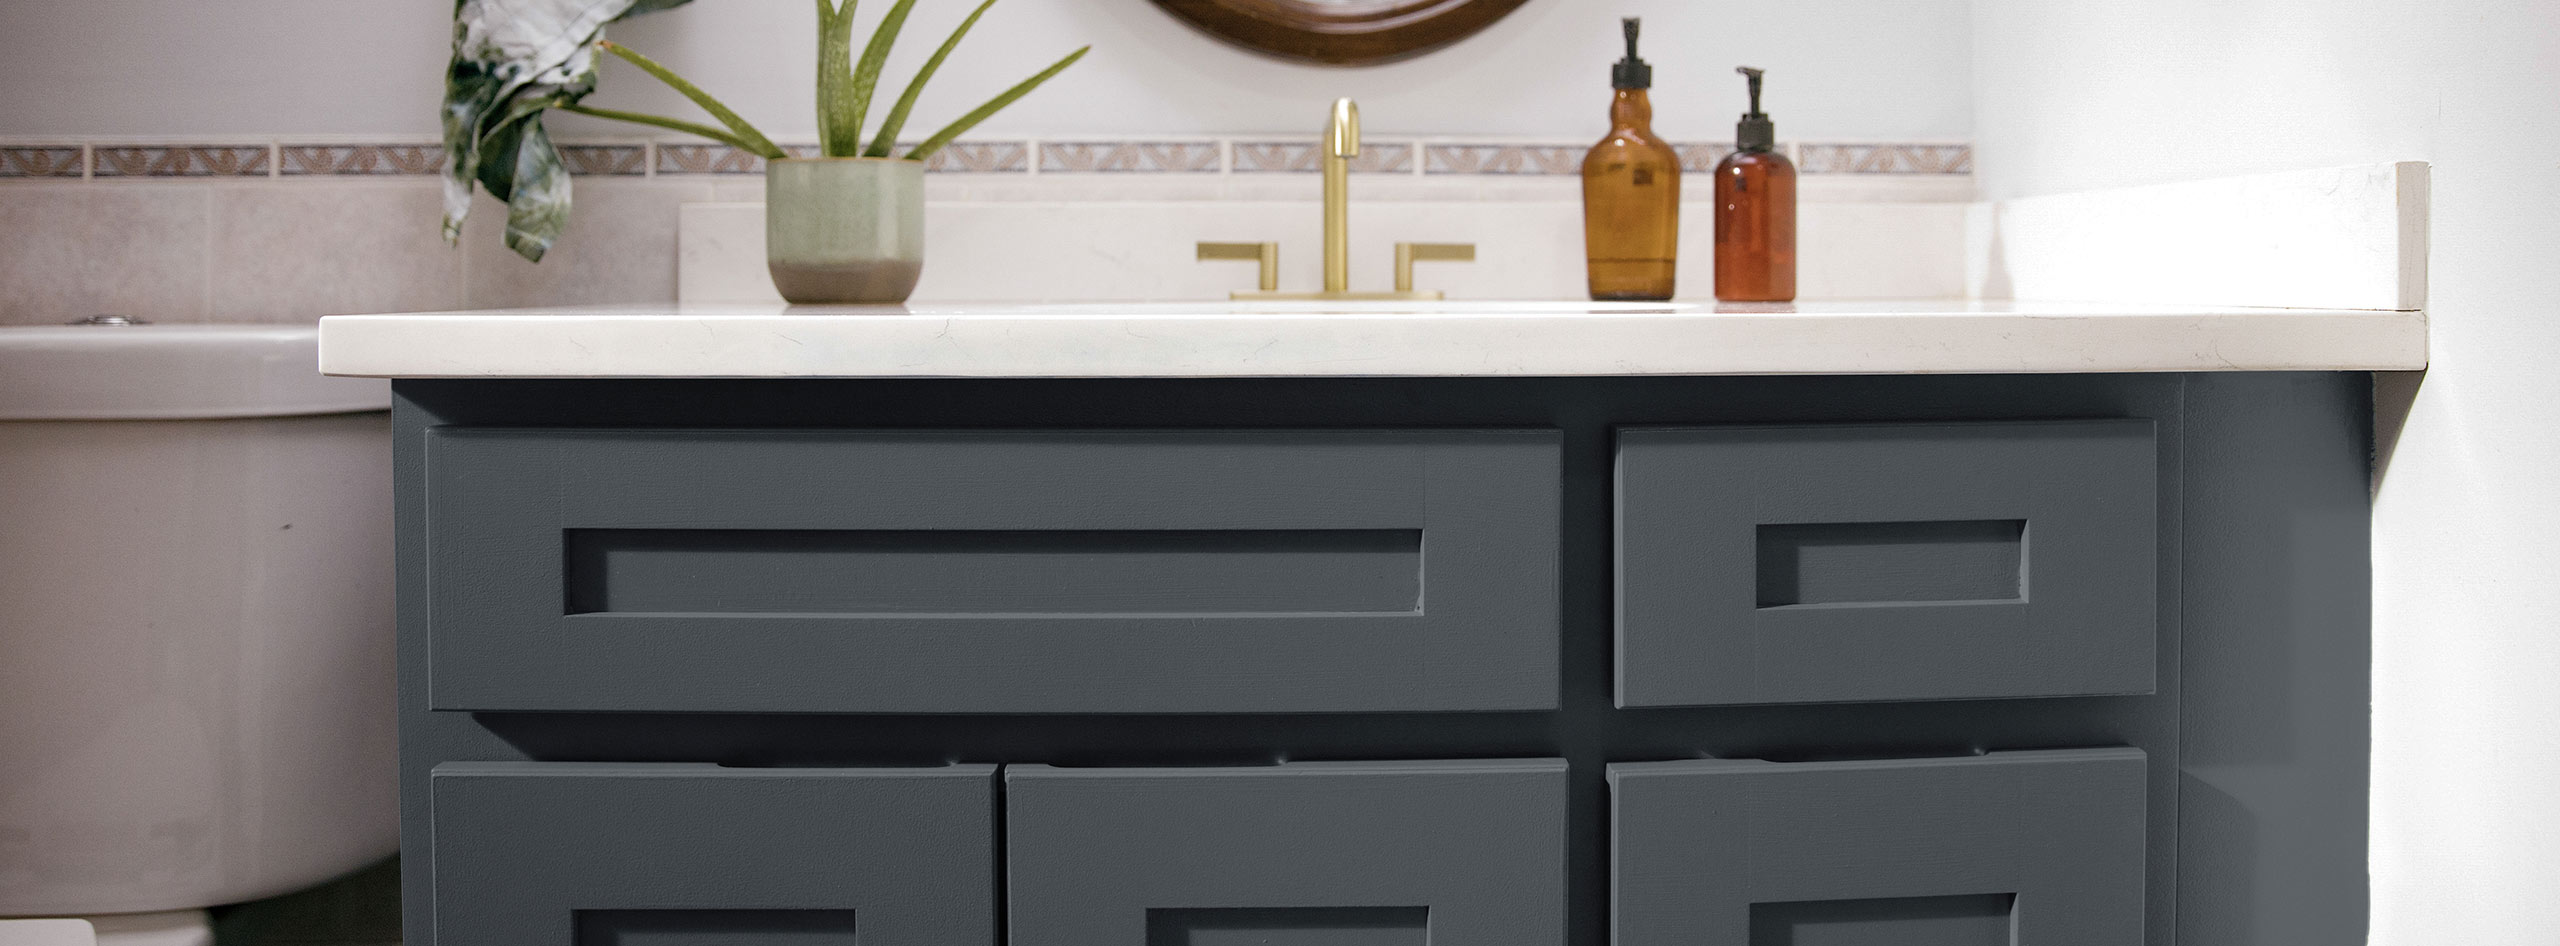
Pick the Right Material
 When it comes to bathroom vanities, the material plays a significant role in both aesthetics and durability. The most common materials used for vanities are wood, laminate, and MDF. Each has its own pros and cons, so it's essential to do your research and choose a material that fits your budget and design preferences.
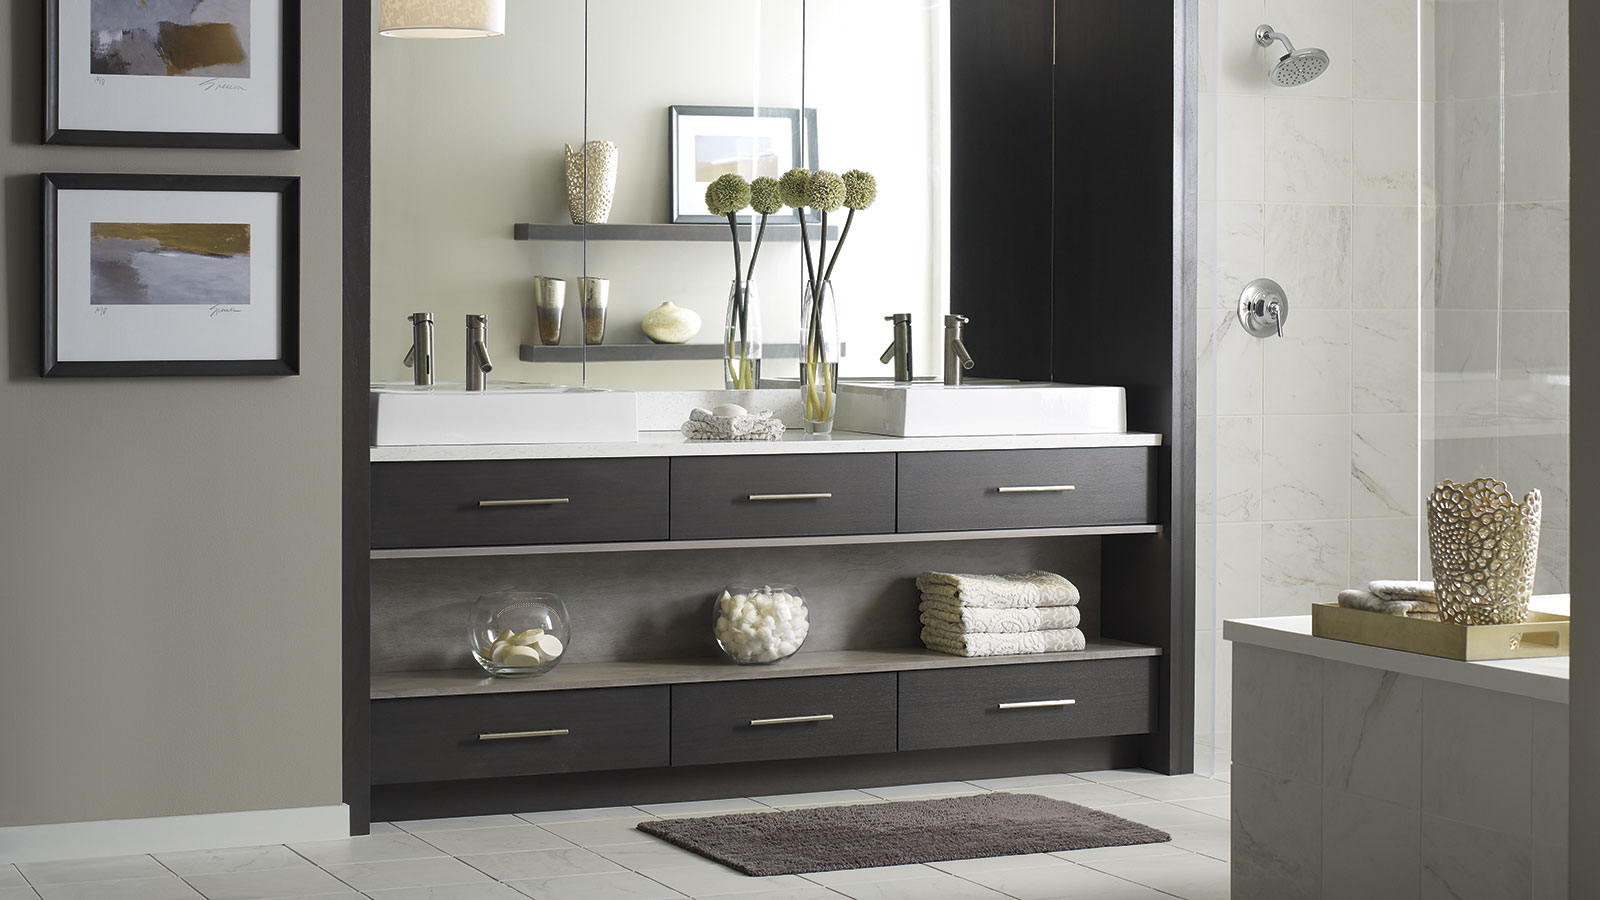
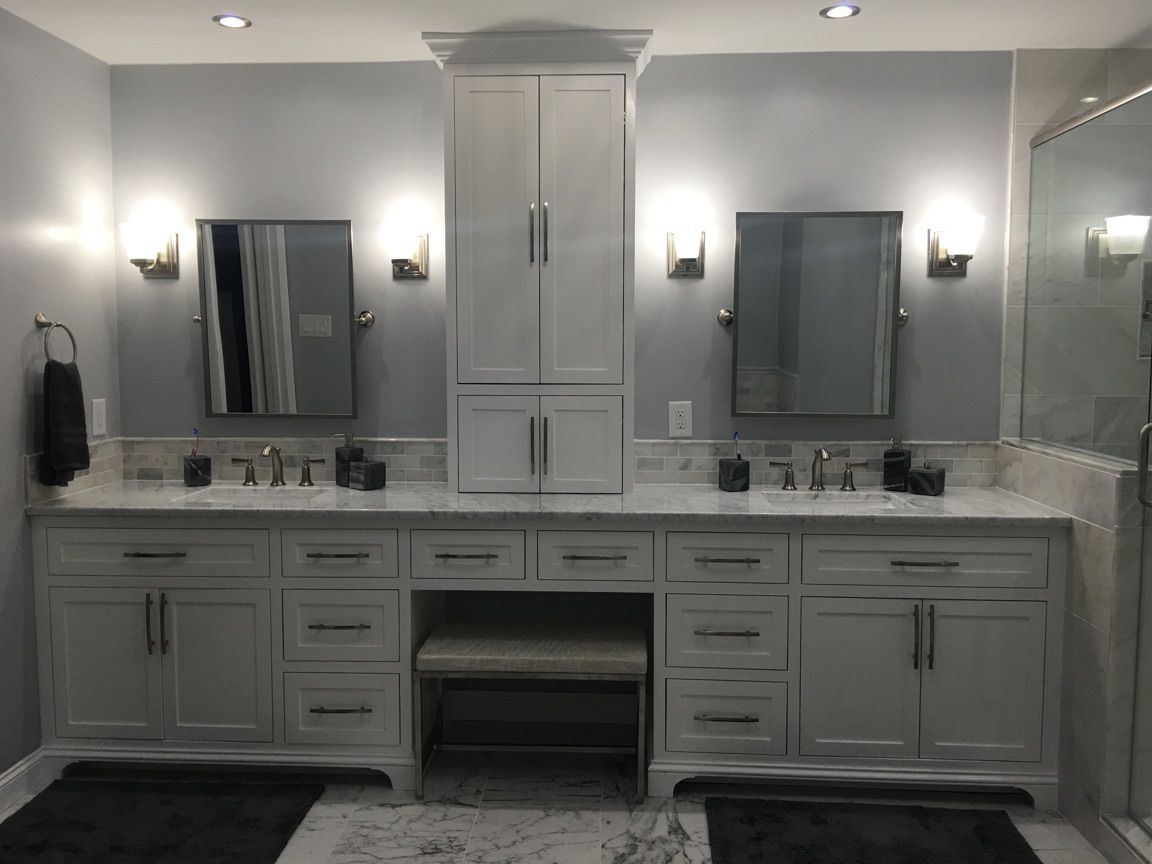
Don't Forget About Storage
 Aside from the design and material, it's crucial to consider the storage options of your chosen vanity. Do you need drawers, shelves, or a combination of both? Think about your daily routine and what items you need to store in your bathroom. This will help you determine the right amount and type of storage for your vanity.
Final Touches
 Once you've chosen the perfect bathroom vanity, it's time to add some final touches to complete the look. Consider adding a countertop, sink, and faucet that complement the design of your vanity. You can also add some decorative elements such as a backsplash or mirror to elevate the overall aesthetic.
In conclusion, choosing the right bathroom vanity is a crucial element in house design. By considering factors such as size, style, material, storage, and final touches, you can find the perfect vanity that not only meets your functional needs but also adds to the overall aesthetic of your bathroom. So take your time, do your research, and choose a vanity that you'll love for years to come.
Once you've chosen the perfect bathroom vanity, it's time to add some final touches to complete the look. Consider adding a countertop, sink, and faucet that complement the design of your vanity. You can also add some decorative elements such as a backsplash or mirror to elevate the overall aesthetic.
In conclusion, choosing the right bathroom vanity is a crucial element in house design. By considering factors such as size, style, material, storage, and final touches, you can find the perfect vanity that not only meets your functional needs but also adds to the overall aesthetic of your bathroom. So take your time, do your research, and choose a vanity that you'll love for years to come.