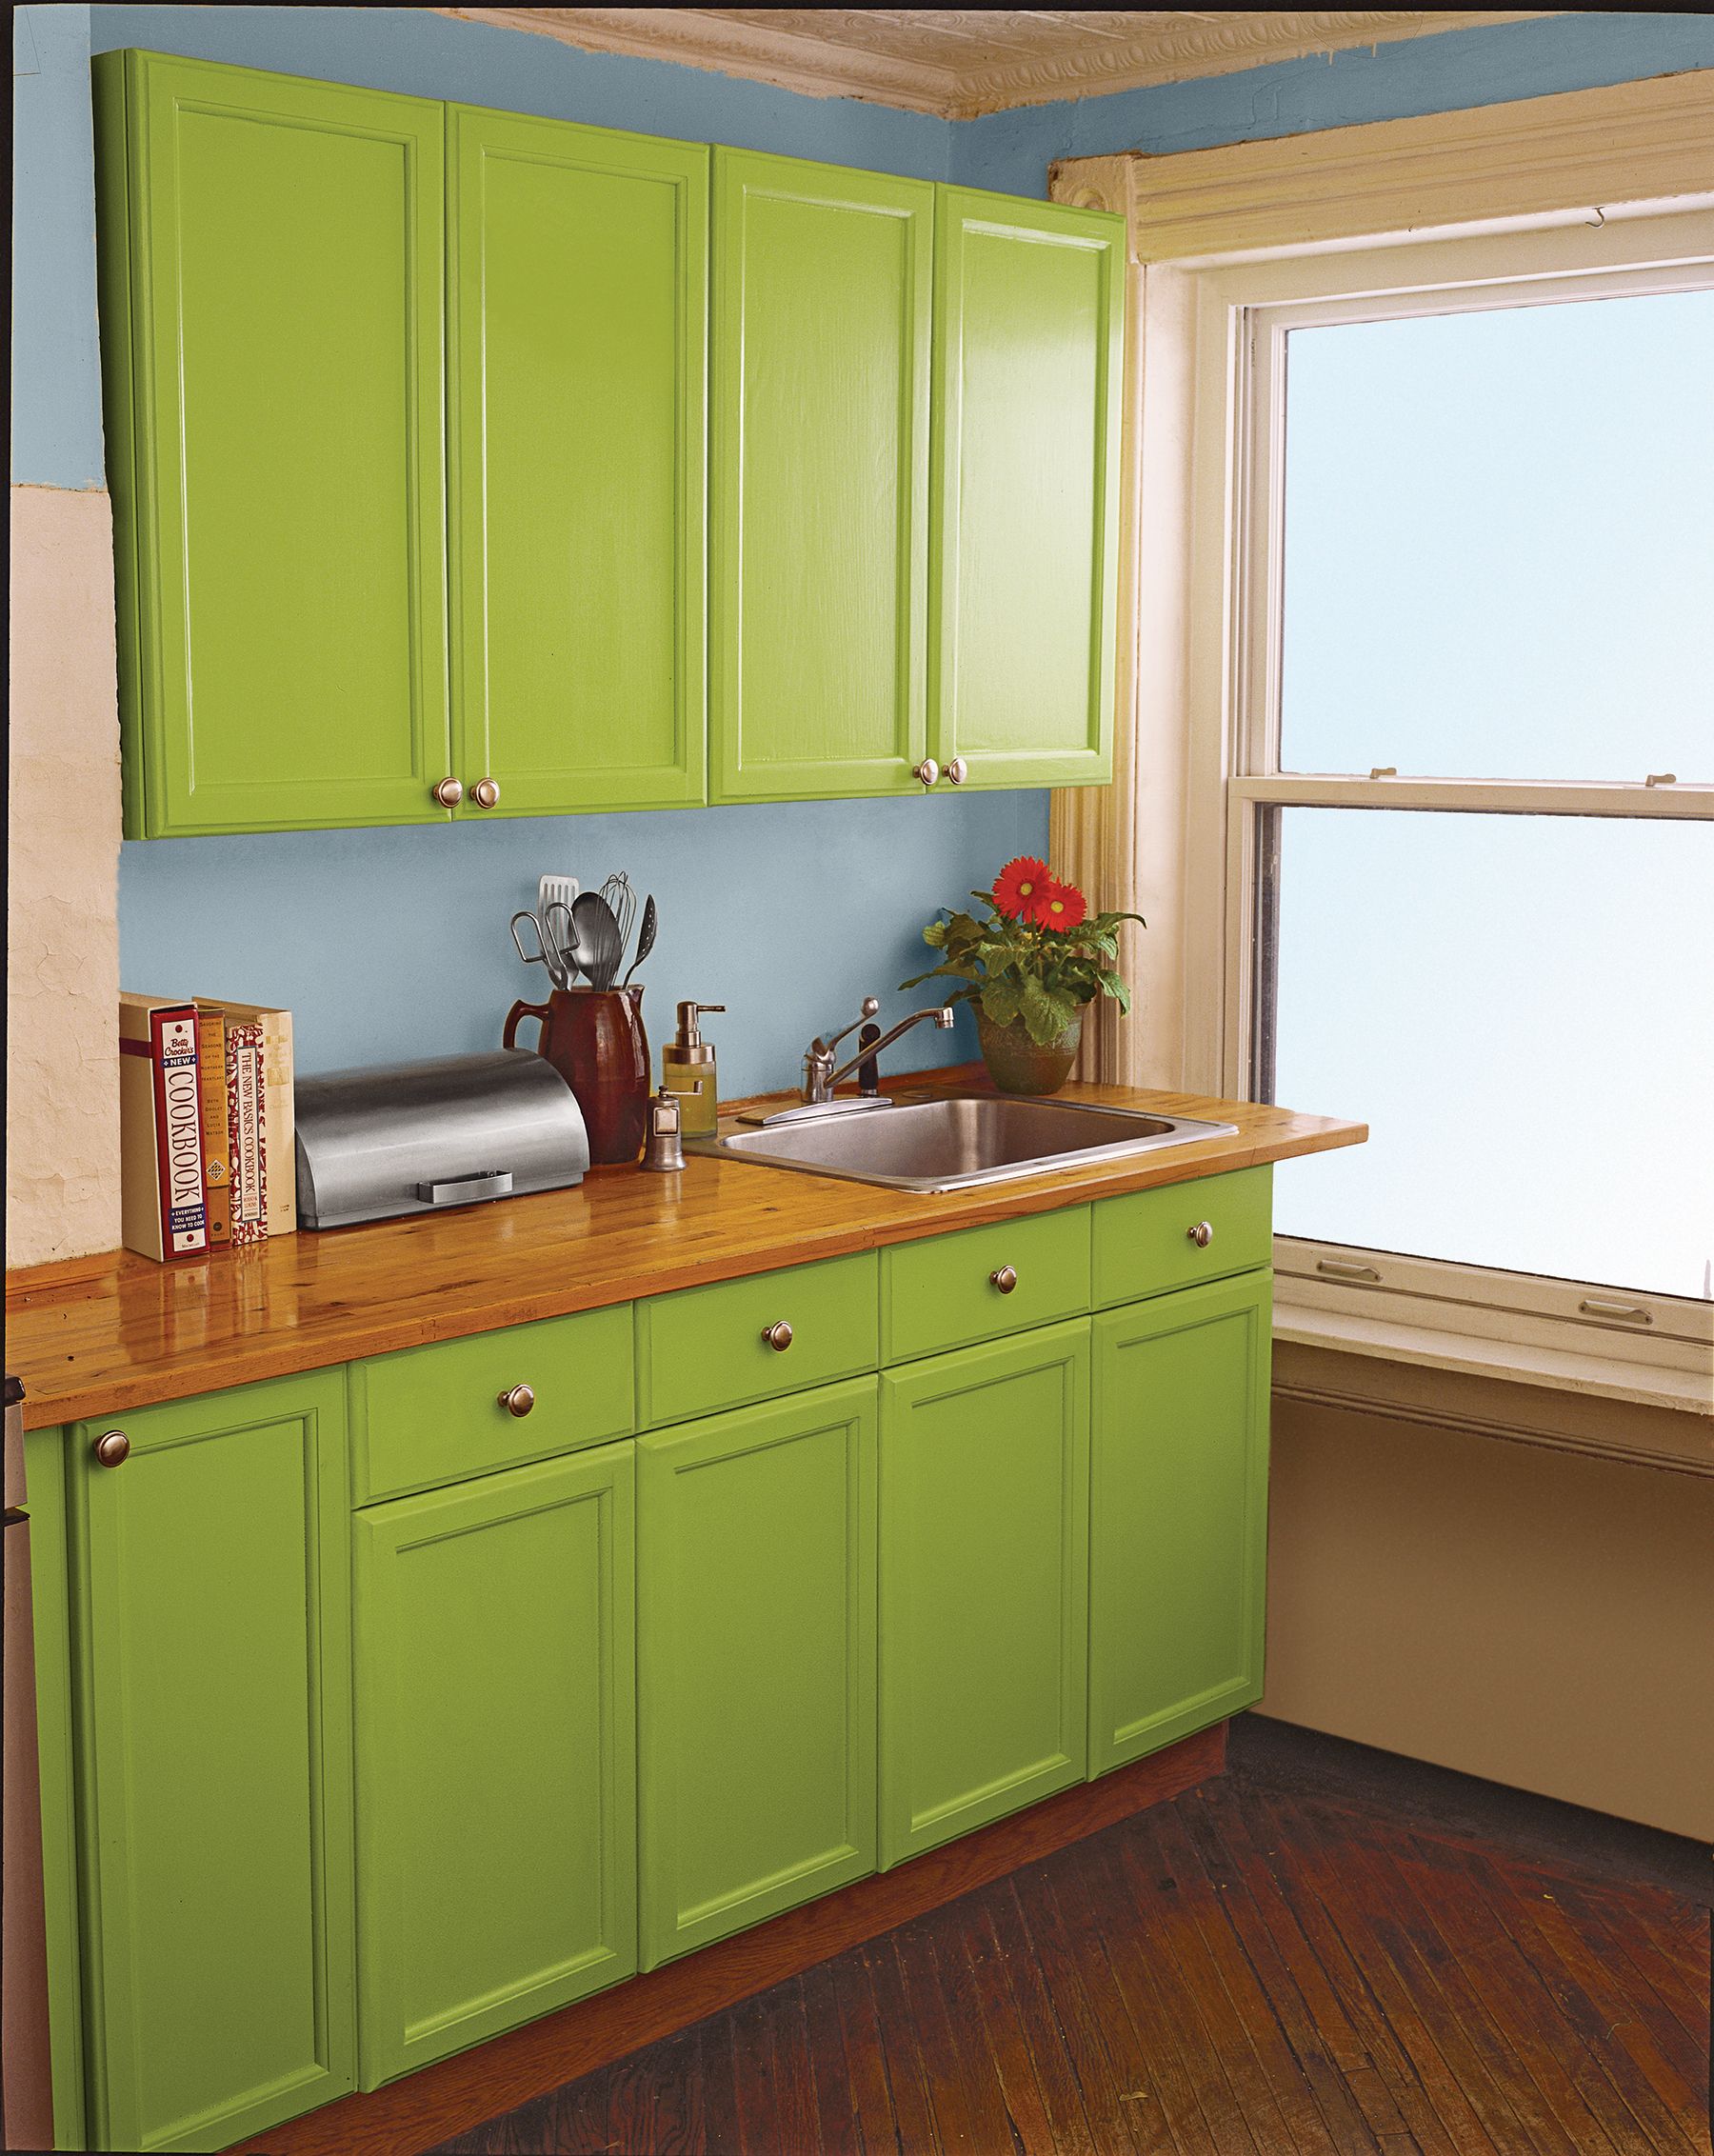
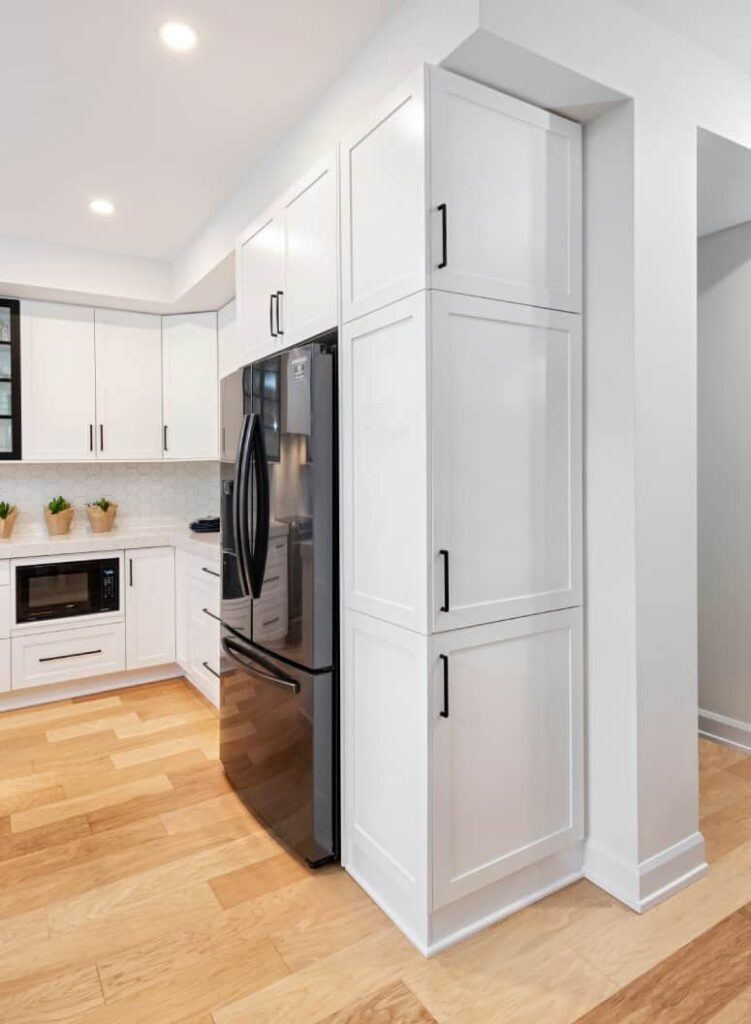
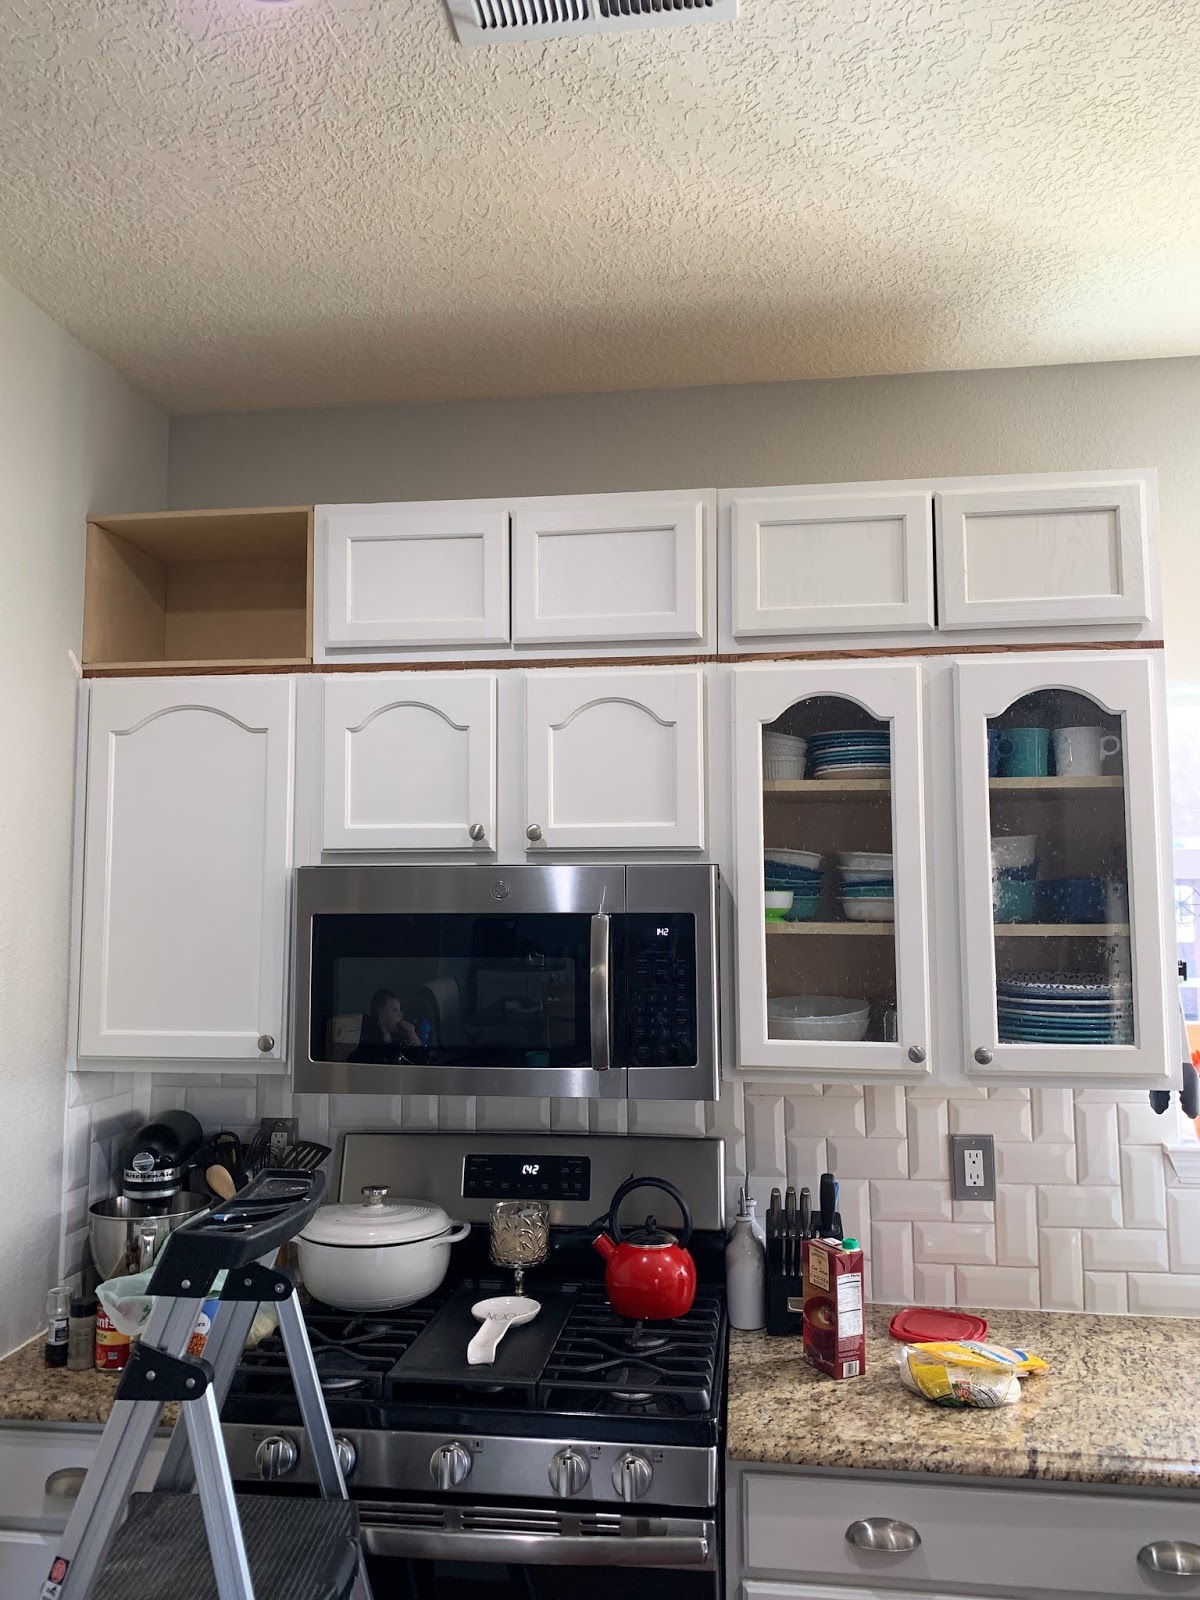
Trimming kitchen cabinets already on the wall may seem like a daunting task, but with the right tools and technique, it can be a simple and rewarding DIY project. Not only does adding trim to your cabinets give them a more polished and professional look, but it can also hide any imperfections or gaps between the cabinets and the wall. Here's a step-by-step guide on how to trim kitchen cabinets already on the wall.1. How to Trim Kitchen Cabinets Already on the Wall


1. How to Trim Kitchen Cabinets Already on the Wall


Before you begin trimming your kitchen cabinets, it's important to properly prepare and plan. First, make sure your cabinets are level and securely attached to the wall. If there are any gaps between the cabinets and the wall, use caulk to fill them in. It's also a good idea to remove any hardware or knobs from the cabinets before beginning the trimming process. This will make it easier to work with and ensure a cleaner finish.2. Tips for Trimming Kitchen Cabinets on the Wall


2. Tips for Trimming Kitchen Cabinets on the Wall


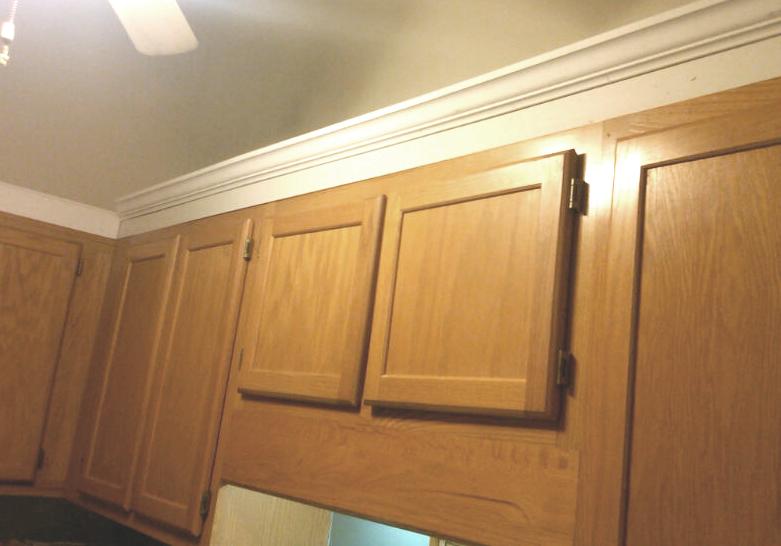

Now that you're ready to begin, follow these simple steps to trim your kitchen cabinets on the wall. Start by measuring the length of the cabinet that needs to be trimmed. Then, using a miter saw, cut the trim to the appropriate length. Next, hold the trim in place on the cabinet and use a level to ensure it is straight. Once you have the trim in the desired position, use a nail gun to secure it to the cabinet. Repeat this process for each cabinet that needs to be trimmed.3. DIY Guide for Trimming Kitchen Cabinets on the Wall


3. DIY Guide for Trimming Kitchen Cabinets on the Wall
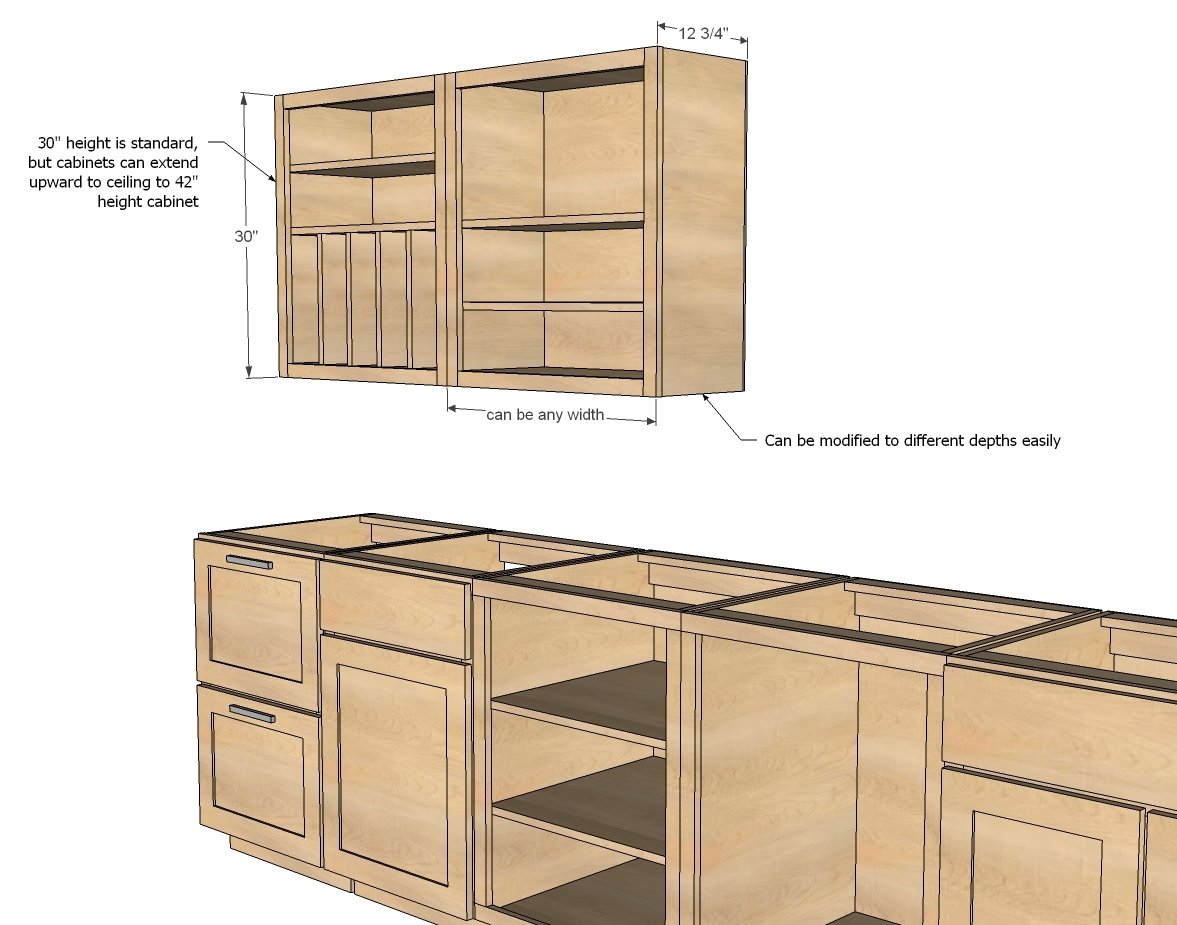


The key to successfully trimming kitchen cabinets on the wall is having the right tools. Some essential tools for this project include a miter saw, a level, a nail gun, and a measuring tape. It's also helpful to have a caulking gun and a putty knife for any touch-ups or repairs. Investing in quality tools will not only make the job easier, but it will also ensure a professional-looking finish.4. Best Tools for Trimming Kitchen Cabinets on the Wall

4. Best Tools for Trimming Kitchen Cabinets on the Wall


While trimming kitchen cabinets on the wall is a relatively simple project, there are a few common mistakes that can be easily avoided. One of the most common mistakes is not measuring accurately, which can result in uneven or poorly fitting trim. Another mistake is not using a level to ensure the trim is straight, which can lead to a crooked and unprofessional look. To avoid these mistakes, take your time and double-check your measurements and alignment before securing the trim in place.5. Common Mistakes When Trimming Kitchen Cabinets on the Wall

5. Common Mistakes When Trimming Kitchen Cabinets on the Wall


:max_bytes(150000):strip_icc()/guide-to-common-kitchen-cabinet-sizes-1822029_3_final-5c8961c546e0fb00012c67e0.png)
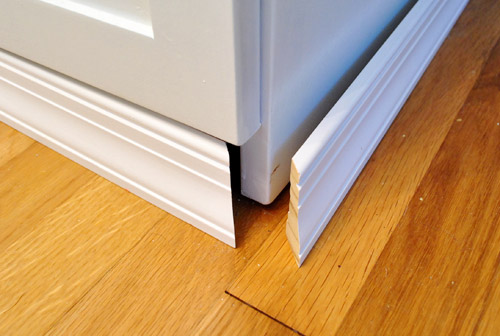
The key to achieving a polished and professional finish when trimming kitchen cabinets is precise measuring and cutting. When measuring for trim, it's important to take into account any gaps or unevenness in the cabinets or walls so that your trim will fit snugly. When cutting the trim, use a miter saw to ensure clean and precise cuts. It's always better to cut the trim slightly longer than needed and then trim it down as necessary, rather than cutting it too short.6. How to Measure and Cut Trim for Kitchen Cabinets on the Wall


6. How to Measure and Cut Trim for Kitchen Cabinets on the Wall


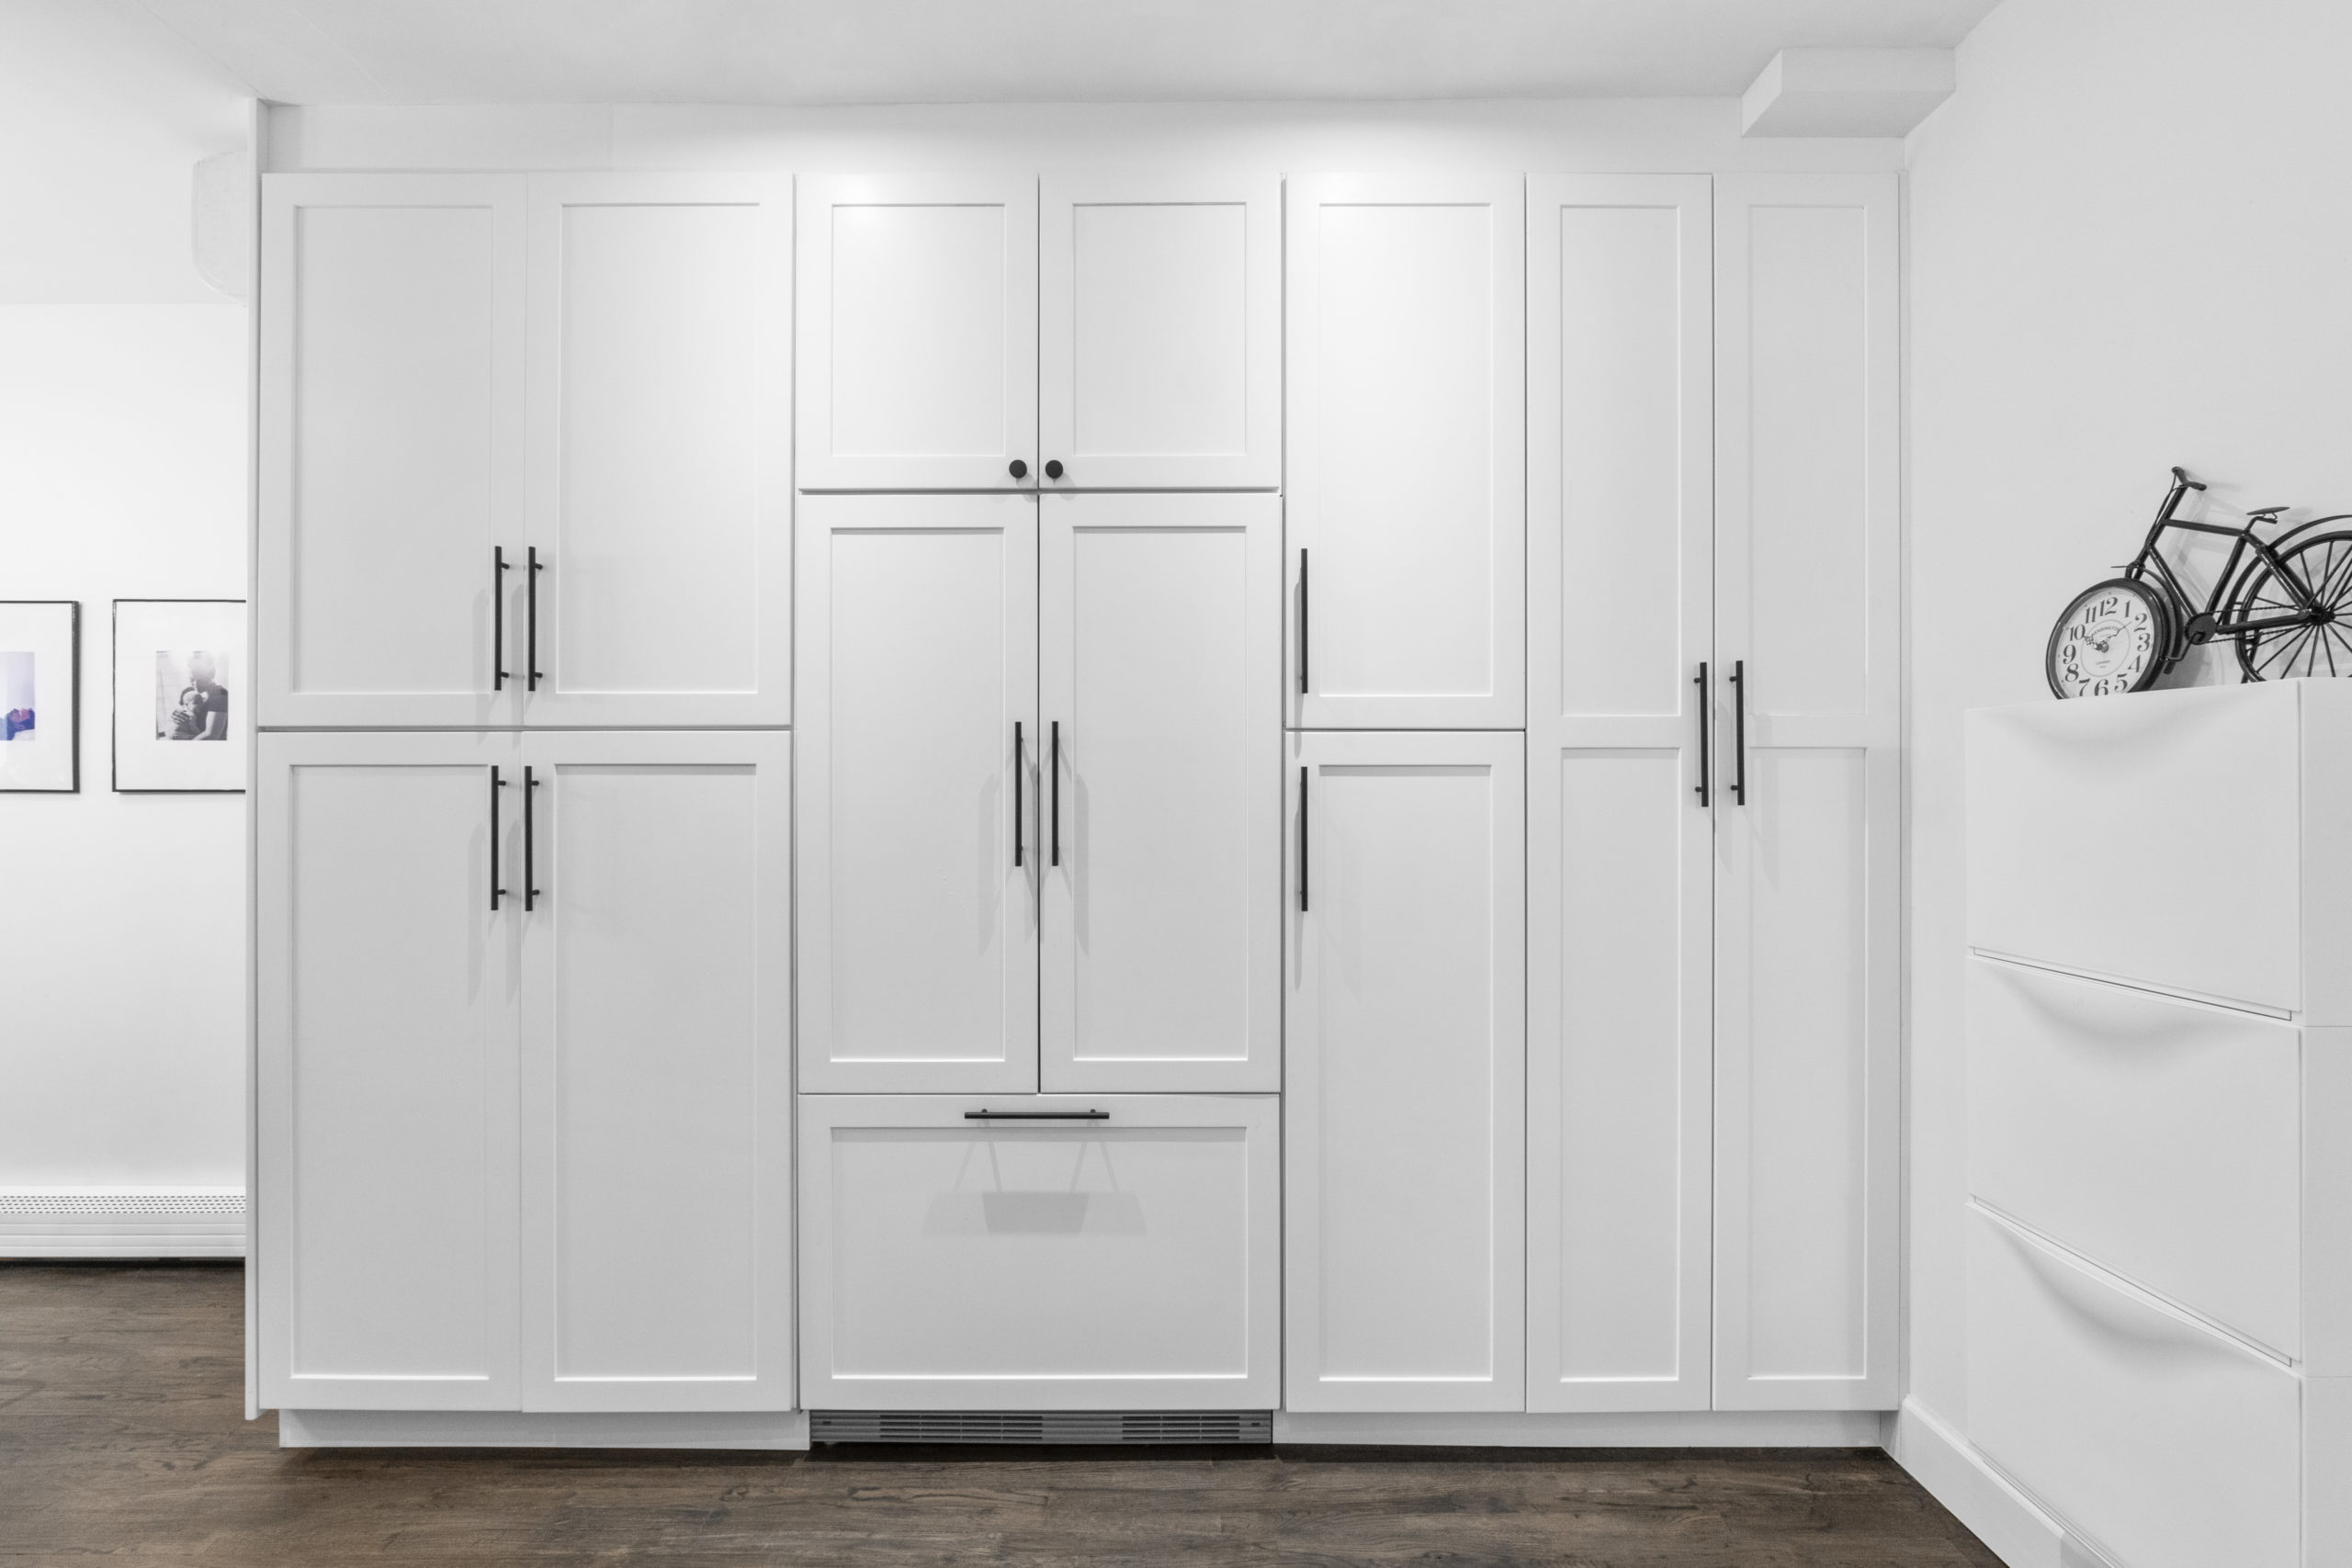
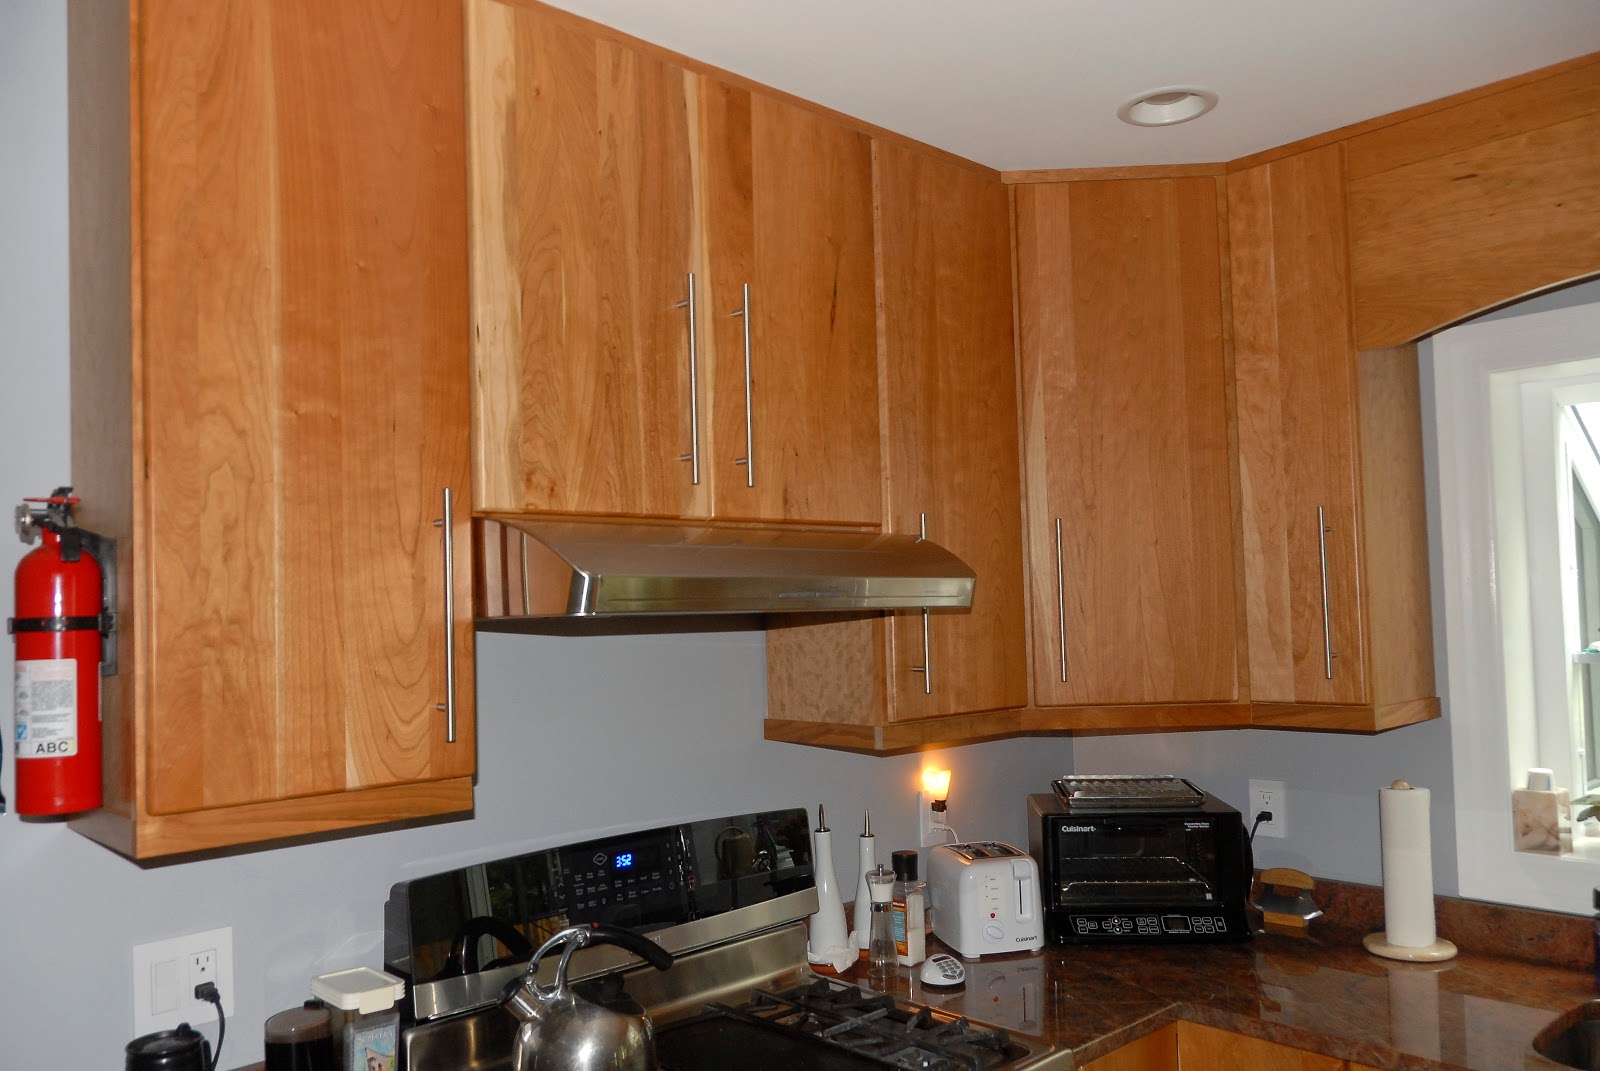
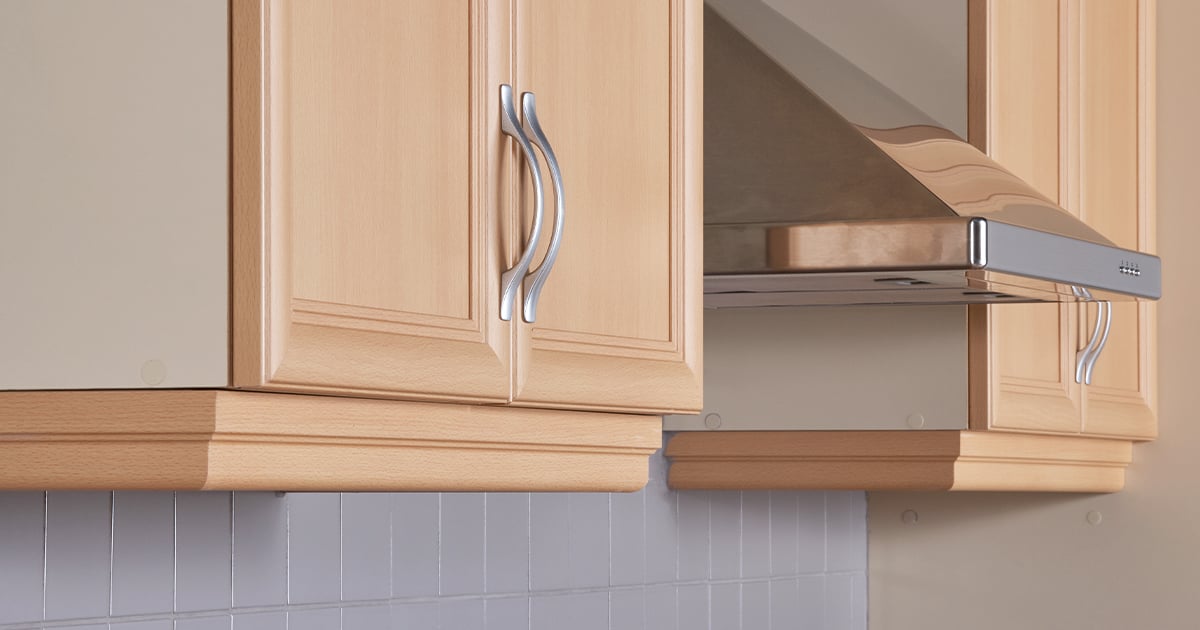
While the most common type of trim used for kitchen cabinets is a simple, straight piece of wood, there are many creative ways to add trim to your cabinets for a unique and personalized look. For example, you can use decorative trim pieces, such as crown molding or beaded trim, to add a touch of elegance to your cabinets. You can also experiment with different paint colors or finishes to make the trim stand out or blend in with the cabinet color.7. Creative Ideas for Trimming Kitchen Cabinets on the Wall


7. Creative Ideas for Trimming Kitchen Cabinets on the Wall


If you want to paint your trim to match your cabinets or add a pop of color, it's important to do so before installing it on the cabinets. This will make it easier to paint and ensure a smoother finish. Use a primer before painting to ensure the paint adheres properly and use a high-quality paint for a long-lasting finish. It's also a good idea to paint the trim before cutting it to size, as this will make it easier to paint all sides of the trim.8. How to Paint Trim on Kitchen Cabinets Already on the Wall


8. How to Paint Trim on Kitchen Cabinets Already on the Wall


Here's a step-by-step guide for trimming kitchen cabinets already on the wall: Step 1: Measure the length of the cabinet that needs to be trimmed. Step 2: Cut the trim to the appropriate length using a miter saw. Step 3: Hold the trim in place on the cabinet and use a level to ensure it is straight. Step 4: Use a nail gun to secure the trim to the cabinet. Step 5: Repeat this process for each cabinet that needs to be trimmed.9. Step-by-Step Guide for Trimming Kitchen Cabinets on the Wall

9. Step-by-Step Guide for Trimming Kitchen Cabinets on the Wall


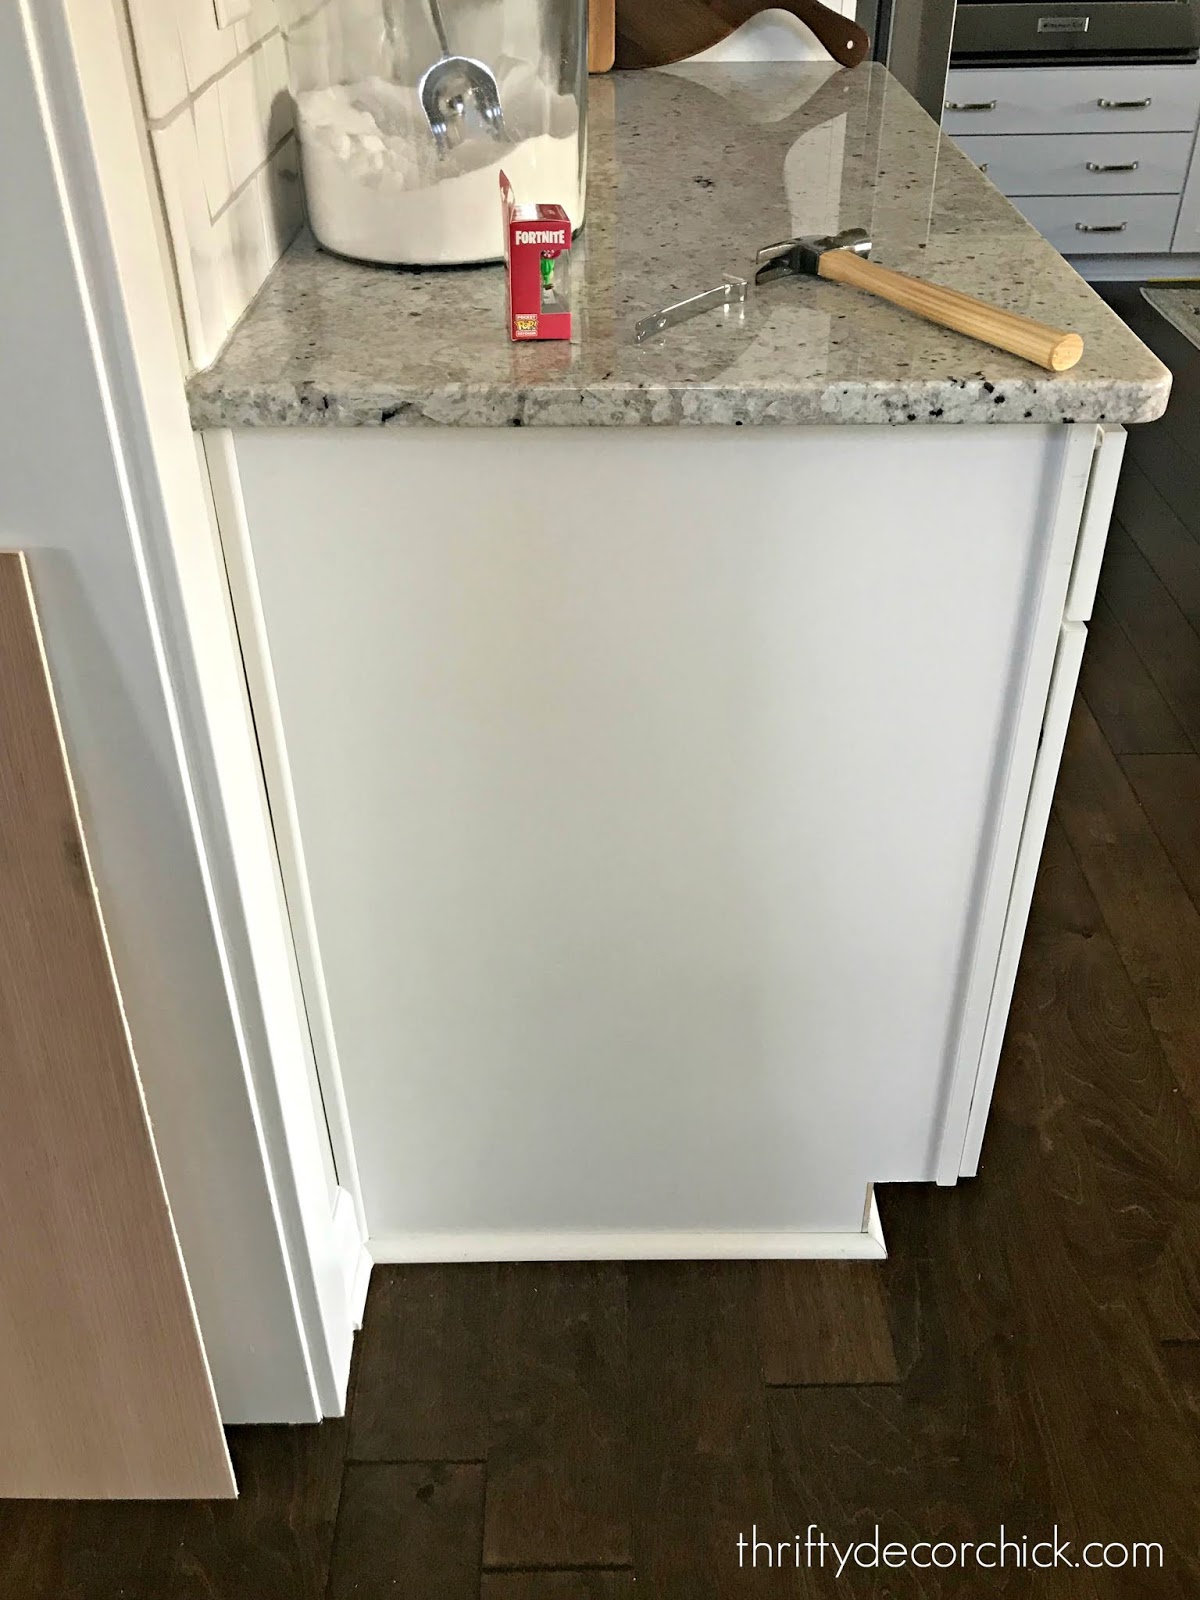
Once you have trimmed all of your kitchen cabinets, the final step is to install the trim. This can be done using a nail gun or adhesive, depending on the type of trim and your personal preference. Make sure the trim is securely attached and use a putty knife and caulk to fill in any gaps or imperfections. Once the trim is installed, you can add any hardware or knobs back onto the cabinets for a complete and polished look.10. How to Install Trim on Kitchen Cabinets Already on the Wall

10. How to Install Trim on Kitchen Cabinets Already on the Wall


Revamp Your Kitchen with Trimmed Cabinets Already on the Wall

Transform Your Kitchen into a Stylish and Functional Space

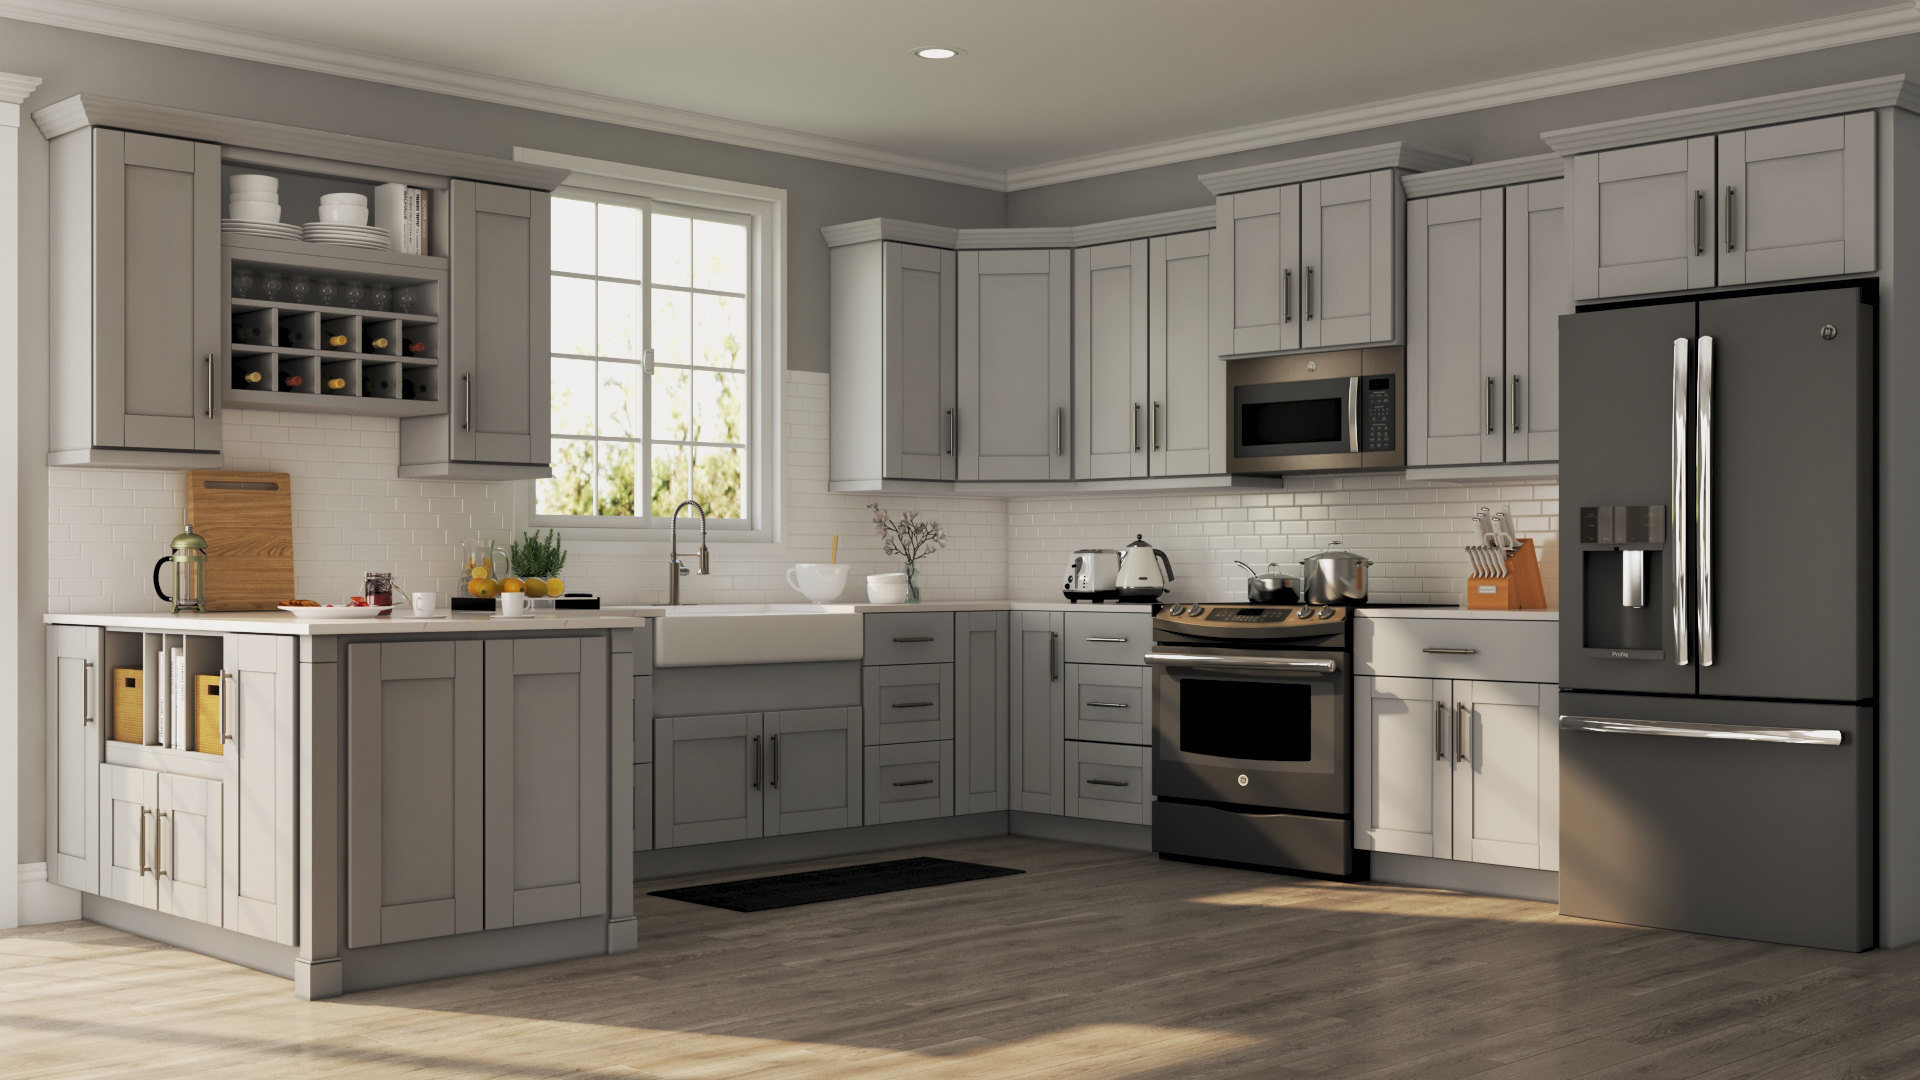
When it comes to kitchen design, cabinets play a vital role in both functionality and aesthetics. Not only do they provide ample storage space, but they also add character and style to your kitchen. If you're looking to spruce up your kitchen, one way to do it is by trimming your existing cabinets that are already on the wall. This simple yet effective method can elevate the look of your kitchen and give it a fresh new feel. In this article, we'll explore the benefits of trimming kitchen cabinets and how you can achieve this on your own.
Why Trim Your Kitchen Cabinets?

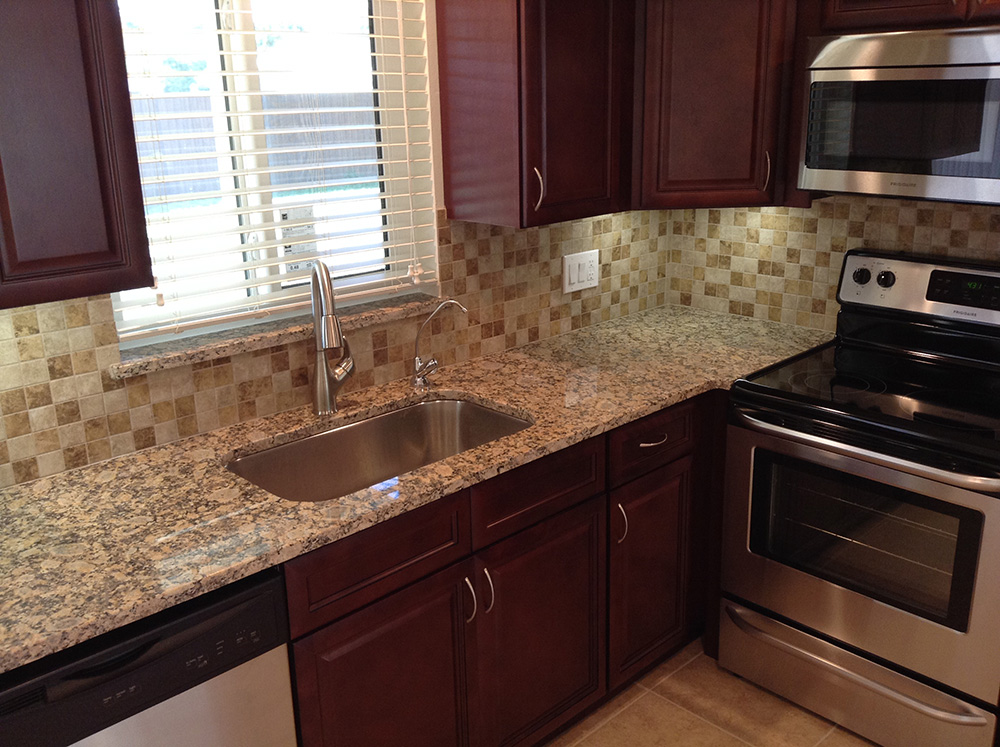
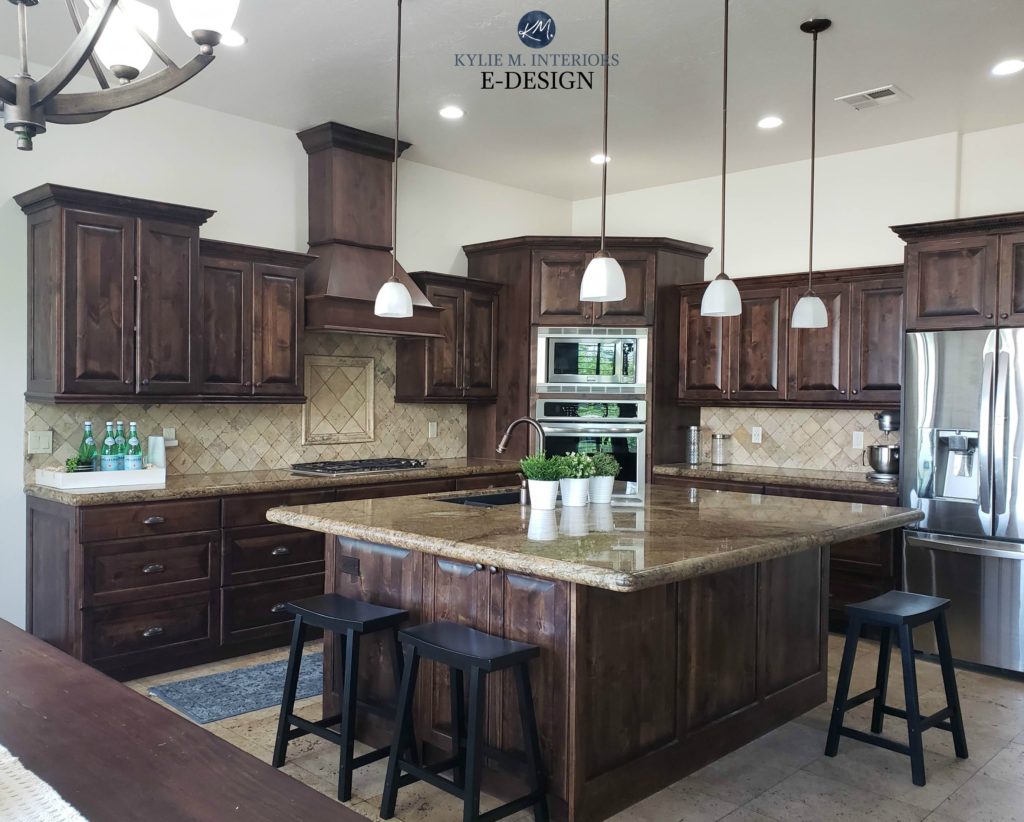
Trimming your kitchen cabinets is a cost-effective way to give your kitchen a makeover without breaking the bank. It involves adding decorative molding, trim, or wood panels to your existing cabinets to create a more polished and refined look. This method can also help cover up any imperfections or wear and tear on your cabinets, making them look brand new. With a wide variety of trim options available, you can choose one that suits your style and complements your kitchen design.
How to Trim Kitchen Cabinets Already on the Wall
Before you start trimming your kitchen cabinets, it's essential to plan and measure carefully. Make sure to accurately measure your cabinets, including the length, width, and height, to ensure you have enough materials. Next, choose the type of trim you want to use. This can include crown molding, base molding, or decorative panels. Once you have your materials, follow these steps:
1. Remove Cabinet Doors and Hardware: Begin by removing the cabinet doors and hardware, including hinges and handles. This will make it easier to work on the cabinets and ensure a clean and polished finish. 2. Measure and Cut the Trim: Measure and cut the trim to fit the length and width of your cabinets. You can use a miter saw to create clean and precise cuts. 3. Sand and Paint the Trim: Before attaching the trim to your cabinets, sand down any rough edges and paint or stain the trim to match your existing cabinets. 4. Attach the Trim: Using a nail gun or wood glue, attach the trim to the edges of your cabinets. Make sure to secure it tightly and evenly for a seamless finish. 5. Reattach Doors and Hardware: Once the trim is attached and dried, reattach the cabinet doors and hardware.Final Thoughts

Trimming your kitchen cabinets already on the wall is a simple and effective way to revamp your kitchen and give it a new look. With the right materials and tools, this project can be completed in a weekend and add instant style and value to your home. So why wait? Transform your kitchen into a stylish and functional space by trimming your cabinets today!