1. How to Tile Around a Kitchen Sink with a Window
When it comes to tiling around a kitchen sink with a window, it's important to have the right tools and knowledge to ensure a professional-looking finish. The process may seem daunting at first, but with the right steps, you can achieve a beautiful and functional tiled backsplash for your kitchen. In this guide, we'll take you through the steps of tiling around a kitchen sink with a window, from preparation to finishing touches.


1. How to Tile Around a Kitchen Sink with a Window


2. Tiling Tips for a Kitchen Sink with a Window
Before you begin the tiling process, it's important to consider a few tips that can make your job easier and more successful. Firstly, make sure to choose the right type of tile for your project. Ceramic and porcelain tiles are popular choices for kitchen backsplashes, as they are durable and water-resistant. It's also important to properly measure and plan out your tiling layout before you begin, to avoid any mistakes or wasted materials.


2. Tiling Tips for a Kitchen Sink with a Window


3. Step-by-Step Guide for Tiling Around a Kitchen Sink with a Window
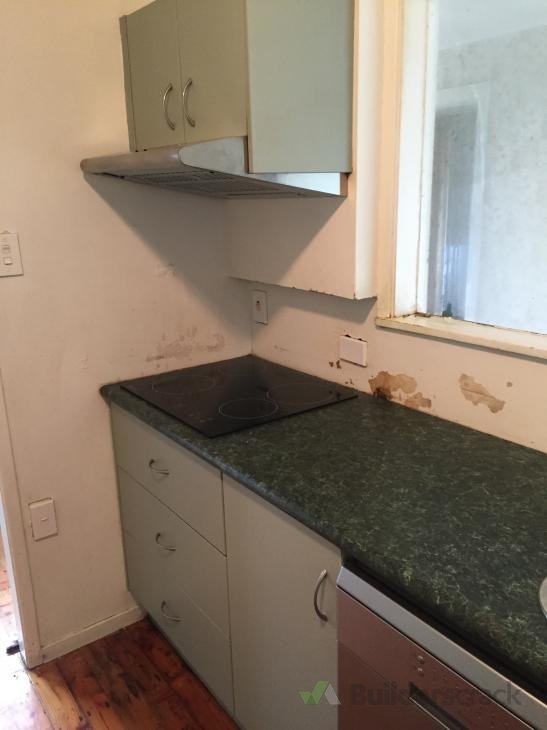
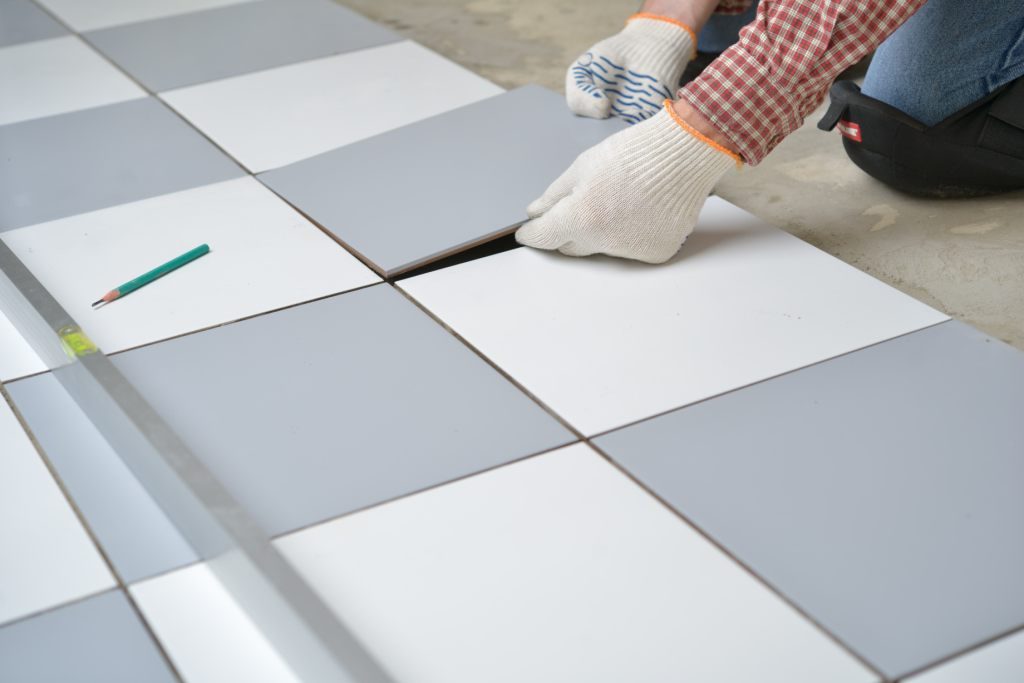
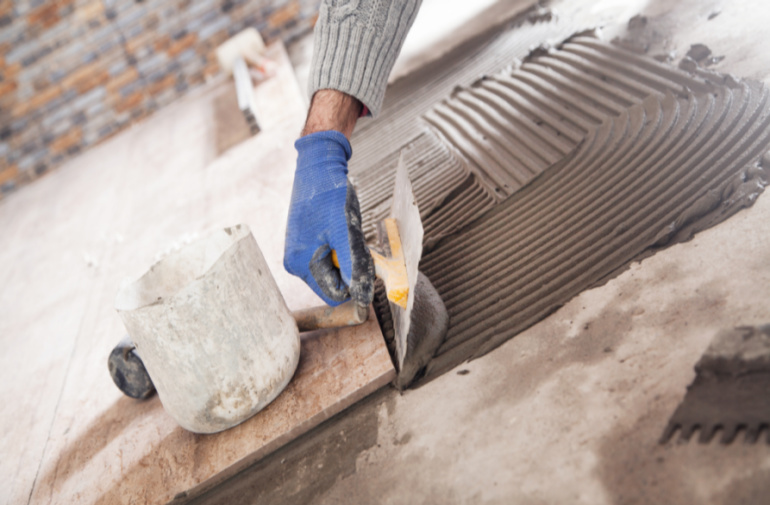
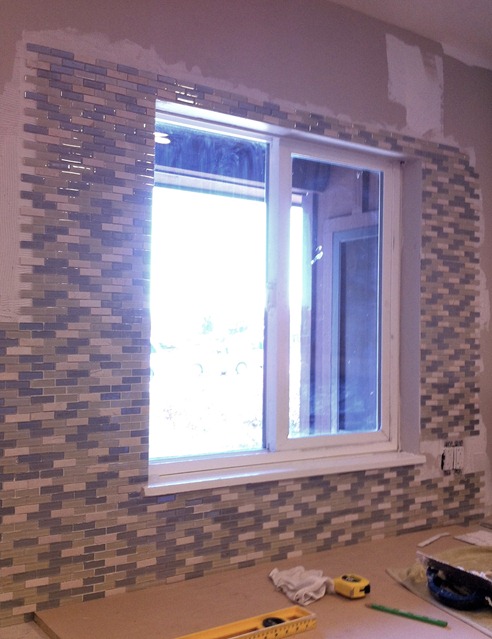
The first step to tiling around a kitchen sink with a window is to prepare the area. This includes cleaning the surface, removing any old tiles or adhesive, and making sure the wall is smooth and level. Next, you'll want to apply a layer of thin-set adhesive to the wall using a notched trowel. Start from the bottom and work your way up, making sure to leave space for the window frame. Then, carefully place each tile onto the adhesive, using tile spacers to ensure even spacing between tiles.

3. Step-by-Step Guide for Tiling Around a Kitchen Sink with a Window


4. Best Materials for Tiling Around a Kitchen Sink with a Window
Choosing the right materials for tiling around a kitchen sink with a window is crucial for a successful project. As mentioned, ceramic and porcelain tiles are popular choices for their durability and water-resistance. You'll also need a notched trowel, tile spacers, and a tile cutter or wet saw for cutting tiles to fit around the window frame. Additionally, you'll need grout and a grout float for filling in the gaps between tiles.


4. Best Materials for Tiling Around a Kitchen Sink with a Window

5. Common Mistakes to Avoid When Tiling Around a Kitchen Sink with a Window
Tiling around a kitchen sink with a window can be tricky, and there are some common mistakes that are important to avoid. These include not properly preparing the surface, not using enough adhesive, and not using tile spacers to ensure even spacing. It's also important to take your time and carefully measure and cut tiles to fit around the window frame, to avoid any awkward gaps or overlaps.


5. Common Mistakes to Avoid When Tiling Around a Kitchen Sink with a Window


6. How to Measure and Cut Tiles for a Kitchen Sink with a Window
Measuring and cutting tiles to fit around a kitchen sink with a window can seem intimidating, but with the right tools and techniques, it can be done easily. Firstly, measure the space around the window frame and transfer those measurements onto the tiles. Then, use a tile cutter or wet saw to carefully cut the tiles according to your measurements. It may be helpful to practice on some spare tiles before cutting the ones you'll be using for your project.


6. How to Measure and Cut Tiles for a Kitchen Sink with a Window


7. Creative Design Ideas for Tiling Around a Kitchen Sink with a Window
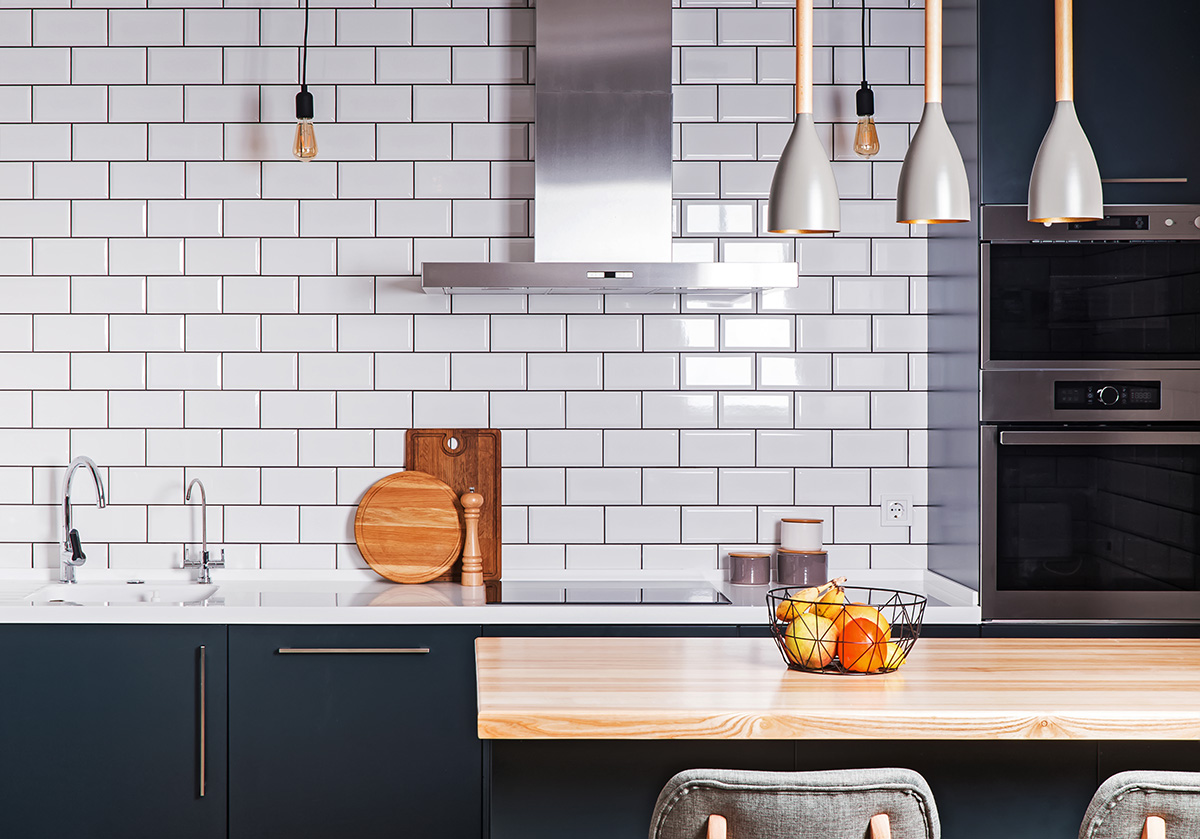
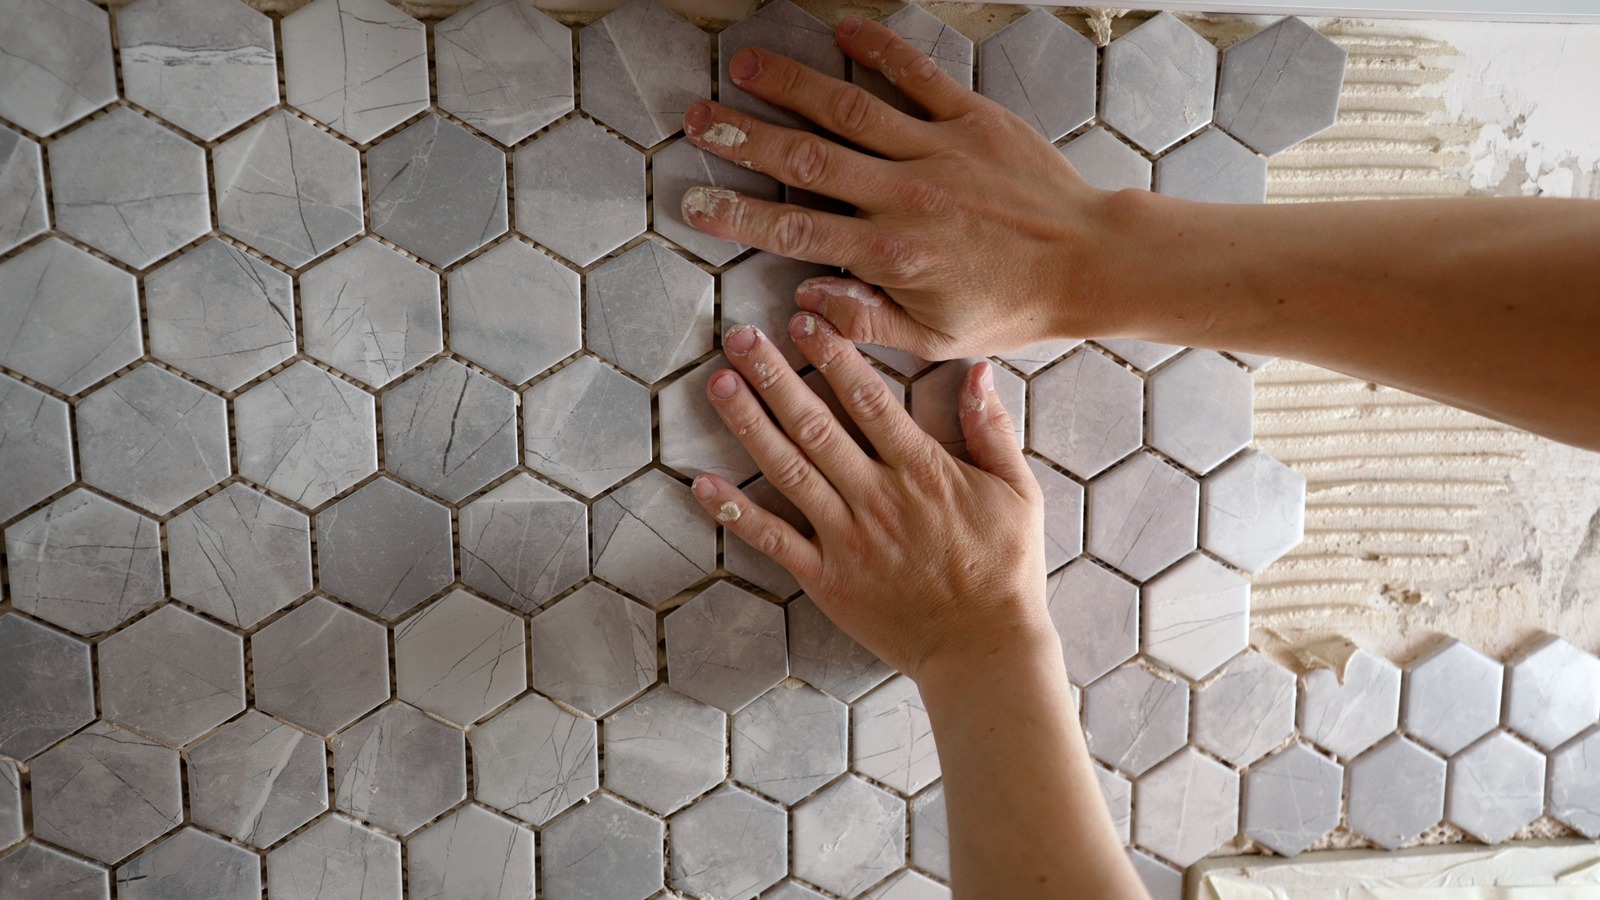
Tiling around a kitchen sink with a window doesn't have to be a simple and boring task. There are many creative design ideas you can incorporate into your project to make it stand out. Consider using different colored tiles for a unique and eye-catching backsplash, or adding a border or pattern using smaller tiles. You can also mix and match different shaped tiles, such as square and rectangular, for an interesting and modern look.


7. Creative Design Ideas for Tiling Around a Kitchen Sink with a Window

8. How to Seal and Finish Tiling Around a Kitchen Sink with a Window
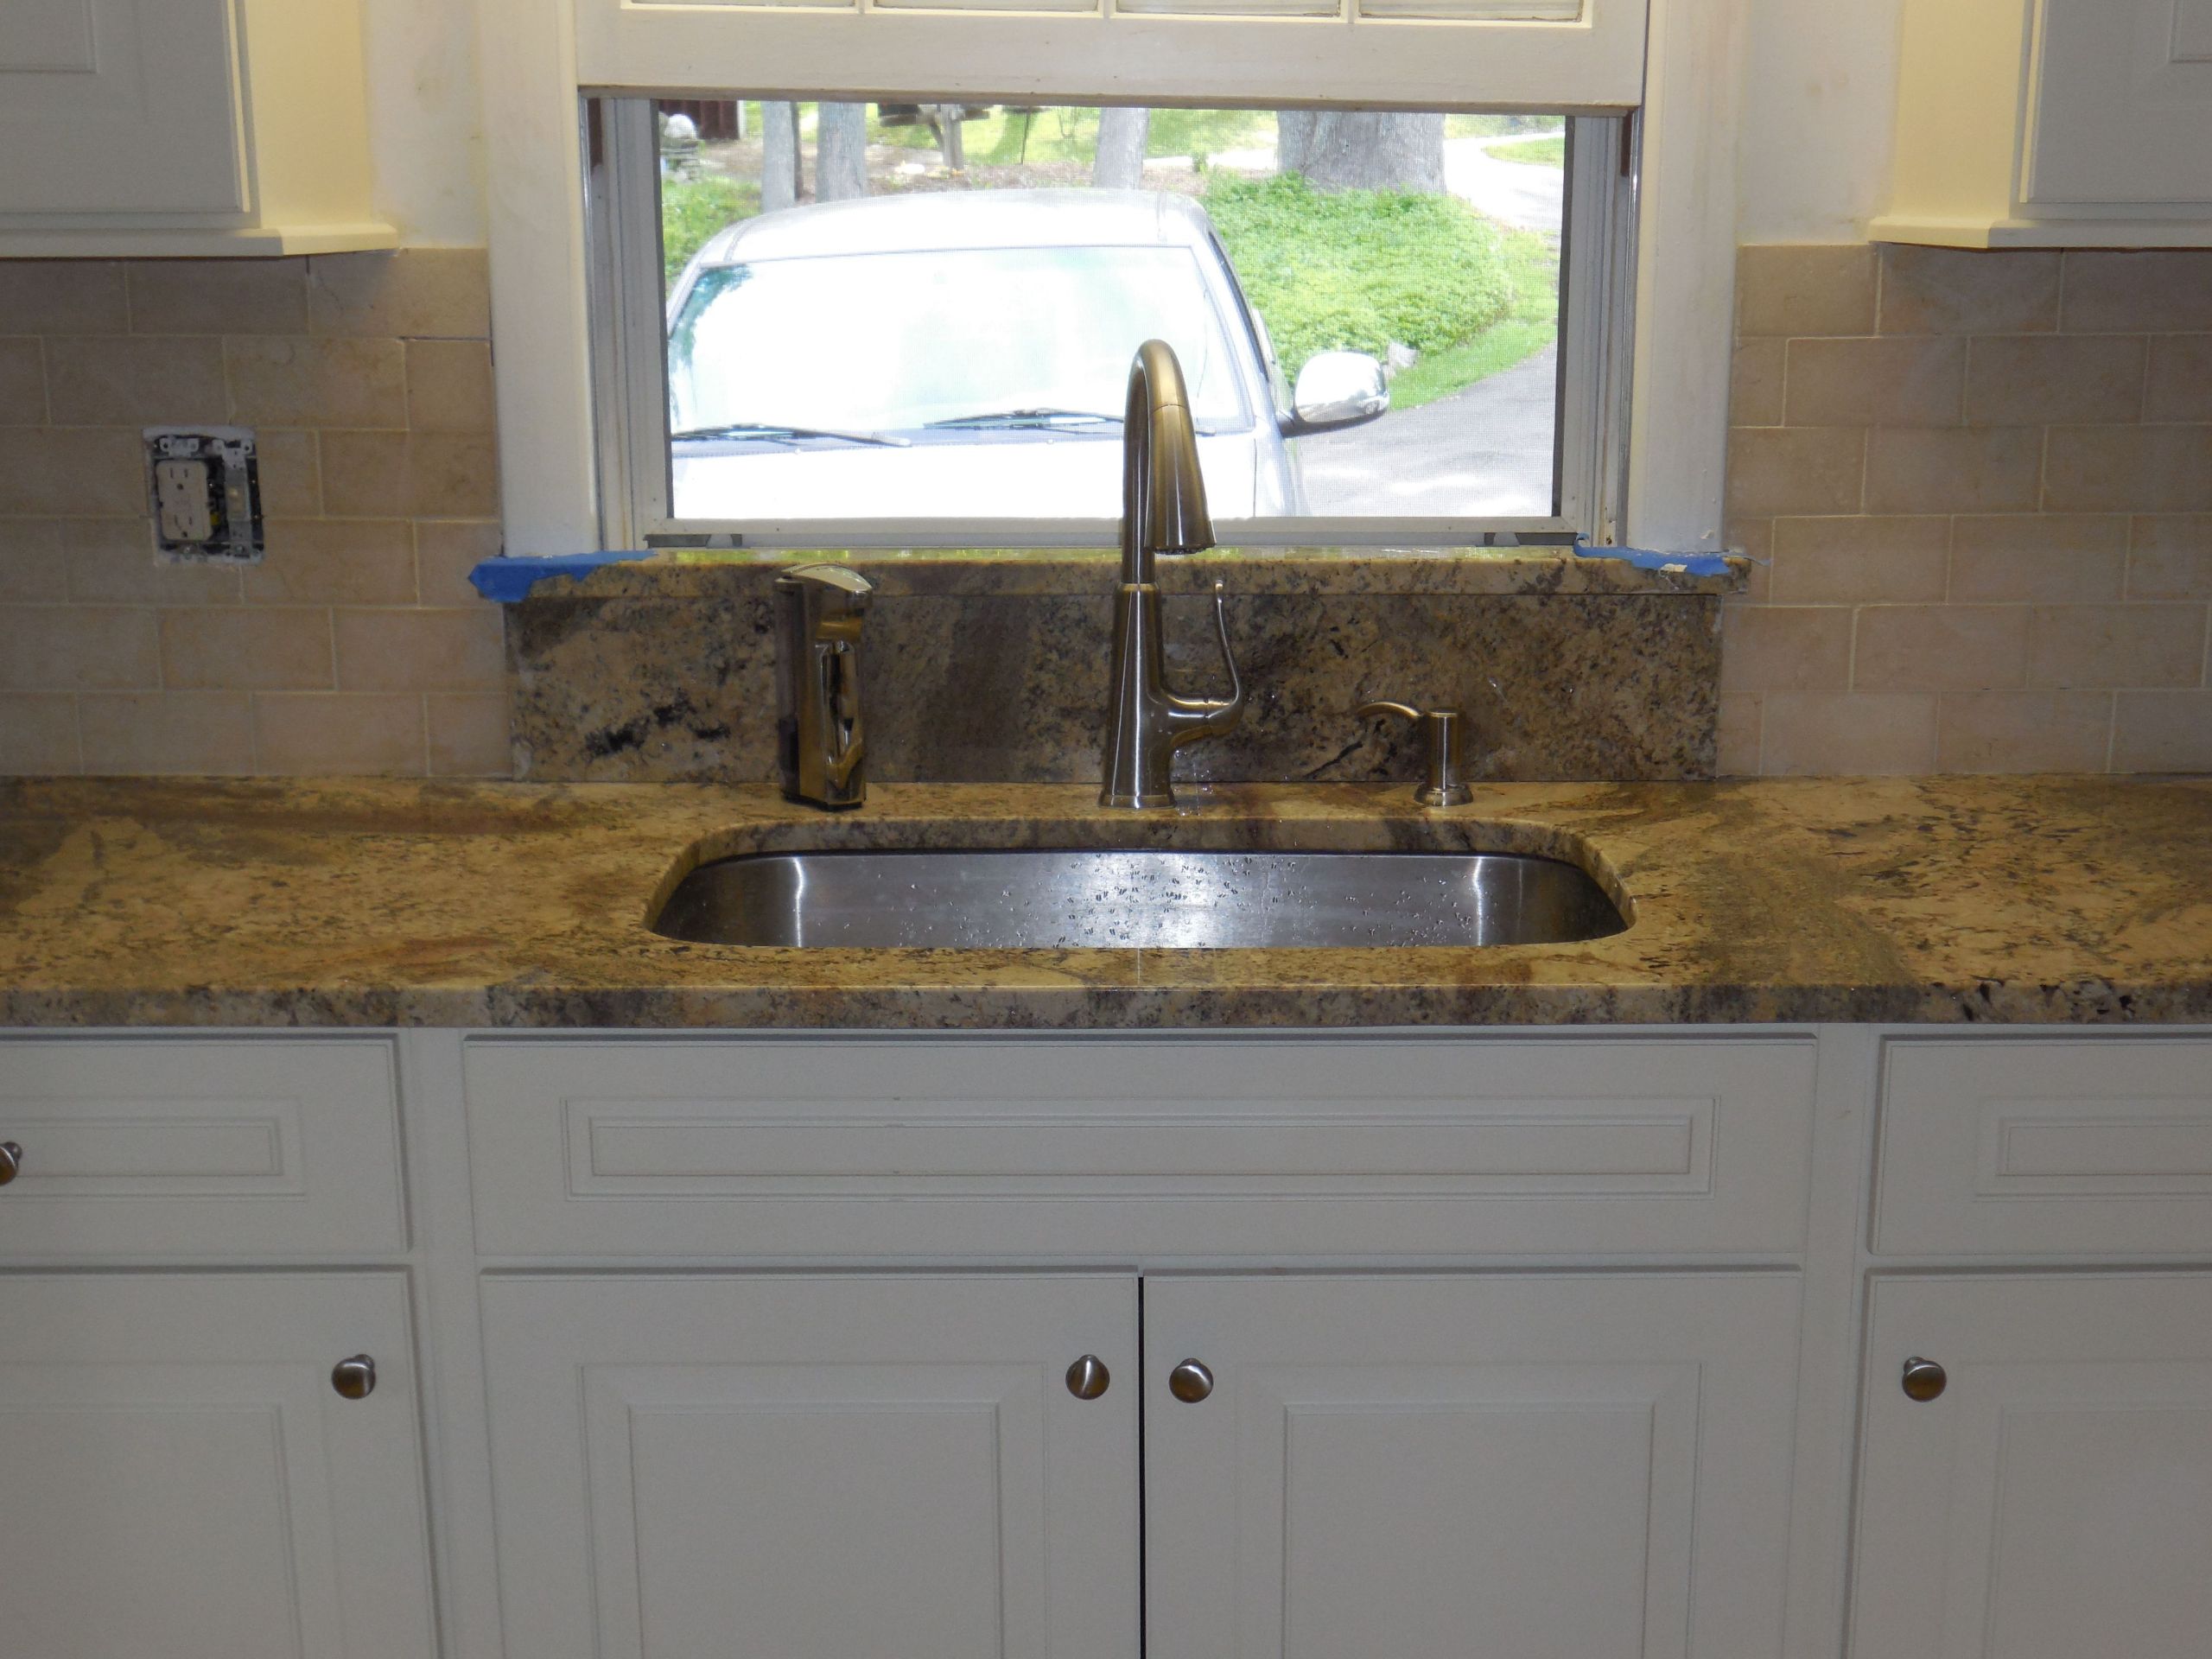
Once your tiles are in place, it's important to properly seal and finish the area to protect it from water and stains. This involves applying a layer of grout using a grout float, making sure to fill in all the gaps between tiles. After the grout has dried, use a damp sponge to wipe away any excess and smooth out the surface. Finally, apply a sealant to the grout and tiles, following the manufacturer's instructions for best results.


8. How to Seal and Finish Tiling Around a Kitchen Sink with a Window


9. Troubleshooting Common Issues When Tiling Around a Kitchen Sink with a Window
Even with proper preparation and careful execution, issues can sometimes arise when tiling around a kitchen sink with a window. Common problems include uneven tiles, cracked tiles, or grout that won't set properly. If you encounter any of these issues, don't panic. There are solutions such as using a rubber mallet to gently tap tiles into place, replacing cracked tiles, or applying a grout fixative to fix any issues with the grout.


9. Troubleshooting Common Issues When Tiling Around a Kitchen Sink with a Window


10. DIY vs Hiring a Professional for Tiling Around a Kitchen Sink with a Window
Deciding whether to tackle a tiling project yourself or hire a professional is a personal choice. While tiling around a kitchen sink with a window can be done as a DIY project, it does require some skill and knowledge. If you're not confident in your abilities or don't have the necessary tools, it may be worth hiring a professional to ensure a perfect finish. However, if you're up for the challenge, with some patience and careful planning, you can achieve a professional-looking result on your own.

10. DIY vs Hiring a Professional for Tiling Around a Kitchen Sink with a Window


Tiling Around a Kitchen Sink with a Window: A Guide to Enhancing Your Kitchen Design

Why Tiling Around a Kitchen Sink with a Window is Important
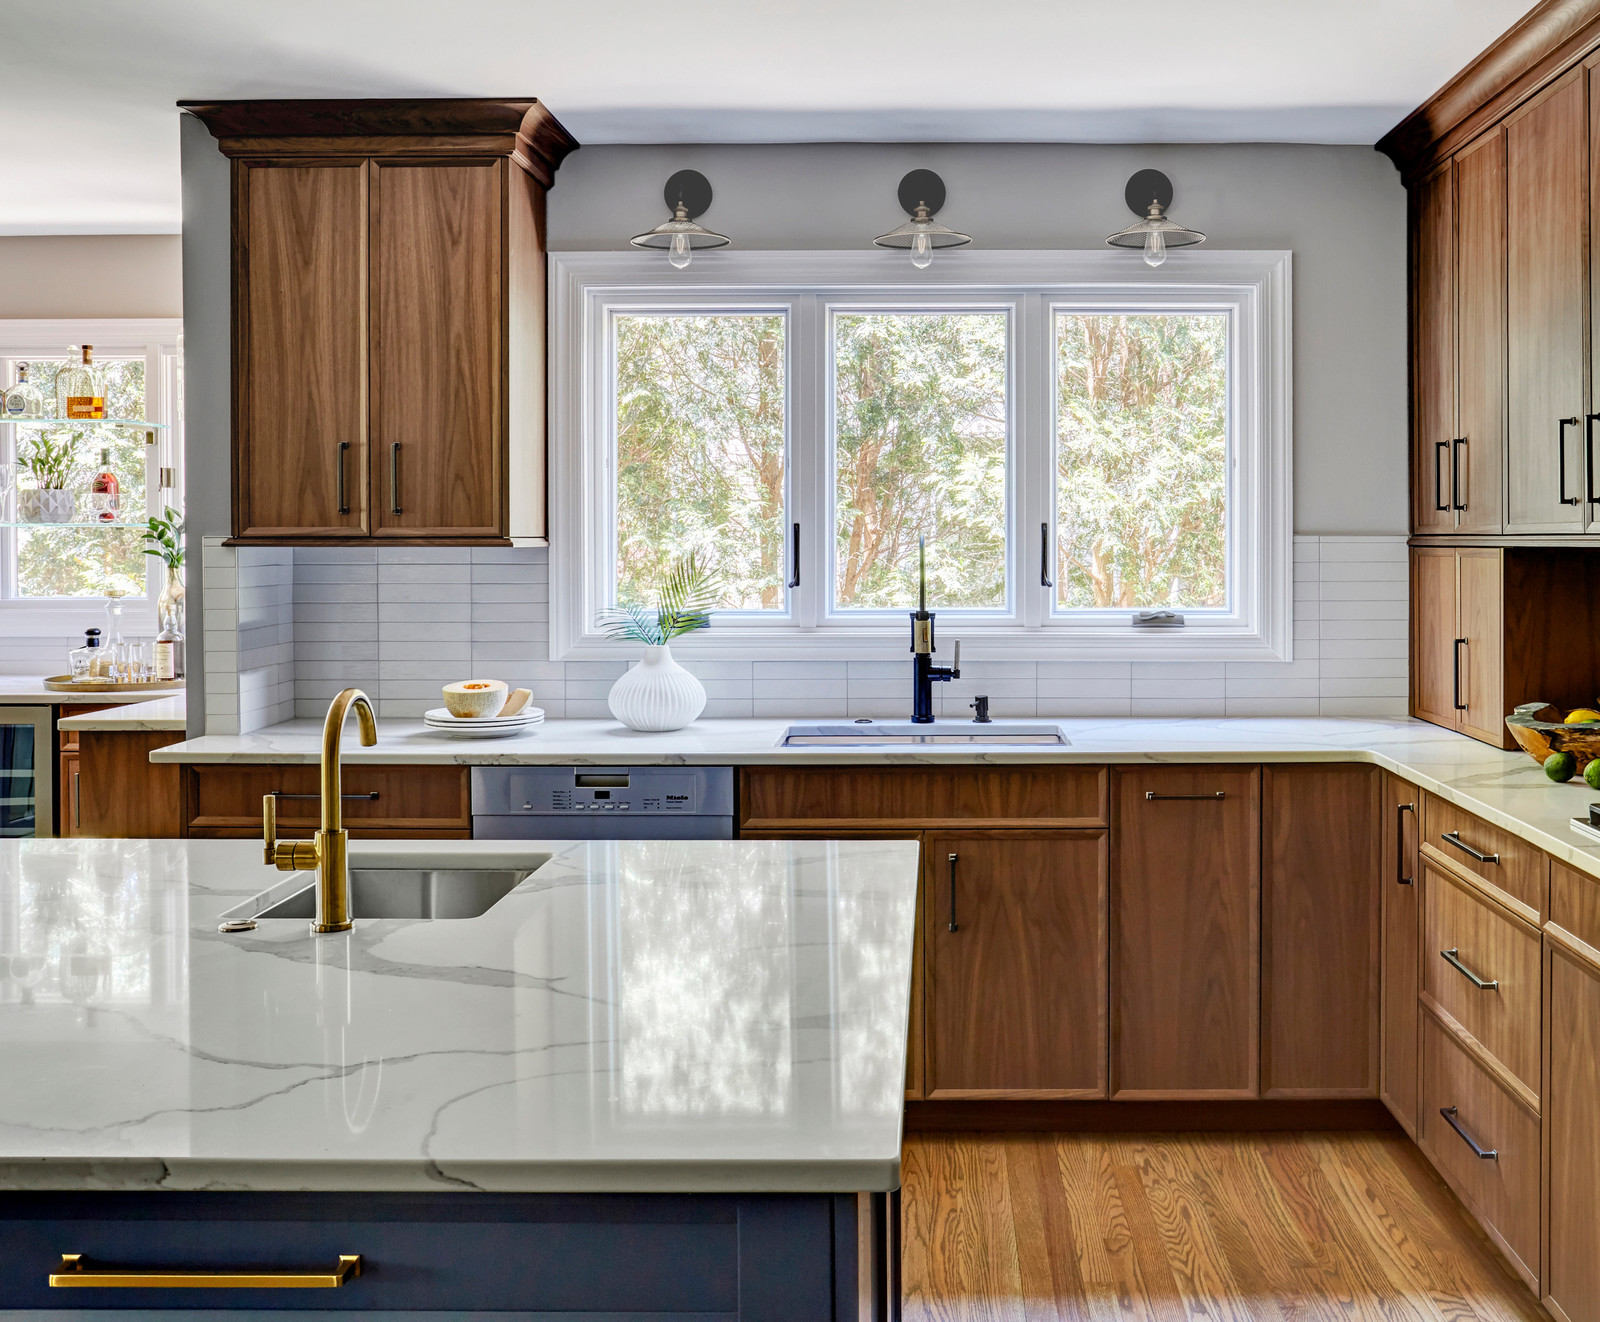
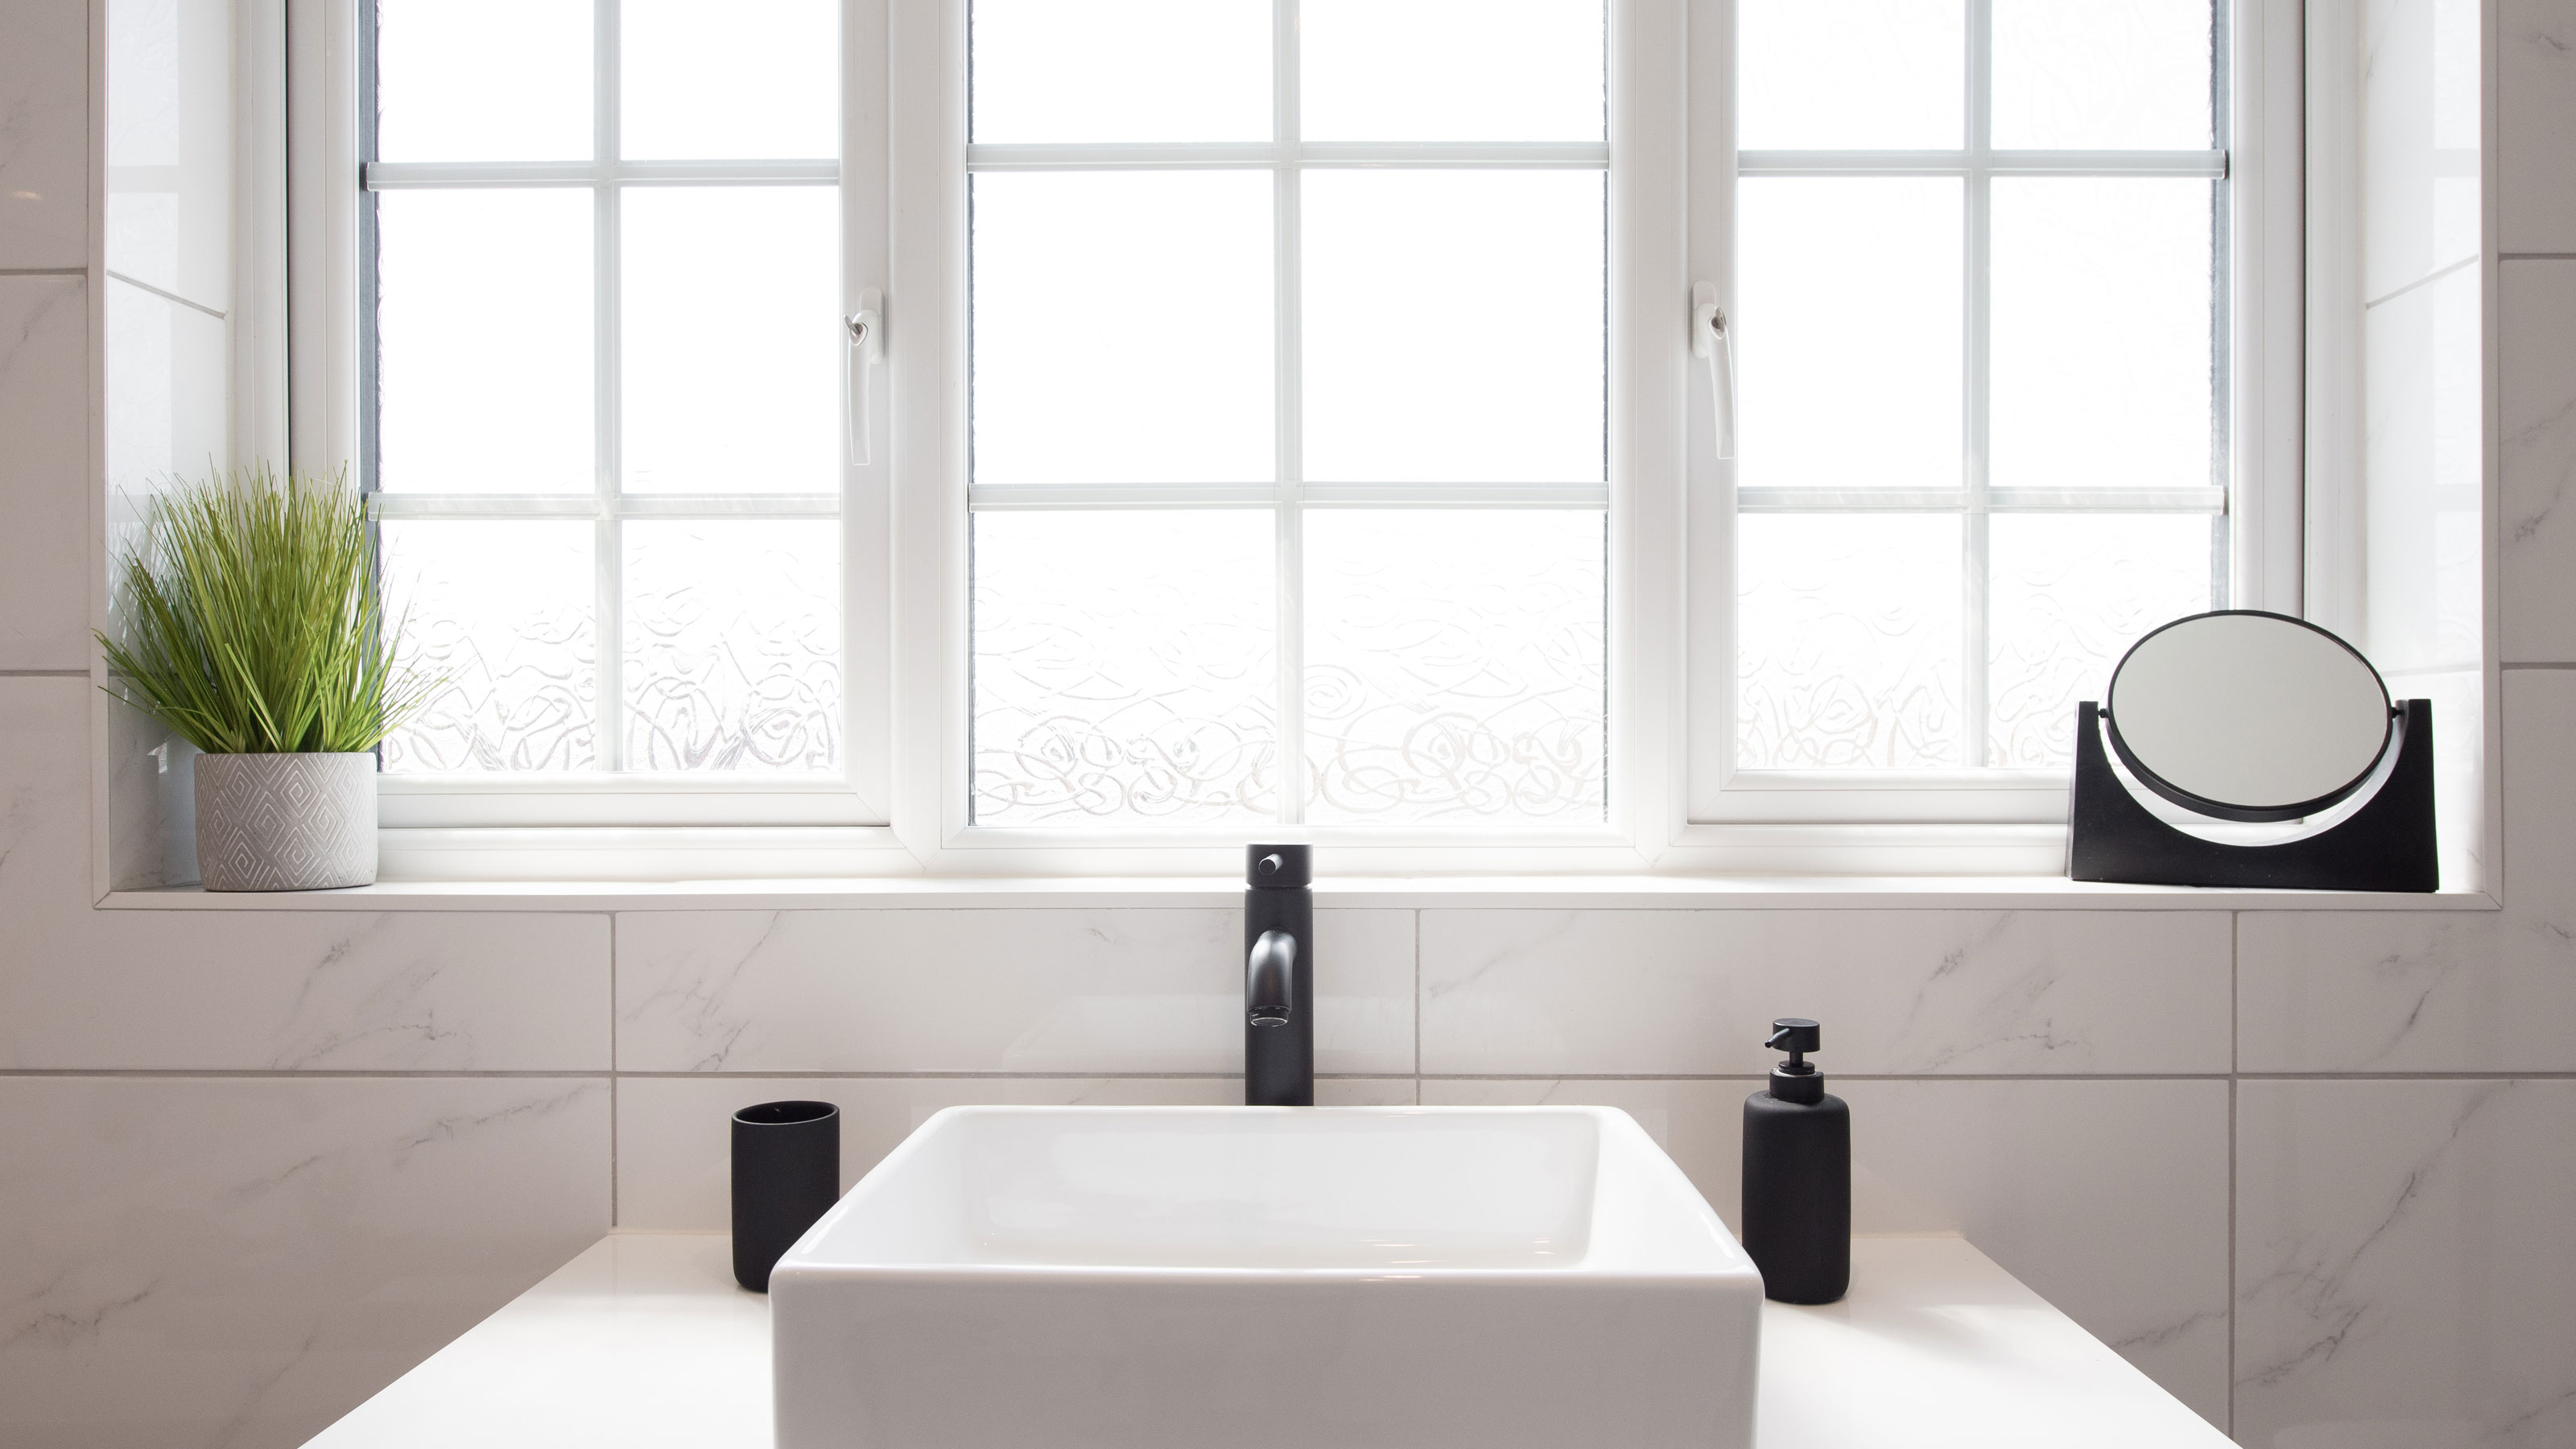
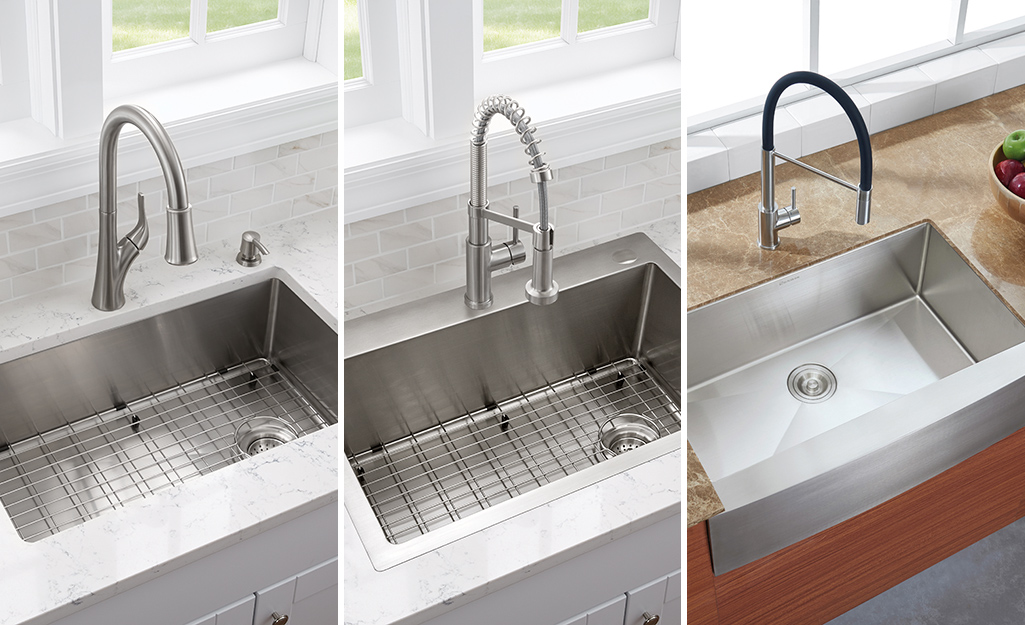
 When it comes to designing your dream kitchen, every detail matters. From the cabinets to the countertops, every element plays a crucial role in creating a cohesive and functional space. One area that often gets overlooked is the tiling around the kitchen sink. However, this small detail can make a big impact on the overall look and feel of your kitchen, especially if you have a window above your sink. Tiling around a kitchen sink with a window not only adds a touch of style, but it also serves a practical purpose by protecting the walls from water damage. In this article, we will explore the benefits of tiling around a kitchen sink with a window and provide a step-by-step guide on how to achieve a professional and polished look.
Choosing the Right Tile
 When it comes to tiling around a kitchen sink with a window, the first step is to select the right type of tile. The most popular options for kitchen backsplash are ceramic, porcelain, and glass tiles. Each type has its own unique qualities, so it's important to consider the style and functionality you want to achieve. Ceramic tiles are the most cost-effective option and come in a variety of colors, sizes, and patterns, making them a versatile choice for any kitchen design. Porcelain tiles are more durable and water-resistant, making them a great option for areas that are prone to splashes and spills. Glass tiles, on the other hand, offer a sleek and modern look, but they can be more challenging to clean. Ultimately, the choice of tile will depend on your personal preferences and the overall design of your kitchen.
Step-by-Step Guide for Tiling Around a Kitchen Sink with a Window
 Now that you've chosen your desired tile, it's time to start the tiling process. Here is a step-by-step guide to help you achieve a professional and seamless finish:
1. Measure and Prep:
Begin by measuring the area around your sink and window to determine how much tile you will need. Once you have your measurements, prepare the surface by cleaning it thoroughly and filling any cracks or holes with putty.
2. Lay Out the Tile:
Lay out the tiles on the floor or a table to determine the best placement and pattern. This step will help you see how the tiles will look once installed and make any necessary adjustments.
3. Apply Adhesive:
Using a notched trowel, apply tile adhesive on the wall in small sections. Be sure to follow the manufacturer's instructions for the appropriate amount of adhesive.
4. Start Tiling:
Begin tiling from the bottom corner of the sink and work your way up. Press each tile firmly into the adhesive and use tile spacers to ensure even spacing between each tile.
5. Cut Tiles for Corners and Edges:
Use a tile cutter or wet saw to cut tiles to fit around corners and edges. Remember to wear protective gear when using a wet saw.
6. Let it Dry:
Allow the tiles to dry for at least 24 hours before moving on to the next step.
7. Apply Grout:
Once the tiles are completely dry, it's time to apply grout. Use a grout float to spread the grout evenly between the tiles, then wipe away any excess grout with a damp sponge.
8. Clean and Seal:
After the grout has dried, clean the tiles with a damp cloth and seal the grout to protect it from stains and water damage.
Now that you've chosen your desired tile, it's time to start the tiling process. Here is a step-by-step guide to help you achieve a professional and seamless finish:
1. Measure and Prep:
Begin by measuring the area around your sink and window to determine how much tile you will need. Once you have your measurements, prepare the surface by cleaning it thoroughly and filling any cracks or holes with putty.
2. Lay Out the Tile:
Lay out the tiles on the floor or a table to determine the best placement and pattern. This step will help you see how the tiles will look once installed and make any necessary adjustments.
3. Apply Adhesive:
Using a notched trowel, apply tile adhesive on the wall in small sections. Be sure to follow the manufacturer's instructions for the appropriate amount of adhesive.
4. Start Tiling:
Begin tiling from the bottom corner of the sink and work your way up. Press each tile firmly into the adhesive and use tile spacers to ensure even spacing between each tile.
5. Cut Tiles for Corners and Edges:
Use a tile cutter or wet saw to cut tiles to fit around corners and edges. Remember to wear protective gear when using a wet saw.
6. Let it Dry:
Allow the tiles to dry for at least 24 hours before moving on to the next step.
7. Apply Grout:
Once the tiles are completely dry, it's time to apply grout. Use a grout float to spread the grout evenly between the tiles, then wipe away any excess grout with a damp sponge.
8. Clean and Seal:
After the grout has dried, clean the tiles with a damp cloth and seal the grout to protect it from stains and water damage.
Final Thoughts
 Tiling around a kitchen sink with a window may seem like a daunting task, but with the right tools and techniques, you can achieve a stunning and functional backsplash that will elevate your kitchen design. Remember to take your time, plan carefully, and enlist the help of a professional if needed. With these steps, you can create a beautiful and durable tiled backsplash that will be the envy of all your guests.