1. Identify the problem
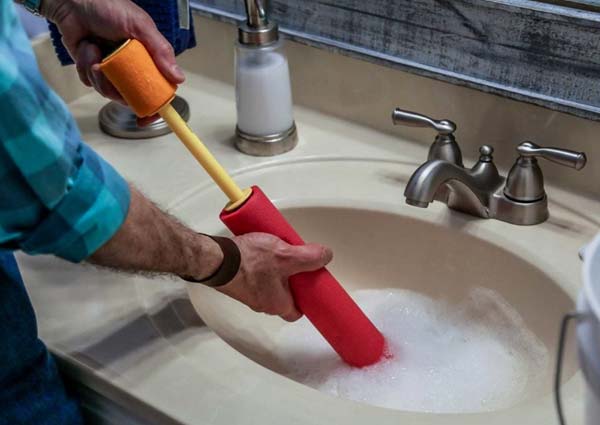
Before you can fix your kitchen sink pipes, you need to first identify the problem. This could be a clogged drain, a leak, or a damaged pipe. Take a close look at your sink and try to determine the source of the issue.
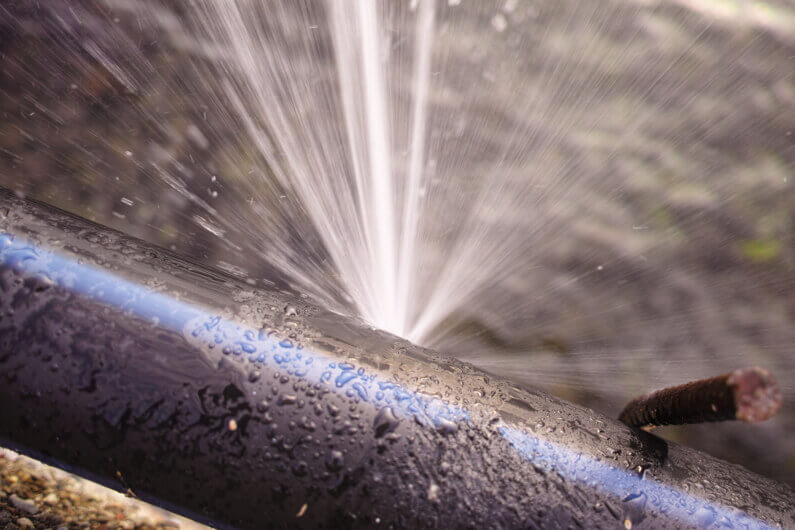
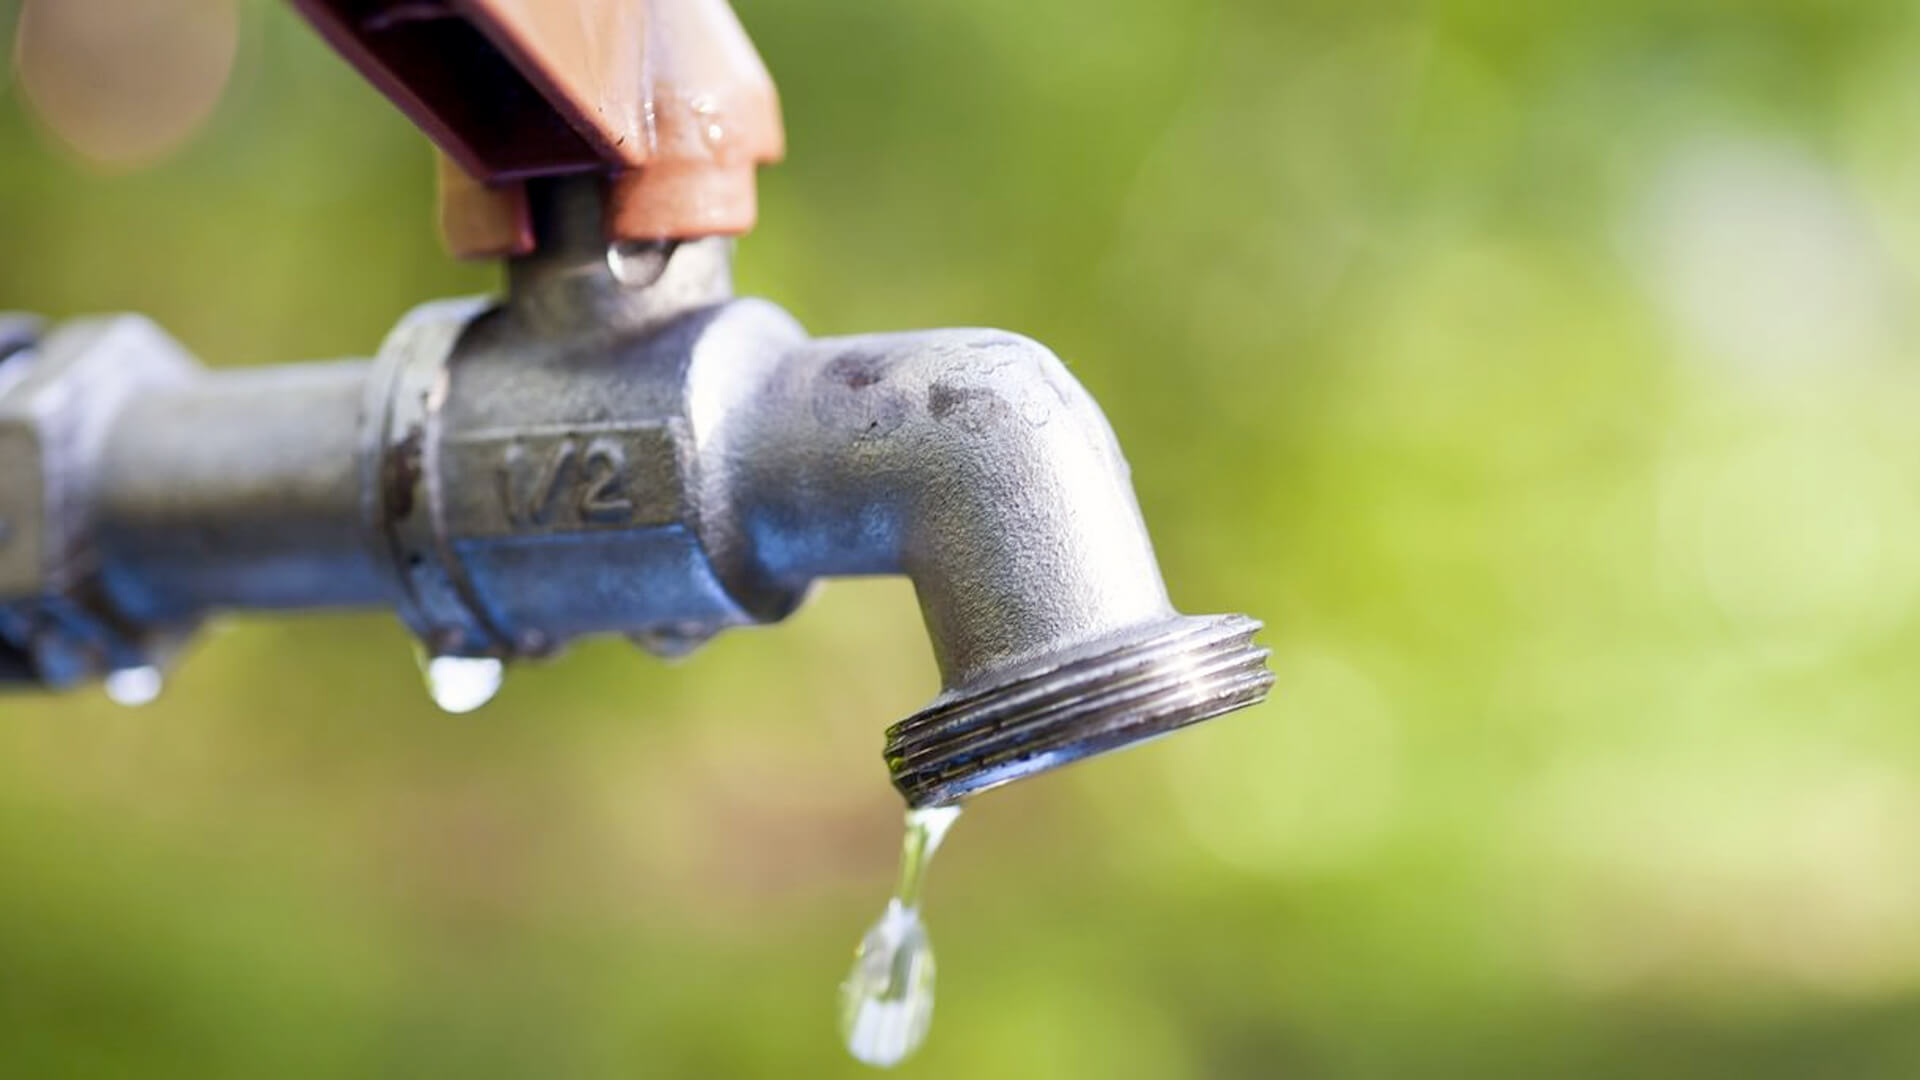
If you have a clogged drain, you may notice slow draining or standing water in the sink. A leak will usually be accompanied by water dripping from the pipes. And if you have a damaged pipe, you may see cracks or holes in the pipes.
Identifying the problem will help you determine the best course of action for fixing your kitchen sink pipes.


1. Identify the problem


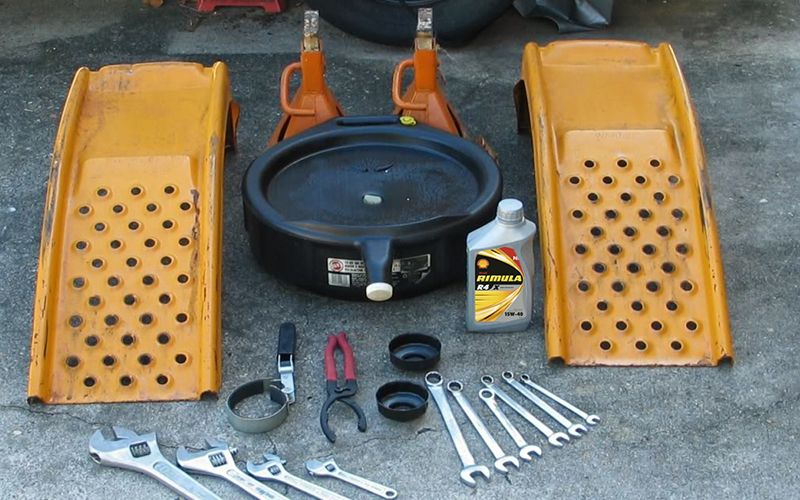
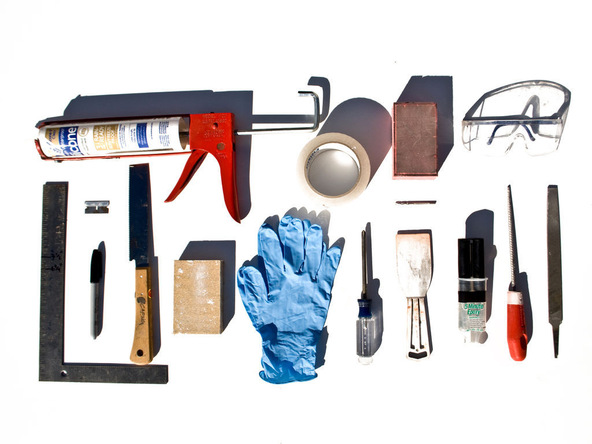
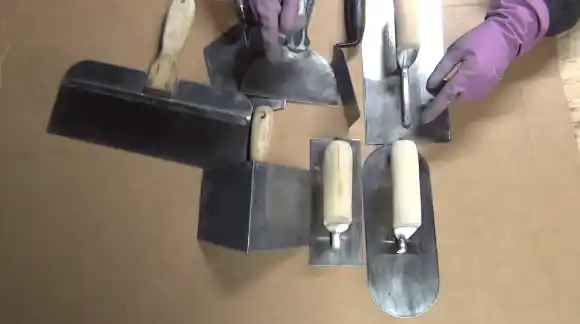
2. Gather necessary tools and materials
Once you have identified the problem, you will need to gather the necessary tools and materials to fix it. This may include a plunger, pipe wrench, plumber's tape, replacement pipes, and any other supplies that may be needed.
Make sure to have all of the tools and materials on hand before starting the repair to avoid any unnecessary trips to the hardware store.


2. Gather necessary tools and materials


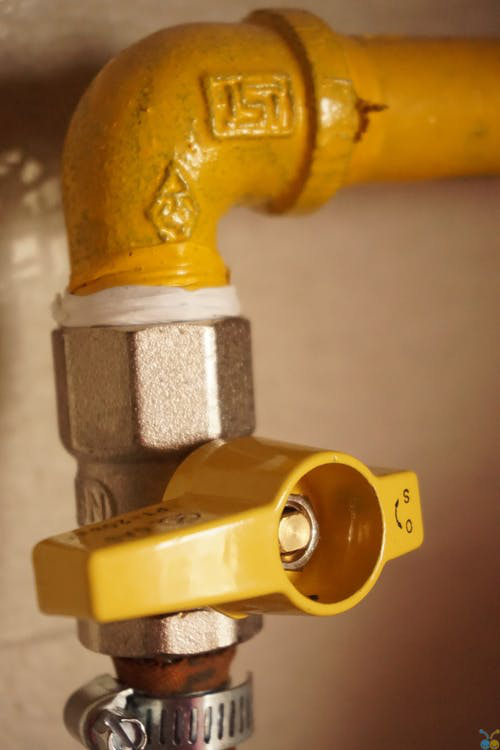
3. Turn off water supply
Before working on your kitchen sink pipes, it is important to turn off the water supply to avoid any accidents or further damage. Locate the shut-off valve under the sink and turn it clockwise to shut off the water.
If you cannot find the shut-off valve, you can turn off the main water supply to your house. This is usually located near the water meter.


3. Turn off water supply


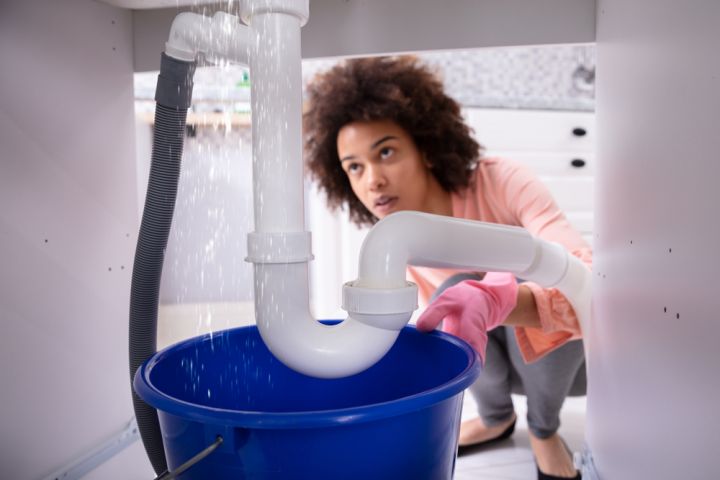
4. Remove any standing water
If you have a clogged drain, you will need to remove any standing water from the sink before starting the repair. Use a bucket or a cup to scoop out the water and dispose of it in a separate sink or outside.
Removing the standing water will make it easier to access the pipes and prevent any spills or messes during the repair process.


4. Remove any standing water


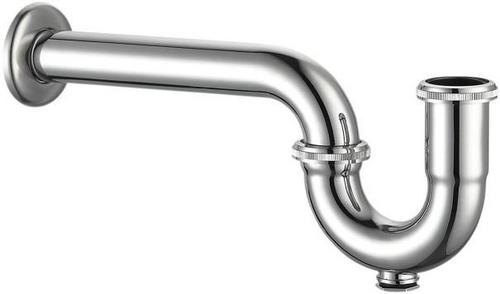
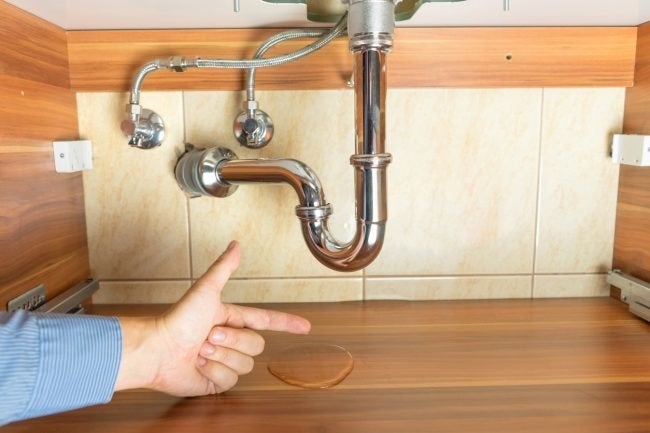
5. Remove the P-trap
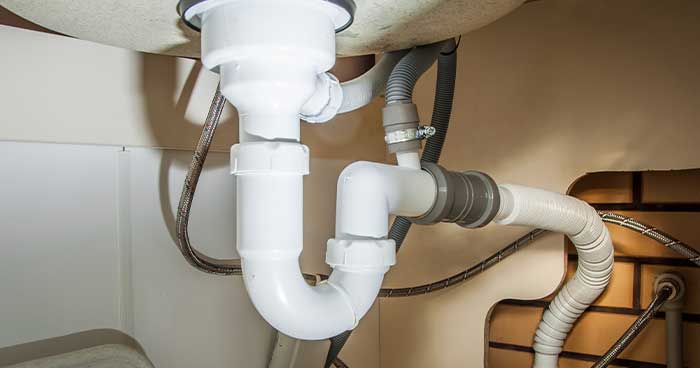
The P-trap is the curved pipe under your sink that helps prevent sewer gases from entering your home. It is also a common place for clogs to occur. To remove the P-trap, place a bucket or pan under the trap to catch any water, then use a pipe wrench to loosen the connections and remove the trap.
Inspect the P-trap for any clogs or debris and clean it out before reattaching it to the pipes.


5. Remove the P-trap


6. Clean out any debris
With the P-trap removed, you now have access to the drain pipes. Use a snake or wire hanger to remove any clogs or debris from the pipes. You may also want to run hot water through the pipes to help loosen any buildup.
Make sure to wear gloves and protect your eyes while cleaning out the pipes.


6. Clean out any debris


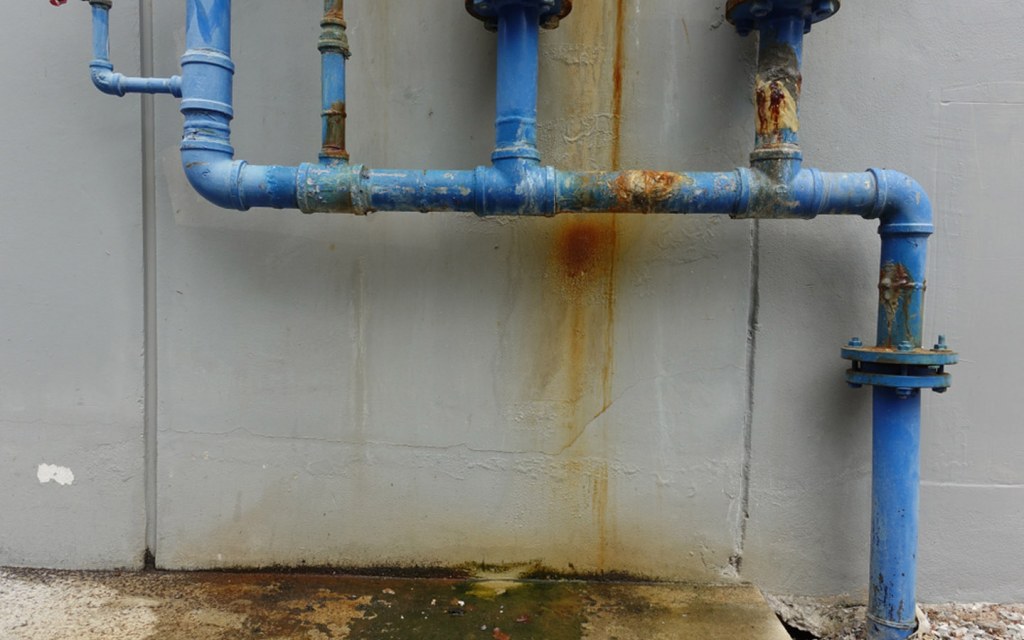
7. Inspect pipes for damage
While you have the pipes exposed, take the time to inspect them for any signs of damage. This could include cracks, holes, or corrosion. If you notice any damage, you will need to replace the affected pipes.
It is important to catch and fix any damage to your pipes early on to prevent further issues and potential water damage.


7. Inspect pipes for damage


/cloudfront-us-east-1.images.arcpublishing.com/gray/YTR7CX5CAZHYFMOSO7WS3Y2R3Y.jpg)

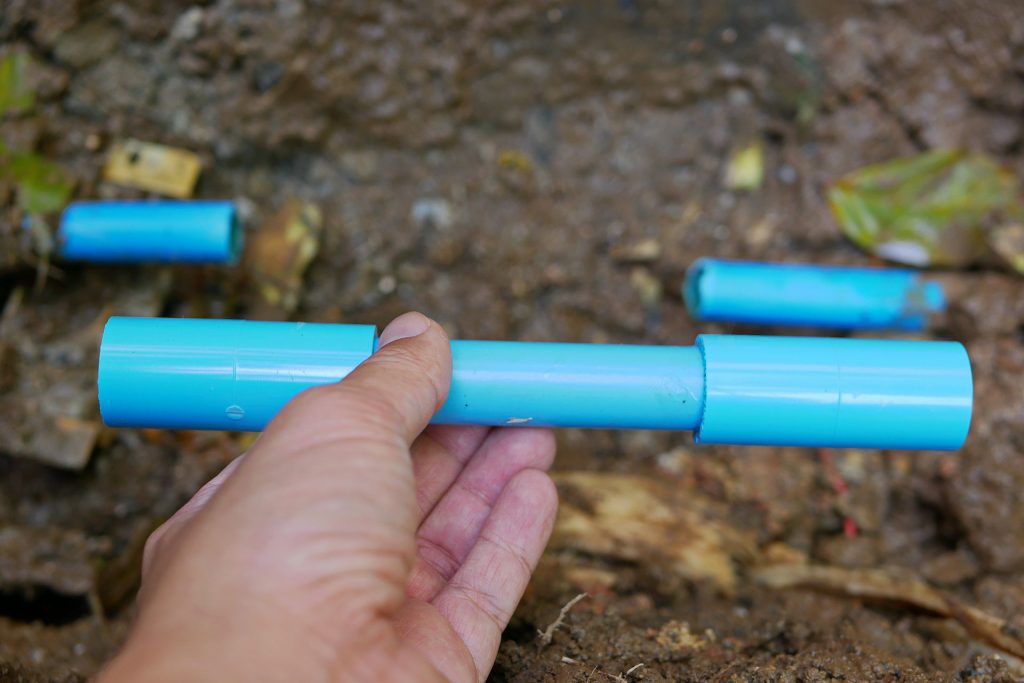
8. Replace damaged pipes
If you have identified any damaged pipes, you will need to replace them. Measure the length of the damaged pipe and purchase a replacement of the same size and material.
Use a pipe cutter to cut the damaged section of pipe and then use plumber's tape to secure the new pipe in place. Make sure to tighten all connections to prevent any leaks.

8. Replace damaged pipes


9. Reassemble the pipes
With any repairs or replacements completed, it is now time to reassemble the pipes. Make sure all connections are tight and secure before turning the water supply back on.
Double check all connections for any leaks before moving on to the final step.

9. Reassemble the pipes


10. Turn water supply back on and test for leaks
Now it's time to turn the water supply back on and test your kitchen sink pipes. Run hot water through the pipes and check for any leaks. If you notice any leaks, tighten the connections or replace any faulty parts.
Once you are satisfied that everything is working properly, clean up any remaining mess and enjoy your newly fixed kitchen sink pipes!


10. Turn water supply back on and test for leaks


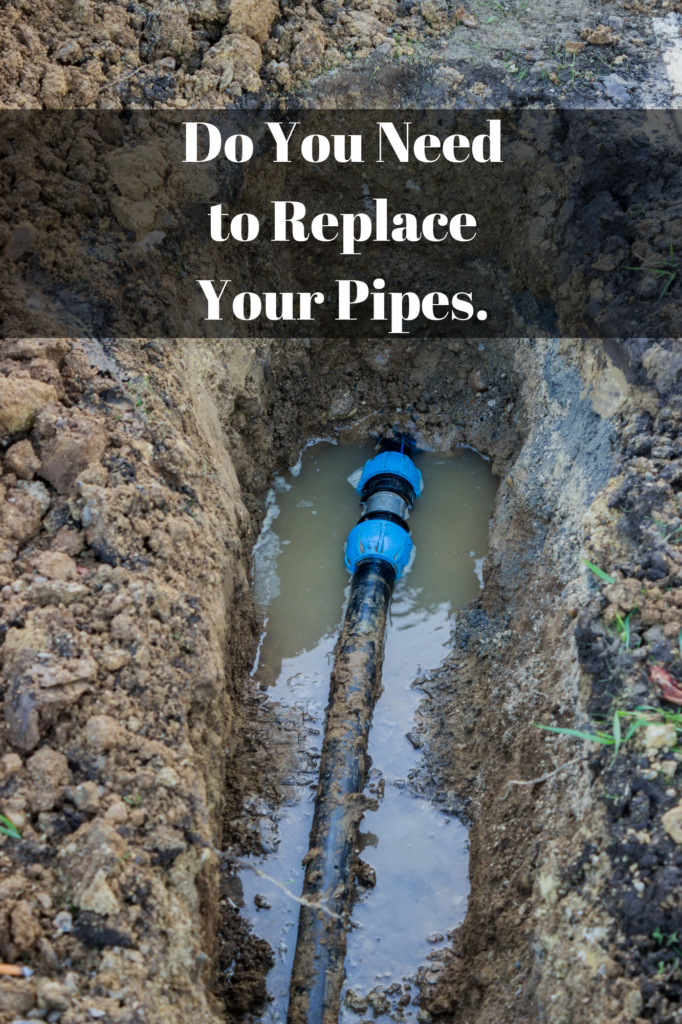
Replacing the Pipes

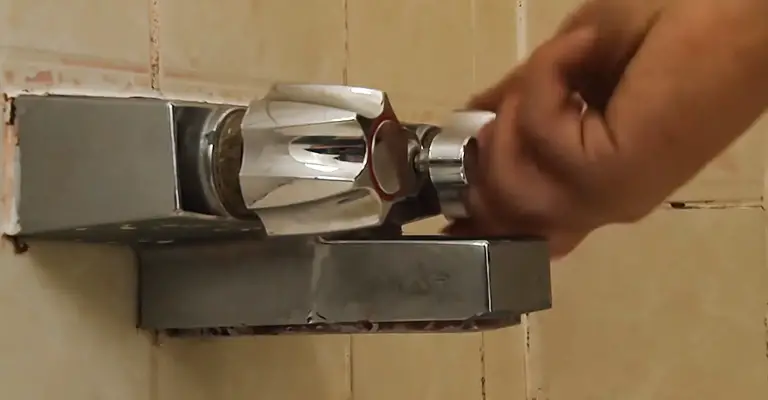
Step 5: Removing the Old Pipes
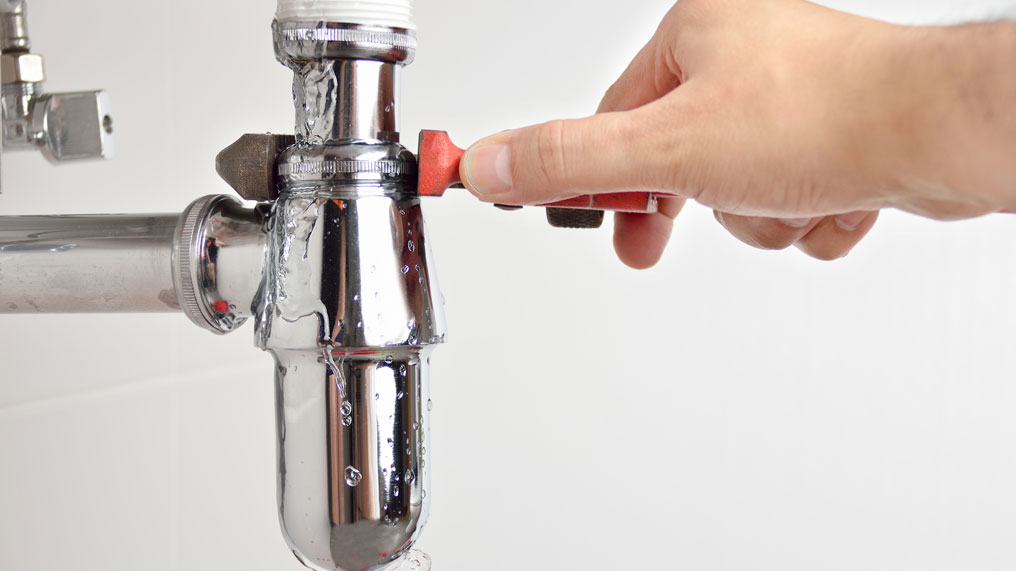
 Now that you have identified the source of the leak and have all the necessary tools, it's time to remove the old pipes. This step can be a bit tricky, but with some patience and caution, you can do it on your own. Start by placing a bucket or a bowl under the pipes to catch any remaining water. Use a wrench or pliers to loosen the slip nuts that connect the pipes to the sink's drain and the main water supply. Be careful not to damage the pipes or any surrounding fixtures. Once the slip nuts are loose, gently pull out the old pipes and set them aside.
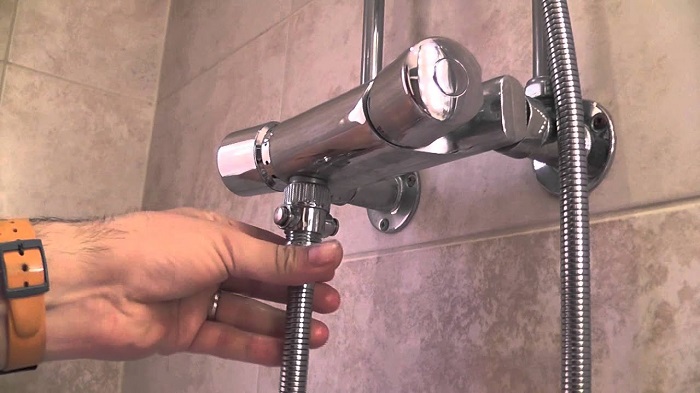
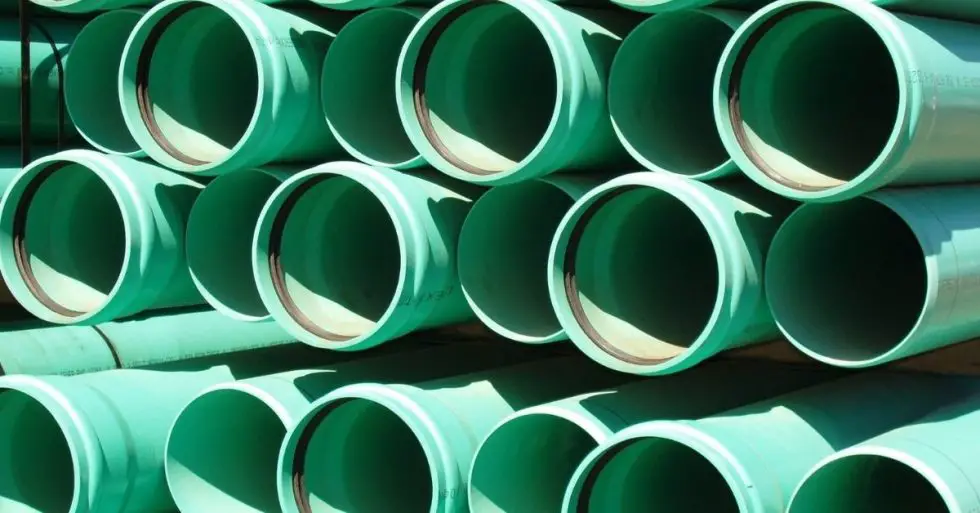
Step 6: Installing New Pipes
 With the old pipes removed, it's time to install the new ones. Begin by measuring and cutting the new pipes to fit the space. Make sure to leave a little extra length in case you need to make any adjustments. Next, attach the new pipes to the sink's drain and the main water supply, using the slip nuts and washers provided. Double-check that all the connections are tight to avoid any future leaks. Finally, turn on the water supply and check for any leaks or drips. If everything looks good, then you have successfully replaced your kitchen sink pipes!
Step 7: Consider Professional Help
 While fixing kitchen sink pipes may seem like a simple task, it can become more complicated if you encounter unexpected issues or if you are not familiar with plumbing. In these cases, it may be best to seek the help of a professional plumber. They have the expertise and experience to tackle any plumbing problem efficiently and effectively. Plus, hiring a professional can save you time and stress in the long run. Remember, it's always better to be safe than sorry when it comes to your home's plumbing.
Now that you have a step-by-step guide on how to fix your kitchen sink pipes, you can confidently tackle this project on your own. Just remember to stay calm, be patient, and take all necessary precautions to ensure a successful and leak-free outcome. Happy fixing!