Staining and sealing a kitchen table is a great way to enhance its appearance and protect it from everyday wear and tear. This process can seem daunting, but with the right tools and techniques, you can easily achieve a professional-looking finish. Follow these steps to learn how to stain and seal your kitchen table.1. How to Stain and Seal a Kitchen Table
When it comes to choosing the best products for staining and sealing your kitchen table, there are a few options to consider. Wood stains come in a variety of colors and can be oil-based or water-based. Oil-based stains tend to penetrate deeper into the wood, while water-based stains dry faster and are easier to clean up. Sealers can also be oil-based or water-based and provide protection against spills and scratches. Consider the type of wood your table is made of and the desired finish when selecting your stain and sealer.2. Best Stain and Seal Products for Kitchen Tables
If you're planning to stain and seal your kitchen table yourself, here are a few tips to keep in mind. First, make sure to sand your table thoroughly before applying any products. This will ensure a smooth surface for the stain and sealer to adhere to. You can also use a wood conditioner to help the stain soak in evenly. When applying the stain, always follow the grain of the wood and use a clean cloth to wipe off any excess. Lastly, make sure to let each coat of stain and sealer dry completely before adding another.3. DIY Kitchen Table Staining and Sealing Tips
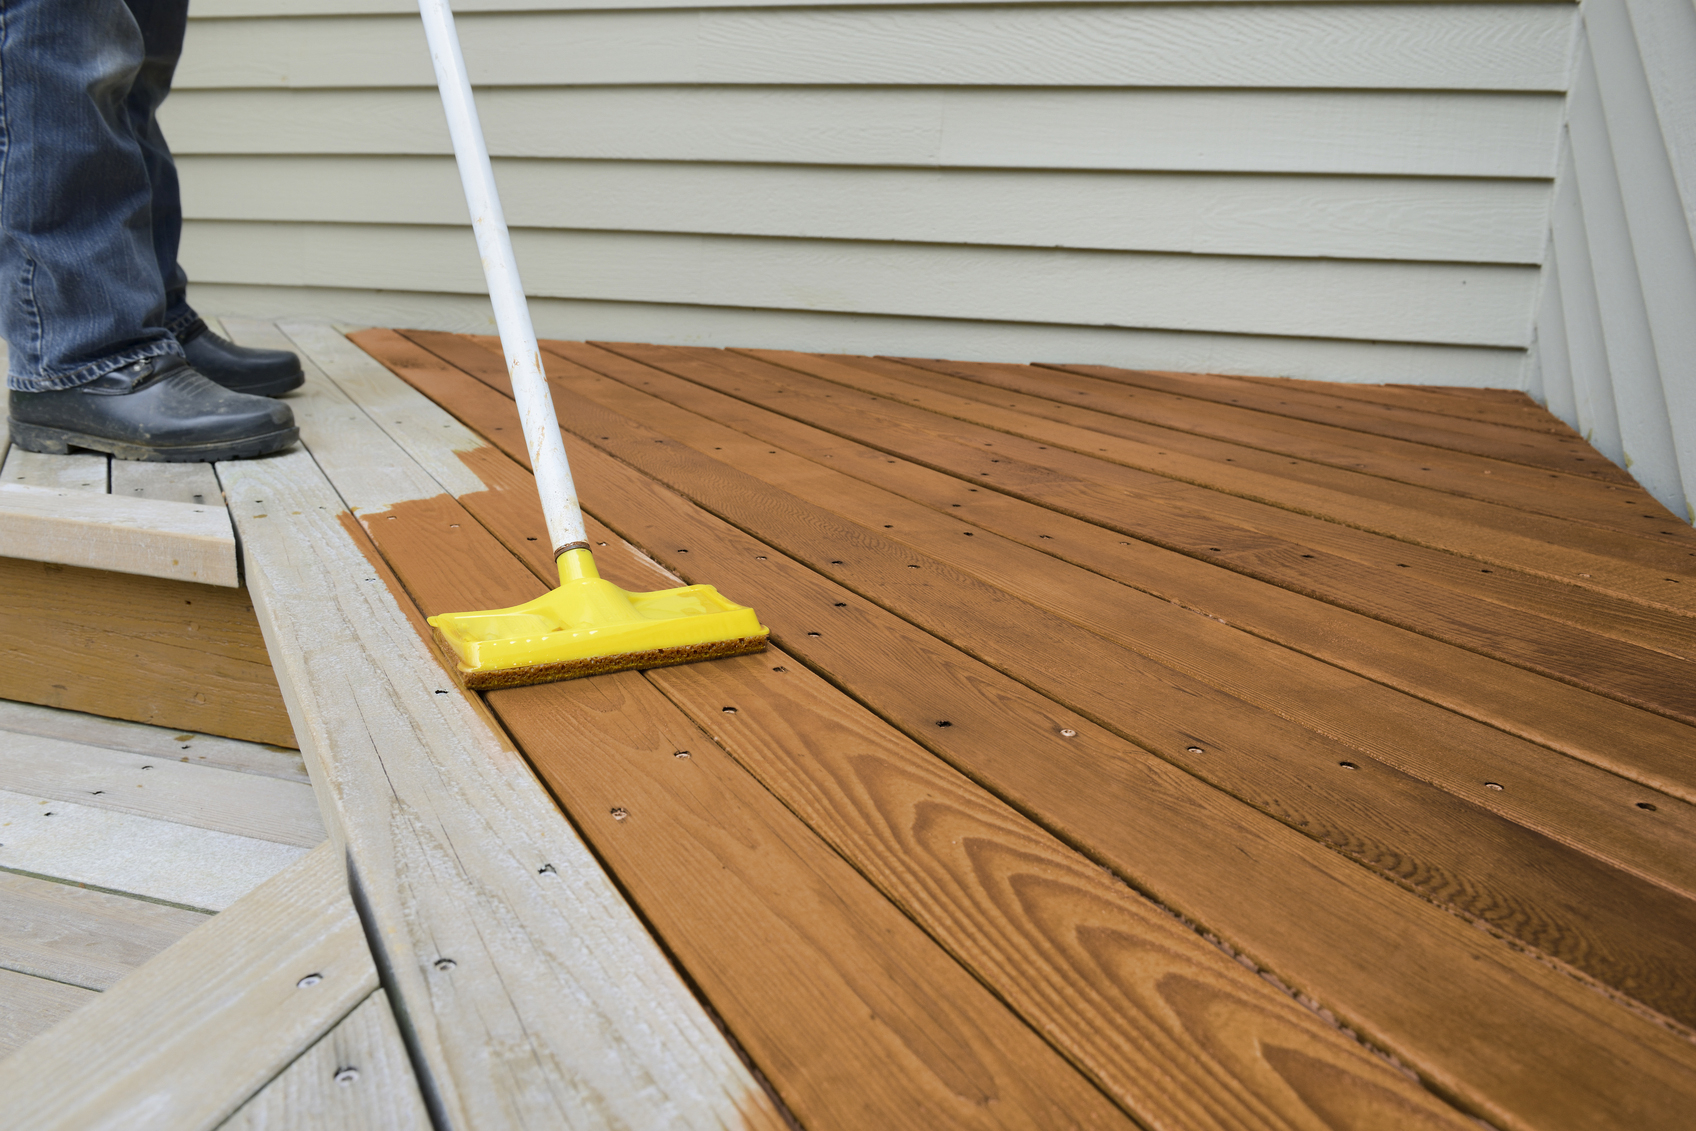
Proper preparation is key when it comes to staining and sealing a kitchen table. Start by removing any existing finish or paint from the table with a chemical stripper or sandpaper. Next, sand the table to create a smooth and even surface. Make sure to remove any dust or debris before starting the staining and sealing process. You may also want to cover the surrounding area with a drop cloth to protect it from any spills.4. How to Prep a Kitchen Table for Staining and Sealing
When it comes to sealing your kitchen table, there are a few top products to consider. Polyurethane is a popular choice as it provides a durable and glossy finish. Tung oil is another great option for wooden tables as it penetrates deep into the wood and brings out its natural beauty. Wax is also a popular sealer as it creates a smooth and protective layer on top of the wood.5. Top Sealers for Kitchen Tables
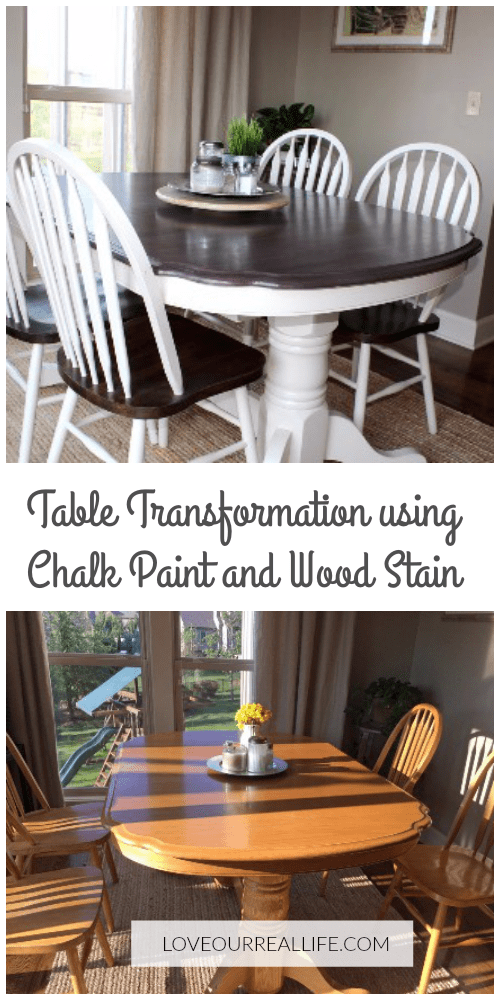
Here is a step-by-step guide for staining and sealing a wooden kitchen table: Step 1: Sand the table to create a smooth surface. Step 2: Apply a wood conditioner, if desired. Step 3: Apply the first coat of stain, following the grain of the wood. Step 4: Wipe off any excess stain with a clean cloth. Step 5: Let the stain dry completely before applying a second coat. Step 6: Once the second coat is dry, sand lightly to remove any raised grain. Step 7: Apply the first coat of sealer, following the directions on the product. Step 8: Let the sealer dry completely before applying a second coat. Step 9: Once the second coat is dry, lightly sand and apply a final coat of sealer. Step 10: Let the table dry completely before using it.6. Staining and Sealing a Wooden Kitchen Table: Step-by-Step Guide
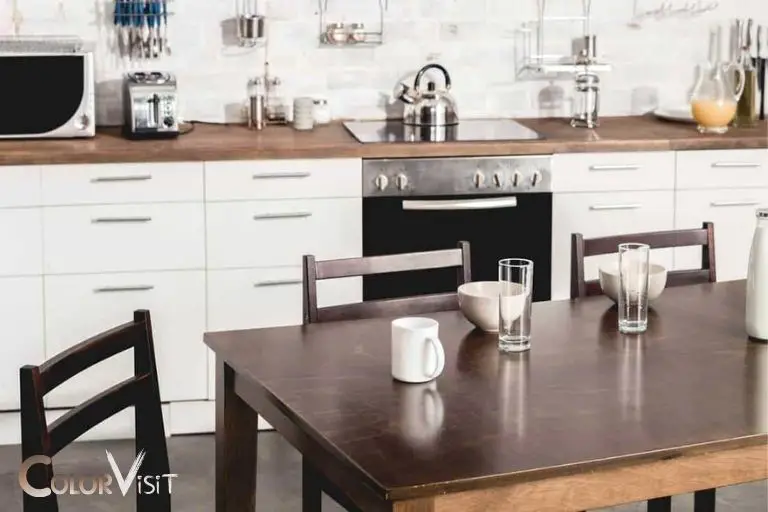
Choosing the right stain color for your kitchen table can be overwhelming with the many options available. Consider the existing colors in your kitchen and the overall style you want to achieve. Darker stains tend to give a more traditional and formal look, while lighter stains can create a more casual and modern feel. You can also test the stain on a small area of the table or a scrap piece of wood to see how it will look before committing to the whole table.7. How to Choose the Right Stain Color for Your Kitchen Table
Staining and sealing your kitchen table not only enhances its appearance but also provides protection against spills and scratches. A good stain and sealer can also prevent the wood from drying out and cracking over time. With proper care, a stained and sealed kitchen table can last for years.8. The Benefits of Staining and Sealing Your Kitchen Table
While staining and sealing a kitchen table may seem like a straightforward process, there are a few common mistakes to avoid. These include not sanding the table properly, not wiping off excess stain, and not allowing each coat to dry completely. Rushing through the process can result in an uneven or sticky finish. It's also important to follow the directions on the products you are using to ensure the best results.9. Common Mistakes to Avoid When Staining and Sealing a Kitchen Table
How often you should stain and seal your kitchen table depends on the amount of use it gets and the type of products you use. As a general rule, it's recommended to stain and seal a wooden table every 1-2 years to maintain its appearance and protection. However, if you notice the finish starting to wear off or any scratches or stains, it may be time to reapply the stain and sealer.10. How Often Should You Stain and Seal Your Kitchen Table?
Why Staining and Sealing Your Kitchen Table is Essential for a Beautiful Home Design

The Importance of a Kitchen Table in Home Design
 The kitchen table is often the heart of a home, where families gather to share meals, stories, and create memories. It is also a centerpiece in the design and decor of a kitchen. Therefore, it is crucial to have a kitchen table that not only looks great but also withstands daily wear and tear. This is where stain and seal come in.
What is Stain and Seal?
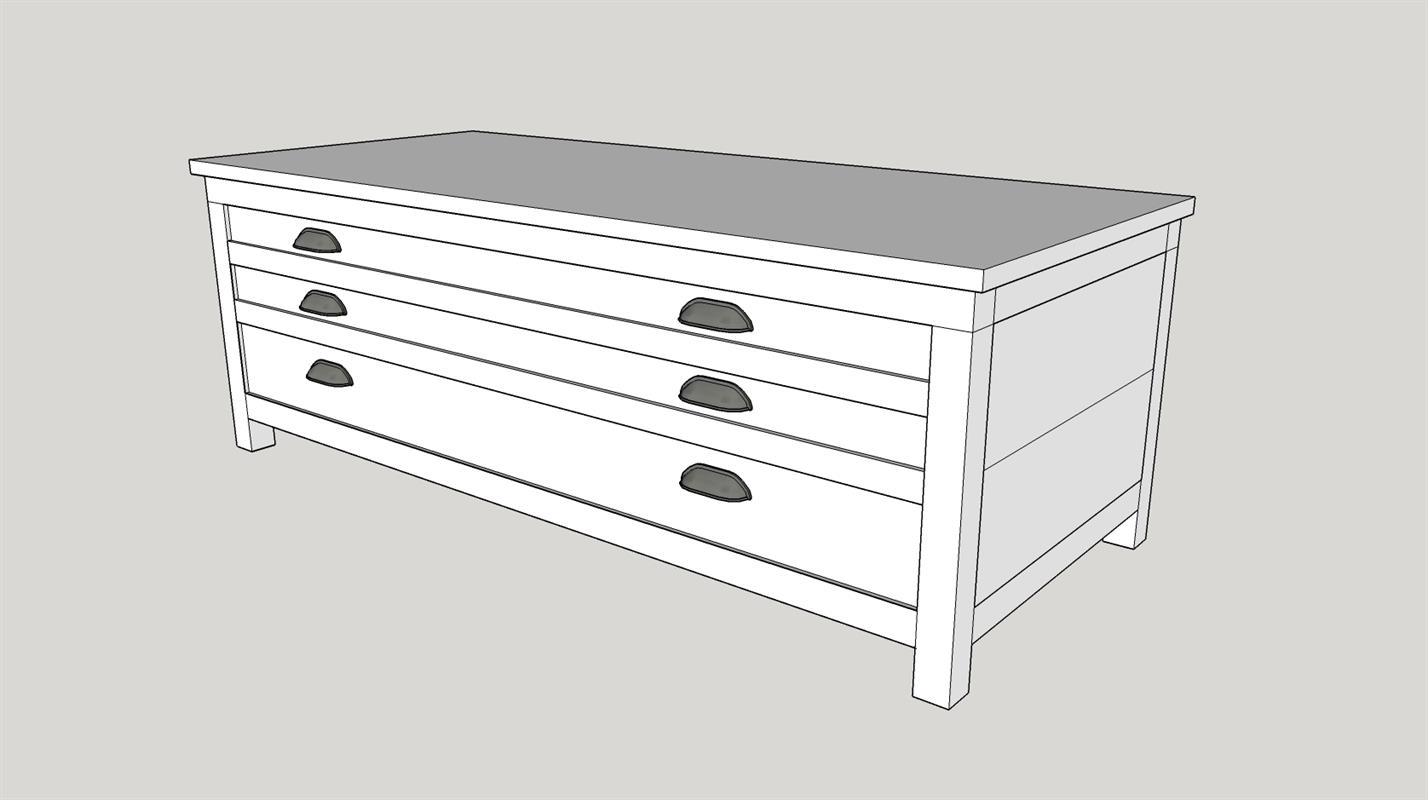 Staining and sealing is a finishing process that involves applying a colored stain and a protective sealant to wood surfaces. This process not only enhances the natural beauty of the wood but also protects it from scratches, spills, and other damages. It is a popular choice for kitchen tables as they are subjected to heavy use and need to be durable and long-lasting.
Staining and sealing your kitchen table
is an essential step in maintaining its appearance and prolonging its lifespan. Without proper protection, wood surfaces can become dull, faded, and damaged over time. Additionally, an unprotected kitchen table is more susceptible to stains and water damage, which can be costly to repair.
Benefits of Staining and Sealing Your Kitchen Table
 One of the main benefits of staining and sealing your kitchen table is that it adds character and charm to your home design. With a variety of stain colors available, you can choose one that complements your kitchen's overall aesthetic. Whether you prefer a rustic, modern, or traditional look, there is a stain color that can elevate your kitchen table's design.
Moreover, staining and sealing protect your kitchen table from spills, scratches, and daily wear and tear. This is especially important in a kitchen where spills and messes are inevitable. The sealant acts as a barrier, preventing any liquid or food from seeping into the wood and causing damage. It also makes cleaning up spills much easier and quicker.
Staining and sealing your kitchen table
also adds value to your home. A well-maintained kitchen table is an attractive feature for potential buyers. By investing in staining and sealing, you are not only enhancing the look and protection of your kitchen table, but you are also increasing the value of your home.
In conclusion,
staining and sealing your kitchen table
is an essential step in creating a beautiful and functional home design. Not only does it enhance the appearance of your kitchen table, but it also provides protection and adds value to your home. So, if you want to make a lasting impression with your kitchen design, consider staining and sealing your kitchen table today.




:max_bytes(150000):strip_icc()/designersbuildersinc_119435621_173557914265817_3339330568184216681_n-ee0c803d12614d058ba1c65fd145e93b.jpg)


