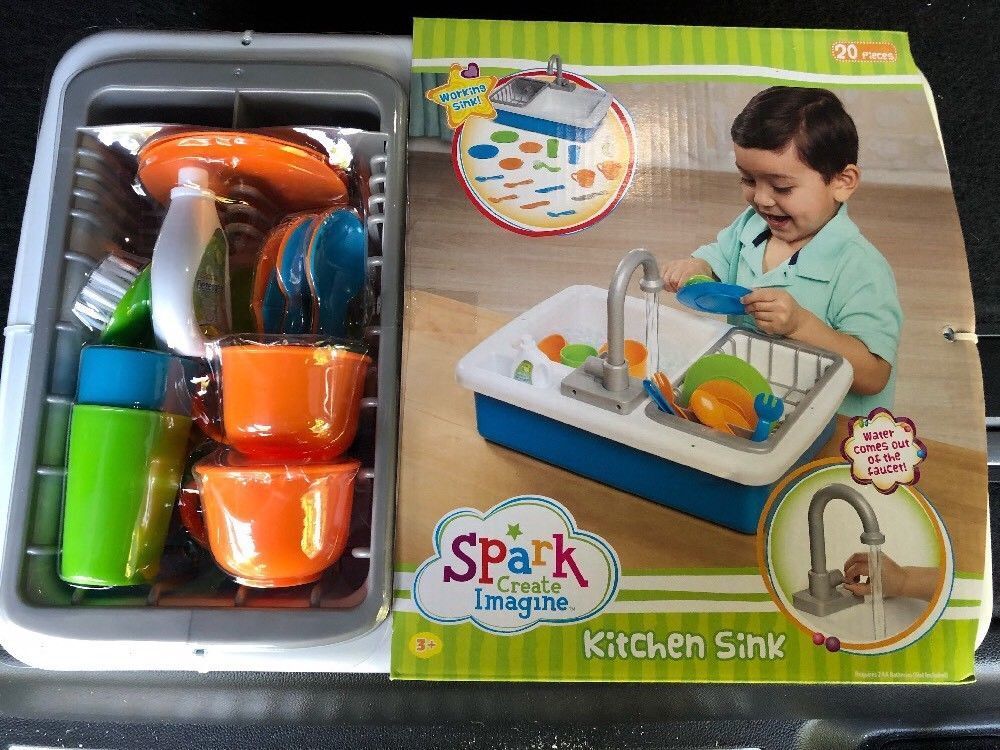
Spark Kitchen Sink Directions
If you're a fan of cooking and spending time in the kitchen, then the Spark Kitchen Sink is a must-have for your home. This innovative kitchen sink offers a wide range of features and benefits that will make your kitchen experience more efficient and enjoyable. In this article, we'll provide you with 10 easy-to-follow directions for using the Spark Kitchen Sink.


Spark Kitchen Sink Directions


How to Use the Spark Kitchen Sink
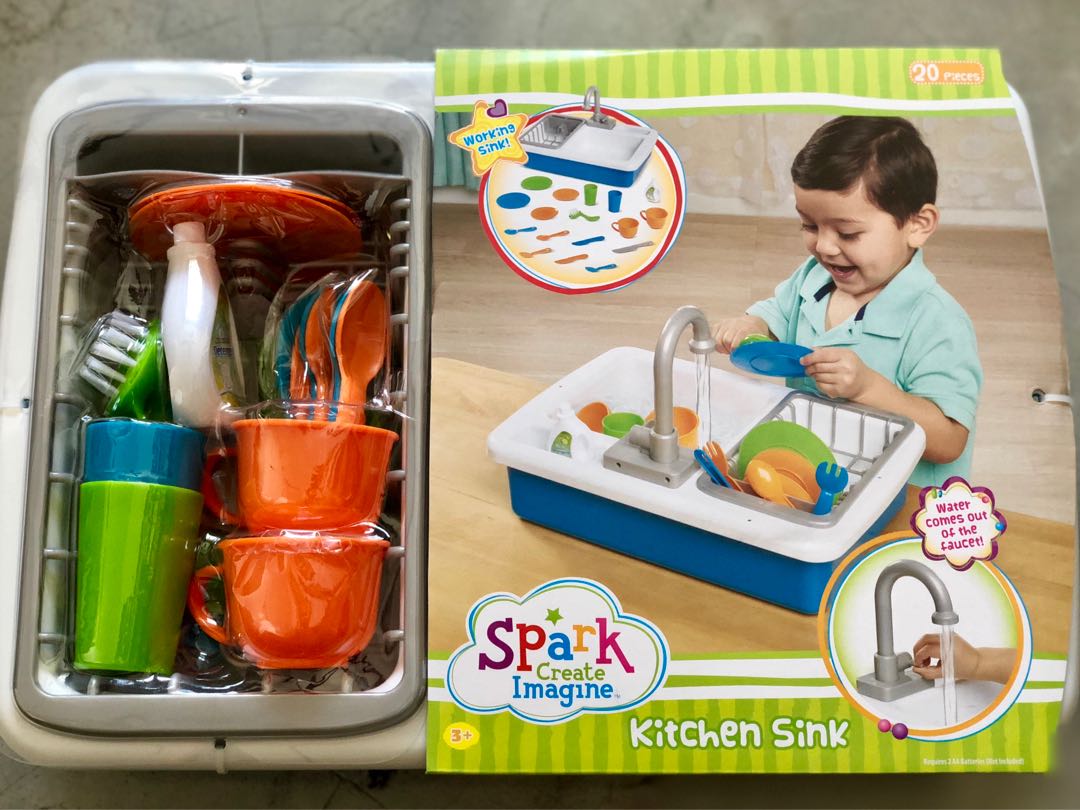
The Spark Kitchen Sink is designed to make your dishwashing and food preparation tasks a breeze. To use the sink, simply turn on the water and adjust the temperature and pressure to your liking. Then, place your dirty dishes and utensils in the sink and use the built-in sprayer to rinse them off. The sink also features a detachable drying rack for air-drying your dishes.


How to Use the Spark Kitchen Sink


Spark Kitchen Sink Assembly Instructions
Assembling the Spark Kitchen Sink is a simple and straightforward process. The sink comes with all the necessary parts and tools, along with a user manual to guide you through the assembly. The entire process should take no more than 30 minutes, and you'll have a fully functional sink ready for use.


Spark Kitchen Sink Assembly Instructions


Spark Kitchen Sink User Manual
The Spark Kitchen Sink user manual is a comprehensive guide that provides detailed instructions on how to set up, use, and maintain your sink. It also includes troubleshooting tips for common issues that may arise. Make sure to read the user manual carefully before using your sink for the first time.


Spark Kitchen Sink User Manual
Spark Kitchen Sink Setup Guide
Setting up your Spark Kitchen Sink is a breeze. Simply follow the step-by-step instructions provided in the user manual. The sink is designed to fit most standard kitchen countertops and can be easily installed by anyone with basic DIY skills. Once set up, you'll be ready to enjoy the benefits of this amazing kitchen sink.

Spark Kitchen Sink Setup Guide


Spark Kitchen Sink Troubleshooting
If you encounter any issues with your Spark Kitchen Sink, don't worry. The sink comes with a troubleshooting guide that can help you resolve common problems. For more complex issues, you can contact the manufacturer's customer support for assistance.


Spark Kitchen Sink Troubleshooting


Spark Kitchen Sink Maintenance Tips
To ensure your Spark Kitchen Sink stays in top condition, it's important to follow some basic maintenance tips. These include wiping down the sink after each use, using mild cleaning products, and avoiding sharp objects that can scratch the sink's surface. With proper maintenance, your Spark Kitchen Sink will last for years to come.

Spark Kitchen Sink Maintenance Tips

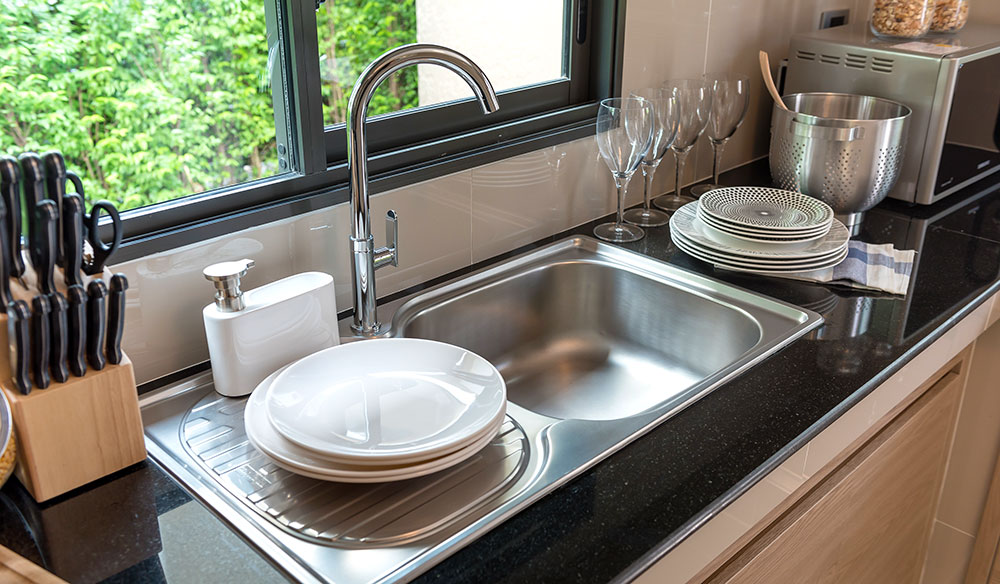
Spark Kitchen Sink Cleaning Instructions
Cleaning the Spark Kitchen Sink is a breeze. Simply use a mild dish soap and warm water to wipe down the sink's surface. For tougher stains, you can use a soft scrub brush. Avoid using harsh chemicals or abrasive cleaners as they can damage the sink's finish. Regular cleaning will keep your sink looking shiny and new.


Spark Kitchen Sink Cleaning Instructions


:max_bytes(150000):strip_icc()/GettyImages-1405648470-50c9637c8e74400bbabbf760a7002c01.jpg)
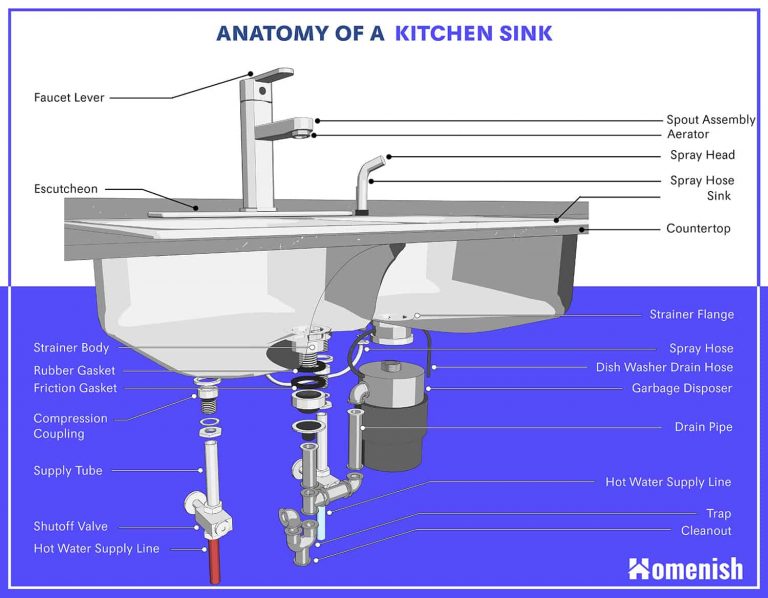
Spark Kitchen Sink Parts List
The Spark Kitchen Sink comes with all the necessary parts for assembly, including the sink, faucet, sprayer, and drying rack. In case you need to replace any parts, you can refer to the parts list provided in the user manual. You can also contact the manufacturer to order specific parts if needed.

Spark Kitchen Sink Parts List


Spark Kitchen Sink Warranty Information
The Spark Kitchen Sink comes with a limited warranty that covers any defects in materials or workmanship for a specified period. Make sure to register your product and keep your proof of purchase handy in case you need to make a warranty claim. With this warranty, you can have peace of mind knowing that your Spark Kitchen Sink is a high-quality product that is built to last.

Spark Kitchen Sink Warranty Information
Creating a Functional and Stylish Kitchen with Spark Kitchen Sink Directions
The Importance of a Well-Designed Kitchen
 When it comes to house design, the kitchen is often considered the heart of the home. It is where delicious meals are prepared, meaningful conversations take place, and memories are made. As the hub of activity, it is crucial to have a kitchen that is not only aesthetically pleasing but also functional and efficient. This is where Spark Kitchen Sink Directions come in, providing a step-by-step guide to creating a kitchen that is both stylish and practical.
Maximizing Space and Storage
 One of the key elements to consider when designing a kitchen is space and storage. Spark Kitchen Sink Directions emphasize the importance of utilizing every inch of available space and incorporating smart storage solutions. This not only creates a clutter-free and organized kitchen but also makes it easier to access and use kitchen tools and appliances. From pull-out shelves and hidden cabinets to overhead storage and under-sink organizers, Spark Kitchen Sink Directions offer a variety of options to make the most out of your kitchen space.
Choosing the Right Fixtures and Finishes
 In addition to functionality and storage, the overall look and feel of a kitchen are also crucial. The right fixtures and finishes can transform a plain kitchen into a stylish and inviting space. Spark Kitchen Sink Directions provide guidance on selecting the perfect sink, faucet, and countertops to complement your kitchen design. From stainless steel to granite, matte black to brushed nickel, there are endless options to choose from to create a kitchen that reflects your personal style.
Creating a Focal Point
 Another important aspect of kitchen design is creating a focal point. This could be a statement piece such as a bold backsplash, a unique light fixture, or a stunning kitchen island. Spark Kitchen Sink Directions suggest incorporating a striking sink as the focal point of your kitchen. With various styles, colors, and materials available, a well-chosen sink can elevate the entire look of your kitchen and become a conversation starter for guests.
In Conclusion
 A well-designed kitchen is a combination of functionality, style, and personal touches. With the help of Spark Kitchen Sink Directions, you can create a kitchen that not only meets your daily needs but also reflects your unique taste and personality. So, whether you are renovating your existing kitchen or designing a new one, following these directions can help you achieve a functional and stylish space that you and your family will love.