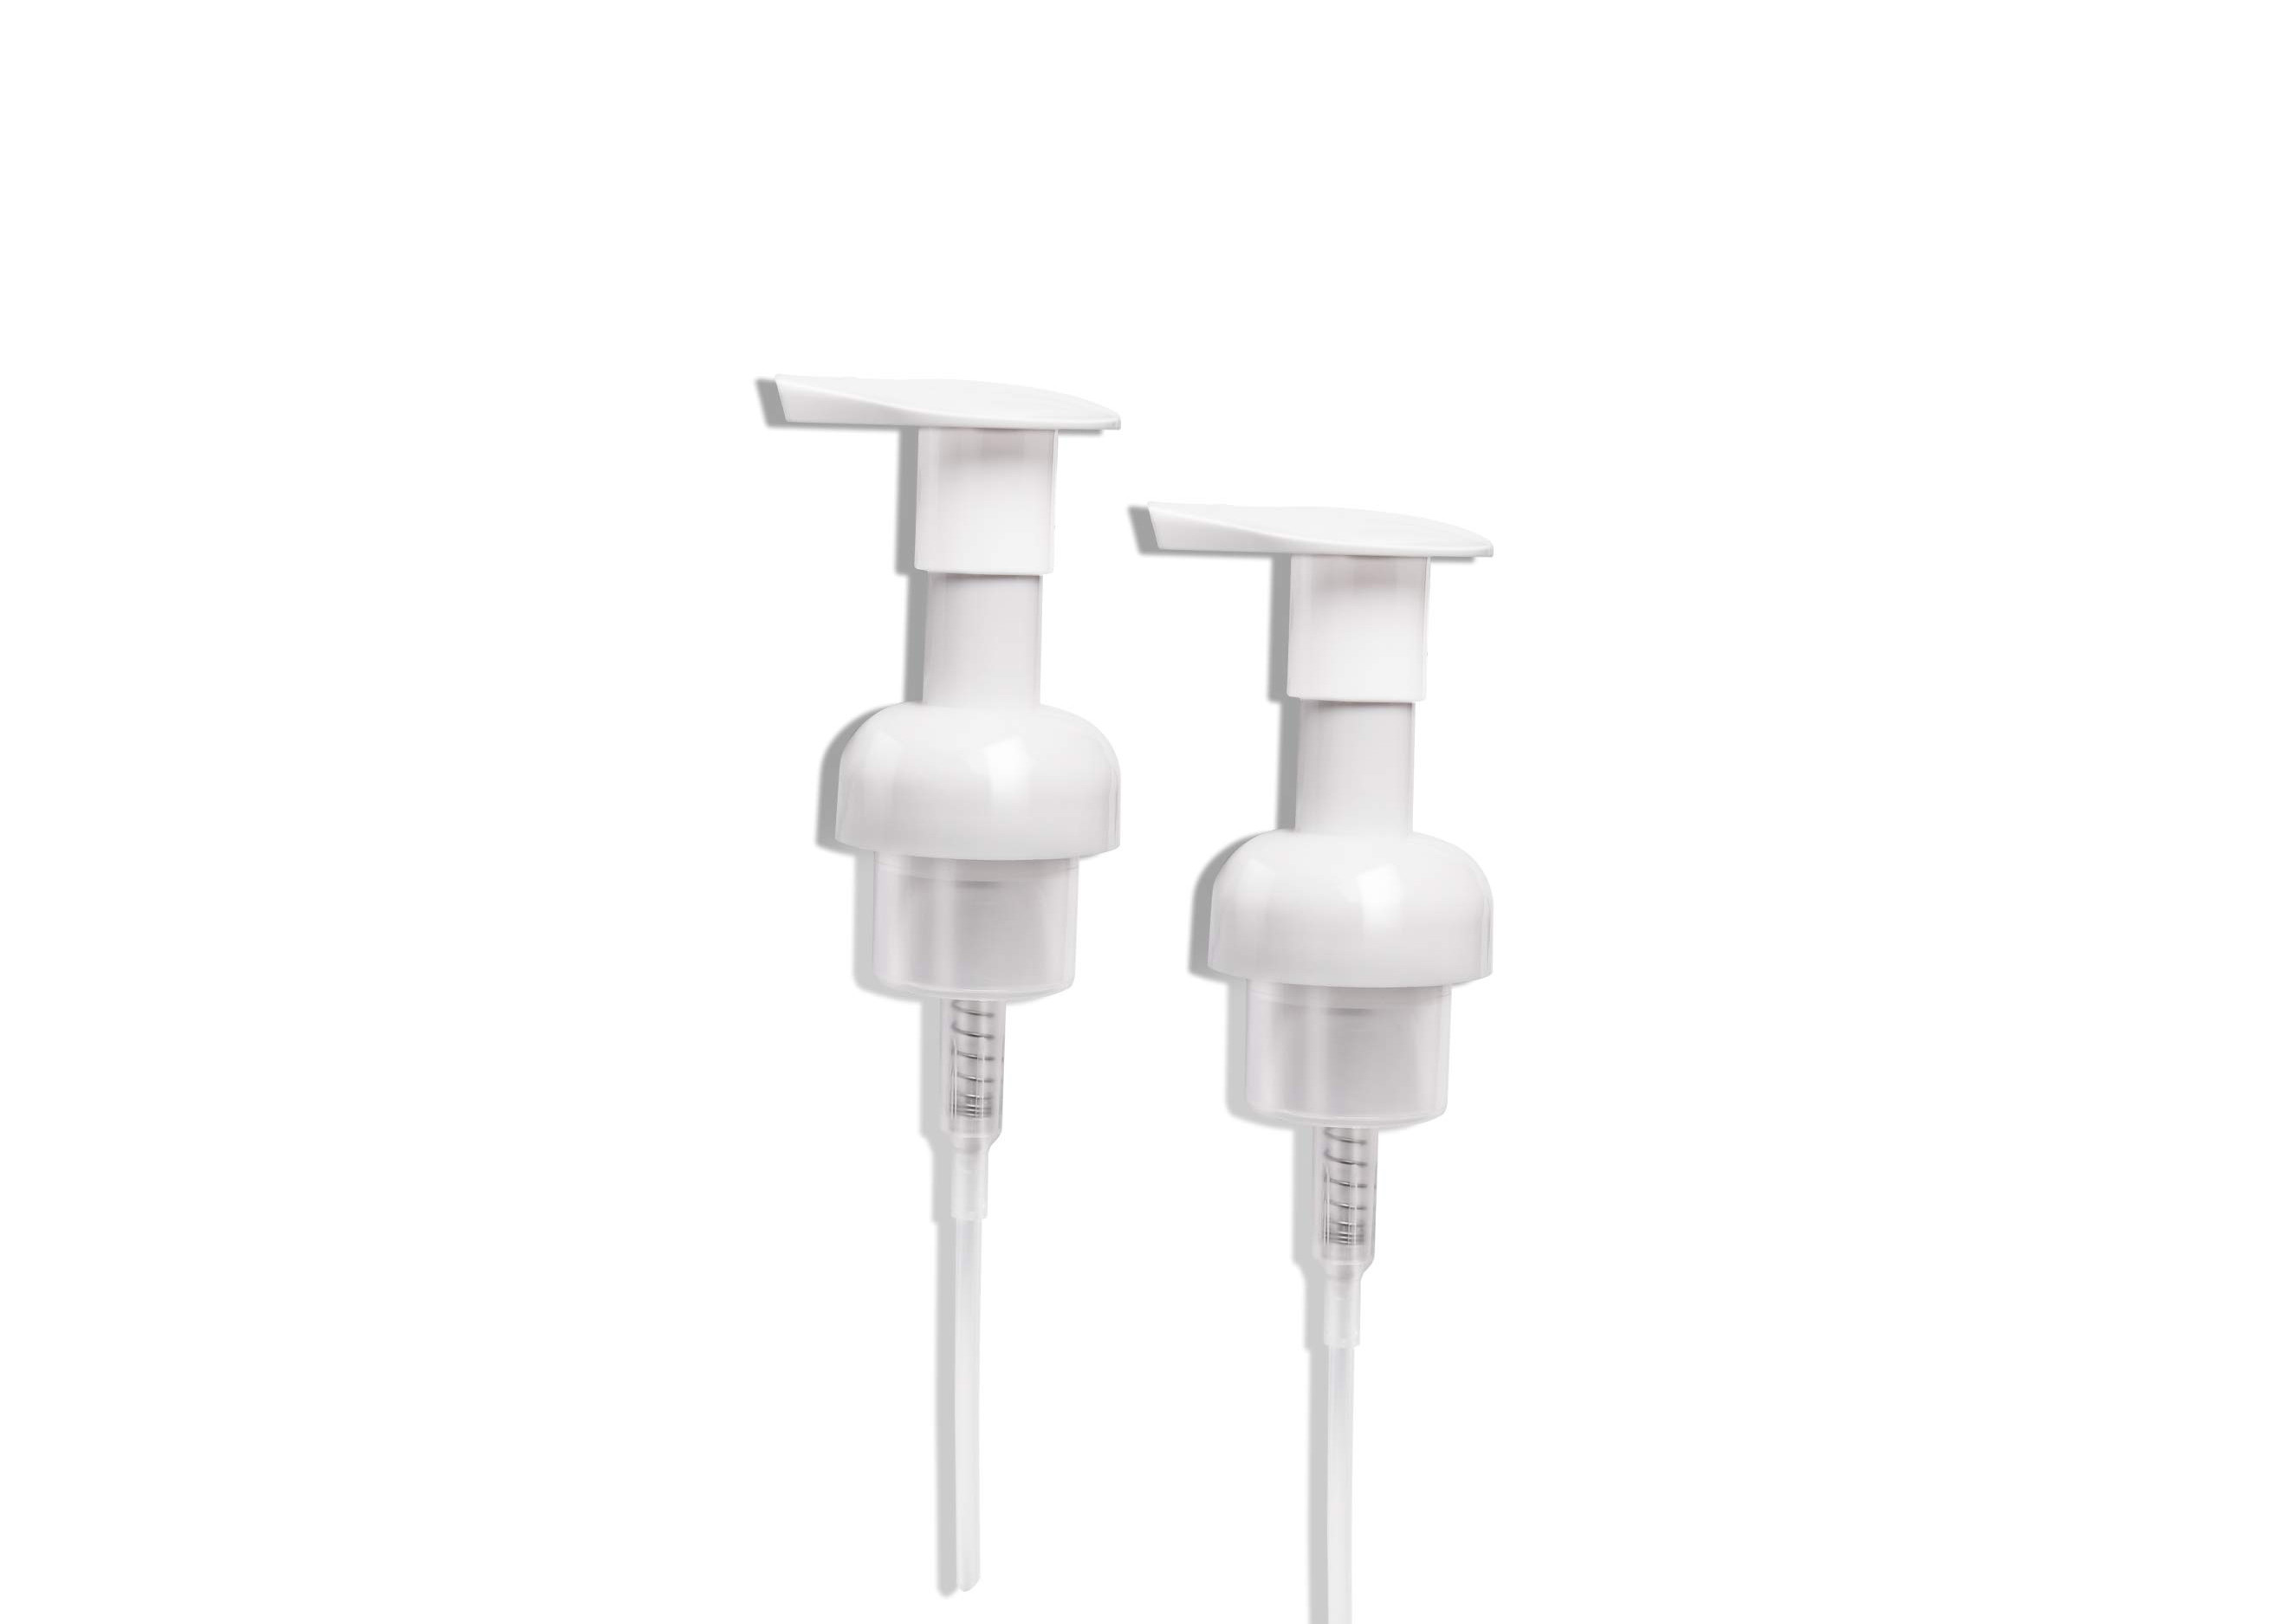
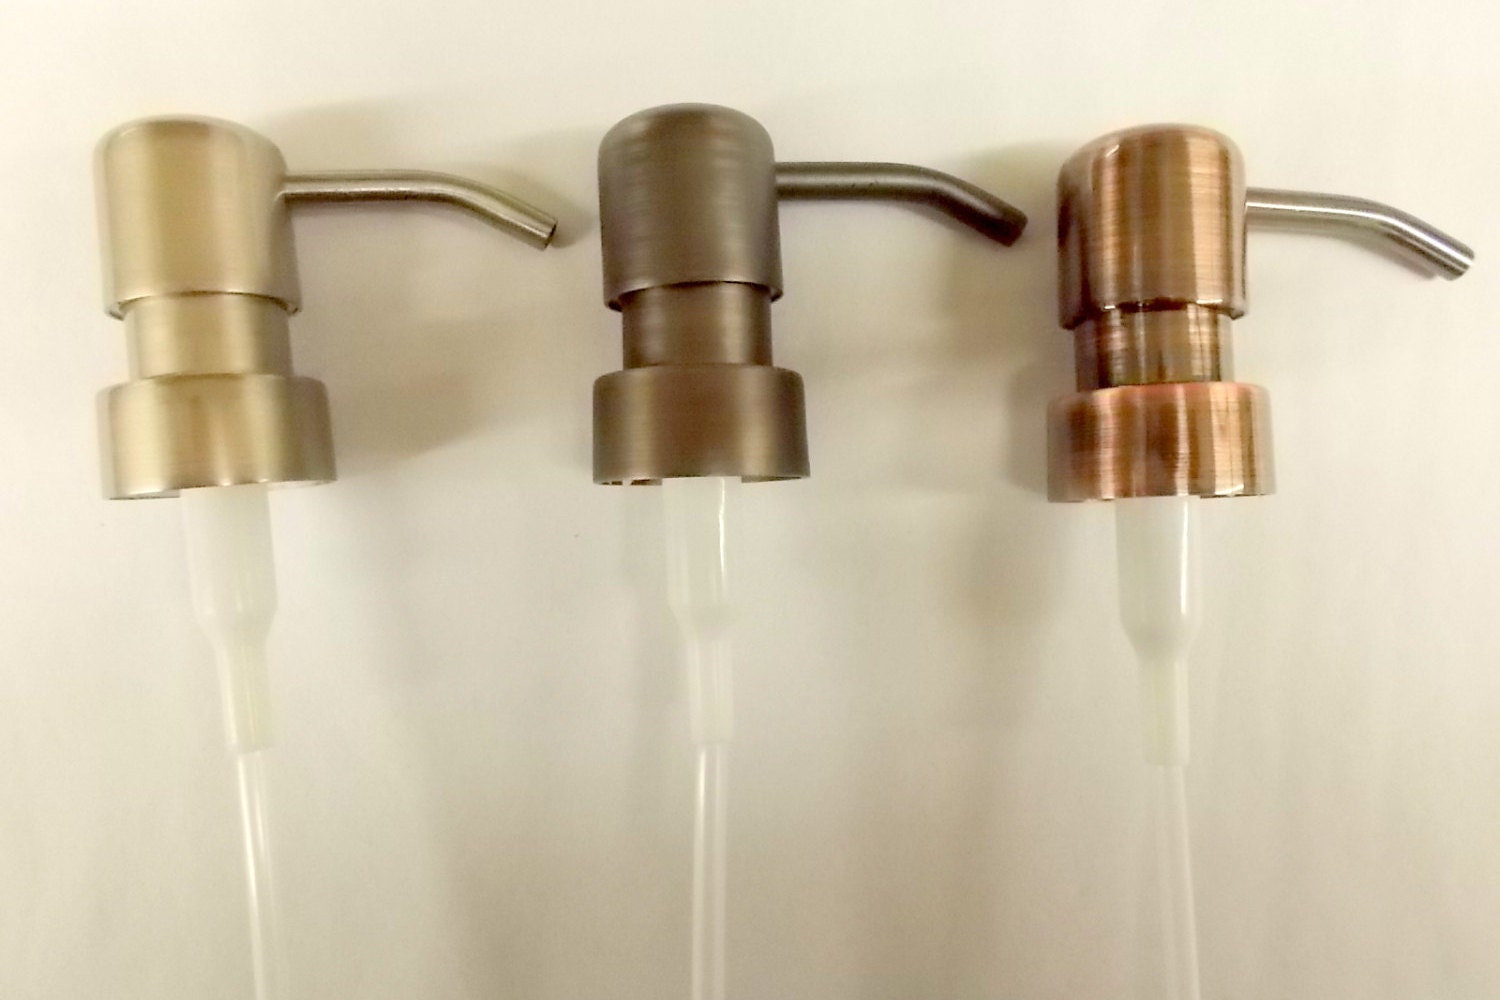
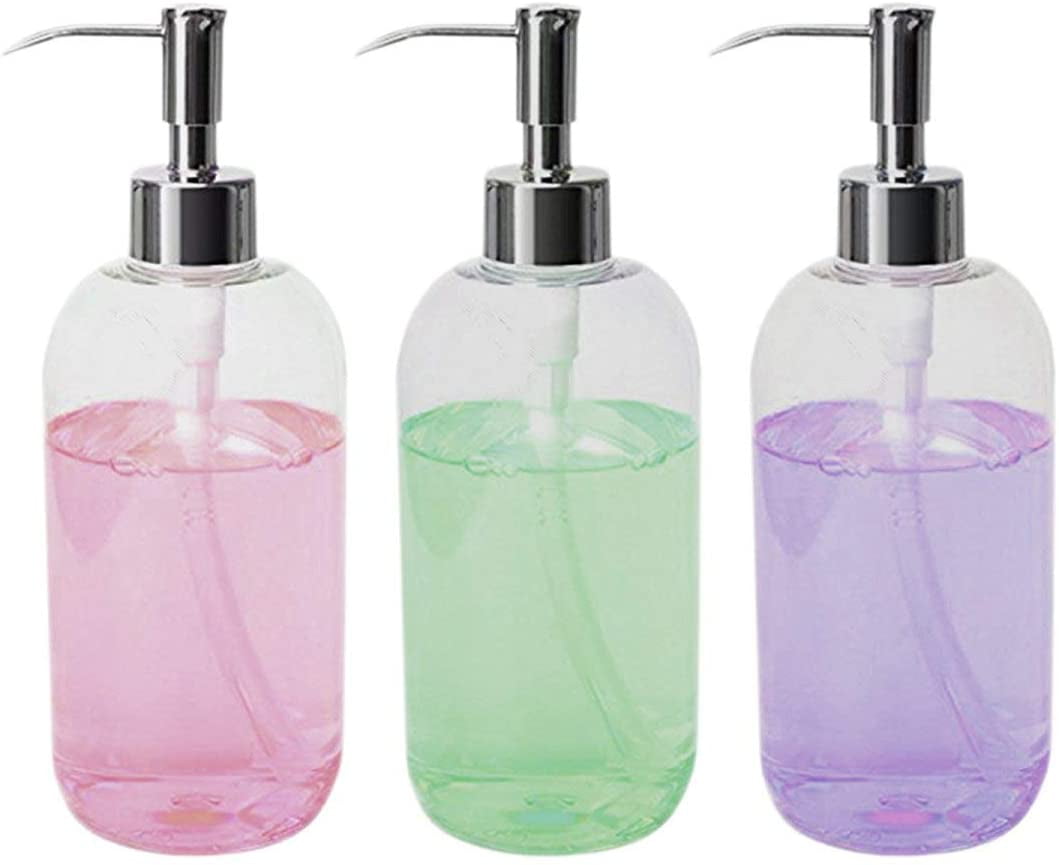
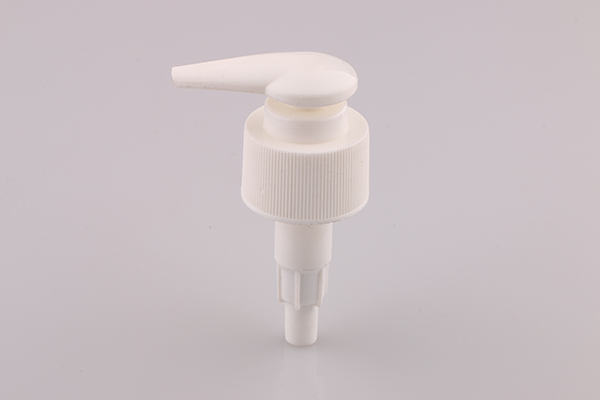
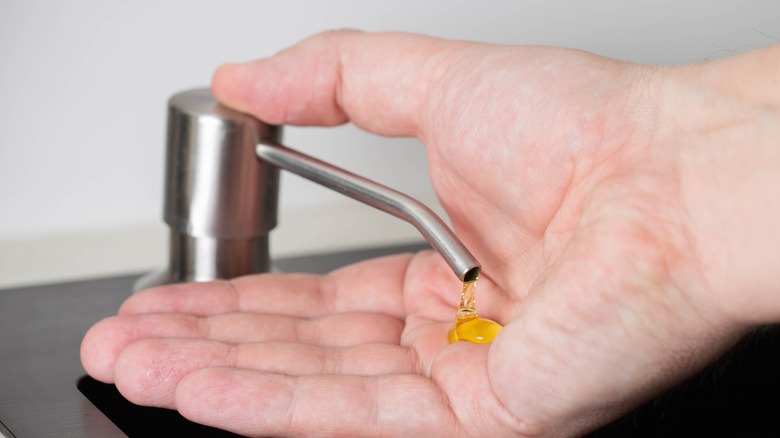
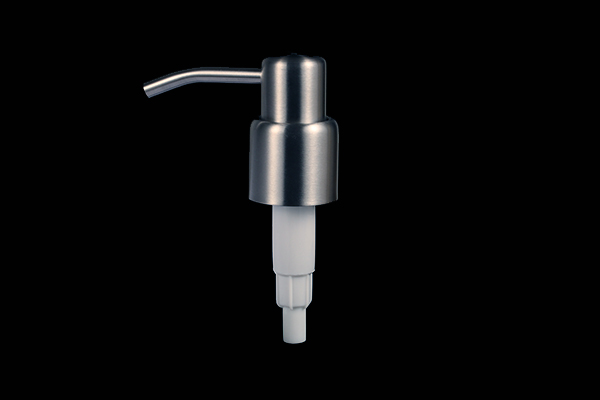
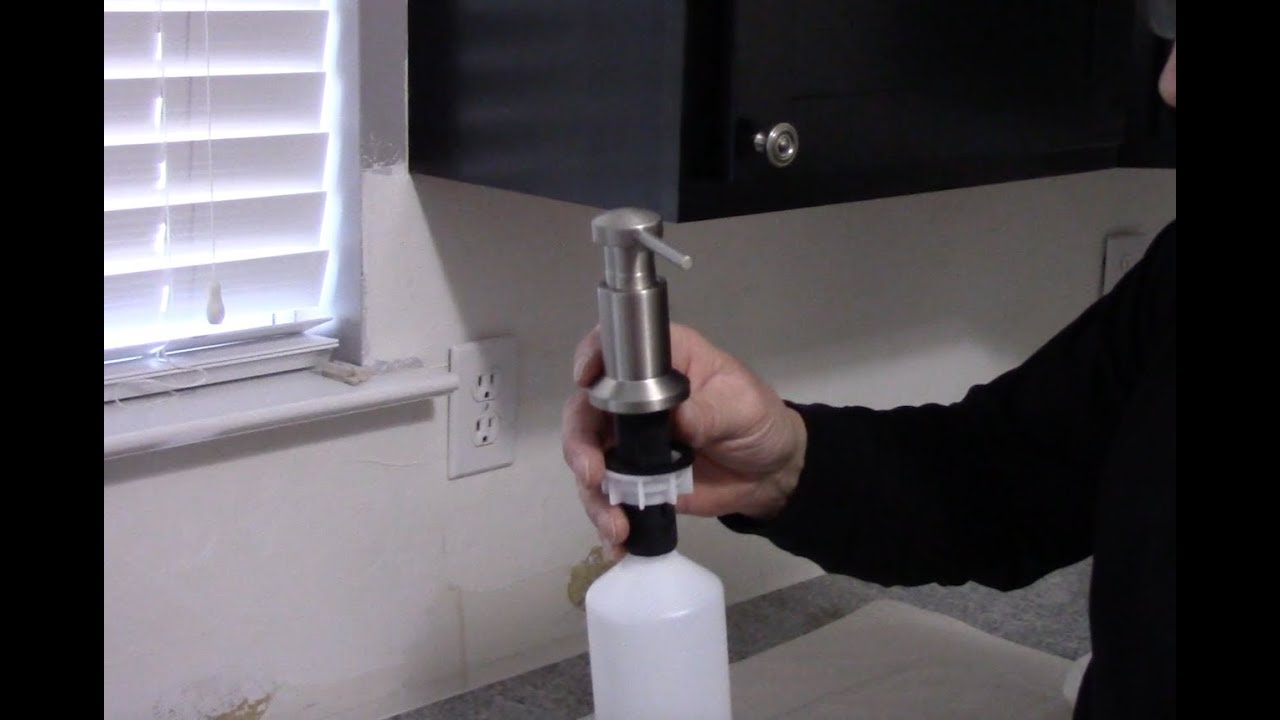
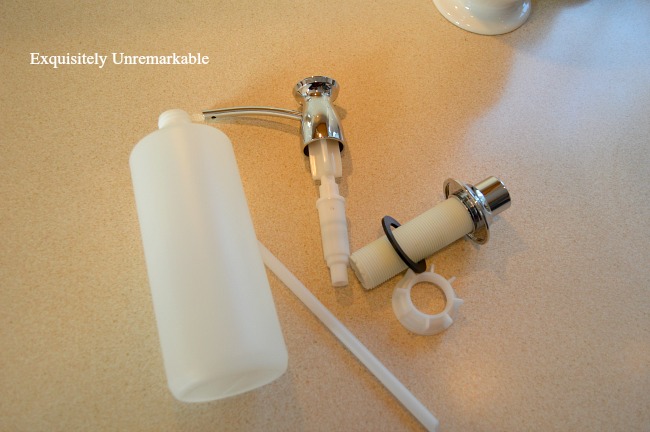
If your soap dispenser pump is not working properly, it may be time to replace it. The pump is an essential part of the soap dispenser, as it is responsible for dispensing the soap onto your hands. Over time, the pump can become worn out or clogged, making it difficult to use. Fortunately, replacing the pump is a simple process that can be done in just a few steps. To replace the soap dispenser pump, you will need to first purchase a new pump that is compatible with your soap dispenser. Make sure to check the model number and specifications to ensure a proper fit. Once you have the new pump, you can begin the replacement process. First, remove the old pump from the soap dispenser by unscrewing it from the bottle. You may need to use a pair of pliers to loosen it if it is stuck. Next, insert the new pump into the bottle and screw it in place. Make sure it is securely attached to prevent any leaks. Once the new pump is in place, test it out by pumping the soap onto your hands. If it is working properly, you can dispose of the old pump and enjoy your newly functioning soap dispenser.Soap Dispenser Pump Replacement


Soap Dispenser Pump Replacement


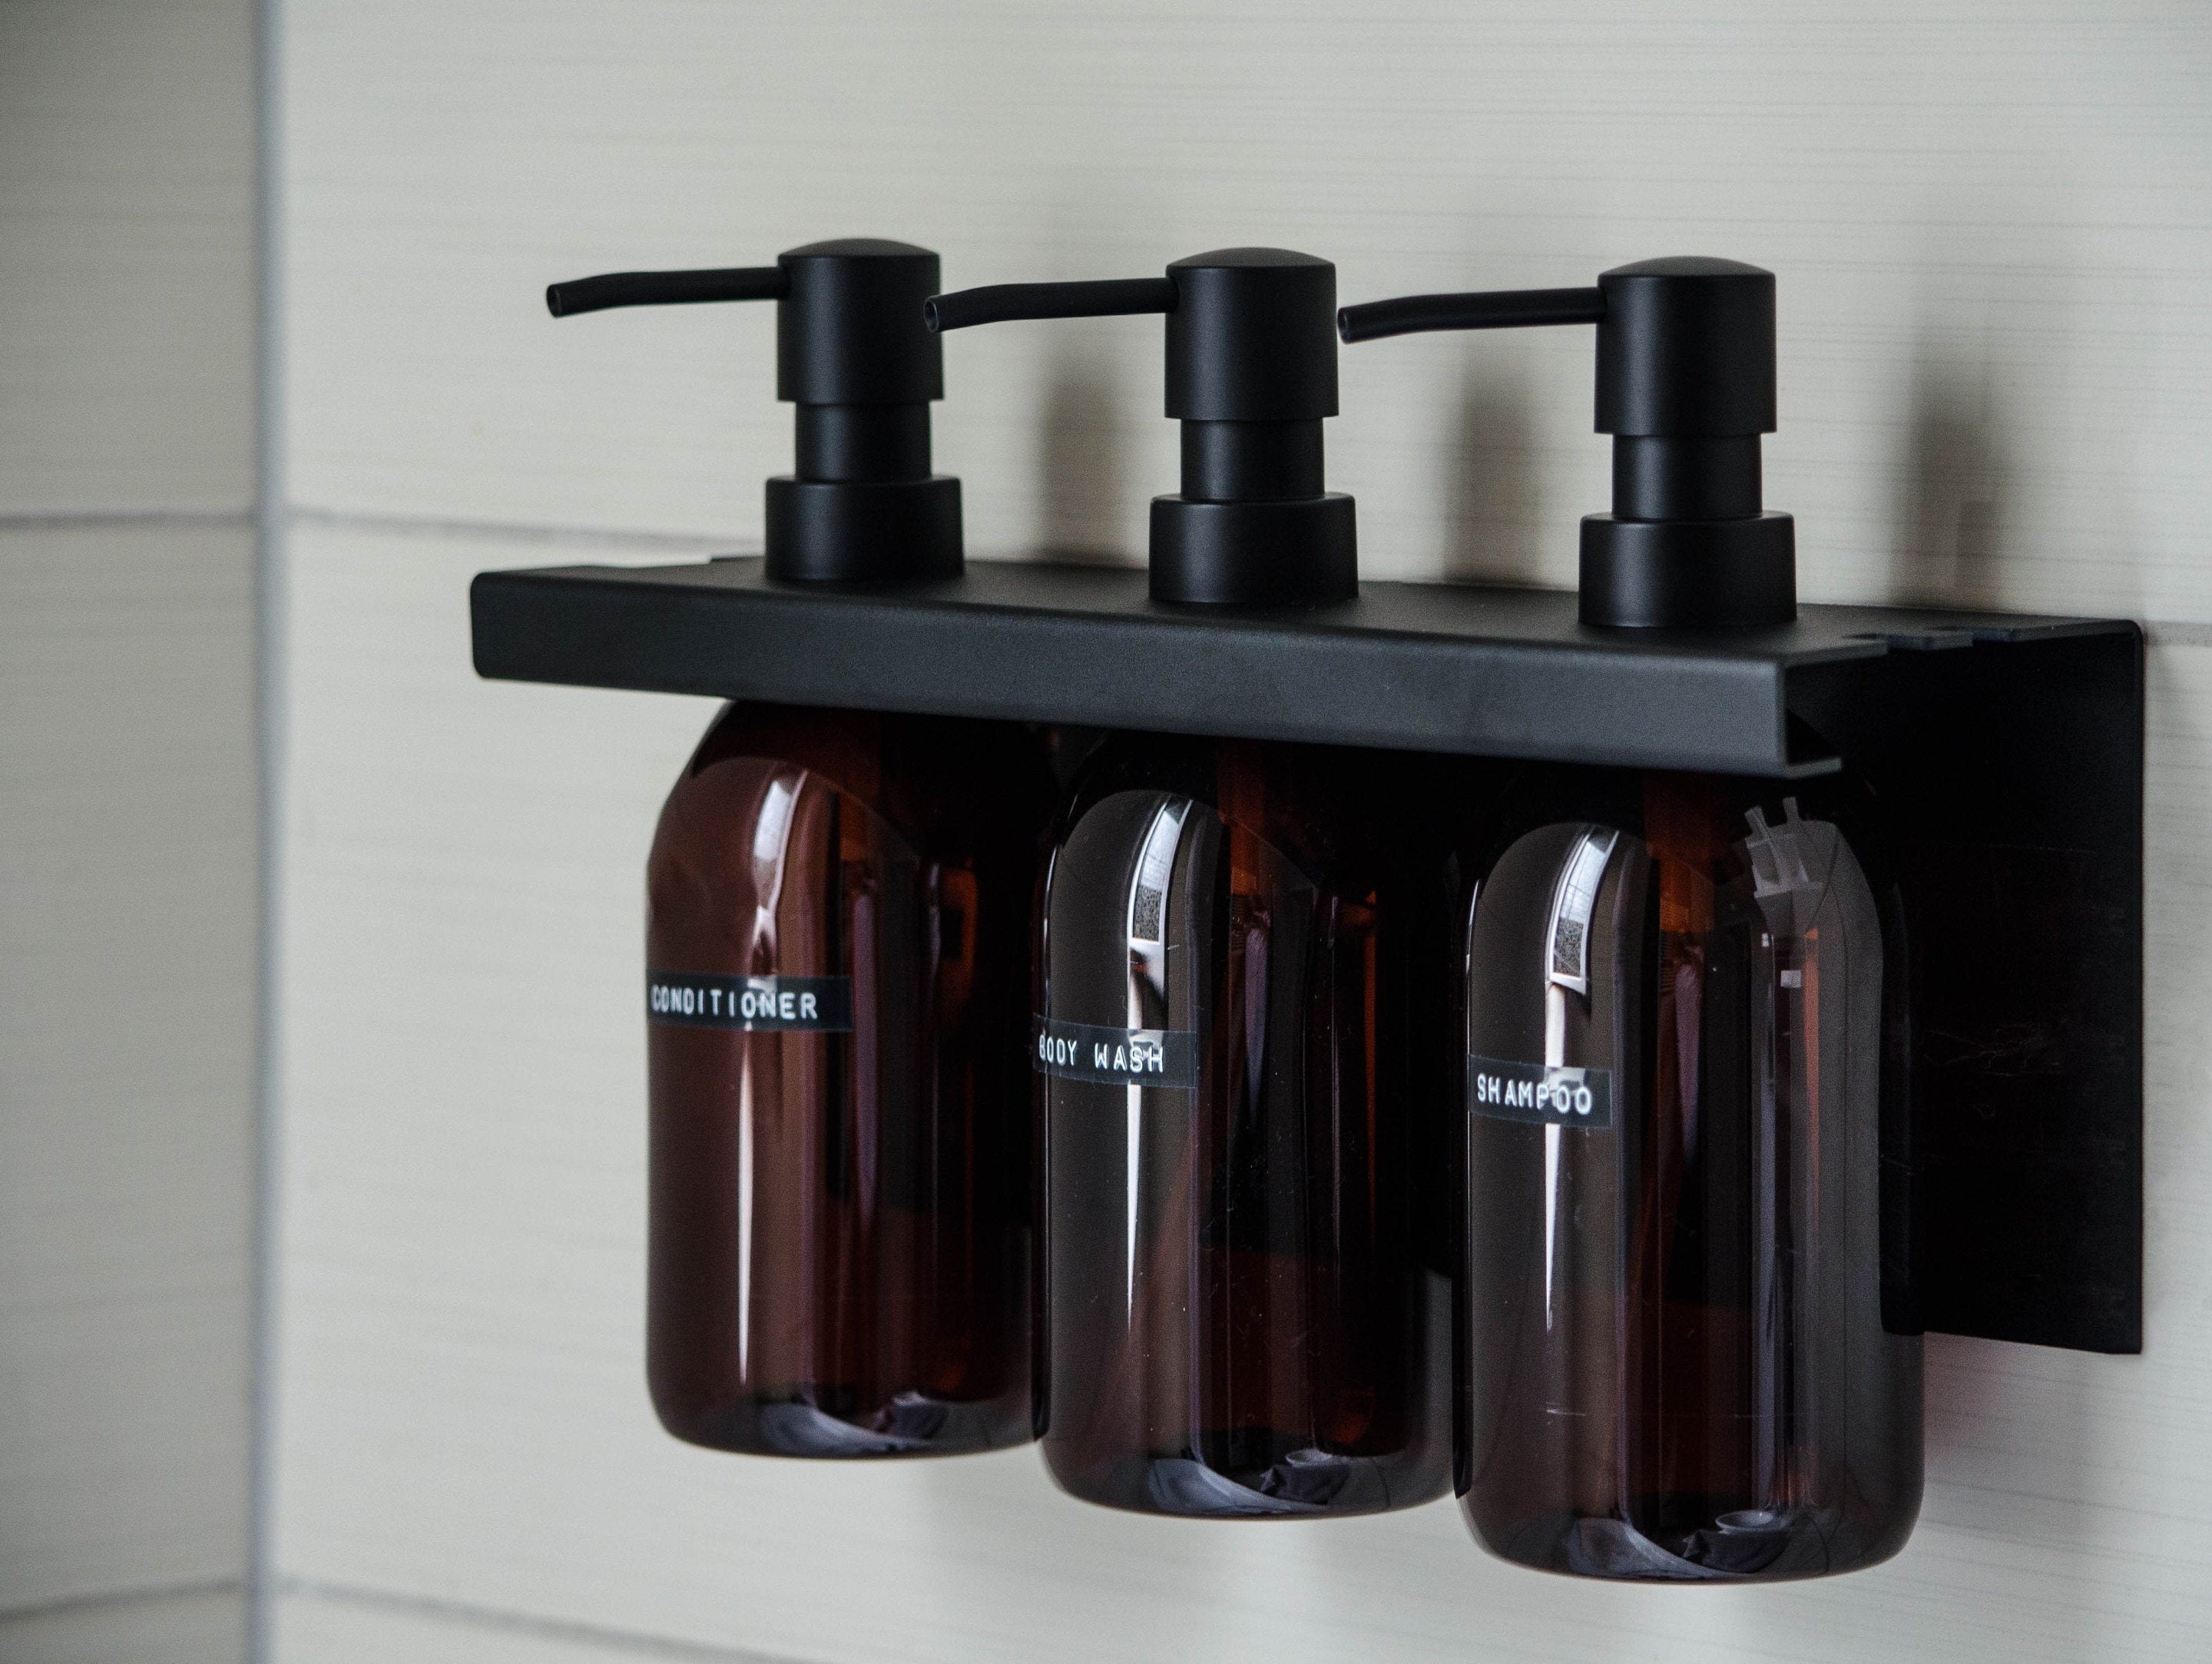
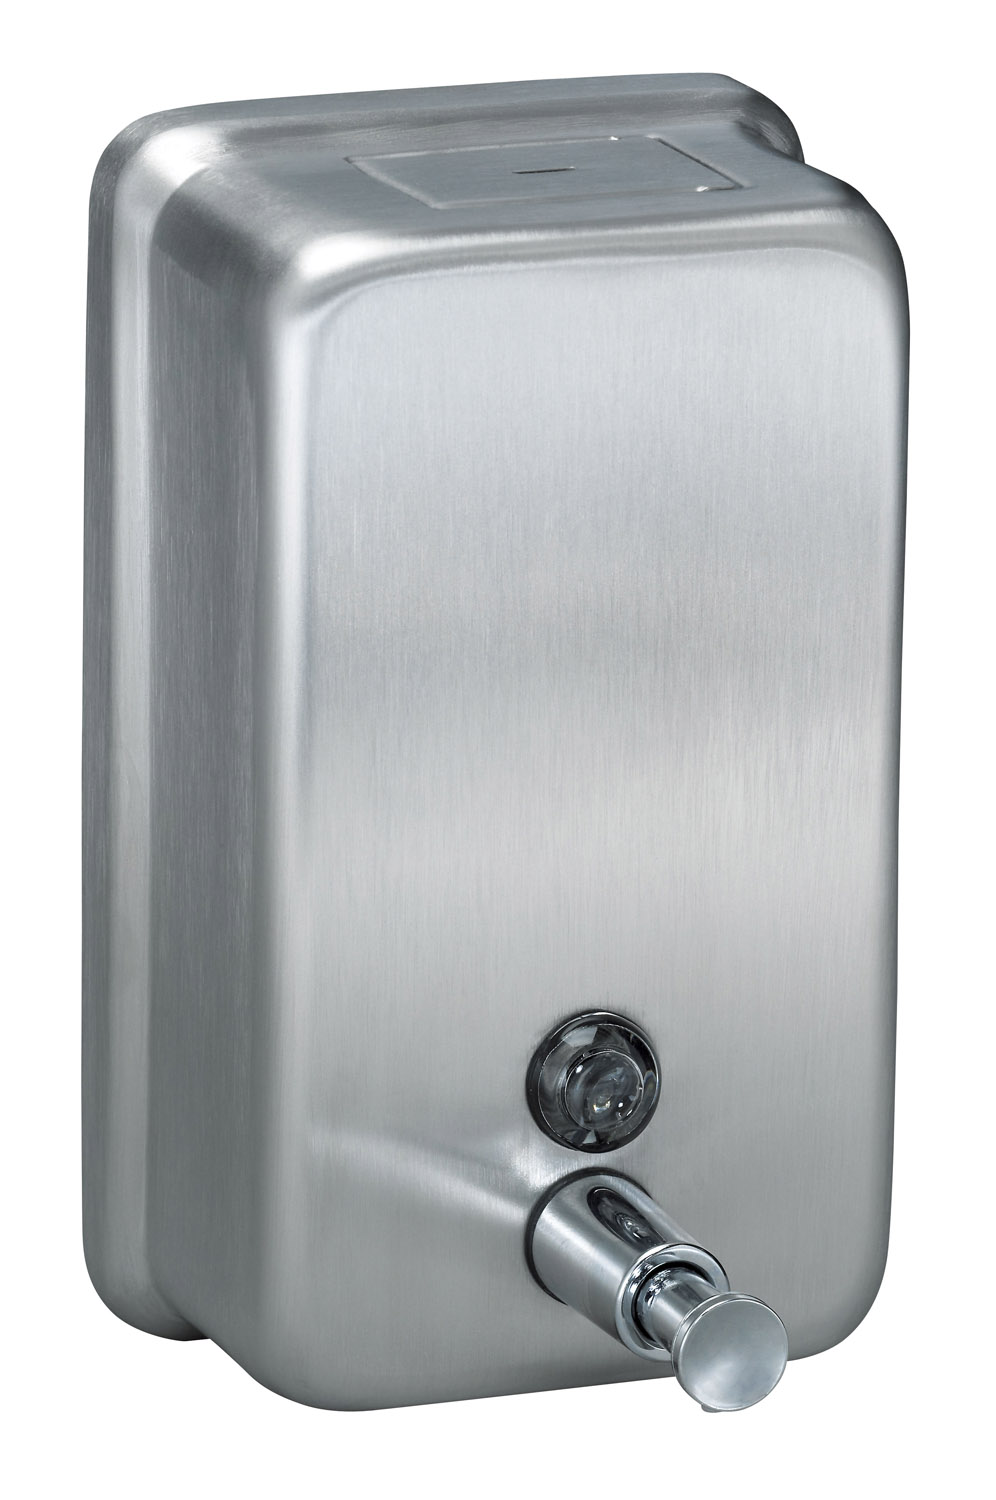
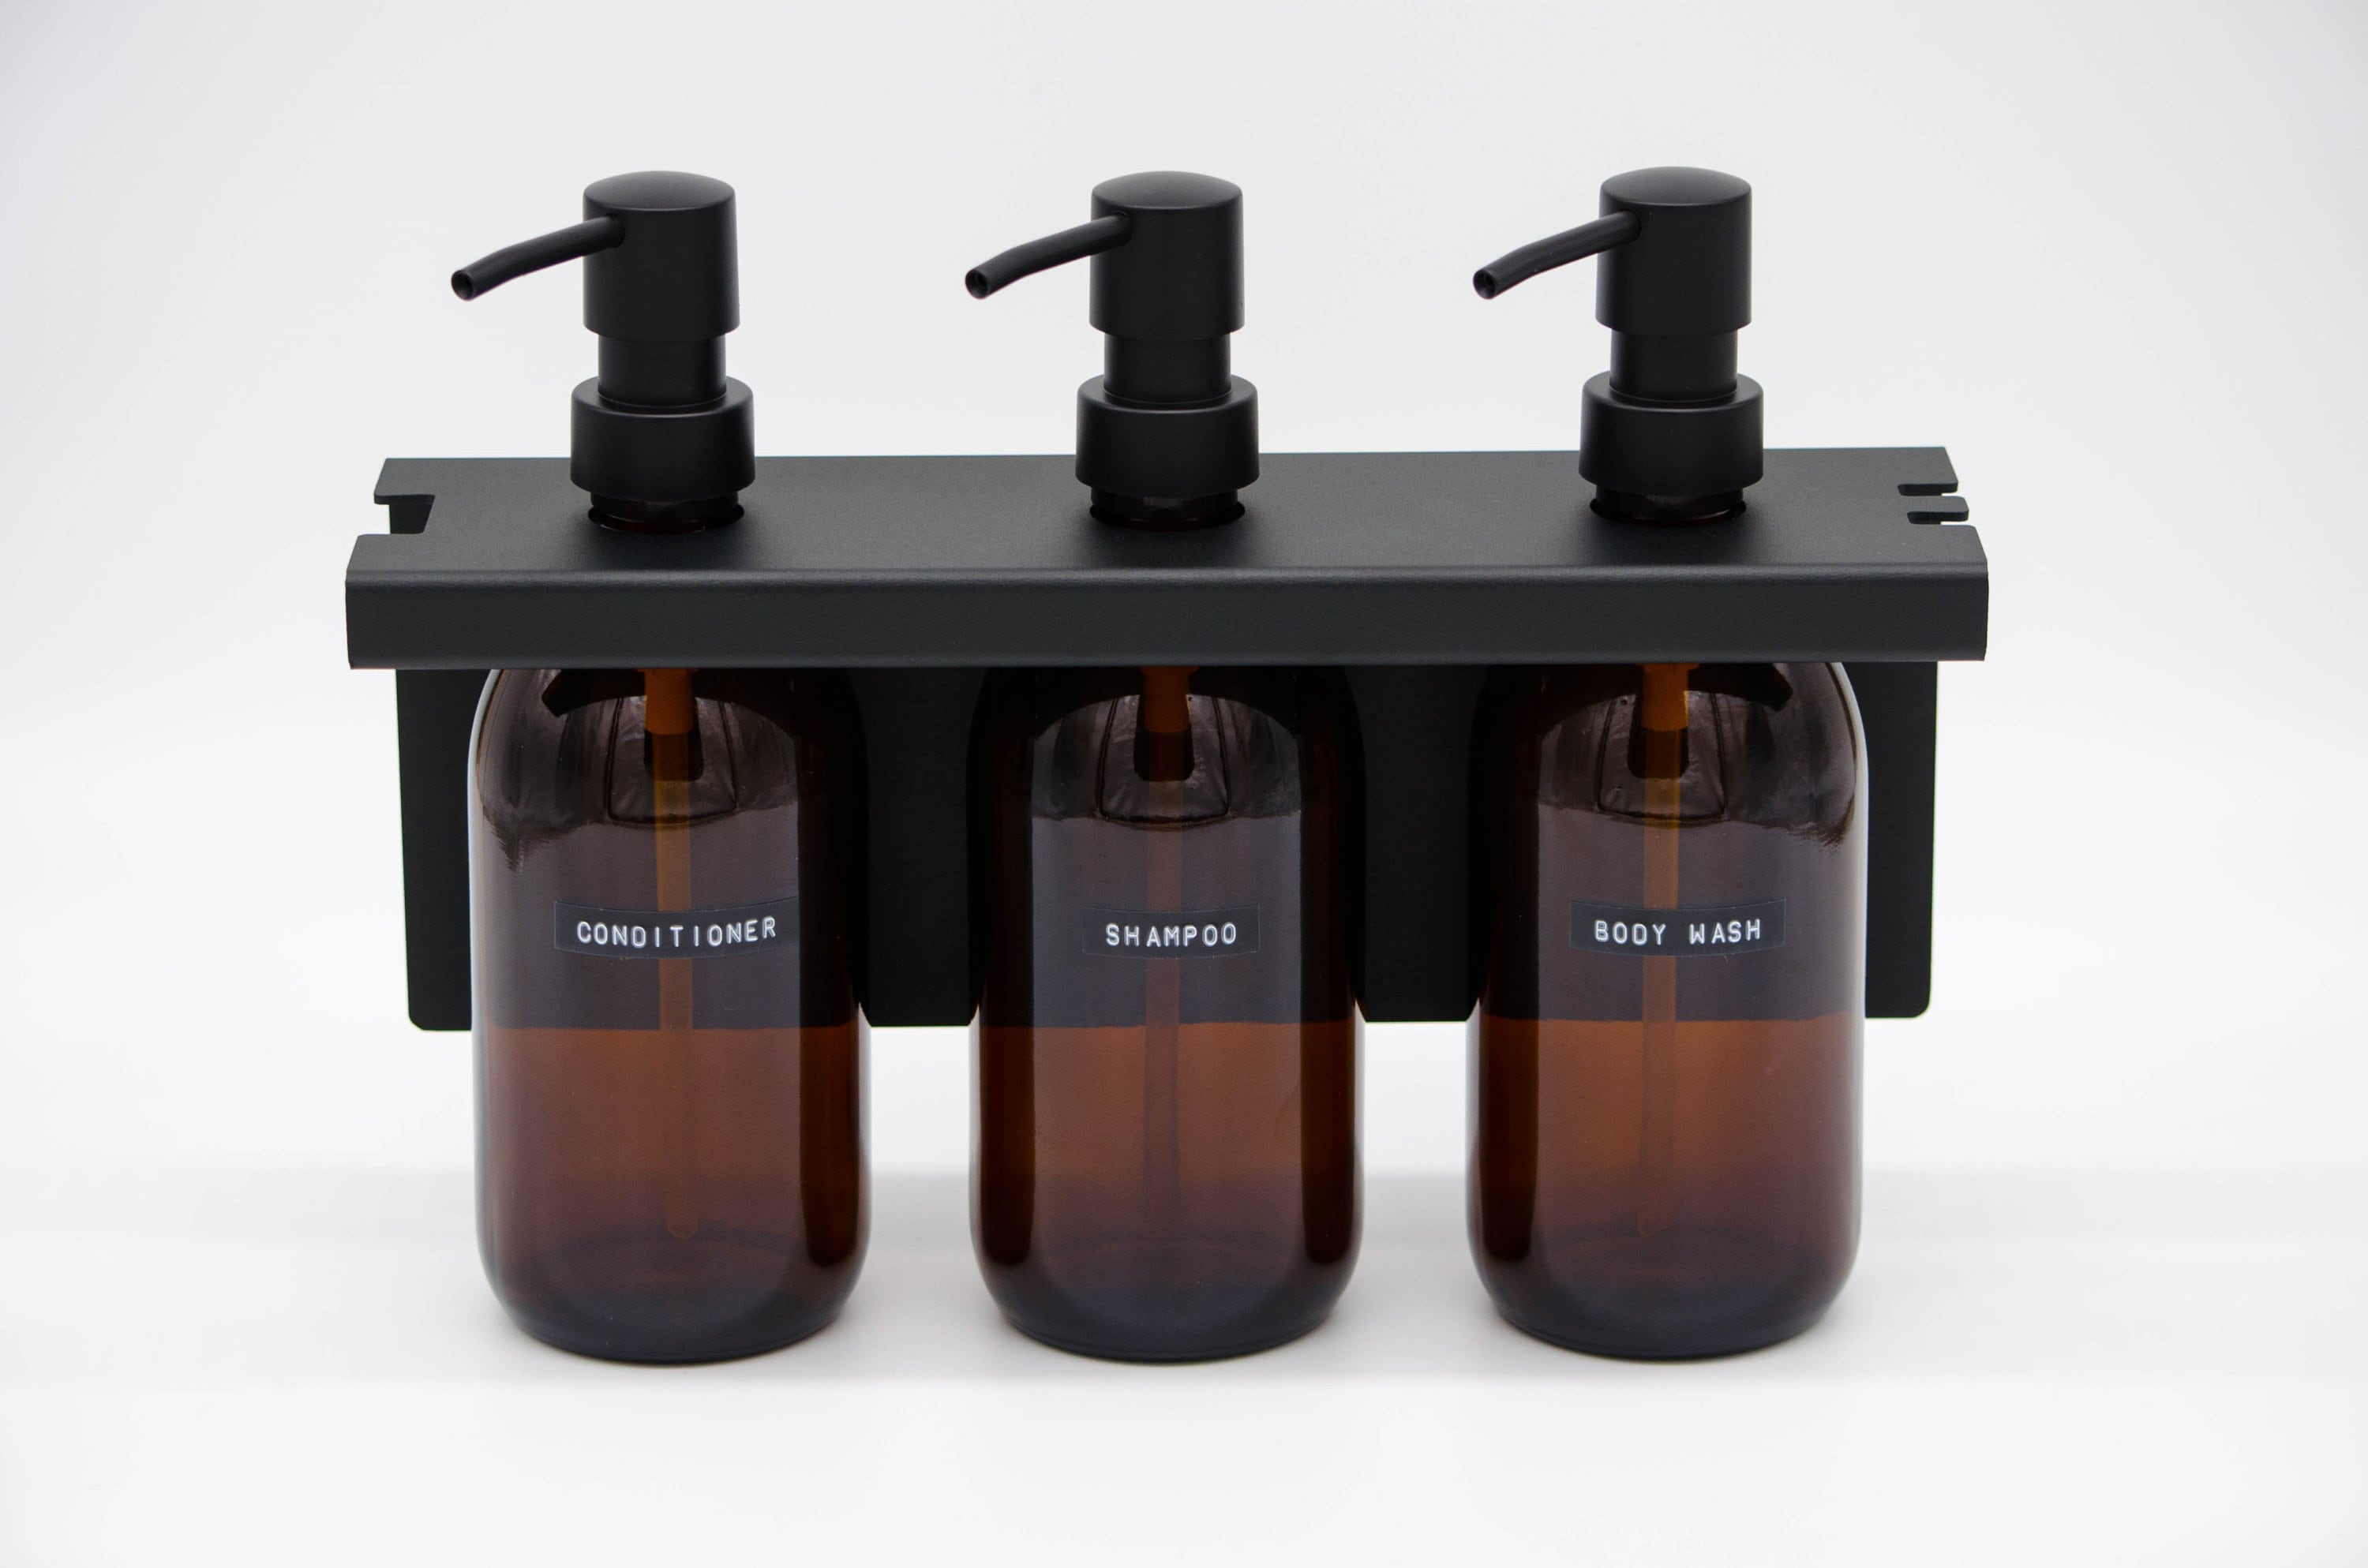
If your soap dispenser bottle is cracked or damaged, it may be time for a replacement. The bottle holds the soap and works in conjunction with the pump to dispense it. A damaged bottle can lead to leaks and can make it difficult to use the soap dispenser. Luckily, replacing the bottle is a simple process that can be done at home. To replace the soap dispenser bottle, you will need to first purchase a new bottle that is compatible with your dispenser. Make sure to check the model number and specifications to ensure a proper fit. Once you have the new bottle, you can begin the replacement process. Start by removing the old bottle from the dispenser. This may involve unscrewing it or simply pulling it off, depending on the design of your dispenser. Once the old bottle is removed, place the new bottle in its place and secure it. Make sure it is properly attached to prevent any leaks. Finally, test out the new bottle by pumping the soap onto your hands. If it is working properly, you can dispose of the old bottle and enjoy your newly functioning soap dispenser.Soap Dispenser Bottle Replacement


Soap Dispenser Bottle Replacement

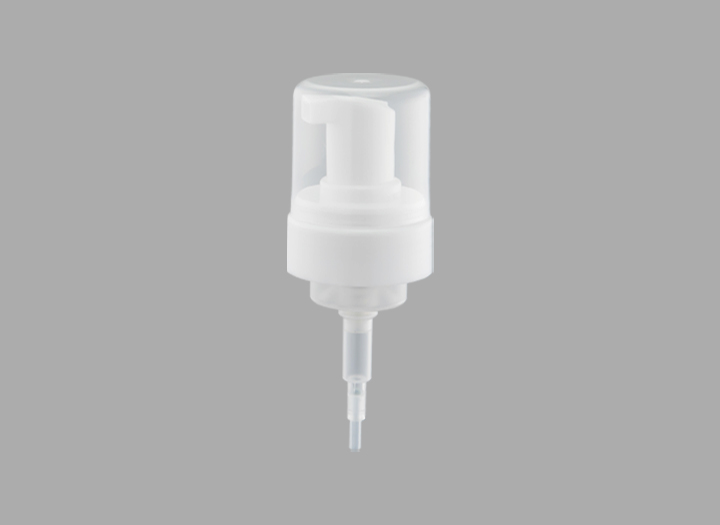
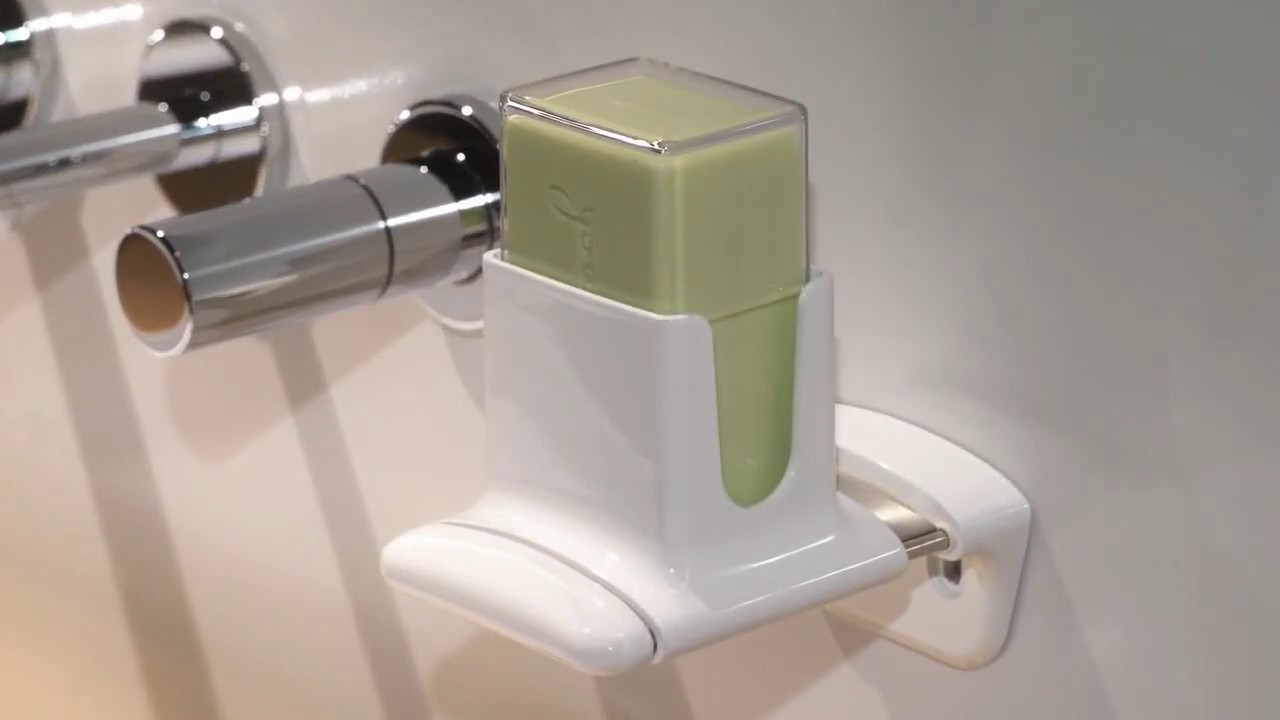
The nozzle of a soap dispenser is responsible for directing the flow of soap onto your hands. If the nozzle becomes damaged or clogged, it can make it difficult to use the soap dispenser. In some cases, the entire nozzle may need to be replaced. Luckily, replacing the nozzle is a relatively simple process. To replace the soap dispenser nozzle, you will need to first purchase a new nozzle that is compatible with your dispenser. Make sure to check the model number and specifications to ensure a proper fit. Once you have the new nozzle, you can begin the replacement process. First, remove the old nozzle from the dispenser. This may involve unscrewing it or simply pulling it off, depending on the design of your dispenser. Next, attach the new nozzle in its place and make sure it is securely attached. You may need to test it out a few times to make sure the soap is dispensing properly. If the new nozzle is working properly, you can dispose of the old one and enjoy your newly functioning soap dispenser.Soap Dispenser Nozzle Replacement


Soap Dispenser Nozzle Replacement


The tube of a soap dispenser is responsible for transporting the soap from the bottle to the pump. Over time, the tube can become clogged or damaged, making it difficult for the soap to flow properly. If this happens, you may need to replace the tube in order to get your soap dispenser working again. To replace the soap dispenser tube, you will need to first purchase a new tube that is compatible with your dispenser. Make sure to check the model number and specifications to ensure a proper fit. Once you have the new tube, you can begin the replacement process. Start by removing the old tube from the dispenser. This may involve unscrewing it or simply pulling it off, depending on the design of your dispenser. Next, insert the new tube into the dispenser and make sure it is securely attached. You may need to test it out a few times to make sure the soap is flowing properly. If the new tube is working properly, you can dispose of the old one and enjoy your newly functioning soap dispenser.Soap Dispenser Tube Replacement


Soap Dispenser Tube Replacement


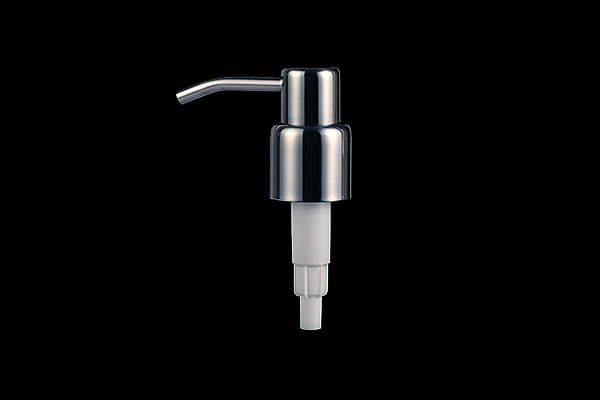
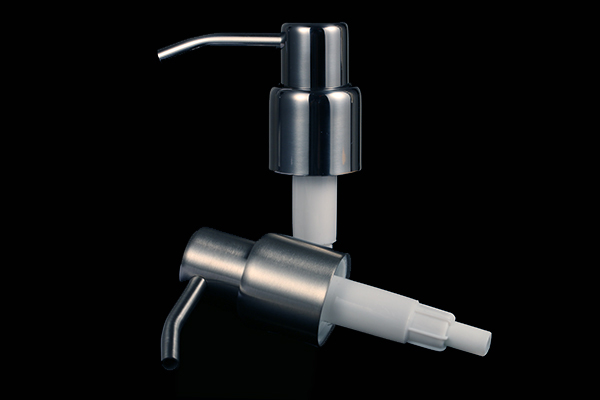
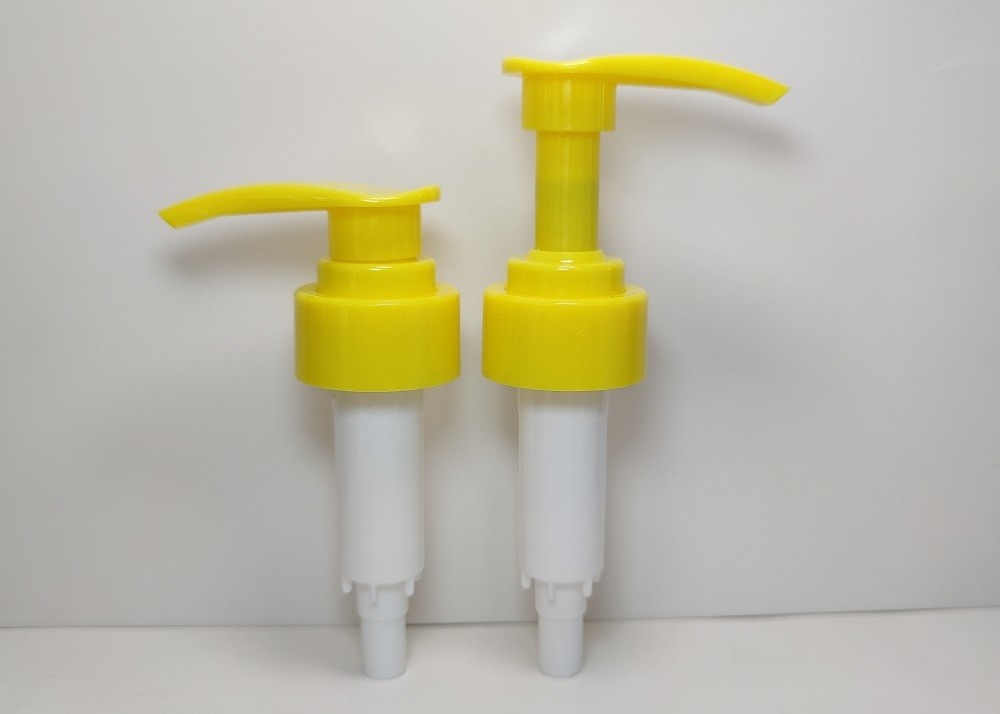
The head of a soap dispenser is the part that you press down on to dispense the soap. This can become damaged or worn out over time, making it difficult to use the dispenser. If this happens, you may need to replace the head in order to get your soap dispenser working again. To replace the soap dispenser head, you will need to first purchase a new head that is compatible with your dispenser. Make sure to check the model number and specifications to ensure a proper fit. Once you have the new head, you can begin the replacement process. First, remove the old head from the dispenser. This may involve unscrewing it or simply pulling it off, depending on the design of your dispenser. Next, attach the new head in its place and make sure it is securely attached. You may need to test it out a few times to make sure the soap is dispensing properly. If the new head is working properly, you can dispose of the old one and enjoy your newly functioning soap dispenser.Soap Dispenser Head Replacement


Soap Dispenser Head Replacement


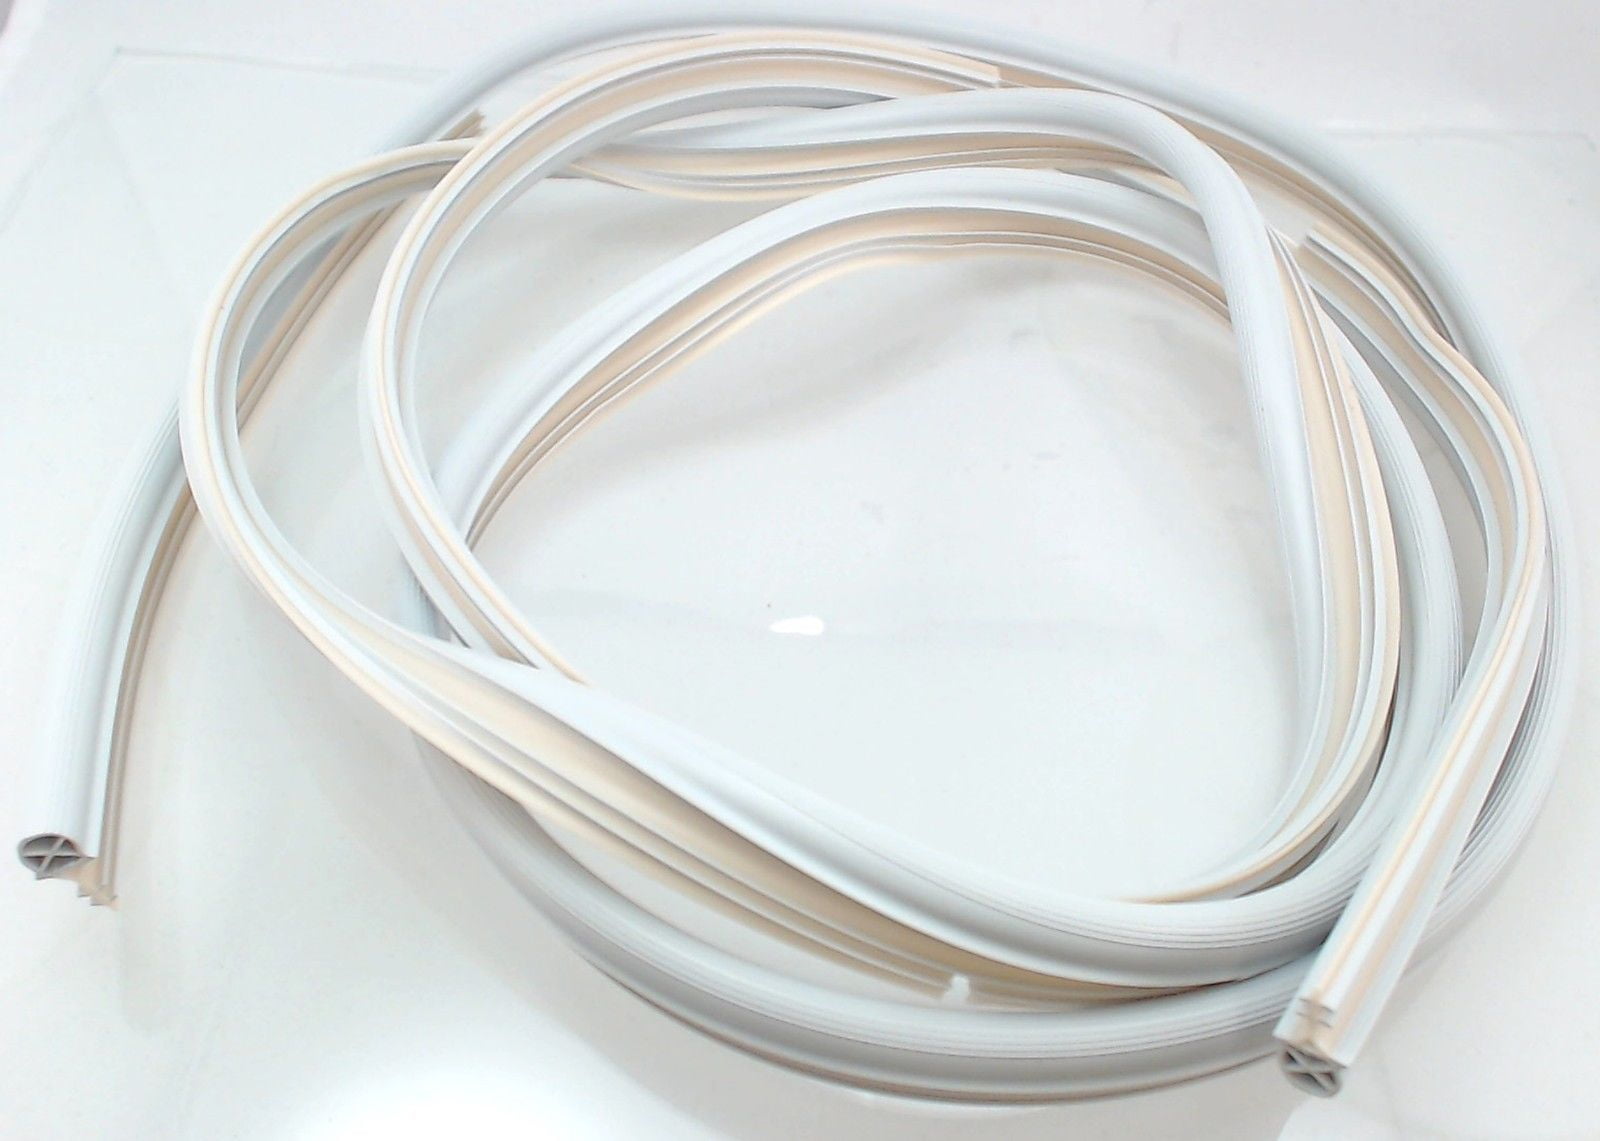
The gasket of a soap dispenser is a small, rubber ring that helps create a tight seal between the pump and the bottle. Over time, the gasket can become worn or damaged, leading to leaks and other issues with the dispenser. If this happens, you may need to replace the gasket in order to get your soap dispenser working properly again. To replace the soap dispenser gasket, you will need to first purchase a new gasket that is compatible with your dispenser. Make sure to check the model number and specifications to ensure a proper fit. Once you have the new gasket, you can begin the replacement process. Start by removing the old gasket from the dispenser. This may involve unscrewing it or simply pulling it off, depending on the design of your dispenser. Next, place the new gasket in its place and make sure it is securely attached. You may need to test it out a few times to make sure there are no leaks. If the new gasket is working properly, you can dispose of the old one and enjoy your newly functioning soap dispenser.Soap Dispenser Gasket Replacement

Soap Dispenser Gasket Replacement


The valve of a soap dispenser is responsible for controlling the flow of soap from the bottle to the pump. If the valve becomes clogged or damaged, it can make it difficult for the soap to dispense properly. If this happens, you may need to replace the valve in order to get your soap dispenser working again. To replace the soap dispenser valve, you will need to first purchase a new valve that is compatible with your dispenser. Make sure to check the model number and specifications to ensure a proper fit. Once you have the new valve, you can begin the replacement process. First, remove the old valve from the dispenser. This may involve unscrewing it or simply pulling it off, depending on the design of your dispenser. Next, insert the new valve into the dispenser and make sure it is securely attached. You may need to test it out a few times to make sure the soap is flowing properly. If the new valve is working properly, you can dispose of the old one and enjoy your newly functioning soap dispenser.Soap Dispenser Valve Replacement


Soap Dispenser Valve Replacement


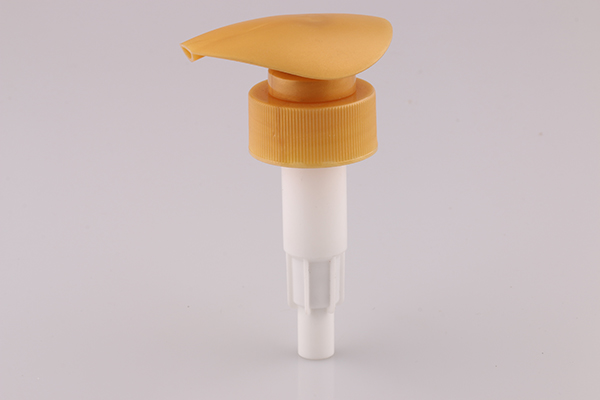
The spout of a soap dispenser is the part that extends out from the dispenser and directs the flow of soap. If the spout becomes damaged or clogged, it can make it difficult to use the dispenser. In this case, you may need to replace the spout in order to get your soap dispenser working properly again. To replace the soap dispenser spout, you will need to first purchase a new spout that is compatible with your dispenser. Make sure to check the model number and specifications to ensure a proper fit. Once you have the new spout, you can begin the replacement process. Start by removing the old spout from the dispenser. This may involve unscrewing it or simply pulling it off, depending on the design of your dispenser. Next, attach the new spout in its place and make sure it is securely attached. You may need to test it out a few times to make sure the soap is dispensing properly. If the new spout is working properly, you can dispose of the old one and enjoy your newly functioning soap dispenser.Soap Dispenser Spout Replacement


Soap Dispenser Spout Replacement


The hose of a soap dispenser is responsible for transporting the soap from the bottle to the pump. If the hose becomes clogged or damaged, it can make it difficult for the soap to flow properly. In this case, you may need to replace the hose in order to get your soap dispenser working again. To replace the soap dispenser hose, you will need to first purchase a new hose that is compatible with your dispenser. Make sure to check the model number and specifications to ensure a proper fit. Once you have the new hose, you can begin the replacement process. First, remove the old hose from the dispenser. This may involve unscrewing it or simply pulling it off, depending on the design of your dispenser. Next, insert the new hose into the dispenser and make sure it is securely attached. You may need to test it out a few times to make sure the soap is flowing properly. If the new hose is working properly, you can dispose of the old one and enjoy your newly functioning soap dispenser.Soap Dispenser Hose Replacement
Soap Dispenser Hose Replacement


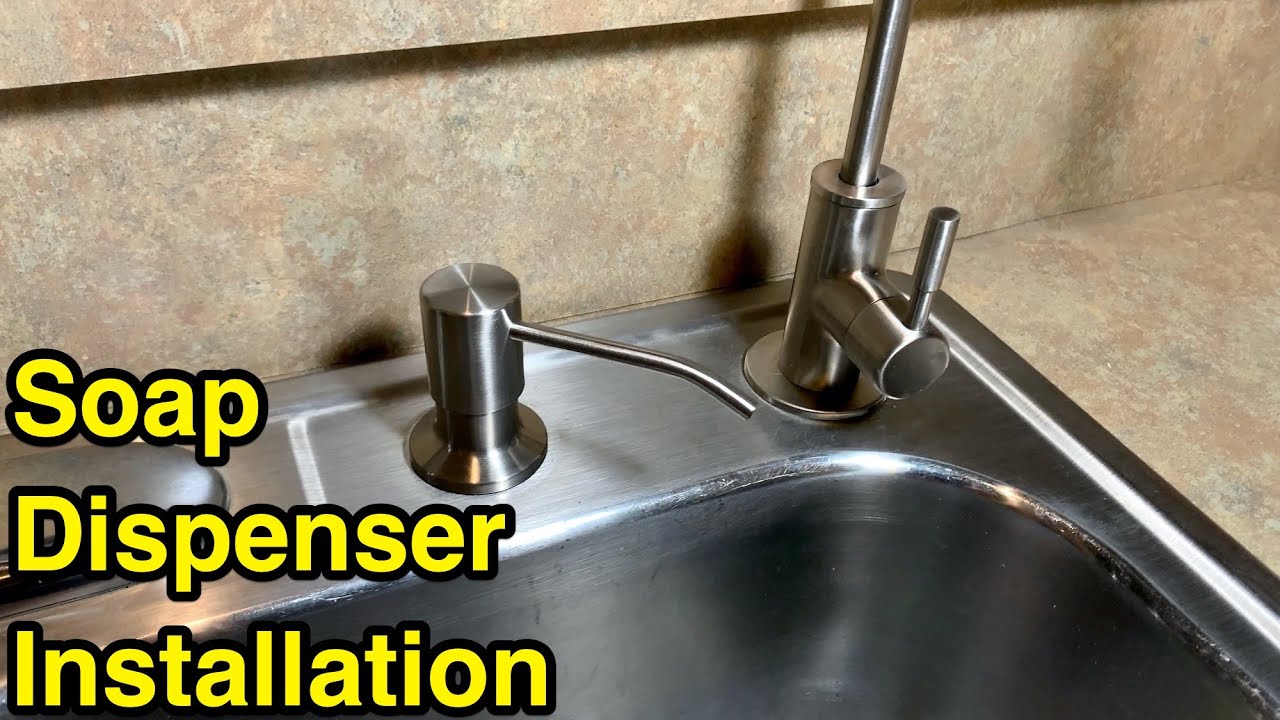
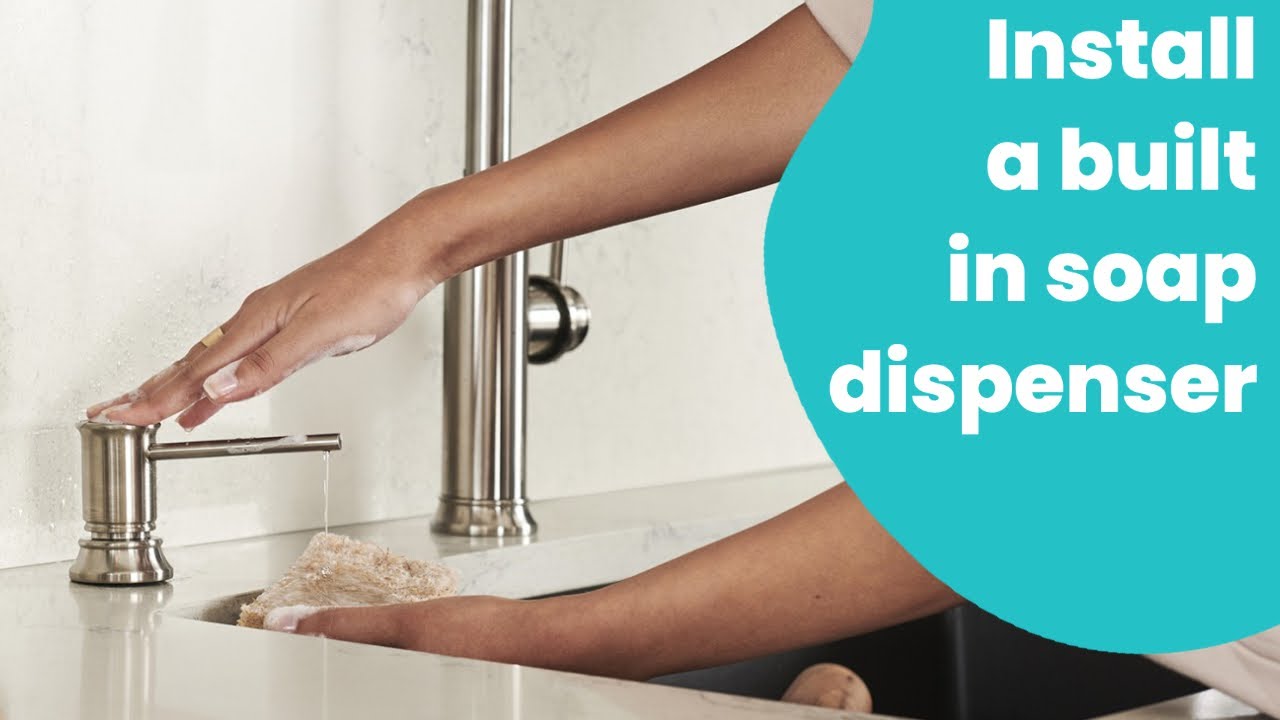
If your soap dispenser is not securely attached to your kitchen sink, it may be time to invest in a mounting kit. The mounting kit includes all the necessary hardware to securely attach your soap dispenser to your sink, preventing any movement or potential leaks. To install the soap dispenser mounting kit, start by gathering all the necessary hardware and tools. Follow the instructions provided with the kit to properly attach the dispenser to your sink. Once the dispenser is securely mounted, test it out by pumping soap onto your hands. If it is working properly, you can dispose of the old mounting hardware and enjoy your newly secured soap dispenser. With these top 10 soap dispenser parts for kitchen sinks, you can easily replace any damaged or worn out components and get your soap dispenser working like new again. Whether it's a pump, bottle, nozzle, or any other part, the replacement process is simple and can be done at home. Don't let a malfunctioning soap dispenser slow you down – use these tips to keep it in top working condition.Soap Dispenser Mounting Kit
Soap Dispenser Mounting Kit


Choosing the Right Soap Dispenser Parts for Your Kitchen Sink
Upgrade Your Kitchen Sink with Functional and Stylish Soap Dispenser Parts
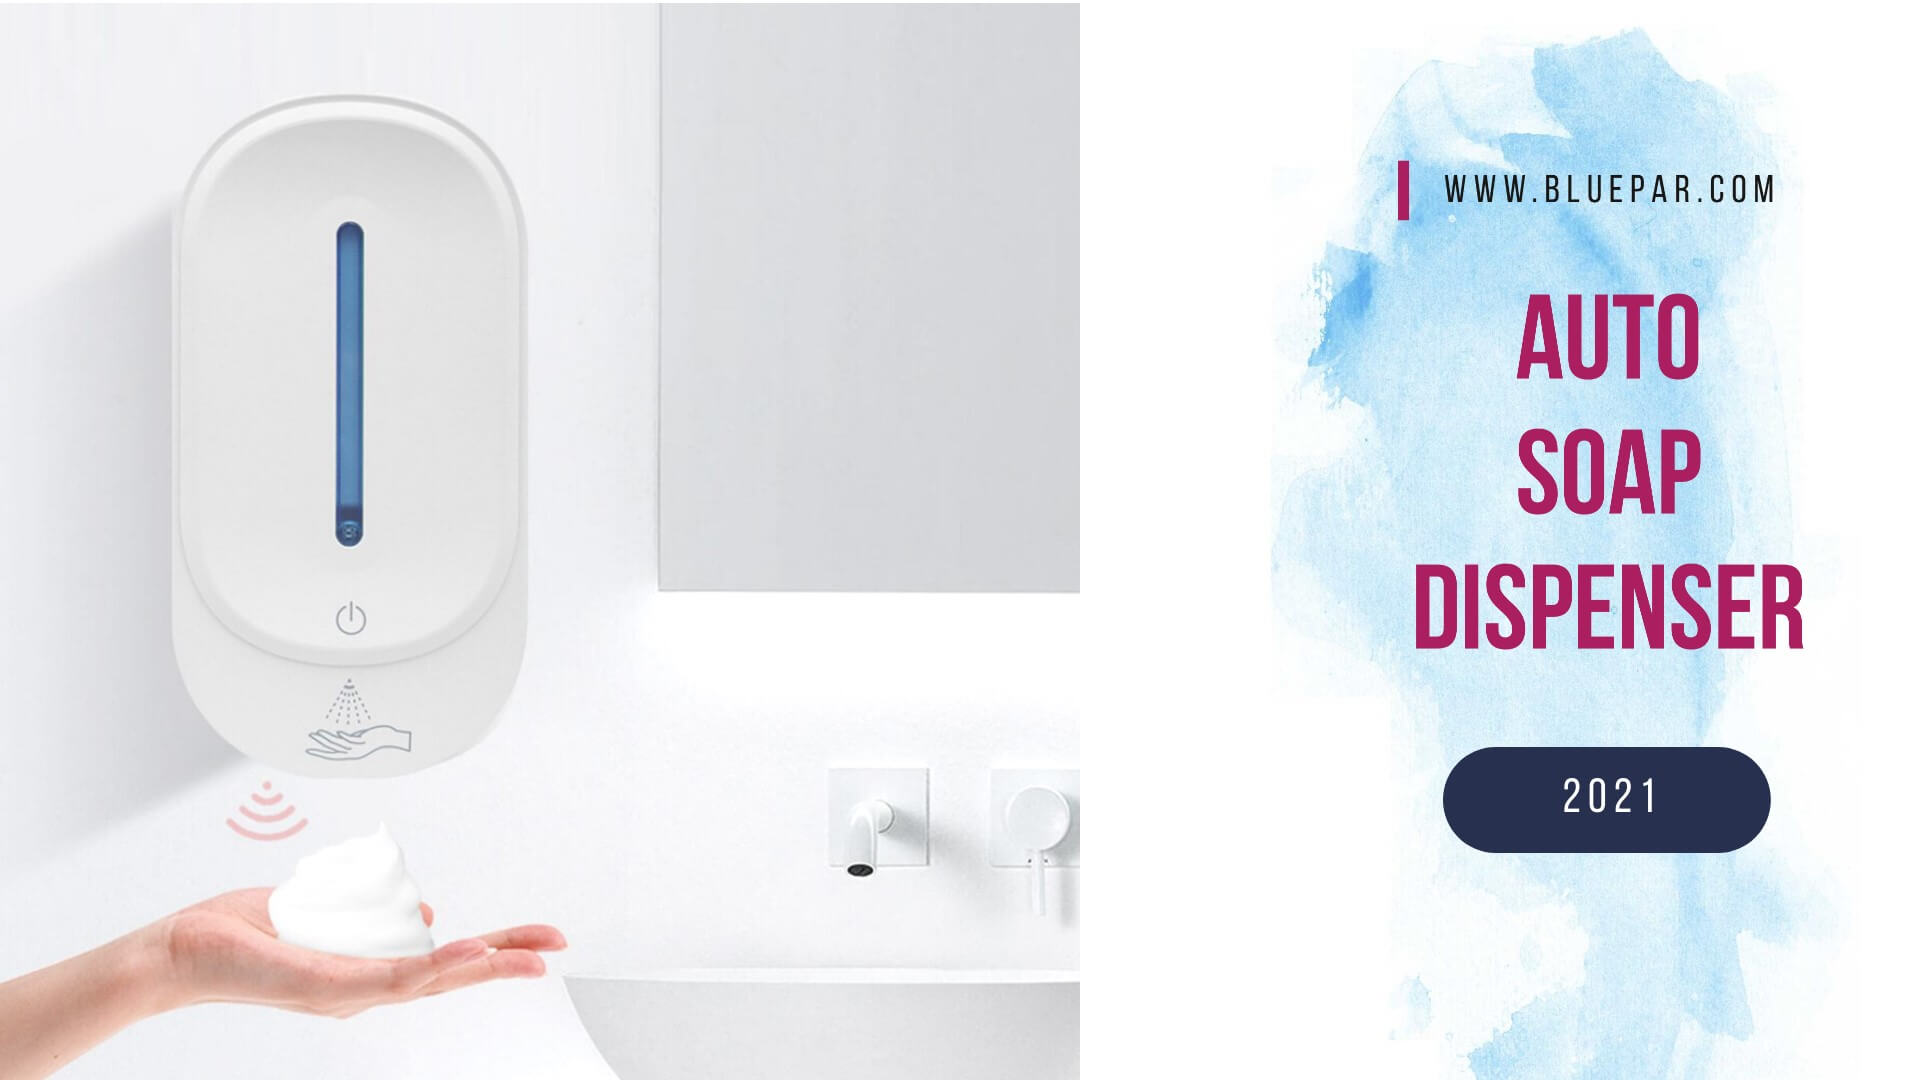
 When it comes to designing your kitchen, every detail matters. From the countertops to the cabinets, every element contributes to the overall look and functionality of your space. One often overlooked aspect of kitchen design is the soap dispenser for your sink. While it may seem like a small and insignificant detail, choosing the right soap dispenser parts can make a big difference in the overall aesthetic and efficiency of your kitchen.
Why Use a Soap Dispenser for Your Kitchen Sink?
First and foremost, using a soap dispenser for your kitchen sink eliminates the need for unsightly and cluttered bottles of hand soap on your countertop. It also prevents messy drips and spills from traditional soap dispensing methods. Additionally, a soap dispenser allows for easy and convenient access to soap while cooking and cleaning in the kitchen.
Types of Soap Dispenser Parts
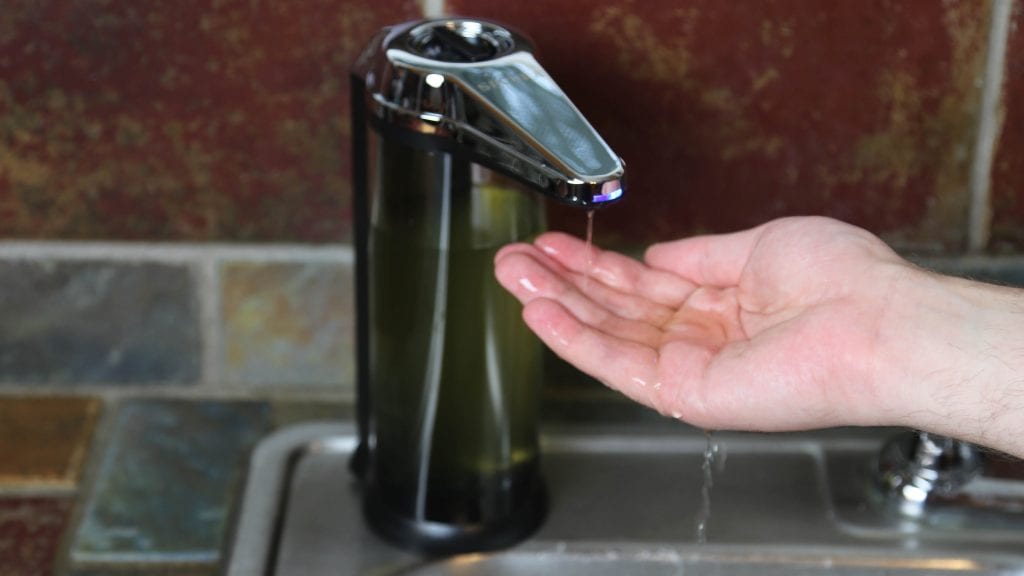
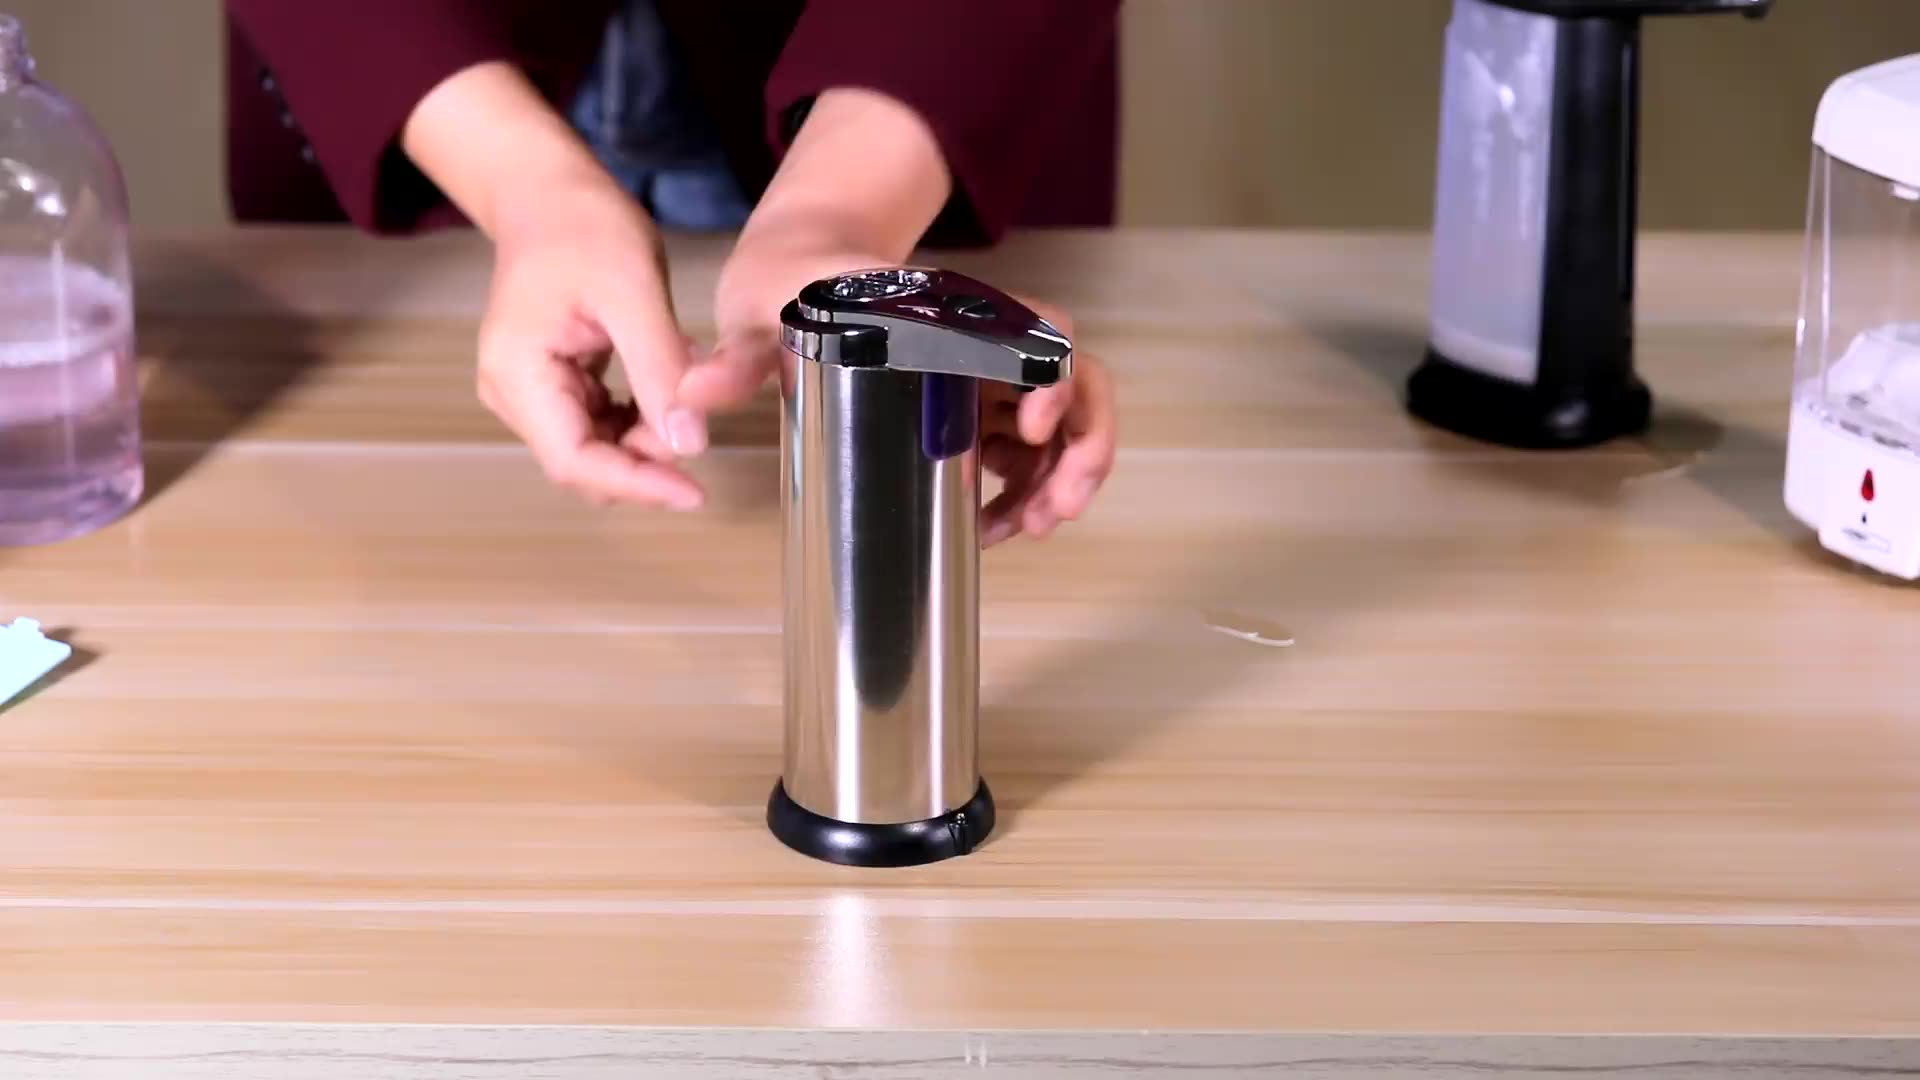
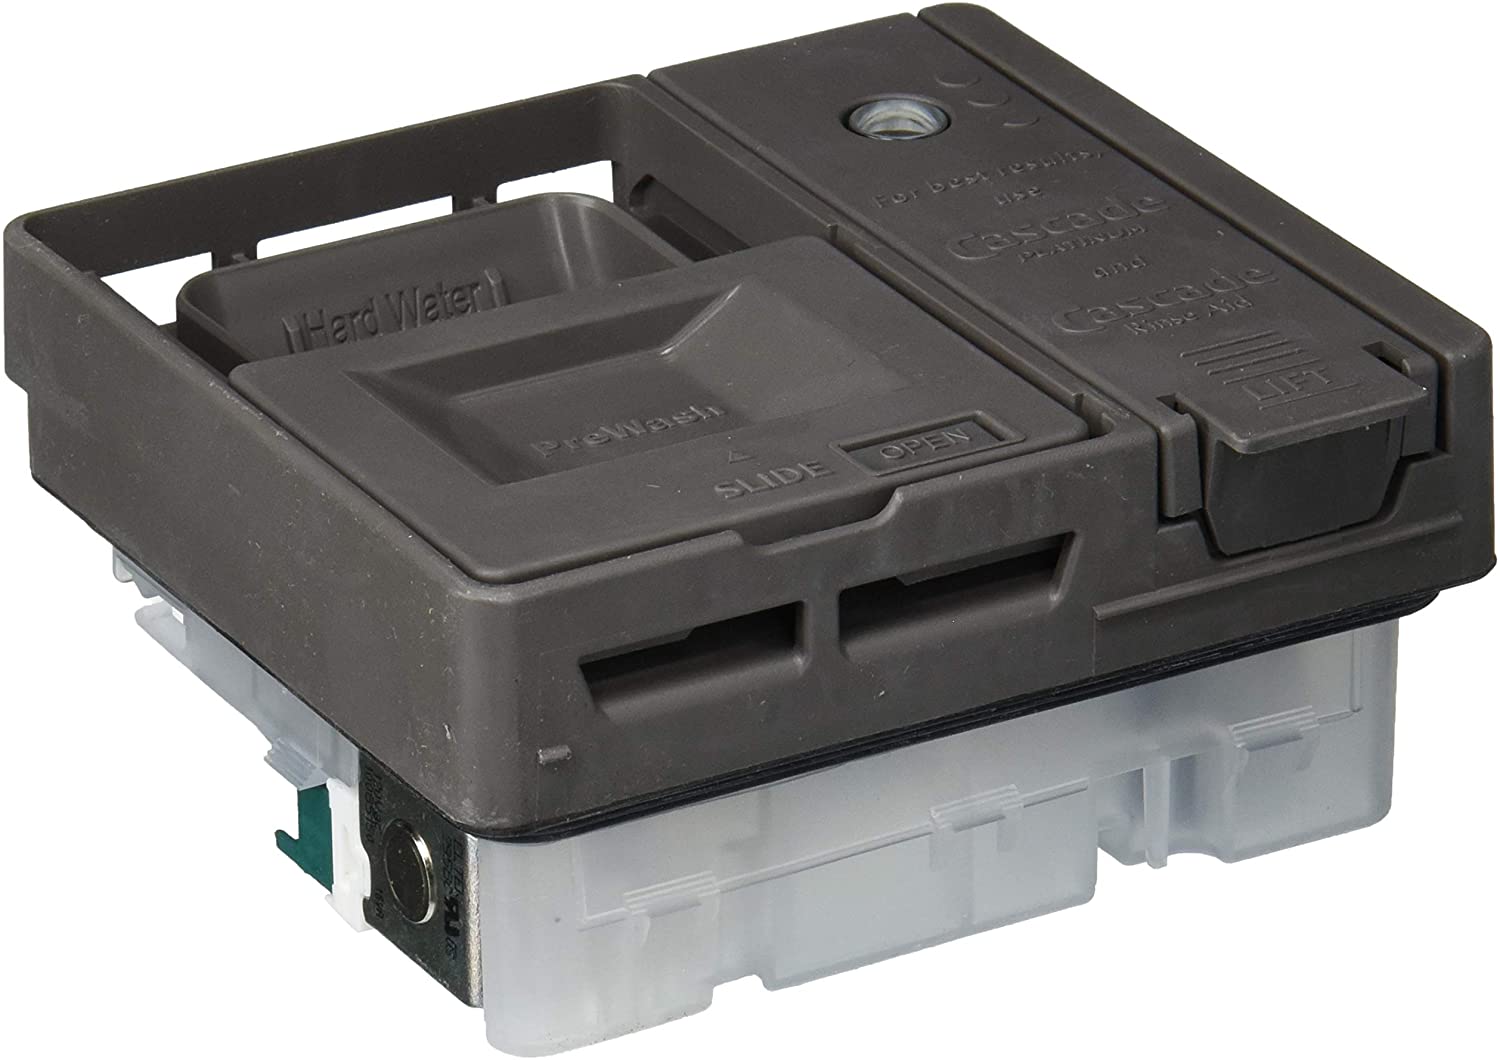
There are a variety of soap dispenser parts to choose from, depending on your kitchen sink and personal preferences. The most common type is a pump dispenser, which can be installed directly into the sink or on the countertop next to the sink. Another option is a built-in dispenser, which is installed directly into the sink itself. This type of dispenser is more discreet and can save valuable counter space. You can also choose from a variety of materials, such as stainless steel, chrome, or ceramic, to match your kitchen's style.
Factors to Consider
When selecting soap dispenser parts for your kitchen sink, there are a few factors to keep in mind. First, consider the size and style of your sink. You want to choose a dispenser that complements the size and design of your sink, rather than overpowering it. It's also important to consider the soap capacity of the dispenser, especially if you have a large family or do a lot of cooking and cleaning. You don't want to constantly refill a small dispenser. Lastly, make sure the dispenser is easy to refill and maintain to ensure seamless use.
Final Thoughts
In conclusion, choosing the right soap dispenser parts for your kitchen sink can elevate the look and functionality of your space. Consider the type, material, and size of your dispenser, and make sure it fits seamlessly with your kitchen's design. With the right soap dispenser, you can add a touch of style and convenience to your daily kitchen routine.
When it comes to designing your kitchen, every detail matters. From the countertops to the cabinets, every element contributes to the overall look and functionality of your space. One often overlooked aspect of kitchen design is the soap dispenser for your sink. While it may seem like a small and insignificant detail, choosing the right soap dispenser parts can make a big difference in the overall aesthetic and efficiency of your kitchen.
Why Use a Soap Dispenser for Your Kitchen Sink?
First and foremost, using a soap dispenser for your kitchen sink eliminates the need for unsightly and cluttered bottles of hand soap on your countertop. It also prevents messy drips and spills from traditional soap dispensing methods. Additionally, a soap dispenser allows for easy and convenient access to soap while cooking and cleaning in the kitchen.
Types of Soap Dispenser Parts
There are a variety of soap dispenser parts to choose from, depending on your kitchen sink and personal preferences. The most common type is a pump dispenser, which can be installed directly into the sink or on the countertop next to the sink. Another option is a built-in dispenser, which is installed directly into the sink itself. This type of dispenser is more discreet and can save valuable counter space. You can also choose from a variety of materials, such as stainless steel, chrome, or ceramic, to match your kitchen's style.
Factors to Consider
When selecting soap dispenser parts for your kitchen sink, there are a few factors to keep in mind. First, consider the size and style of your sink. You want to choose a dispenser that complements the size and design of your sink, rather than overpowering it. It's also important to consider the soap capacity of the dispenser, especially if you have a large family or do a lot of cooking and cleaning. You don't want to constantly refill a small dispenser. Lastly, make sure the dispenser is easy to refill and maintain to ensure seamless use.
Final Thoughts
In conclusion, choosing the right soap dispenser parts for your kitchen sink can elevate the look and functionality of your space. Consider the type, material, and size of your dispenser, and make sure it fits seamlessly with your kitchen's design. With the right soap dispenser, you can add a touch of style and convenience to your daily kitchen routine.
:max_bytes(150000):strip_icc()/Modern-Gray-Living-Room-Fully-Interiors-586fc33e5f9b584db3125eeb.png)