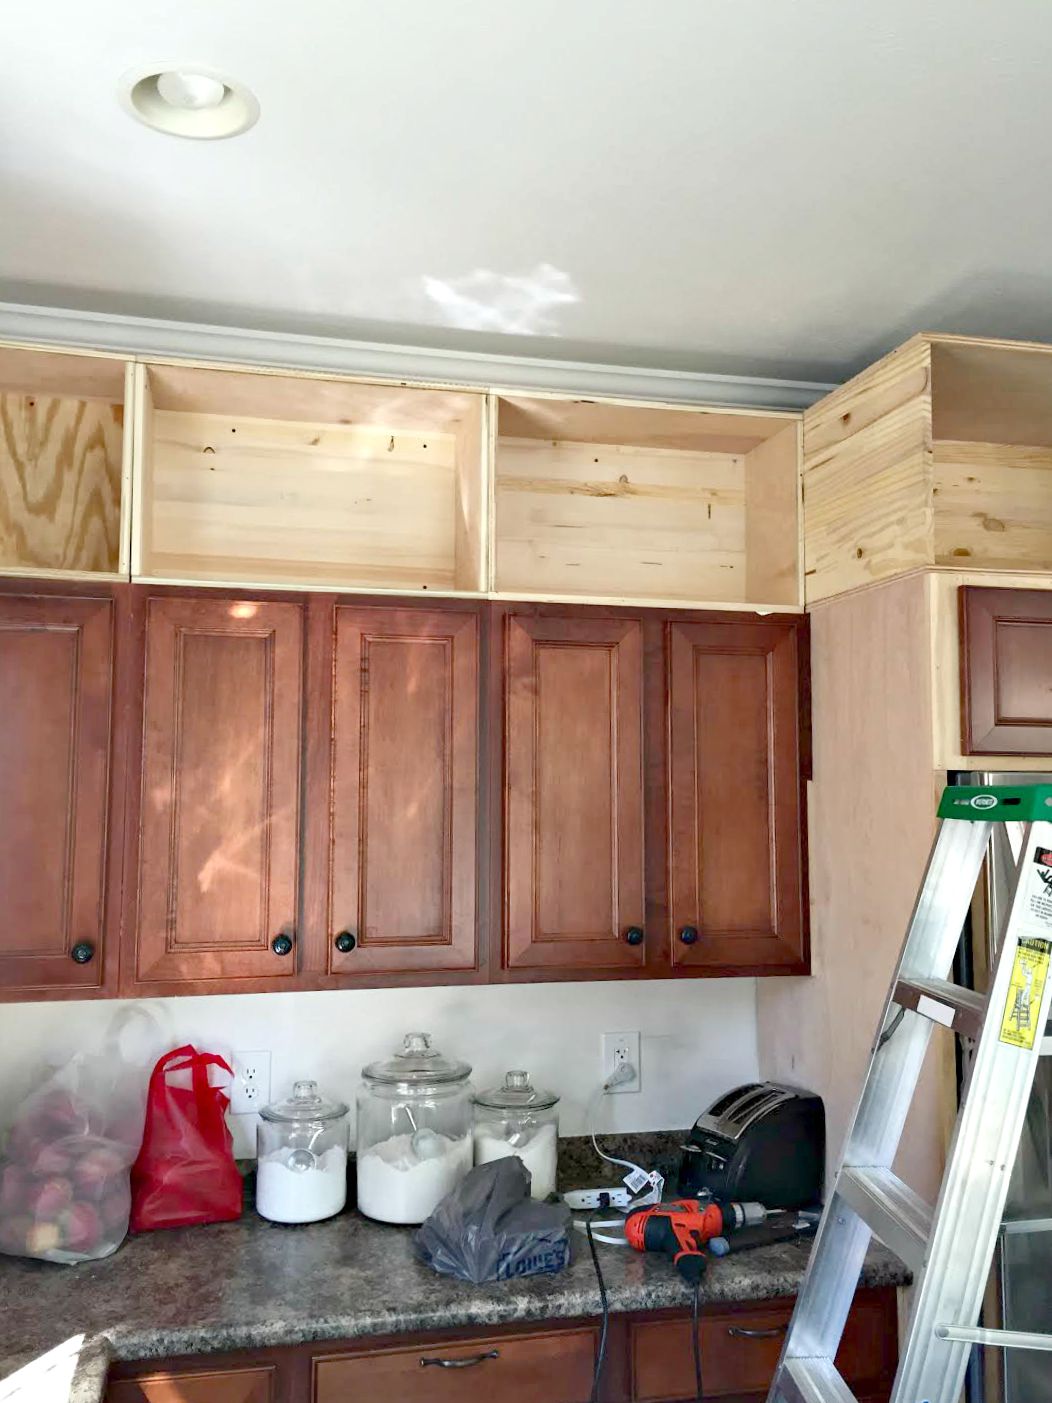
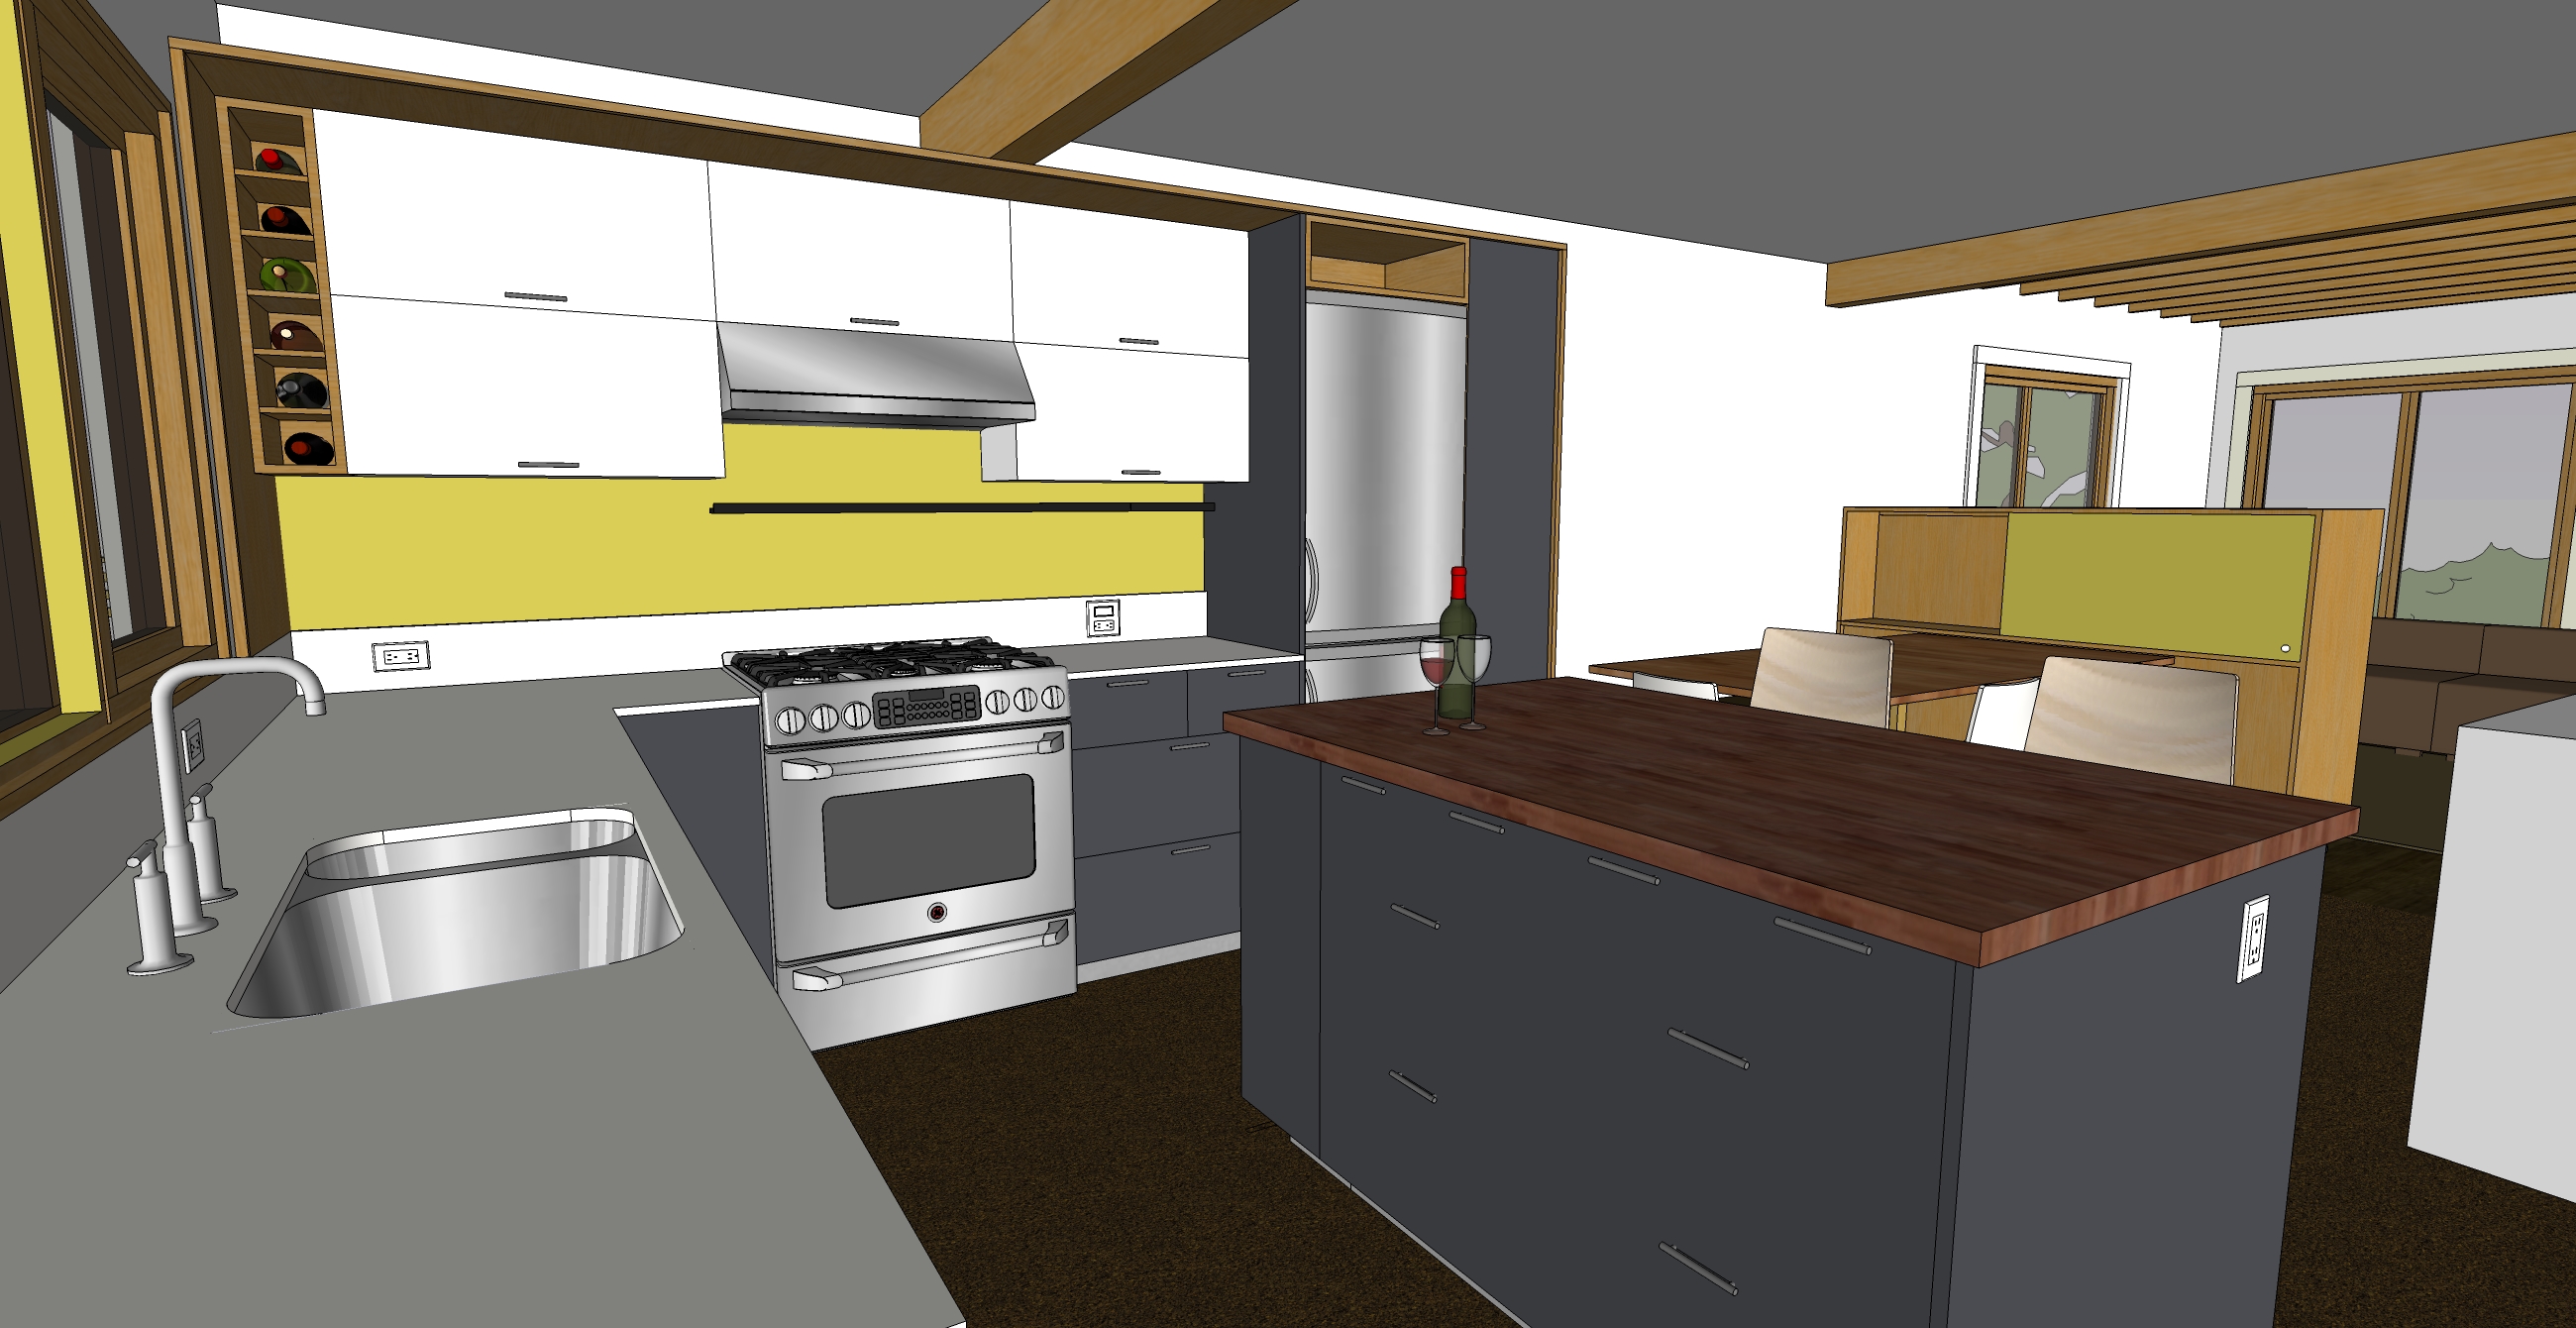
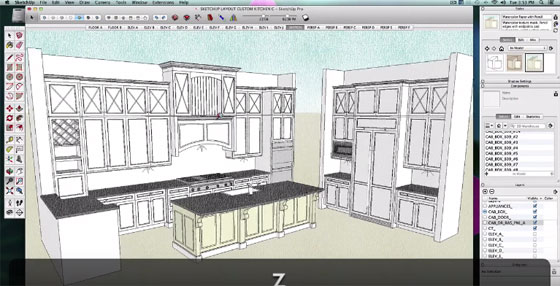
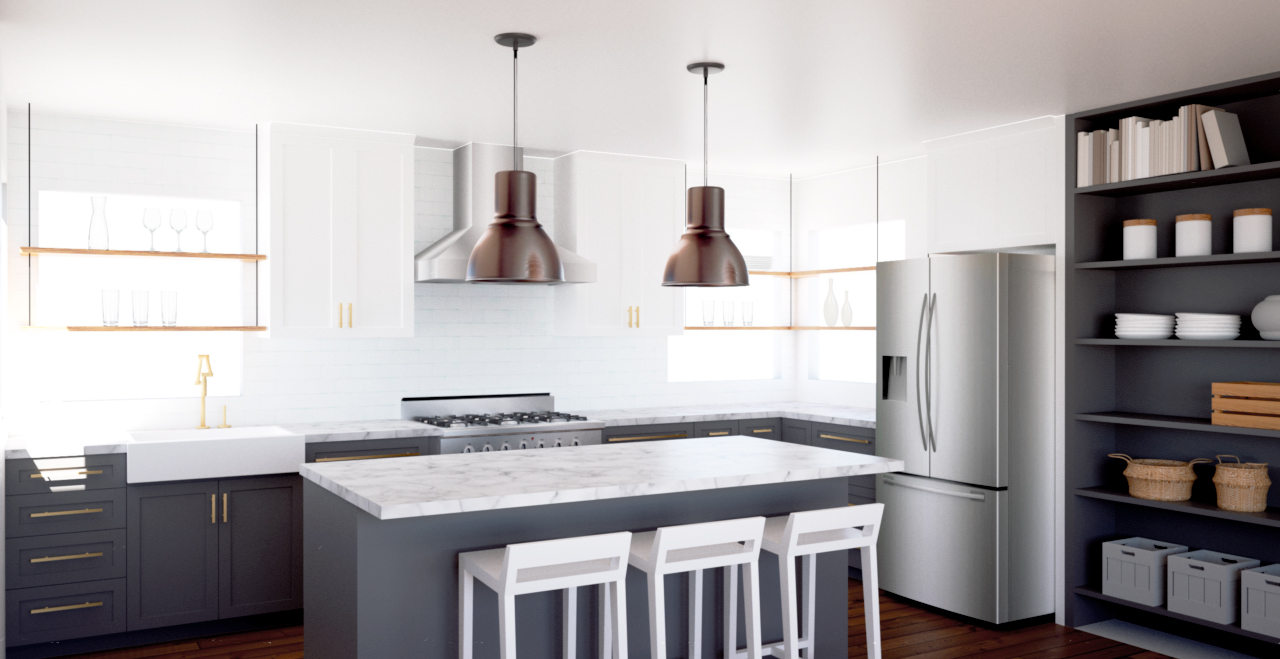
If you're new to using SketchUp for kitchen design, it can be overwhelming trying to figure out where to start. But fear not, with our step-by-step tutorial, you'll be creating beautiful kitchen layouts in no time. Let's begin by creating a basic kitchen layout. To start, open up SketchUp and choose the "Architectural Design" template. This will give you a grid to work with and make it easier to create accurate measurements for your kitchen. Next, use the rectangle tool to draw out the walls of your kitchen. Use the measurements of your actual kitchen to make it as accurate as possible. Don't worry about adding doors or windows just yet, we'll do that later. Now it's time to add in your cabinets. Use the rectangle tool again to draw out the basic shape of your cabinets. Use the measurements of your actual cabinets or use standard measurements if you haven't purchased your cabinets yet. Make sure to leave enough space for appliances and a walkway. Once you have your basic layout, use the push/pull tool to give your cabinets some depth. You can also use the move tool to adjust the placement of your cabinets if needed. Don't forget to add in your appliances! Use the 3D Warehouse within SketchUp to find and import models of your appliances. This will give you a better idea of how your kitchen will look once it's complete. Finally, add in your countertops and backsplash using the same techniques as before. Use the push/pull tool to give your countertops some thickness and use the move tool to adjust their placement if needed. Voila! You now have a basic kitchen layout in SketchUp. This will serve as the foundation for the rest of your design.1. SketchUp Kitchen Design Tutorial: Creating a Basic Kitchen Layout


1. SketchUp Kitchen Design Tutorial: Creating a Basic Kitchen Layout
/One-Wall-Kitchen-Layout-126159482-58a47cae3df78c4758772bbc.jpg)


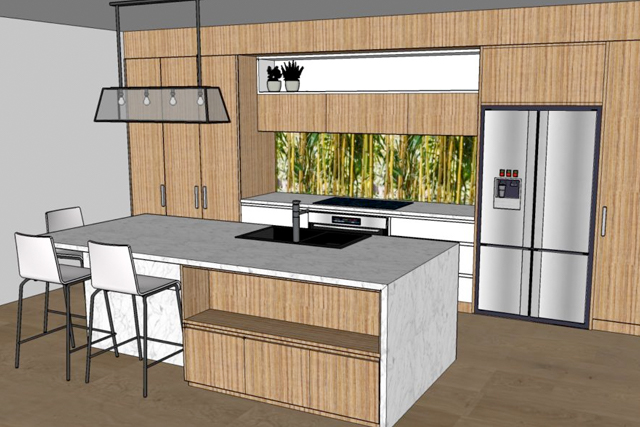
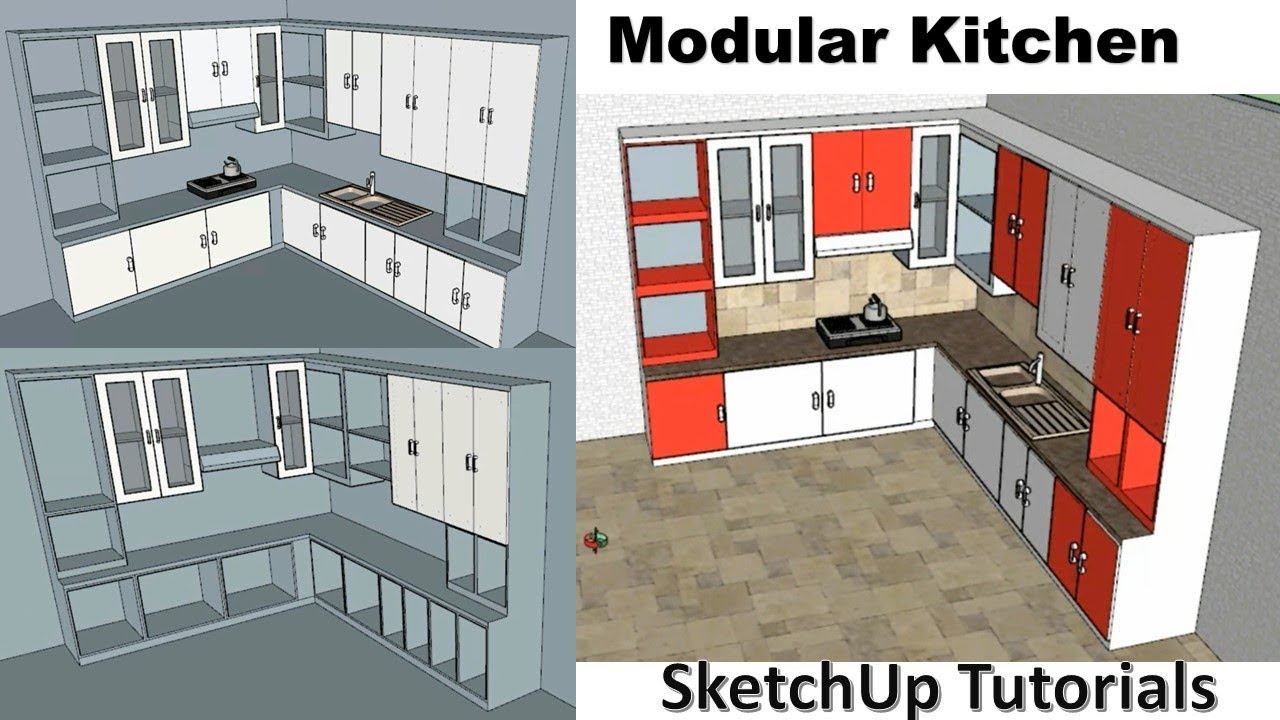
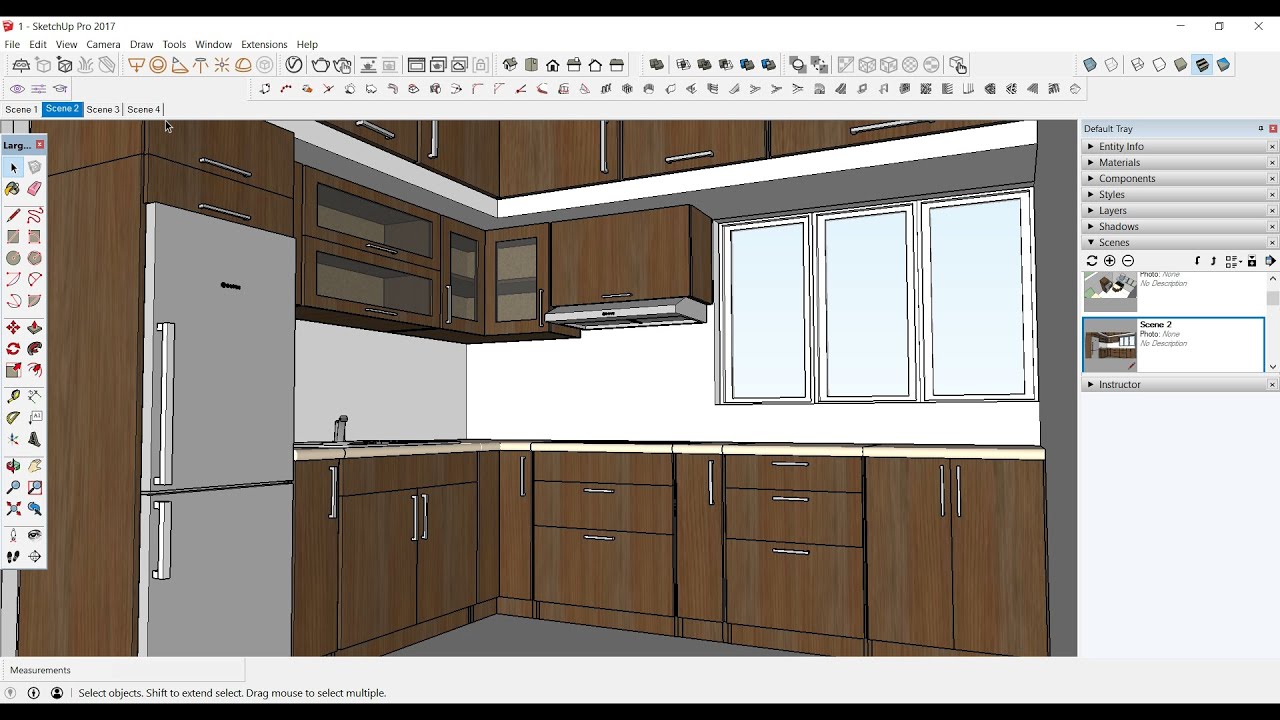
Now that you have your basic kitchen layout, it's time to add in the cabinets and appliances to bring your design to life. Let's start with the cabinets. Using the rectangle tool, draw out the shape of your cabinets on the walls where you want them to be. Make sure to leave enough space for appliances and a walkway. You can use the push/pull tool to give your cabinets some depth. Next, use the move tool to adjust the placement of your cabinets if needed. You can also use the rotate tool to change the direction of your cabinets. Now it's time to add in your appliances. Use the 3D Warehouse within SketchUp to find and import models of your appliances. Place them in their designated spots and use the move and rotate tools to adjust their placement as needed. Don't forget to leave space for a refrigerator, stove, and sink. You'll also want to make sure there's enough counter space for food prep. Once you have your cabinets and appliances in place, use the push/pull tool to add in any shelves or drawers within your cabinets. This will give you a better idea of how your kitchen will look once it's complete.2. SketchUp Kitchen Design Tutorial: Adding Cabinets and Appliances


2. SketchUp Kitchen Design Tutorial: Adding Cabinets and Appliances


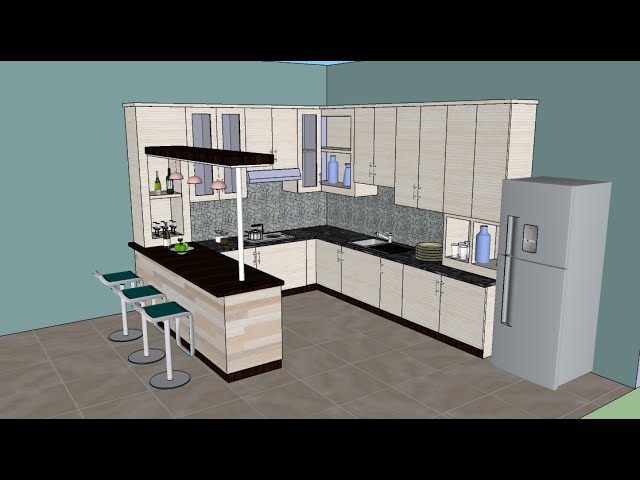
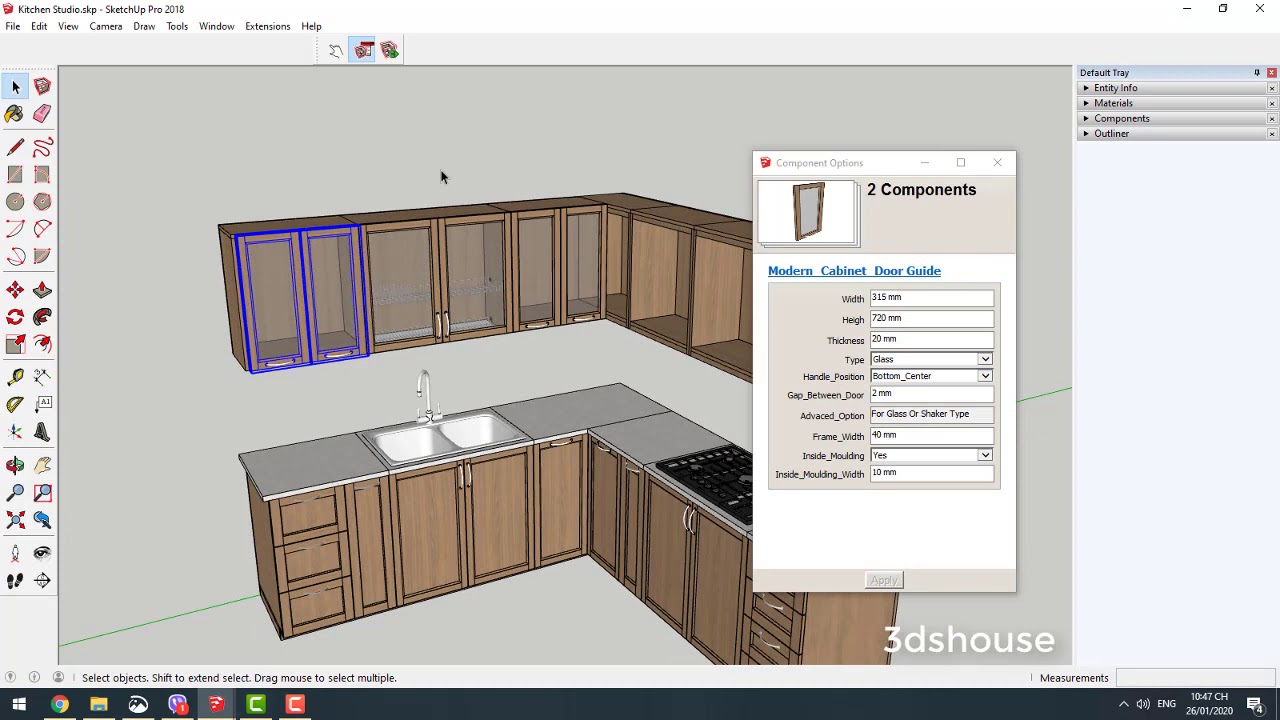
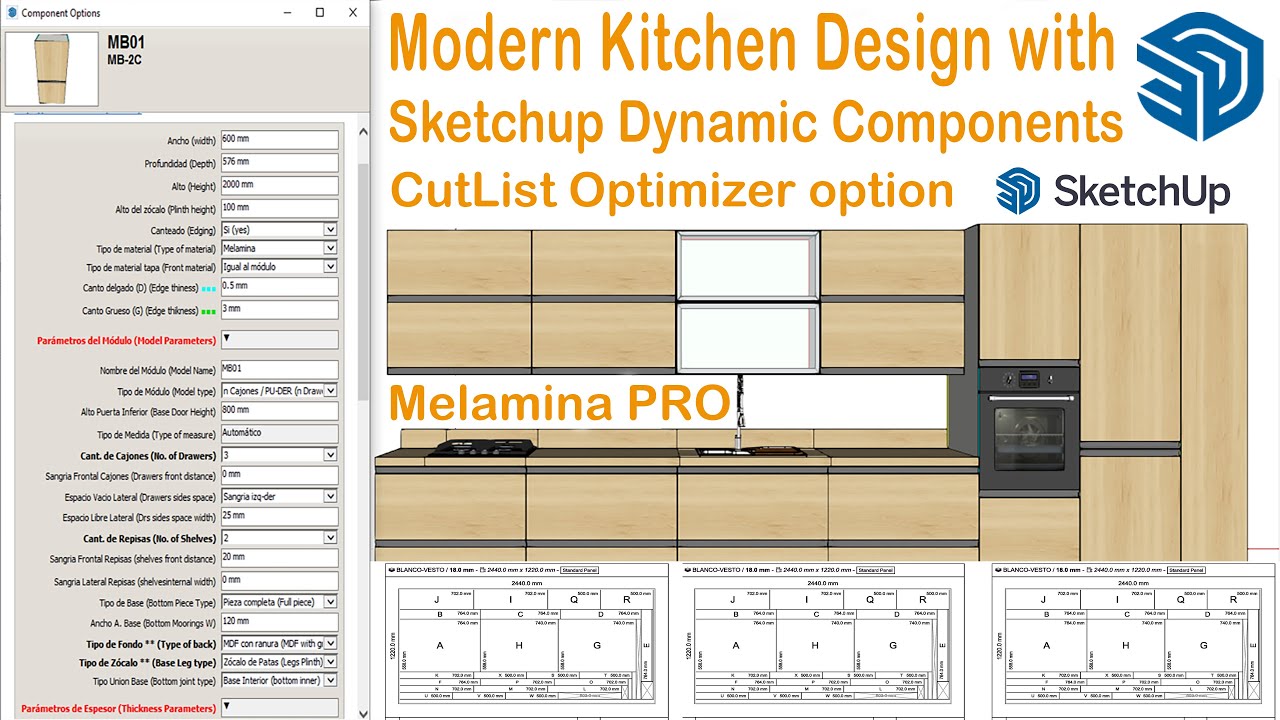
If you want to take your kitchen design to the next level, you can create custom cabinets in SketchUp. This will give you complete control over the design and functionality of your cabinets. To start, use the rectangle tool to draw out the basic shape of your cabinet. Use the push/pull tool to give it some depth and use the move tool to adjust its placement if needed. Next, use the line tool to create the design of your cabinet doors and drawers. You can also use the arc tool to create curved edges if desired. Use the push/pull tool to give your doors and drawers some depth. You can also use the move tool to adjust their placement and the rotate tool to change their direction. Finally, use the push/pull tool to create shelves and drawers within your cabinets. This will give you a better idea of how your custom cabinets will function in your kitchen.3. SketchUp Kitchen Design Tutorial: Creating Custom Cabinets


3. SketchUp Kitchen Design Tutorial: Creating Custom Cabinets
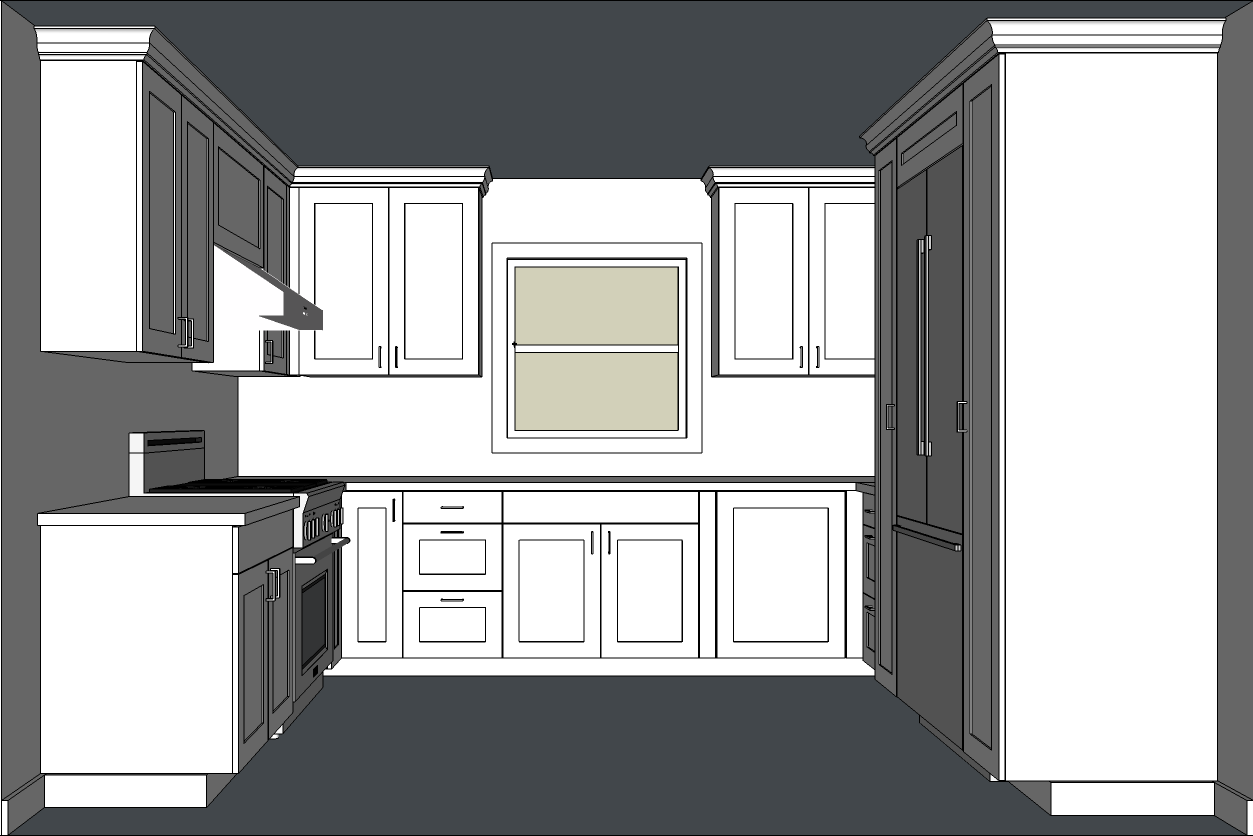

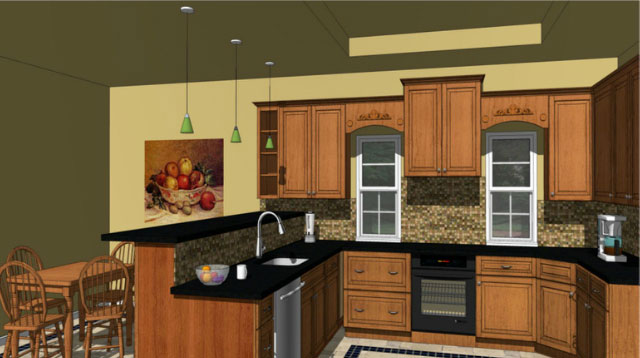
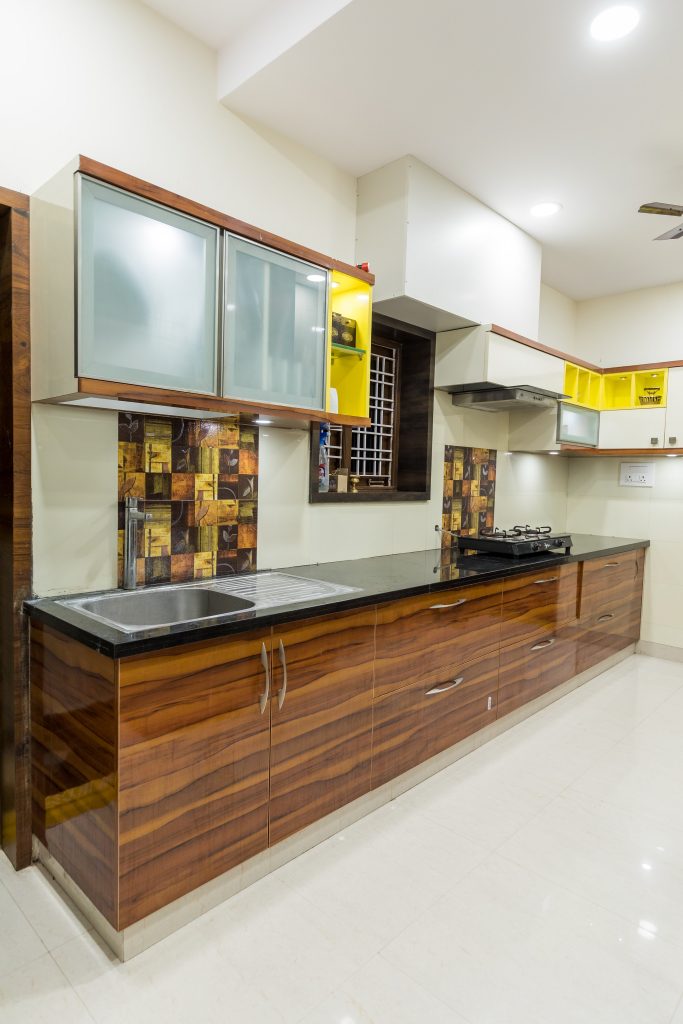
No kitchen is complete without beautiful countertops and a backsplash. In SketchUp, you can easily add these elements to your design to give it a polished and cohesive look. Using the rectangle tool, draw out the shape of your countertops on top of your cabinets. Use the push/pull tool to give them some thickness and the move tool to adjust their placement if needed. Next, use the line tool to create the design of your backsplash. You can also use the arc tool to create curved edges if desired. Use the push/pull tool to give your backsplash some depth and the move tool to adjust its placement. You can also use the rotate tool to change its direction. Finally, use the paint bucket tool to add a texture or color to your countertops and backsplash. You can also use the eyedropper tool to match the color to other elements in your kitchen design.4. SketchUp Kitchen Design Tutorial: Adding Countertops and Backsplash


4. SketchUp Kitchen Design Tutorial: Adding Countertops and Backsplash


Lighting and fixtures are important finishing touches in any kitchen design. In SketchUp, you can easily add these elements to bring your design to life. Using the line tool, draw out the placement of your lighting fixtures on the ceiling. You can also use the arc tool to create curved lines if desired. Use the push/pull tool to give your lighting fixtures some depth and the move tool to adjust their placement. You can also use the rotate tool to change their direction. Next, use the line tool to draw out the placement of your sink and faucet. Use the push/pull tool to give your sink some depth and the move tool to adjust its placement. You can also use the rotate tool to change its direction. Finally, use the paint bucket tool to add a texture or color to your sink and faucet. You can also use the eyedropper tool to match the color to other elements in your kitchen design.5. SketchUp Kitchen Design Tutorial: Adding Lighting and Fixtures


5. SketchUp Kitchen Design Tutorial: Adding Lighting and Fixtures


Now that your kitchen design is almost complete, it's time to add some finishing touches and accessories to make it feel like a real space. Use the line tool to draw out the placement of any decorative elements like plants, artwork, or a fruit bowl. Use the push/pull tool to give them some depth and the move tool to adjust their placement if needed. You can also use the 3D Warehouse within SketchUp to find and import models of furniture or other accessories to add to your kitchen design. Don't be afraid to get creative and add personal touches to make your kitchen design unique and reflective of your style.6. SketchUp Kitchen Design Tutorial: Adding Finishing Touches and Accessories


6. SketchUp Kitchen Design Tutorial: Adding Finishing Touches and Accessories


Once you have all the elements of your kitchen design in place, you can create a 3D model to get a better understanding of how it will look in real life. Go to the "Camera" tab in SketchUp and choose "Parallel Projection." This will give you a 2D view of your design. Next, choose "Standard Views" and select "Top" to get a top-down view of your design. You can also choose "Front" or "Side" to see your design from different angles. Finally, go to the "File" tab and choose "Export" to save your 3D model as an image or as a 3D file that can be opened in other programs.7. SketchUp Kitchen Design Tutorial: Creating a 3D Model of Your Design

7. SketchUp Kitchen Design Tutorial: Creating a 3D Model of Your Design


Designing a kitchen in SketchUp can be a fun and rewarding experience, but it can also be time-consuming. Here are a few tips and tricks to help you design more efficiently. Use the "Orbit" tool to rotate your model and get a better view from different angles. Use the "Zoom" tool to get a closer look at specific elements in your design. Use the "Pan" tool to move your model around and see different parts of your design. Group elements together to keep your design organized and make it easier to move and adjust elements without affecting other parts of the design. Use the "Copy" and "Paste" commands to duplicate elements and save time.8. SketchUp Kitchen Design Tutorial: Tips and Tricks for Efficient Design


8. SketchUp Kitchen Design Tutorial: Tips and Tricks for Efficient Design


As with any design software, there may be some common issues that arise while designing your kitchen in SketchUp. Here are a few potential problems and how to troubleshoot them. If your elements are not lining up correctly, make sure you have "Snap to Point" and "Snap to Line" turned on in the "Tools" menu. If your elements are disappearing, make sure "View Hidden Geometry" is turned off in the "View" menu. If your elements are not moving or adjusting as expected, make sure they are not grouped together or locked. If you're still having trouble, try checking out online forums or contacting SketchUp support for further assistance.9. SketchUp Kitchen Design Tutorial: Troubleshooting Common Issues


9. SketchUp Kitchen Design Tutorial: Troubleshooting Common Issues


Congratulations, you've completed our SketchUp kitchen design tutorial! But if you want to continue honing your skills, there are plenty of resources available to help you become a SketchUp pro. Check out the official SketchUp website for tutorials, forums, and resources on all things SketchUp. YouTube is also a great source for SketchUp tutorials, with many creators sharing their tips and tricks for using the software. And don't forget to keep practicing and exploring new techniques to continue improving your kitchen design skills in SketchUp.10. SketchUp Kitchen Design Tutorial: Resources for Further Learning

10. SketchUp Kitchen Design Tutorial: Resources for Further Learning
Creating the Perfect Kitchen Design with Sketchup

Transforming Your House Design Dreams into Reality
 If you're looking to design your dream kitchen, Sketchup is the perfect tool for the job. This powerful 3D modeling software allows you to create stunning, professional-grade designs that will bring your house design ideas to life. Whether you're planning a complete renovation or just looking to refresh your space, Sketchup offers a user-friendly and efficient way to design your ideal kitchen.
Getting Started with Sketchup
 Before diving into your kitchen design, take some time to familiarize yourself with Sketchup's features and tools. This will help you navigate the program with ease and maximize its potential. The first step is to create a 3D model of your kitchen space. You can either use the existing measurements of your kitchen or create a new model from scratch. Sketchup offers a variety of templates and pre-made components to make the process even easier.
Designing Your Kitchen Layout
 Once you have your 3D model set up, it's time to start designing your kitchen layout. Sketchup's intuitive interface allows you to easily drag and drop different elements, such as cabinets, appliances, and countertops, into your design. You can also adjust the size and placement of each element to create the perfect layout for your space. This is the time to let your creativity flow and experiment with different designs and layouts until you find the perfect one for your kitchen.
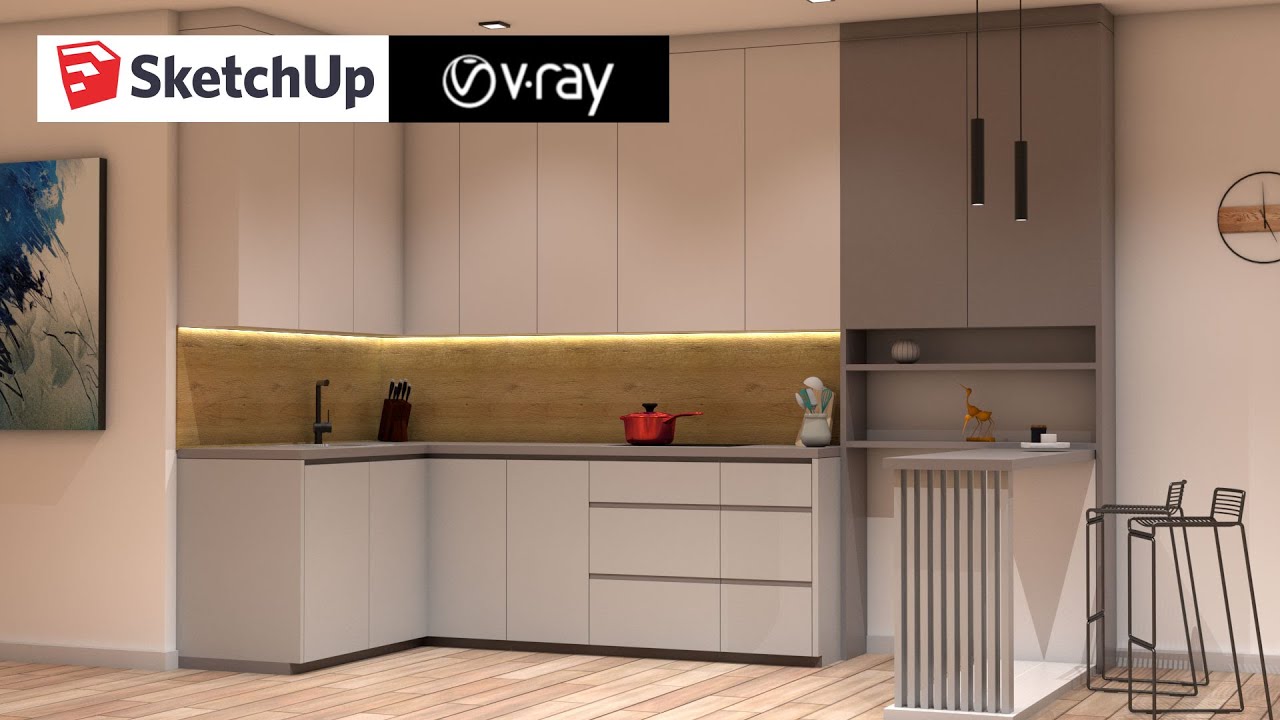
Bringing Your Design to Life
 With Sketchup's realistic rendering capabilities, you can get a realistic view of your design before making any changes in the physical space. This allows you to make any necessary adjustments and see how different materials and finishes will look in your kitchen. You can also add lighting and other details to enhance the overall look of your design.
Collaborating and Sharing Your Design
 One of the great features of Sketchup is the ability to collaborate and share your design with others. This is especially useful if you're working with a designer, contractor, or other professionals. You can easily share your design with them and get their input and feedback in real-time. This also makes it easier to make any necessary adjustments and ensure everyone is on the same page.
Finalizing Your Design
 After you've made any final adjustments and are satisfied with your design, it's time to finalize it. Sketchup offers a variety of tools to help you create detailed plans and materials lists, making the design process even more efficient. You can also export your design as a 3D model or 2D plan to use for construction or renovation purposes.
Transforming Your House Design Dreams into Reality with Sketchup
In conclusion, Sketchup is a powerful and user-friendly tool that can help you bring your house design ideas to life, especially when it comes to designing the perfect kitchen. With its wide range of features and capabilities, you can easily create and visualize your design, collaborate with others, and finalize your plans for a stunning and functional kitchen that truly reflects your style and needs. So why wait? Start using Sketchup today and see the endless possibilities for yourself.
After you've made any final adjustments and are satisfied with your design, it's time to finalize it. Sketchup offers a variety of tools to help you create detailed plans and materials lists, making the design process even more efficient. You can also export your design as a 3D model or 2D plan to use for construction or renovation purposes.
Transforming Your House Design Dreams into Reality with Sketchup
In conclusion, Sketchup is a powerful and user-friendly tool that can help you bring your house design ideas to life, especially when it comes to designing the perfect kitchen. With its wide range of features and capabilities, you can easily create and visualize your design, collaborate with others, and finalize your plans for a stunning and functional kitchen that truly reflects your style and needs. So why wait? Start using Sketchup today and see the endless possibilities for yourself.