How to Clean and Remove Silicone Caulk from a Kitchen Sink
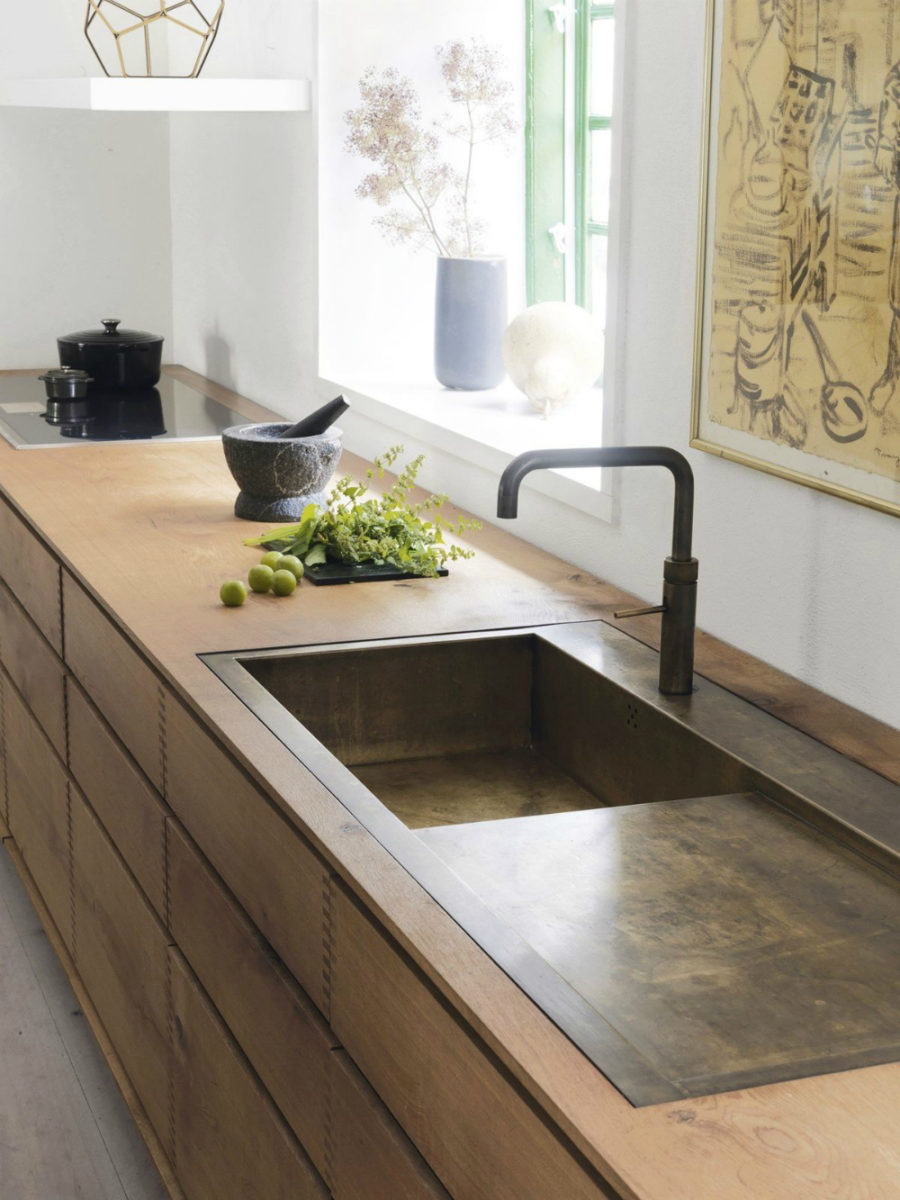
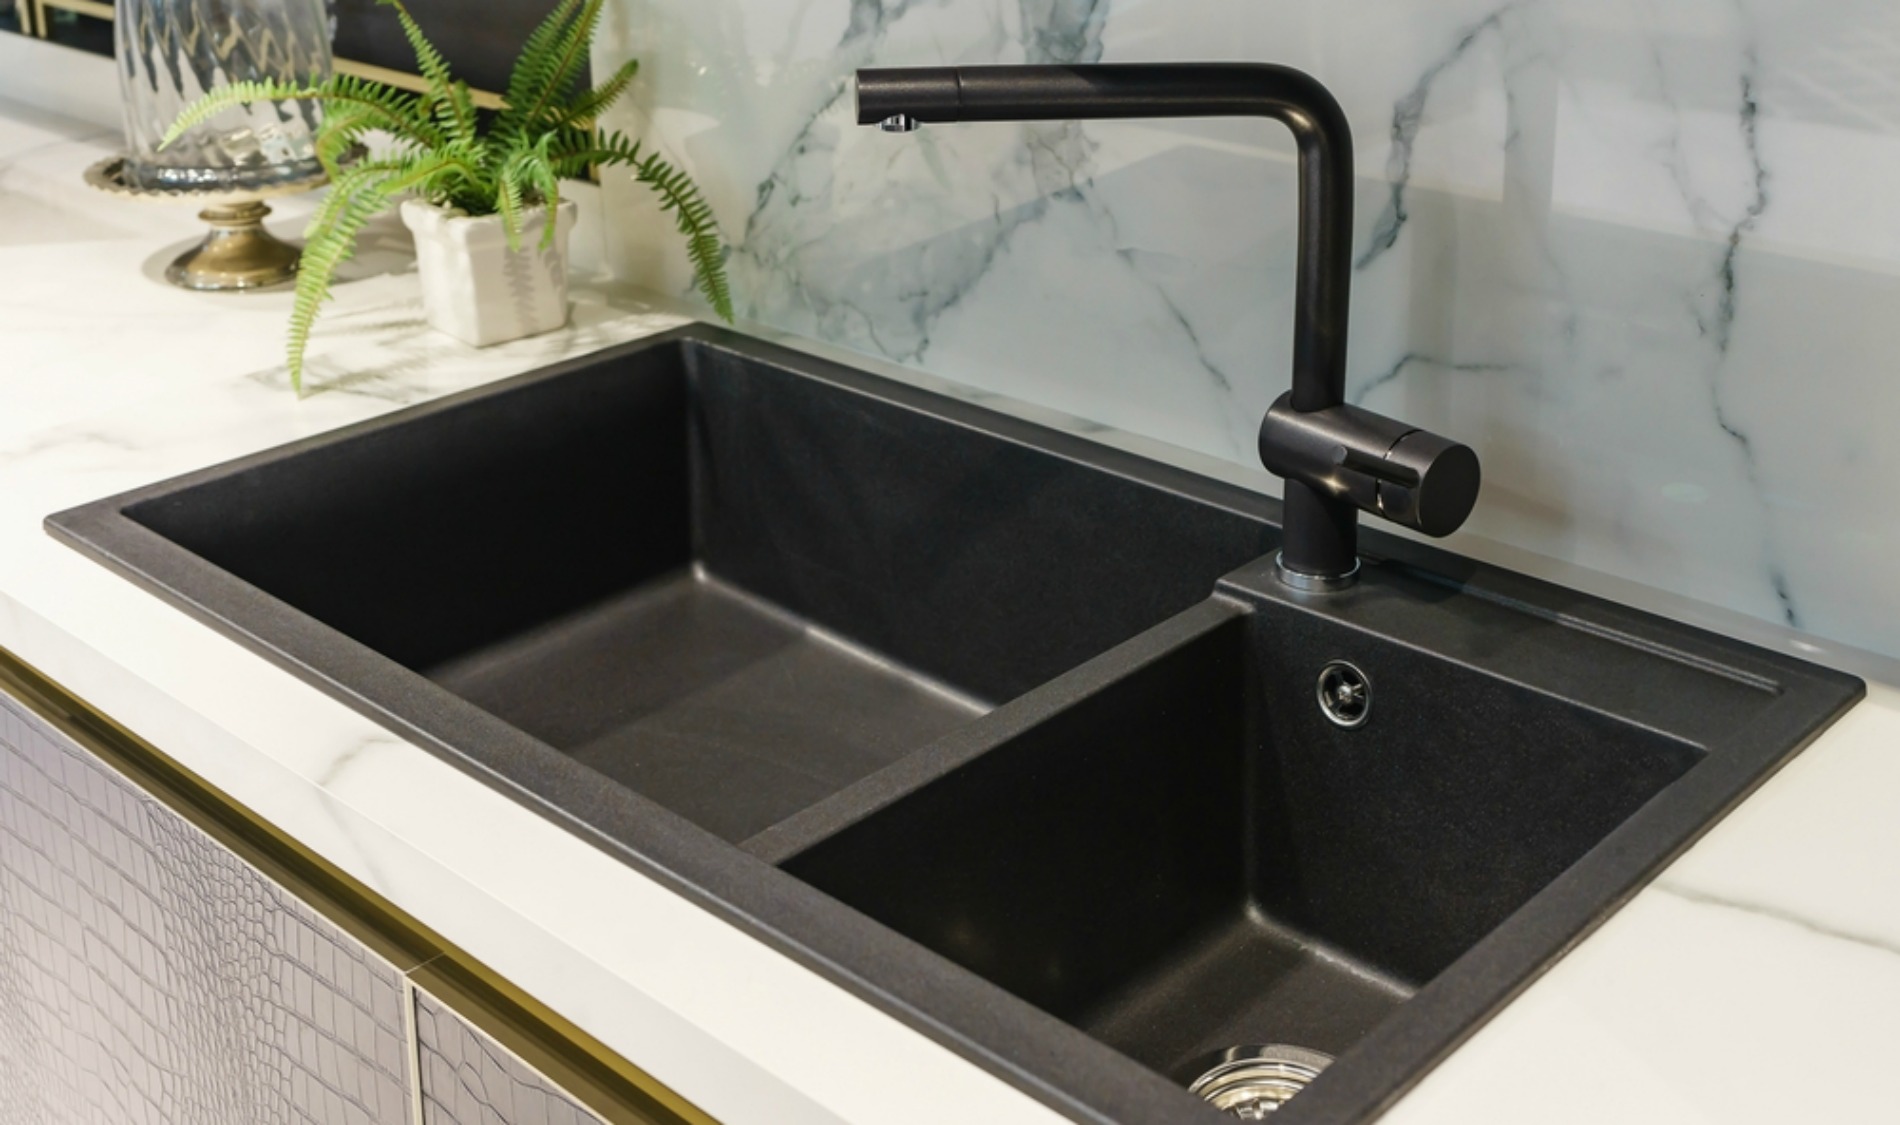
Silicone caulk is a popular choice for sealing and waterproofing kitchen sinks. It provides a strong and durable bond that can withstand moisture and temperature changes. However, over time, silicone caulk can start to darken and become discolored, making your kitchen sink look dirty and unappealing. In this article, we will discuss how to clean and remove silicone caulk from a kitchen sink to keep it looking clean and new.


How to Clean and Remove Silicone Caulk from a Kitchen Sink


How to Remove Silicone Caulk from a Kitchen Sink
If you notice that the silicone caulk around your kitchen sink has started to darken, it's time to remove it and apply a new layer. The first step is to soften the caulk by using a caulk remover or a specialized caulk softener. These products can be found at most hardware stores and are designed to dissolve the silicone, making it easier to remove.
Once the caulk has softened, use a putty knife or a razor blade to carefully scrape off the caulk from the sink. Be gentle to avoid damaging the sink surface. You can also use a scrub brush or an old toothbrush to remove any residue left behind. Make sure to thoroughly clean and dry the area before proceeding to apply new caulk.


How to Remove Silicone Caulk from a Kitchen Sink


How to Replace Silicone Caulk Around a Kitchen Sink
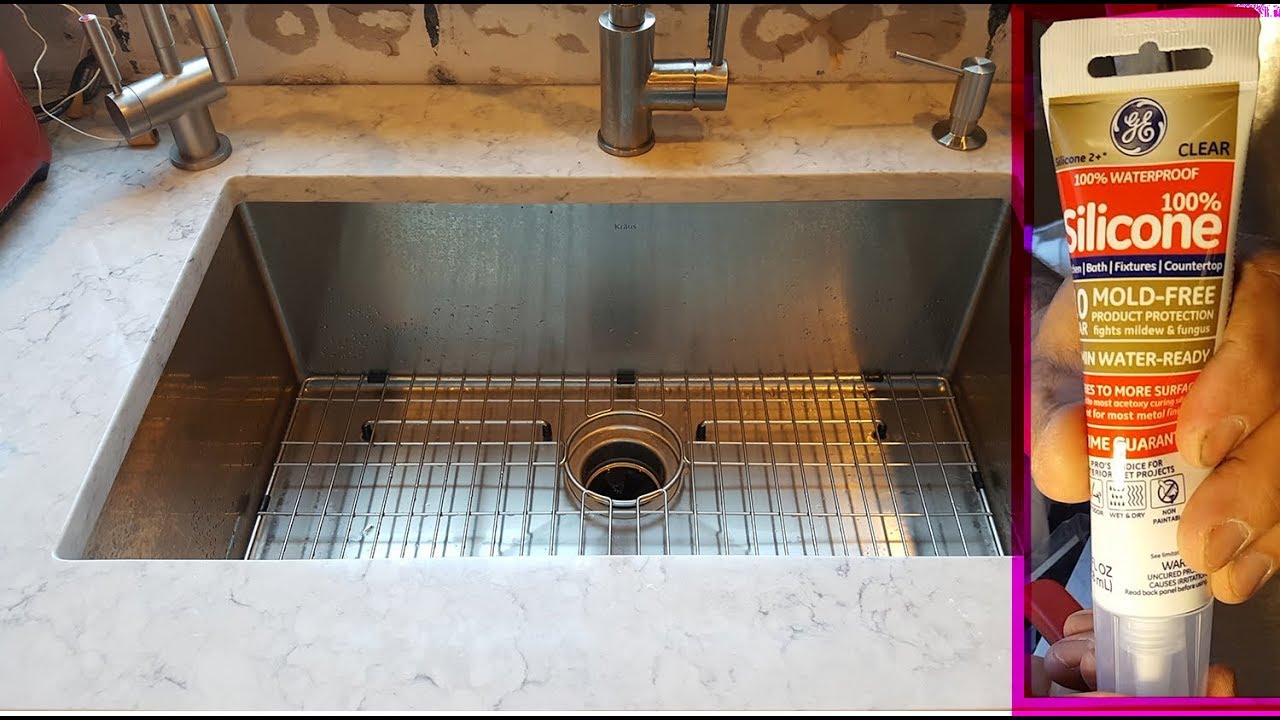
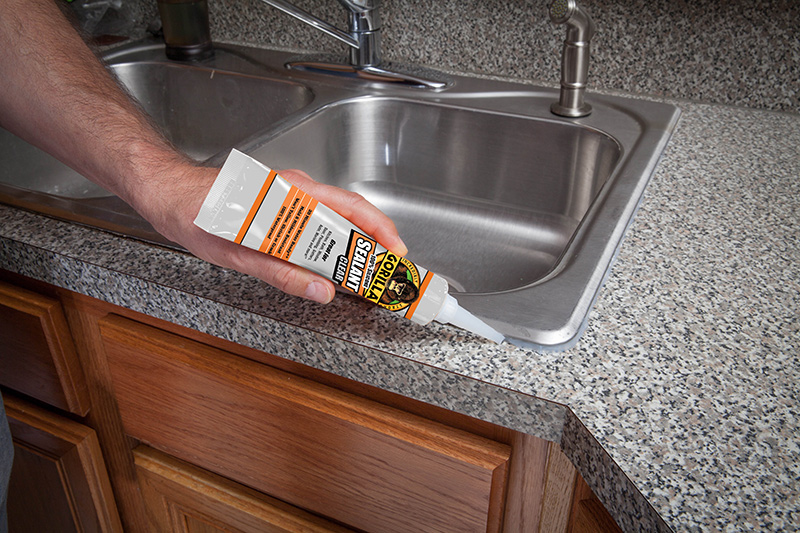
Replacing the silicone caulk around your kitchen sink is a simple and straightforward process. First, choose a high-quality silicone caulk that is specifically designed for use in kitchens and bathrooms. These types of caulk are mold and mildew-resistant and will prevent discoloration over time.
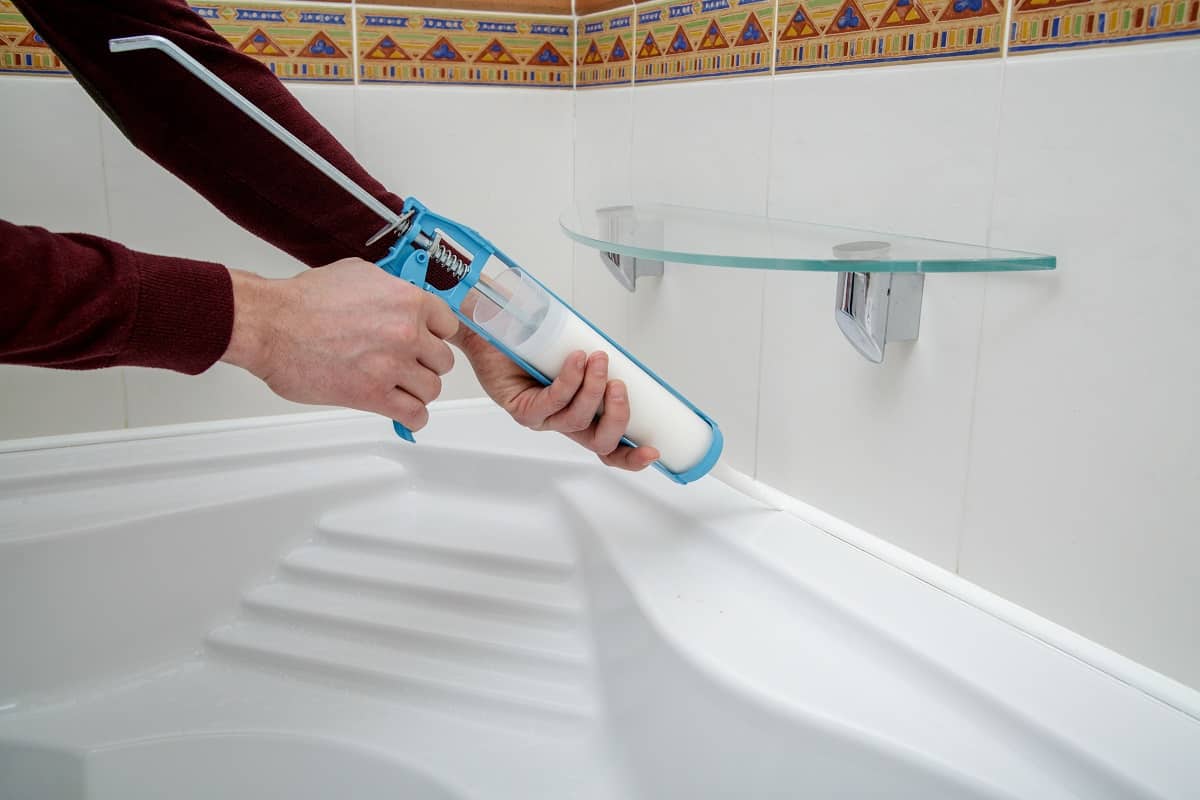
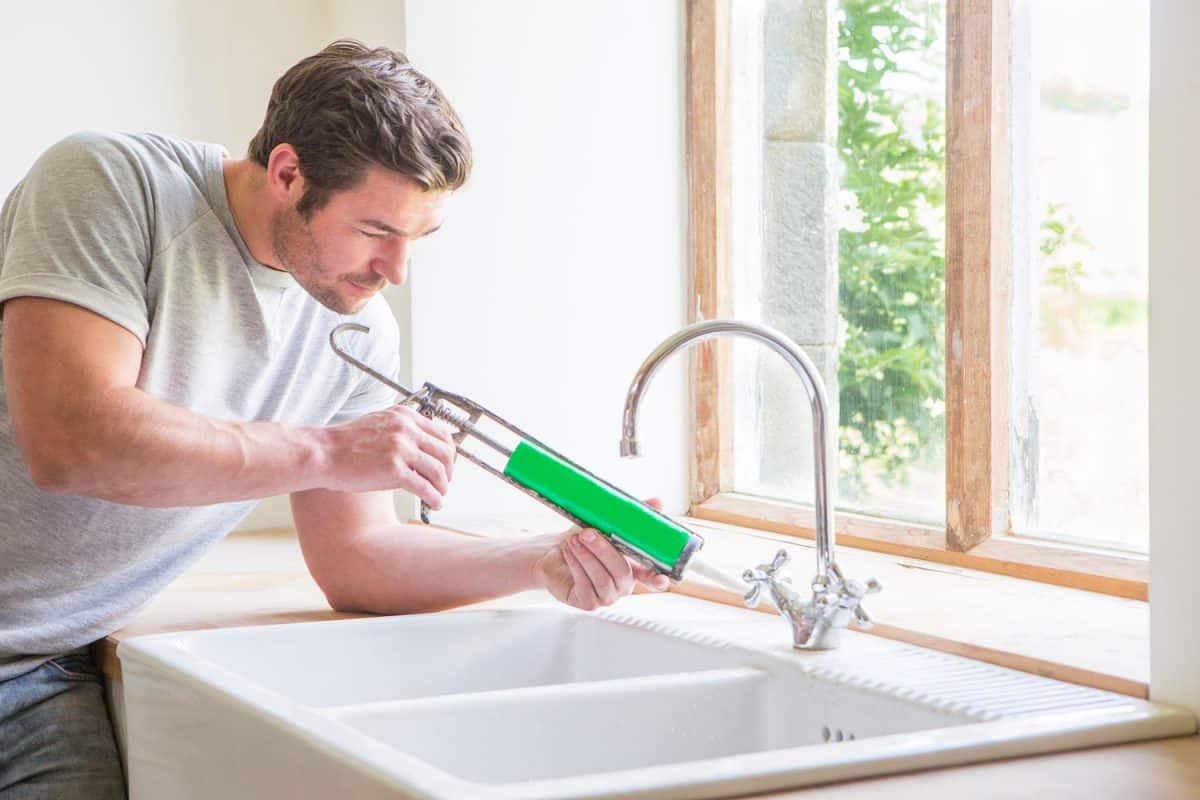
Next, using a caulk gun, carefully apply a thin and even layer of caulk around the edges of the sink. Use a caulk smoothing tool or your finger to smooth out the caulk and create a neat and clean finish. Lastly, wipe away any excess caulk with a damp cloth and allow it to dry completely before using the sink.


How to Replace Silicone Caulk Around a Kitchen Sink


How to Prevent Silicone Caulk from Darkening Around a Kitchen Sink
Prevention is always better than cure, and this applies to keeping the silicone caulk around your kitchen sink from darkening. The key is to regularly clean and dry the caulk to prevent any buildup of dirt and grime. You can use a mild cleaning solution and a soft cloth to clean the caulk and then dry it thoroughly with a towel.
You can also consider applying a silicone caulk sealant or protector to the caulk to help keep it looking clean and new. These products create a protective barrier that repels water and prevents staining and discoloration.


How to Prevent Silicone Caulk from Darkening Around a Kitchen Sink


Best Silicone Caulk for Kitchen Sinks
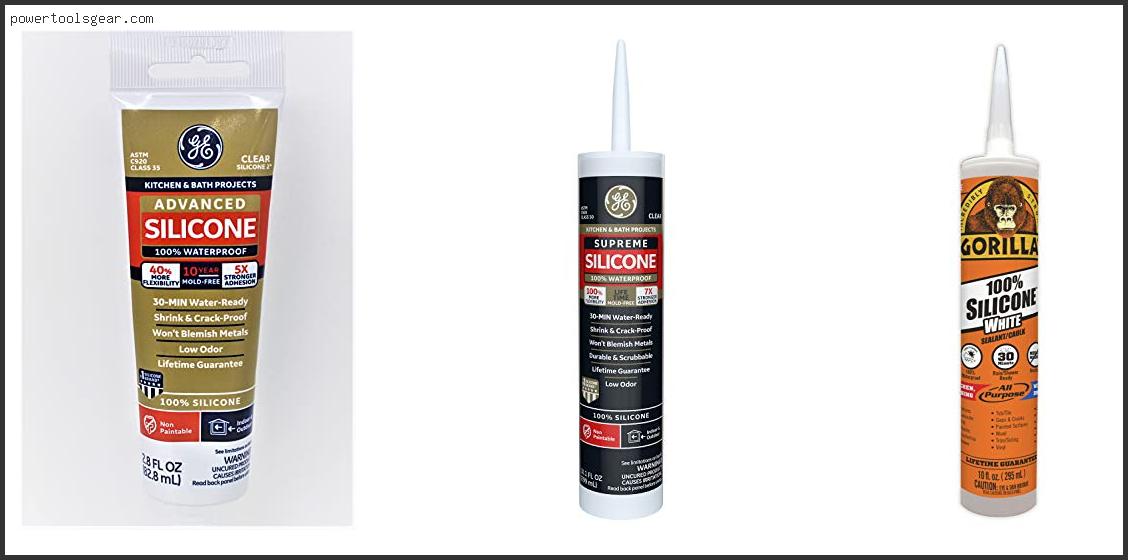
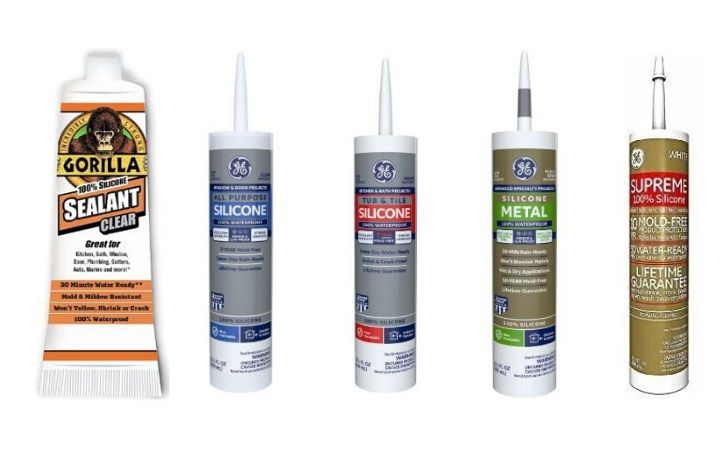
When it comes to choosing the right silicone caulk for your kitchen sink, it's important to select a high-quality product that is specifically designed for use in kitchens and bathrooms. Look for caulk that is mold and mildew-resistant, as these types of caulk are less likely to darken over time.
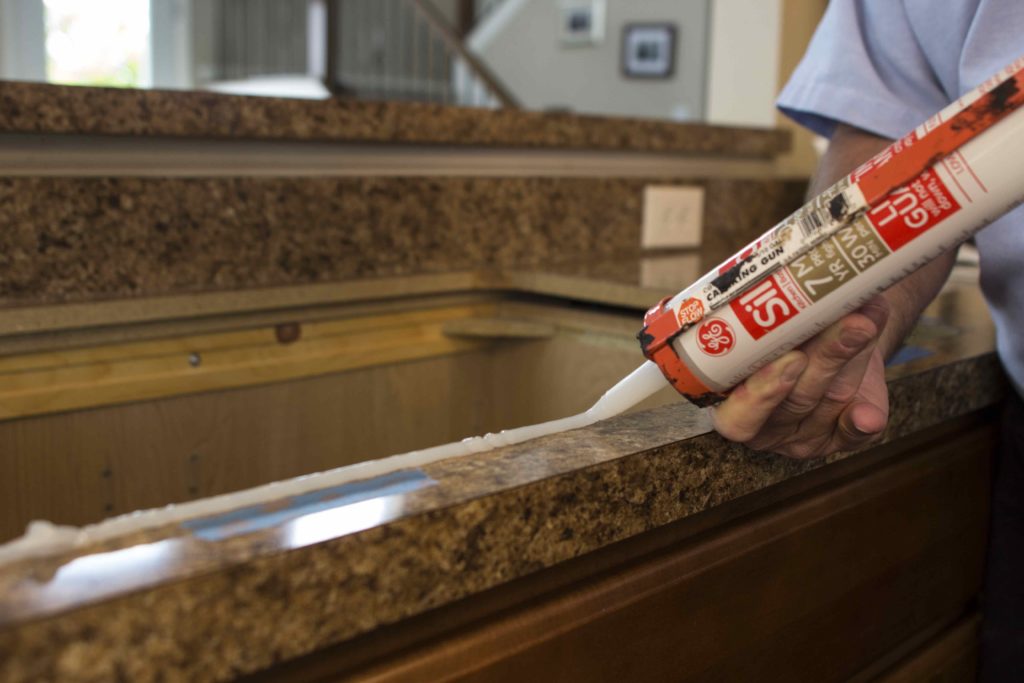
Some popular brands for kitchen sink silicone caulk include GE Silicone II Kitchen and Bath Caulk, DAP 3.0 Kitchen and Bath Adhesive Caulk, and Loctite Clear Silicone Waterproof Sealant. Be sure to read reviews and consider the features of each product before making a purchase.


Best Silicone Caulk for Kitchen Sinks


How to Apply Silicone Caulk Around a Kitchen Sink
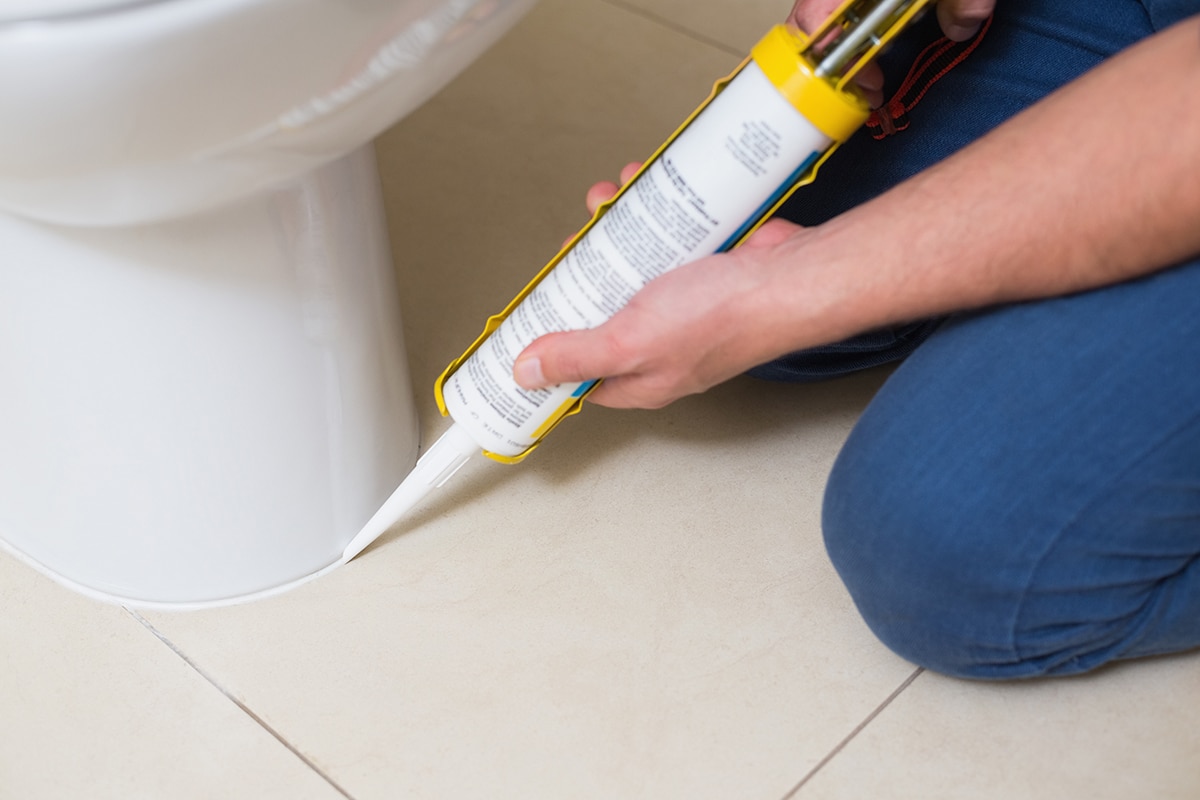
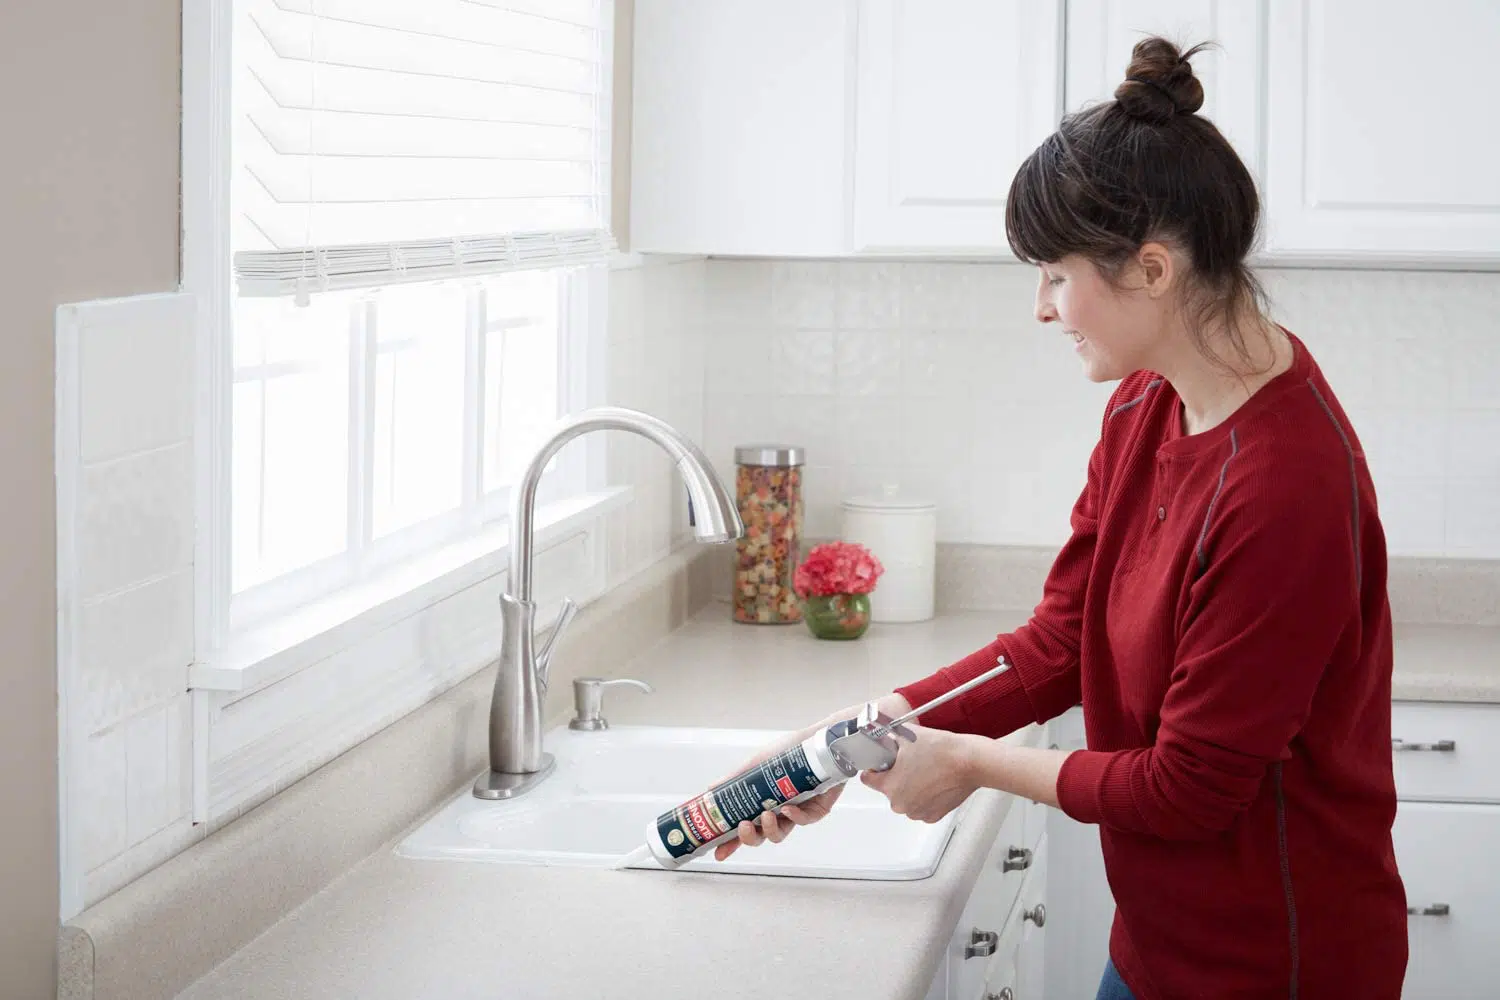
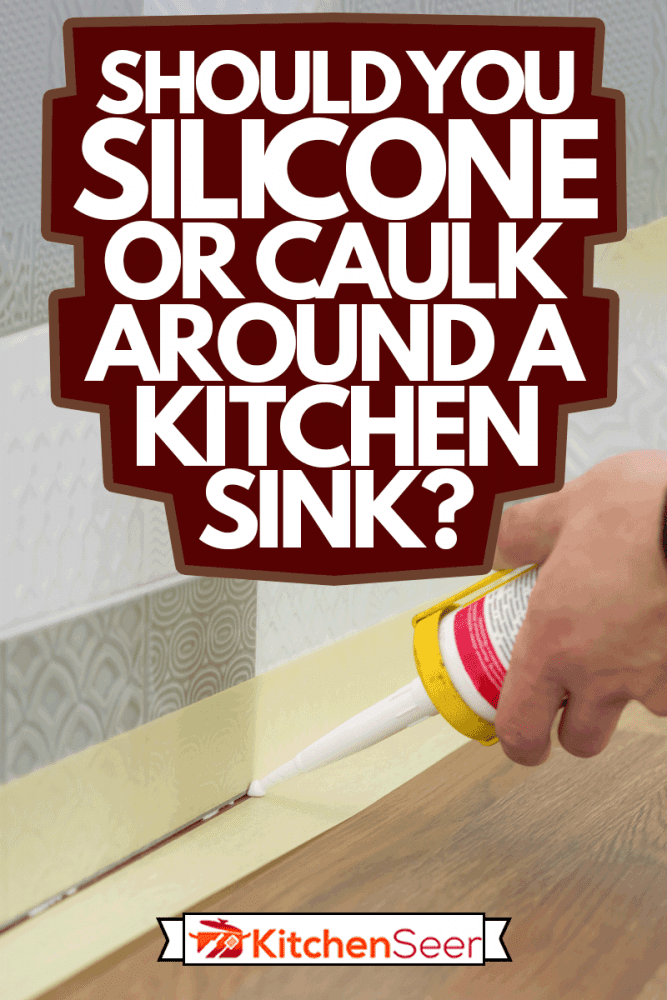
Applying silicone caulk around a kitchen sink may seem like a daunting task, but with the right tools and techniques, it can be a simple and quick process. Start by cleaning the area around the sink and drying it thoroughly. Next, load the caulk gun with your chosen silicone caulk and carefully apply a thin and even layer around the edges of the sink.
Use a caulk smoothing tool or your finger to smooth out the caulk and create a neat and clean finish. Wipe away any excess caulk with a damp cloth and allow it to dry completely before using the sink. It's also important to follow the manufacturer's instructions for drying time and any other specific guidelines.

How to Apply Silicone Caulk Around a Kitchen Sink


How to Seal a Kitchen Sink with Silicone Caulk
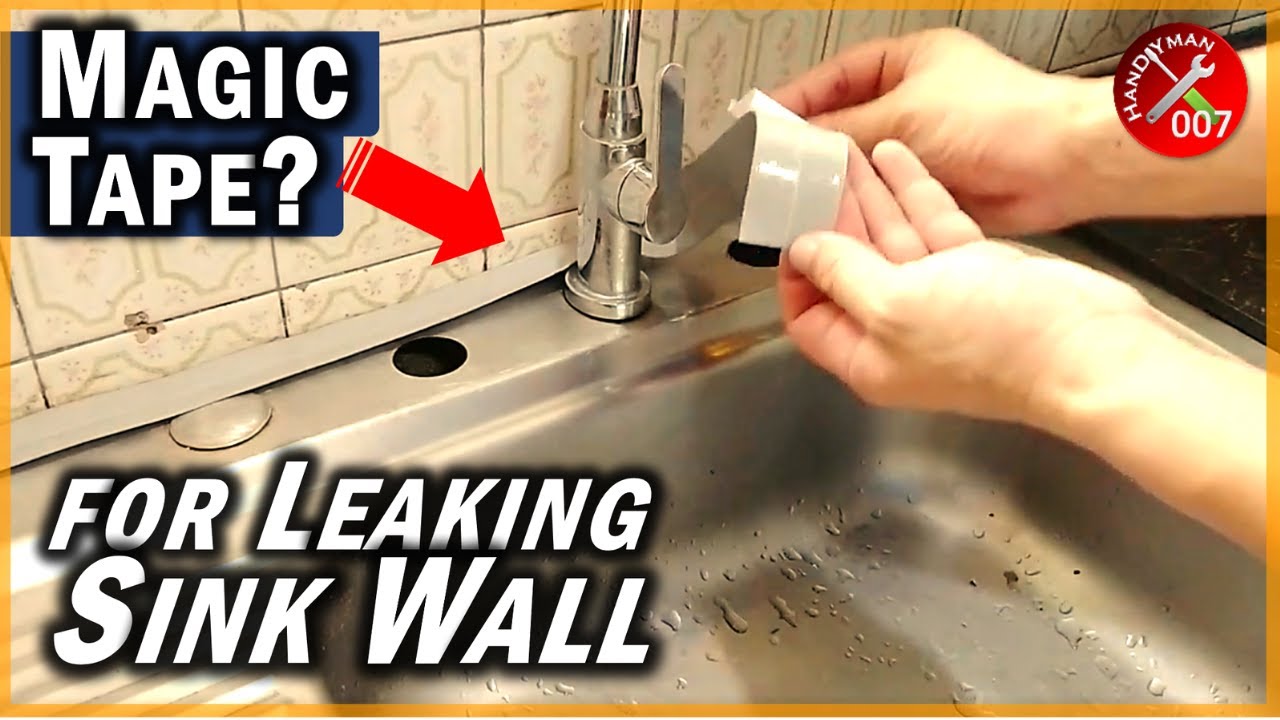
Sealing your kitchen sink with silicone caulk is an important step in preventing leaks and water damage. Once you have applied the caulk around the edges of the sink, use a caulk smoothing tool or your finger to smooth out the caulk and create a watertight seal. This will help to prevent any water from seeping through and causing damage to your sink and countertop.


How to Seal a Kitchen Sink with Silicone Caulk


How to Remove Dark Stains from Silicone Caulk Around a Kitchen Sink
If you already have dark stains on your silicone caulk, there are a few methods you can try to remove them. You can use a mixture of baking soda and water to create a paste and gently scrub the stained area with a toothbrush. Alternatively, you can use a commercial caulk stain remover product. Make sure to thoroughly clean and dry the area after removing the stains.

How to Remove Dark Stains from Silicone Caulk Around a Kitchen Sink


How to Keep Silicone Caulk Around a Kitchen Sink Looking Clean and New
To keep your silicone caulk looking clean and new, it's important to regularly clean and dry the area. You can also use a mild cleaning solution and a soft cloth to remove any buildup of dirt and grime. Additionally, consider applying a silicone caulk sealant or protector to help prevent discoloration and keep the caulk looking fresh.

How to Keep Silicone Caulk Around a Kitchen Sink Looking Clean and New


How to Choose the Right Color Silicone Caulk for Your Kitchen Sink
When it comes to choosing the right color silicone caulk for your kitchen sink, the best option is to match it to the color of your sink or countertop. If you have a white sink, opt for a white caulk. If you have a stainless steel sink, choose a clear caulk. This will help to create a seamless and cohesive look in your kitchen.


How to Choose the Right Color Silicone Caulk for Your Kitchen Sink


:max_bytes(150000):strip_icc()/Basic-kitchen-sink-types-1821207_color_rev-0b539306b9ef4236a136624ad2a89a4c.jpg)


Silicone is a common material used in kitchen sinks to seal and prevent water from leaking. However, over time, you may notice that the silicone around your kitchen sink darkens . This can be caused by a variety of factors, including mold and mildew growth, exposure to sunlight, and even regular wear and tear. Not only does this darkening affect the appearance of your sink, but it can also lead to potential water damage and health hazards. Therefore, it is important to address this issue promptly and replace the darkened silicone with fresh, clean silicone .
Why Does Silicone Around Kitchen Sinks Darken?
 There are several reasons why silicone around kitchen sinks may darken over time. One of the most common causes is the growth of mold and mildew. These microorganisms thrive in damp and humid environments, making your kitchen sink an ideal breeding ground. As they grow, they release spores and produce a dark, slimy residue, which can discolor the silicone sealant.
Exposure to sunlight can also cause silicone to darken. The UV rays from the sun can break down the chemical structure of silicone, causing it to become discolored and brittle. Additionally, regular use of cleaning products and abrasive materials can wear down the silicone, making it more susceptible to discoloration.
There are several reasons why silicone around kitchen sinks may darken over time. One of the most common causes is the growth of mold and mildew. These microorganisms thrive in damp and humid environments, making your kitchen sink an ideal breeding ground. As they grow, they release spores and produce a dark, slimy residue, which can discolor the silicone sealant.
Exposure to sunlight can also cause silicone to darken. The UV rays from the sun can break down the chemical structure of silicone, causing it to become discolored and brittle. Additionally, regular use of cleaning products and abrasive materials can wear down the silicone, making it more susceptible to discoloration.
The Dangers of Darkened Silicone
 While darkened silicone may seem like a minor cosmetic issue, it can actually pose several risks to your home and health. When silicone around kitchen sinks darkens, it may also weaken and lose its ability to seal properly. This can lead to water leakage, which can cause damage to your cabinets, countertops, and floors. In addition, the presence of mold and mildew can contribute to poor indoor air quality and potentially cause respiratory problems.
How to Replace Darkened Silicone
 The best way to address darkened silicone around your kitchen sink is to replace it with fresh, clean silicone. Before doing so, it is important to thoroughly clean the area to remove any mold and mildew. You can use a mixture of equal parts water and white vinegar to kill and remove any existing mold and mildew. After cleaning, make sure to dry the area completely before applying the new silicone sealant.
When choosing a new silicone sealant, opt for a mold and mildew-resistant formula. This will help prevent future discoloration and ensure a longer-lasting seal. Follow the manufacturer's instructions for application and be sure to allow the sealant to fully cure before using your sink again.
In conclusion,
darkened silicone around kitchen sinks should not be ignored
. It not only affects the appearance of your kitchen but also poses potential risks to your home and health. By understanding the causes and taking the necessary steps to replace darkened silicone, you can ensure a clean and well-sealed kitchen sink for years to come.
The best way to address darkened silicone around your kitchen sink is to replace it with fresh, clean silicone. Before doing so, it is important to thoroughly clean the area to remove any mold and mildew. You can use a mixture of equal parts water and white vinegar to kill and remove any existing mold and mildew. After cleaning, make sure to dry the area completely before applying the new silicone sealant.
When choosing a new silicone sealant, opt for a mold and mildew-resistant formula. This will help prevent future discoloration and ensure a longer-lasting seal. Follow the manufacturer's instructions for application and be sure to allow the sealant to fully cure before using your sink again.
In conclusion,
darkened silicone around kitchen sinks should not be ignored
. It not only affects the appearance of your kitchen but also poses potential risks to your home and health. By understanding the causes and taking the necessary steps to replace darkened silicone, you can ensure a clean and well-sealed kitchen sink for years to come.