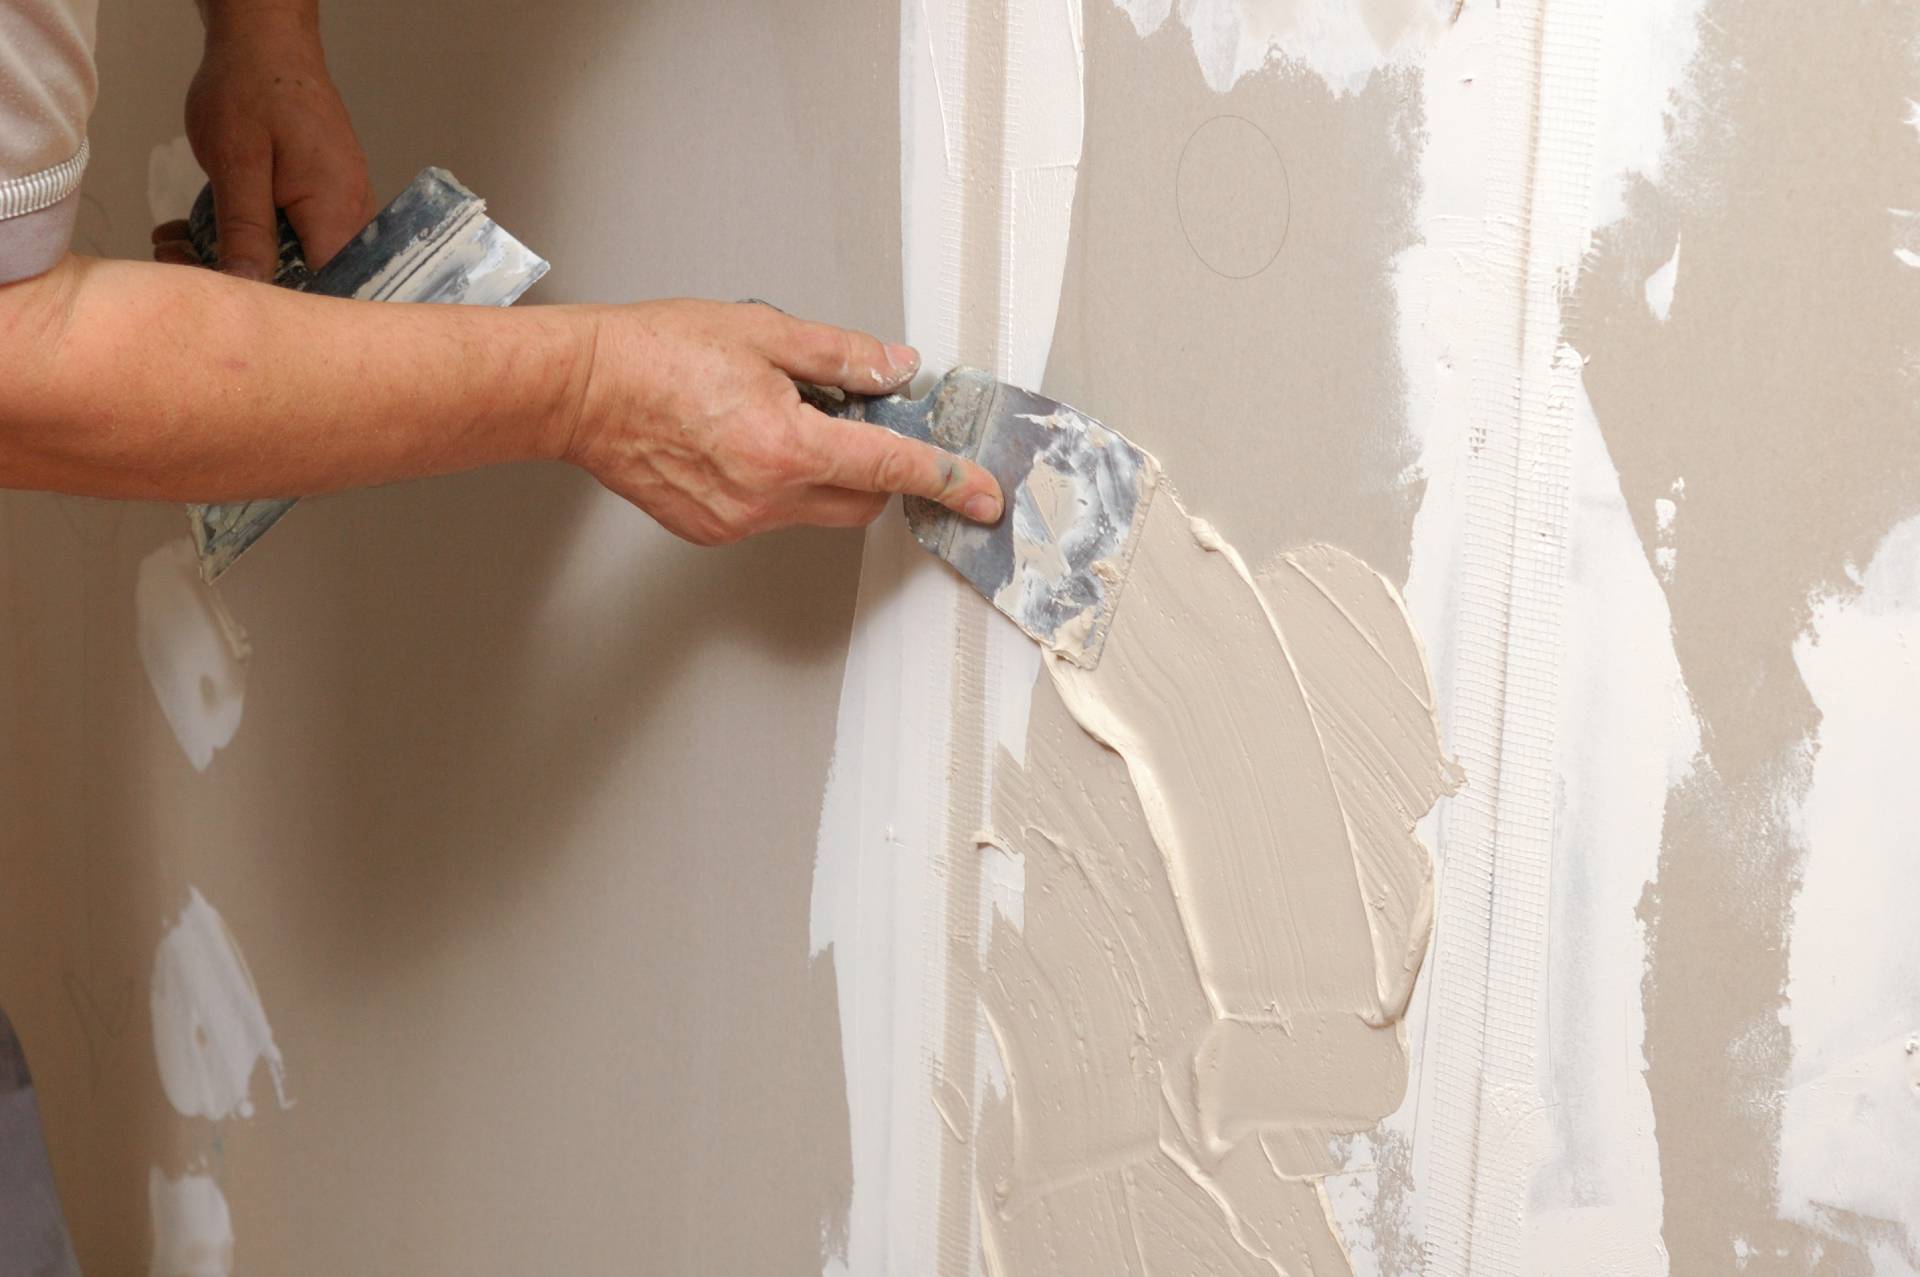
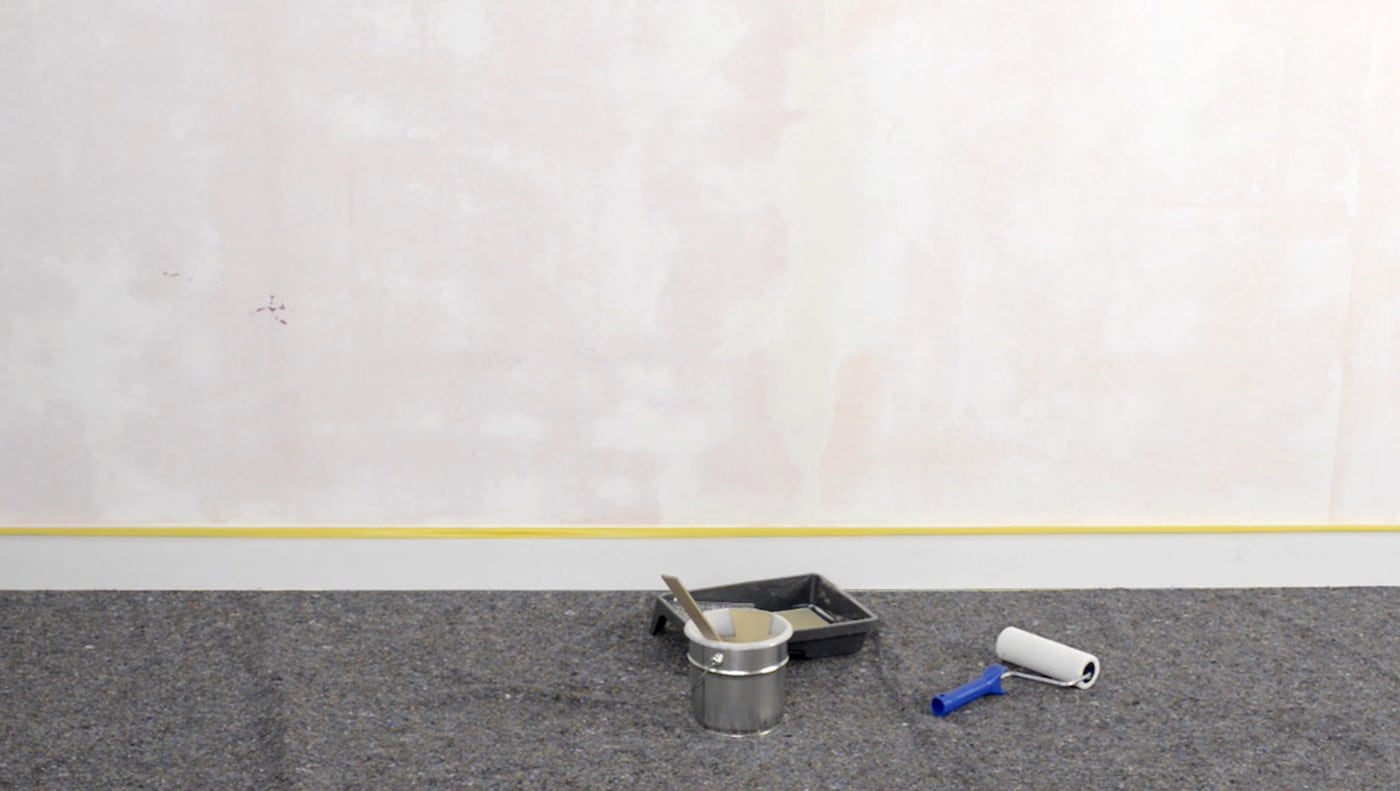
1. How to Seal a Kitchen Wall Before Painting
Before painting your kitchen walls, it is important to properly prepare the surface by sealing it. This will not only ensure a smoother and more professional-looking finish, but also protect your walls from moisture and stains. Here's a step-by-step guide on how to seal your kitchen wall before painting.
Main keywords: seal, kitchen wall, painting, prepare, surface, protect, moisture, stains, step-by-step.


1. How to Seal a Kitchen Wall Before Painting


2. Best Paint for Sealing Kitchen Walls
The type of paint you choose for your kitchen walls can greatly affect the effectiveness of the sealing process. The best paint for sealing kitchen walls is one that is specifically designed for high-moisture areas, such as a kitchen. Look for paints labeled as "kitchen and bath" or "mildew-resistant". These paints are usually acrylic or latex-based and have added sealers in them.
Main keywords: paint, sealing, kitchen walls, high-moisture, specific, designed, mildew-resistant, acrylic, latex, added sealers.


2. Best Paint for Sealing Kitchen Walls


3. Tips for Sealing Kitchen Wall Paint
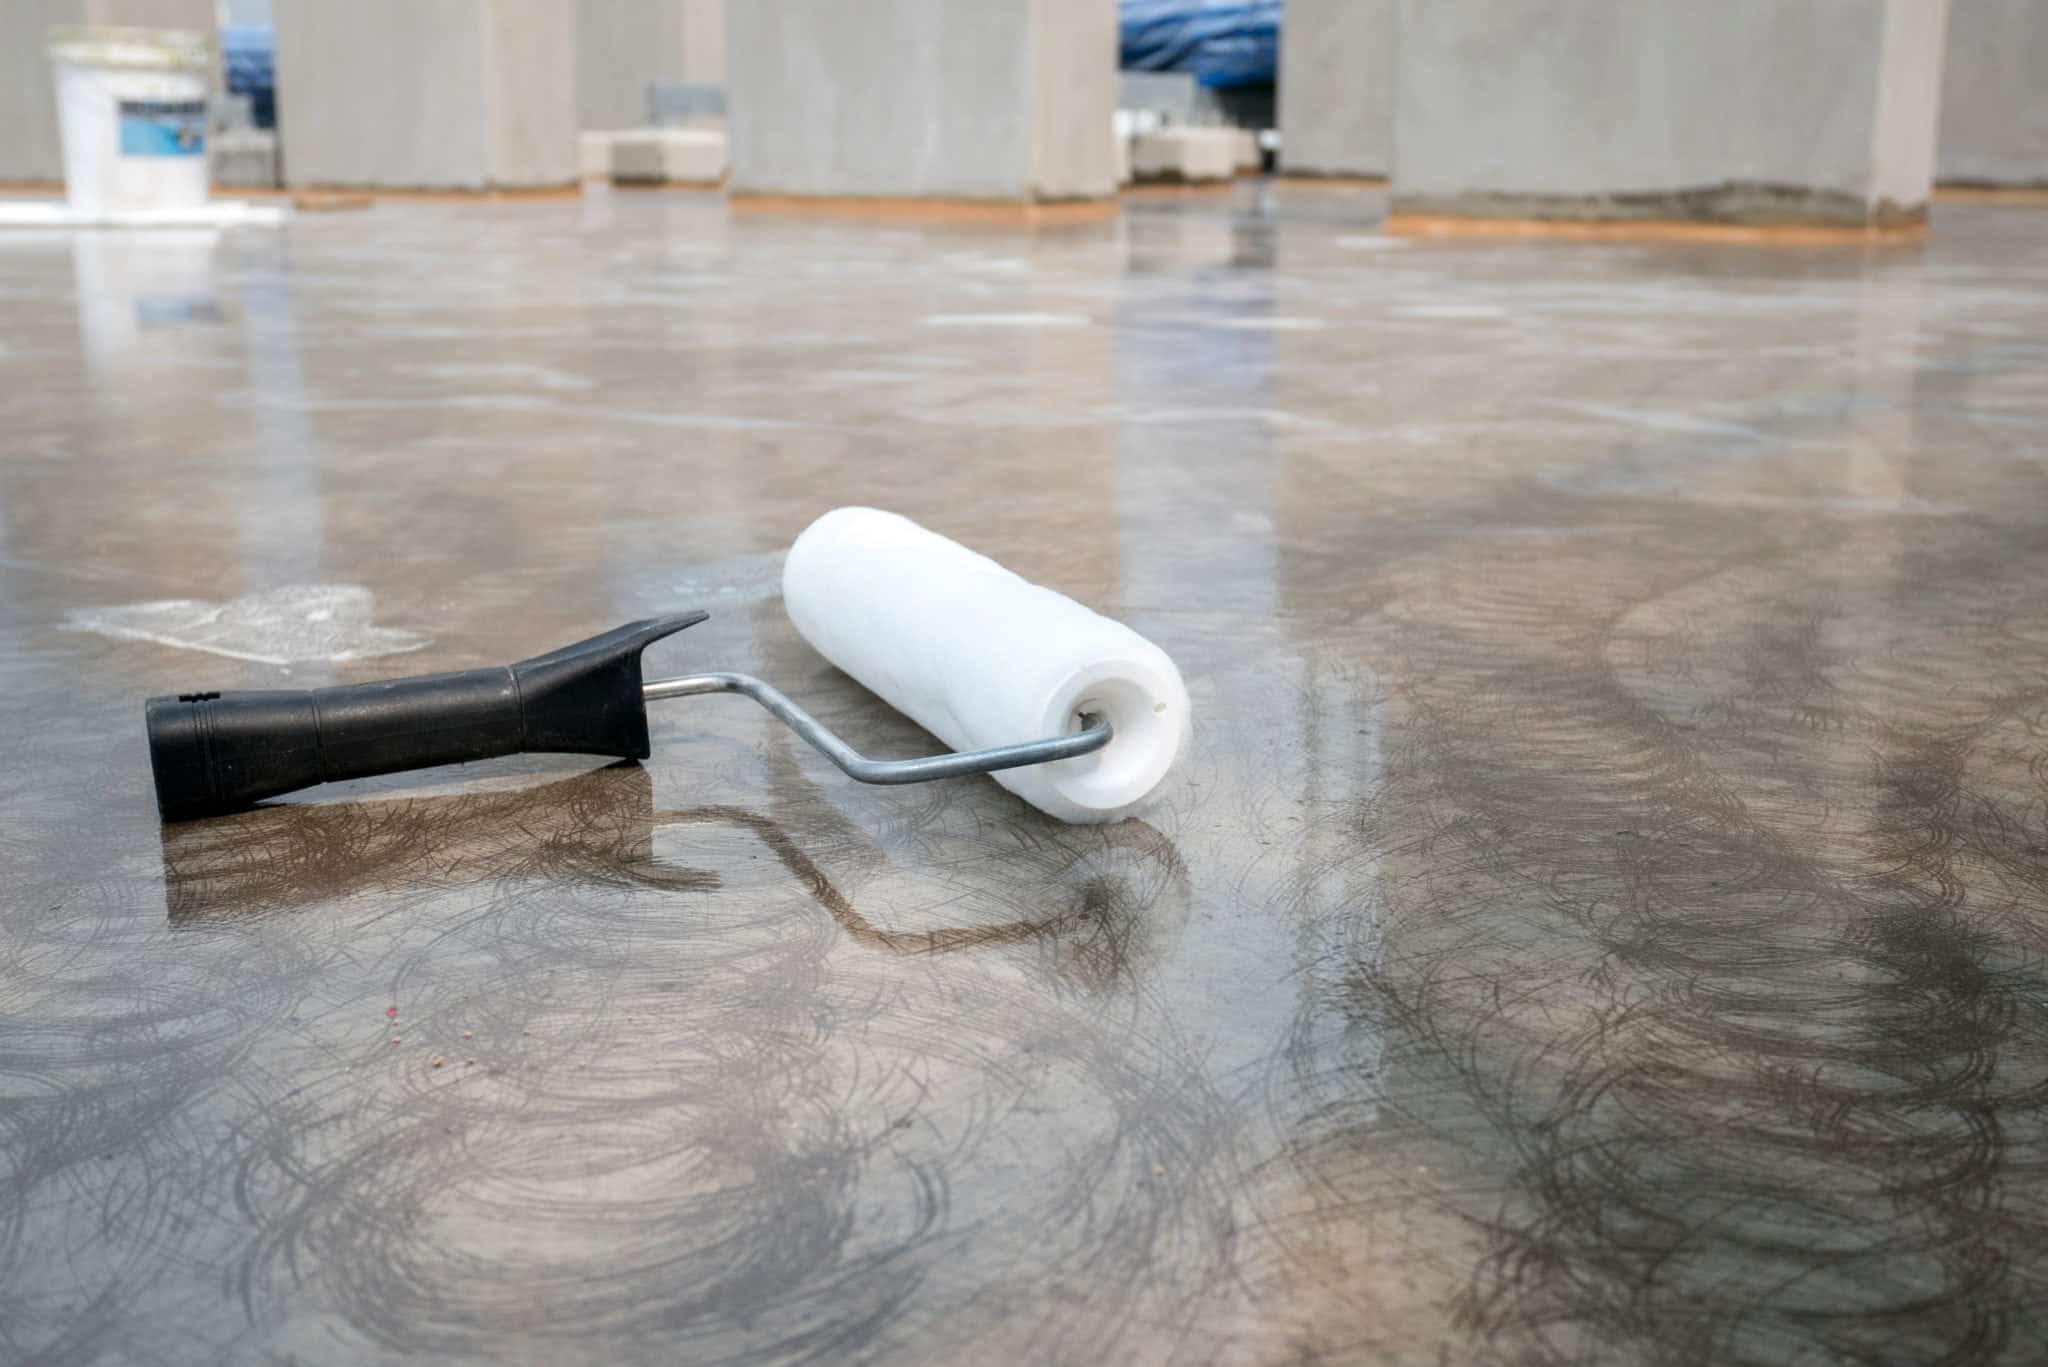
Sealing kitchen wall paint may seem like a daunting task, but with these tips, it can be a much easier and smoother process. First, make sure to thoroughly clean the walls before sealing. This will ensure that the sealant adheres properly. Additionally, use a quality paintbrush or roller to apply the sealant in even, smooth strokes. Finally, follow the manufacturer's instructions and allow the sealant to dry completely before painting over it.
Main keywords: tips, sealing, kitchen wall paint, clean, sealant, adhere, quality, paintbrush, roller, even, smooth strokes, manufacturer's instructions, dry.


3. Tips for Sealing Kitchen Wall Paint


4. Sealing Kitchen Wall Paint: Step-by-Step Guide
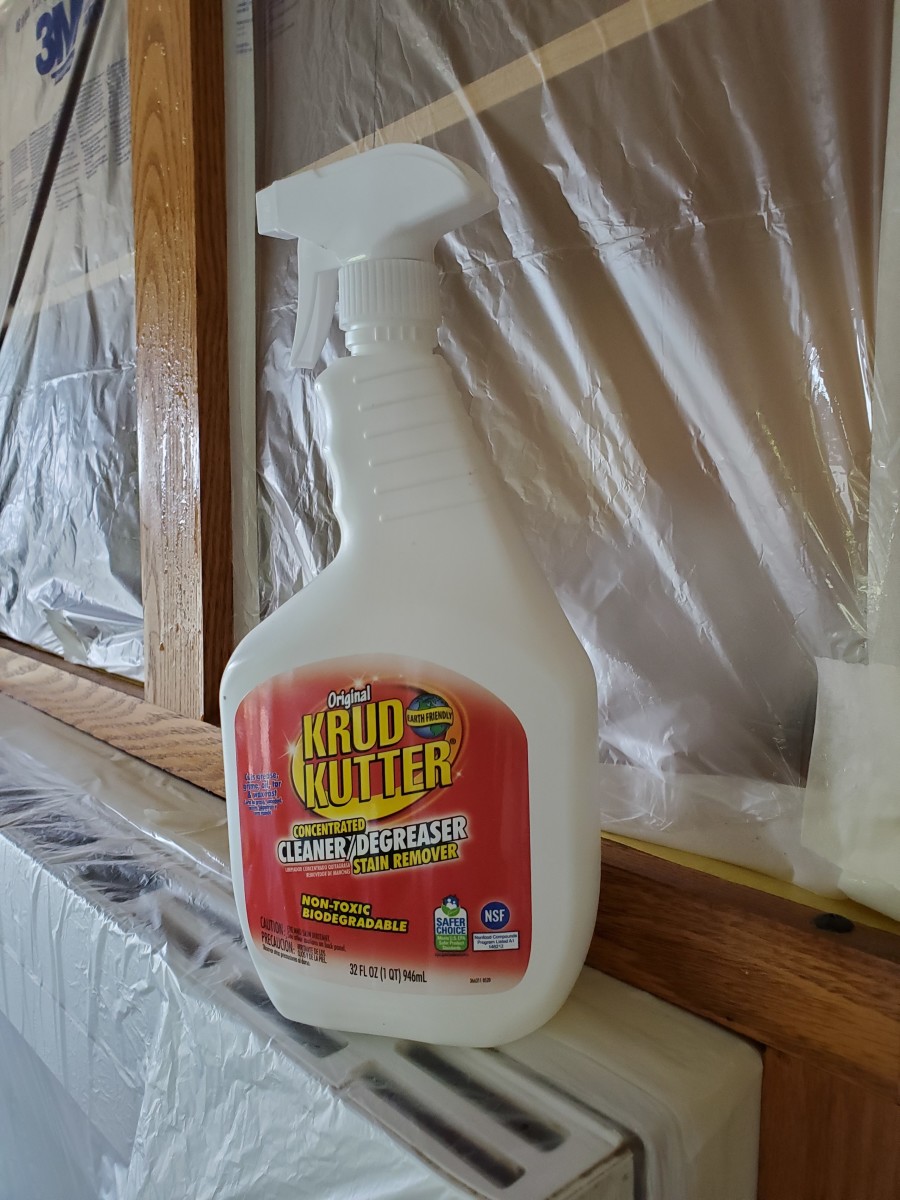
Now that you have the necessary tips, let's dive into a more detailed step-by-step guide on how to seal your kitchen wall paint. First, gather all the materials you will need, including a cleaner, sandpaper, sealant, paintbrush or roller, and a drop cloth. Then, clean the walls and sand down any imperfections. Next, apply the sealant in even layers, starting from the top of the wall and working your way down. Finally, allow the sealant to dry completely before painting over it.
Main keywords: sealing, kitchen wall paint, step-by-step guide, materials, cleaner, sandpaper, imperfections, even layers, top, working, dry.


4. Sealing Kitchen Wall Paint: Step-by-Step Guide


5. The Importance of Sealing Kitchen Wall Paint
Sealing your kitchen wall paint is not just for aesthetic purposes, it also serves an important function in protecting your walls from moisture and stains. The kitchen is a high-moisture area, with steam and cooking odors constantly present, which can cause damage to unprotected walls. Sealing the walls will not only prevent this damage, but also make them easier to clean and maintain in the long run.
Main keywords: importance, sealing, kitchen wall paint, aesthetic purposes, function, protecting, moisture, stains, high-moisture area, steam, cooking odors, damage, prevent, easier, clean, maintain.


5. The Importance of Sealing Kitchen Wall Paint


6. Choosing the Right Sealer for Kitchen Wall Paint
When it comes to choosing the right sealer for your kitchen wall paint, there are a few factors to consider. One important factor is the type of paint you are using. If you are using an oil-based paint, you will need a sealer that is compatible with it. Additionally, consider the level of protection you need. For high-moisture areas, opt for a waterproof sealer, while for low-traffic areas, a simple clear sealant may suffice.
Main keywords: choosing, right sealer, kitchen wall paint, factors, type, oil-based paint, compatible, level of protection, high-moisture areas, waterproof, low-traffic areas, simple, clear sealant.


6. Choosing the Right Sealer for Kitchen Wall Paint


7. Common Mistakes When Sealing Kitchen Wall Paint
While sealing kitchen wall paint may seem like a straightforward process, there are a few common mistakes that people tend to make. One is not properly cleaning the walls before sealing, which can result in the sealant not adhering properly. Another mistake is using the wrong type of sealer, which can lead to peeling or flaking. It is important to carefully follow the instructions and use the right materials to avoid these mistakes.
Main keywords: common mistakes, sealing, kitchen wall paint, straightforward process, cleaning, adhering, wrong type, peeling, flaking, carefully, follow, instructions, right materials.


7. Common Mistakes When Sealing Kitchen Wall Paint


8. How to Tell if Your Kitchen Wall Paint Needs Sealing
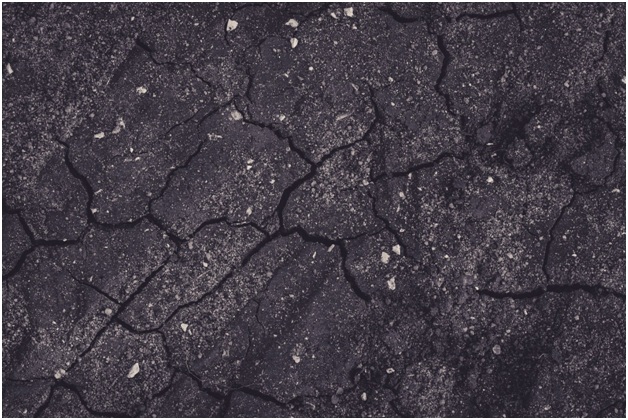
If you are unsure whether your kitchen wall paint needs sealing, there are a few signs to look out for. One is discoloration or staining on the walls, which can indicate that moisture has seeped through and is damaging the paint. Another sign is flaking or peeling paint, which can also be caused by moisture. If you notice these signs, it is best to seal your kitchen walls before repainting to ensure a longer-lasting finish.
Main keywords: tell, kitchen wall paint, needs sealing, unsure, signs, discoloration, staining, moisture, damaging, flaking, peeling, longer-lasting finish.

8. How to Tell if Your Kitchen Wall Paint Needs Sealing


9. DIY vs Professional: Sealing Kitchen Wall Paint
While you can certainly seal your kitchen wall paint as a DIY project, it is also worth considering hiring a professional. DIY sealing can be time-consuming and may require multiple coats, while a professional will have the necessary tools and expertise to do the job efficiently and effectively. Additionally, a professional may be able to recommend the best type of sealer for your specific kitchen needs.
Main keywords: DIY, professional, sealing, kitchen wall paint, time-consuming, multiple coats, tools, expertise, job, efficiently, effectively, recommend, best type, specific, kitchen needs.

9. DIY vs Professional: Sealing Kitchen Wall Paint


10. How to Maintain Sealed Kitchen Wall Paint
Once you have successfully sealed your kitchen wall paint, it is important to properly maintain it to ensure its longevity. Avoid using harsh chemicals or abrasive cleaners on the sealed walls, as this can damage the sealant. Instead, use a mild soap and water solution to clean any spills or stains. Additionally, periodically inspect the walls for any signs of damage or wear and touch up the sealant as needed.
Main keywords: maintain, sealed kitchen wall paint, longevity, avoid, harsh chemicals, abrasive cleaners, damage, sealant, mild soap, water solution, clean, spills, stains, periodically inspect, signs of damage, wear, touch up, as needed.

10. How to Maintain Sealed Kitchen Wall Paint


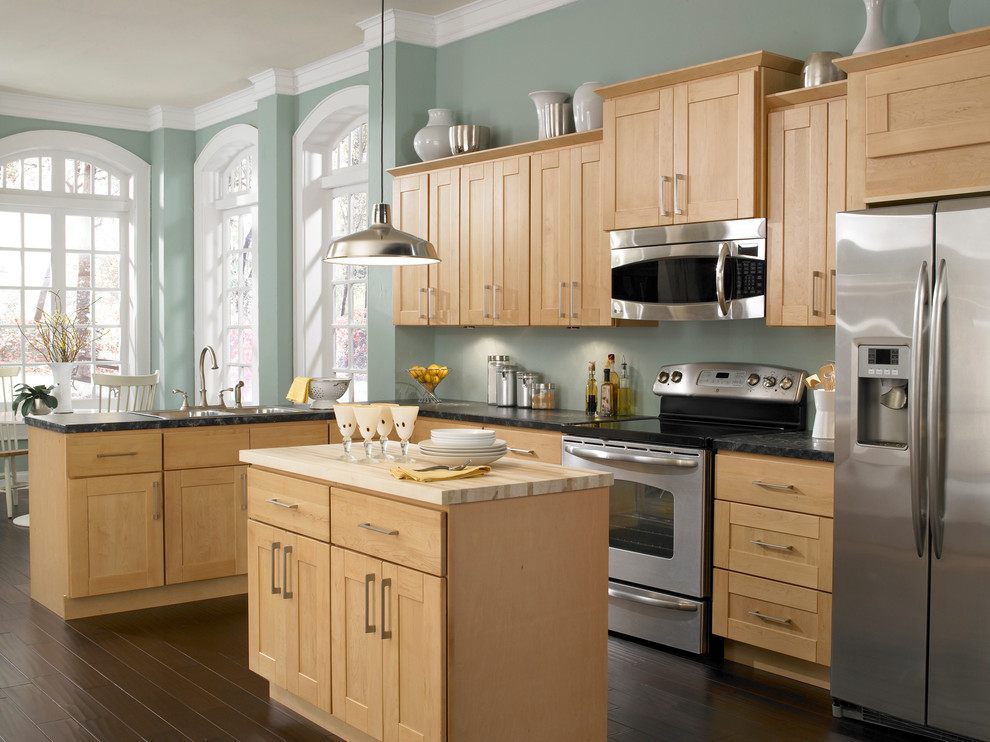
Why Sealing Kitchen Wall Paint is Essential for a Beautiful and Functional Kitchen

Protect Your Kitchen Walls
 When it comes to designing and decorating a kitchen, the walls are often overlooked. However, they play a crucial role in the overall look and functionality of the space. Kitchen walls are exposed to a lot of moisture, heat, and cooking splatters, which can cause damage and staining over time. This is why
sealing kitchen wall paint
is an important step in the design process. It not only protects your walls from wear and tear but also adds to the aesthetic appeal of your kitchen.
When it comes to designing and decorating a kitchen, the walls are often overlooked. However, they play a crucial role in the overall look and functionality of the space. Kitchen walls are exposed to a lot of moisture, heat, and cooking splatters, which can cause damage and staining over time. This is why
sealing kitchen wall paint
is an important step in the design process. It not only protects your walls from wear and tear but also adds to the aesthetic appeal of your kitchen.
Prevent Moisture and Stains
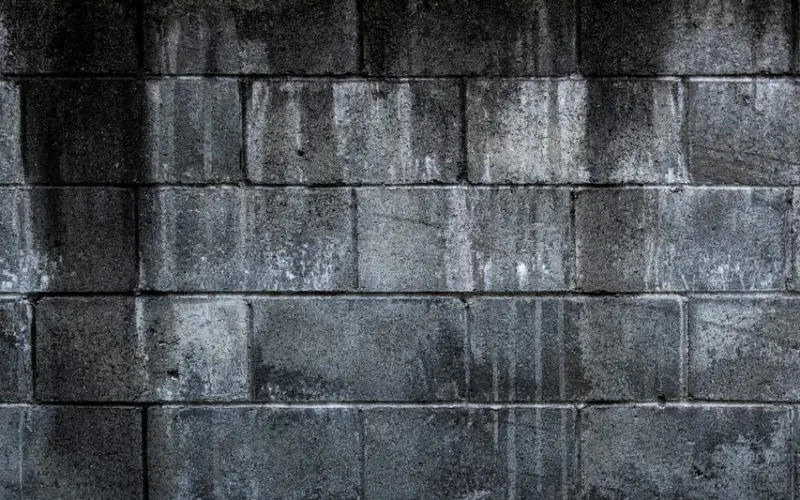
 The kitchen is a high-moisture area, especially near the sink and stove. If your walls are not properly sealed, they can absorb moisture and lead to mold growth and water damage. This not only affects the appearance of your walls but can also cause health hazards.
Sealing kitchen wall paint
creates a protective barrier that prevents moisture from seeping into the walls, keeping them dry and free from damage.
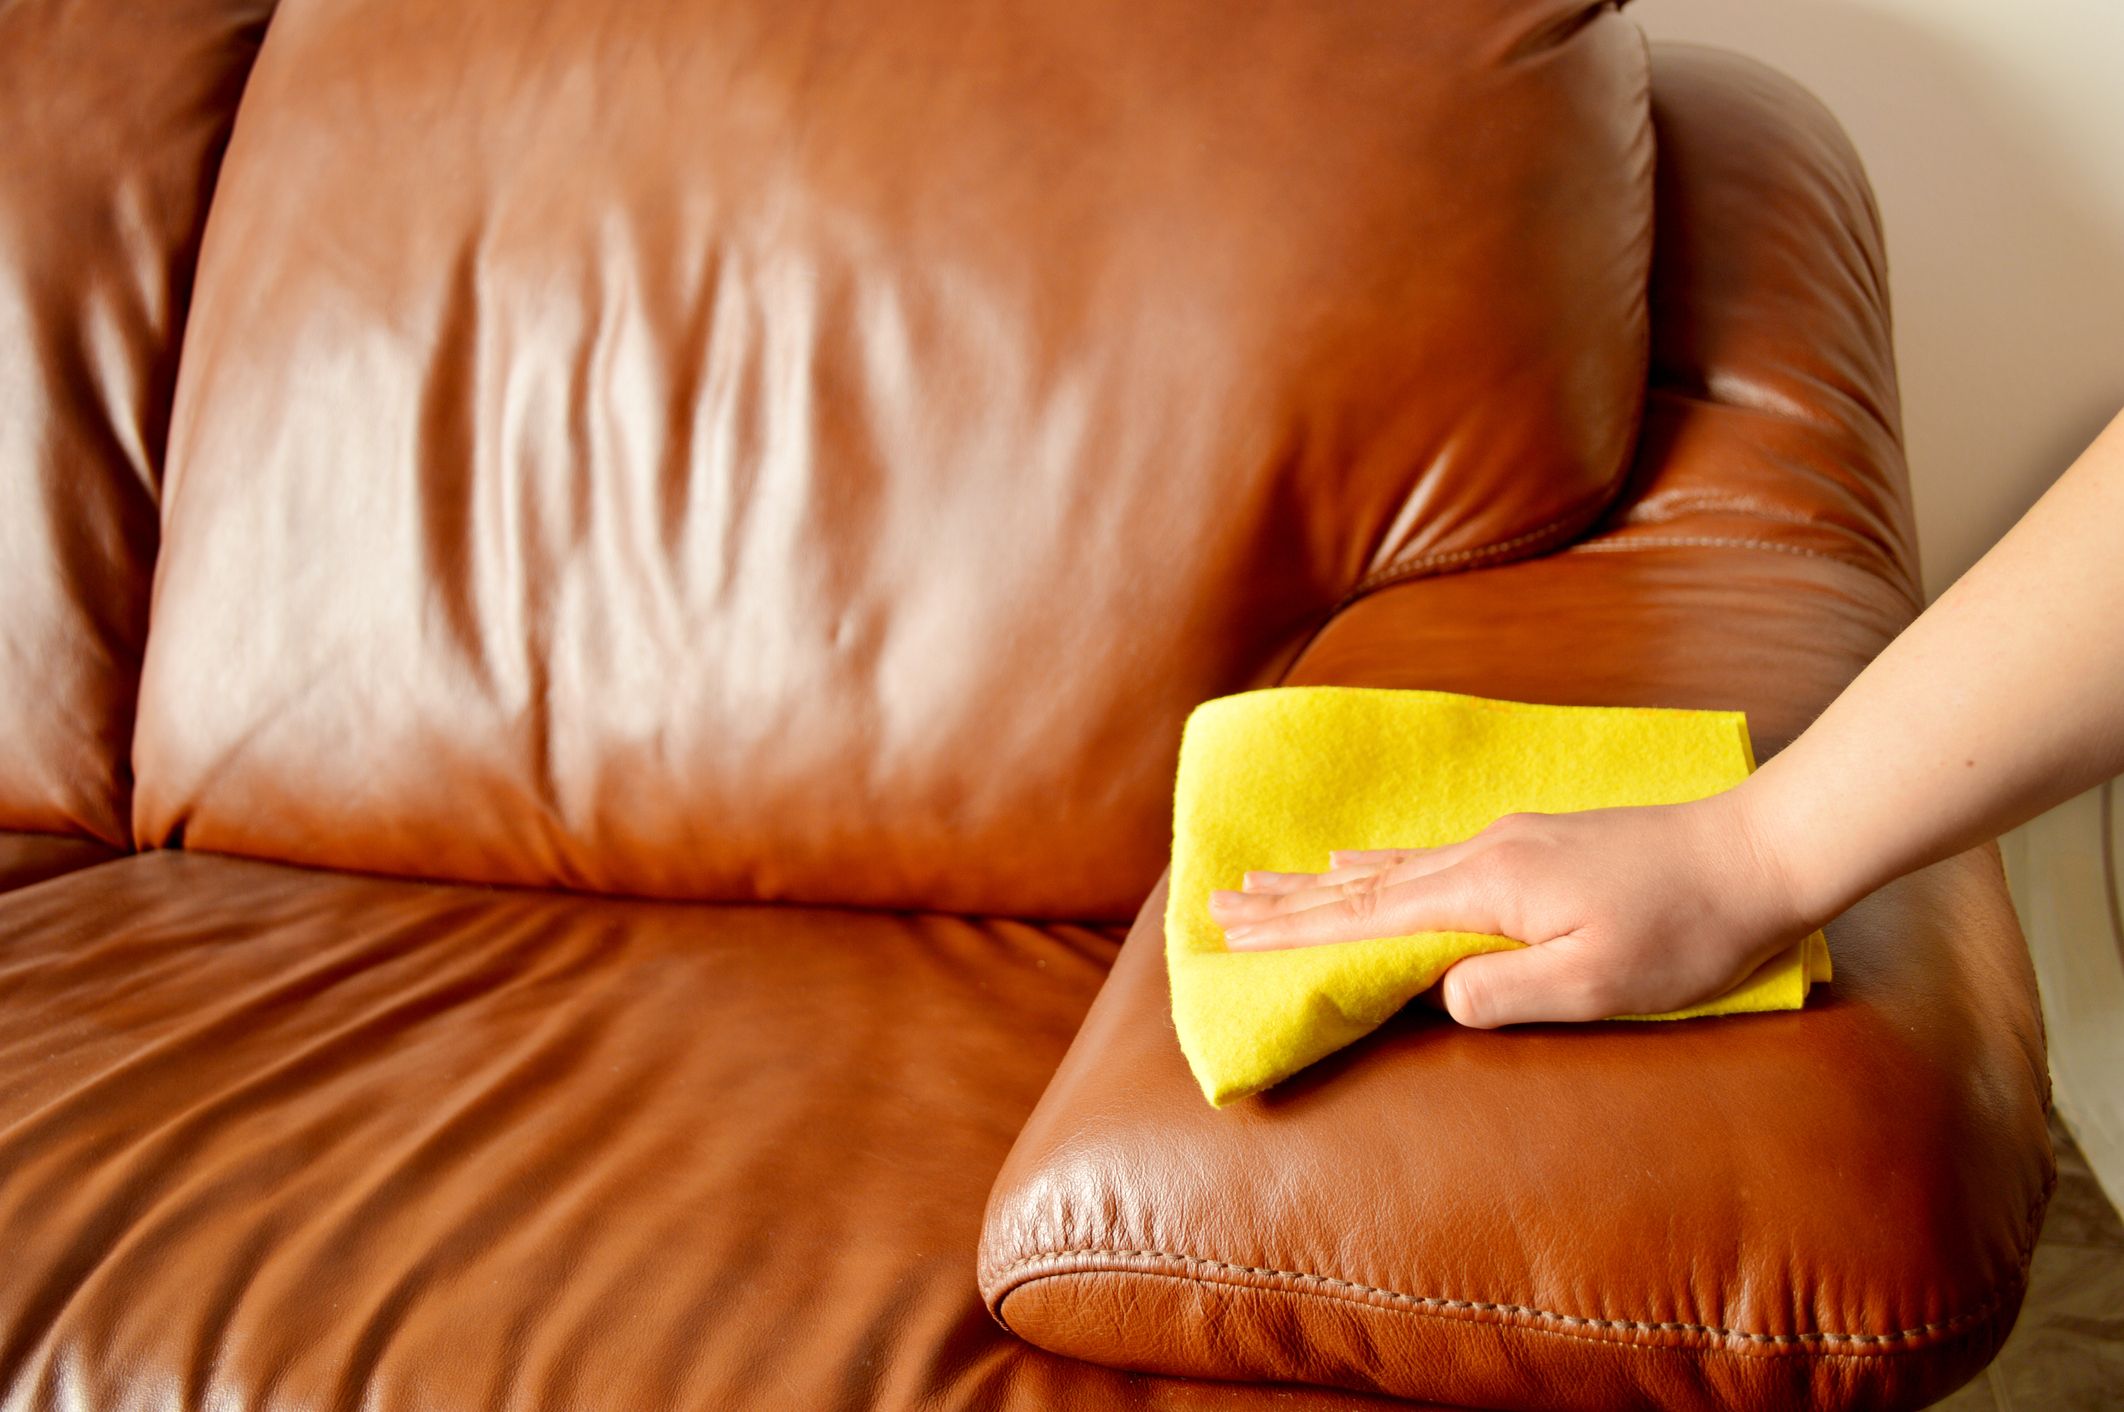
In addition to moisture, kitchen walls are also prone to stains from cooking oils, sauces, and other ingredients. These stains can be difficult to remove and can leave permanent marks on your walls. By
sealing kitchen wall paint
, you can easily wipe off any splatters or spills without worrying about them leaving a lasting impact on your walls.
The kitchen is a high-moisture area, especially near the sink and stove. If your walls are not properly sealed, they can absorb moisture and lead to mold growth and water damage. This not only affects the appearance of your walls but can also cause health hazards.
Sealing kitchen wall paint
creates a protective barrier that prevents moisture from seeping into the walls, keeping them dry and free from damage.
In addition to moisture, kitchen walls are also prone to stains from cooking oils, sauces, and other ingredients. These stains can be difficult to remove and can leave permanent marks on your walls. By
sealing kitchen wall paint
, you can easily wipe off any splatters or spills without worrying about them leaving a lasting impact on your walls.
Prolong the Lifespan of Your Walls
 Investing in high-quality paint for your kitchen walls is not enough. Without proper sealing, the paint can start to peel, crack, and fade over time. This not only affects the appearance of your walls but also reduces their lifespan. By
sealing kitchen wall paint
, you are adding an extra layer of protection that can help your walls withstand daily wear and tear, ultimately prolonging their lifespan.
Investing in high-quality paint for your kitchen walls is not enough. Without proper sealing, the paint can start to peel, crack, and fade over time. This not only affects the appearance of your walls but also reduces their lifespan. By
sealing kitchen wall paint
, you are adding an extra layer of protection that can help your walls withstand daily wear and tear, ultimately prolonging their lifespan.
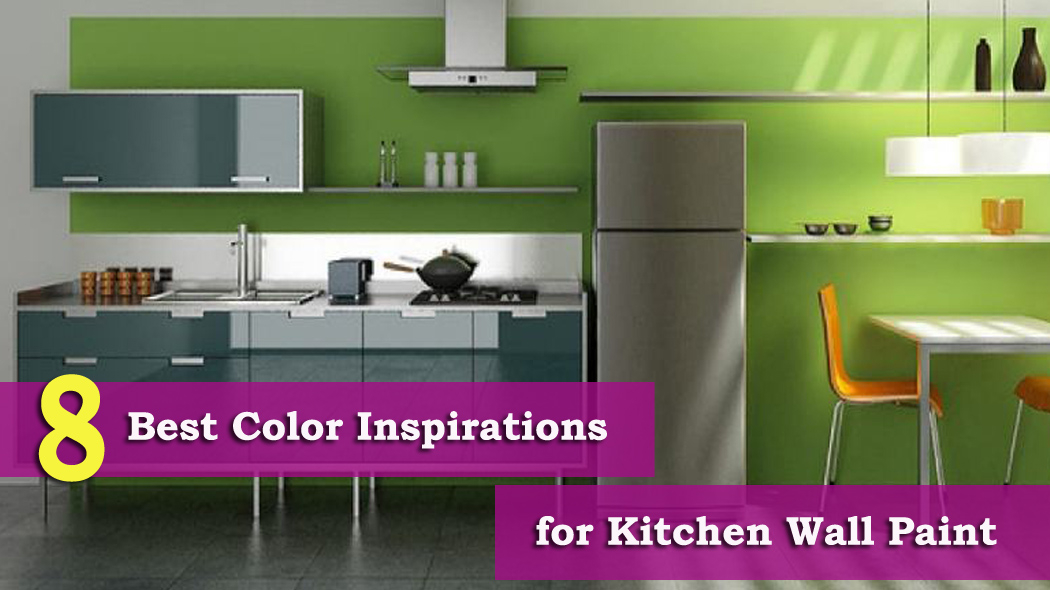
Enhance the Look of Your Kitchen
 Aside from protection,
sealing kitchen wall paint
can also enhance the overall look of your kitchen. With a variety of sealants available, you can choose one that adds a glossy or matte finish to your walls, giving them a polished and modern look. This can elevate the design of your kitchen and make it more visually appealing.
In conclusion,
sealing kitchen wall paint
is an essential step in ensuring a beautiful and functional kitchen. It protects your walls from moisture and stains, prolongs their lifespan, and enhances their appearance. So, when planning your kitchen design, don't forget to include this important step to achieve the perfect kitchen for your home.
Aside from protection,
sealing kitchen wall paint
can also enhance the overall look of your kitchen. With a variety of sealants available, you can choose one that adds a glossy or matte finish to your walls, giving them a polished and modern look. This can elevate the design of your kitchen and make it more visually appealing.
In conclusion,
sealing kitchen wall paint
is an essential step in ensuring a beautiful and functional kitchen. It protects your walls from moisture and stains, prolongs their lifespan, and enhances their appearance. So, when planning your kitchen design, don't forget to include this important step to achieve the perfect kitchen for your home.