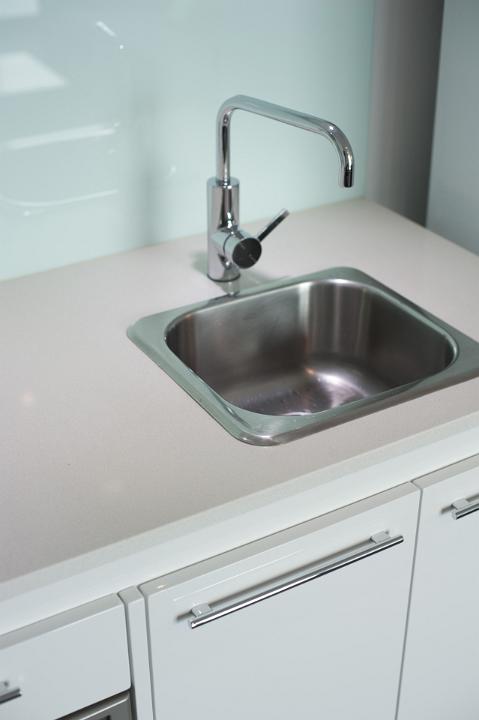
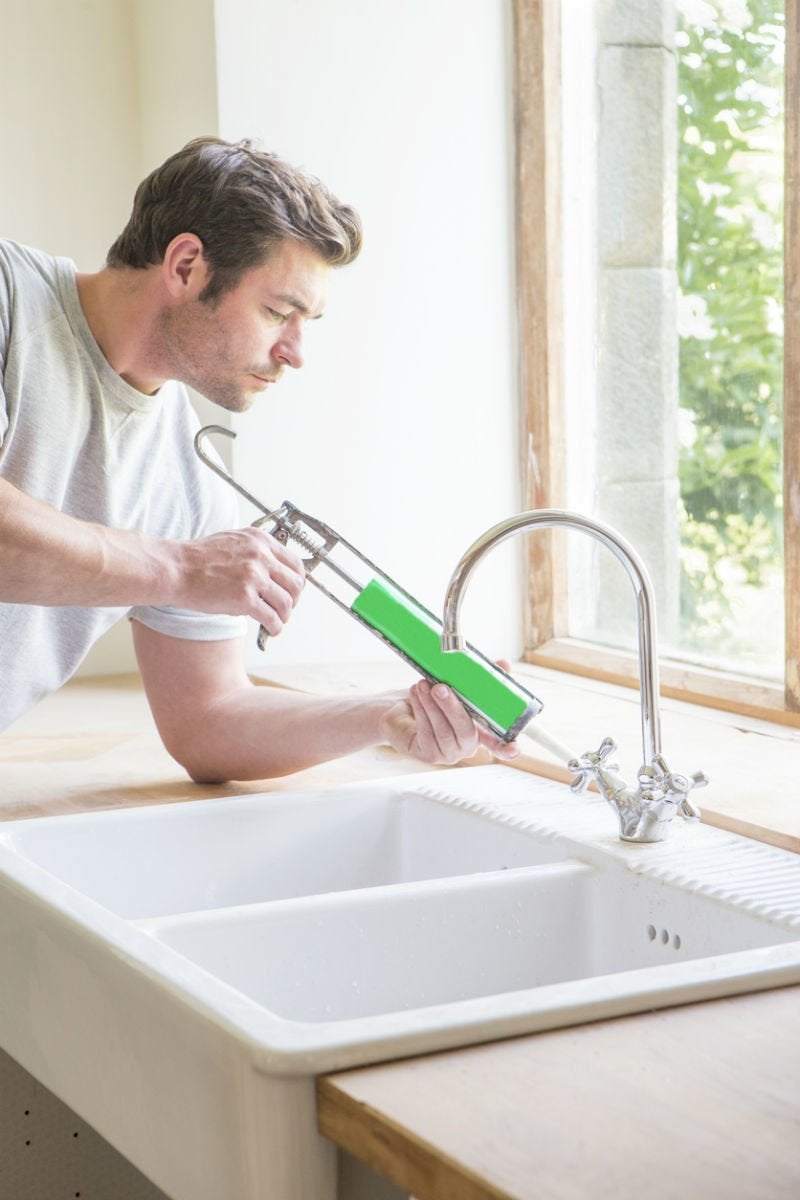
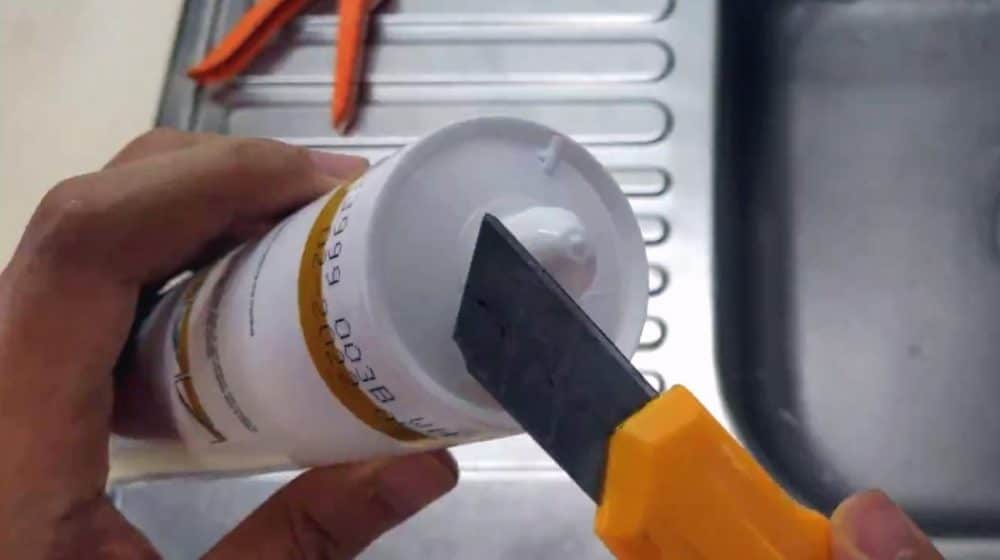
If you've noticed that the caulk around your kitchen sink is starting to deteriorate, it's time to take action. Over time, caulk can shrink, crack, and become discolored, which not only looks unsightly but can also lead to water damage and mold growth. Luckily, replacing the caulk around your kitchen sink is a fairly simple and affordable task that can be done in just a few easy steps. To start, gather your supplies. You'll need a caulk gun, a tube of caulk, a putty knife, and a razor blade or caulk removal tool. Make sure to choose a high-quality caulk that is specifically designed for use in the kitchen and is mold and mildew resistant. Next, use the putty knife or razor blade to carefully remove the old caulk from around the sink. Be sure to get rid of all the old caulk, as any leftover residue can prevent the new caulk from adhering properly. Now, it's time to apply the new caulk. Cut the tip of the caulk tube at a 45-degree angle and load it into the caulk gun. Apply a thin, even bead of caulk along the seam between the sink and the countertop, using steady pressure on the caulk gun. Try to work in one continuous line for a clean and professional look. Once you've applied the caulk, use a damp finger or a caulk smoothing tool to smooth out the caulk and remove any excess. This will help create a tight seal and prevent water from seeping in. Let the caulk dry for at least 24 hours before using your sink again. Featured Keywords: replace caulk, kitchen sink, deteriorate, simple, affordable, mold and mildew resistant, adhere, professional look, tight sealHow to Replace the Caulk Around a Kitchen Sink


How to Replace the Caulk Around a Kitchen Sink


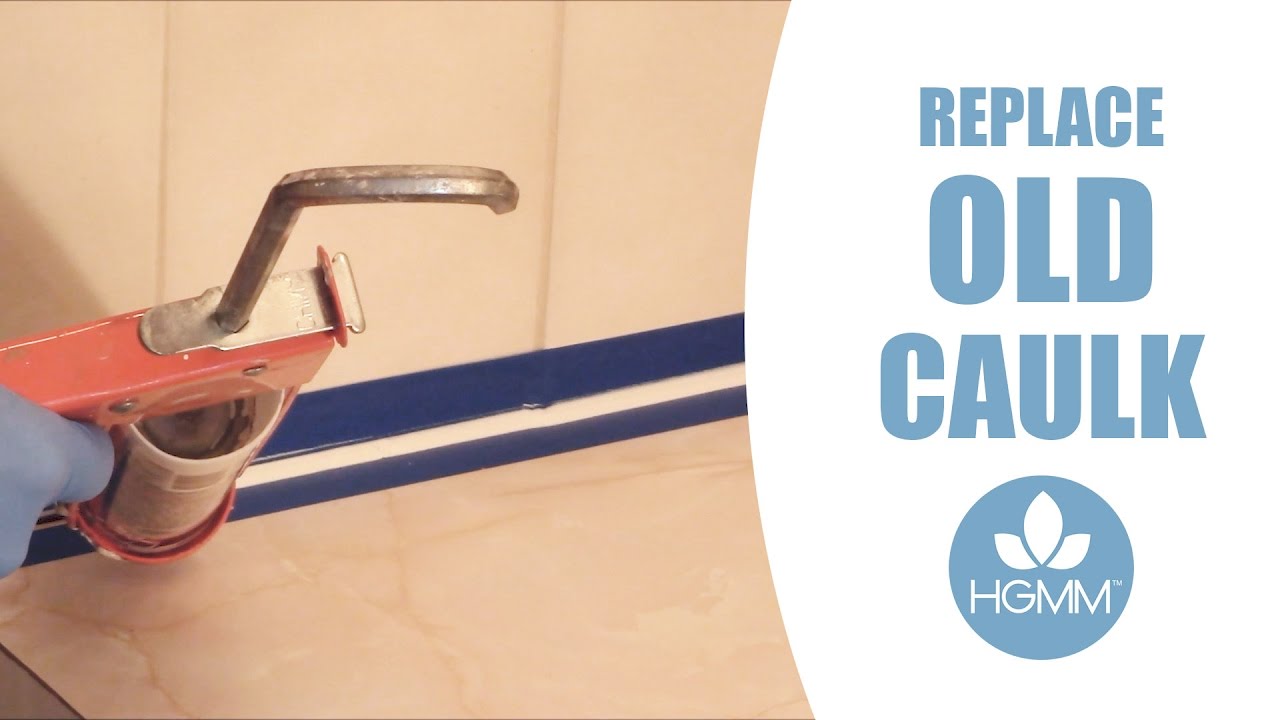

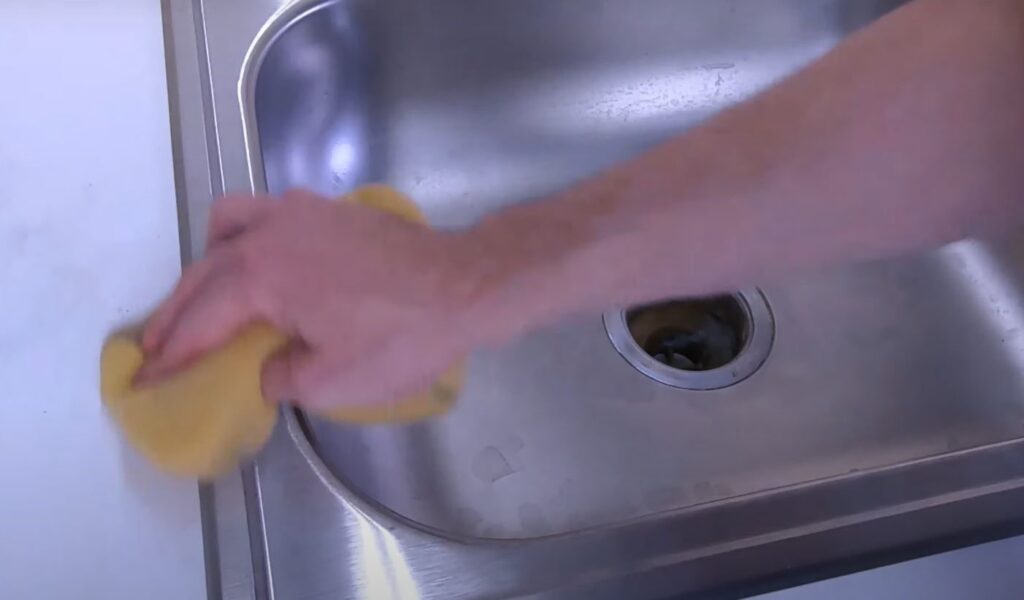
Before you can replace the caulk around your kitchen sink, you'll need to remove the old caulk. This can be a tedious and time-consuming task, but it's necessary for a proper caulk replacement. Start by using a utility knife or razor blade to carefully cut away the old caulk. Be sure to wear gloves to protect your hands. Next, use a caulk removal tool or a flat-edged tool, such as a putty knife, to scrape away the remaining caulk. You may also need to use a solvent or caulk remover to help soften and loosen the caulk. Once you've removed all the old caulk, thoroughly clean the area with a mild detergent and water. This will help ensure that the new caulk adheres properly. Featured Keywords: remove caulk, kitchen sink, tedious, time-consuming, utility knife, gloves, caulk removal tool, solvent, cleanHow to Remove Old Caulk From a Kitchen Sink


How to Remove Old Caulk From a Kitchen Sink


:max_bytes(150000):strip_icc()/how-to-remove-old-caulk-1824827-01-3d0370c59e124dbbaa6560c68bab111c.jpg)

Properly cleaning and re-caulking your kitchen sink will not only make it look brand new, but it will also prevent water damage and mold growth. Follow these steps for a clean and professional-looking caulk job. Start by thoroughly cleaning the area around the sink with a mild detergent and water. This will remove any dirt, grime, or soap scum that may prevent the caulk from adhering properly. Next, use a caulk removal tool or razor blade to remove any old caulk. Wipe down the area again with a damp cloth to ensure it's free of any residue. Once the area is clean and dry, apply a new bead of caulk using a caulk gun. Smooth out the caulk with your finger or a caulk smoothing tool, and let it dry for at least 24 hours before using the sink again. Featured Keywords: clean, re-caulk, kitchen sink, prevent water damage, mold growth, mild detergent, razor blade, caulk removal tool, dryHow to Clean and Re-Caulk a Kitchen Sink


How to Clean and Re-Caulk a Kitchen Sink


Preventing caulk deterioration around your kitchen sink can save you time and money in the long run. Here are some tips to help prolong the life of your caulk and prevent it from deteriorating. First and foremost, make sure to use a high-quality caulk that is specifically designed for use in the kitchen. These caulks are usually more durable and resistant to mold and mildew. Regularly cleaning and drying the area around your sink can also help prevent caulk deterioration. Wipe down the sink after each use and make sure to thoroughly dry it to prevent moisture build-up. Additionally, avoid using harsh chemicals or abrasive cleaners on your sink, as these can break down the caulk over time. Featured Keywords: prevent caulk deterioration, kitchen sink, high-quality, durable, mold and mildew resistant, cleaning, drying, moisture build-up, abrasive cleanersHow to Prevent Caulk from Deteriorating Around a Kitchen Sink


How to Prevent Caulk from Deteriorating Around a Kitchen Sink

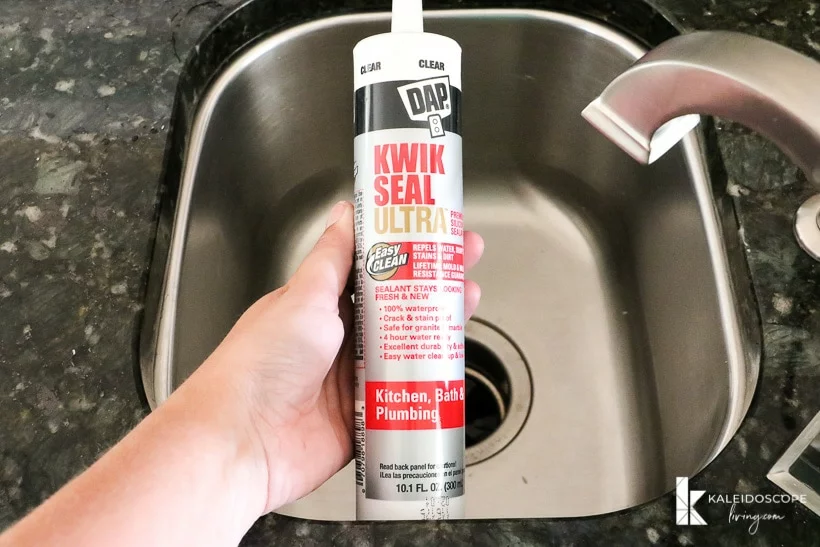


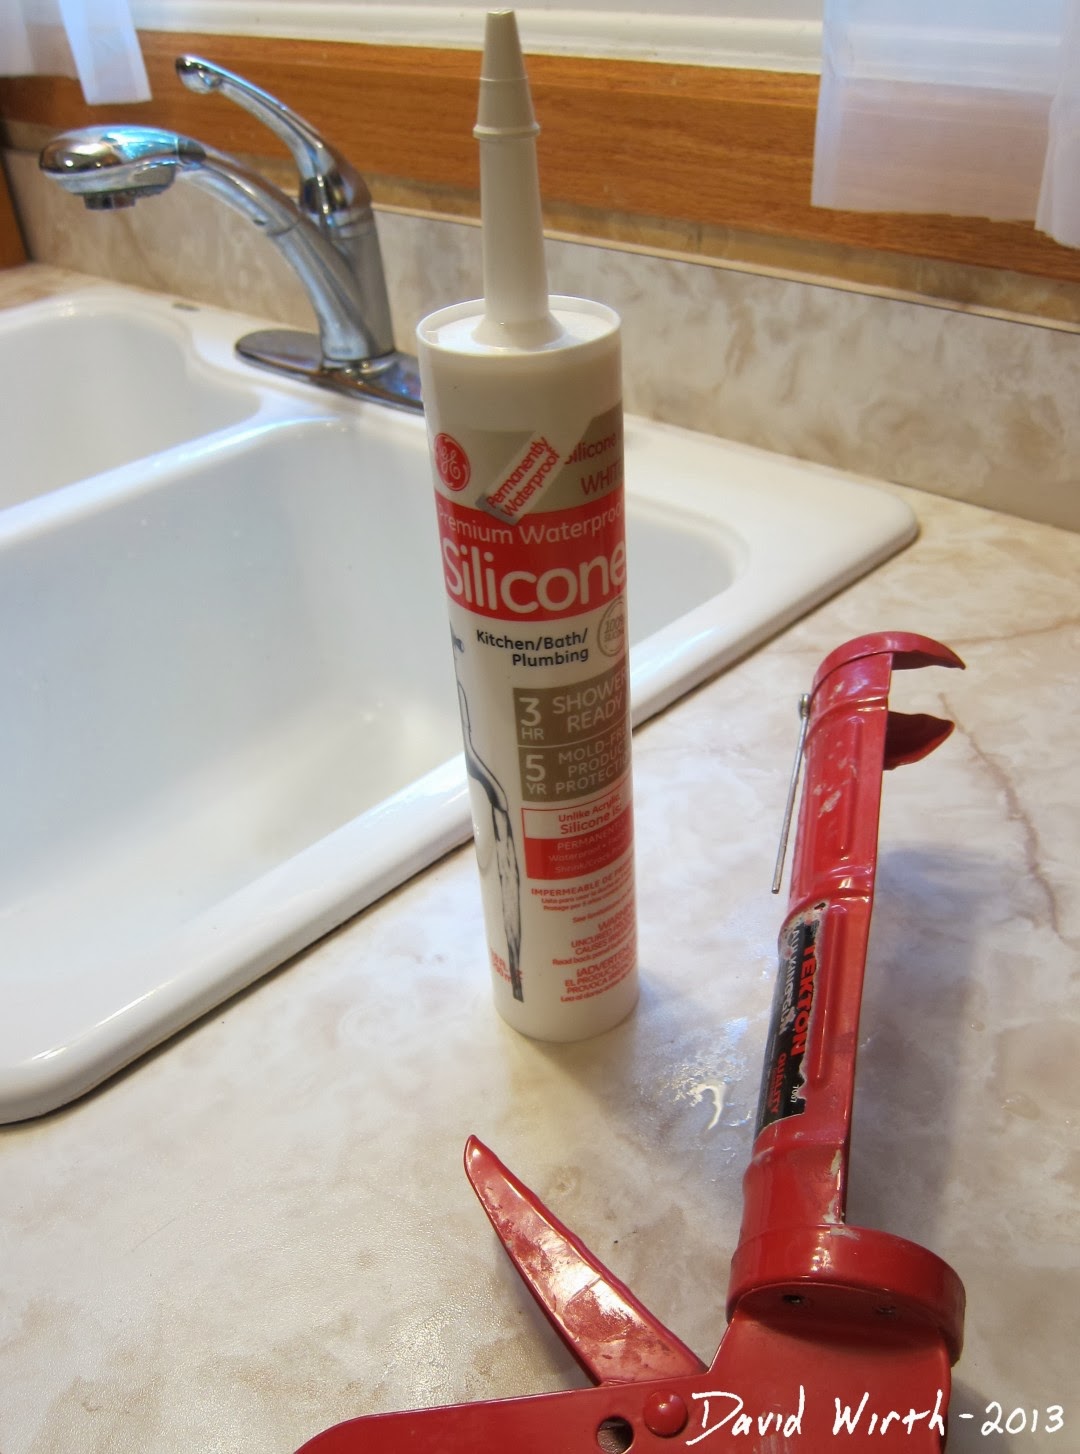
Choosing the right caulk for your kitchen sink is crucial for a long-lasting and effective seal. Here are some of the best caulks specifically designed for use in the kitchen. DAP Kwik Seal Ultra is a popular choice for its strong adhesion, mold and mildew resistance, and easy application. It also comes in a variety of colors to match your sink and countertop. GE Silicone II Kitchen and Bath Caulk is another top-rated caulk that is waterproof, flexible, and mold-resistant. It also features an antimicrobial formula to help prevent the growth of bacteria and mold. Loctite Polyseamseal Tub and Tile Adhesive Caulk is a heavy-duty caulk that is perfect for use around sinks and other high-moisture areas. It is waterproof, mold-resistant, and adheres well to both porous and non-porous surfaces. Featured Keywords: best caulk, kitchen sink, long-lasting, effective seal, DAP Kwik Seal Ultra, GE Silicone II, Loctite Polyseamseal, waterproof, flexible, antimicrobial, heavy-dutyBest Caulk for Kitchen Sink


Best Caulk for Kitchen Sink


.jpg)
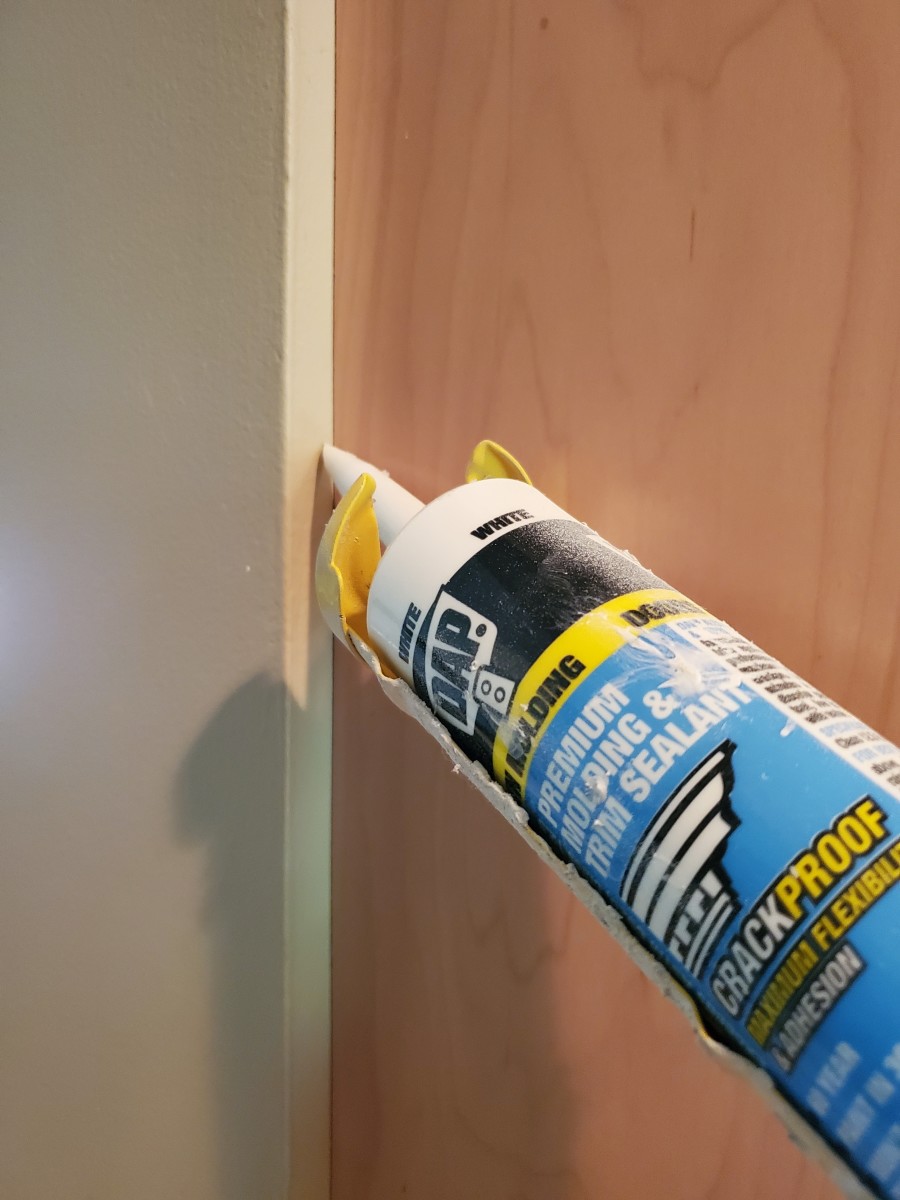
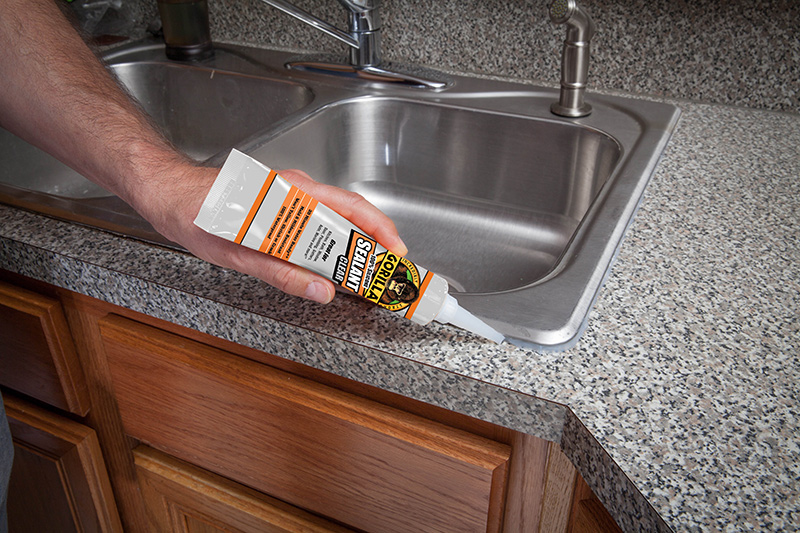
Properly applying caulk around your kitchen sink is key to a tight and long-lasting seal. Here are some tips to ensure you get it right. Start by thoroughly cleaning and drying the area around the sink, as mentioned previously. Next, cut the tip of the caulk tube at a 45-degree angle and load it into the caulk gun. Apply a thin, even bead of caulk along the seam between the sink and the countertop, using steady pressure on the caulk gun. Use a damp finger or caulk smoothing tool to smooth out the caulk and remove any excess. Be sure to work in one continuous line for a clean and professional look. Finally, let the caulk dry for at least 24 hours before using the sink again. Featured Keywords: apply caulk, kitchen sink, tight seal, long-lasting, clean, professional look, caulk gun, continuous line, clean and professional lookHow to Properly Apply Caulk Around a Kitchen Sink
.jpg)


How to Properly Apply Caulk Around a Kitchen Sink


The lifespan of caulk can vary depending on factors such as the quality of the caulk, the amount of use the sink gets, and the level of moisture in the kitchen. As a general rule of thumb, it's recommended to replace caulk in the kitchen every 2-3 years. However, if you notice any signs of deterioration, such as shrinking, cracking, or discoloration, it's best to replace the caulk sooner rather than later. Regularly checking and maintaining the caulk around your kitchen sink can help prevent water damage and mold growth. Featured Keywords: replace caulk, kitchen sink, lifespan, quality, moisture, recommended, signs of deterioration, regularly checking, maintainingHow Often Should You Replace Caulk Around a Kitchen Sink?


How Often Should You Replace Caulk Around a Kitchen Sink?


If you've noticed that the caulk around your kitchen sink is starting to deteriorate, don't wait too long to take action. Repairing deteriorating caulk is a similar process to replacing it, but it may require some extra steps. Start by removing the old caulk as mentioned previously. Next, use a caulk softener or solvent to help remove any stubborn residue. Then, clean and dry the area thoroughly before applying the new caulk. If the caulk is deteriorating due to a leak, be sure to fix the leak before re-caulking. Otherwise, the new caulk will also deteriorate quickly. Featured Keywords: repair caulk, kitchen sink, deteriorate, similar process, caulk softener, solvent, clean and dry, apply, leak, fixHow to Repair Deteriorating Caulk Around a Kitchen Sink


How to Repair Deteriorating Caulk Around a Kitchen Sink


Sealing your kitchen sink properly is crucial in preventing water damage and mold growth in your kitchen. Here's how to ensure a tight and effective seal. First, make sure you have a high-quality caulk that is specifically designed for use in the kitchen. Clean and dry the area thoroughly, and apply a thin, even bead of caulk along the seam between the sink and the countertop. Use a damp finger or caulk smoothing tool to smooth out the caulk and remove any excess. Pay extra attention to the corners and edges to ensure a tight seal. Let the caulk dry for at least 24 hours before using the sink again. Featured Keywords: seal kitchen sink, prevent water damage, mold growth, high-quality caulk, clean and dry, thin, even bead, caulk smoothing tool, tight seal, corners, edgesHow to Seal a Kitchen Sink to Prevent Water Damage


How to Seal a Kitchen Sink to Prevent Water Damage


When it comes to choosing the right caulk for your kitchen sink, it's important to consider the specific needs of your kitchen. Here are some factors to keep in mind. Type of caulk: As mentioned previously, it's important to choose a caulk that is specifically designed for use in the kitchen. These caulks are usually more durable and resistant to mold and mildew. Color: Choose a caulk color that matches your sink and countertop for a seamless look. Adhesion: Look for a caulk with strong adhesion that will stick well to both porous and non-porous surfaces. Waterproof and mold-resistant: These features are crucial for a caulk used in a high-moisture area like the kitchen. Antimicrobial: Some caulks come with antimicrobial additives to help prevent the growth of bacteria and mold. Featured Keywords: choose caulk, kitchen sink, specific needs, type, color, adhesion, waterproof, mold-resistant, antimicrobial, high-moisture areaHow to Choose the Right Caulk for Your Kitchen Sink


How to Choose the Right Caulk for Your Kitchen Sink


How to Properly Maintain Sealant Around Your Kitchen Sink

Preventing Deterioration in Your Kitchen
 The kitchen sink is an essential part of any household, used for cleaning and preparing food, washing dishes, and more. However, with constant use, the sealant around your kitchen sink can start to deteriorate, causing a multitude of problems. Not only does it become unsightly, but it can also lead to water damage and mold growth if not properly maintained. In this article, we will discuss how to prevent sealant deterioration and keep your kitchen sink in top condition.
The Importance of Sealant Around Your Kitchen Sink
 Before we dive into maintenance tips, let's first understand the importance of sealant around your kitchen sink. The sealant acts as a protective barrier between your sink and countertop, preventing water from seeping in and causing damage. It also helps keep your sink in place and creates a clean and finished look. Without proper sealant, you may experience leaks, which can lead to expensive repairs and even health hazards.
Common Causes of Deterioration
 Now that we know why sealant is crucial, let's discuss the common causes of deterioration. One of the main culprits is constant exposure to water. Over time, the sealant can break down due to the moisture, leading to cracks and gaps that allow water to seep in. Other factors such as heat, cleaning chemicals, and wear and tear can also contribute to deterioration.
Tips for Maintaining Sealant Around Your Kitchen Sink
 Fortunately, there are a few simple steps you can take to maintain the sealant around your kitchen sink and prevent deterioration.
1. Regularly Clean and Dry
Make it a habit to clean and dry the area around your kitchen sink regularly. This will prevent the accumulation of water and food debris, which can cause the sealant to deteriorate faster.
2. Use Mild Cleaners
Avoid using harsh cleaners or abrasive sponges when cleaning around your sink. These can damage the sealant and cause it to deteriorate more quickly. Stick to mild, non-abrasive cleaners and soft cloths to keep your sealant in good condition.
3. Inspect and Repair Cracks
Regularly inspect the sealant around your kitchen sink for any cracks or gaps. If you notice any, be sure to repair them immediately using a silicone or caulk sealant. This will prevent water from seeping in and causing further damage.
4. Reapply Sealant Every Few Years
Even with proper maintenance, sealant will eventually deteriorate over time. It is recommended to reapply sealant every 2-3 years to ensure it remains effective in protecting your sink and countertop.
Fortunately, there are a few simple steps you can take to maintain the sealant around your kitchen sink and prevent deterioration.
1. Regularly Clean and Dry
Make it a habit to clean and dry the area around your kitchen sink regularly. This will prevent the accumulation of water and food debris, which can cause the sealant to deteriorate faster.
2. Use Mild Cleaners
Avoid using harsh cleaners or abrasive sponges when cleaning around your sink. These can damage the sealant and cause it to deteriorate more quickly. Stick to mild, non-abrasive cleaners and soft cloths to keep your sealant in good condition.
3. Inspect and Repair Cracks
Regularly inspect the sealant around your kitchen sink for any cracks or gaps. If you notice any, be sure to repair them immediately using a silicone or caulk sealant. This will prevent water from seeping in and causing further damage.
4. Reapply Sealant Every Few Years
Even with proper maintenance, sealant will eventually deteriorate over time. It is recommended to reapply sealant every 2-3 years to ensure it remains effective in protecting your sink and countertop.
In Conclusion
 Properly maintaining the sealant around your kitchen sink is crucial in preventing deterioration and ensuring a clean and functional space. By following these tips, you can keep your kitchen sink in top condition and avoid any costly repairs in the future. Remember to regularly clean and dry the area, use mild cleaners, inspect and repair cracks, and reapply sealant every few years. With proper care, your kitchen sink will continue to be a functional and beautiful part of your home.