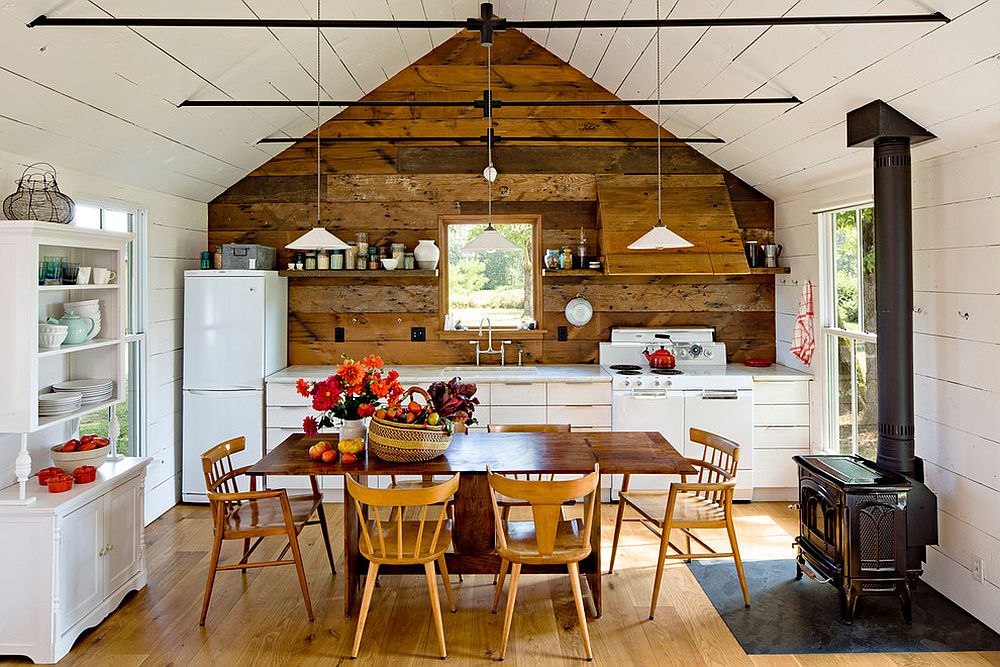
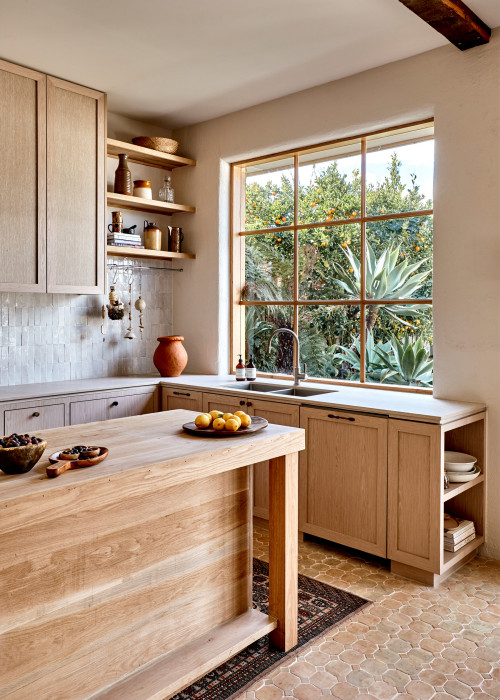
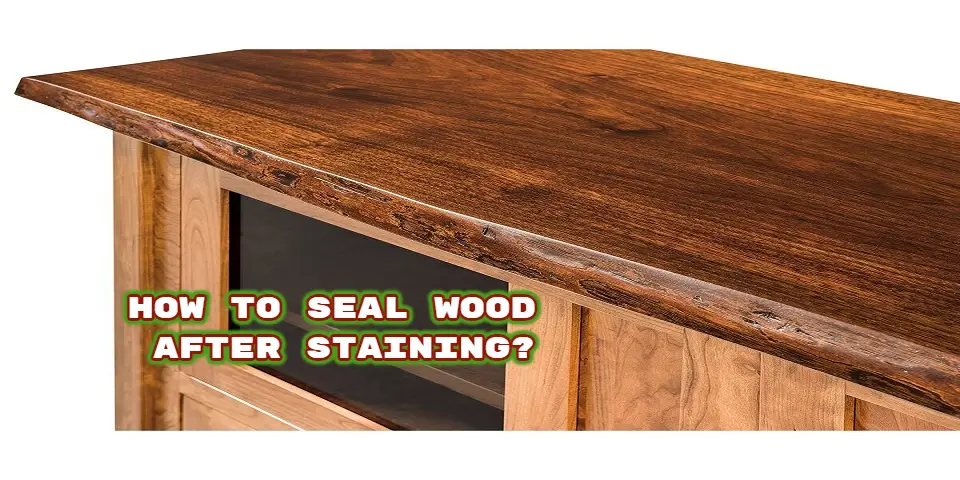
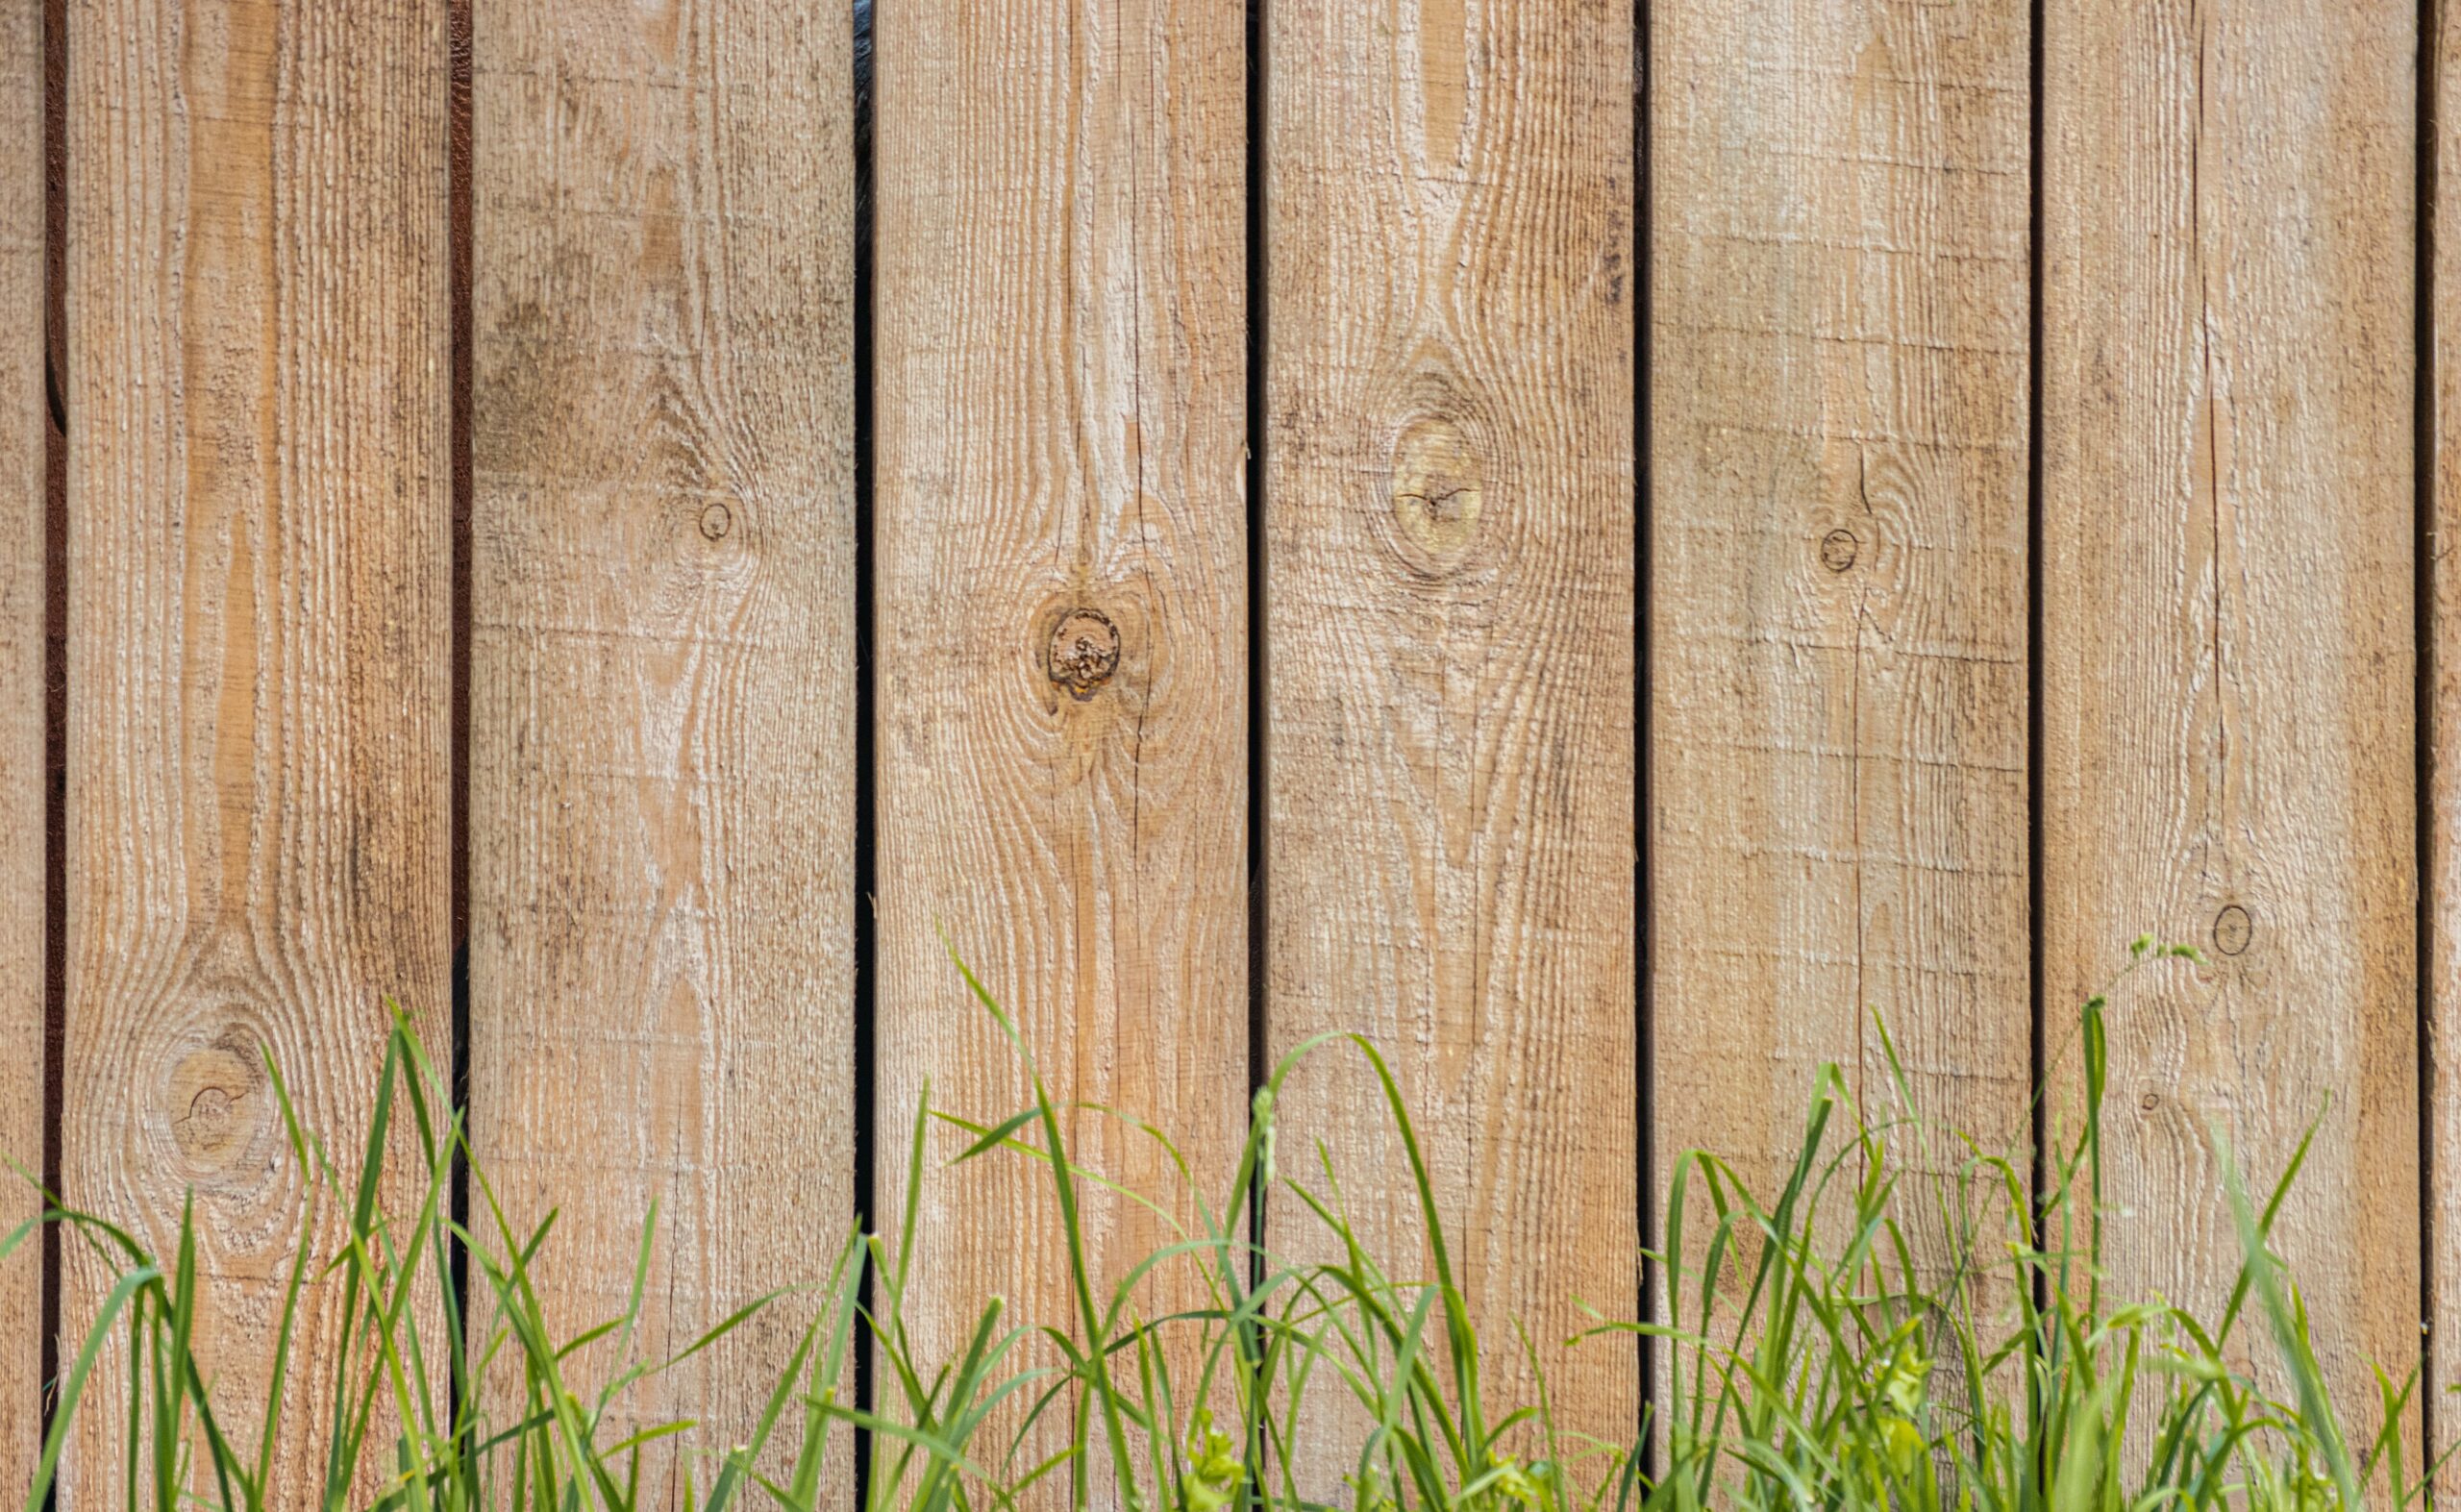
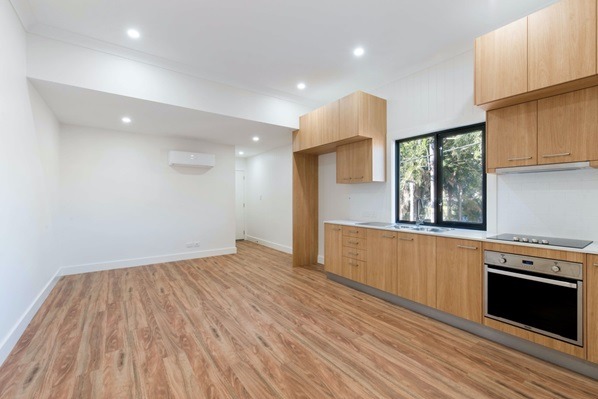
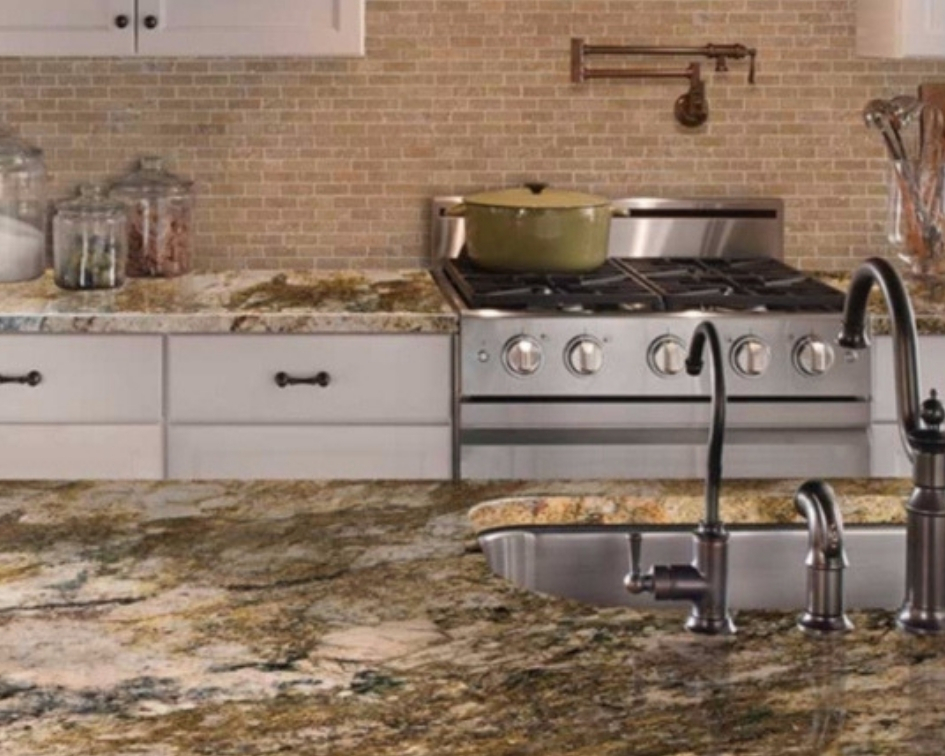
Sealing a wood wall in the kitchen is an important step in maintaining its beauty and durability. Wood is a popular choice for kitchen walls due to its natural warmth and charm, but it is also susceptible to damage from moisture, heat, and stains. Thankfully, with the right sealant and proper application, you can protect your wood wall and keep it looking pristine for years to come. When it comes to sealing a wood wall in the kitchen, there are a few key steps you need to follow. First, you need to clean and prepare the surface. Next, you need to choose the right sealant for your specific type of wood. Finally, you need to apply the sealant correctly to ensure maximum protection. Let's dive into each step in more detail.1. How to Seal a Wood Wall in the Kitchen


1. How to Seal a Wood Wall in the Kitchen


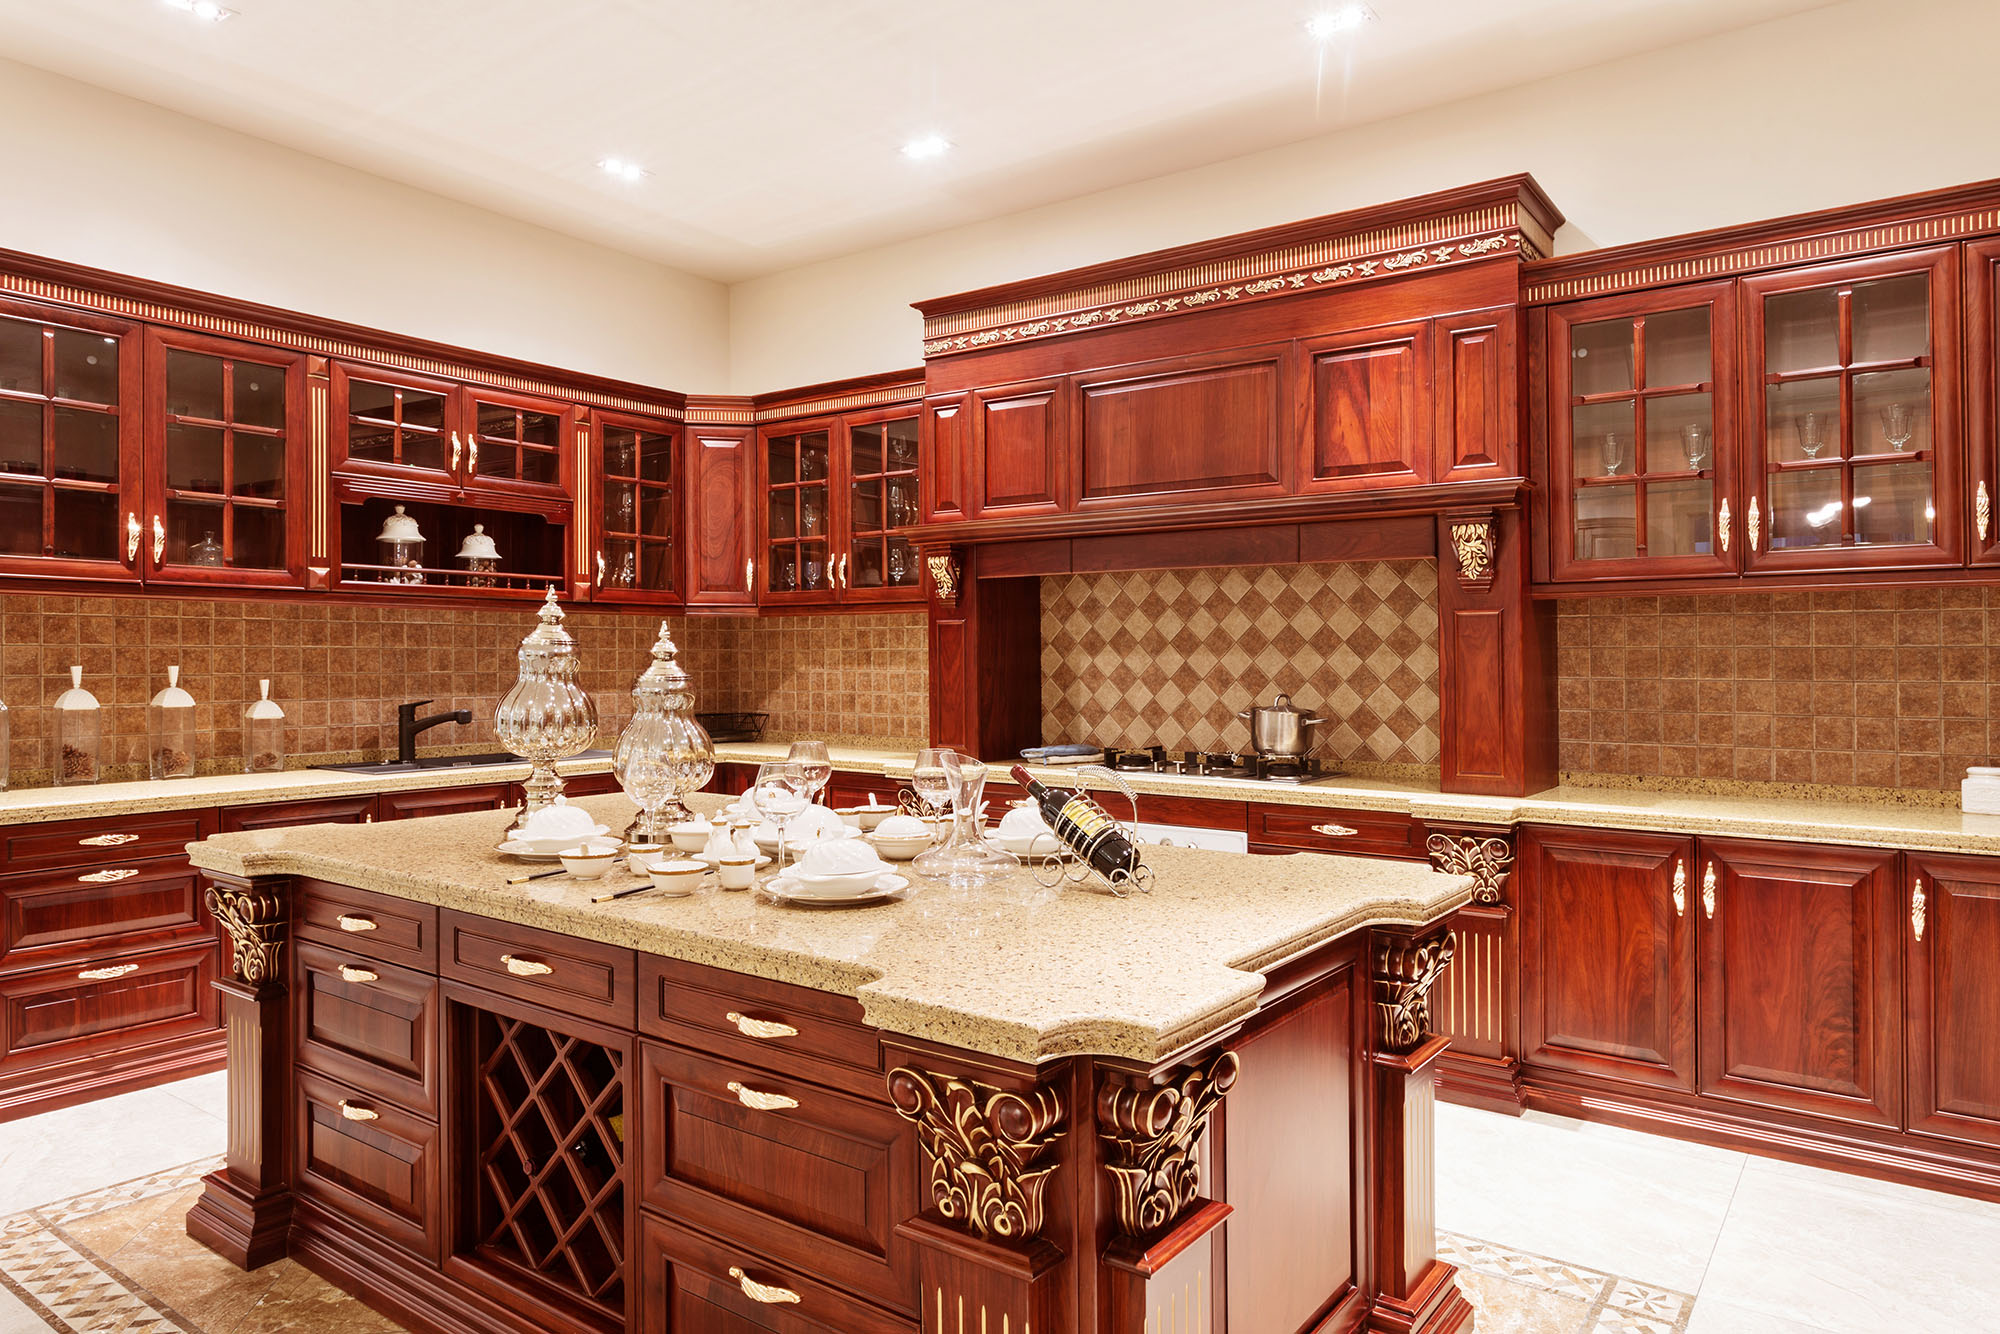
Choosing the best sealant for your wood wall is crucial for achieving optimal protection. There are various types of sealants available, including oils, waxes, varnishes, and polyurethane. Each type has its own pros and cons, so it's important to consider the type of wood and the level of protection you need before making a decision. Oil-based sealants are a popular choice for wood walls in the kitchen because they provide a natural, matte finish and enhance the wood's natural color. They also penetrate deep into the wood fibers, providing excellent moisture resistance. However, they are not as durable as other sealants and may require more frequent reapplication. Wax sealants are another natural option that provides a warm, soft sheen to the wood. They are easy to apply and offer good protection against moisture and stains. However, they are not as durable as other sealants and may require more frequent reapplication. Varnish sealants are a popular choice for high-traffic areas, as they provide a hard, glossy finish and offer excellent protection against water and stains. However, they can be difficult to apply and may require multiple coats for maximum protection. Polyurethane sealants are the most durable and versatile option, offering high levels of protection against moisture, heat, and stains. They come in various finishes, from matte to high-gloss, and are easy to apply. However, they can be more expensive than other sealants.2. Best Sealant for Wood Walls in the Kitchen


2. Best Sealant for Wood Walls in the Kitchen


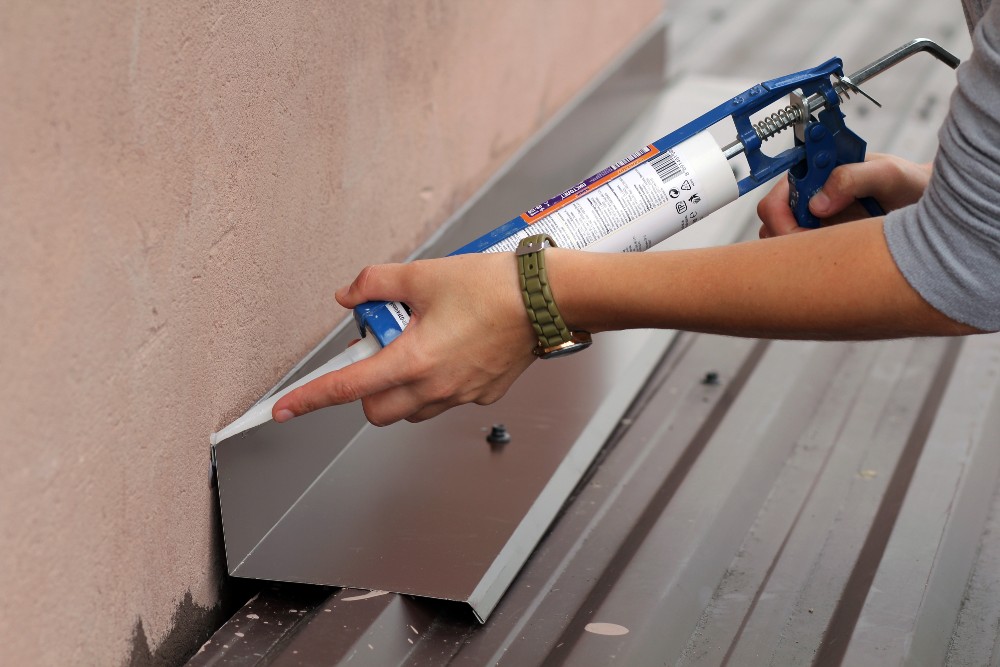


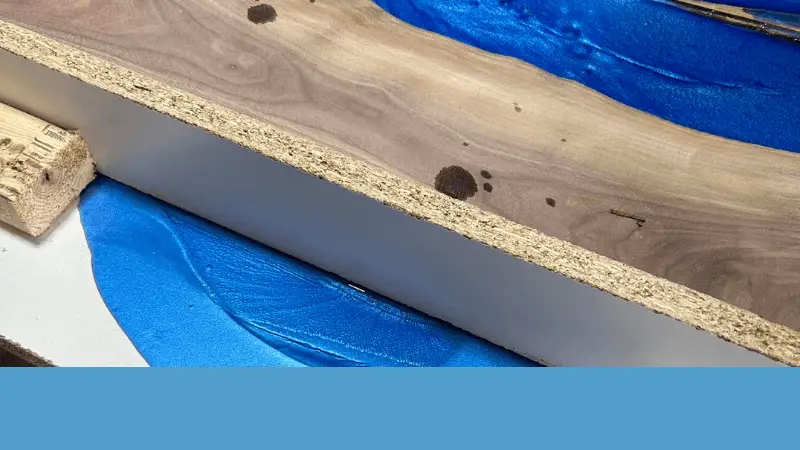
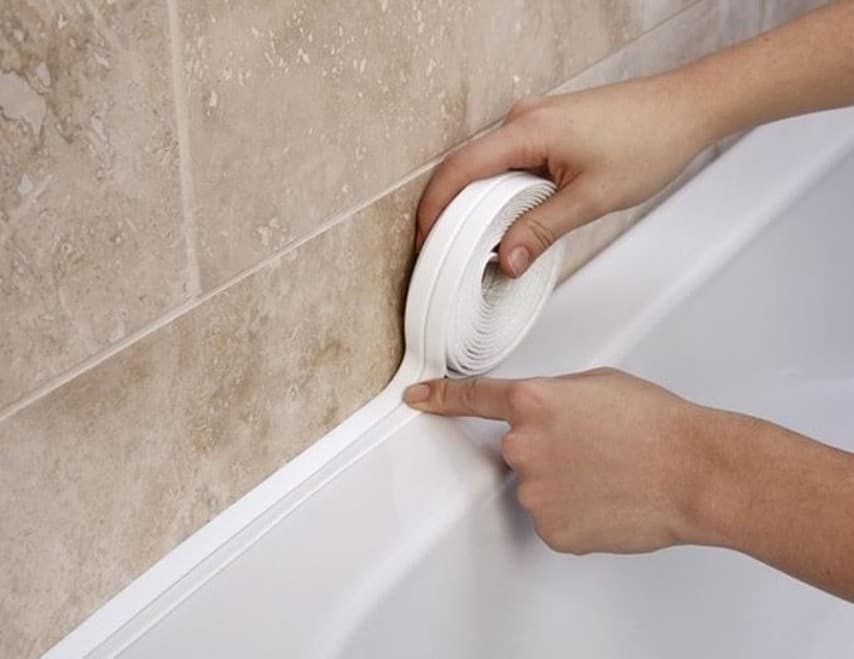
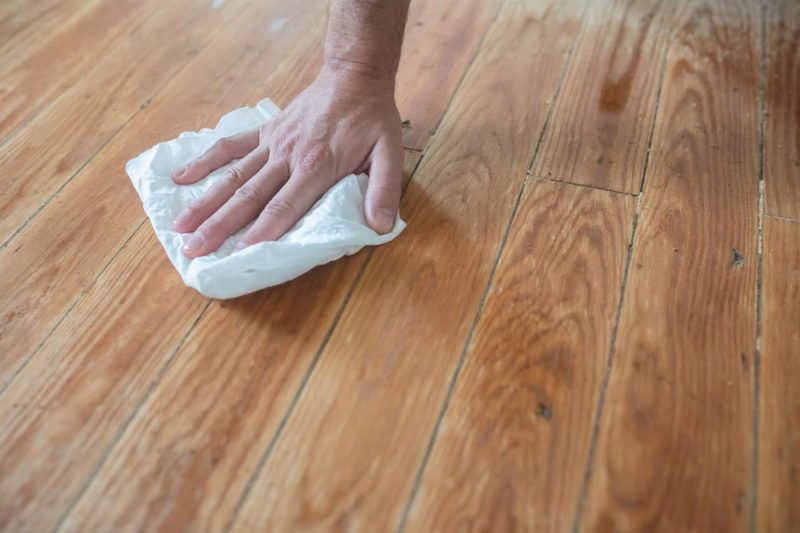
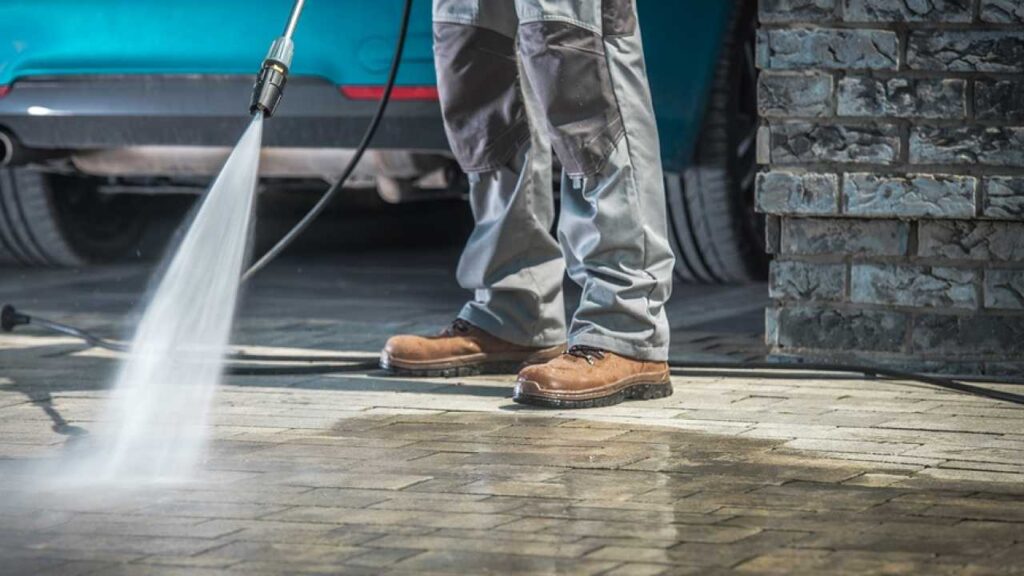
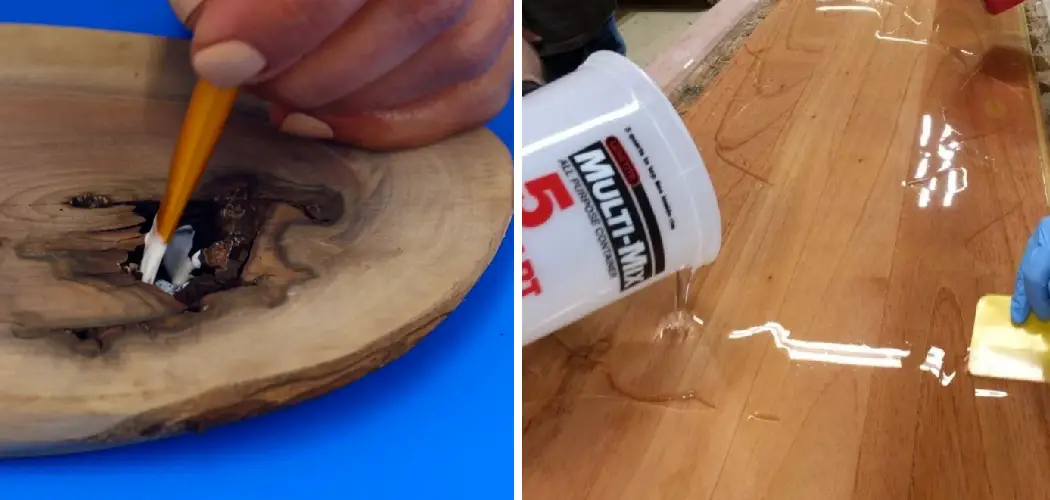
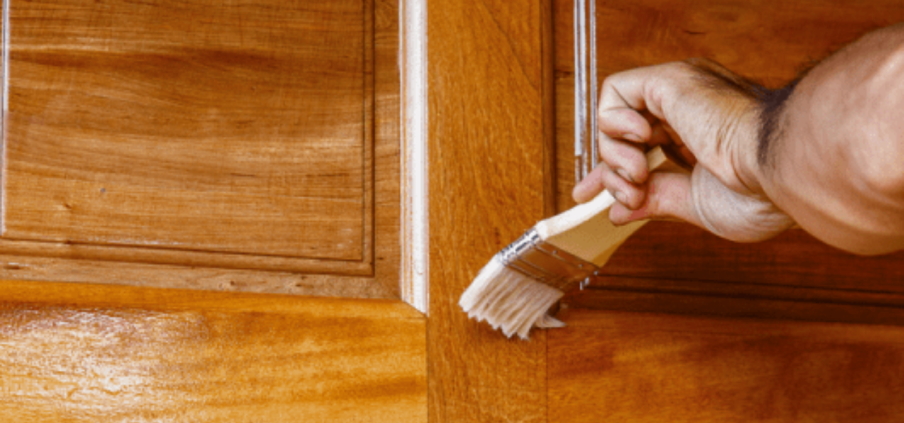
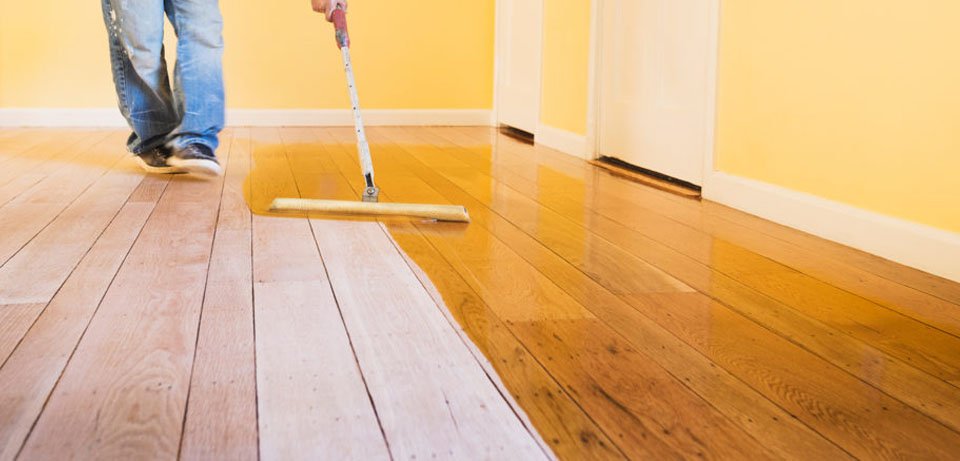
Sealing your wood wall in the kitchen may seem like a daunting task, but with the right materials and techniques, it can be a simple DIY project. Before you begin, make sure to gather all the necessary materials, including your chosen sealant, a clean cloth, sandpaper, and a paintbrush or roller. Start by cleaning and sanding the surface of your wood wall to remove any dirt, debris, or imperfections. This will ensure that the sealant adheres properly to the wood. Next, apply a thin, even coat of sealant using a paintbrush or roller, following the direction of the wood grain. Allow the sealant to dry completely before applying a second coat. Depending on the type of sealant, you may need to apply multiple coats for maximum protection.3. DIY Wood Wall Sealing in the Kitchen


3. DIY Wood Wall Sealing in the Kitchen


Tip 1: Always read the instructions on your chosen sealant before applying it to your wood wall. Tip 2: Make sure to sand the wood surface before applying the sealant to ensure maximum adhesion. Tip 3: Use a paintbrush or roller to apply the sealant in the direction of the wood grain for a smooth and even finish. Tip 4: For best results, apply multiple thin coats of sealant rather than one thick coat. Tip 5: Allow the sealant to dry completely between coats and before using your kitchen again.4. Tips for Sealing Wood Walls in the Kitchen


4. Tips for Sealing Wood Walls in the Kitchen


Sealing your wood wall in the kitchen offers numerous benefits, including: Protection against moisture: Sealing your wood wall can prevent moisture from seeping into the wood, which can cause warping, rot, and mold. Protection against heat and stains: A good sealant can also protect your wood wall from heat and stains, making it easier to clean and maintain. Enhanced durability: Sealing your wood wall can extend its lifespan and prevent damage, saving you time and money in the long run. Enhanced beauty: A sealed wood wall will look more vibrant and polished, enhancing the overall aesthetic of your kitchen.5. Benefits of Sealing Wood Walls in the Kitchen


5. Benefits of Sealing Wood Walls in the Kitchen


In summary, here is a step-by-step guide for sealing your wood wall in the kitchen: Step 1: Gather all necessary materials. Step 2: Clean and sand the wood surface. Step 3: Choose the right sealant for your wood type. Step 4: Apply a thin, even coat of sealant using a paintbrush or roller. Step 5: Allow the sealant to dry completely between coats. Step 6: Apply multiple coats for maximum protection. Step 7: Allow the sealant to dry completely before using your kitchen again.6. Step-by-Step Guide for Sealing Wood Walls in the Kitchen


6. Step-by-Step Guide for Sealing Wood Walls in the Kitchen


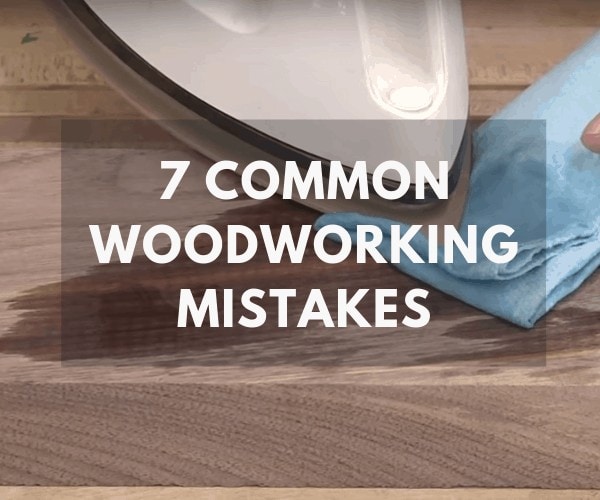
While sealing a wood wall in the kitchen may seem straightforward, there are some common mistakes that can lead to subpar results. These include: Mistake 1: Not cleaning and sanding the wood surface properly before applying the sealant. Mistake 2: Applying too thick of a coat of sealant, which can lead to uneven drying and a less durable finish. Mistake 3: Applying the sealant against the direction of the wood grain, which can result in a rough and unattractive finish. Mistake 4: Not allowing the sealant to dry completely between coats, which can lead to a sticky or tacky finish.7. Common Mistakes to Avoid When Sealing Wood Walls in the Kitchen


7. Common Mistakes to Avoid When Sealing Wood Walls in the Kitchen


The frequency of sealing your wood walls in the kitchen depends on the type of sealant used and the level of use and exposure to moisture. In general, it is recommended to reseal your wood walls every 1-3 years to maintain optimal protection.8. How Often Should You Seal Wood Walls in the Kitchen?


8. How Often Should You Seal Wood Walls in the Kitchen?


Some top sealants for wood walls in the kitchen include: Minwax Helmsman Spar Urethane: This polyurethane sealant offers excellent protection against water, heat, and stains. Woca Diamond Oil: This oil-based sealant enhances the natural beauty of wood and provides excellent water resistance. Briwax Original Wax: This wax sealant is easy to apply and offers good protection against moisture and stains.9. Top Sealants for Wood Walls in the Kitchen


9. Top Sealants for Wood Walls in the Kitchen


.jpg?v=f9a0dbdc)


To keep your sealed wood walls in the kitchen looking their best, it's important to maintain them regularly. This includes wiping up spills immediately, using coasters or trivets under hot dishes, and avoiding harsh chemicals or abrasive cleaners. It's also a good idea to periodically check for any signs of wear and reseal as needed. Sealing your wood wall in the kitchen is a simple and effective way to protect it from moisture, heat, and stains while enhancing its natural beauty. With the right sealant and proper maintenance, you can enjoy your stunning wood walls for years to come.10. How to Maintain Sealed Wood Walls in the Kitchen


10. How to Maintain Sealed Wood Walls in the Kitchen


Why You Should Seal Your Kitchen's Wood Wall

The Importance of Protecting Your Kitchen's Wood Features
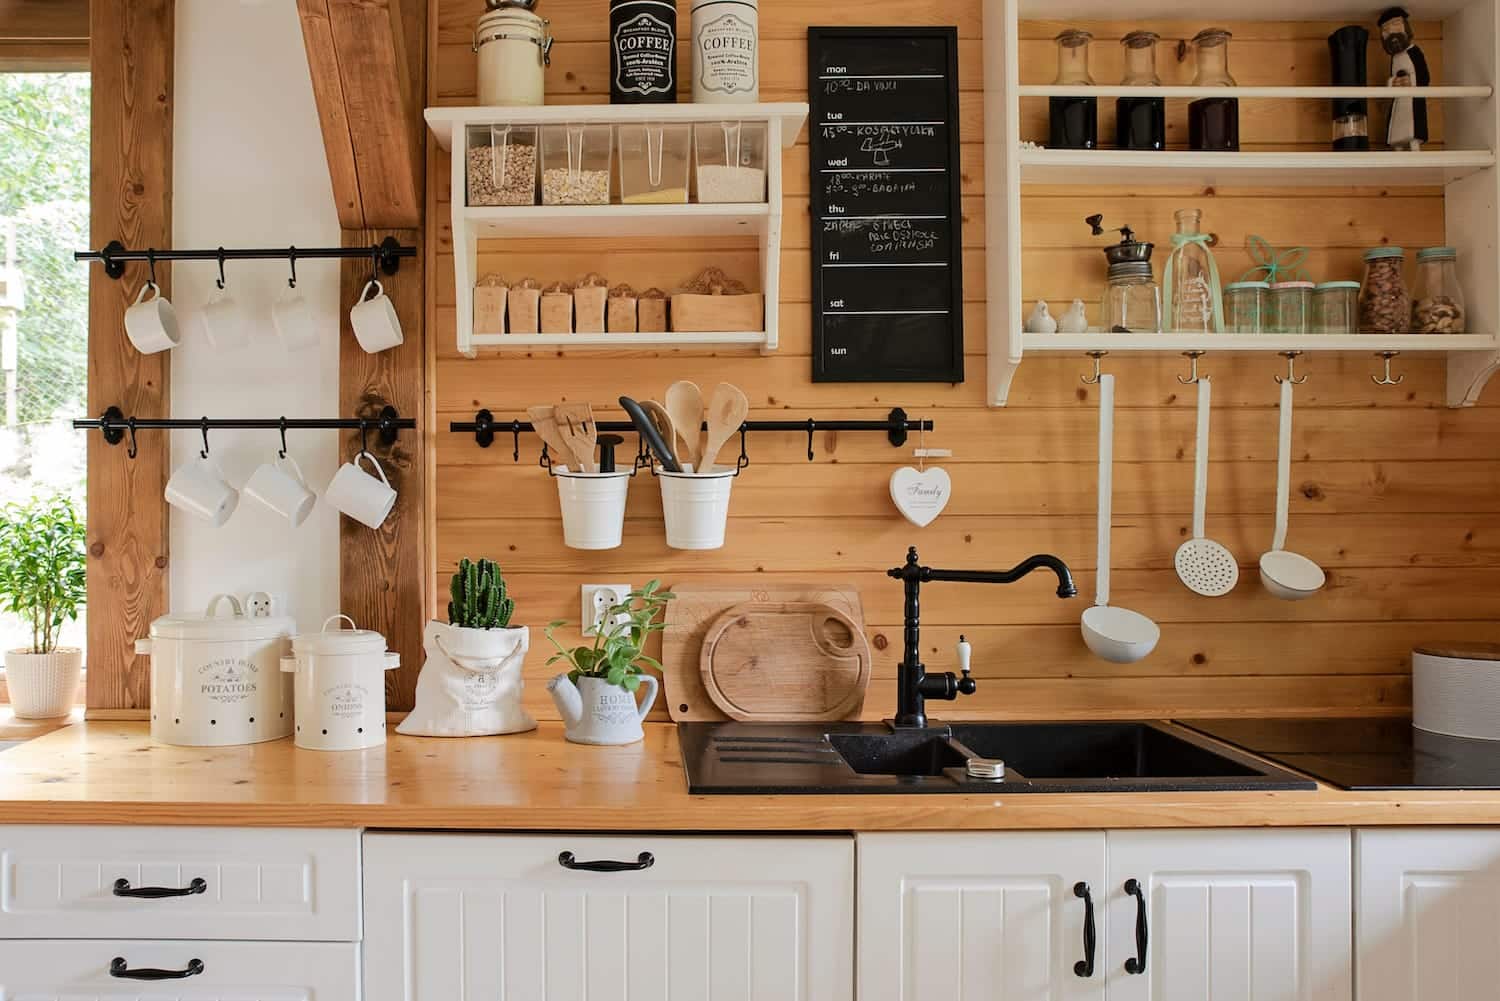
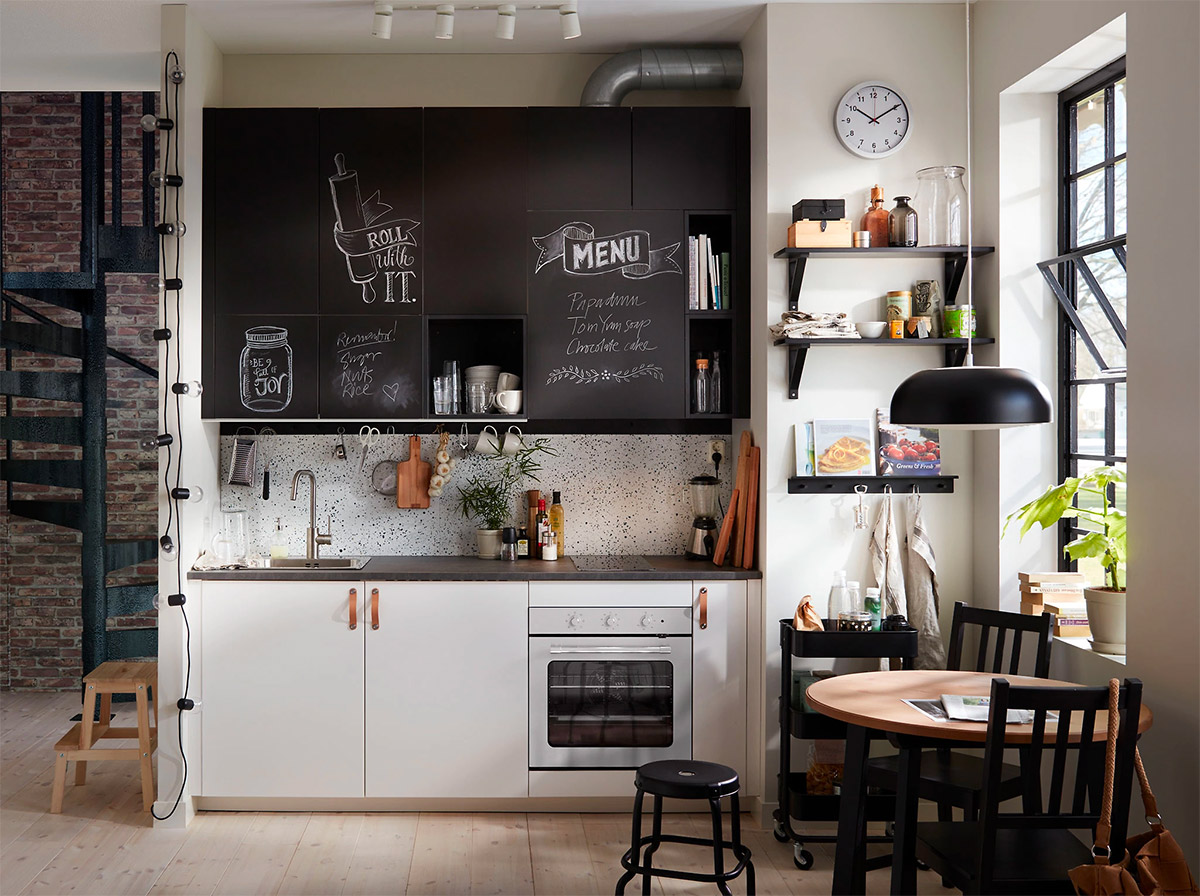
 When it comes to kitchen design, wood is a popular and timeless choice. Not only does it add warmth and character to the space, but it is also durable and can withstand the wear and tear of a busy kitchen. However, as with any natural material, wood is susceptible to damage from moisture and other elements. This is why it is crucial to
seal
your kitchen's wood wall, especially if it is located in an area that is frequently exposed to water or cooking oils.
When it comes to kitchen design, wood is a popular and timeless choice. Not only does it add warmth and character to the space, but it is also durable and can withstand the wear and tear of a busy kitchen. However, as with any natural material, wood is susceptible to damage from moisture and other elements. This is why it is crucial to
seal
your kitchen's wood wall, especially if it is located in an area that is frequently exposed to water or cooking oils.
The Benefits of Sealing Your Kitchen's Wood Wall
 The main purpose of
sealing
a wood wall is to protect it from moisture and other potential sources of damage. This is especially important in the kitchen, where water and humidity levels are higher. By
sealing
the wood, you are creating a barrier that prevents water from seeping in and causing warping, cracking, or rotting. This not only helps to preserve the appearance of your kitchen's wood wall but also extends its lifespan.
Another benefit of
sealing
your kitchen's wood wall is that it makes it easier to clean and maintain. The sealant creates a smooth and non-porous surface that makes it more resistant to stains and spills. This is particularly useful in the kitchen, where spills and splatters are common. With a
sealed
wood wall, you can easily wipe away any mess without worrying about it seeping into the wood and causing damage.
The main purpose of
sealing
a wood wall is to protect it from moisture and other potential sources of damage. This is especially important in the kitchen, where water and humidity levels are higher. By
sealing
the wood, you are creating a barrier that prevents water from seeping in and causing warping, cracking, or rotting. This not only helps to preserve the appearance of your kitchen's wood wall but also extends its lifespan.
Another benefit of
sealing
your kitchen's wood wall is that it makes it easier to clean and maintain. The sealant creates a smooth and non-porous surface that makes it more resistant to stains and spills. This is particularly useful in the kitchen, where spills and splatters are common. With a
sealed
wood wall, you can easily wipe away any mess without worrying about it seeping into the wood and causing damage.
Choosing the Right Sealant for Your Kitchen's Wood Wall
 When it comes to
sealing
your kitchen's wood wall, it is essential to choose the right type of sealant. There are various options available, including polyurethane, varnish, and wax. Each has its own advantages and disadvantages, so it is important to do your research and consider your specific needs before making a decision.
Polyurethane is a popular choice for
sealing
wood walls in the kitchen because it creates a strong and durable protective layer. It is also water-resistant and can withstand high temperatures, making it ideal for use in the kitchen. Varnish, on the other hand, provides a glossy finish and is best for decorative wood features that are not exposed to water. Wax is a natural and eco-friendly option that provides a matte finish and is suitable for less used wood walls.
In conclusion,
sealing
your kitchen's wood wall is a crucial step in preserving its beauty and functionality. By creating a protective barrier, you can prevent damage from moisture and make it easier to clean and maintain. Just make sure to choose the right sealant for your specific needs and enjoy a beautiful and long-lasting wood wall in your kitchen.
When it comes to
sealing
your kitchen's wood wall, it is essential to choose the right type of sealant. There are various options available, including polyurethane, varnish, and wax. Each has its own advantages and disadvantages, so it is important to do your research and consider your specific needs before making a decision.
Polyurethane is a popular choice for
sealing
wood walls in the kitchen because it creates a strong and durable protective layer. It is also water-resistant and can withstand high temperatures, making it ideal for use in the kitchen. Varnish, on the other hand, provides a glossy finish and is best for decorative wood features that are not exposed to water. Wax is a natural and eco-friendly option that provides a matte finish and is suitable for less used wood walls.
In conclusion,
sealing
your kitchen's wood wall is a crucial step in preserving its beauty and functionality. By creating a protective barrier, you can prevent damage from moisture and make it easier to clean and maintain. Just make sure to choose the right sealant for your specific needs and enjoy a beautiful and long-lasting wood wall in your kitchen.