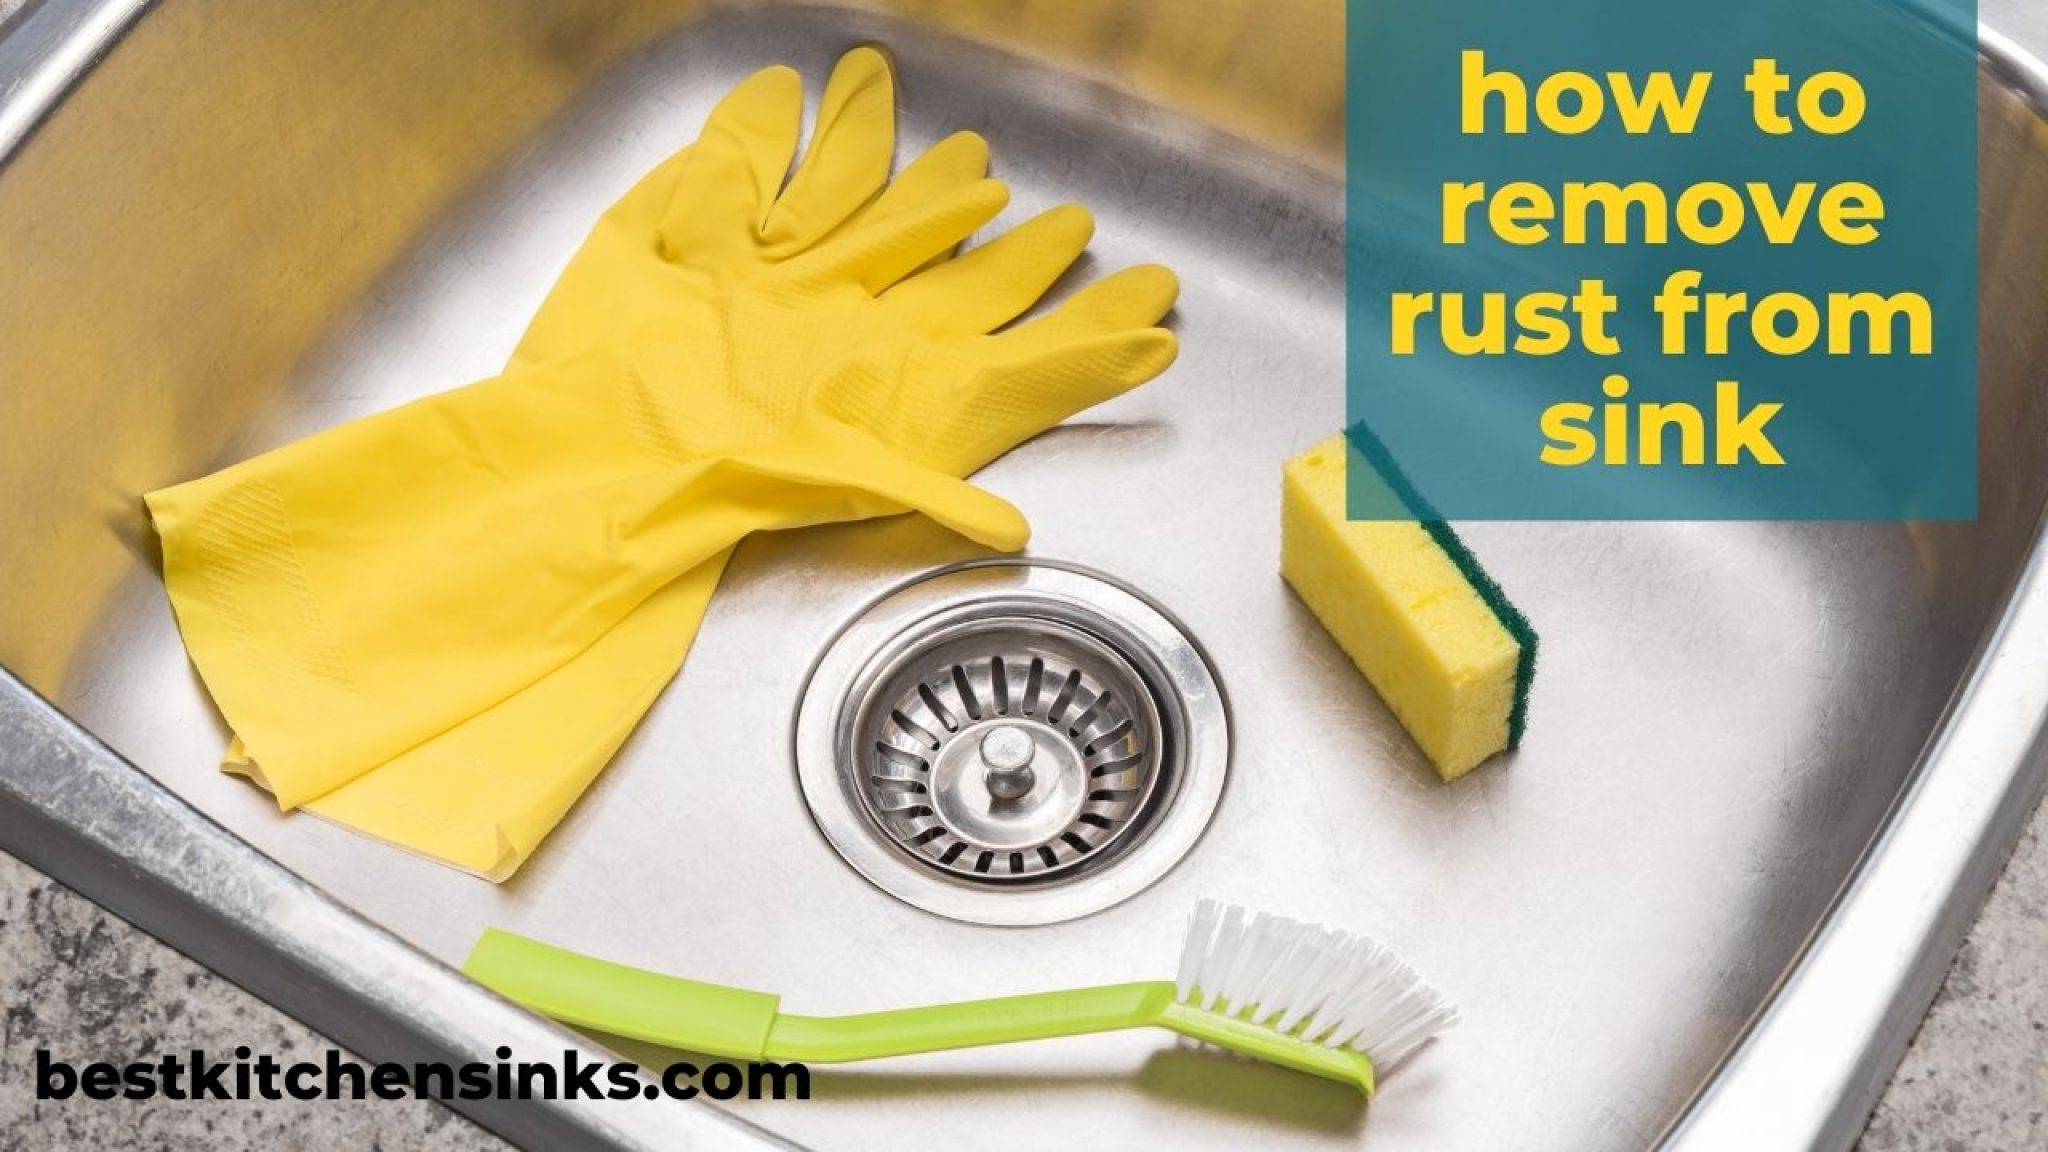
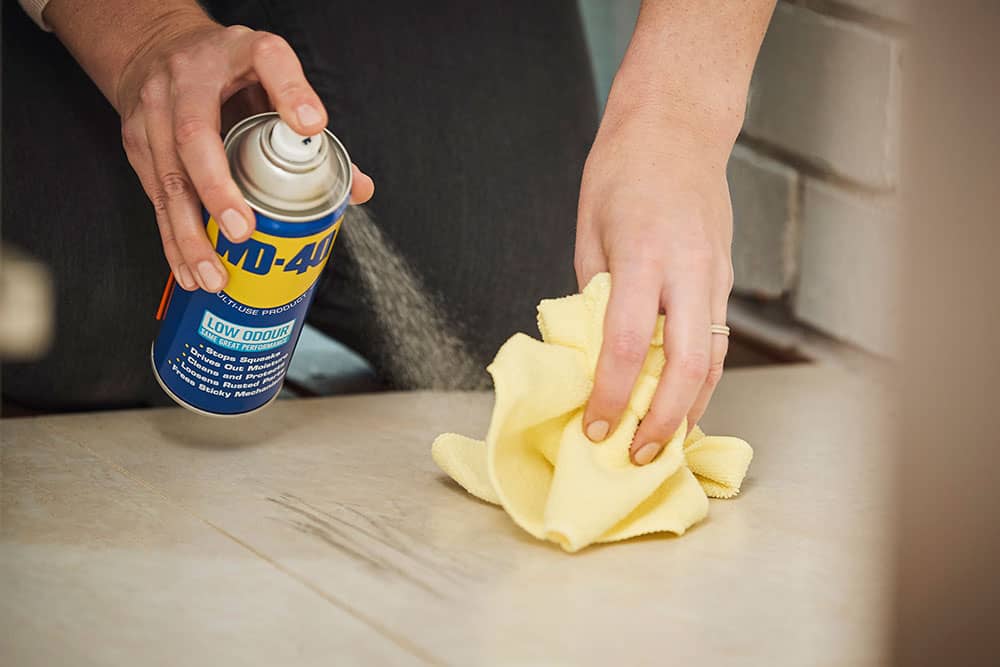
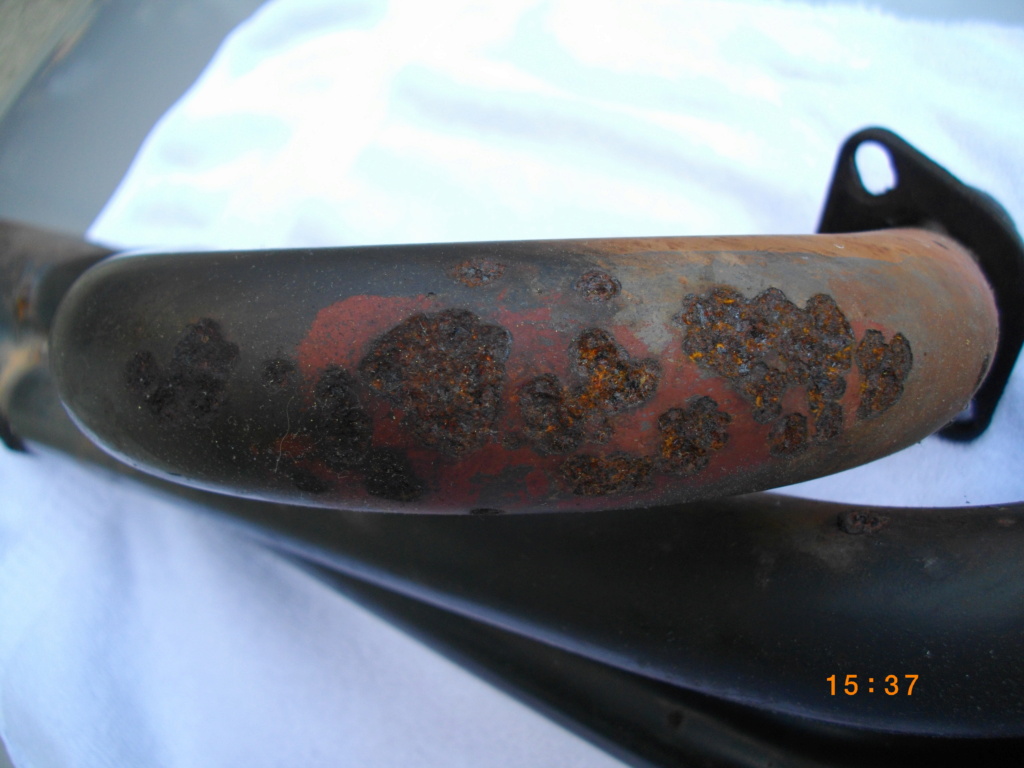
Rust pits in a kitchen sink can be unsightly and also pose a risk of contaminating your dishes and food. If you've noticed rust pits in your sink, don't worry, there are ways to remove them and restore the shine of your sink. Here are some tips on how to remove rust pits in a kitchen sink. First, start by cleaning the sink thoroughly with a mild detergent and warm water. Make sure to dry it completely with a clean cloth. Next, sprinkle some baking soda on the rust pits and scrub gently with a soft bristle brush or sponge. The baking soda will act as a mild abrasive and help lift the rust stains. Rinse the sink with warm water and dry it again. If the baking soda method doesn't work, you can try using white vinegar. Soak a paper towel in white vinegar and place it on the rust pits. Let it sit for a couple of hours, then remove the towel and scrub the area with a soft brush. Rinse with warm water and dry.How to Remove Rust Pits in a Kitchen Sink


How to Remove Rust Pits in a Kitchen Sink


:max_bytes(150000):strip_icc()/how-to-clean-a-copper-sink-4767276-05-a54b0d47425048cb89ccb81cc5bc868d.jpg)


If the rust pits are deep and have caused holes in your sink, you may need to fix them before they become bigger and cause more damage. One option is to use a rust converter, which is a liquid that converts rust into a stable compound that can be painted over. Follow the instructions on the product and apply it to the affected areas. Once dry, you can sand the surface smooth and paint over it with a rust-resistant paint. If the rust pits are too severe, you may need to call a professional to repair or replace your sink. This option can be more costly, but it's necessary if the damage is extensive.How to Fix Rust Pits in a Kitchen Sink


How to Fix Rust Pits in a Kitchen Sink


Prevention is key when it comes to rust pits in your kitchen sink. Here are some tips on how to prevent them from forming in the first place. Keep your sink clean and dry: After using the sink, make sure to dry it completely with a clean cloth. This will prevent any moisture from sitting on the sink and causing rust to form. Use a sink mat: A sink mat can act as a barrier between your dishes and the sink, preventing scratches and potential rust spots. Make sure to clean the sink mat regularly to avoid any build-up of food particles. Don't let chemicals sit in the sink: Harsh chemicals, such as bleach and drain cleaners, can cause rust to form in your sink. Make sure to rinse these chemicals away as soon as possible.Preventing Rust Pits in Your Kitchen Sink


Preventing Rust Pits in Your Kitchen Sink


If you've tried the baking soda and vinegar methods and still can't seem to get rid of the rust pits, you may need to invest in a specialized product. Here are some of the best products for removing rust pits in a kitchen sink. Oxalic acid: This acid is a powerful rust remover and can be found in many rust-removing products. Make sure to follow the instructions carefully and wear protective gear when using it. Citric acid: This is a natural alternative to oxalic acid and can be found in many household cleaners. Mix it with water and apply it to the rust pits, then scrub with a soft brush. Rust remover gel: This gel is specifically designed to remove rust from surfaces and can be applied directly to the rust pits. Make sure to wear gloves and follow the instructions on the product.Best Products for Removing Rust Pits in a Kitchen Sink


Best Products for Removing Rust Pits in a Kitchen Sink


If you prefer to use natural and homemade solutions, here are some DIY options for removing rust pits in your kitchen sink. Lemon and salt: Cut a lemon in half and sprinkle salt on one half. Use the lemon and salt to scrub the rust pits, then rinse with warm water. Potato and dish soap: Cut a potato in half and dip it in some dish soap. Use the potato to scrub the rust pits, then rinse with warm water. Cream of tartar and hydrogen peroxide: Mix equal parts of cream of tartar and hydrogen peroxide to form a paste. Apply the paste to the rust pits and let it sit for an hour, then scrub with a soft brush and rinse with warm water.DIY Solutions for Rust Pits in a Kitchen Sink


DIY Solutions for Rust Pits in a Kitchen Sink


If the rust pits in your kitchen sink are too severe for DIY solutions, it's best to call a professional. They have the tools and expertise to effectively remove the rust and restore your sink to its former glory. Sandblasting: This method involves using compressed air to blast sand particles at high speed onto the rusted surface, effectively removing the rust. It's a quick and effective method but should only be done by a professional. Refinishing: A professional can also refinish your sink, which involves sanding down the surface and applying a new coating of enamel or porcelain. This is a more permanent solution for severe rust pits.Professional Services for Removing Rust Pits in a Kitchen Sink


Professional Services for Removing Rust Pits in a Kitchen Sink


Understanding the causes of rust pits in kitchen sinks can help you prevent them from forming in the future. Here are some common causes of rust pits in kitchen sinks. Hard water: If you have hard water, the minerals and deposits in it can cause rust to form on your sink. Scratches and chips: Any scratches or chips on the surface of your sink can expose the metal underneath and make it vulnerable to rust. Leaky faucets: If you have a leaky faucet, the constant moisture can lead to rust formation in your sink.Common Causes of Rust Pits in Kitchen Sinks


Common Causes of Rust Pits in Kitchen Sinks


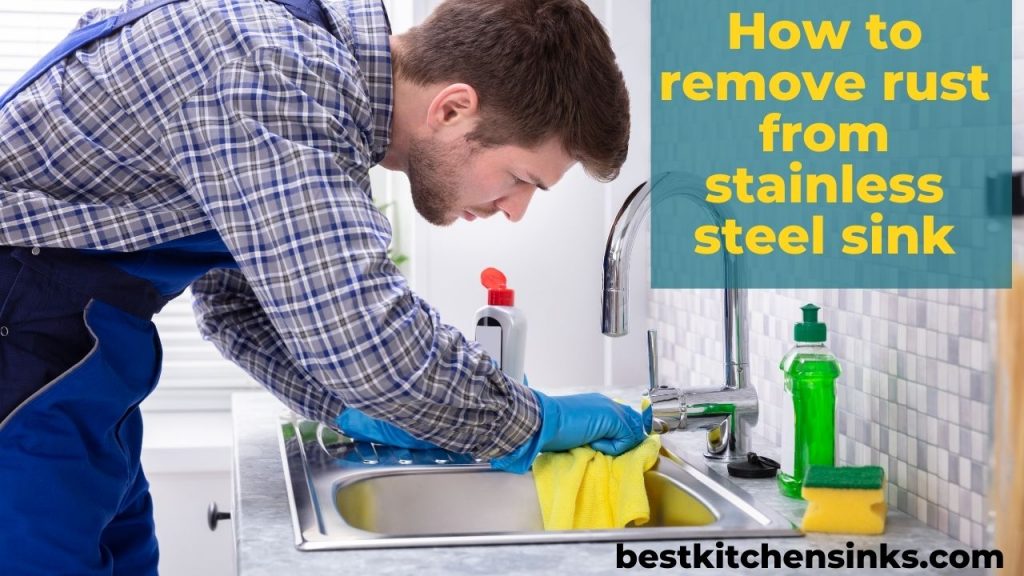
Once you've removed the rust pits from your kitchen sink, you'll want to keep it rust-free in the future. Here are some tips on how to maintain a rust-free kitchen sink. Regular cleaning: Make sure to clean your sink regularly with a mild detergent and warm water. This will prevent any build-up of food particles or minerals that can lead to rust formation. Dry the sink after each use: After using the sink, make sure to dry it completely with a clean cloth. This will prevent any moisture from sitting on the surface and causing rust to form. Use a rust inhibitor: You can purchase rust inhibitors that can be applied to your sink to prevent rust from forming. Make sure to follow the instructions on the product.How to Maintain a Rust-Free Kitchen Sink


How to Maintain a Rust-Free Kitchen Sink


If you prefer to use natural and non-toxic solutions, here are some natural remedies for removing rust pits in a kitchen sink. Vinegar and salt: Mix equal parts vinegar and salt to form a paste. Apply the paste to the rust pits and let it sit for an hour, then scrub with a soft brush and rinse with warm water. Baking soda and lemon juice: Mix equal parts baking soda and lemon juice to form a paste. Apply the paste to the rust pits and let it sit for an hour, then scrub with a soft brush and rinse with warm water. Hydrogen peroxide and cream of tartar: Mix equal parts hydrogen peroxide and cream of tartar to form a paste. Apply the paste to the rust pits and let it sit for an hour, then scrub with a soft brush and rinse with warm water.Using Natural Remedies to Remove Rust Pits in a Kitchen Sink


Using Natural Remedies to Remove Rust Pits in a Kitchen Sink
:max_bytes(150000):strip_icc()/homemade-rust-remover-recipes-1387936_FINAL-6c6543826627420ba5152b7ad0ea67c7.png)


If your kitchen sink has severe rust pits and cannot be restored, it may be time to replace it. Here are some tips on how to replace a kitchen sink with severe rust pits. Choose a new sink: Decide on the type and style of sink you want to replace your old one with. There are many options available, including stainless steel, porcelain, and composite. Disconnect the plumbing: Before removing the sink, make sure to turn off the water and disconnect the plumbing. Remove the old sink: Use a utility knife to cut through any caulk or adhesive holding the sink in place. Then, carefully remove the sink from the counter. Install the new sink: Follow the instructions provided with your new sink to install it properly. Make sure to properly seal the edges to prevent any water from leaking underneath. In conclusion, rust pits in a kitchen sink can be a common problem, but they can be removed and prevented with the right techniques. Whether you choose to use natural remedies, DIY solutions, or professional services, make sure to regularly clean and maintain your sink to prevent rust from forming. With proper care, your sink can stay rust-free and maintain its shine for years to come.Replacing a Kitchen Sink with Severe Rust Pits


Replacing a Kitchen Sink with Severe Rust Pits


The Importance of Maintaining a Rust-Free Kitchen Sink
Preventing Rust Pits in Your Kitchen Sink
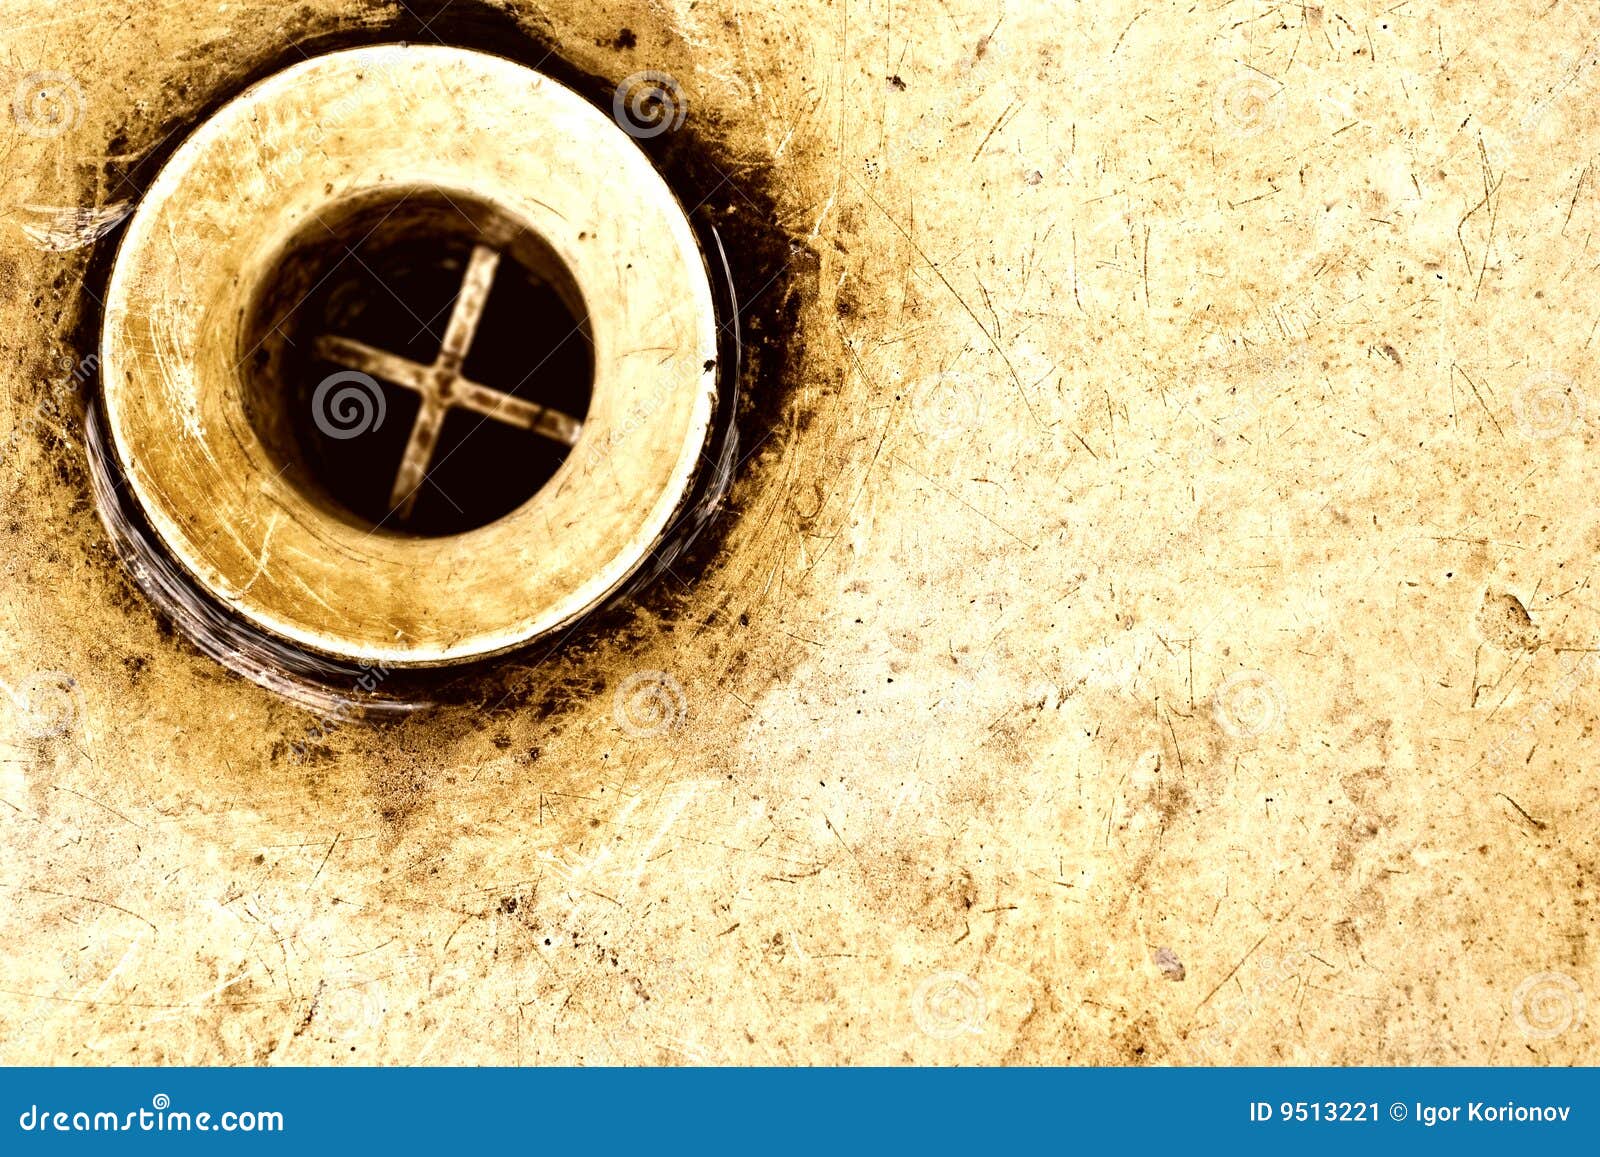
 When it comes to kitchen design, the sink is often one of the most overlooked elements. However, it plays a crucial role in the overall functionality and aesthetics of your kitchen. A rusty kitchen sink can not only be an eyesore but also a health hazard. Rust pits in your kitchen sink can harbor bacteria and make it difficult to keep clean, compromising the hygiene of your food preparation area.
Rust pits
are small holes or indentations on the surface of your kitchen sink caused by prolonged exposure to water and moisture. They are most commonly found in stainless steel sinks, which are popular for their durability and sleek look. However, even the highest quality stainless steel sinks can develop rust pits if not properly maintained.
To prevent
rust pits
from forming in your kitchen sink, it is important to properly care for it on a regular basis. This includes wiping it dry after each use, avoiding leaving dirty dishes or standing water in the sink for extended periods of time, and using a mild cleaner specifically designed for stainless steel surfaces.
In addition to regular maintenance, it is also important to address any signs of rust immediately. If you notice any discoloration or small pits on the surface of your sink, it is crucial to take action before the damage worsens. Scrubbing the affected area with a mixture of baking soda and water can help remove the rust and prevent it from spreading.
Preventative measures
are also key in keeping your kitchen sink rust-free. Using a sink mat or drying rack can help protect the surface from scratches and damage, and using a rust-inhibiting spray or wax can provide an extra layer of protection against moisture.
In conclusion, maintaining a rust-free kitchen sink is not only important for the aesthetics of your kitchen, but also for the health and cleanliness of your food preparation area. By regularly caring for your sink and addressing any signs of rust immediately, you can prevent rust pits from forming and keep your sink looking and functioning like new for years to come.
When it comes to kitchen design, the sink is often one of the most overlooked elements. However, it plays a crucial role in the overall functionality and aesthetics of your kitchen. A rusty kitchen sink can not only be an eyesore but also a health hazard. Rust pits in your kitchen sink can harbor bacteria and make it difficult to keep clean, compromising the hygiene of your food preparation area.
Rust pits
are small holes or indentations on the surface of your kitchen sink caused by prolonged exposure to water and moisture. They are most commonly found in stainless steel sinks, which are popular for their durability and sleek look. However, even the highest quality stainless steel sinks can develop rust pits if not properly maintained.
To prevent
rust pits
from forming in your kitchen sink, it is important to properly care for it on a regular basis. This includes wiping it dry after each use, avoiding leaving dirty dishes or standing water in the sink for extended periods of time, and using a mild cleaner specifically designed for stainless steel surfaces.
In addition to regular maintenance, it is also important to address any signs of rust immediately. If you notice any discoloration or small pits on the surface of your sink, it is crucial to take action before the damage worsens. Scrubbing the affected area with a mixture of baking soda and water can help remove the rust and prevent it from spreading.
Preventative measures
are also key in keeping your kitchen sink rust-free. Using a sink mat or drying rack can help protect the surface from scratches and damage, and using a rust-inhibiting spray or wax can provide an extra layer of protection against moisture.
In conclusion, maintaining a rust-free kitchen sink is not only important for the aesthetics of your kitchen, but also for the health and cleanliness of your food preparation area. By regularly caring for your sink and addressing any signs of rust immediately, you can prevent rust pits from forming and keep your sink looking and functioning like new for years to come.