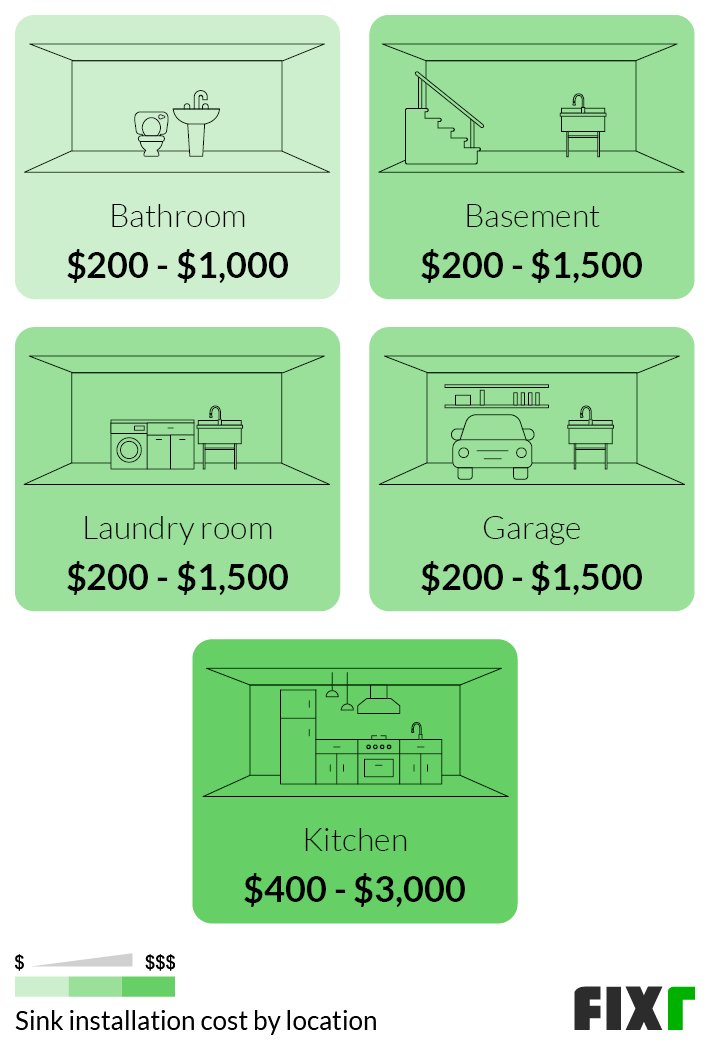
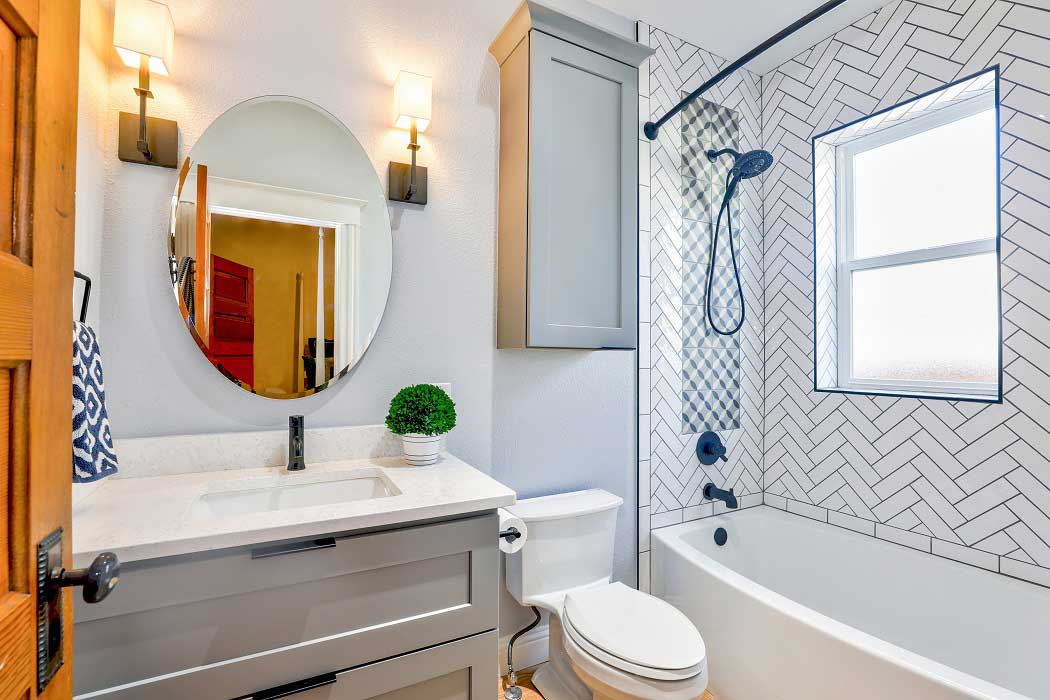
If you're looking to give your bathroom a fresh new look, one way to do so is by resurfacing your sink with glass pebbles. This DIY project is not only cost-effective, but it also adds a unique and stylish touch to your bathroom. Here are 10 steps to help you achieve a stunning glass pebble resurfaced bathroom sink.Resurface Bathroom Sink with Glass Pebbles


Resurface Bathroom Sink with Glass Pebbles


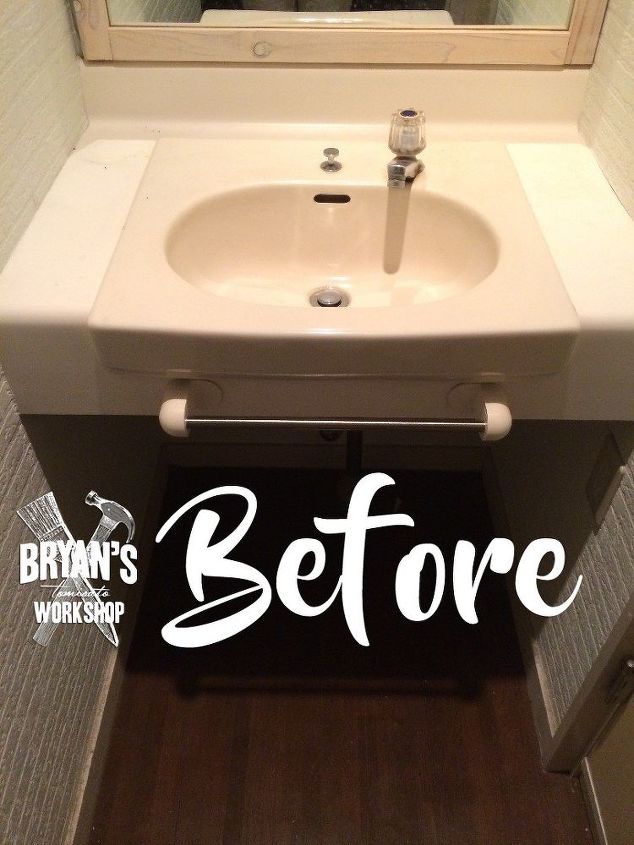
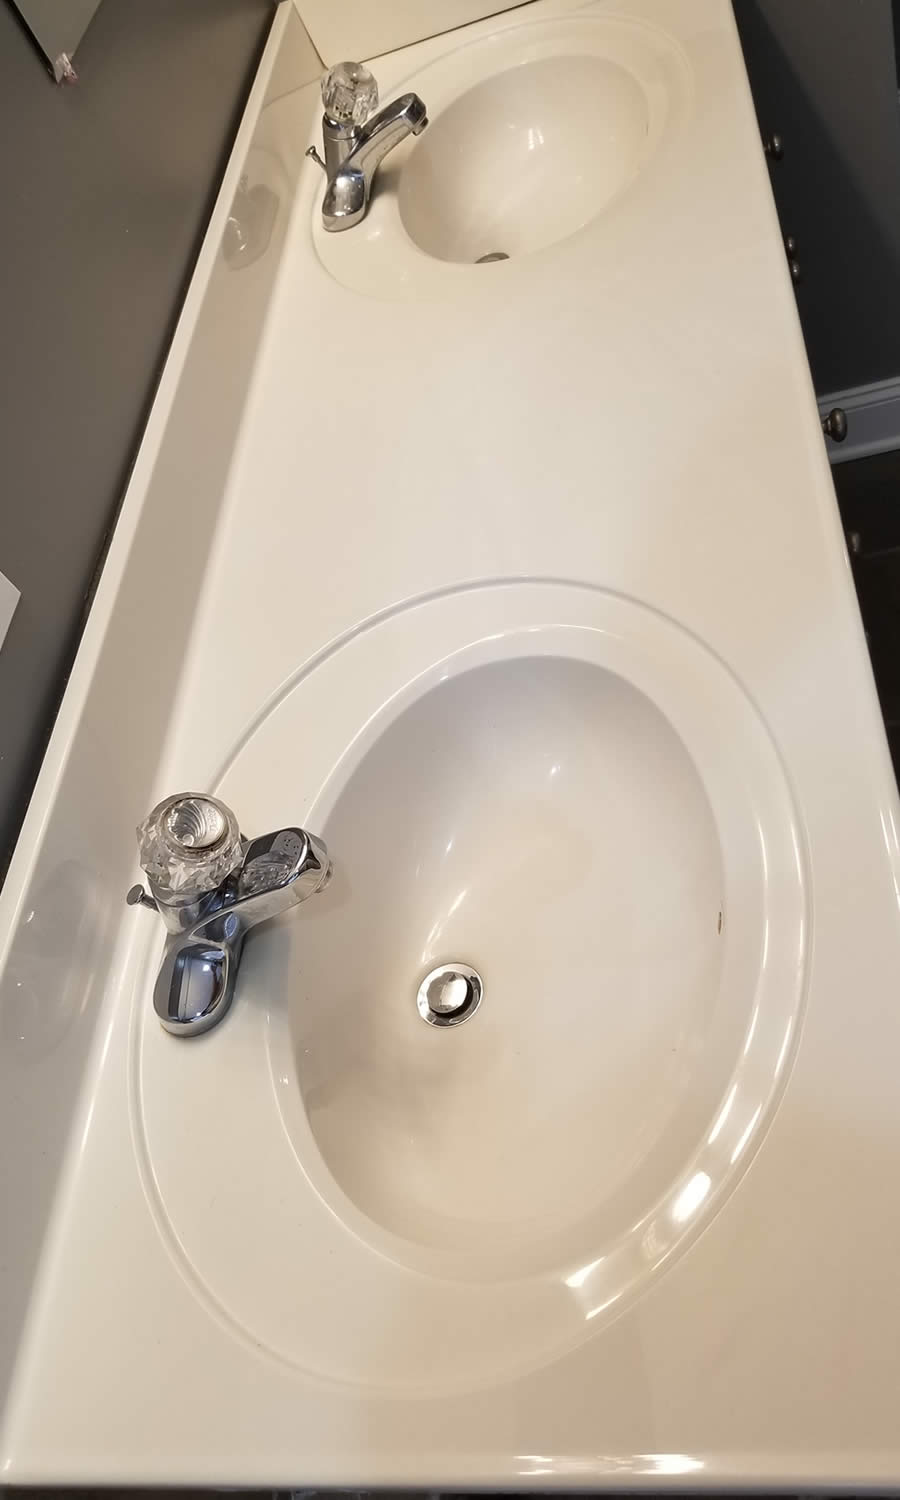
The first step to resurfacing your bathroom sink with glass pebbles is to clean the sink thoroughly. Use a mixture of warm water and soap to remove any dirt, grime, or residue. Make sure to dry the sink completely before moving on to the next step.Resurfacing Bathroom Sink with Glass Pebbles


Resurfacing Bathroom Sink with Glass Pebbles


Now, it's time to apply a layer of adhesive to the sink. Use a trowel to spread the adhesive evenly, making sure to cover the entire surface of the sink. This will serve as the base for the glass pebbles to stick to.Glass Pebble Bathroom Sink Resurfacing


Glass Pebble Bathroom Sink Resurfacing
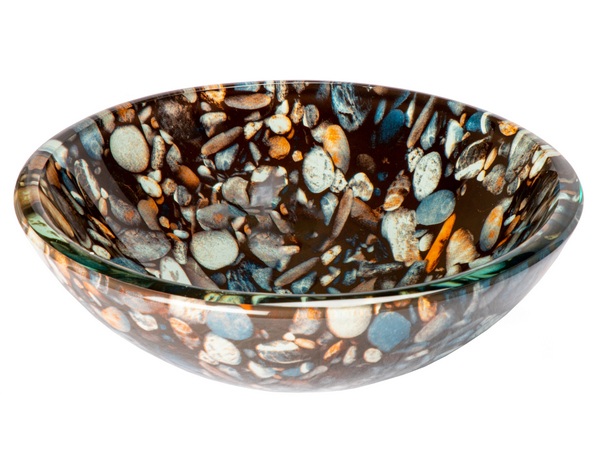


Next, it's time to start placing the glass pebbles onto the adhesive. Be sure to use safety goggles and gloves for this step. Start at one corner of the sink and work your way across, making sure to press each pebble firmly into the adhesive. You can use a variety of pebble sizes to create a unique and textured look.DIY Bathroom Sink Resurfacing with Glass Pebbles


DIY Bathroom Sink Resurfacing with Glass Pebbles


Once you've covered the entire sink with glass pebbles, it's time to let it dry. Leave it to dry for at least 24 hours, or as directed by the adhesive manufacturer. Be sure to keep the sink out of use during this time. This will ensure that the pebbles are securely attached to the sink.How to Resurface a Bathroom Sink with Glass Pebbles

How to Resurface a Bathroom Sink with Glass Pebbles


After the adhesive has dried, it's time to apply a layer of grout over the glass pebbles. Make sure to choose a grout color that complements the pebbles and your bathroom decor. Use a grout float to spread the grout evenly over the pebbles and in between the gaps.Glass Pebble Resurfacing for Bathroom Sinks


Glass Pebble Resurfacing for Bathroom Sinks


Once you've applied the grout, use a damp sponge to wipe away any excess grout from the pebbles. This will help to create a smooth and seamless surface. Let the grout dry for another 24 hours before moving on to the next step.Transform Your Bathroom Sink with Glass Pebble Resurfacing
Transform Your Bathroom Sink with Glass Pebble Resurfacing


Now, it's time to seal the glass pebble resurfaced sink. Apply a layer of sealant over the entire surface of the sink, making sure to cover the grout and pebbles. This will protect the sink from water damage and make it easier to clean.Resurface Your Bathroom Sink with Beautiful Glass Pebbles


Resurface Your Bathroom Sink with Beautiful Glass Pebbles


After the sealant has dried, it's time to reinstall the sink fixtures and plumbing. If you're not confident in doing this yourself, it's best to call a professional plumber. Once the fixtures are in place, give the sink a final wipe down and voila! You now have a beautifully resurfaced bathroom sink with glass pebbles.Revamp Your Bathroom Sink with Glass Pebble Resurfacing


Revamp Your Bathroom Sink with Glass Pebble Resurfacing


Glass pebble resurfacing is a fantastic way to upgrade and add a touch of elegance to your bathroom. It's an easy and budget-friendly project that can completely transform the look of your sink. With these 10 steps and some creativity, you'll have a stunning glass pebble resurfaced bathroom sink in no time.Upgrade Your Bathroom Sink with Glass Pebble Resurfacing

Upgrade Your Bathroom Sink with Glass Pebble Resurfacing

Why Resurfacing Your Bathroom Sink with Glass Pebbles is a Great Design Choice

Upgrade Your Bathroom with a Unique and Modern Look
 Are you tired of looking at your old and worn-out bathroom sink? Do you want to give your bathroom a fresh and modern look?
Resurfacing your bathroom sink with glass pebbles
is a great design choice that will instantly upgrade the look of your bathroom. Glass pebbles come in a variety of colors and sizes, allowing you to create a unique and personalized design for your sink. Not only will it give your bathroom a modern and stylish touch, but it will also add a touch of luxury and sophistication.
Are you tired of looking at your old and worn-out bathroom sink? Do you want to give your bathroom a fresh and modern look?
Resurfacing your bathroom sink with glass pebbles
is a great design choice that will instantly upgrade the look of your bathroom. Glass pebbles come in a variety of colors and sizes, allowing you to create a unique and personalized design for your sink. Not only will it give your bathroom a modern and stylish touch, but it will also add a touch of luxury and sophistication.
Transform Your Sink into a Focal Point
 A bathroom sink is an essential element of any bathroom, and it's often overlooked when it comes to design. However, by
resurfacing your sink with glass pebbles
, you can transform it into a beautiful and eye-catching focal point. The glass pebbles will add texture and dimension to your sink, making it stand out and become a statement piece in your bathroom. It will not only impress your guests but will also make your daily routine more enjoyable as you use a stunning sink.
A bathroom sink is an essential element of any bathroom, and it's often overlooked when it comes to design. However, by
resurfacing your sink with glass pebbles
, you can transform it into a beautiful and eye-catching focal point. The glass pebbles will add texture and dimension to your sink, making it stand out and become a statement piece in your bathroom. It will not only impress your guests but will also make your daily routine more enjoyable as you use a stunning sink.
Low-Cost and Eco-Friendly Solution
 If you're on a budget but still want to give your bathroom a new look,
resurfacing your sink with glass pebbles
is an excellent option. It is a low-cost alternative to completely replacing your sink, and it will save you both time and money. Additionally, glass pebbles are an eco-friendly option as they can be made from recycled materials. By choosing to resurface your sink with glass pebbles, you not only improve the look of your bathroom but also contribute to a more sustainable environment.
If you're on a budget but still want to give your bathroom a new look,
resurfacing your sink with glass pebbles
is an excellent option. It is a low-cost alternative to completely replacing your sink, and it will save you both time and money. Additionally, glass pebbles are an eco-friendly option as they can be made from recycled materials. By choosing to resurface your sink with glass pebbles, you not only improve the look of your bathroom but also contribute to a more sustainable environment.
Durable and Easy to Maintain
 Glass pebbles are not only aesthetically pleasing, but they are also durable and easy to maintain. They are resistant to stains, scratches, and water damage, making them perfect for a high-traffic area like the bathroom sink. Cleaning your glass pebble sink is also a breeze, as all you need is a gentle cleaner and a soft cloth. With proper care, your resurfaced sink can last for many years, making it a cost-effective and long-lasting design choice.
In conclusion,
resurfacing your bathroom sink with glass pebbles
is a fantastic design choice that will instantly upgrade the look of your bathroom. It will give your sink a unique and modern look, transform it into a focal point, and provide a low-cost and eco-friendly solution. Plus, it's durable and easy to maintain, making it a practical choice for any household. So go ahead and give your bathroom sink a makeover with glass pebbles, and enjoy a beautiful and stylish space.
Glass pebbles are not only aesthetically pleasing, but they are also durable and easy to maintain. They are resistant to stains, scratches, and water damage, making them perfect for a high-traffic area like the bathroom sink. Cleaning your glass pebble sink is also a breeze, as all you need is a gentle cleaner and a soft cloth. With proper care, your resurfaced sink can last for many years, making it a cost-effective and long-lasting design choice.
In conclusion,
resurfacing your bathroom sink with glass pebbles
is a fantastic design choice that will instantly upgrade the look of your bathroom. It will give your sink a unique and modern look, transform it into a focal point, and provide a low-cost and eco-friendly solution. Plus, it's durable and easy to maintain, making it a practical choice for any household. So go ahead and give your bathroom sink a makeover with glass pebbles, and enjoy a beautiful and stylish space.