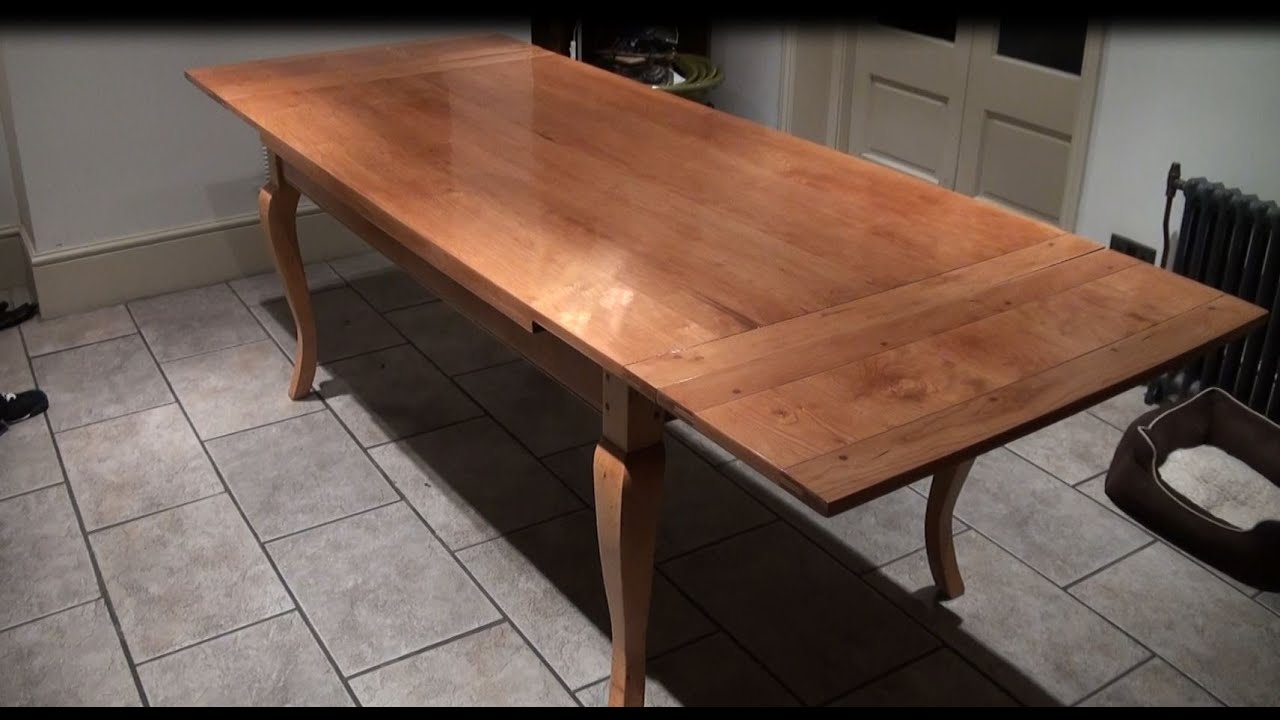
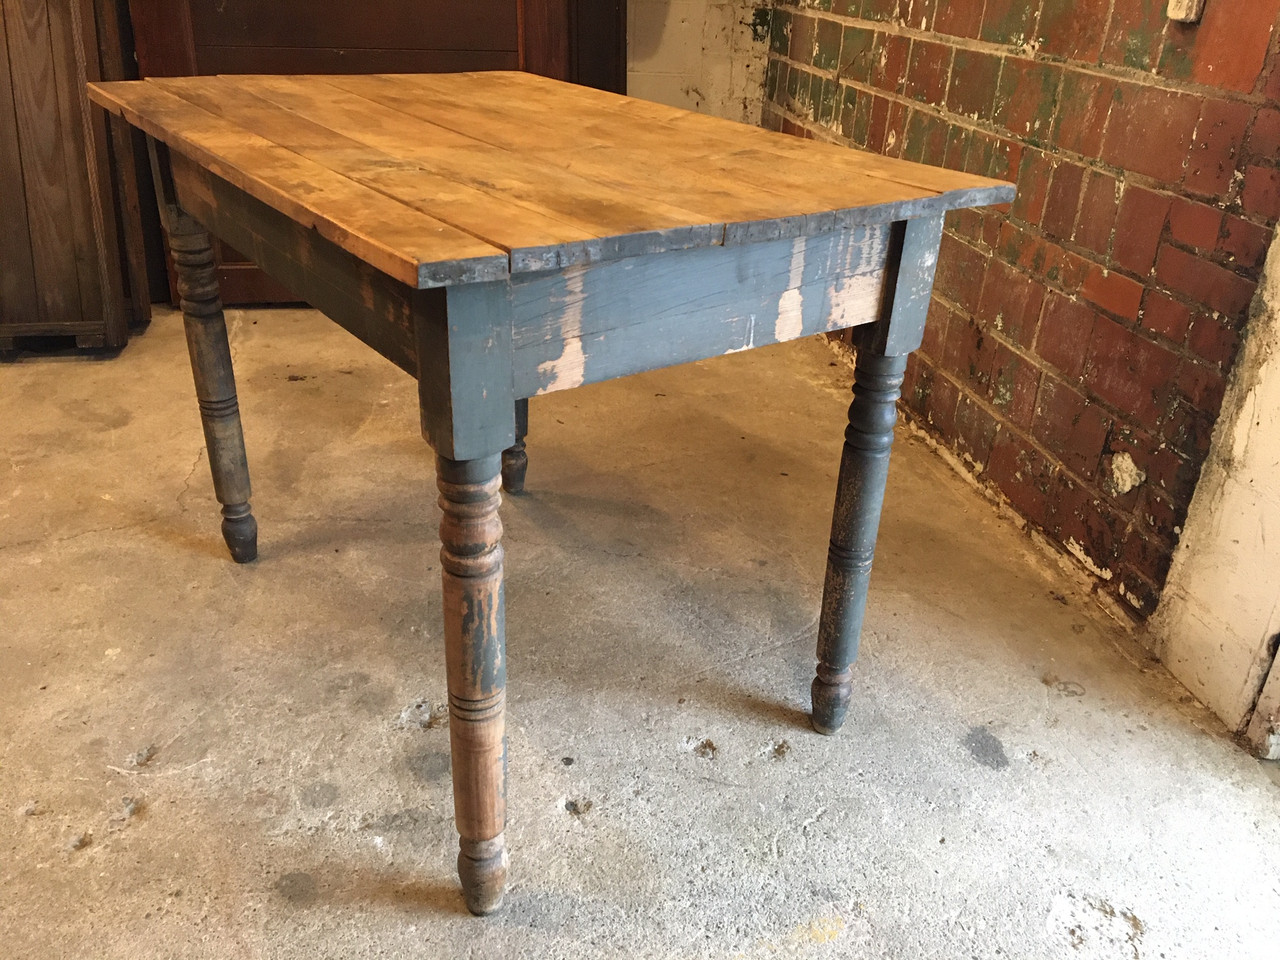
Restoring a kitchen table is a great way to give new life to an old piece of furniture. Whether it's a family heirloom or a thrift store find, a restored kitchen table can add character and charm to your home. Here are 10 steps to help you restore your kitchen table and make it look as good as new.How to Restore a Kitchen Table


How to Restore a Kitchen Table


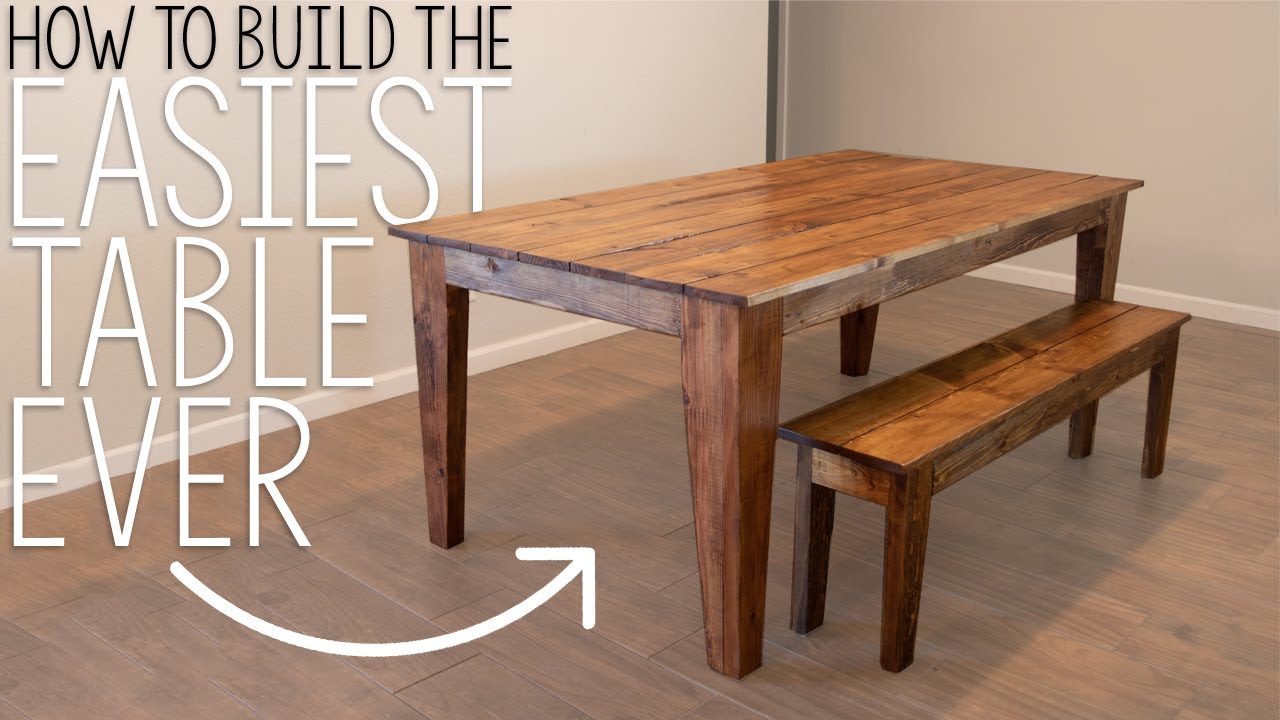
Step 1: Gather your materials. Before you begin restoring your kitchen table, make sure you have all the necessary materials. This includes sandpaper, wood stain or paint, a paintbrush or foam roller, and a sealant. You may also need a screwdriver if you plan on removing any hardware. Step 2: Prepare the surface. Remove any hardware or decorations from the table. Then, use sandpaper to remove any old finish or paint. This will help the new finish adhere better to the surface. Step 3: Repair any damage. If your kitchen table has any scratches, dents, or other damage, now is the time to fix it. Use wood filler to fill in any holes or cracks, and sand down any rough spots. Step 4: Choose your finish. Decide whether you want to stain or paint your kitchen table. Staining will bring out the natural beauty of the wood, while painting allows for more creativity and color options. Step 5: Apply the finish. Using a paintbrush or foam roller, apply your chosen finish to the table. Follow the instructions on the product for best results. You may need to apply multiple coats for a more even finish. Step 6: Let it dry. Allow the finish to dry completely before moving on to the next step. This can take several hours, so be patient. Step 7: Sand between coats. If you applied multiple coats of finish, sand lightly between each coat to ensure a smooth and even finish. Step 8: Apply a sealant. To protect your newly restored kitchen table, apply a sealant or topcoat. This will help prevent scratches and water damage. Step 9: Reattach hardware. If you removed any hardware, now is the time to reattach it. Make sure it is securely fastened and in the correct position. Step 10: Enjoy your restored kitchen table! Once your kitchen table is fully restored and dried, it's time to bring it back into your home. Admire your hard work and enjoy your beautiful, like-new kitchen table.Restoring a Kitchen Table: A Step-by-Step Guide


Restoring a Kitchen Table: A Step-by-Step Guide


Restoring a kitchen table yourself can be a fun and rewarding project. Here are some tips and tricks to help make the process even easier: Tip 1: If you're unsure about the type of finish on your kitchen table, do a spot test with the sandpaper to see what works best. Tip 2: When sanding, always go with the grain of the wood for a smoother finish. Tip 3: For a distressed or vintage look, lightly sand the edges and corners of your table after applying the finish. Tip 4: Use a foam roller for a smoother and more even application of paint or stain. Tip 5: If you're staining your table, use a wood conditioner first to help the stain absorb more evenly. By following these tips, you can achieve a professional-looking restoration without breaking the bank.DIY Kitchen Table Restoration: Tips and Tricks


DIY Kitchen Table Restoration: Tips and Tricks


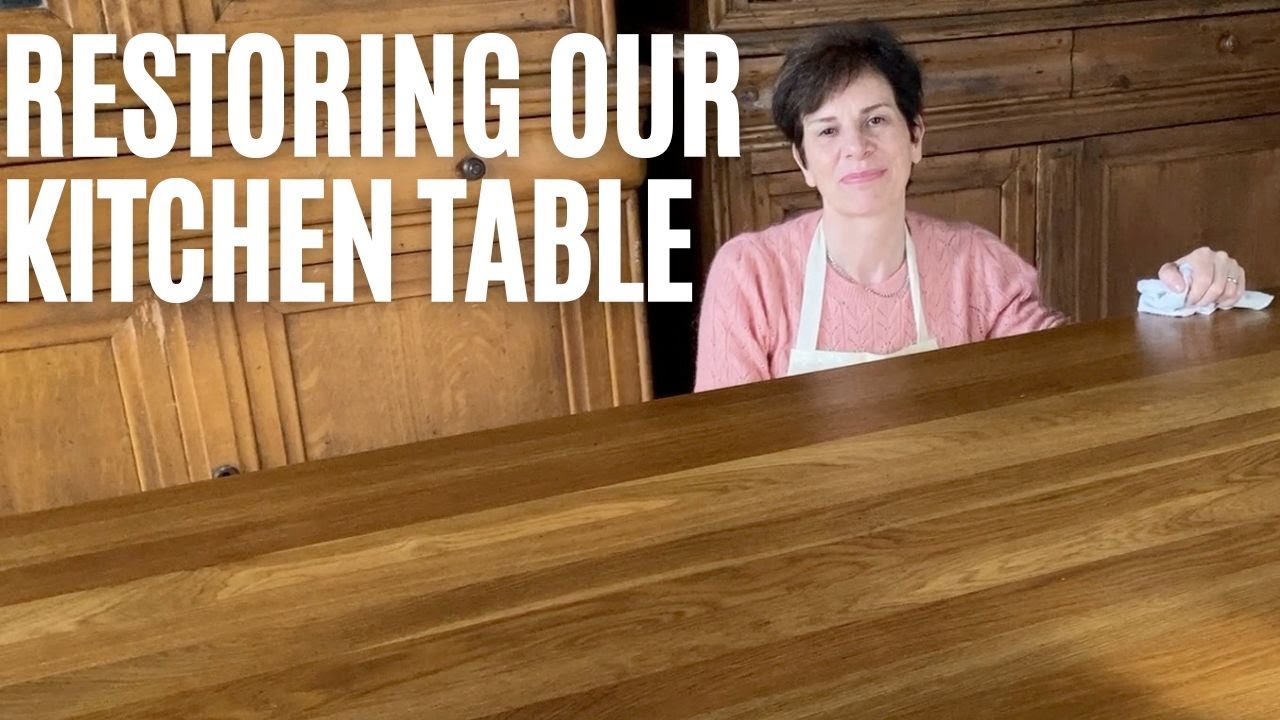
There's something gratifying about seeing the transformation of an old, worn-out kitchen table into a beautiful piece of furniture. The before and after pictures of your restoration project will be a proud moment and a great conversation starter with guests. Before starting your restoration, take clear photos of your kitchen table from all angles. Then, after completing the restoration, take more photos to compare the difference. You'll be amazed at the transformation and proud to show off your hard work.Restoring an Old Kitchen Table: Before and After

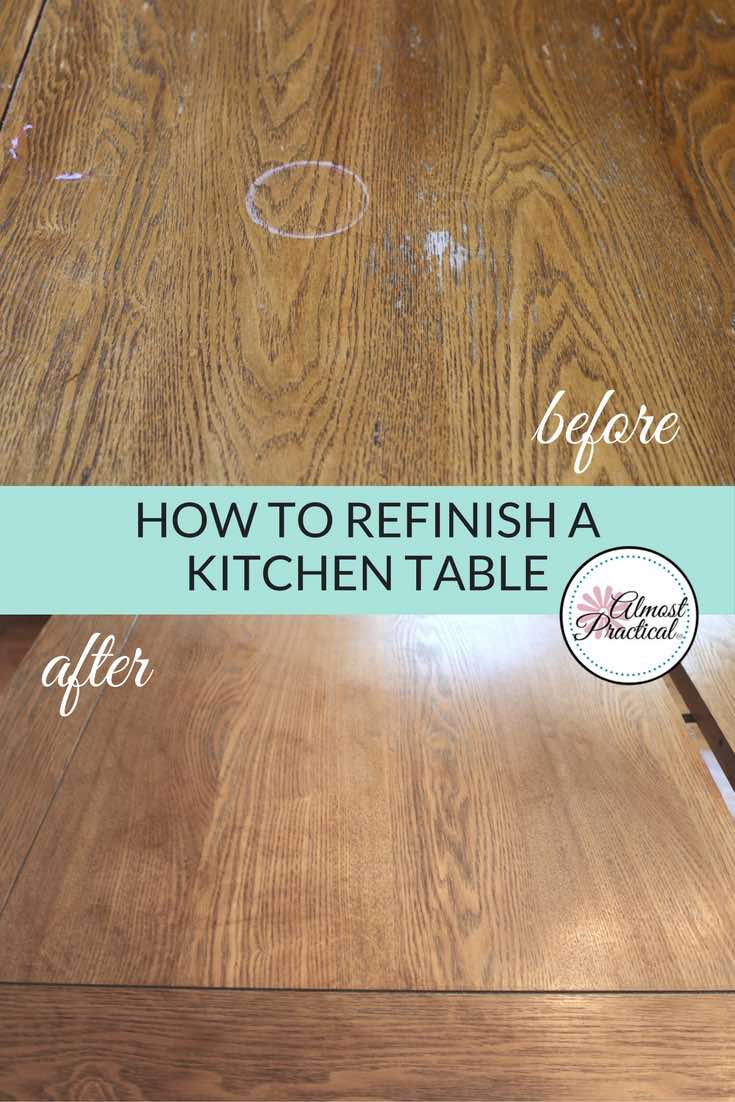
Restoring an Old Kitchen Table: Before and After


Refinishing a kitchen table is a great way to change up the look of your dining area without having to buy a new table. Here are some things you should know before refinishing your kitchen table: 1. Choose the right finish for your lifestyle. If you have young children or frequently use your kitchen table, a durable finish like polyurethane may be a better option than a wax or oil-based finish. 2. Allow for enough drying time. Rushing the drying process can result in a less durable finish. Make sure to follow the instructions on the product for the recommended drying time. 3. Don't be afraid to experiment. If you're feeling adventurous, try using different techniques or finishes for a unique and personalized look. By keeping these tips in mind, you can successfully refinish your kitchen table and give it a whole new look.Refinishing a Kitchen Table: What You Need to Know


Refinishing a Kitchen Table: What You Need to Know


Restoring a wooden kitchen table requires different techniques and tools depending on the type of wood and condition of the table. Here are some techniques and tools commonly used for restoring wooden kitchen tables: 1. Stripping agent: If your kitchen table has multiple layers of paint or finish, a stripping agent can help remove it more easily. 2. Orbital sander: This tool can help speed up the sanding process and ensure a smooth finish. 3. Wood stain: Staining can enhance the natural beauty of the wood and hide imperfections. 4. Paint sprayer: For a more even and professional-looking finish, a paint sprayer can be a useful tool. By using these techniques and tools, you can effectively restore your wooden kitchen table and bring it back to life.Restoring a Wooden Kitchen Table: Techniques and Tools


Restoring a Wooden Kitchen Table: Techniques and Tools


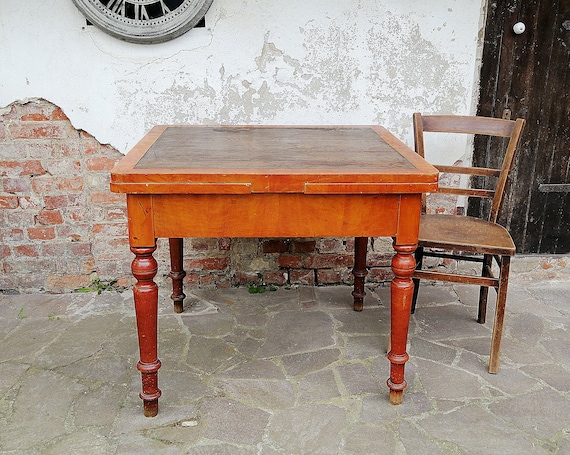
Restoring a vintage kitchen table can be a fun and exciting project. Here's a step-by-step guide to help you through the process: Step 1: Identify the era and style. Before starting your restoration, research the era and style of your vintage kitchen table. This can help guide your decisions for the restoration process. Step 2: Clean the table. Use a mild soap and warm water to clean the table. Avoid using harsh chemicals that can damage the wood. Step 3: Repair any damage. Vintage tables may have more wear and tear, so make sure to repair any damage before moving on to the next step. Step 4: Choose your finish. Decide whether you want to maintain the vintage look or give it a modern twist with a new finish. Step 5: Follow the restoration steps. Follow the steps outlined in this article to restore your vintage kitchen table and bring it back to its former glory. By following this guide, you can successfully restore your vintage kitchen table and add a unique touch to your home.Restoring a Vintage Kitchen Table: From Start to Finish


Restoring a Vintage Kitchen Table: From Start to Finish


Scratches on a kitchen table can be unsightly and frustrating. Here are some easy fixes for restoring a scratched kitchen table: 1. Use a touch-up pen: Touch-up pens are specially designed to fill in scratches and blend in with the existing finish. 2. Try a walnut: Rubbing a walnut over a scratch can help hide it and make it less noticeable. 3. Use a wood filler: For deeper scratches, use a wood filler to fill in the gap and then sand it down to create a smooth surface. These simple fixes can make a big difference in the appearance of your kitchen table and save you from having to completely refinish it.Restoring a Scratched Kitchen Table: Easy Fixes


Restoring a Scratched Kitchen Table: Easy Fixes


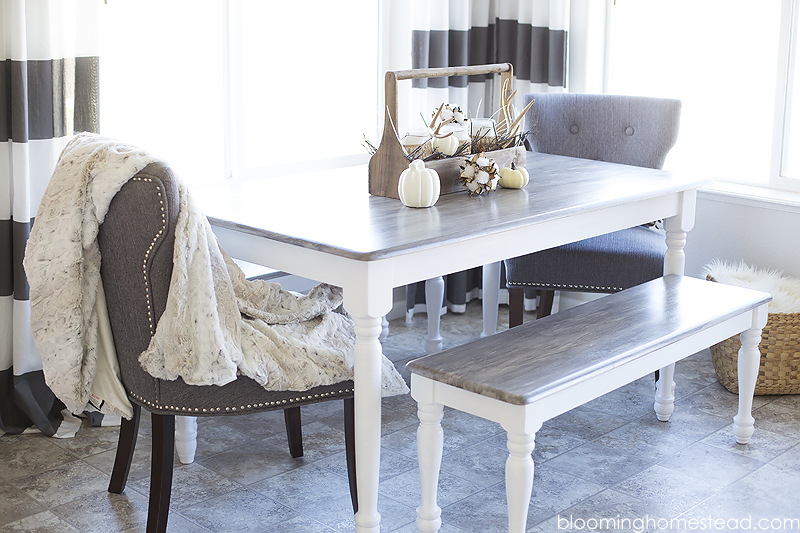
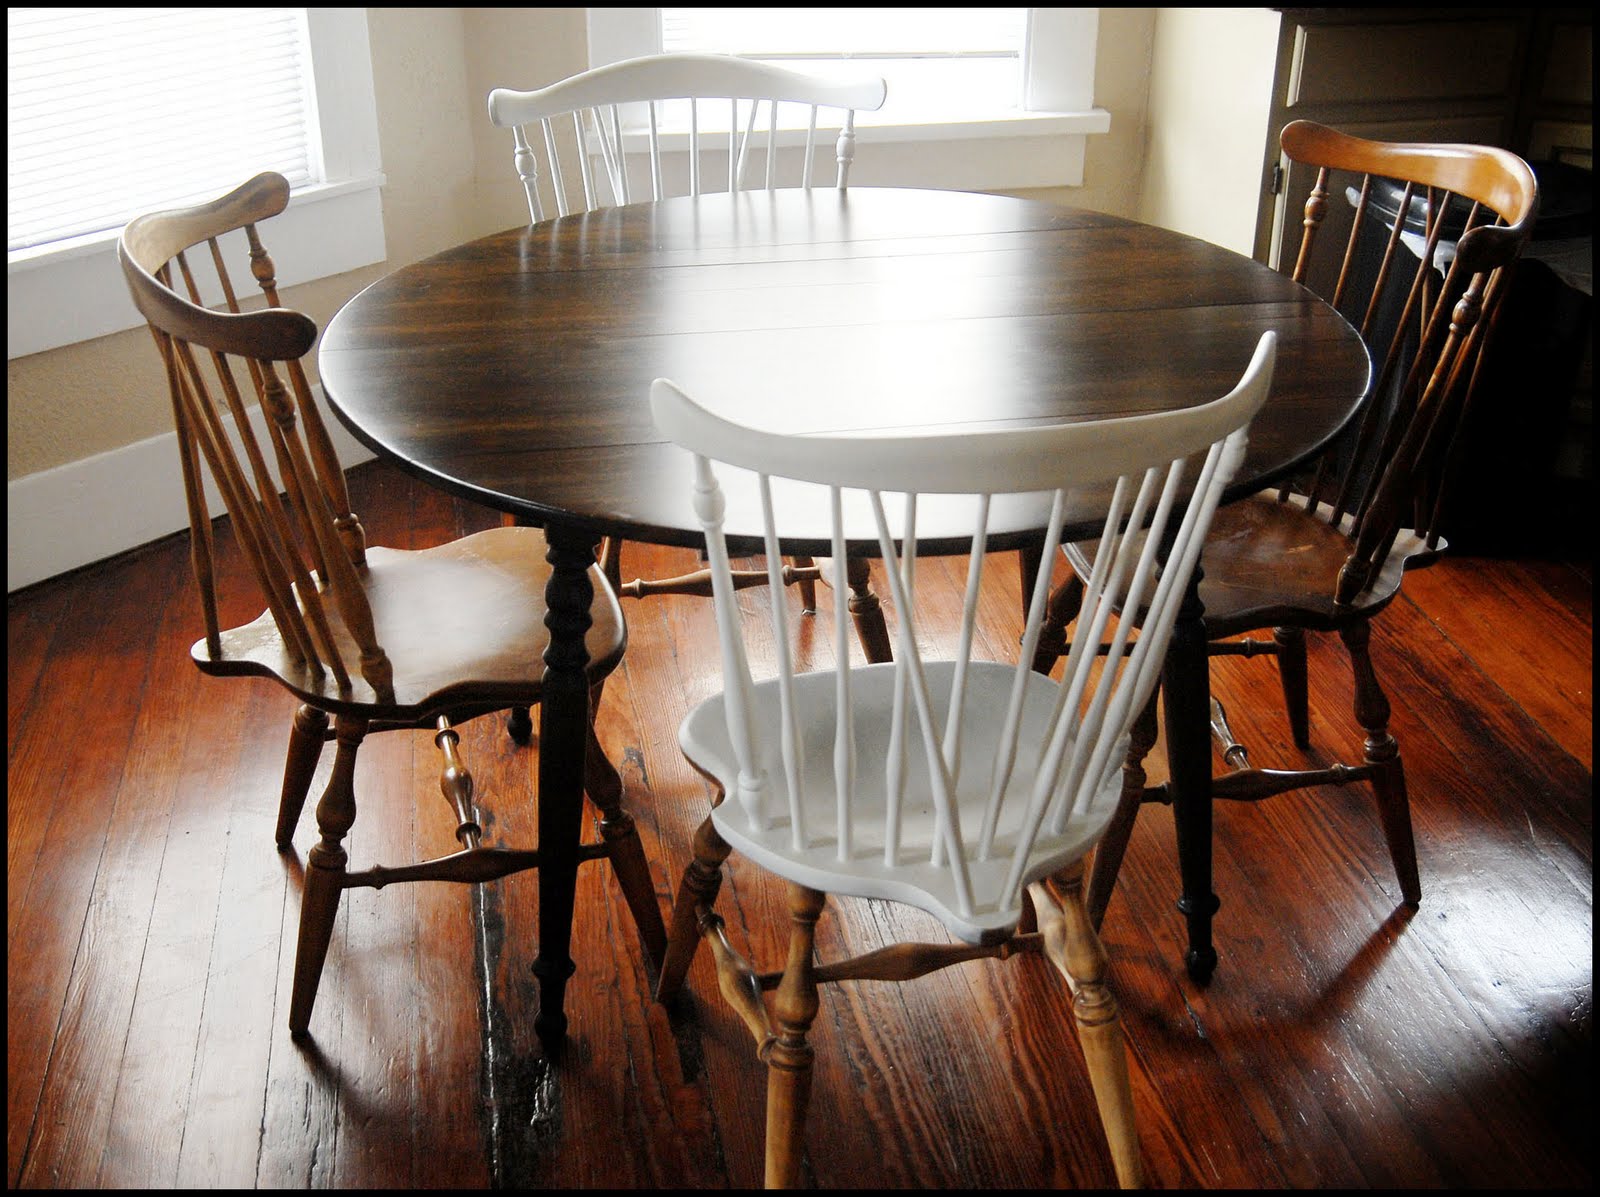
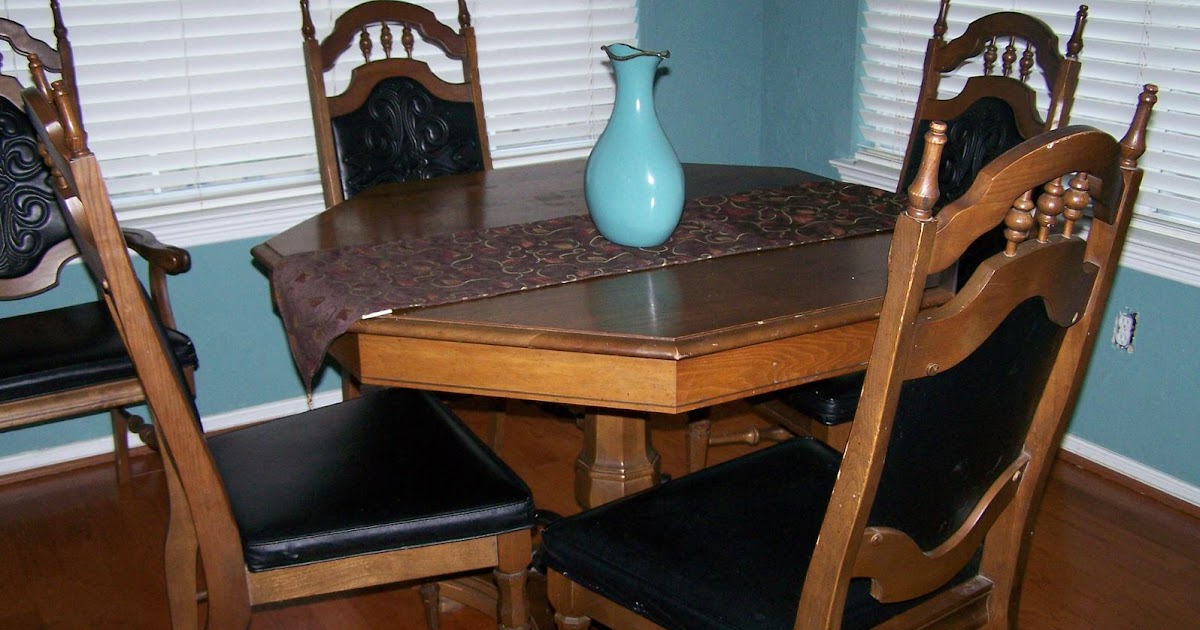
Restoring an old kitchen table can be a great way to add a personal touch to your home and save money. Here are some tips to help bring new life to an old kitchen table: 1. Change the hardware: Swapping out the old hardware for new, modern pieces can give your table a whole new look. 2. Add a tablecloth or runner: A simple tablecloth or runner can instantly change the look of your kitchen table and cover up any imperfections. 3. Use different chairs: Mixing and matching different chairs can add character and charm to your kitchen table. By using these tips, you can easily give your old kitchen table a fresh new look without having to restore or refinish it.How to Bring New Life to an Old Kitchen Table


How to Bring New Life to an Old Kitchen Table


Restoring a kitchen table doesn't have to break the bank. Here are some tips for restoring a kitchen table on a budget: 1. Shop at thrift stores or garage sales: You can often find great deals on old kitchen tables at thrift stores or garage sales. 2. Use budget-friendly materials: Instead of buying expensive wood stain or paint, consider using budget-friendly options like chalk paint or a homemade wood stain. 3. Do it yourself: By restoring your kitchen table yourself, you can save on labor costs and have a sense of accomplishment. With these tips, you can successfully restore your kitchen table without breaking the bank. In conclusion, restoring a kitchen table can be a fun and rewarding project. By following these 10 steps and tips, you can transform your old kitchen table into a beautiful piece of furniture that will add character and charm to your home for years to come.Restoring a Kitchen Table on a Budget

Restoring a Kitchen Table on a Budget


Reviving Your Kitchen Table: How to Bring New Life to an Old Piece of Furniture
 If you have an old kitchen table that is looking worn and tired, don't rush to throw it away just yet. With a little bit of time and effort, you can restore your kitchen table to its former glory and give it a new lease on life. Not only will this save you money from buying a new one, but it will also add a personal touch to your home decor. Here are some tips on how to restore your kitchen table and make it the centerpiece of your kitchen.
Gather Your Materials
 Before starting any restoration project, it's important to gather all the necessary materials. For this project, you will need sandpaper, wood stain or paint, a paintbrush, a clean cloth, and a sealant. It's important to choose a wood stain or paint that is suitable for the type of wood your table is made of. Additionally, make sure to work in a well-ventilated area and protect your work surface with a drop cloth or old newspapers.
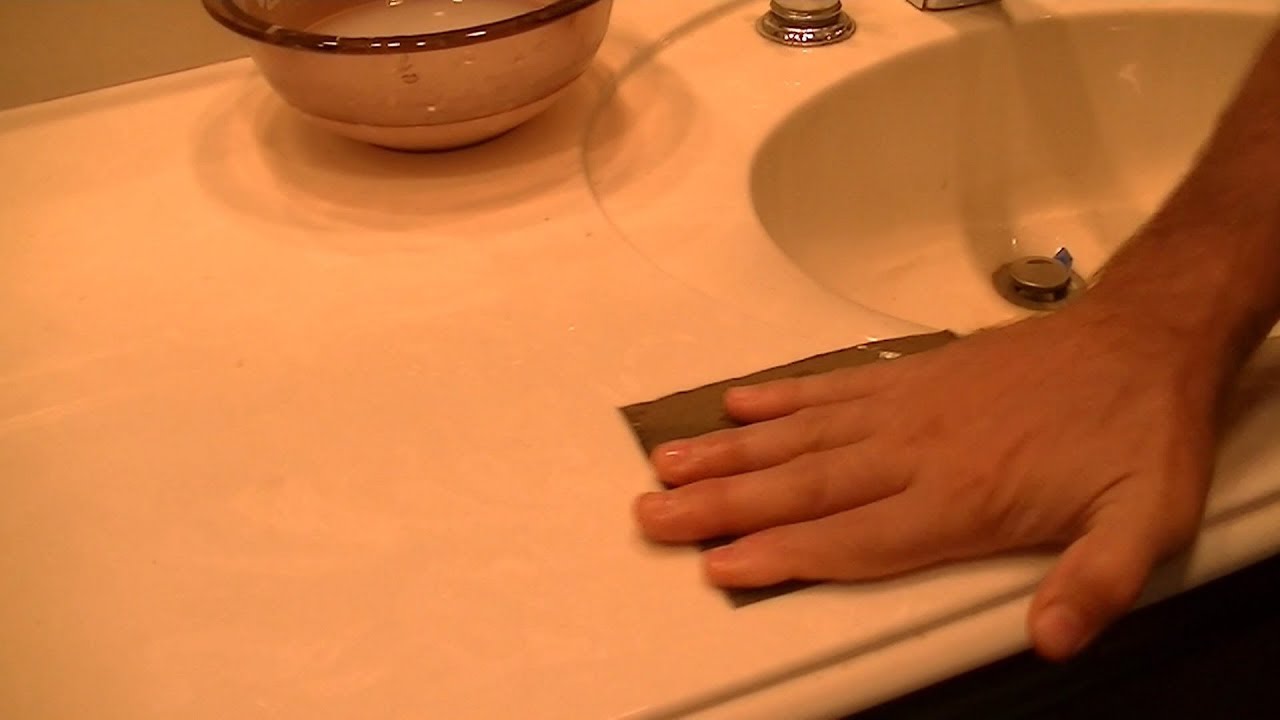
Sand and Prep
 The first step in restoring your kitchen table is to sand it down. This will remove any old finish or paint and reveal the original wood underneath. Use medium-grit sandpaper to start and then switch to finer grits as you go along to achieve a smooth finish. Make sure to sand in the direction of the wood grain and wipe away any dust with a clean cloth.
Stain or Paint
 Now comes the fun part – choosing the color or finish for your kitchen table. You can opt for a classic wood stain to enhance the natural beauty of the wood or choose a bold paint color to add a pop of personality to your kitchen. Whichever option you choose, make sure to apply thin and even coats with a paintbrush, allowing each coat to dry completely before applying the next.
Protect and Seal
 Once the stain or paint has dried, it's important to protect and seal your kitchen table to ensure its longevity. A clear sealant will not only protect the wood from stains and scratches, but it will also give your table a smooth and polished finish. Apply multiple coats of sealant, allowing each coat to dry completely before applying the next.
With these simple steps, you can bring new life to your old kitchen table and make it the centerpiece of your kitchen. Remember to take your time and be patient with the restoration process, as the end result will be well worth it. Now, you can proudly showcase your beautifully restored kitchen table to your friends and family, and enjoy many more meals and memories around it.
Once the stain or paint has dried, it's important to protect and seal your kitchen table to ensure its longevity. A clear sealant will not only protect the wood from stains and scratches, but it will also give your table a smooth and polished finish. Apply multiple coats of sealant, allowing each coat to dry completely before applying the next.
With these simple steps, you can bring new life to your old kitchen table and make it the centerpiece of your kitchen. Remember to take your time and be patient with the restoration process, as the end result will be well worth it. Now, you can proudly showcase your beautifully restored kitchen table to your friends and family, and enjoy many more meals and memories around it.