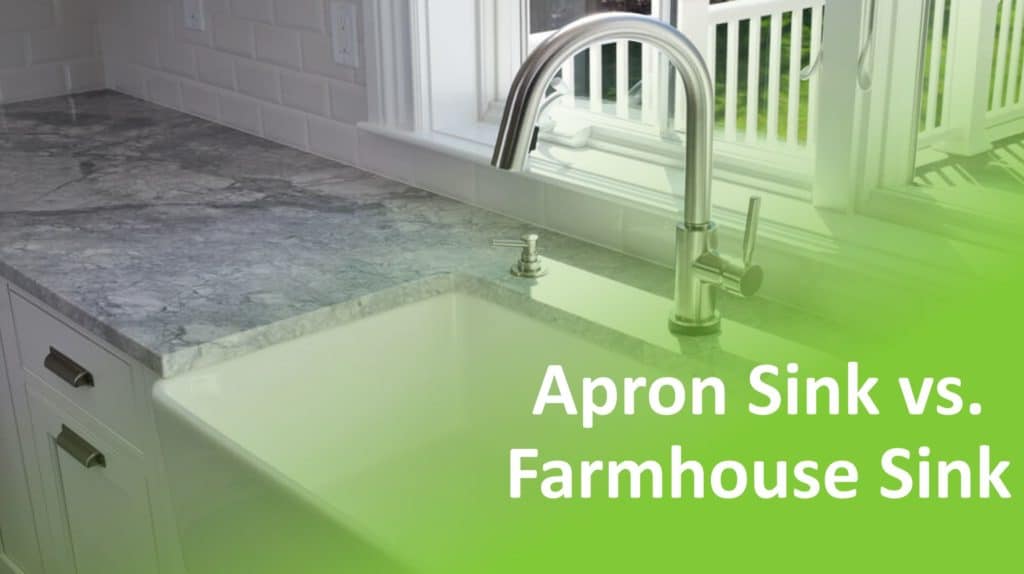
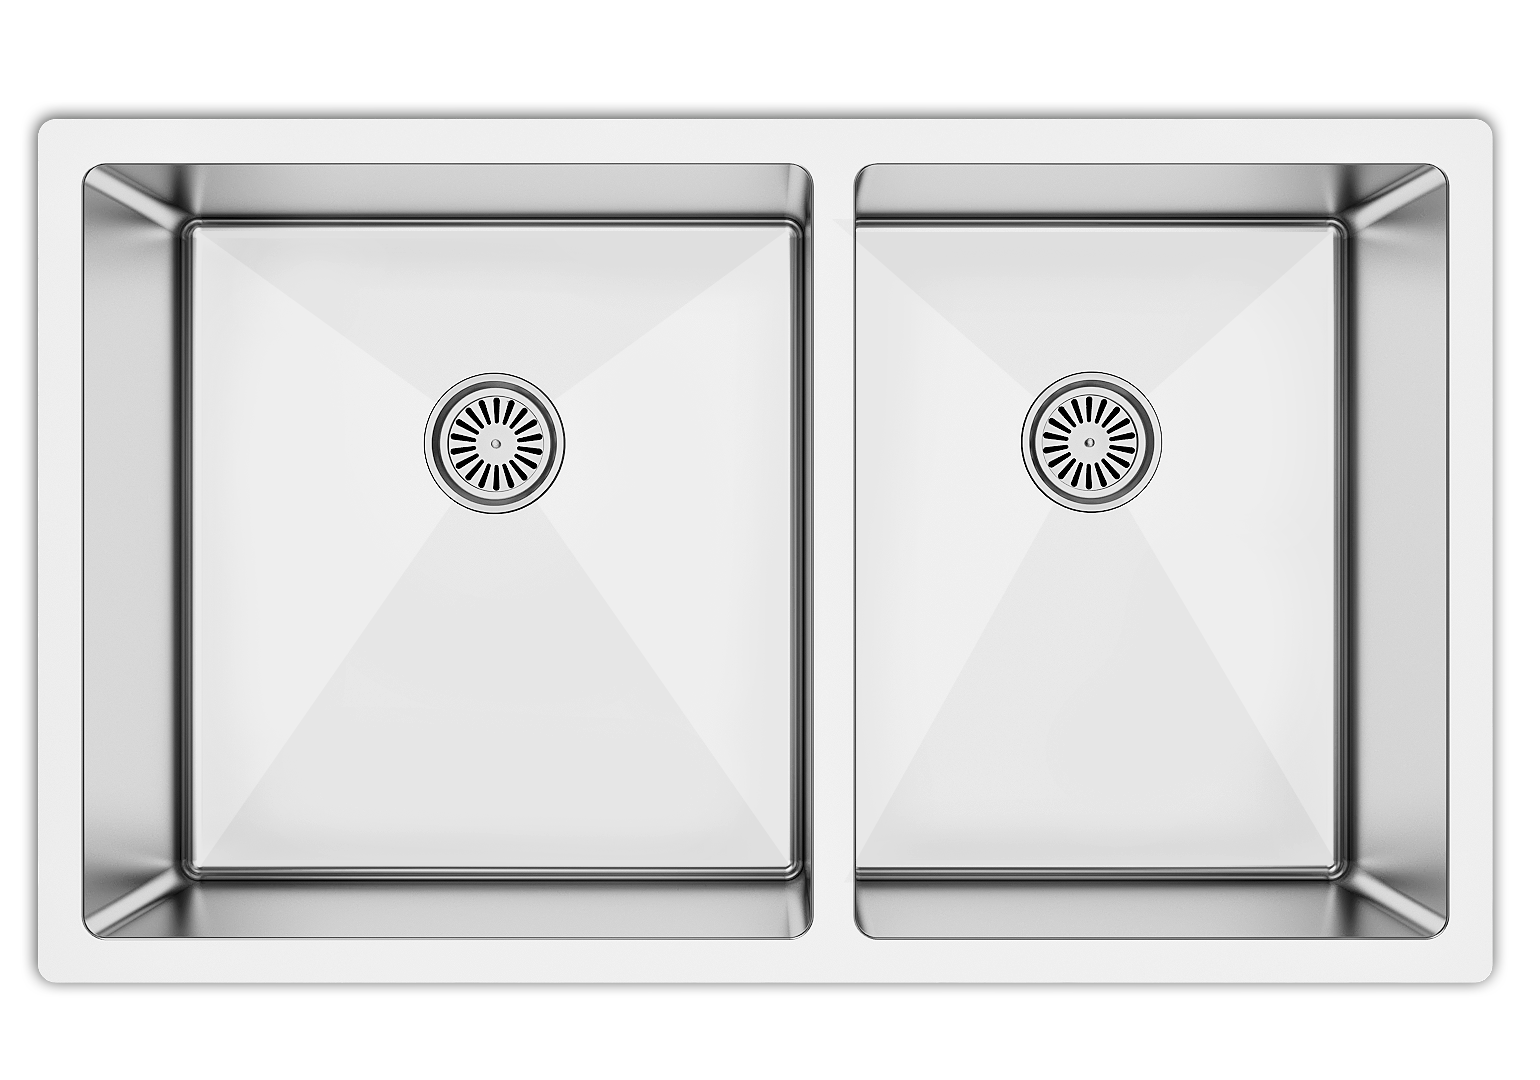
How to Reseal an Undermount Kitchen Sink
If you have an undermount kitchen sink, it's important to regularly check and reseal the edges to prevent any water damage or leaks. Resealing a sink may seem like a daunting task, but with the right tools and techniques, it can be easily done at home. Here's a step-by-step guide on how to reseal an undermount kitchen sink.


How to Reseal an Undermount Kitchen Sink


Best Products for Resealing Undermount Kitchen Sinks
Before we dive into the process of resealing, it's important to have the right products on hand. The best product for resealing undermount kitchen sinks is a clear silicone caulk that is specifically designed for use in kitchens and bathrooms. Look for a caulk that is mold and mildew resistant for long-lasting results.


Best Products for Resealing Undermount Kitchen Sinks


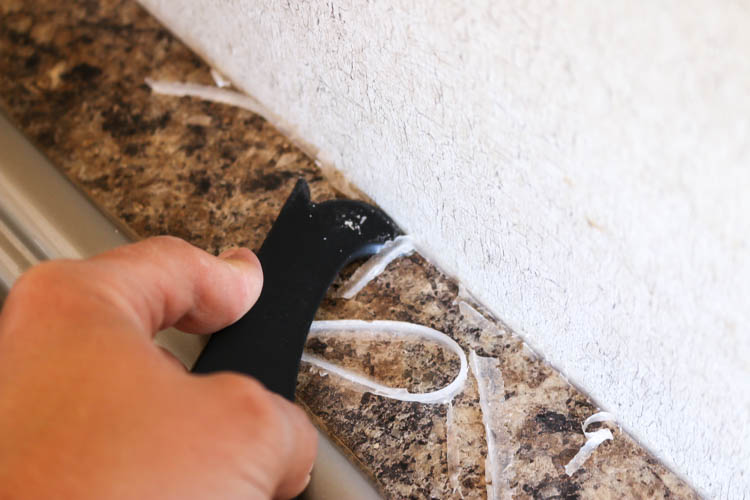
Step-by-Step Guide for Resealing Undermount Kitchen Sinks
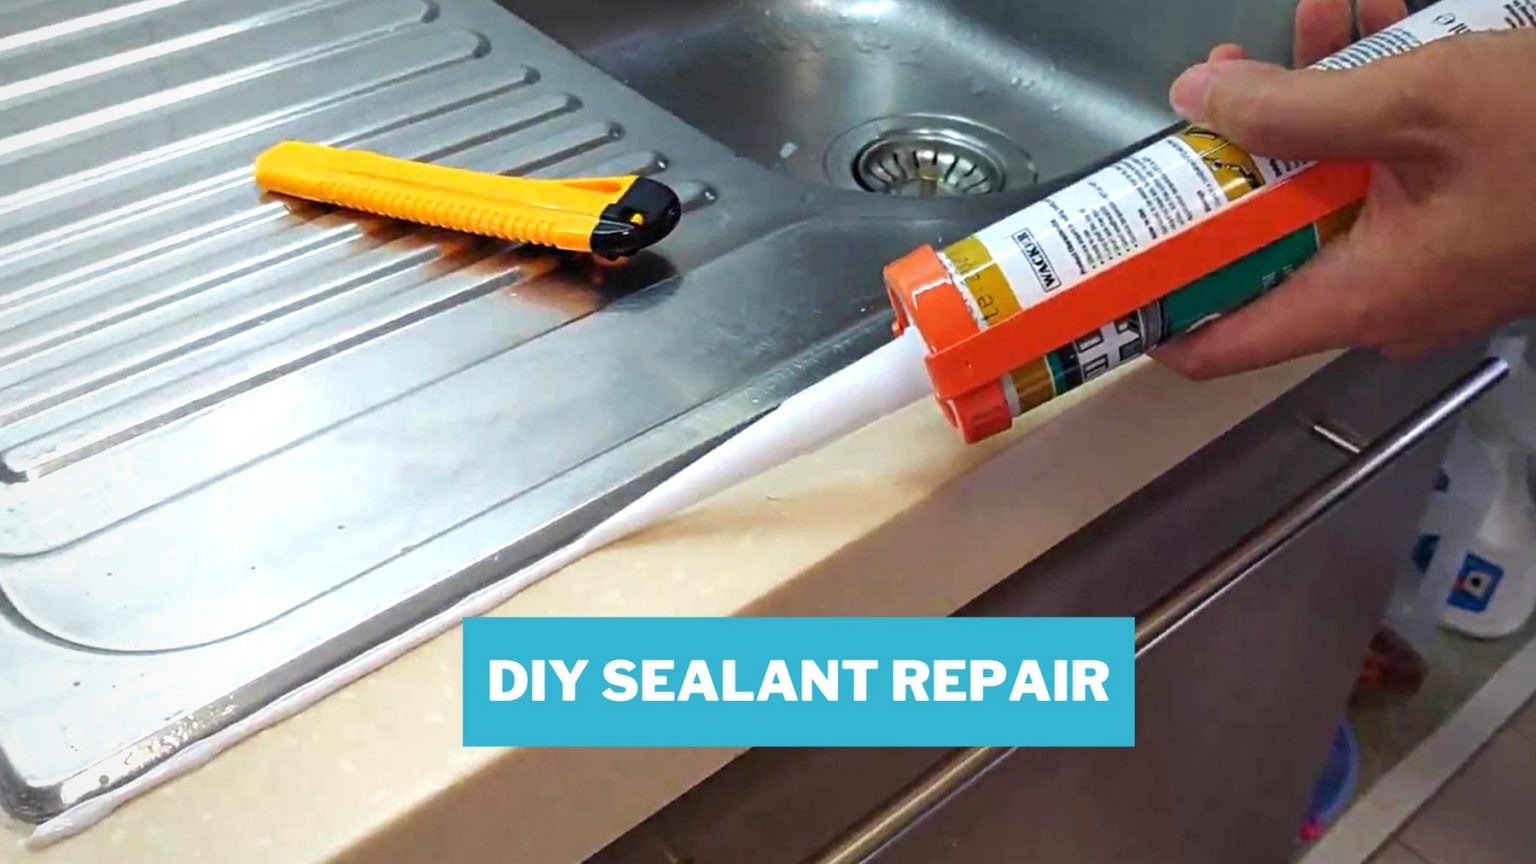
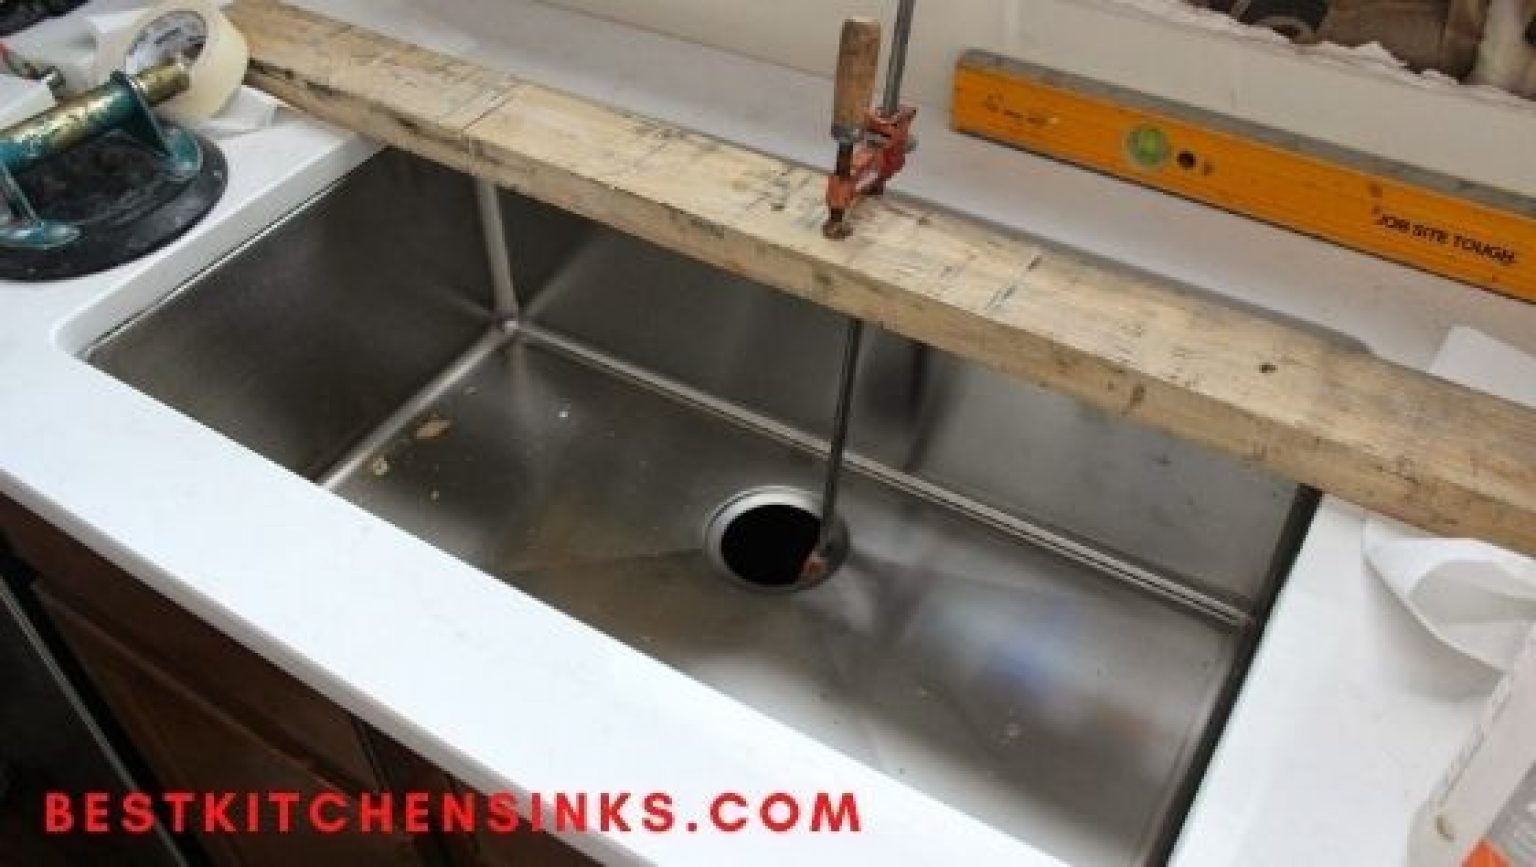
1. Start by thoroughly cleaning the edges of your sink with a mild cleaner and a sponge. Make sure to remove any residue or buildup that may prevent the caulk from adhering properly.
2. Once the edges are clean and dry, apply a thin bead of silicone caulk along the seam of the sink and the countertop. Use a caulk gun for easy application.
3. Use your finger or a caulk smoothing tool to spread the caulk evenly and remove any excess. This will create a smooth and waterproof seal.
4. Let the caulk dry for at least 24 hours before using the sink or running water over it.


Step-by-Step Guide for Resealing Undermount Kitchen Sinks


Common Mistakes When Resealing Undermount Kitchen Sinks
One of the most common mistakes when resealing undermount kitchen sinks is not properly cleaning the edges before applying the caulk. This can result in the caulk not adhering properly and eventually cracking or peeling off. It's also important to make sure the caulk is completely dry before using the sink to avoid any damage to the seal.


Common Mistakes When Resealing Undermount Kitchen Sinks


Benefits of Resealing Undermount Kitchen Sinks
Resealing your undermount kitchen sink has many benefits, including preventing water damage and leaks, improving the overall appearance of your sink, and increasing its lifespan. Regularly resealing your sink can also save you money in the long run by avoiding any costly repairs.


Benefits of Resealing Undermount Kitchen Sinks


Tools Needed for Resealing Undermount Kitchen Sinks
To reseal your undermount kitchen sink, you'll need a few tools, including a mild cleaner, a sponge, a caulk gun, clear silicone caulk, and a caulk smoothing tool. These tools can easily be found at your local hardware store.


Tools Needed for Resealing Undermount Kitchen Sinks


Tips for Maintaining a Properly Resealed Undermount Kitchen Sink
To ensure your sink stays properly resealed, it's important to regularly clean the edges and avoid using harsh chemicals or abrasive cleaners that can damage the caulk. You should also avoid placing heavy objects or applying pressure on the edges of the sink to prevent any cracks or breaks in the seal.


Tips for Maintaining a Properly Resealed Undermount Kitchen Sink


How Often Should You Reseal an Undermount Kitchen Sink?
The frequency of resealing your undermount kitchen sink depends on the type of caulk used and the amount of wear and tear it receives. Generally, it's recommended to reseal your sink every 1-2 years to maintain a strong and waterproof seal.


How Often Should You Reseal an Undermount Kitchen Sink?


DIY vs Professional Resealing for Undermount Kitchen Sinks
While resealing a kitchen sink can be done as a DIY project, some homeowners may prefer to hire a professional for a flawless and long-lasting result. If you're not confident in your DIY skills, it's best to leave it to the professionals to avoid any mistakes that could result in costly repairs.

DIY vs Professional Resealing for Undermount Kitchen Sinks

Importance of Properly Resealing Undermount Kitchen Sinks
Properly resealing your undermount kitchen sink is crucial for maintaining the integrity of your kitchen and preventing any water damage or leaks. With regular maintenance and resealing, your sink can last for many years without any issues.


Importance of Properly Resealing Undermount Kitchen Sinks


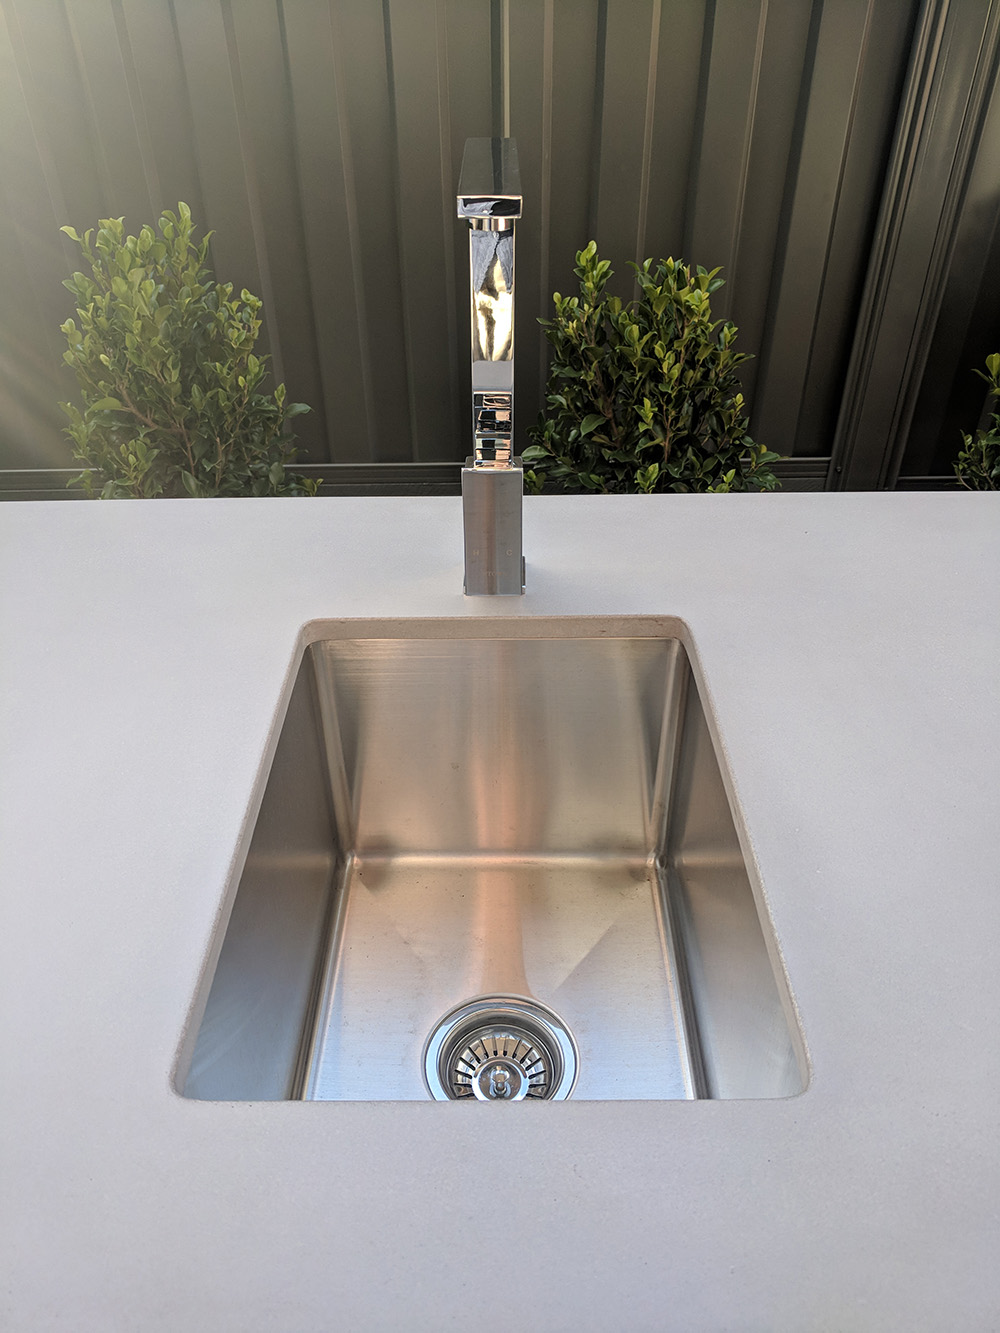
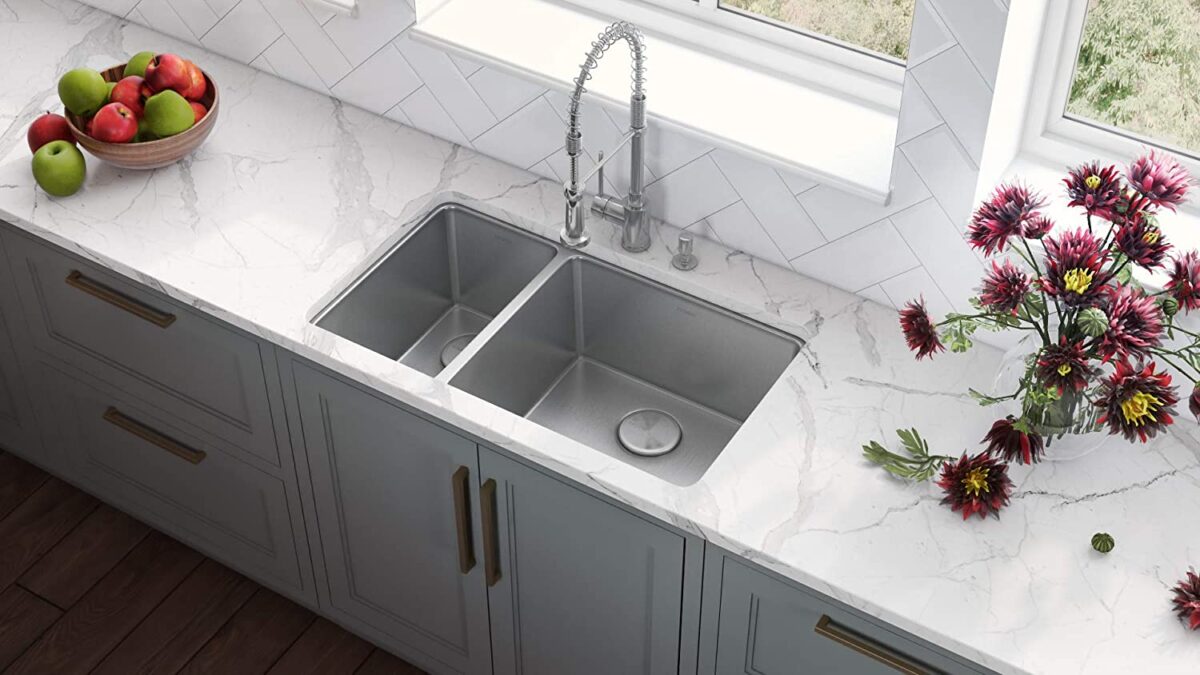
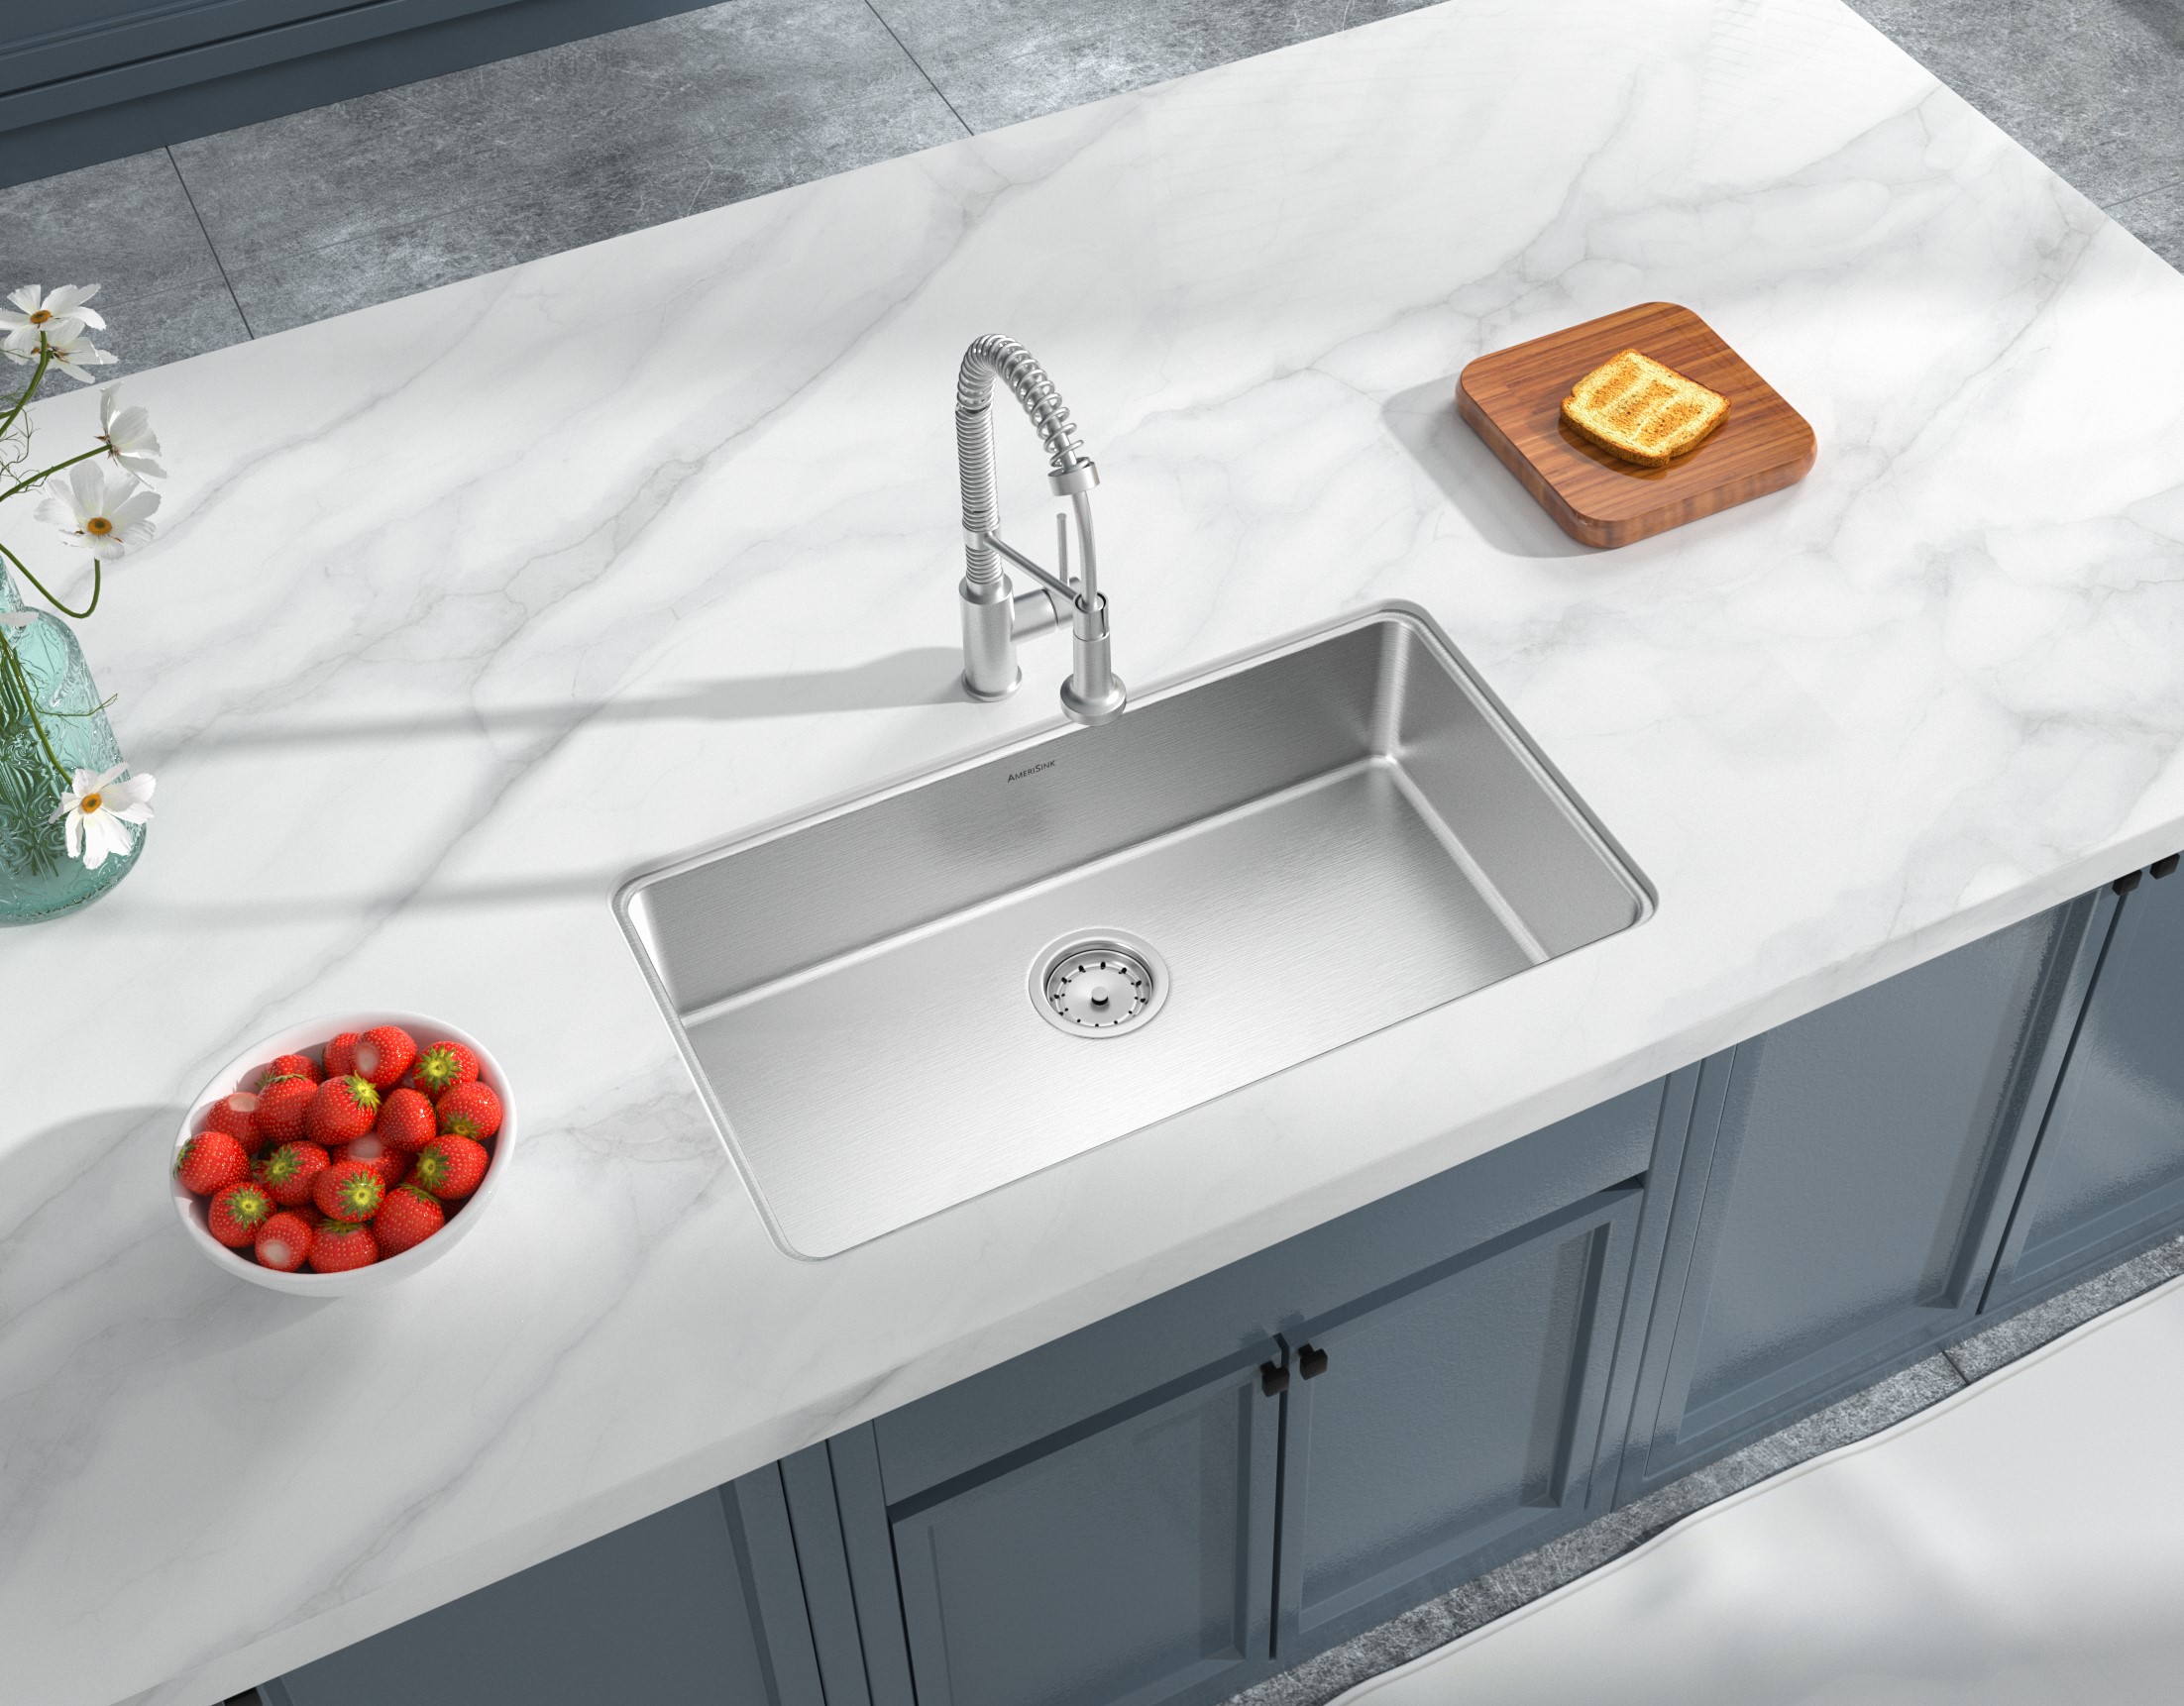
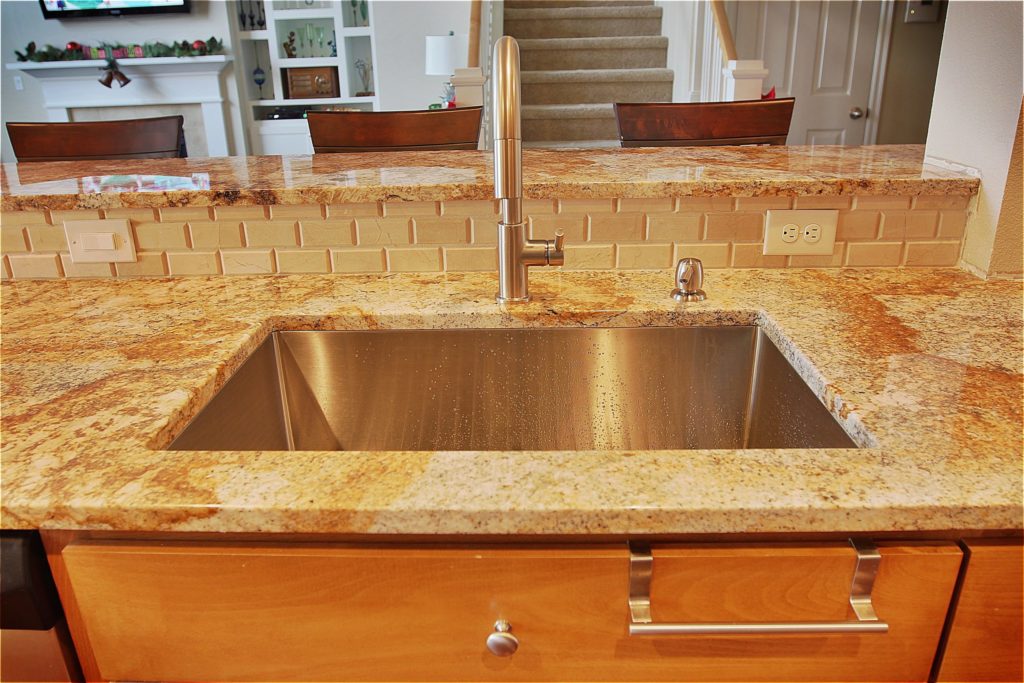
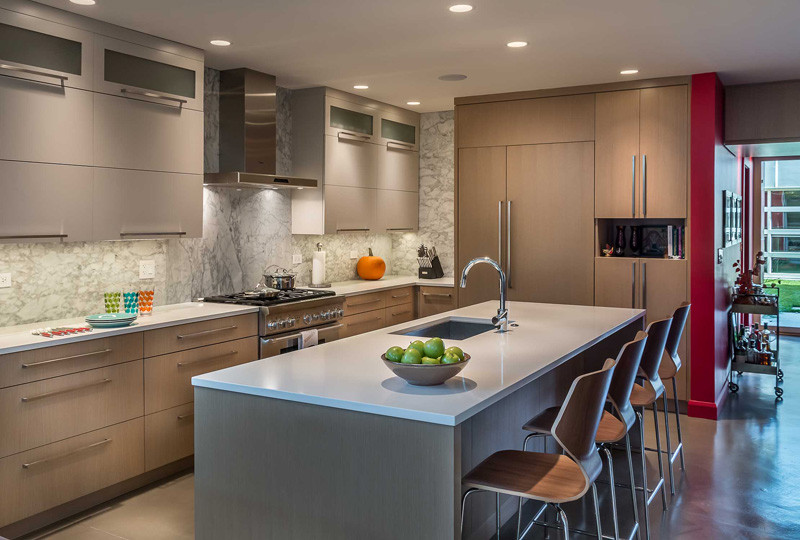
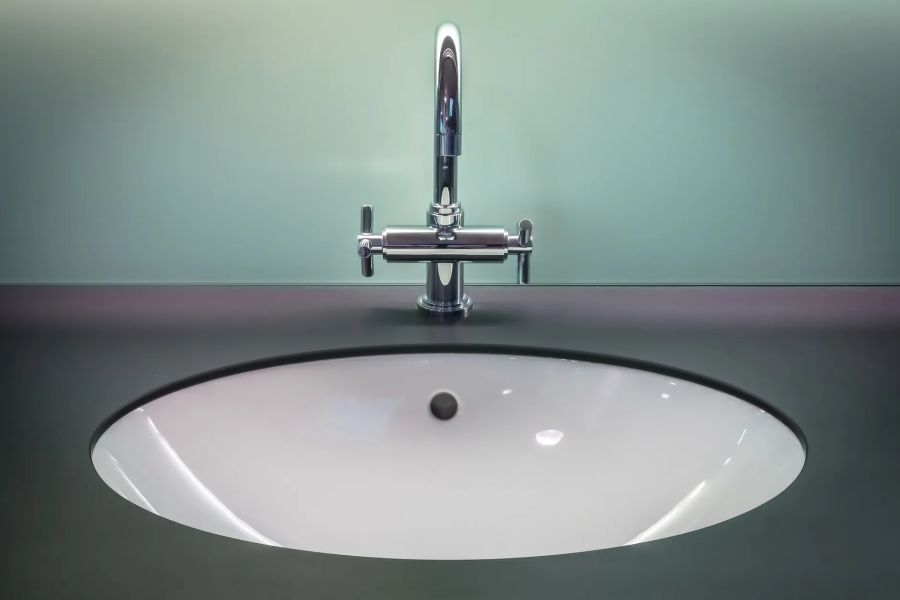
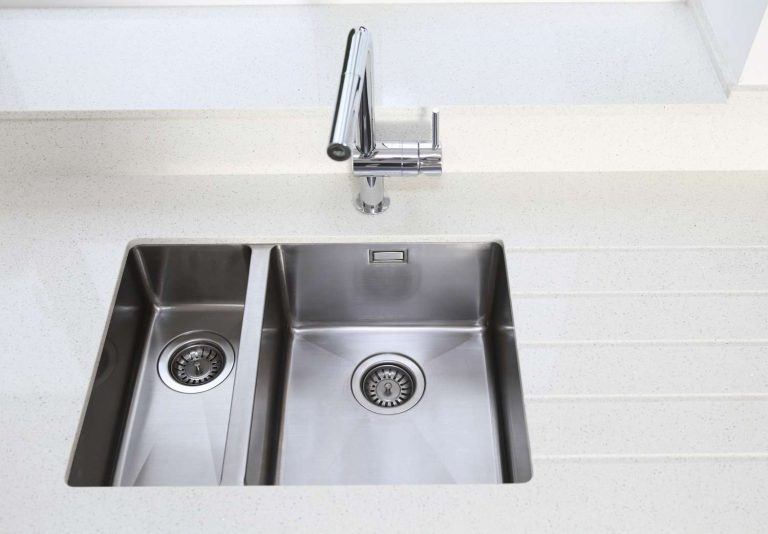
Why Choose an Undermount Kitchen Sink for Your Home?
Effortless Cleaning and Maintenance
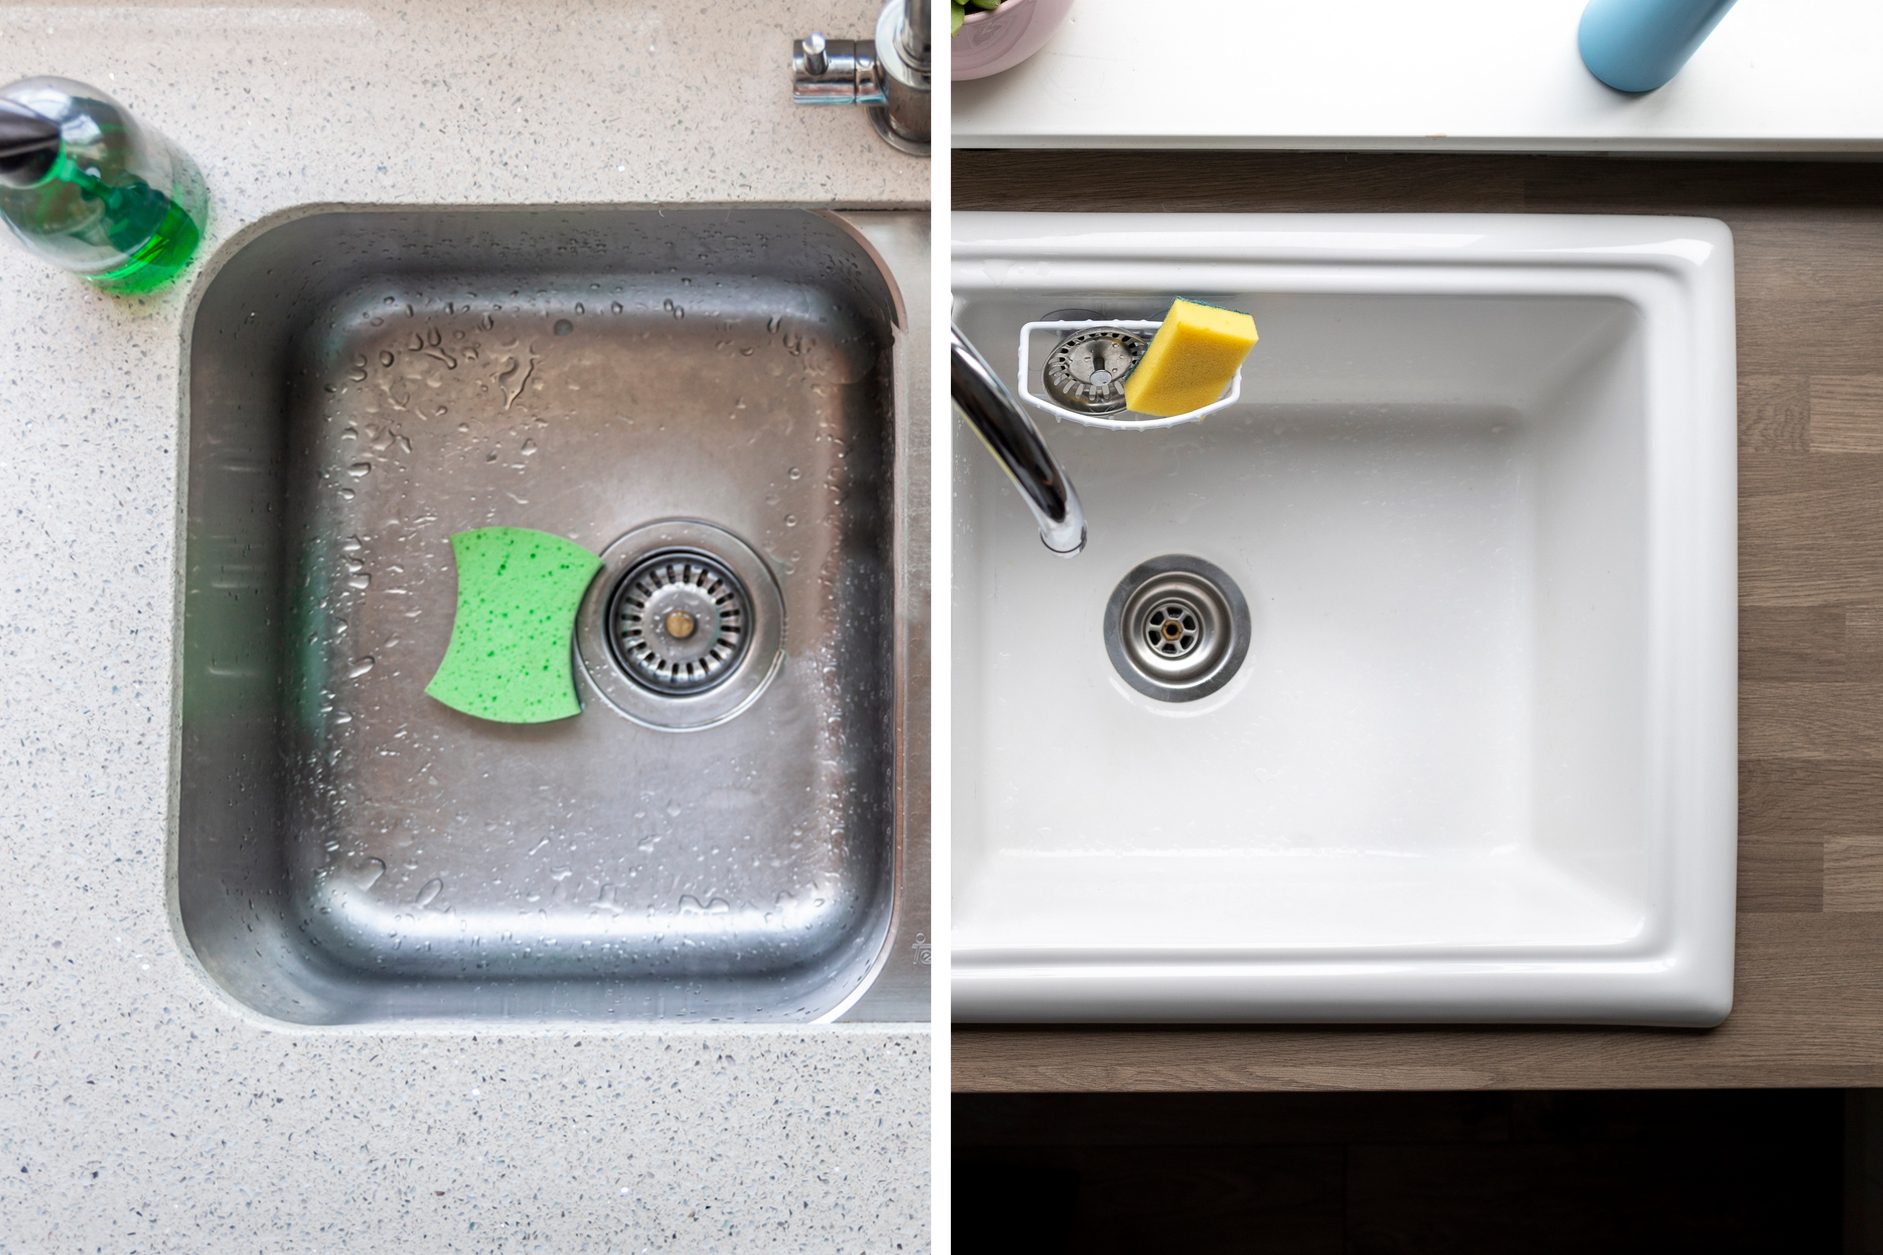
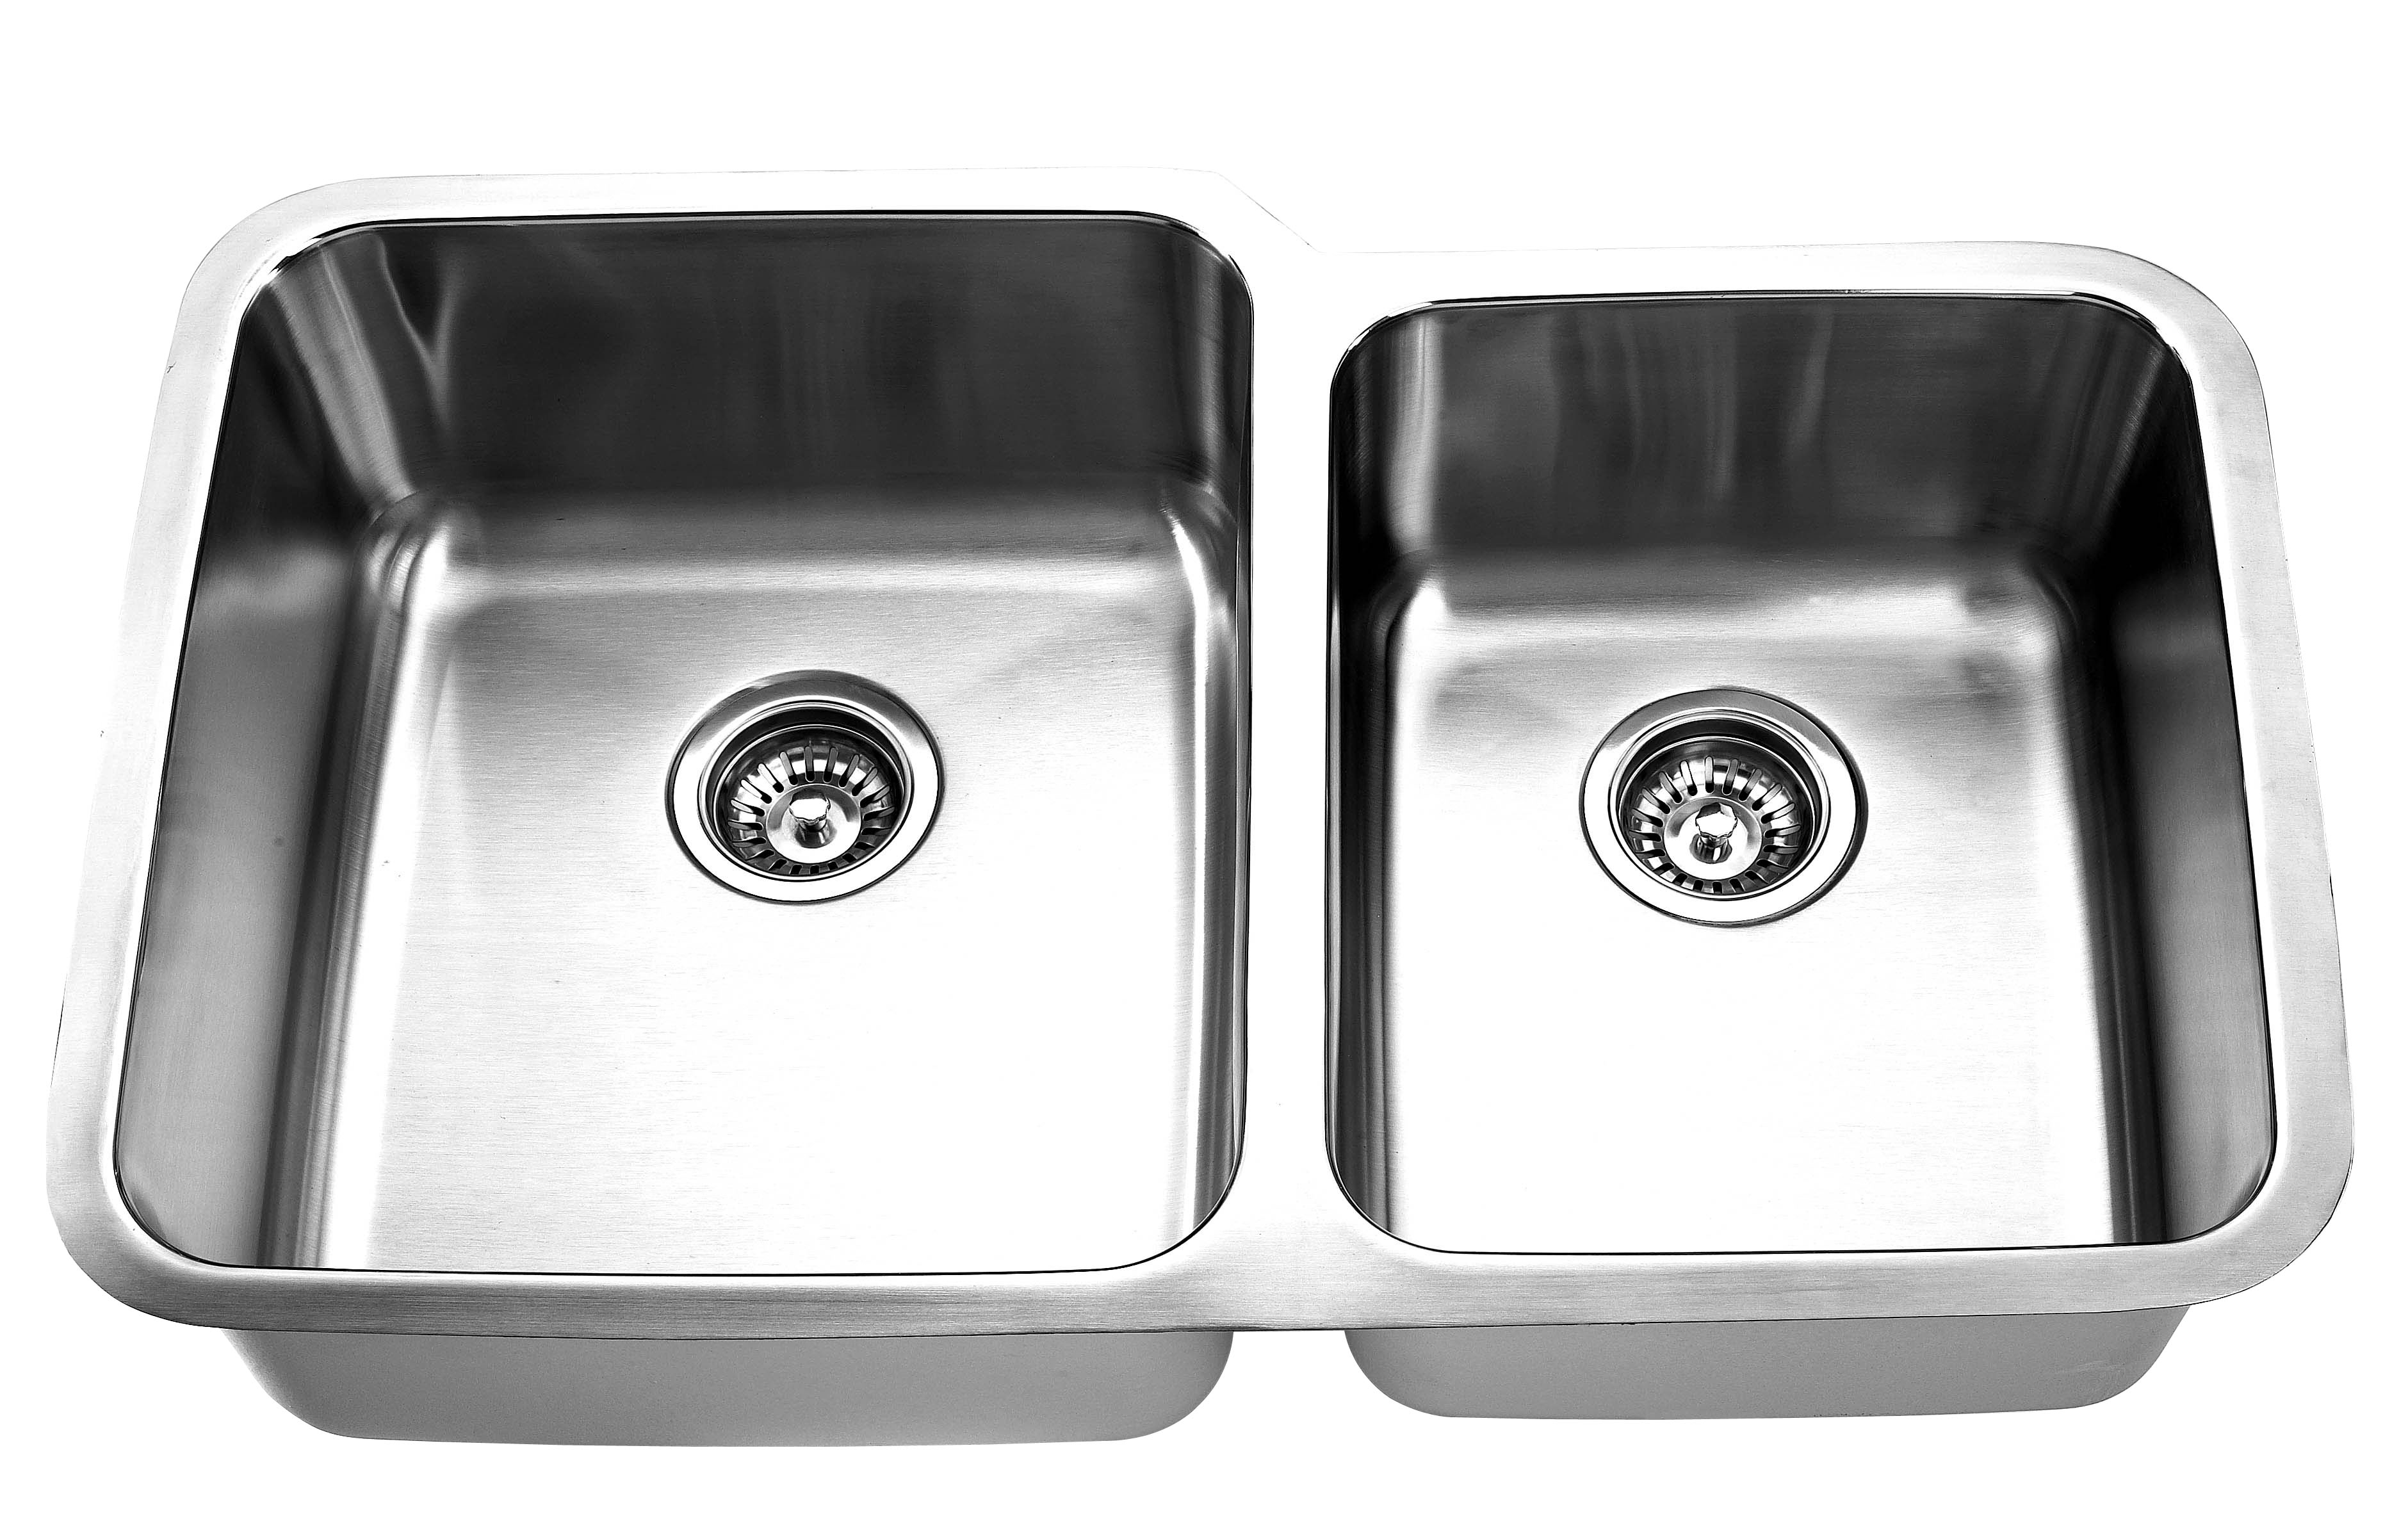 One of the main reasons why undermount kitchen sinks are gaining popularity is their easy cleaning and maintenance. Unlike traditional top-mounted sinks, undermount sinks do not have a lip around the edge, making it easier to wipe down and keep clean.
Food particles and debris can easily be swept into the sink without getting stuck on the lip, making it a hygienic option for your kitchen.
With the sink being attached underneath the countertop, it also eliminates the need to clean the seam between the sink and the countertop, which is a common area for grime and mold to accumulate. This not only saves time and effort but also helps maintain a clean and polished look for your kitchen.
One of the main reasons why undermount kitchen sinks are gaining popularity is their easy cleaning and maintenance. Unlike traditional top-mounted sinks, undermount sinks do not have a lip around the edge, making it easier to wipe down and keep clean.
Food particles and debris can easily be swept into the sink without getting stuck on the lip, making it a hygienic option for your kitchen.
With the sink being attached underneath the countertop, it also eliminates the need to clean the seam between the sink and the countertop, which is a common area for grime and mold to accumulate. This not only saves time and effort but also helps maintain a clean and polished look for your kitchen.
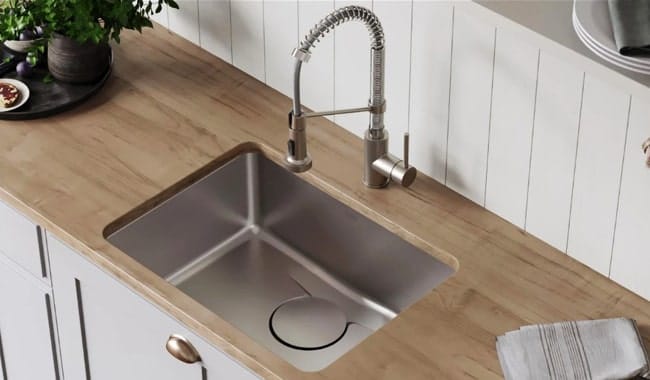
Sleek and Modern Design
 Another reason why undermount kitchen sinks are becoming a popular choice in modern homes is their sleek and seamless design.
Since the sink is installed underneath the countertop, it creates a smooth and continuous surface, giving your kitchen a more streamlined and modern look.
This design also allows for more space on the countertop, making it easier to prep and cook meals without any obstructions. With a variety of materials and styles to choose from, undermount sinks can also complement any kitchen design, whether it's traditional or contemporary.
Another reason why undermount kitchen sinks are becoming a popular choice in modern homes is their sleek and seamless design.
Since the sink is installed underneath the countertop, it creates a smooth and continuous surface, giving your kitchen a more streamlined and modern look.
This design also allows for more space on the countertop, making it easier to prep and cook meals without any obstructions. With a variety of materials and styles to choose from, undermount sinks can also complement any kitchen design, whether it's traditional or contemporary.
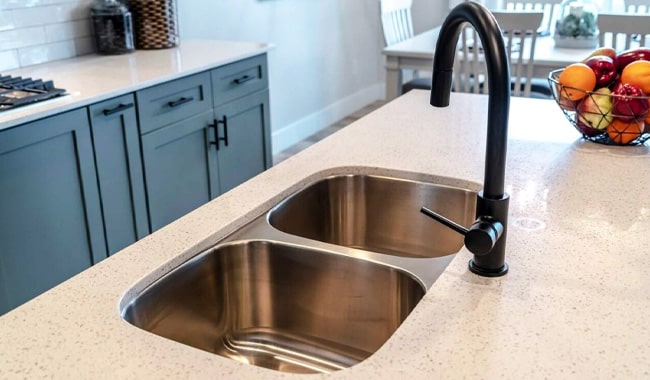
Durable and Long-Lasting
 Undermount kitchen sinks are also known for their durability and longevity.
Since they are installed underneath the countertop, they are more secure and less prone to damage compared to top-mounted sinks.
This means you won't have to worry about the sink shifting or becoming loose over time. Undermount sinks are also typically made from high-quality materials such as stainless steel, granite, or fireclay, which are all highly resistant to scratches, stains, and heat. This makes them a practical and long-lasting choice for your kitchen.
Undermount kitchen sinks are also known for their durability and longevity.
Since they are installed underneath the countertop, they are more secure and less prone to damage compared to top-mounted sinks.
This means you won't have to worry about the sink shifting or becoming loose over time. Undermount sinks are also typically made from high-quality materials such as stainless steel, granite, or fireclay, which are all highly resistant to scratches, stains, and heat. This makes them a practical and long-lasting choice for your kitchen.
In Conclusion
 Choosing an undermount kitchen sink for your home not only adds a sleek and modern touch to your kitchen design but also offers practical benefits.
Effortless cleaning and maintenance, a sleek and seamless design, and durability are just some of the reasons why undermount sinks are becoming a popular choice among homeowners.
If you're looking to upgrade your kitchen, consider resealing your undermount sink to ensure it stays in top condition for years to come. With its many benefits, it's no wonder why undermount kitchen sinks are here to stay in the world of house design.
Choosing an undermount kitchen sink for your home not only adds a sleek and modern touch to your kitchen design but also offers practical benefits.
Effortless cleaning and maintenance, a sleek and seamless design, and durability are just some of the reasons why undermount sinks are becoming a popular choice among homeowners.
If you're looking to upgrade your kitchen, consider resealing your undermount sink to ensure it stays in top condition for years to come. With its many benefits, it's no wonder why undermount kitchen sinks are here to stay in the world of house design.