How to Reseal a Bathroom Sink
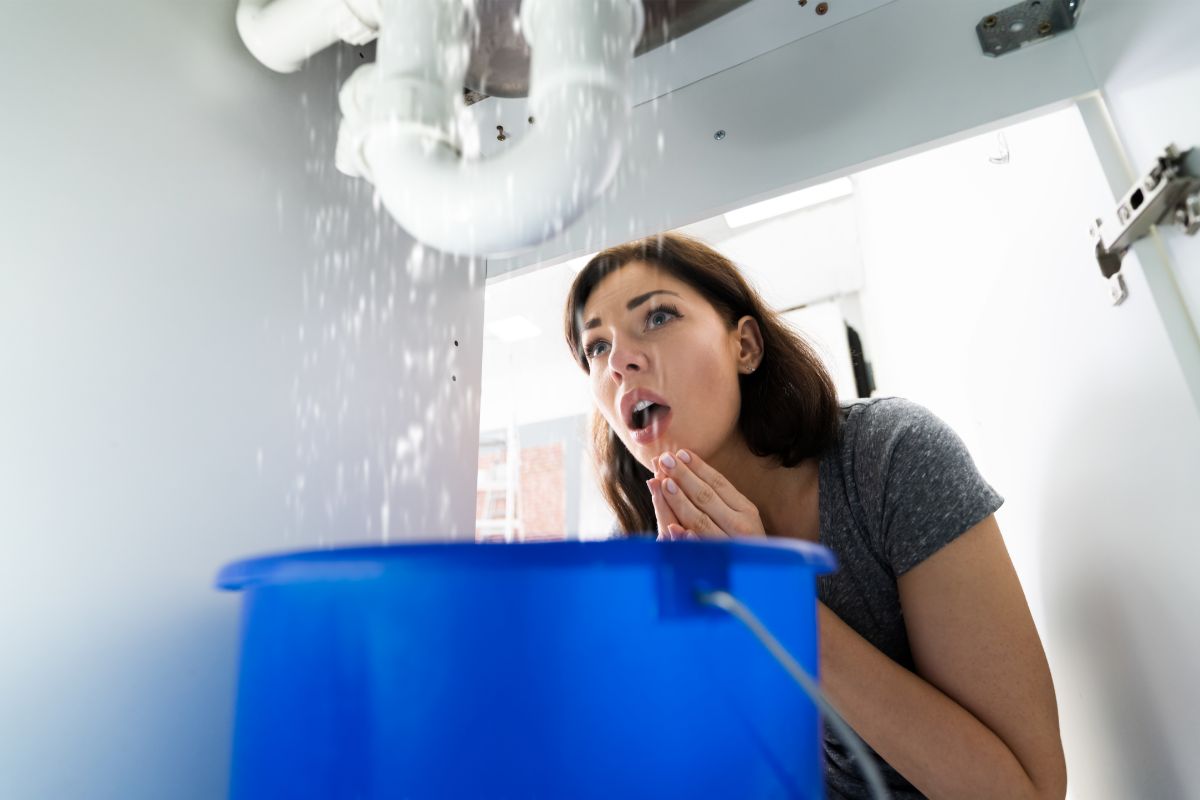
If you notice water leaking from your bathroom sink, it’s time to reseal it. Over time, the sealant around your sink can wear out, causing water to seep through and potentially damage your vanity or even the floor beneath. While the thought of resealing a bathroom sink may seem daunting, it’s actually a simple DIY project that can save you time and money in the long run. Follow these steps to properly reseal your bathroom sink and keep it leak-free for years to come.
DIY Bathroom Sink Resealing Guide
Recaulking your bathroom sink is an easy and cost-effective way to prevent water damage and maintain the appearance of your bathroom. Plus, you don’t need any special tools or skills to get the job done. Before you begin, make sure you have the following materials on hand:
Step-by-Step Bathroom Sink Resealing Tutorial
Now that you have all the necessary materials, it’s time to get to work. Follow these steps to reseal your bathroom sink:
Best Products for Resealing a Bathroom Sink
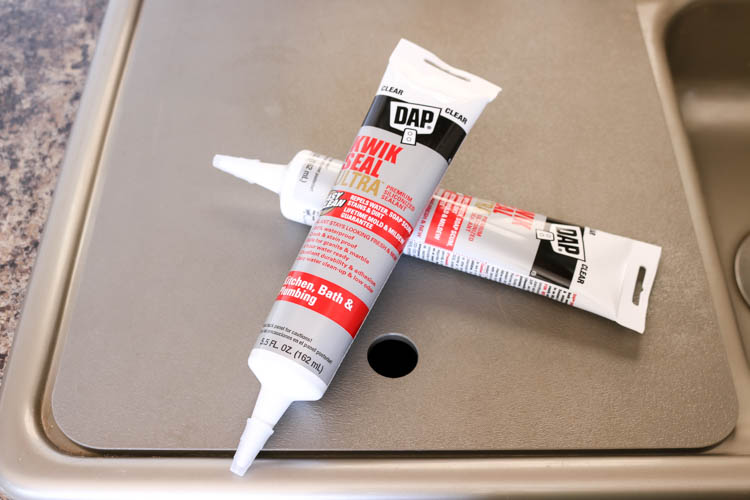
When it comes to choosing the right caulk for your bathroom sink, there are a few things to consider. Look for a silicone-based caulk that is waterproof, mold and mildew resistant, and has a low odor. Some popular options include GE Silicone II Kitchen and Bath Caulk, Dap Kwik Seal Plus, and Loctite Polyseamseal Tub and Tile Adhesive Caulk.
Quick and Easy Bathroom Sink Resealing Method
If you’re short on time or don’t want to deal with the hassle of removing old caulk, there is a quick and easy alternative. You can use a caulk seal strip, which is a pre-cut, adhesive strip that can be applied directly over the old caulk. Simply clean the area, peel and stick the strip along the edge of the sink, and smooth it out with a caulk smoother. This method is not as long-lasting as traditional caulk, but it can provide a temporary fix until you have time for a proper resealing.
Professional Tips for Resealing a Bathroom Sink
If you want to ensure a professional-looking finish, here are a few tips to keep in mind:
Common Mistakes to Avoid When Resealing a Bathroom Sink
Resealing a bathroom sink may seem like a simple task, but there are a few common mistakes that can compromise the effectiveness and appearance of the new caulk. Avoid these mistakes to ensure a professional finish:
Top Reasons to Reseal Your Bathroom Sink
Still not convinced that resealing your bathroom sink is necessary? Here are some top reasons why you should consider it:
How Often Should You Reseal Your Bathroom Sink?
The frequency of resealing your bathroom sink depends on the quality of the caulk and how often the sink is used. Generally, it’s recommended to reseal every 1-2 years to ensure maximum effectiveness. However, if you notice any signs of wear or water leaking, it’s best to reseal immediately.
Budget-Friendly Bathroom Sink Resealing Solutions
If you’re on a tight budget, don’t worry. There are some budget-friendly alternatives to resealing your bathroom sink. You can try using a caulk seal strip as mentioned earlier or opting for a more affordable silicone caulk. Additionally, you can save money by doing the resealing yourself instead of hiring a professional.
Resealing your bathroom sink may seem like a tedious task, but it’s a necessary one to prevent water damage and maintain the cleanliness and appearance of your bathroom. With the right materials and proper technique, you can easily reseal your bathroom sink and enjoy a leak-free and beautiful sink for years to come.
How to Properly Reseal a Bathroom Sink

Why Resealing Your Bathroom Sink is Important
 When it comes to maintaining a functional and aesthetically pleasing bathroom, the sink is often an overlooked aspect. However, resealing your bathroom sink is crucial for preventing water damage and prolonging the life of your sink. Over time, the sealant around the edges of your sink can become worn out, leading to water leaks and potential mold growth. Resealing your bathroom sink is a simple and cost-effective way to avoid these issues and keep your bathroom looking its best.
Step-by-Step Guide to Resealing Your Bathroom Sink
 Step 1: Gather Necessary Materials
Before starting the resealing process, make sure you have all the necessary materials. This includes a tube of silicone caulk, a caulking gun, a putty knife, and a damp cloth. It's also helpful to have a razor blade or utility knife on hand for any excess caulk.
Step 2: Remove Old Caulk
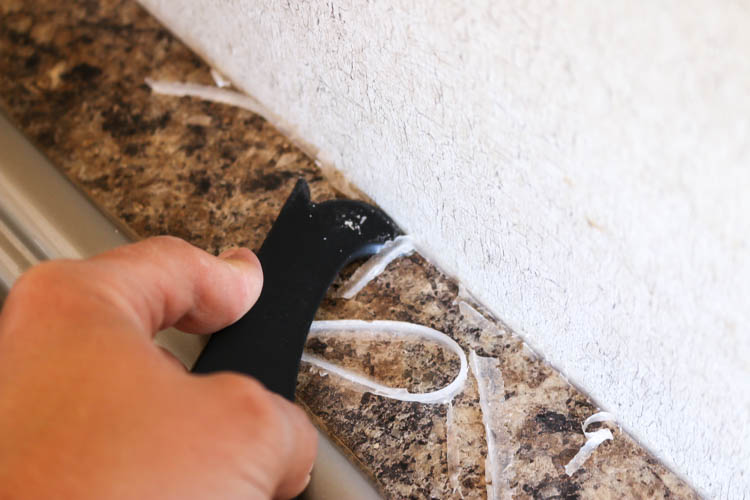
Using the razor blade or putty knife, carefully remove the old caulk around the edges of your bathroom sink. Be sure to remove all of the old caulk to ensure a clean surface for the new sealant.
Step 3: Clean and Dry the Area
Using a damp cloth, thoroughly clean the area where the old caulk was removed. Then, use a dry cloth to ensure the surface is completely dry before applying the new sealant.
Step 4: Apply New Caulk
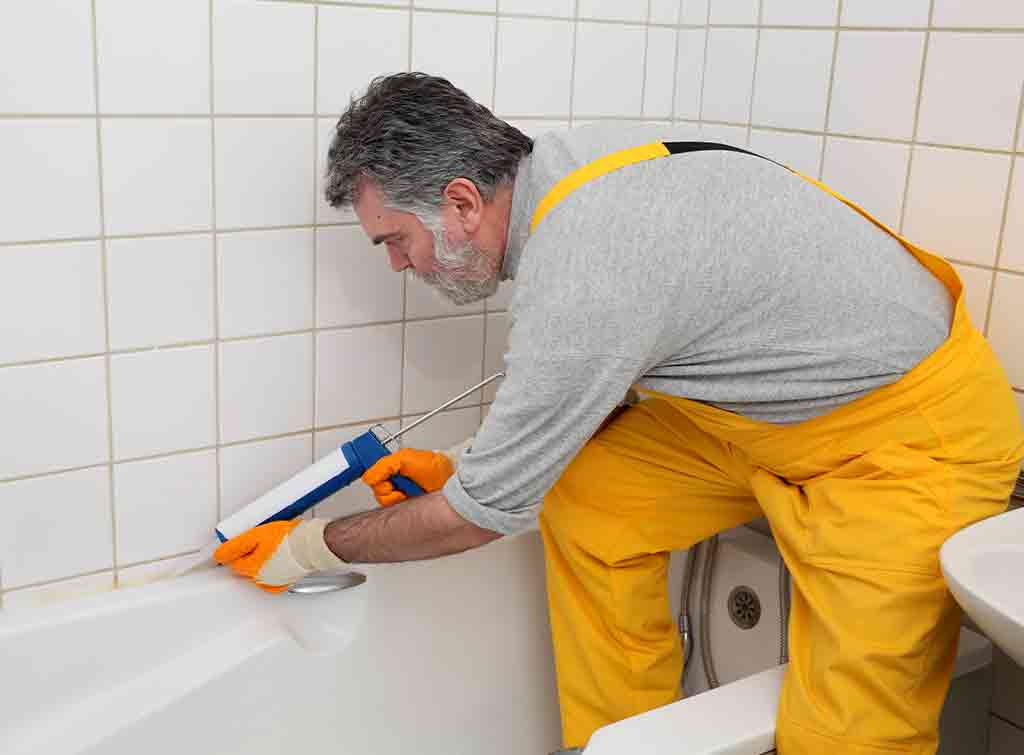
Using the caulking gun, apply a thin and even layer of silicone caulk along the edges of your bathroom sink. Use the putty knife to smooth out the caulk and remove any excess.
Step 5: Let Dry and Test for Leaks
Allow the caulk to dry for the recommended time listed on the product. Once dry, test for any leaks by running water in the sink. If any leaks are found, repeat the process of removing the old caulk and applying a new layer.
Maintaining Your Newly Resealed Bathroom Sink
 To ensure the longevity of your newly resealed bathroom sink, it's important to properly maintain it. Avoid using harsh chemicals or abrasive cleaners that can damage the sealant. Regularly clean the sink with a mild cleaner and a soft cloth to keep it looking its best.
In Conclusion
 Resealing your bathroom sink is a simple and necessary task for maintaining a functional and beautiful bathroom. By following these steps, you can easily reseal your sink and prevent any future water damage. Remember to regularly check and replace the sealant to keep your sink in top condition.

