Replacing a Cracked Bathroom Sink: 10 Easy Steps
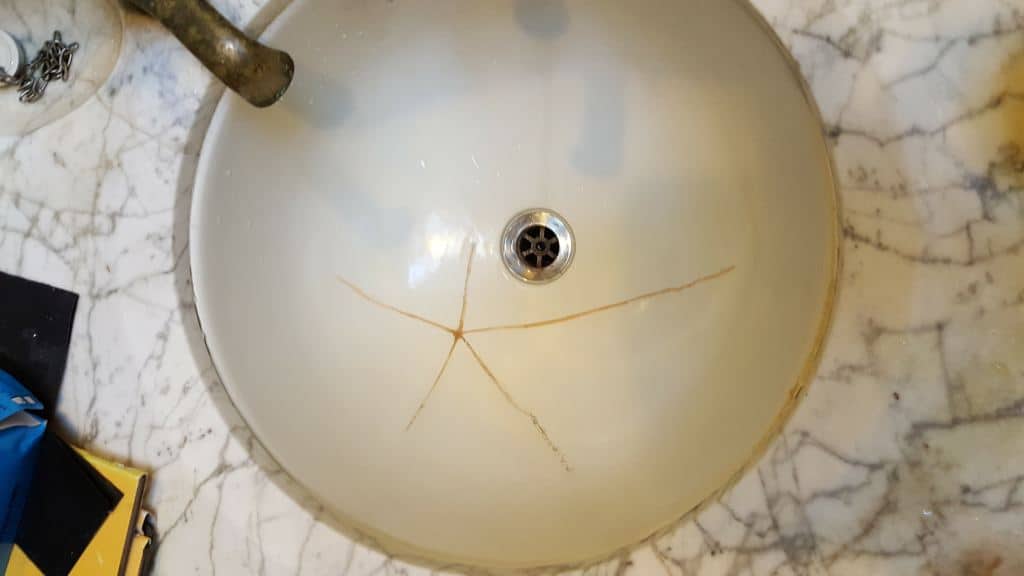
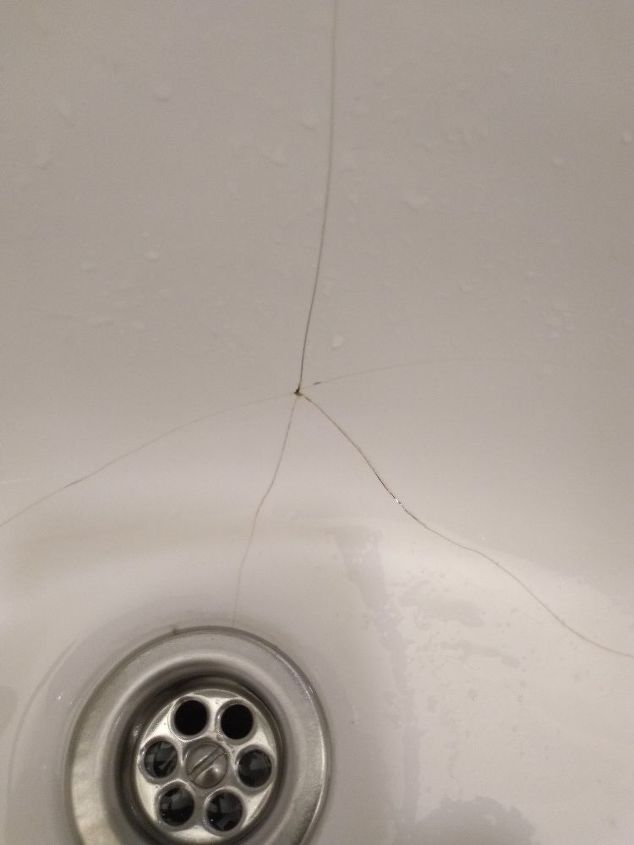
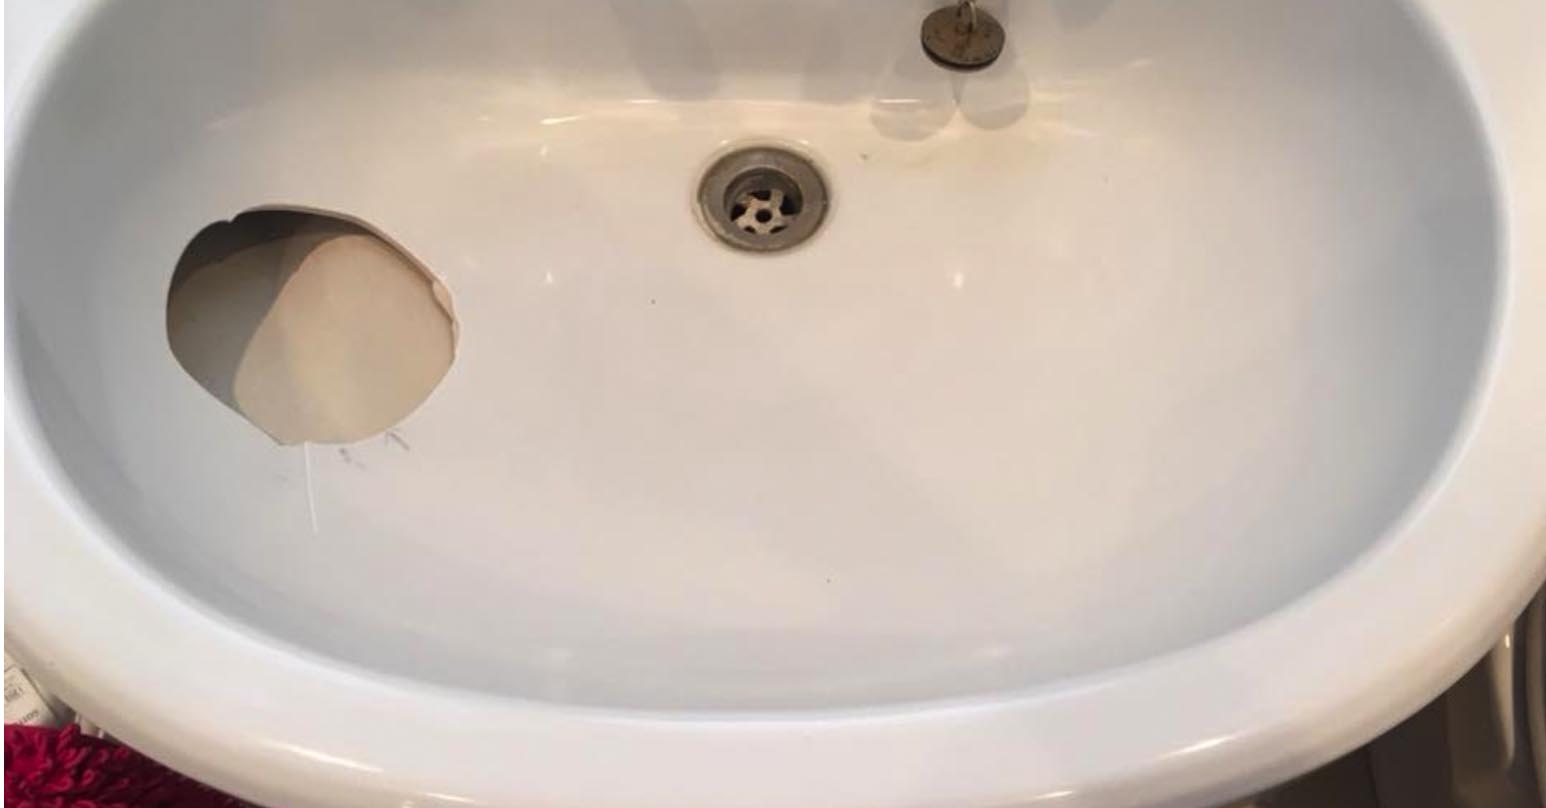
If you've noticed a crack in your bathroom sink, it's important to address the issue as soon as possible. A cracked sink not only affects the functionality of your bathroom, but it can also be a safety hazard. Plus, let's face it, a cracked sink just doesn't look good. But don't worry, replacing a cracked bathroom sink is easier than you may think. Follow these 10 simple steps and you'll have a brand new sink in no time.
How to Replace a Cracked Bathroom Sink
Replacing a cracked bathroom sink may seem like a daunting task, but with the right tools and a little know-how, it can be a DIY project. Not only will you save money by doing it yourself, but you'll also have the satisfaction of knowing you fixed a problem in your home. Here's how to do it.
DIY: Replacing a Cracked Bathroom Sink
Before you begin, make sure you have all the necessary tools and materials. This includes a new sink, plumber's putty, a pipe wrench, and a screwdriver. It's also important to shut off the water supply to your sink before starting any work.
Replacing a Cracked Bathroom Sink: A Step-by-Step Guide
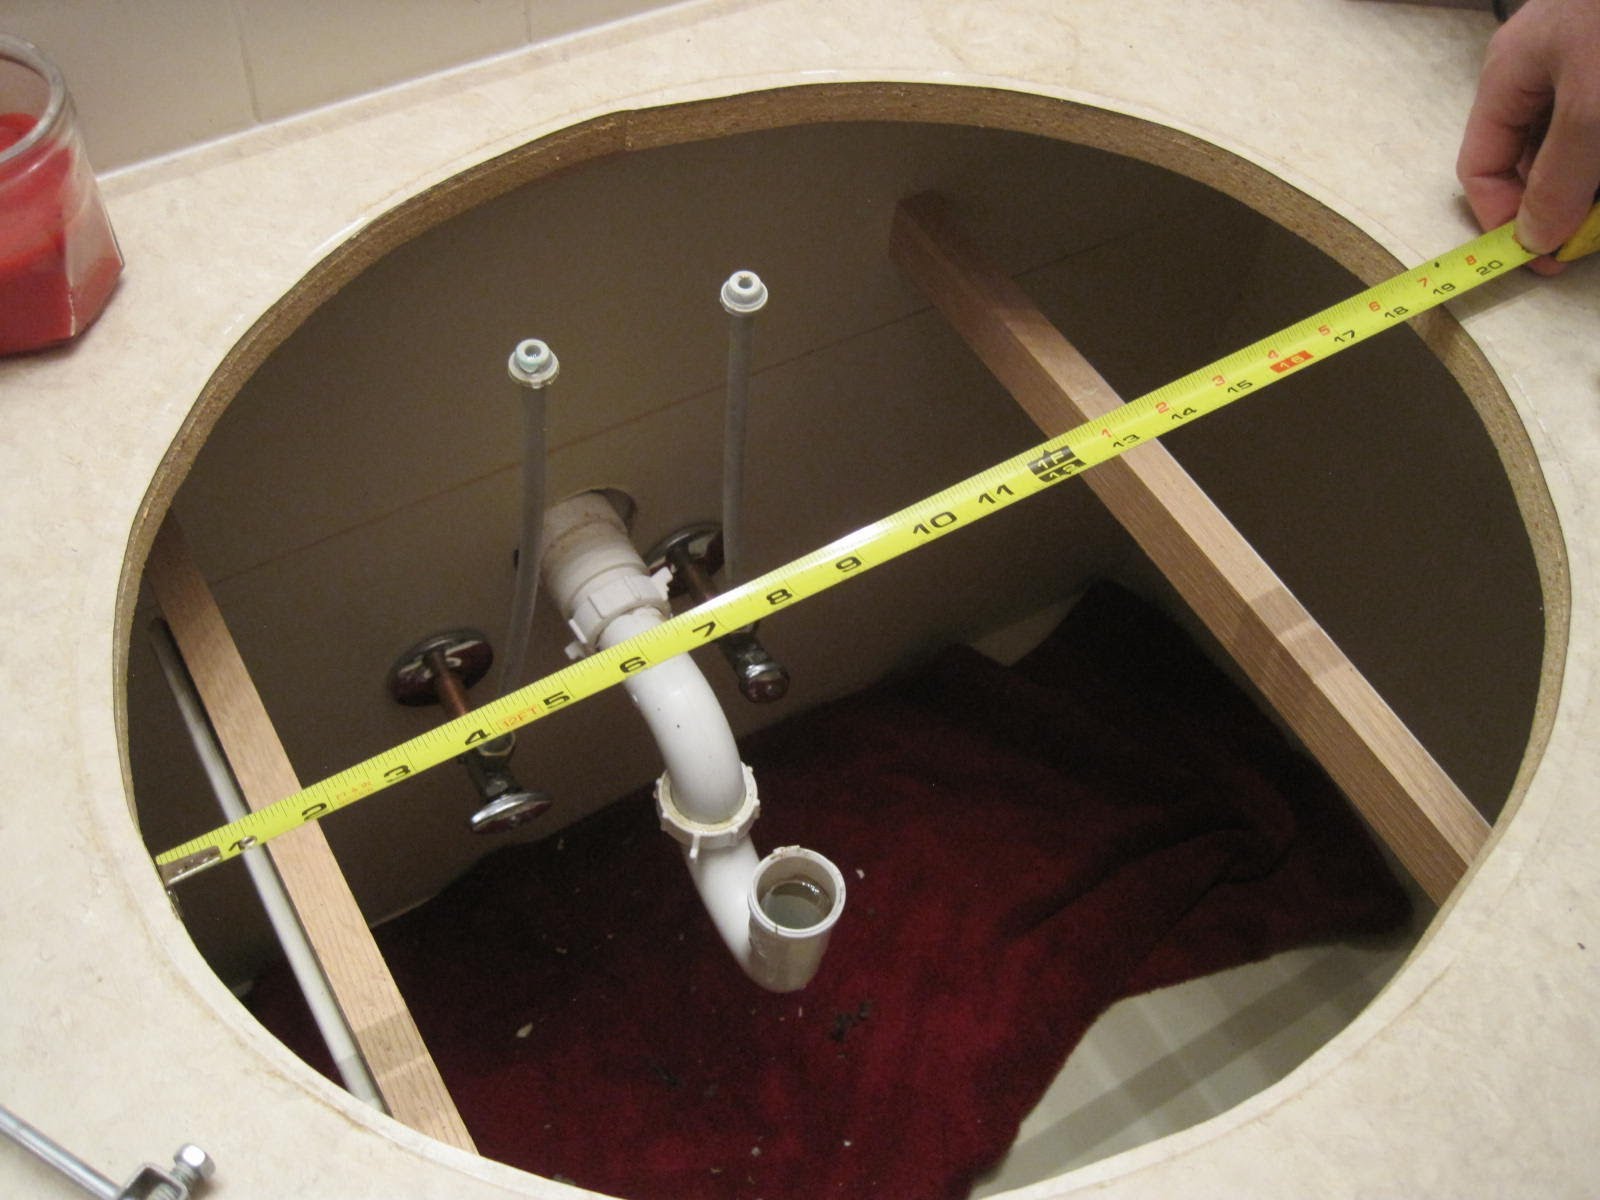
Step 1: Remove the old sink by loosening the clips that hold it in place. You may need to use a screwdriver to remove any screws holding the sink in place.
Step 2: Once the sink is loose, lift it out and set it aside.
Step 3: Clean the area where the sink was installed to remove any debris or old sealant.
Step 4: Install the new sink by applying plumber's putty around the edges of the sink and placing it into the opening.
Step 5: Secure the sink in place by tightening the clips or screws.
Step 6: Reconnect the water supply by tightening the connections with a pipe wrench.
Step 7: Install the drain by applying plumber's putty around the base and screwing it into place.
Step 8: Turn on the water supply and check for any leaks. If there are any, tighten the connections until the leak stops.
Step 9: Apply a small amount of caulk around the edges of the sink to create a seal.
Step 10: Wipe away any excess caulk and let it dry for at least 24 hours before using the sink.
How to Fix a Cracked Bathroom Sink
If your sink has a small crack, you may be able to fix it without having to replace the entire sink. First, clean the area around the crack and dry it completely. Then, apply a waterproof epoxy or silicone sealant to the crack and let it dry according to the manufacturer's instructions. This should temporarily fix the crack and prevent any further damage.
Replacing a Cracked Bathroom Sink: Tips and Tricks
When installing a new sink, make sure to follow the manufacturer's instructions for the specific sink you have purchased. Also, it's a good idea to have a friend or family member help you lift and install the sink to prevent any accidents or damage.
The Importance of Replacing a Cracked Bathroom Sink
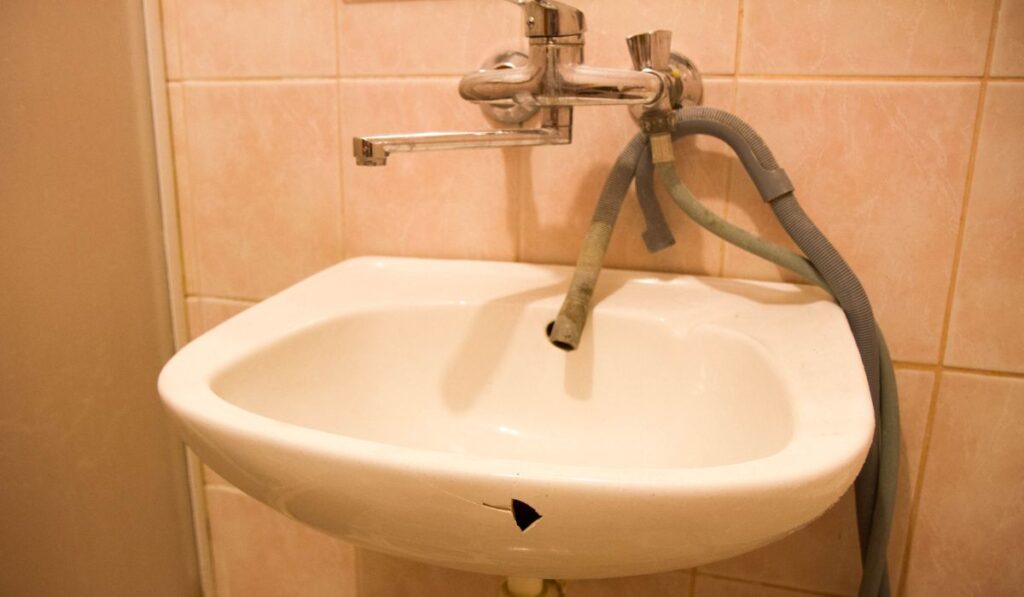
A cracked sink not only affects the appearance of your bathroom, but it can also lead to more serious issues. A crack can allow water to leak into your cabinets and cause mold and mildew, which can be harmful to your health. It can also cause water damage to your floors and walls, resulting in costly repairs.
Replacing a Cracked Bathroom Sink: Common Mistakes to Avoid
One of the most common mistakes when replacing a bathroom sink is not turning off the water supply before beginning any work. This can lead to a flooded bathroom and potential damage. It's also important to properly secure the sink in place to prevent any leaks or damage.
When to Call a Professional for Replacing a Cracked Bathroom Sink
If you're not confident in your DIY skills or if the damage to your sink is extensive, it's best to call a professional plumber. They have the experience and tools necessary to properly install a new sink and ensure it is done correctly.
Replacing a Cracked Bathroom Sink: Materials and Tools You'll Need
Before starting your project, make sure you have all the necessary materials and tools. This includes a new sink, plumber's putty, a pipe wrench, a screwdriver, caulk, and a friend or family member to assist you.
Now that you know how to replace a cracked bathroom sink, you can tackle this task with confidence. Remember to take your time and follow these steps carefully to ensure a successful and safe installation. Your bathroom will look and function like new in no time!
The Benefits of Replacing a Cracked Bathroom Sink
Why Should You Consider Replacing Your Cracked Bathroom Sink?
 Replacing a cracked bathroom sink may not be the most exciting home renovation project, but it is one that can have a significant impact on the overall look and functionality of your bathroom. A cracked sink not only looks unsightly, but it can also lead to leaks and further damage to your bathroom. By replacing it, you can not only improve the aesthetics of your bathroom but also prevent potential water damage and save money on future repairs.
The Aesthetics
 Your bathroom sink is one of the most used and noticeable fixtures in your bathroom. A cracked sink can be an eyesore, taking away from the overall design and appeal of your bathroom. By replacing it with a new, undamaged sink, you can instantly upgrade the look of your bathroom. Choose a sink that complements the style and color scheme of your bathroom to create a cohesive and visually appealing space.
Preventing Water Damage
 A cracked sink can lead to leaks and water damage, which can be costly to repair. If the crack is severe enough, it can cause water to seep into your bathroom floor or cabinets, leading to mold growth and structural damage. By replacing the cracked sink, you can prevent potential water damage and save yourself from expensive repairs in the future. It's always better to address the issue sooner rather than later.
Save Money in the Long Run
 While replacing a cracked bathroom sink may seem like an unnecessary expense, it can actually save you money in the long run. By preventing water damage and leaks, you won't have to spend money on costly repairs or replacements. Additionally, a new sink can also improve the functionality of your bathroom, making it a worthwhile investment.
In conclusion,
replacing a cracked bathroom sink may seem like a small and insignificant project, but it can have significant benefits for your bathroom. Not only will it improve the aesthetics of your space, but it can also prevent potential water damage and save you money in the long run. So if you have a cracked bathroom sink, don't hesitate to replace it and enjoy a beautiful and functional bathroom.


