Replacing the copper pipes under your kitchen sink may seem like a daunting task, but with the right tools and knowledge, it can be a simple and cost-effective DIY project. Whether you are dealing with a leak or simply upgrading your plumbing, replacing copper pipes is an important maintenance task for any homeowner. In this guide, we will walk you through the step-by-step process of replacing copper pipes under a kitchen sink.How to Replace Copper Pipes Under a Kitchen Sink

How to Replace Copper Pipes Under a Kitchen Sink


:max_bytes(150000):strip_icc()/ReplaceCopperWithPEXMain-565ca15a5f9b5835e47800bb.jpg?resize=720%2C405&ssl=1)

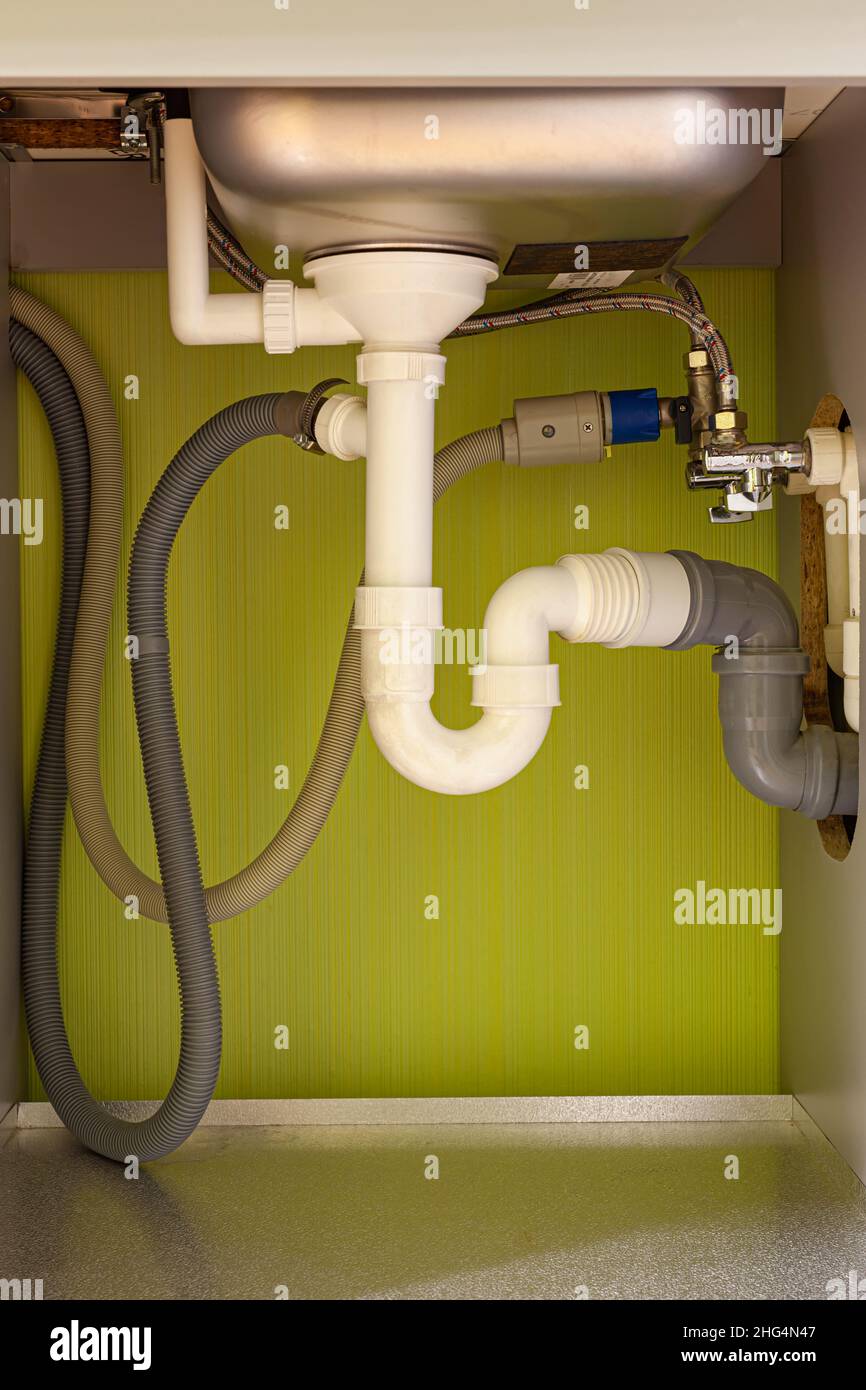
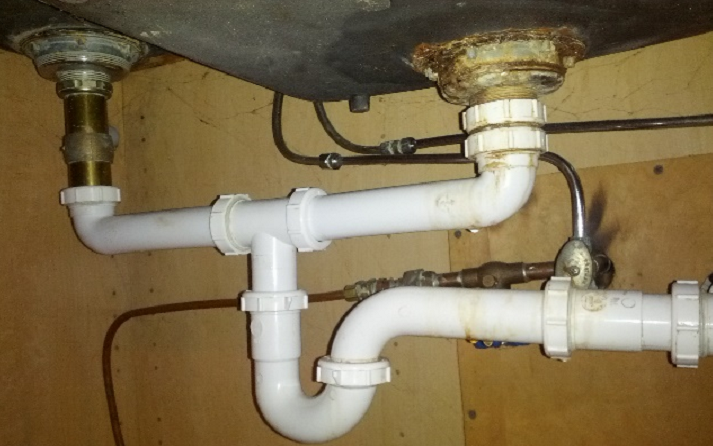
The first step in replacing copper pipes under a kitchen sink is to gather all the necessary tools and materials. This includes new copper pipes, a pipe cutter, a deburring tool, a pipe wrench, a propane torch, solder, flux, and sandpaper. Once you have everything you need, follow these steps: Step 1: Start by turning off the water supply to your sink. This can usually be done by turning off the main water valve in your home. Step 2: Use the pipe cutter to cut the old copper pipes near the connections. Be sure to wear protective gloves and eyewear while using the cutter. Step 3: Use the deburring tool to remove any rough edges from the cut ends of the pipes. Step 4: Clean the pipes and fittings with sandpaper to ensure a clean and smooth surface for the new connections. Step 5: Apply flux to the pipes and fittings. Flux helps the solder flow smoothly and creates a strong bond between the pipes and fittings. Step 6: Assemble the new pipes and fittings, making sure they are properly aligned and snugly fitted together. Step 7: Use a propane torch to heat the joint where the pipes and fittings meet. Once the flux starts to bubble, apply the solder to create a strong and sealed connection. Step 8: Repeat this process for each connection until all the new pipes are securely connected. Step 9: Turn the water supply back on and check for any leaks. If there are no leaks, you have successfully replaced the copper pipes under your kitchen sink.Replacing Copper Pipes Under a Kitchen Sink: A Step-by-Step Guide


Replacing Copper Pipes Under a Kitchen Sink: A Step-by-Step Guide


By replacing copper pipes under your kitchen sink yourself, you can save money on hiring a professional plumber. With the right tools and materials, this DIY project can be completed in a few hours. Plus, by learning how to replace copper pipes, you will have the knowledge and skills to handle any future plumbing issues.DIY: Replacing Copper Pipes Under a Kitchen Sink


DIY: Replacing Copper Pipes Under a Kitchen Sink

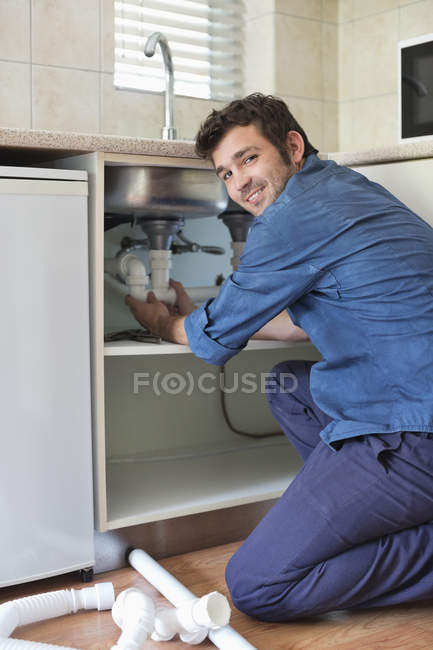
/how-to-install-a-sink-drain-2718789-hero-24e898006ed94c9593a2a268b57989a3.jpg)
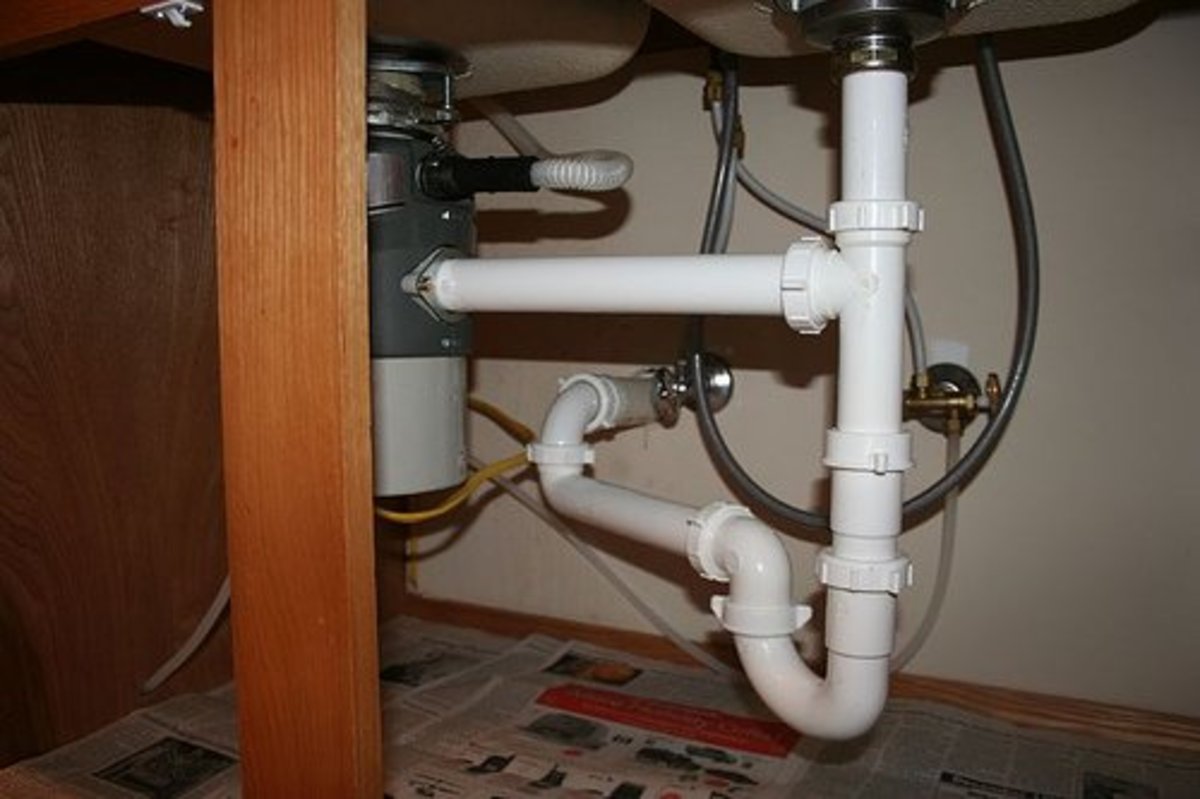

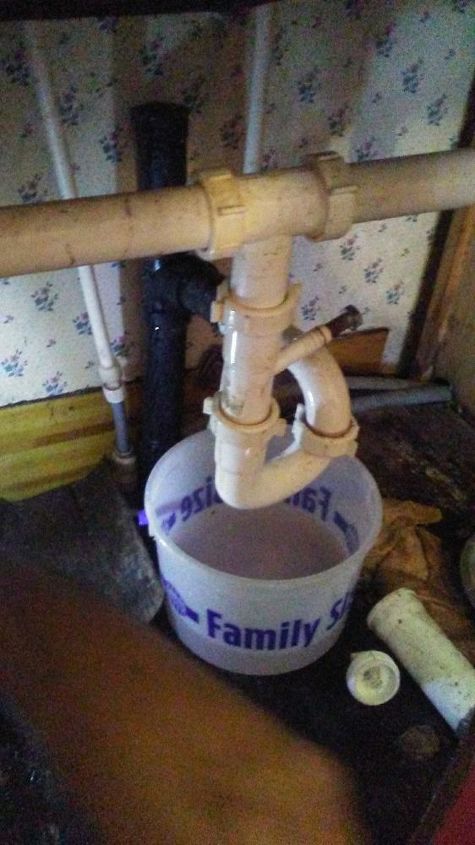
When replacing copper pipes under a kitchen sink, there are a few tips and tricks that can make the process easier and more efficient: Tip 1: Before starting the project, make sure you have enough space to work comfortably under the sink. Tip 2: Label the pipes and fittings before cutting them to make it easier to remember which ones go where. Tip 3: Use a pipe cutter instead of a hacksaw to ensure clean and even cuts. Tip 4: Apply a small amount of solder at a time to avoid creating a messy and weak joint. Tip 5: Have a fire extinguisher nearby in case of any accidents while using the propane torch.Replacing Copper Pipes Under a Kitchen Sink: Tips and Tricks


Replacing Copper Pipes Under a Kitchen Sink: Tips and Tricks

Copper pipes are the most commonly used material for plumbing because they are durable and can last for decades. However, over time, they can become corroded or damaged, leading to leaks and potential water damage. By replacing copper pipes under your kitchen sink, you can prevent costly repairs and maintain the integrity of your plumbing system.The Importance of Replacing Copper Pipes Under a Kitchen Sink

The Importance of Replacing Copper Pipes Under a Kitchen Sink

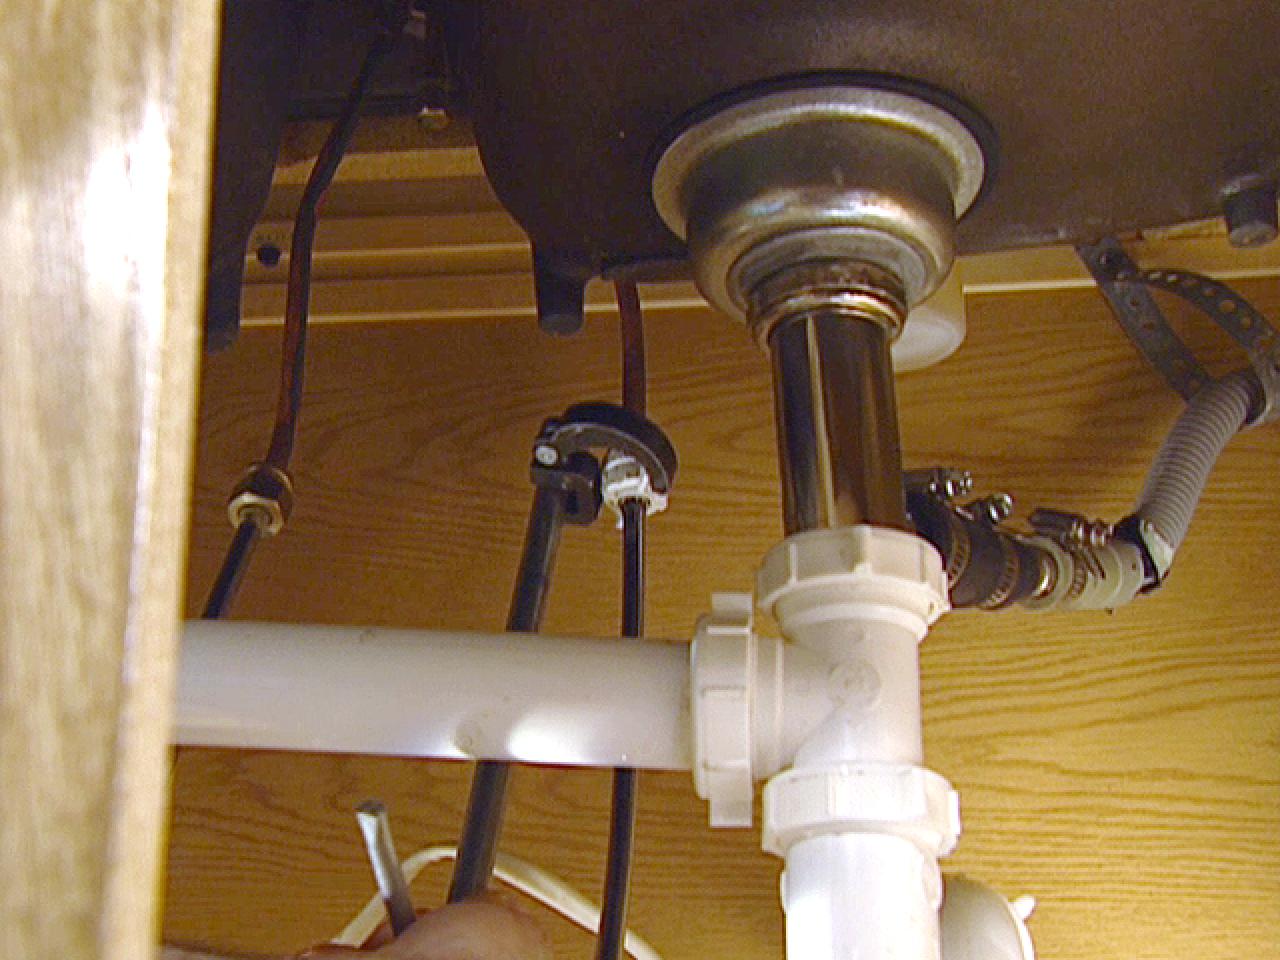
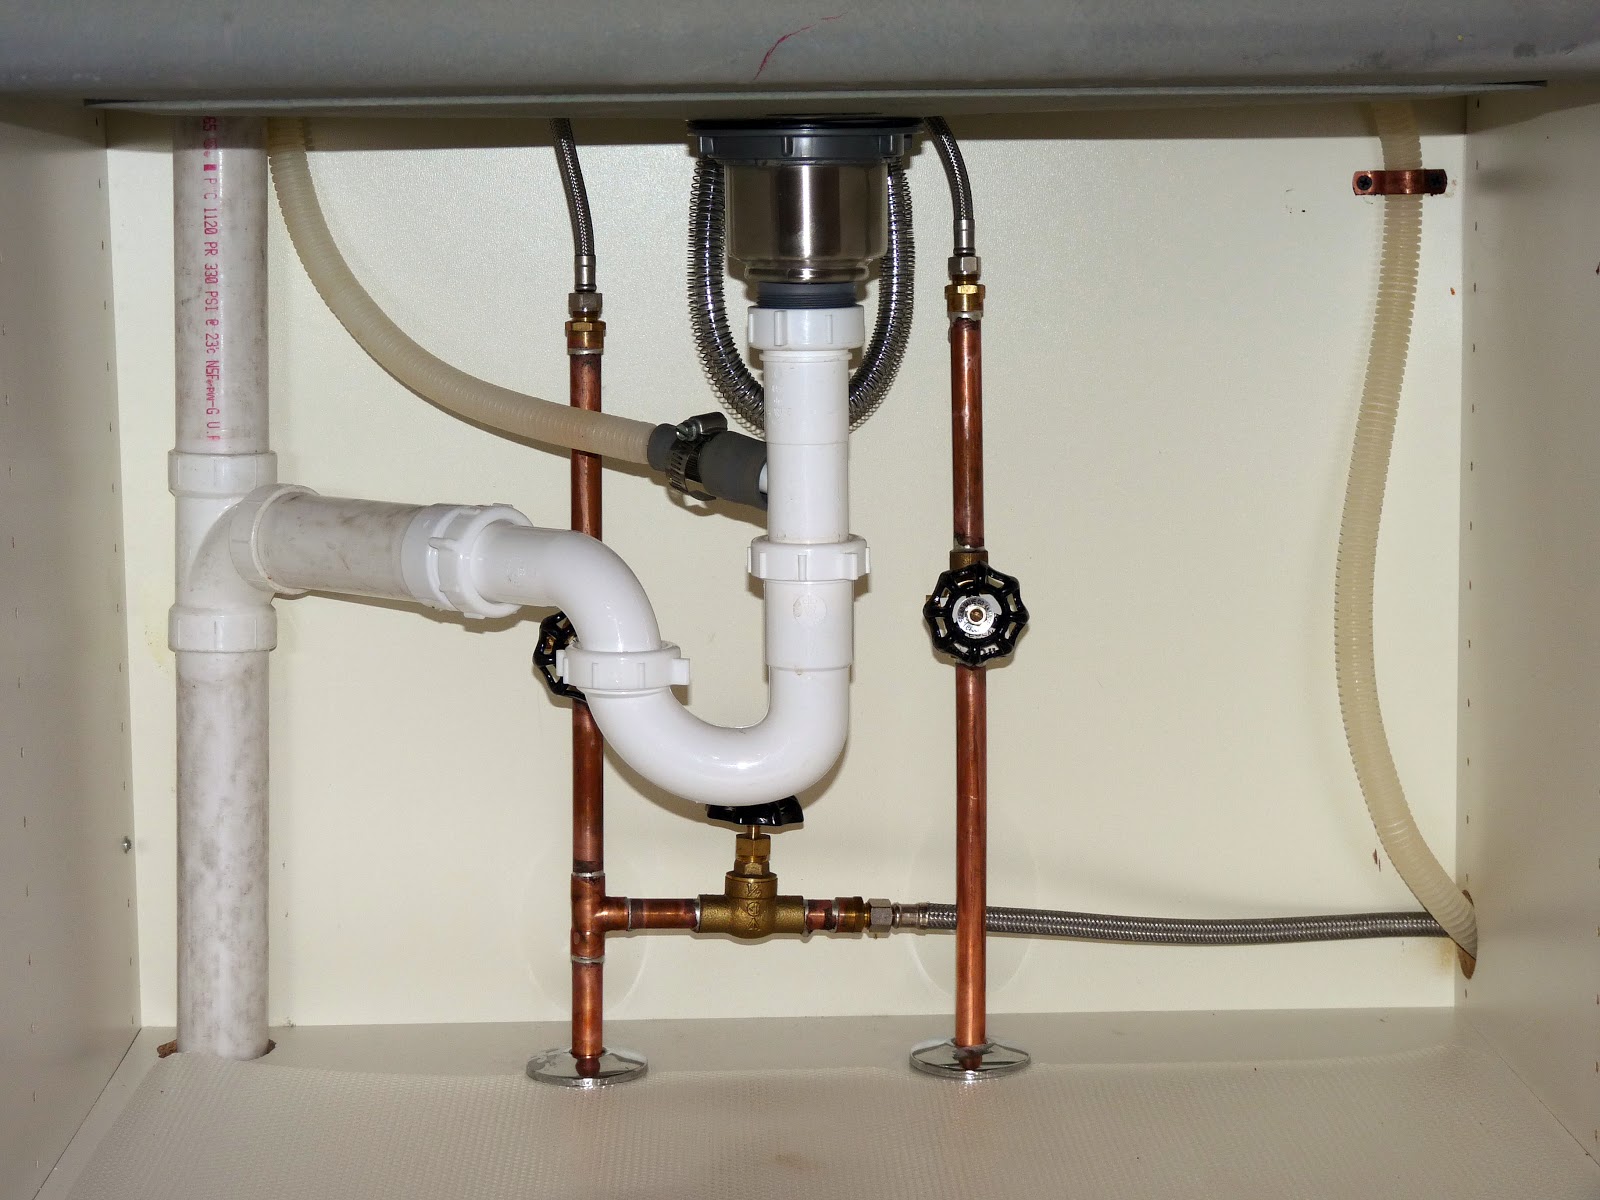
While replacing copper pipes may seem like a simple task, there are some common mistakes that can be made. These include: Mistake 1: Not turning off the water supply before starting the project. Mistake 2: Cutting the pipes too short, making it difficult to properly connect them. Mistake 3: Applying too much solder, which can create weak and messy joints. Mistake 4: Not properly aligning the pipes and fittings, resulting in leaks. Mistake 5: Not wearing protective gear while using the pipe cutter or propane torch.Replacing Copper Pipes Under a Kitchen Sink: Common Mistakes to Avoid

Replacing Copper Pipes Under a Kitchen Sink: Common Mistakes to Avoid


To successfully replace copper pipes under a kitchen sink, you will need the following tools and materials: - New copper pipes Tools and Materials Needed for Replacing Copper Pipes Under a Kitchen Sink
- Pipe cutter
- Deburring tool
- Pipe wrench
- Propane torch
- Solder
- Flux
- Sandpaper


Tools and Materials Needed for Replacing Copper Pipes Under a Kitchen Sink
/how-to-install-a-sink-drain-2718789-hero-b5b99f72b5a24bb2ae8364e60539cece.jpg)


As mentioned earlier, replacing copper pipes under a kitchen sink yourself can save you money on hiring a professional plumber. In addition, by learning how to fix common plumbing issues, you can save money on future repairs and maintenance. Plus, this DIY project can give you a sense of accomplishment and satisfaction.How to Save Money by Replacing Copper Pipes Under a Kitchen Sink Yourself

How to Save Money by Replacing Copper Pipes Under a Kitchen Sink Yourself


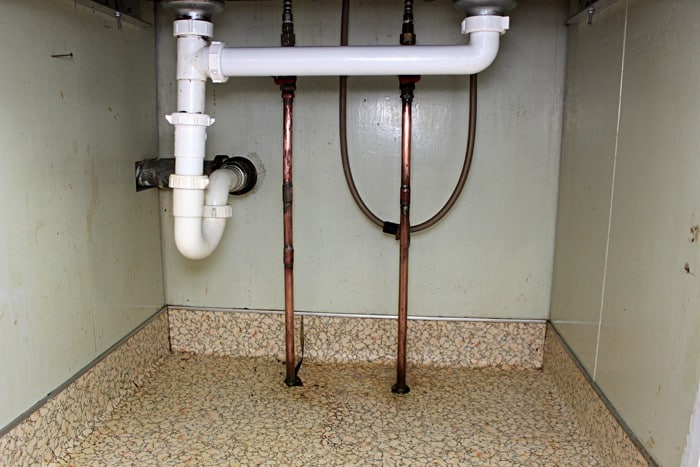
While replacing copper pipes under a kitchen sink can be a DIY project, there are certain situations where it may be best to call a professional plumber. These include: - If you are not confident in your plumbing skills Replacing Copper Pipes Under a Kitchen Sink: When to Call a Professional
- If the pipes are located in hard-to-reach areas
- If there are extensive leaks or damage
- If the pipes are connected to a gas line

Replacing Copper Pipes Under a Kitchen Sink: When to Call a Professional


/copper-pipes-107198898-59de11daaad52b00106cad25.jpg)
If you prefer visual instructions, there are many helpful video tutorials available online that can guide you through the process of replacing copper pipes under a kitchen sink. These videos can provide additional tips and tricks, making it easier for you to successfully complete the project. In conclusion, replacing copper pipes under a kitchen sink may seem like a daunting task, but with the right tools and knowledge, it can be a simple and cost-effective DIY project. By following the steps outlined in this guide, you can maintain the integrity of your plumbing system and save money on future repairs. Remember to always take safety precautions and don't hesitate to call a professional if needed. Happy plumbing!Step-by-Step Video Tutorial: Replacing Copper Pipes Under a Kitchen Sink
Step-by-Step Video Tutorial: Replacing Copper Pipes Under a Kitchen Sink

Why Replace Copper Pipes Under Your Kitchen Sink?
:max_bytes(150000):strip_icc()/ConnectPEXtoCopperPipe-565c9d555f9b5835e477a655.jpg?resize=720%2C405&ssl=1)
The Importance of Maintaining Your Plumbing System
 When it comes to maintaining a functional and efficient home, the plumbing system is often overlooked. However, neglecting this crucial aspect of your house can lead to major issues and costly repairs. This is especially true for the pipes under your kitchen sink, as they are constantly exposed to water and can deteriorate over time. One of the most common problems homeowners face with their kitchen sink pipes is corrosion of copper pipes. In this article, we will discuss the importance of replacing copper pipes under your kitchen sink and how it can benefit your overall house design.
Why Copper Pipes Need to Be Replaced
 Copper pipes have been a popular choice for plumbing for decades due to their durability and affordability. However, over time, these pipes can become damaged and corrode due to various factors such as high water pressure, age, and chemical reactions. This can lead to leaks, blockages, and even burst pipes, causing extensive damage to your home. When it comes to the pipes under your kitchen sink, the constant exposure to moisture and food particles can accelerate the corrosion process, making it necessary to replace them.
The Benefits of Replacing Copper Pipes Under Your Kitchen Sink
 Replacing copper pipes under your kitchen sink not only ensures the functionality of your plumbing system, but it can also improve the overall design of your house. Copper pipes are often visible under the sink and can become an eyesore if they are corroded or damaged. By replacing them, you can upgrade to newer, more aesthetically pleasing pipes that will enhance the look of your kitchen. Additionally, newer pipes are less prone to corrosion, meaning you can save money on future repairs and maintenance.
Professional Replacement for Optimal Results
 While some homeowners may attempt to replace their kitchen sink pipes themselves, it is always recommended to hire a professional plumber for optimal results. A licensed plumber has the knowledge, experience, and specialized tools to efficiently replace your copper pipes and ensure they are installed correctly. They can also provide advice on the best materials to use for your specific plumbing needs and can identify any other potential issues that may need to be addressed.
In conclusion,
replacing copper pipes under your kitchen sink is not only important for the functionality of your plumbing system, but it can also greatly benefit the overall design of your house. By hiring a professional plumber and using newer, more durable pipes, you can ensure a well-maintained and visually appealing kitchen for years to come. Don't neglect your plumbing system – take care of it and enjoy the benefits it brings to your home.
While some homeowners may attempt to replace their kitchen sink pipes themselves, it is always recommended to hire a professional plumber for optimal results. A licensed plumber has the knowledge, experience, and specialized tools to efficiently replace your copper pipes and ensure they are installed correctly. They can also provide advice on the best materials to use for your specific plumbing needs and can identify any other potential issues that may need to be addressed.
In conclusion,
replacing copper pipes under your kitchen sink is not only important for the functionality of your plumbing system, but it can also greatly benefit the overall design of your house. By hiring a professional plumber and using newer, more durable pipes, you can ensure a well-maintained and visually appealing kitchen for years to come. Don't neglect your plumbing system – take care of it and enjoy the benefits it brings to your home.