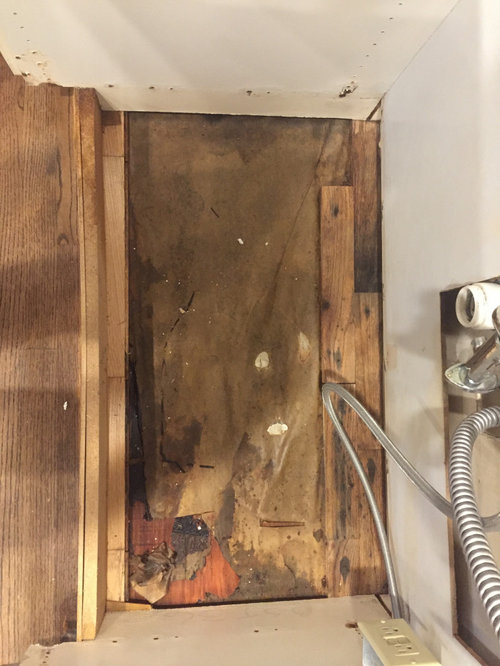
How to Replace the Bottom of a Kitchen Sink Cabinet
Having a damaged or deteriorating bottom of your kitchen sink cabinet can be a frustrating and unsightly problem. Not only does it compromise the structure of your cabinet, but it can also lead to further damage to your plumbing and kitchen floor. Fortunately, replacing the bottom of a kitchen sink cabinet is a relatively simple DIY project that can save you time and money. In this guide, we'll walk you through the steps to replace the bottom of your kitchen sink cabinet and restore it to its former glory.
Replacing the Bottom of a Kitchen Sink Cabinet: A Step-by-Step Guide
Before you begin, make sure to gather all the necessary tools and materials for this project. You will need a measuring tape, saw, drill, screws, wood glue, and replacement wood for the bottom of the cabinet. Once you have everything ready, follow these steps:
Step 1: Measure and Cut the Replacement Wood
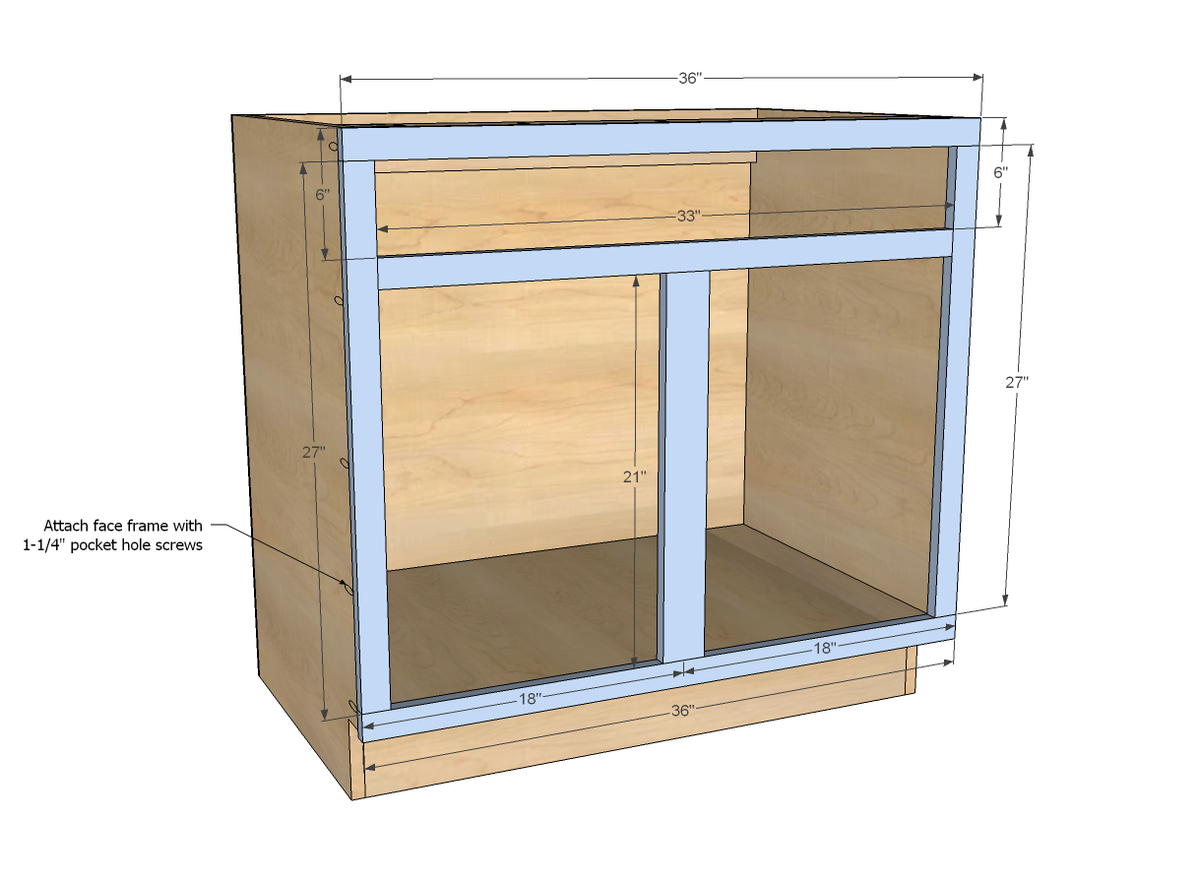
Using a measuring tape, measure the dimensions of the bottom of your cabinet. Transfer these measurements onto the replacement wood and use a saw to cut it to the correct size. Make sure the wood is thick enough to support the weight of your sink and any items stored in the cabinet.
Step 2: Remove the Old Bottom
Carefully remove the old bottom of the cabinet, making sure to avoid damaging any surrounding areas. If the bottom is attached with nails, use a pry bar to gently remove them. If it's attached with screws, use a drill to remove them. Once the old bottom is removed, clean out any debris and make sure the area is clear.
Step 3: Install the New Bottom
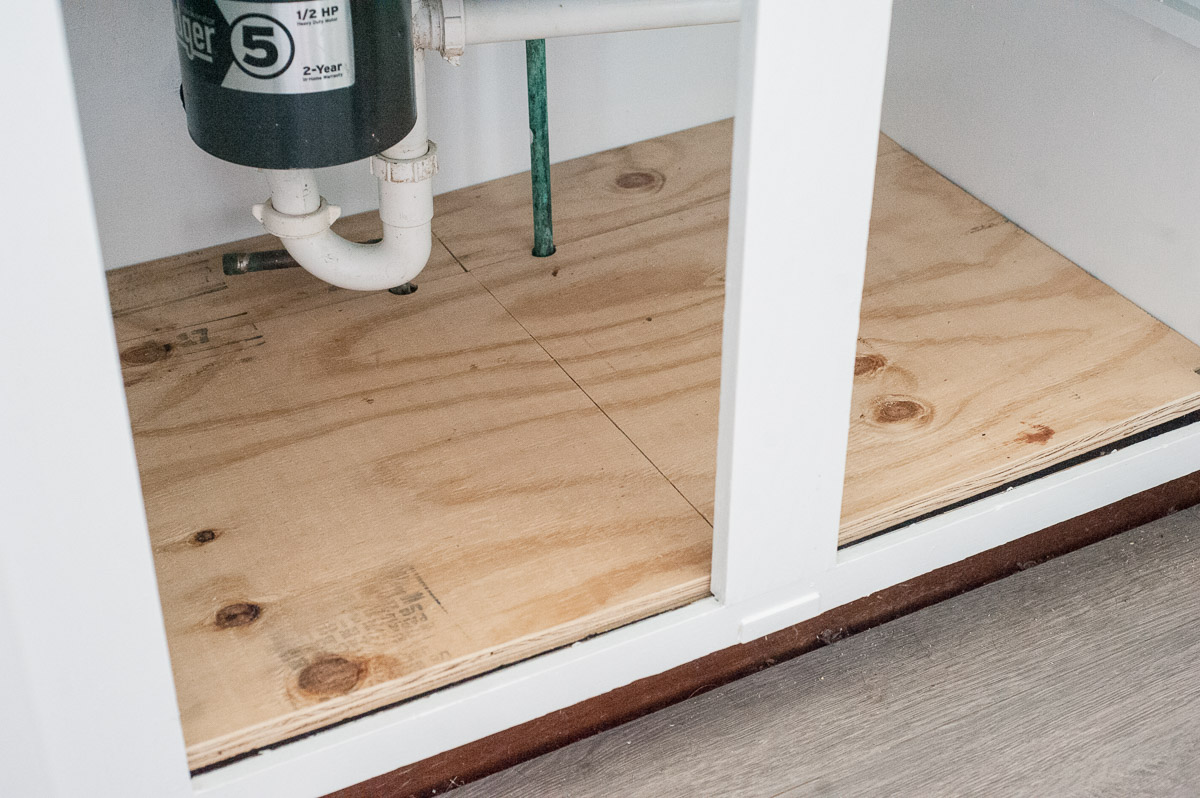
Place the replacement wood into the bottom of the cabinet and use wood glue to secure it in place. You can also use screws for added stability. Make sure the wood is level and flush with the sides of the cabinet.
Step 4: Allow the Glue to Dry
Let the wood glue dry completely before moving on to the next step. This can take anywhere from a few hours to overnight, depending on the type of glue you use.
Step 5: Reattach the Sink
Once the glue is dry, you can reattach your sink. Use the appropriate screws or brackets to secure it to the new bottom of the cabinet. Make sure the sink is level and secure before moving on to the final step.
Step 6: Seal the Edges
To prevent any water damage, use a waterproof sealant to seal the edges of the new bottom of the cabinet. This will also help to keep the wood from warping or rotting in the future.
DIY: Replacing the Bottom of a Kitchen Sink Cabinet
While it may seem like a daunting task, replacing the bottom of a kitchen sink cabinet is a DIY project that you can easily tackle. By following these steps and using the right tools and materials, you can save yourself the cost of hiring a professional and have a functional and sturdy cabinet in no time.
Replacing the Bottom of a Kitchen Sink Cabinet: Tips and Tricks
Here are a few tips and tricks to keep in mind when replacing the bottom of your kitchen sink cabinet:
- Measure twice, cut once. It's important to get accurate measurements to ensure the replacement wood fits properly.
- Use wood glue and screws for added stability. This will ensure that your new bottom is secure and can support the weight of your sink.
- Consider using waterproof material for the replacement wood. This will help prevent future water damage and prolong the lifespan of your cabinet.
Step-by-Step Guide for Replacing the Bottom of a Kitchen Sink Cabinet
Here is a handy step-by-step guide that you can refer to when replacing the bottom of your kitchen sink cabinet:
Step 1: Measure and cut the replacement wood to the correct size.
Step 2: Remove the old bottom of the cabinet.
Step 3: Install the new bottom and secure it with wood glue and screws.
Step 4: Allow the glue to dry completely.
Step 5: Reattach the sink to the new bottom.
Step 6: Seal the edges with a waterproof sealant.
Replacing the Bottom of a Kitchen Sink Cabinet: What You Need to Know
Here are a few things to keep in mind before you start this project:
- Make sure to turn off the water supply to your sink before removing it.
- If you are unsure about your DIY skills, it's always best to hire a professional to avoid any costly mistakes.
- Take your time and be careful when removing the old bottom and installing the new one to avoid damaging any surrounding areas.
How to Repair or Replace the Bottom of a Kitchen Sink Cabinet
If the damage to your cabinet's bottom is minimal, you may be able to repair it instead of replacing it entirely. This can be done by filling in any holes or cracks with wood filler and sanding it down. However, if the damage is extensive, it's best to replace the bottom to ensure the structural integrity of your cabinet.
Replacing the Bottom of a Kitchen Sink Cabinet: Common Mistakes to Avoid
Here are some common mistakes to avoid when replacing the bottom of your kitchen sink cabinet:
- Not measuring accurately, which can result in an ill-fitting replacement wood.
- Using the wrong type of glue, which can cause the wood to not adhere properly.
- Not sealing the edges, which can lead to future water damage.
Replacing the Bottom of a Kitchen Sink Cabinet: Tools and Materials You'll Need
To successfully replace the bottom of your kitchen sink cabinet, you will need the following tools and materials:
- Measuring tape
- Saw
- Drill
- Screws
- Wood glue
- Replacement wood
- Waterproof sealant
Replacing the Bottom of a Kitchen Sink Cabinet: Professional vs. DIY
Hiring a professional to replace the bottom of your kitchen sink cabinet can be a costly expense. However, if you are not confident in your DIY skills or the damage is extensive, it may be the best option. On the other hand, replacing the bottom yourself can save you money and give you a sense of accomplishment. Consider your budget and skill level before deciding which route to take.
In conclusion, replacing the bottom of a kitchen sink cabinet is a doable DIY project that can save you time and money. With the right tools, materials, and steps, you can have a sturdy and functional cabinet in no time. Just remember to measure accurately, use the right materials, and take your time to avoid any mistakes. Happy renovating!
Why Replace the Bottom of Your Kitchen Sink Cabinet?

The Importance of a Functional Kitchen Sink Cabinet
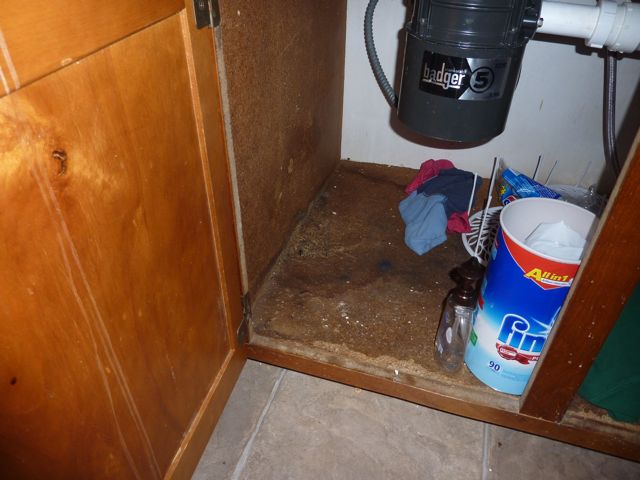
 A kitchen sink cabinet is an essential element of any kitchen design. It not only provides storage space but also serves as the foundation for your kitchen sink. Over time, the bottom of your kitchen sink cabinet may start to show signs of wear and tear, such as water damage, mold, or sagging. This can not only affect the functionality of your cabinet but also create an unsightly and unhygienic environment in your kitchen.
Replacing the bottom of your kitchen sink cabinet
is a necessary step in maintaining a functional and aesthetically pleasing kitchen. It not only ensures the longevity of your cabinet but also helps to prevent potential plumbing issues. Here are some reasons why you should consider replacing the bottom of your kitchen sink cabinet.
Prevent Water Damage
 One of the main reasons for replacing the bottom of your kitchen sink cabinet is to prevent water damage. Over time, water can seep through the bottom of the cabinet, causing warping, rotting, and mold growth. This can lead to structural damage and create a breeding ground for bacteria, posing a health hazard to you and your family. By replacing the bottom of your cabinet, you can prevent future water damage and maintain a clean and hygienic kitchen environment.
Improve Functionality
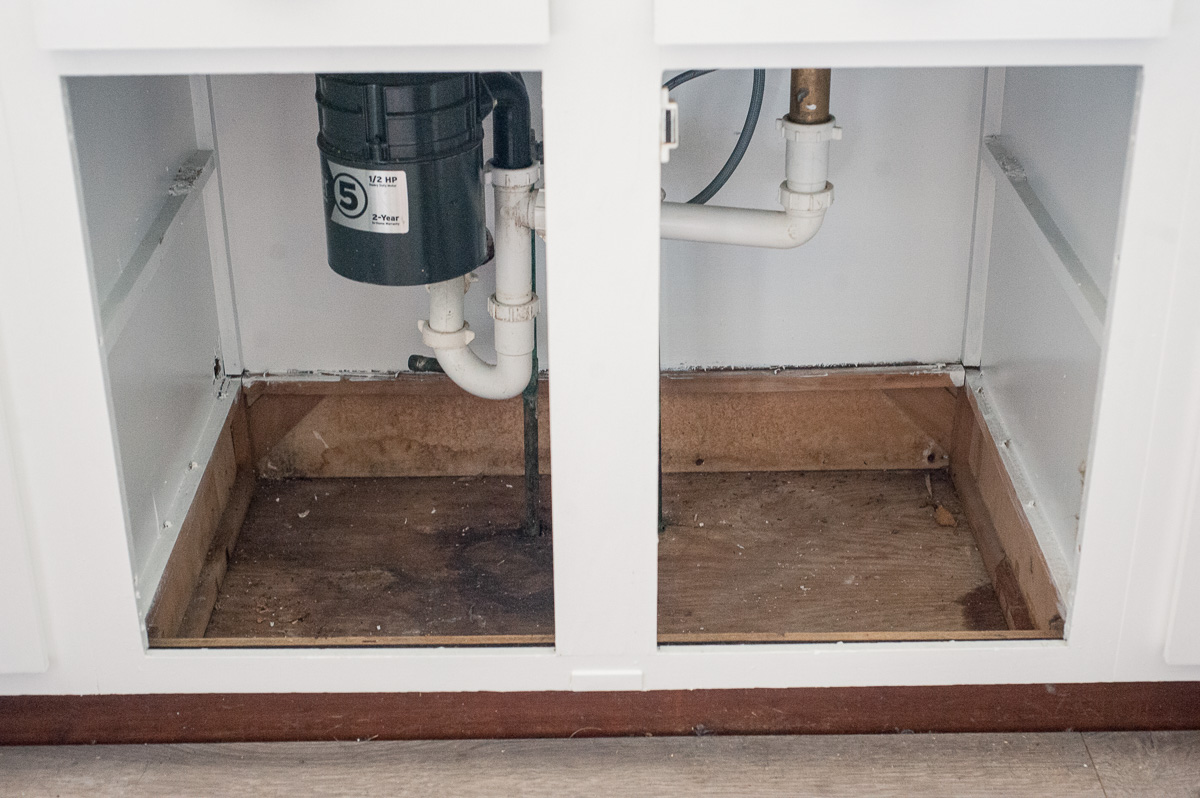 A sagging or damaged bottom of your kitchen sink cabinet can affect its functionality. It may cause the cabinet doors to not close properly or create uneven surfaces, making it difficult to store and access items. By replacing the bottom of your cabinet, you can ensure that it remains structurally sound, providing a sturdy base for your sink and storage space.
Enhance Aesthetics
 The bottom of your kitchen sink cabinet is often hidden from view, but that doesn't mean it should be neglected. A damaged or worn-out bottom can affect the overall aesthetics of your kitchen, making it look old and unkempt. By replacing the bottom of your cabinet, you can restore its appearance and give your kitchen a fresh, clean look.
Prevent Plumbing Issues
 A damaged bottom of your kitchen sink cabinet can also lead to plumbing issues. Water damage can weaken the structural integrity of the cabinet, causing it to shift and potentially damage the plumbing fixtures. By replacing the bottom of your cabinet, you can prevent potential plumbing issues and save yourself from costly repairs in the future.
In conclusion,
replacing the bottom of your kitchen sink cabinet
is a crucial step in maintaining a functional and visually appealing kitchen. It not only prevents water damage and plumbing issues but also improves the overall aesthetics and functionality of your kitchen. If you notice signs of wear and tear on the bottom of your cabinet, it's best to consult a professional and consider replacement to ensure the longevity of your kitchen cabinet.


