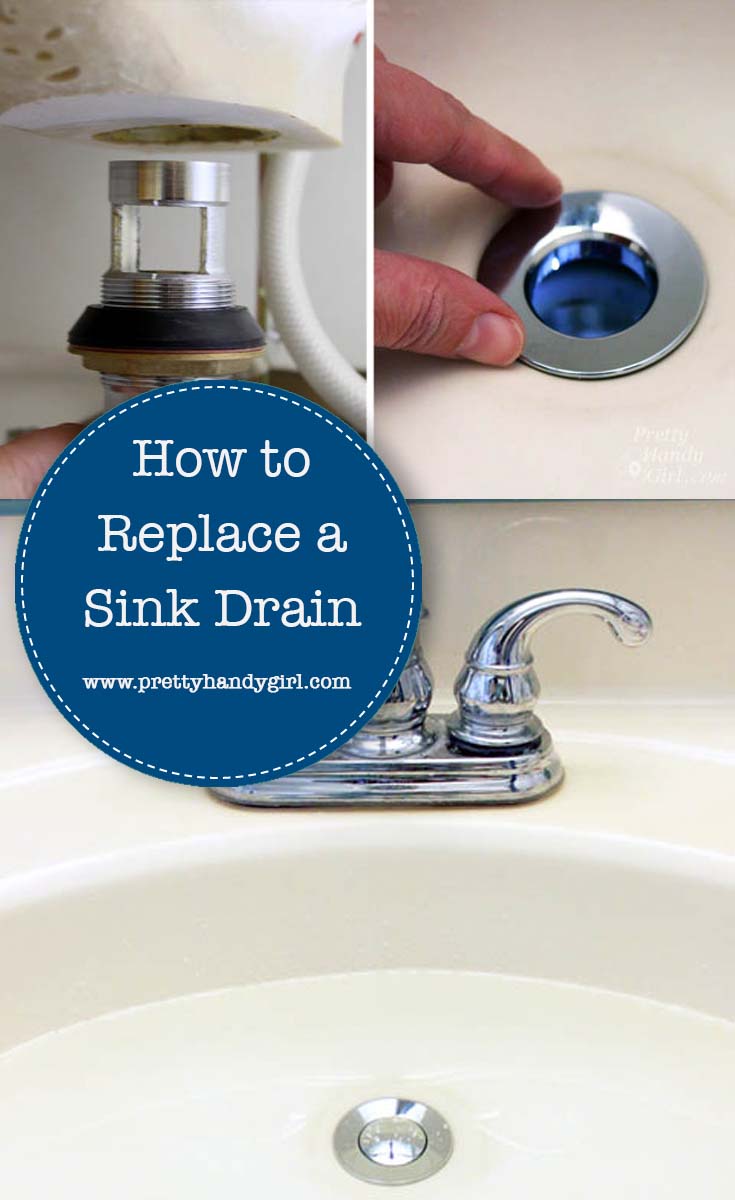
How to Replace a Popup Drain for a Bathroom Sink
If you're tired of dealing with a faulty or outdated popup drain in your bathroom sink, it may be time to replace it. This may seem like a daunting task, but with the right tools and knowledge, you can easily tackle this DIY project. In this article, we'll guide you through the step-by-step process of replacing a popup drain for a bathroom sink.


How to Replace a Popup Drain for a Bathroom Sink


Replacing a Bathroom Sink Popup Drain
Before you begin, make sure to gather all the necessary materials. You'll need a new popup drain, a pair of pliers, an adjustable wrench, plumber's putty, and a screwdriver. Once you have these items, you're ready to get started.


Replacing a Bathroom Sink Popup Drain


Step-by-Step Guide for Replacing a Popup Drain in a Bathroom Sink
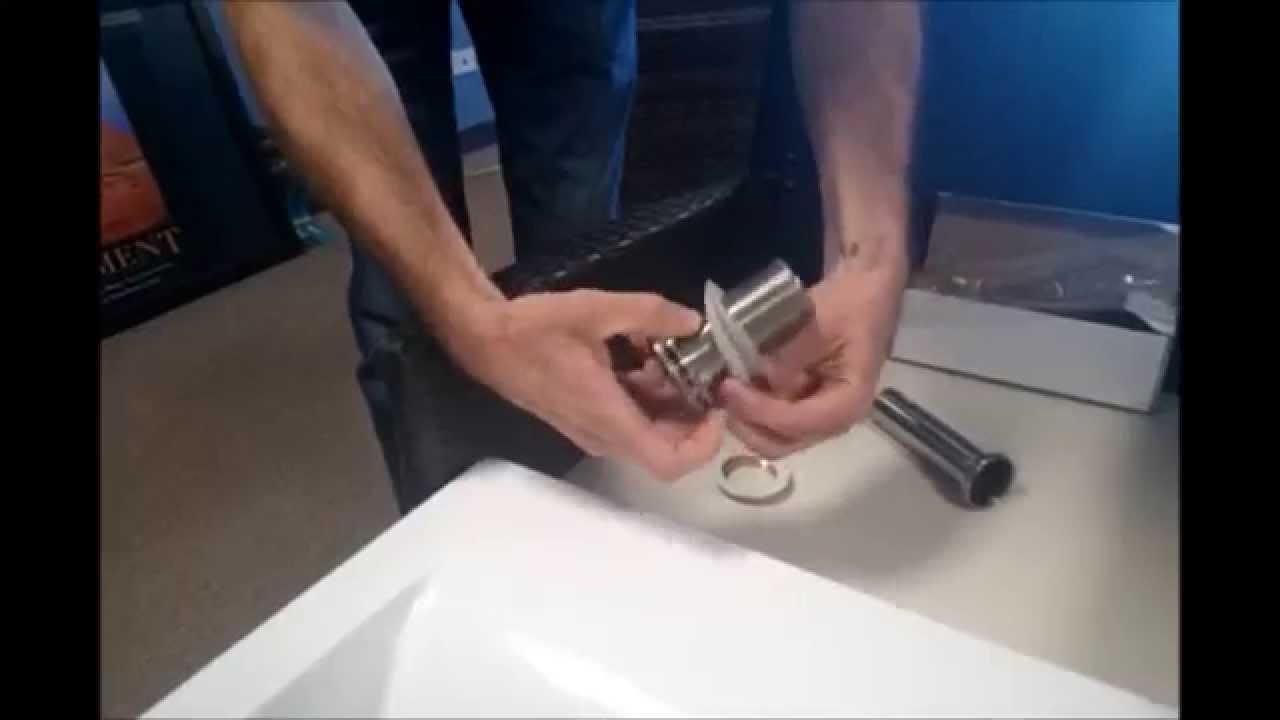
Step 1: Begin by removing the old popup drain. Use the pliers to loosen and remove the nut located underneath the sink. This nut connects the drain to the sink's tailpiece. Once the nut is removed, you can pull the old drain out from the top of the sink.
Step 2: Clean the area where the old drain was located. Use a rag to wipe away any debris or residue.
Step 3: Apply plumber's putty to the underside of the new popup drain's flange. This will create a watertight seal between the drain and the sink.
Step 4: Place the new drain into the sink's drain hole and make sure it is centered properly.
Step 5: From underneath the sink, screw on the new nut to secure the drain in place. Use the adjustable wrench to tighten the nut further if needed.
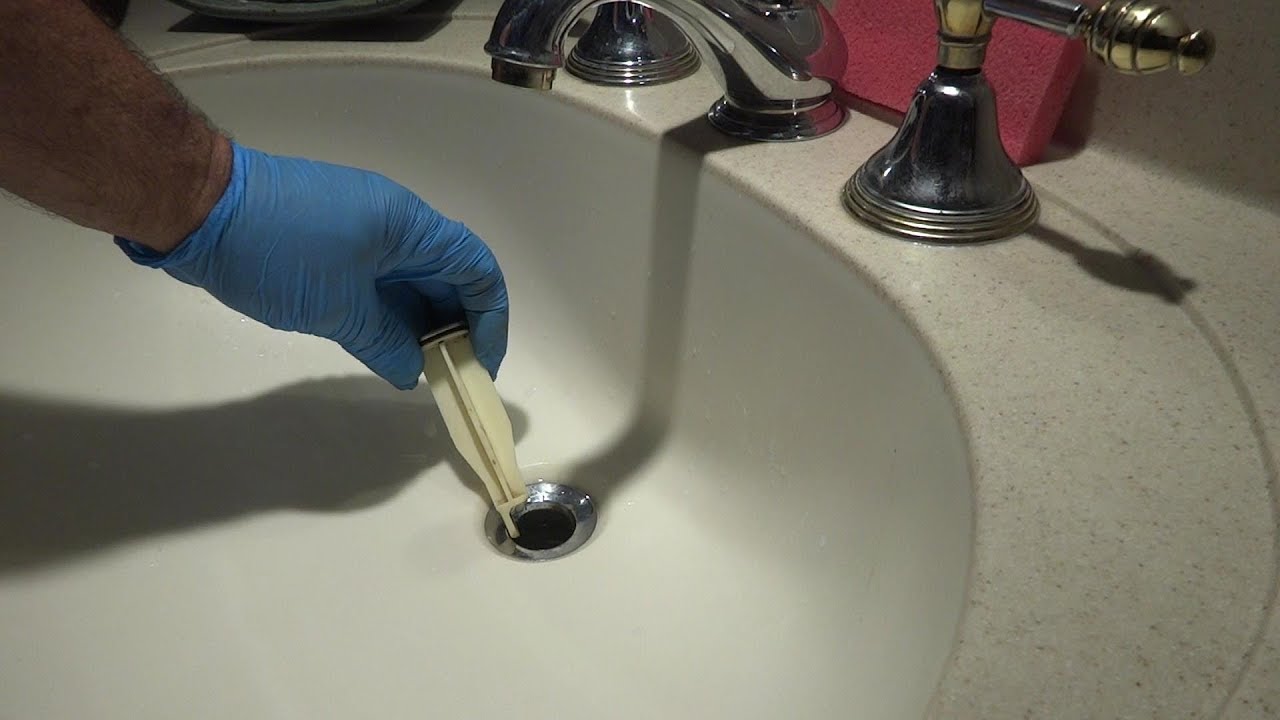
Step 6: Once the drain is securely in place, install the new drain stopper. This may vary depending on the type of stopper you have, so make sure to follow the manufacturer's instructions.
Step 7: Turn on the water and test the drain to make sure it is working properly. If there are any leaks, tighten the nut or adjust the stopper as needed.


Step-by-Step Guide for Replacing a Popup Drain in a Bathroom Sink


DIY: Replacing a Popup Drain for a Bathroom Sink
Replacing a popup drain for a bathroom sink can be a DIY project, but it's important to know your limits. If you are unsure or uncomfortable with any of the steps, it's best to call a professional plumber for assistance.


DIY: Replacing a Popup Drain for a Bathroom Sink


Replacing a Bathroom Sink Popup Drain: Tips and Tricks
When removing the old drain, make sure to have a bucket or towel handy to catch any excess water that may spill out. This will prevent a mess and make the process smoother.
It's also a good idea to take a picture of the old drain before removing it. This will serve as a reference when installing the new drain.

Replacing a Bathroom Sink Popup Drain: Tips and Tricks

Quick and Easy Method for Replacing a Popup Drain in a Bathroom Sink
Replacing a popup drain may seem like a complicated process, but it can be done in just a few simple steps. By following our guide, you can quickly and easily replace the old, worn-out drain in your bathroom sink.


Quick and Easy Method for Replacing a Popup Drain in a Bathroom Sink


Replacing a Popup Drain for a Bathroom Sink: What You Need to Know
Before starting the project, it's important to choose a high-quality popup drain to ensure it will last for years to come. It's also crucial to properly tighten the nut and test for any leaks to avoid future problems.

Replacing a Popup Drain for a Bathroom Sink: What You Need to Know


Step-by-Step Tutorial for Replacing a Popup Drain in a Bathroom Sink
If you're a visual learner, there are plenty of online tutorials that can guide you through the process of replacing a popup drain in a bathroom sink. Watching a video can help you better understand the steps and make the process easier.


Step-by-Step Tutorial for Replacing a Popup Drain in a Bathroom Sink
Replacing a Popup Drain for a Bathroom Sink: Common Mistakes to Avoid
One of the most common mistakes when replacing a popup drain is not applying enough plumber's putty. This can lead to leaks and cause damage to your sink and cabinets. Make sure to apply a sufficient amount to create a proper seal.
Additionally, it's important to make sure the new drain is centered and straight before tightening the nut. This will prevent any future problems or leaks.

Replacing a Popup Drain for a Bathroom Sink: Common Mistakes to Avoid


Expert Tips for Replacing a Popup Drain in a Bathroom Sink
If you're still unsure about replacing a popup drain on your own, consider asking for advice from a professional plumber. They can offer helpful tips and guide you through the process to ensure it is done correctly.
Now that you know the steps to replace a popup drain for a bathroom sink, you can confidently take on this DIY project. With the right tools and knowledge, you can have a fully functioning and updated drain in no time. Enjoy your new and improved bathroom sink!


Expert Tips for Replacing a Popup Drain in a Bathroom Sink
Why Replace Your Bathroom Sink's Popup Drain?
 When it comes to bathroom design, even the smallest details can make a big impact. One often overlooked but important element of a bathroom sink is the popup drain. This small mechanism, located at the bottom of the sink, is responsible for allowing water to drain out and preventing debris from clogging your pipes. Over time, popup drains can become worn out, rusted, or simply outdated. This is where replacing your popup drain can make a big difference in both functionality and aesthetic appeal.
Improved Functionality
 As with any household item, popup drains can wear out and become less effective over time. This can result in slow draining or even clogged sinks, causing inconvenience and frustration. By replacing your old popup drain with a new one, you can ensure that your sink is functioning at its best. Newer popup drains are designed with improved technology and materials, making them more durable and efficient. This means less maintenance and smoother operations for your bathroom sink.
Upgrade Your Style
 While functionality is important, the appearance of your bathroom sink is just as crucial when it comes to design. Old, rusted, or outdated popup drains can detract from the overall look and feel of your bathroom. By replacing your popup drain, you can instantly upgrade the style of your sink. There are a variety of options available, from sleek and modern designs to more traditional styles. Choose one that fits your personal taste and complements the rest of your bathroom décor for a cohesive and polished look.
Prevent Costly Repairs
 Ignoring a worn out or malfunctioning popup drain can lead to more serious plumbing issues down the line. A clogged drain can cause water to back up and potentially damage your sink or even your pipes. This can result in costly repairs that could have been avoided by simply replacing the popup drain when needed. Don't wait until it's too late – be proactive and save yourself the hassle and expense of major repairs.
Replacing a popup drain for your bathroom sink may seem like a small, insignificant task, but it can have a big impact on both functionality and style. By taking the time to replace your old drain, you can improve the efficiency of your sink, upgrade the overall look of your bathroom, and prevent potential costly repairs in the future. Don't underestimate the importance of even the smallest details in your house design – every element counts.
Ignoring a worn out or malfunctioning popup drain can lead to more serious plumbing issues down the line. A clogged drain can cause water to back up and potentially damage your sink or even your pipes. This can result in costly repairs that could have been avoided by simply replacing the popup drain when needed. Don't wait until it's too late – be proactive and save yourself the hassle and expense of major repairs.
Replacing a popup drain for your bathroom sink may seem like a small, insignificant task, but it can have a big impact on both functionality and style. By taking the time to replace your old drain, you can improve the efficiency of your sink, upgrade the overall look of your bathroom, and prevent potential costly repairs in the future. Don't underestimate the importance of even the smallest details in your house design – every element counts.