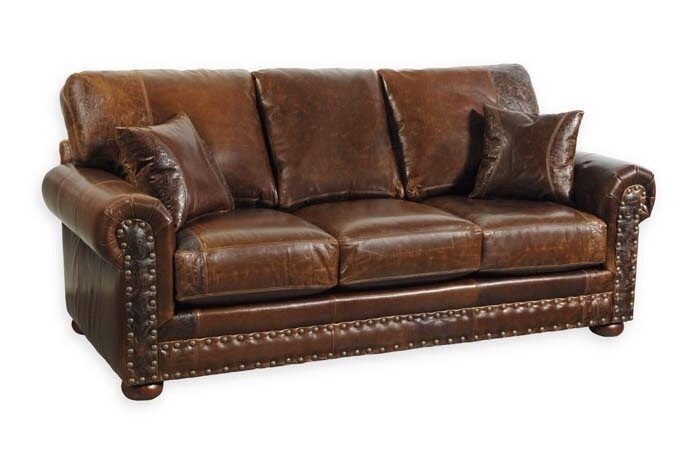
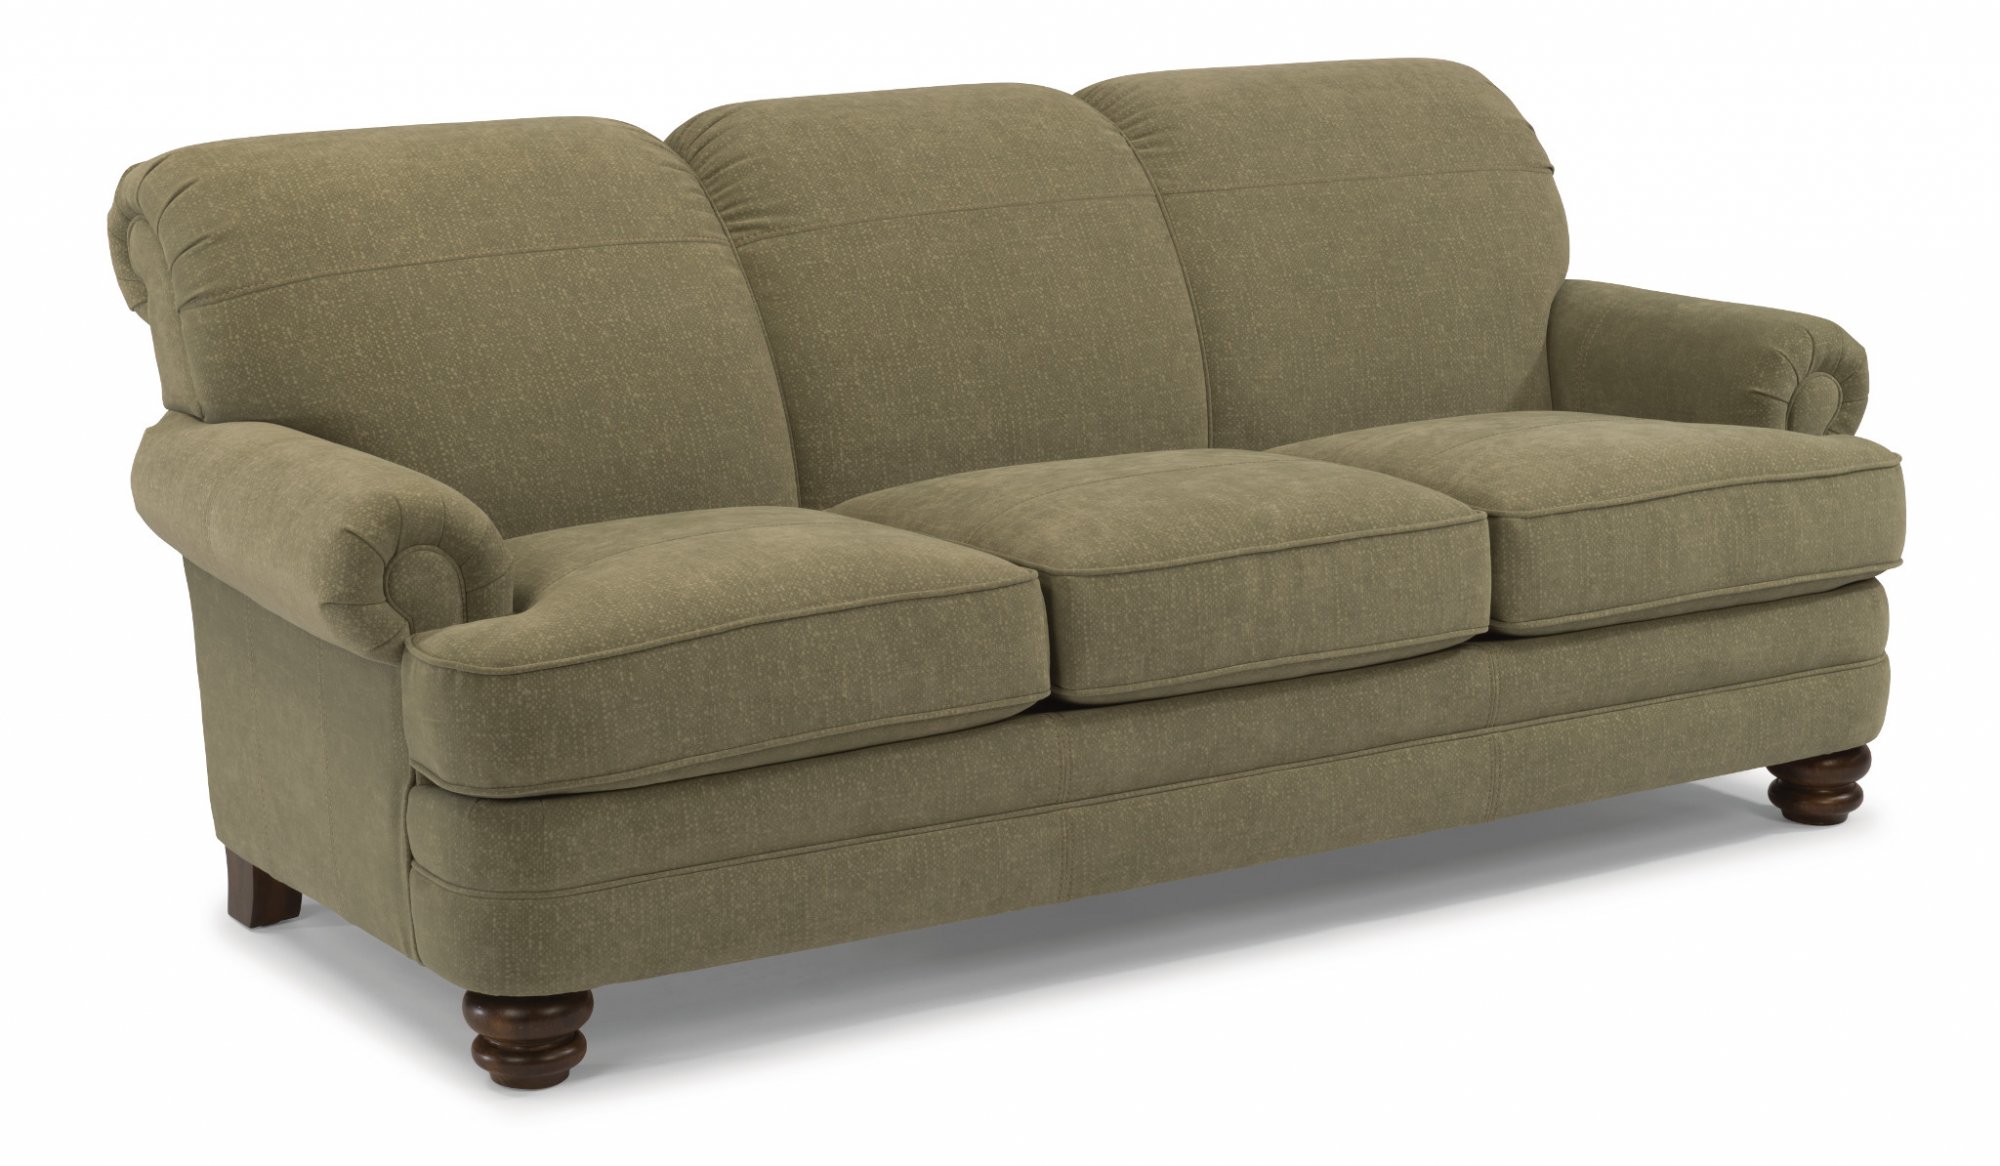
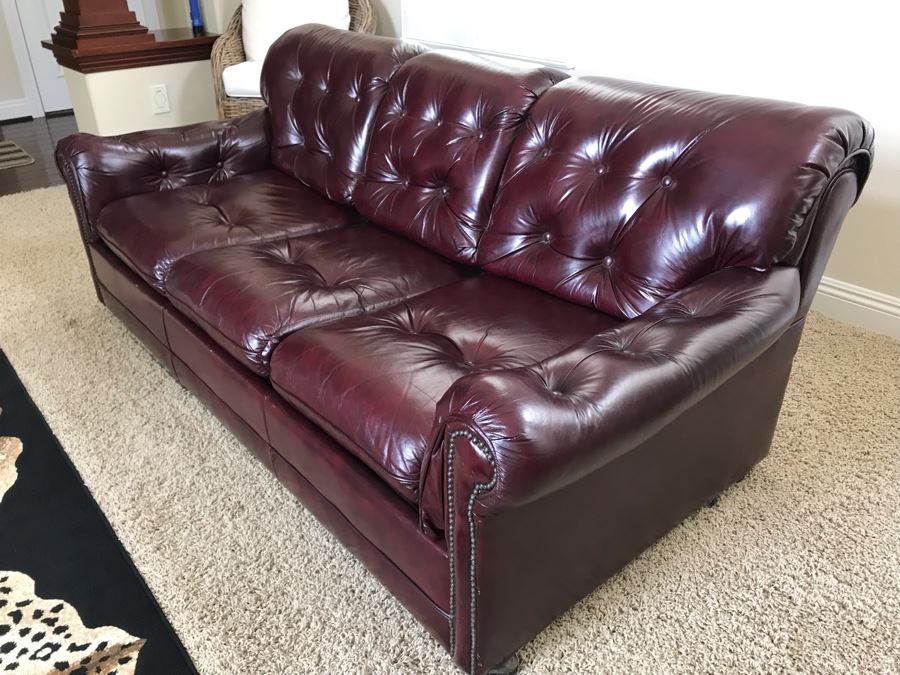
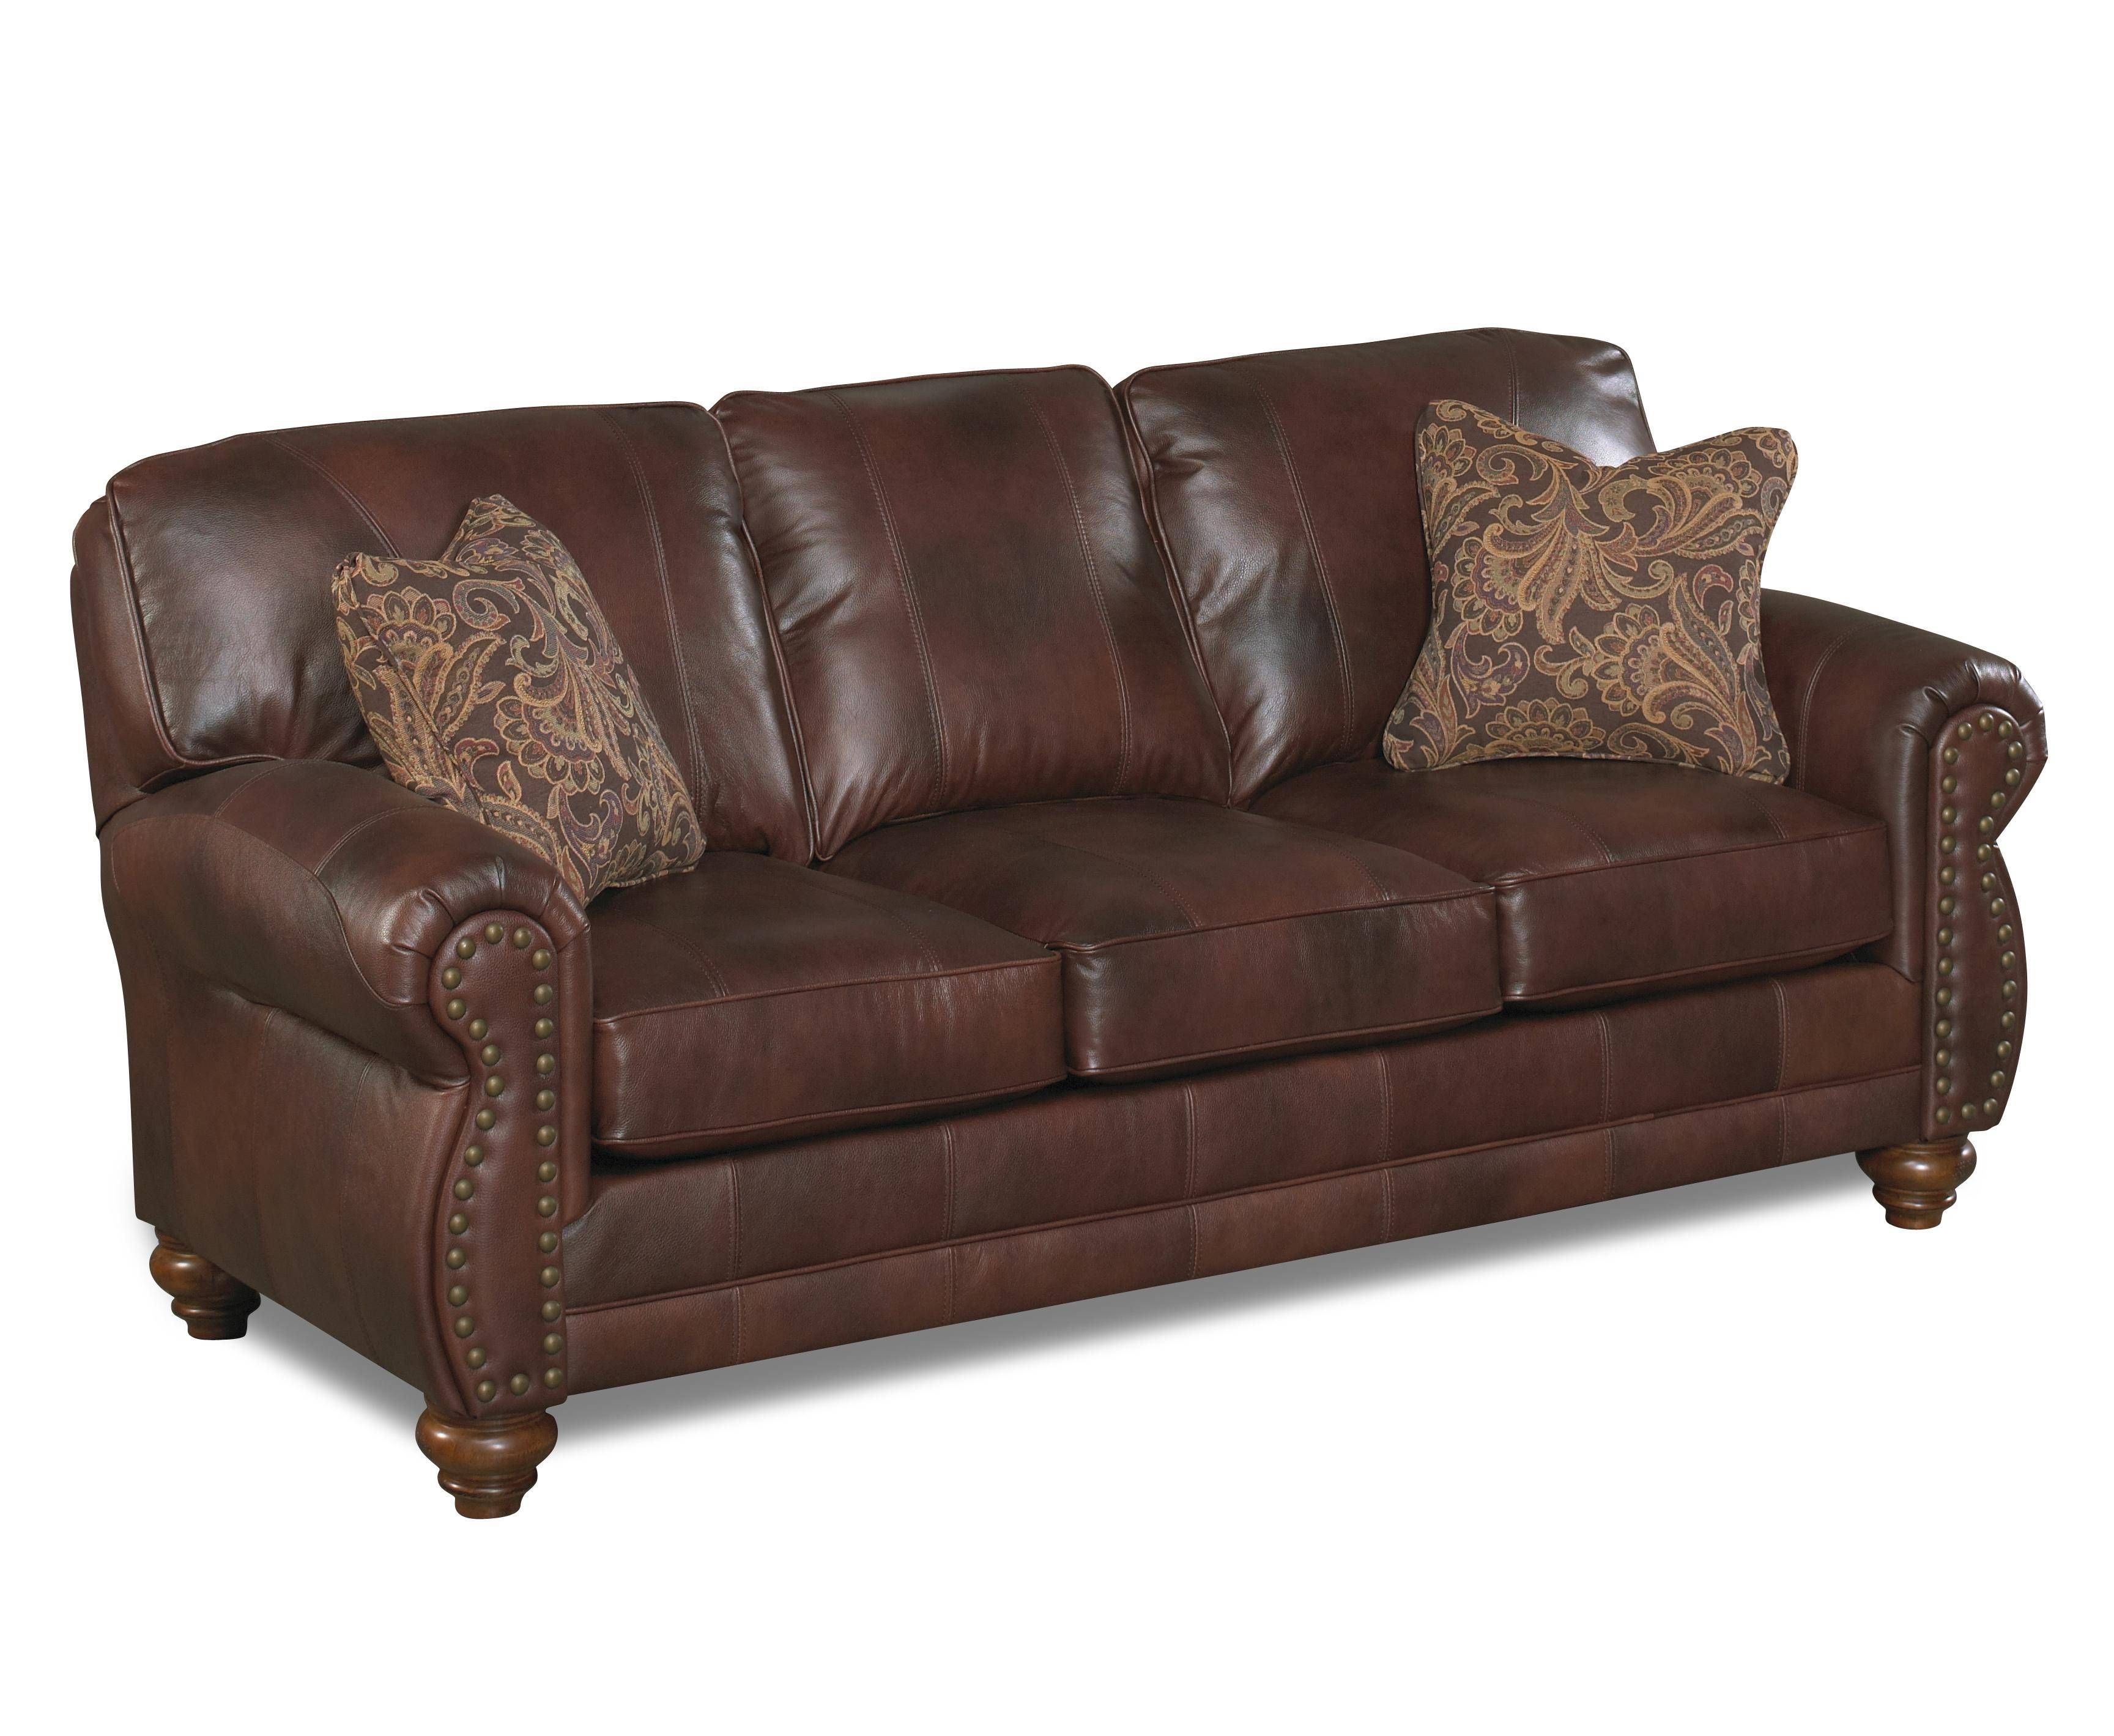
If your leather sofa is looking a little worn and tired, one way to give it a new lease on life is by replacing the nailhead trim. This decorative detail can add a touch of elegance and sophistication to your sofa, but over time, the nails may become loose or damaged. Luckily, replacing the nailhead trim is a simple and cost-effective DIY project that can make a big difference in the overall appearance of your sofa.Replace Nailhead Trim on Leather Sofa


Replace Nailhead Trim on Leather Sofa


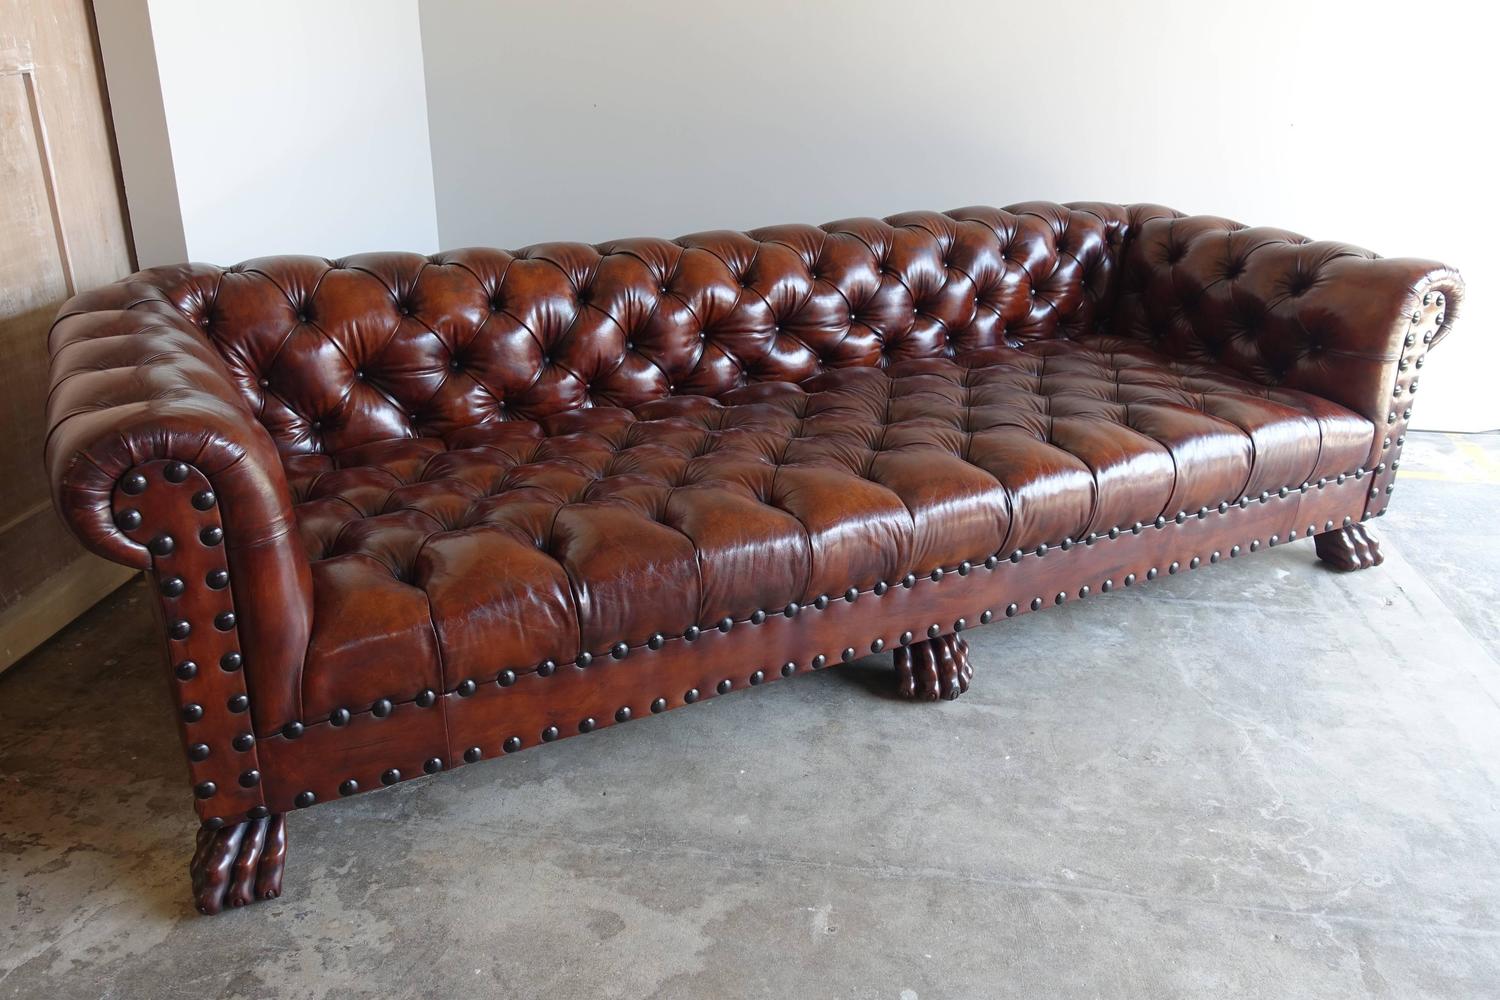
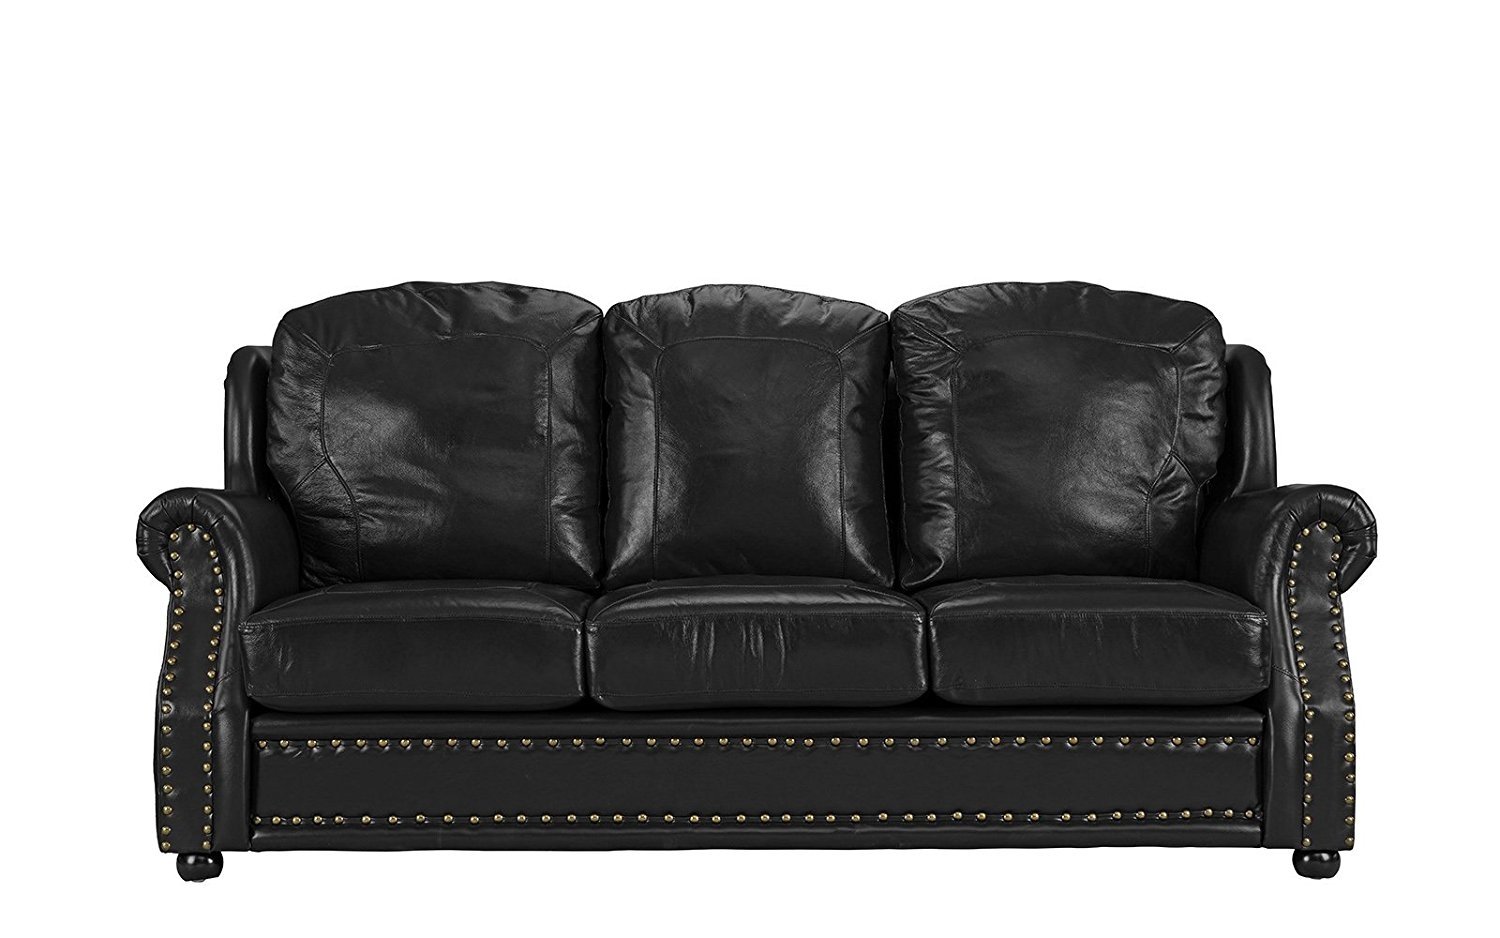
Before you can replace the nailhead trim, you will need to remove the old one. Start by flipping your sofa over, so the bottom is facing up. Use a pair of pliers to gently pull out the nails, being careful not to damage the leather. If the nails are stubborn, you can use a flathead screwdriver to pry them out. Once all the nails are removed, you can pull off the old nailhead trim and discard it.How to Remove Nailhead Trim from Leather Sofa


How to Remove Nailhead Trim from Leather Sofa


Now that the old nailhead trim is removed, it's time to replace it with a new one. You can purchase replacement nailhead trim at most craft or upholstery stores. Make sure to measure the length of your sofa to determine how much trim you will need. It's always a good idea to buy a little extra in case of mistakes or if you want to add more decorative detail to your sofa.DIY Leather Sofa Nailhead Replacement


DIY Leather Sofa Nailhead Replacement


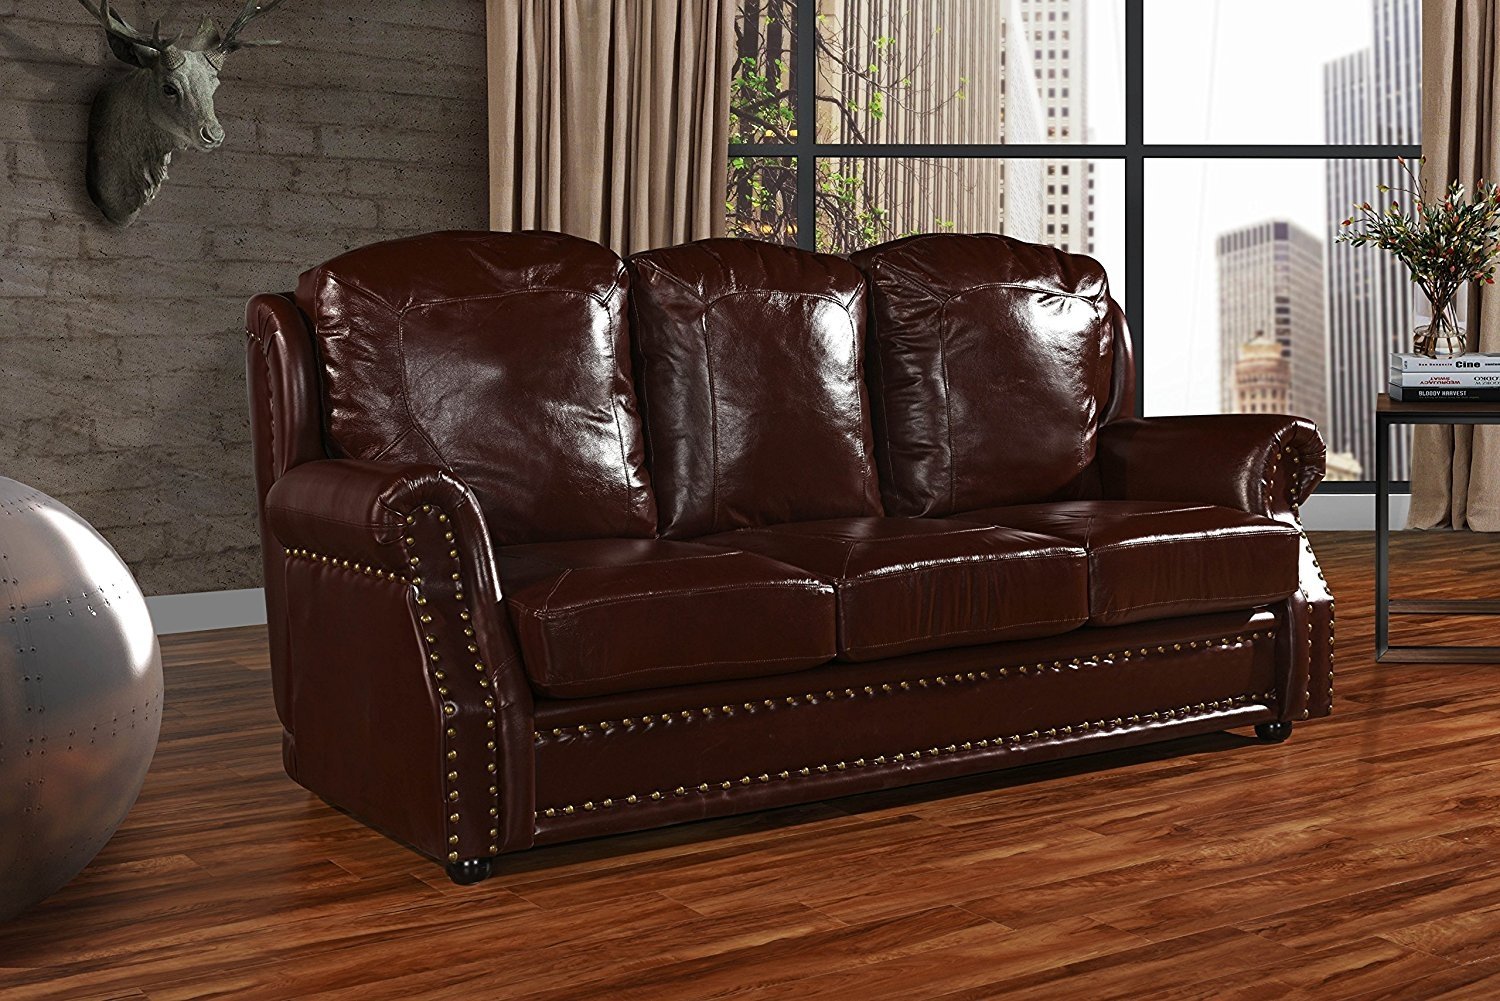
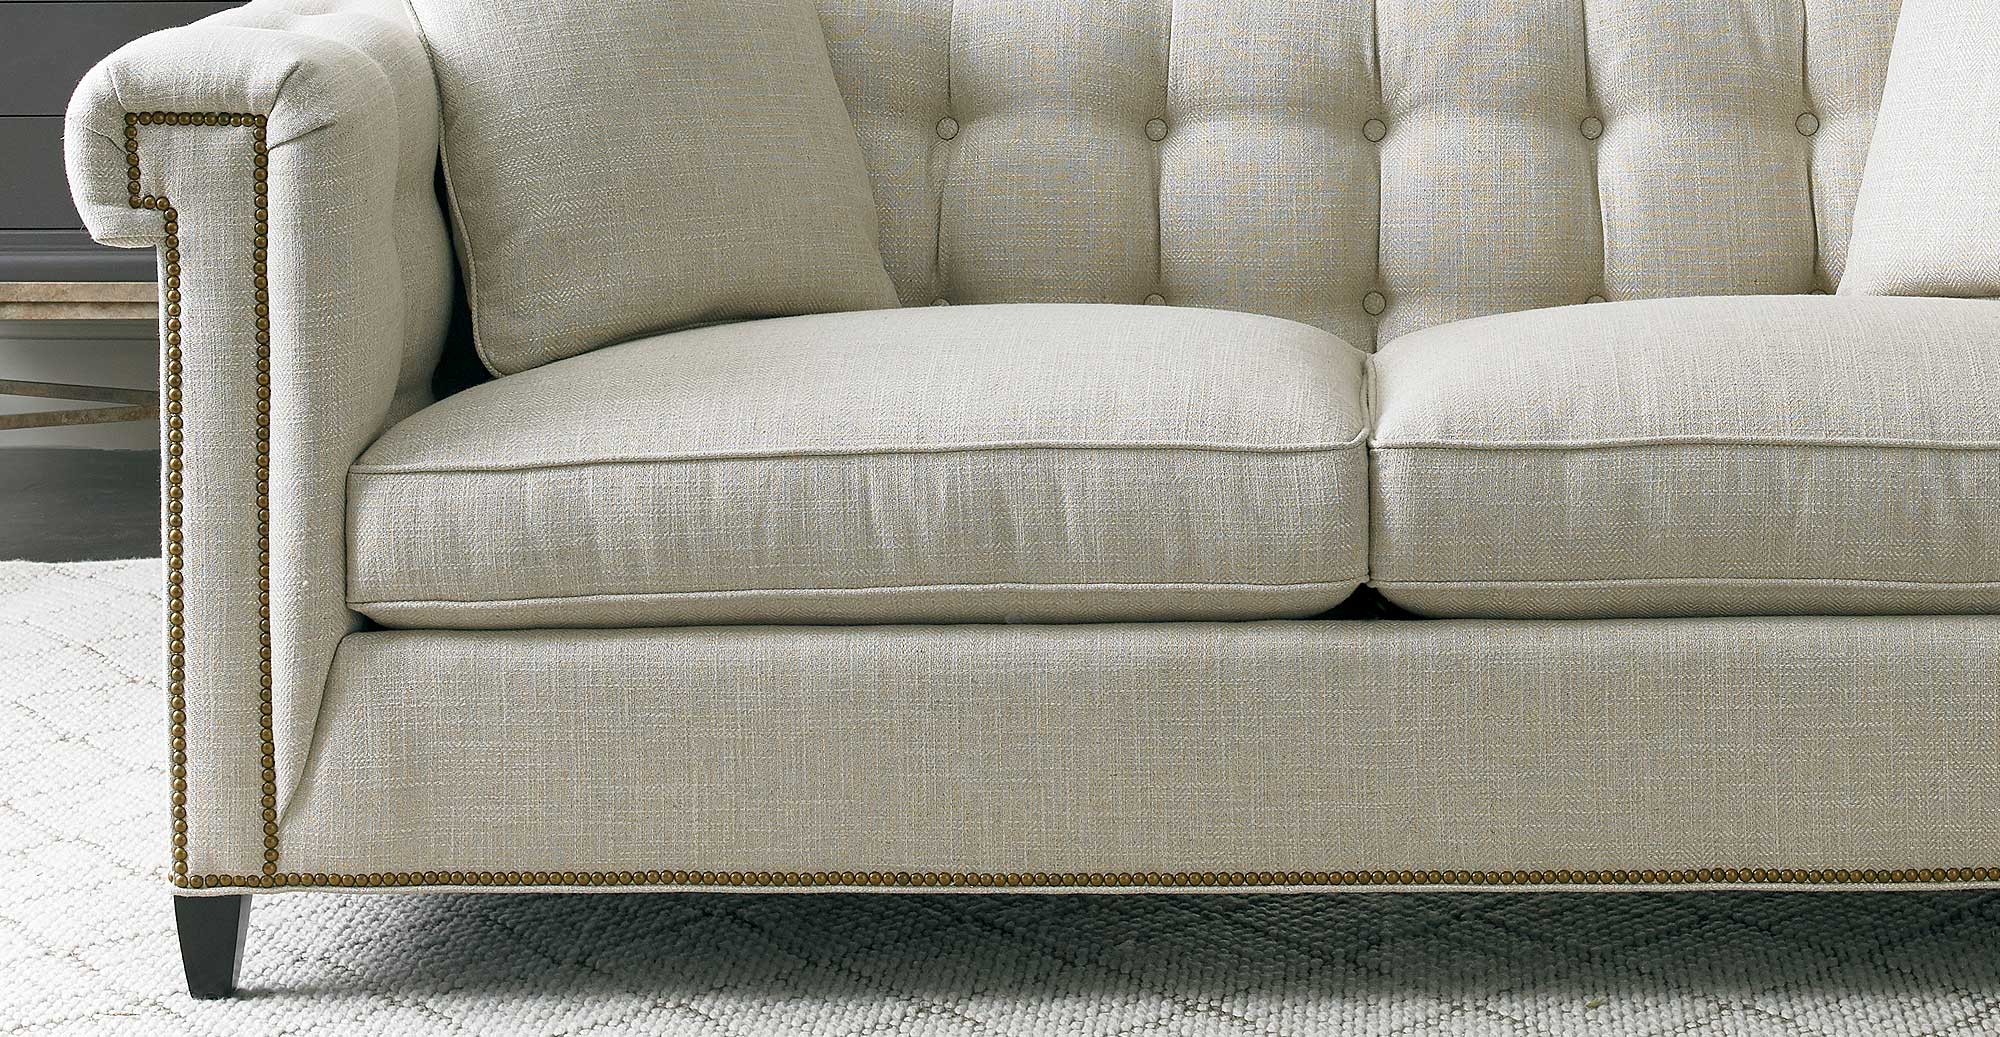
First, lay out the new nailhead trim along the edge of your sofa to ensure it is the correct length. If needed, you can cut the trim to fit using wire cutters. Next, using a rubber mallet, gently tap the nails into place along the edge of the sofa. Make sure the nails are evenly spaced and secure. If you make a mistake, you can use the pliers to pull out the nail and try again.Replacing Nailhead Trim on a Leather Couch


Replacing Nailhead Trim on a Leather Couch


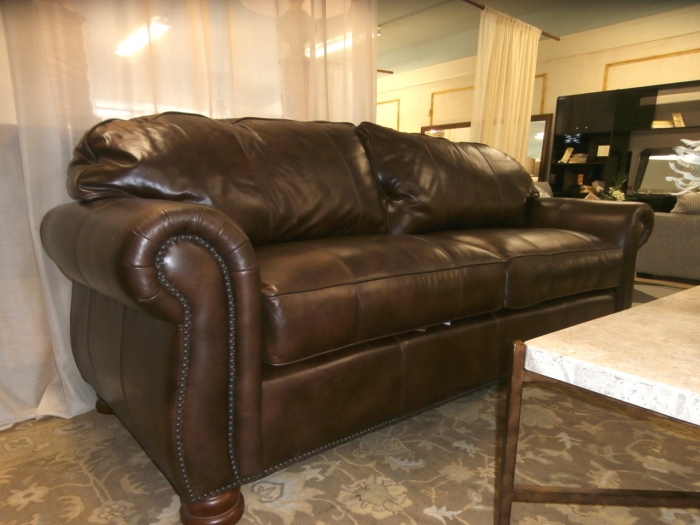

If your leather sofa has any damage or tears, now is the time to repair them. You can purchase leather repair kits at most hardware stores or online. Follow the instructions carefully to patch up any damaged areas. Once the repairs are complete, you can continue with adding the new nailhead trim.Leather Sofa Nailhead Repair


Leather Sofa Nailhead Repair


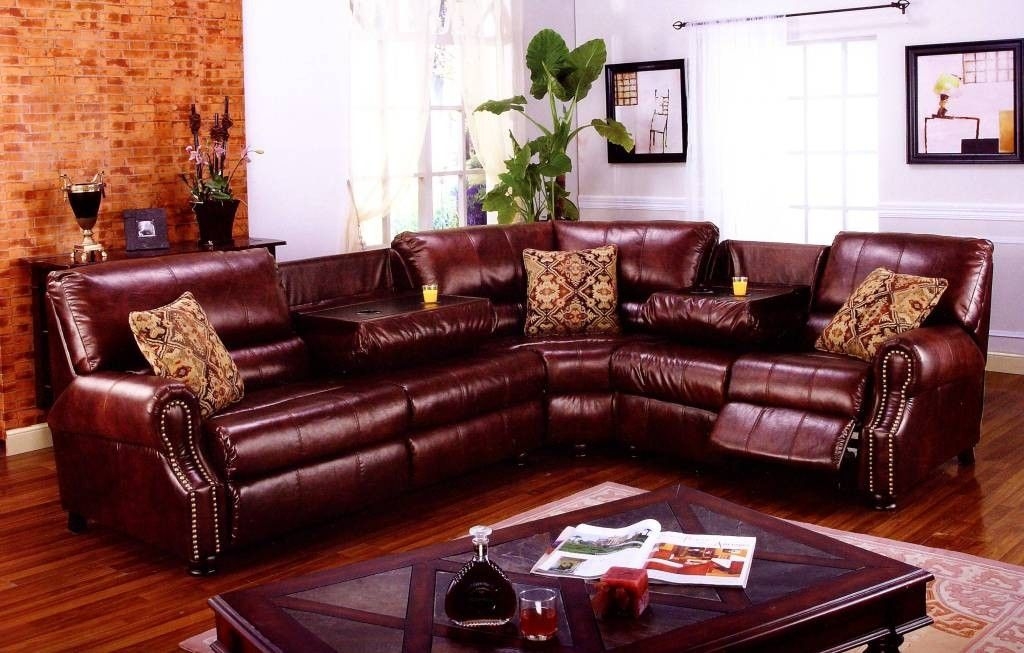
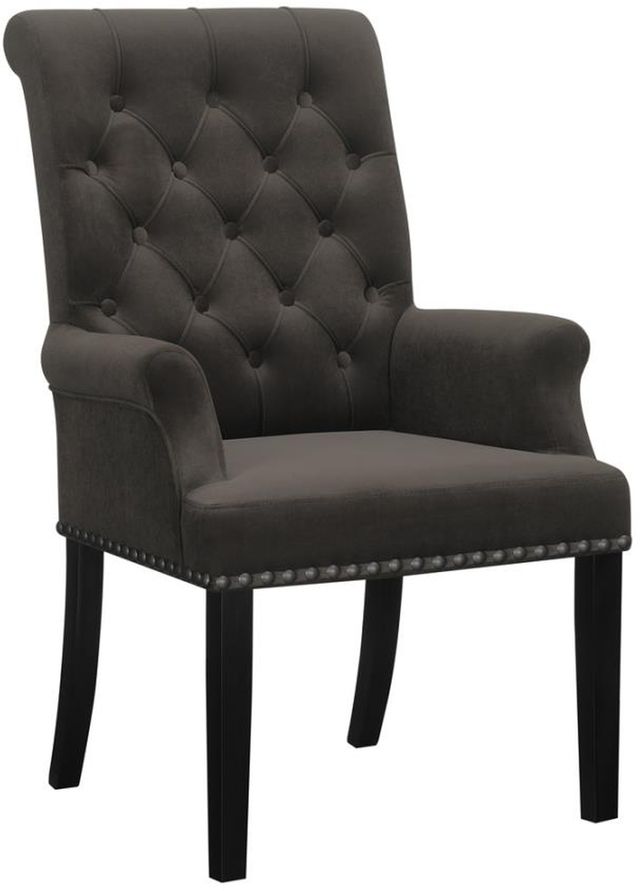
If you have other leather furniture in the room, such as a chair or ottoman, you may want to consider replacing the nailhead trim on those pieces as well. This will help create a cohesive look in your space. Follow the same process for removing and replacing the trim on these pieces, making sure to measure and cut as needed.Removing and Replacing Nailhead Trim on Leather Furniture


Removing and Replacing Nailhead Trim on Leather Furniture


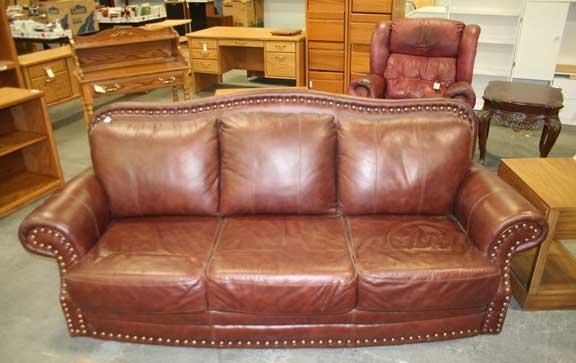
Once you have finished replacing the nailhead trim, flip your sofa back over and admire your handiwork. The new trim will add a fresh and updated look to your sofa, making it look like new again. Plus, you can take pride in knowing that you completed this project yourself and saved money in the process.Replacing Nailhead Trim on a Leather Sofa
Replacing Nailhead Trim on a Leather Sofa

For those who prefer visual instructions, there are plenty of tutorials available online that can guide you through the process of replacing nailhead trim on a leather sofa. You can also find step-by-step guides and videos that can help if you run into any issues along the way.Leather Sofa Nailhead Replacement Tutorial

Leather Sofa Nailhead Replacement Tutorial


Keep in mind that replacing nailhead trim on a leather couch may require some patience and precision. Take your time and make sure the trim is evenly spaced and secure. It's also a good idea to have a friend or family member help you to ensure the trim is straight and aligned.How to Replace Nailhead Trim on a Leather Couch


How to Replace Nailhead Trim on a Leather Couch
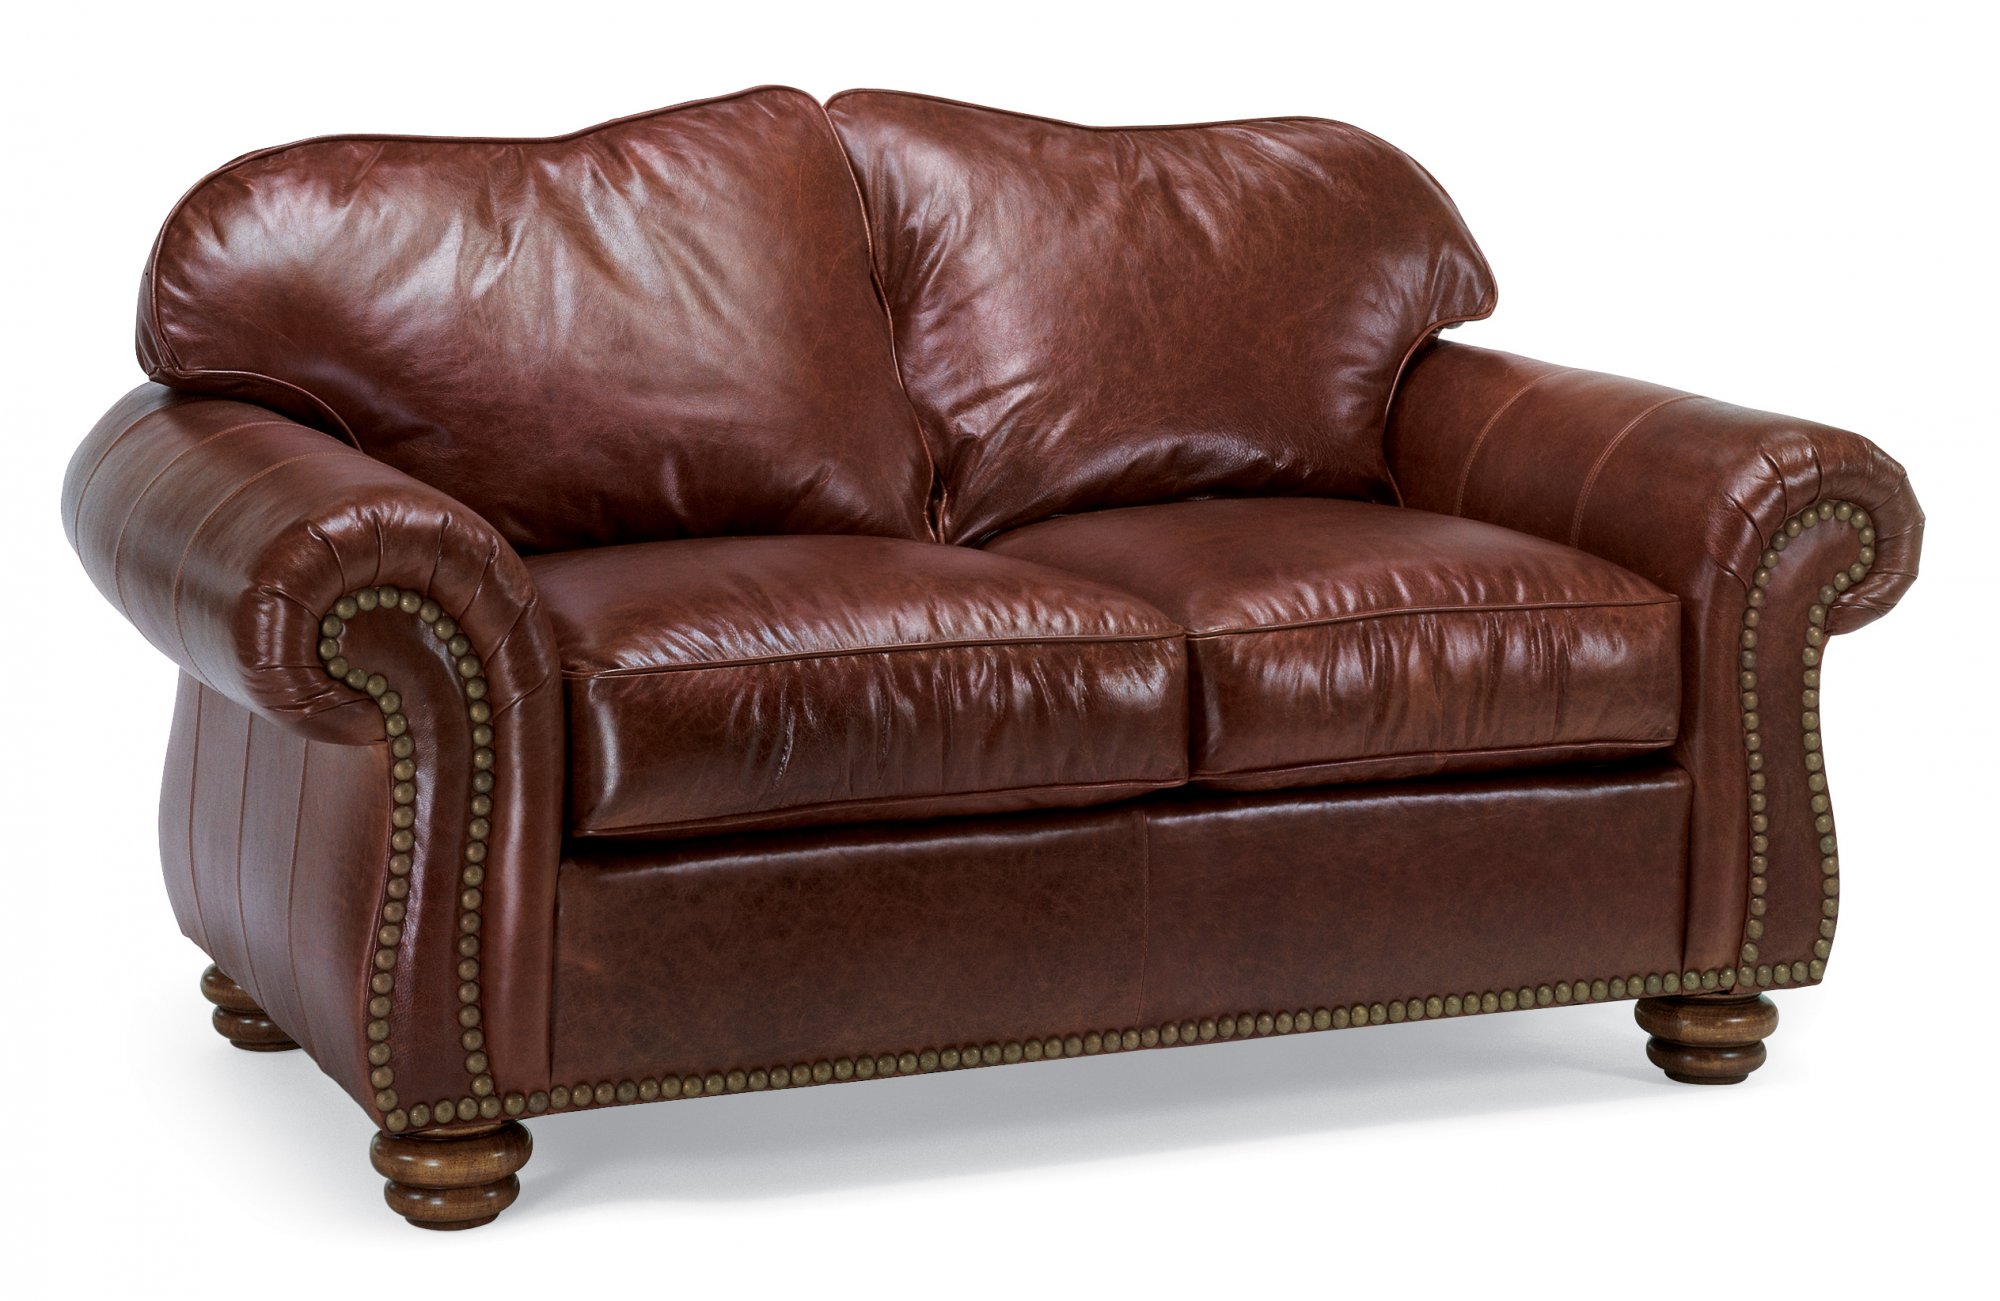
Don't forget about your loveseat! If you have a leather loveseat in the room with your sofa, consider replacing the nailhead trim on it as well. This will help create a cohesive and updated look in your space. Plus, it can be a fun project to do with a partner or friend. In conclusion, replacing the nailhead trim on your leather sofa is a simple and cost-effective way to give it a fresh and updated look. With a few tools and some patience, you can complete this DIY project and have a beautiful sofa that will impress your guests. So don't wait any longer, start your nailhead trim replacement project today and see the amazing difference it can make in your home!Replacing Nailhead Trim on a Leather Loveseat


Replacing Nailhead Trim on a Leather Loveseat


How to Replace Nailhead from a Leather Sofa: A Step-by-Step Guide

Introduction to Leather Sofas
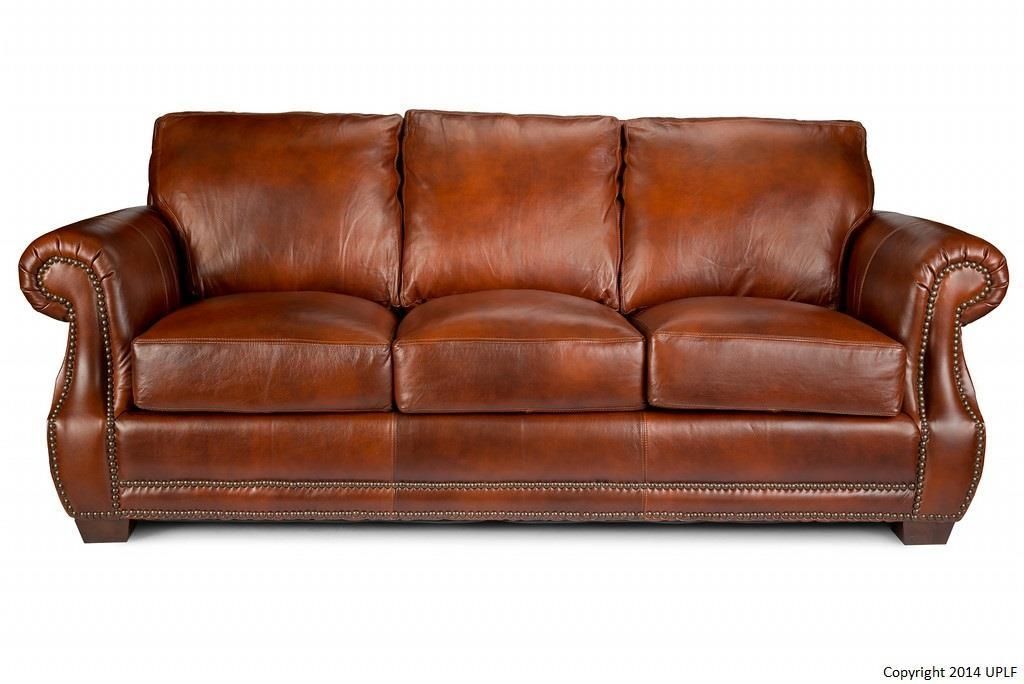
 Leather sofas are a luxurious and durable addition to any home, providing both style and comfort. However, over time, the decorative nailheads on the edges of the sofa may become loose, fall off, or lose their shine. This can take away from the overall aesthetic of the sofa and make it look worn out. Fortunately, replacing nailheads on a leather sofa is a simple and cost-effective solution that can breathe new life into your furniture. In this article, we will guide you through the process of replacing nailheads from a leather sofa, so you can restore its original beauty.
Step 1: Gather Your Materials
 Before you begin, make sure you have all the necessary materials. You will need a hammer, a pair of pliers, replacement nailheads, and a cloth to protect the leather from scratches.
Step 2: Remove the Old Nailheads
 Using the pliers, carefully remove the old nailheads from the sofa. Be gentle to avoid damaging the leather. If the nailheads are difficult to remove, you can use a flathead screwdriver to pry them off.
Step 3: Clean the Area
 Once all the old nailheads have been removed, use a mild soap and water solution to clean the area. This will remove any dirt or residue and ensure a smooth surface for the new nailheads.
Step 4: Position the New Nailheads
 Take your replacement nailheads and position them in the same spots where the old ones were. Make sure they are evenly spaced and straight for a professional look.
Step 5: Hammer in the New Nailheads
 Using your hammer, gently tap the new nailheads into place. Be careful not to hit them too hard, as this can damage the leather. If you are having trouble getting the nailheads to stay in place, you can use a drop of super glue on the back of each one.
Step 6: Protect the Leather
 To prevent any scratches or damage to the leather, place a cloth over the area where you will be hammering. This will also help to ensure that the nailheads are properly secured into place.
Step 7: Enjoy Your Newly Revamped Sofa
 Once all the new nailheads are in place, take a step back and admire your handiwork. Your leather sofa will now look as good as new, and the nailheads will add a touch of elegance to the overall design.
In Conclusion
Replacing nailheads from a leather sofa is a simple and budget-friendly way to give your furniture a fresh new look. By following these easy steps, you can restore the charm and beauty of your leather sofa and continue to enjoy it for years to come. So, next time you notice loose or missing nailheads, don't panic, just grab your tools and get to work!
Once all the new nailheads are in place, take a step back and admire your handiwork. Your leather sofa will now look as good as new, and the nailheads will add a touch of elegance to the overall design.
In Conclusion
Replacing nailheads from a leather sofa is a simple and budget-friendly way to give your furniture a fresh new look. By following these easy steps, you can restore the charm and beauty of your leather sofa and continue to enjoy it for years to come. So, next time you notice loose or missing nailheads, don't panic, just grab your tools and get to work!