Replacing a kitchen sink sprayer hose may seem like a daunting task, but with the right tools and knowledge, it can be a quick and easy DIY project. Whether your old hose is leaking or you simply want to upgrade to a new one, this step-by-step guide will walk you through the process of replacing your kitchen sink sprayer hose in just 5 simple steps.How to Replace a Kitchen Sink Sprayer Hose
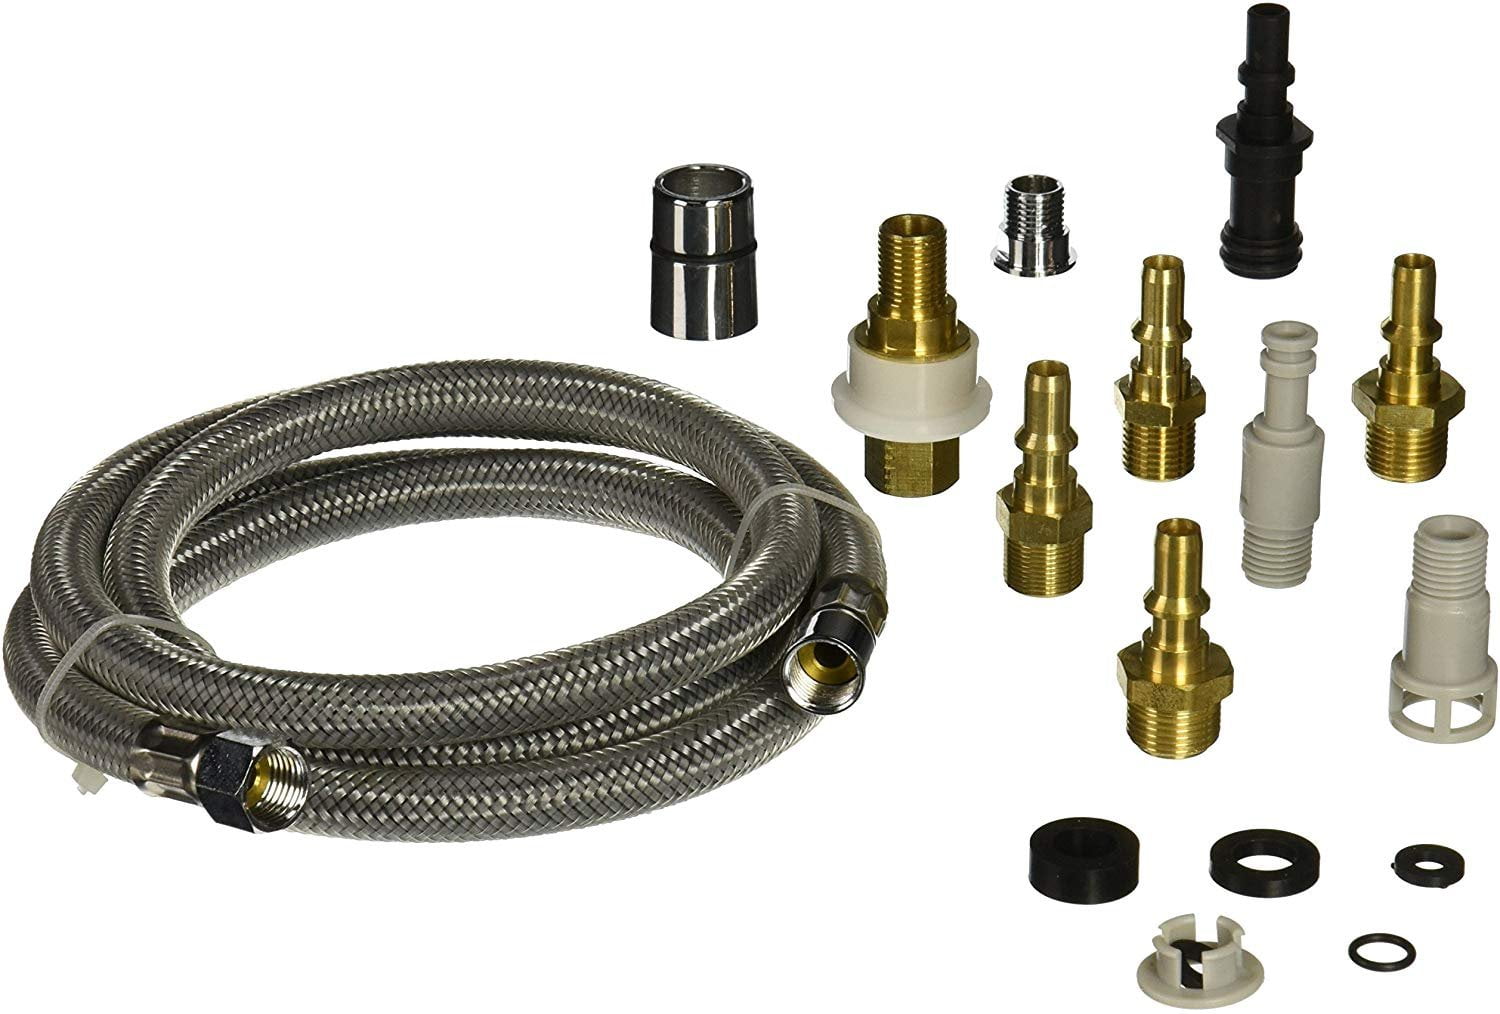
Before you begin, make sure you have all the necessary tools and materials on hand. This will save you time and hassle in the long run. Here's what you'll need:Step 1: Gather Your Tools and Materials
Before you start working on your sink, it's important to turn off the water supply. Look for the shut-off valves under the sink and turn them clockwise to shut off the water. If you can't find the shut-off valves, you may need to turn off the main water supply to your house.Step 2: Turn Off the Water Supply
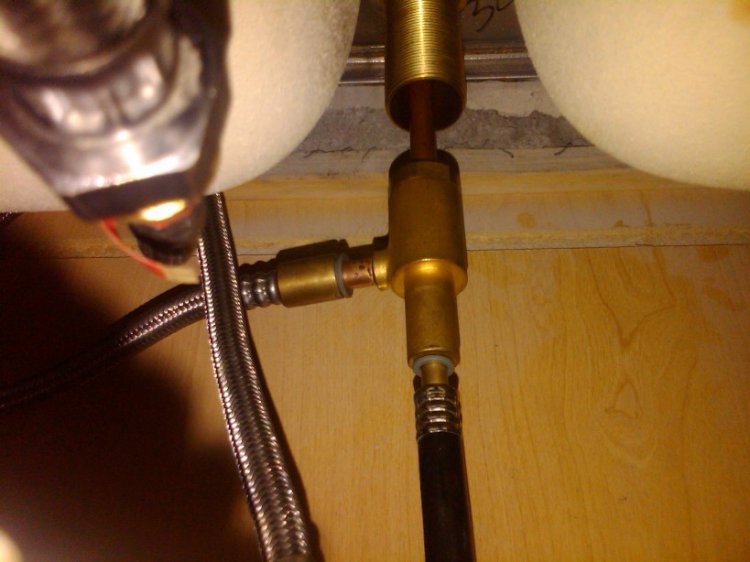
Using your adjustable wrench, loosen the nut that connects the hose to the sprayer head. Once the nut is loose, pull the hose out of the sprayer head. Next, loosen the nut that connects the hose to the water supply pipe and remove the hose. Tip: If the nuts are difficult to loosen, try using some WD-40 to help loosen them.Step 3: Remove the Old Hose
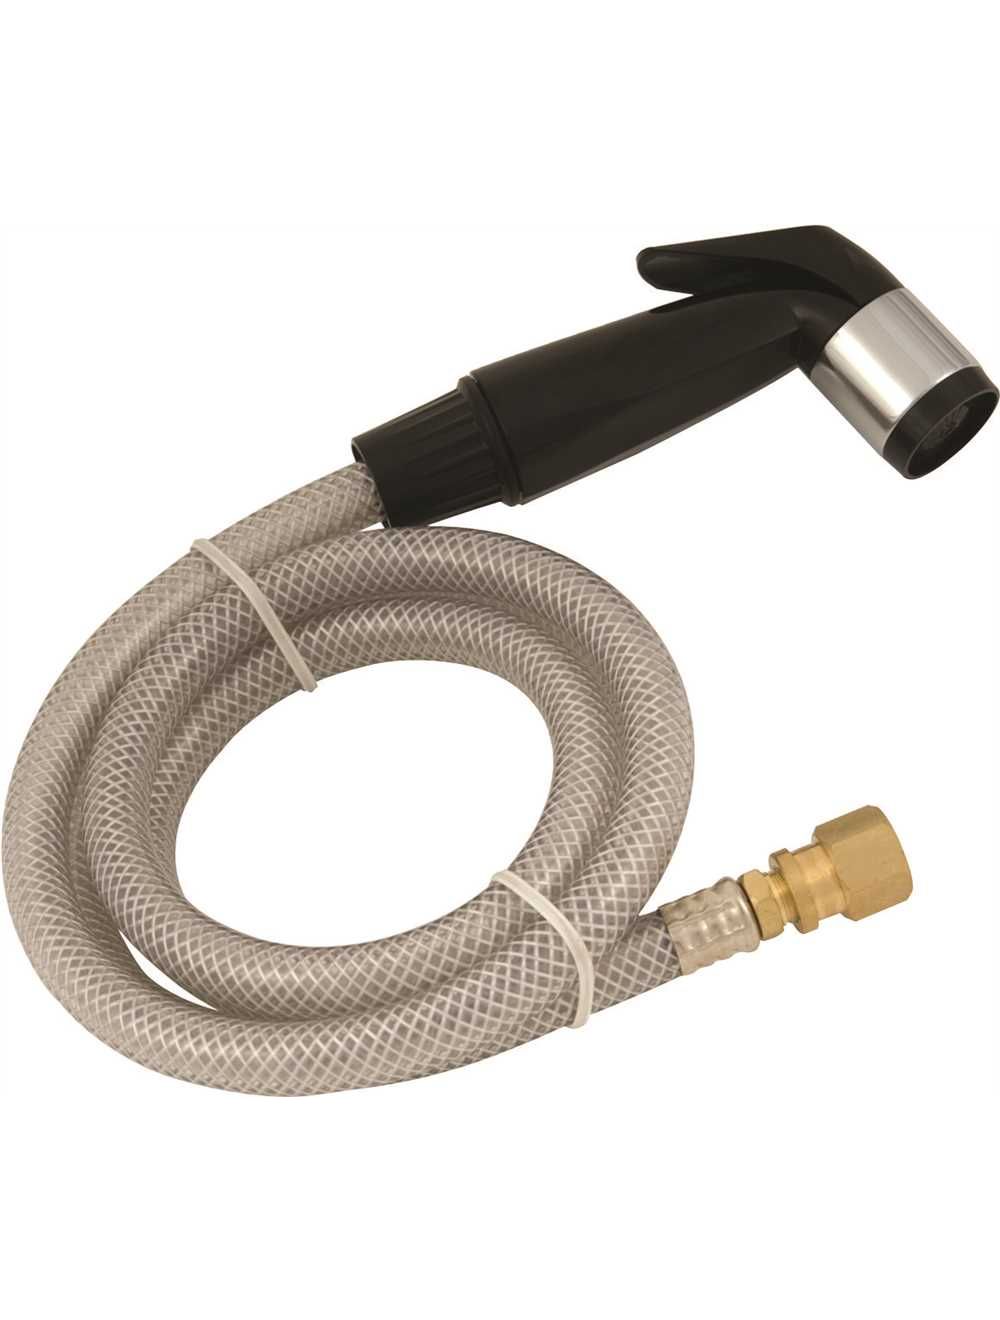
Take your new hose and wrap plumber's tape around the threads of the nut that connects to the water supply pipe. This will create a tight seal and prevent leaks. Insert the new hose into the water supply pipe and tighten the nut with your adjustable wrench. Next, insert the other end of the hose into the sprayer head and tighten the nut. Make sure both connections are secure and there are no leaks.Step 4: Install the New Hose
Once the new hose is securely in place, turn the water supply back on and test your new sprayer. If there are no leaks and the sprayer is working properly, congratulations! You have successfully replaced your kitchen sink sprayer hose.Step 5: Turn the Water Supply Back On
As you can see, replacing a kitchen sink sprayer hose is a simple and straightforward process. With the right tools and a little bit of know-how, you can easily tackle this DIY project and have a functional and leak-free sprayer in no time. Remember to always turn off the water supply before starting any work on your sink, and be sure to use plumber's tape to create a watertight seal. With these tips and tricks, you can confidently replace your kitchen sink sprayer hose and keep your sink in top working condition.In Conclusion
Why You Should Replace Your Kitchen Sink Sprayer Hose
 Replacing your kitchen sink sprayer hose may not be the most glamorous home renovation task, but it is an important one. The kitchen sink sprayer hose is an essential component of your sink, allowing for easy cleaning and rinsing of dishes and other items. Over time, wear and tear can cause the sprayer hose to become damaged or clogged, making it less effective and even unsanitary. In this article, we will discuss why it is important to replace your kitchen sink sprayer hose and how to do it effectively.
The Benefits of Replacing Your Kitchen Sink Sprayer Hose
 The main benefit of replacing your kitchen sink sprayer hose is improved functionality. As mentioned, over time the hose can become damaged or clogged, which can affect the water pressure and flow. This can make it difficult to clean dishes and other items effectively. By replacing the hose, you can ensure that your sink sprayer is working at its best, making cleaning tasks easier and more efficient.
Another benefit of replacing your sink sprayer hose is improved hygiene. Over time, debris and bacteria can build up in the hose, creating a breeding ground for germs. This can lead to potential health hazards and unpleasant odors in your kitchen. By replacing the hose, you can eliminate any potential bacteria and ensure a clean and sanitary environment for food preparation and dishwashing.
How to Replace Your Kitchen Sink Sprayer Hose
 Replacing your kitchen sink sprayer hose is a relatively simple task that can be done by most homeowners. The first step is to turn off the water supply to your sink. This can usually be done by turning off the shut-off valves located under the sink.
Next, you will need to disconnect the old hose from the sprayer head and the water supply line. This can usually be done by unscrewing the connections with a pair of pliers. Once the old hose is removed, you can then attach the new hose in its place. Make sure to securely tighten all connections to prevent any leaks.
After the new hose is installed, turn the water supply back on and test the sprayer to ensure proper functionality. If there are any leaks, make sure to tighten the connections or replace any damaged parts.
Conclusion
 In conclusion, replacing your kitchen sink sprayer hose is an important task that can improve the functionality and hygiene of your sink. By following these simple steps, you can easily replace the hose and ensure a clean and efficient kitchen. Don't neglect this important maintenance task and enjoy a fully functional and sanitary sink sprayer.


:max_bytes(150000):strip_icc()/installing-a-kitchen-sink-sprayer-2718817-03-514088ddb922466eb3d4cd73f3aa85f4.jpg)













:max_bytes(150000):strip_icc()/_hero_4109254-feathertop-5c7d415346e0fb0001a5f085.jpg)

