How to Replace a Kitchen Sink Sprayer Diverter
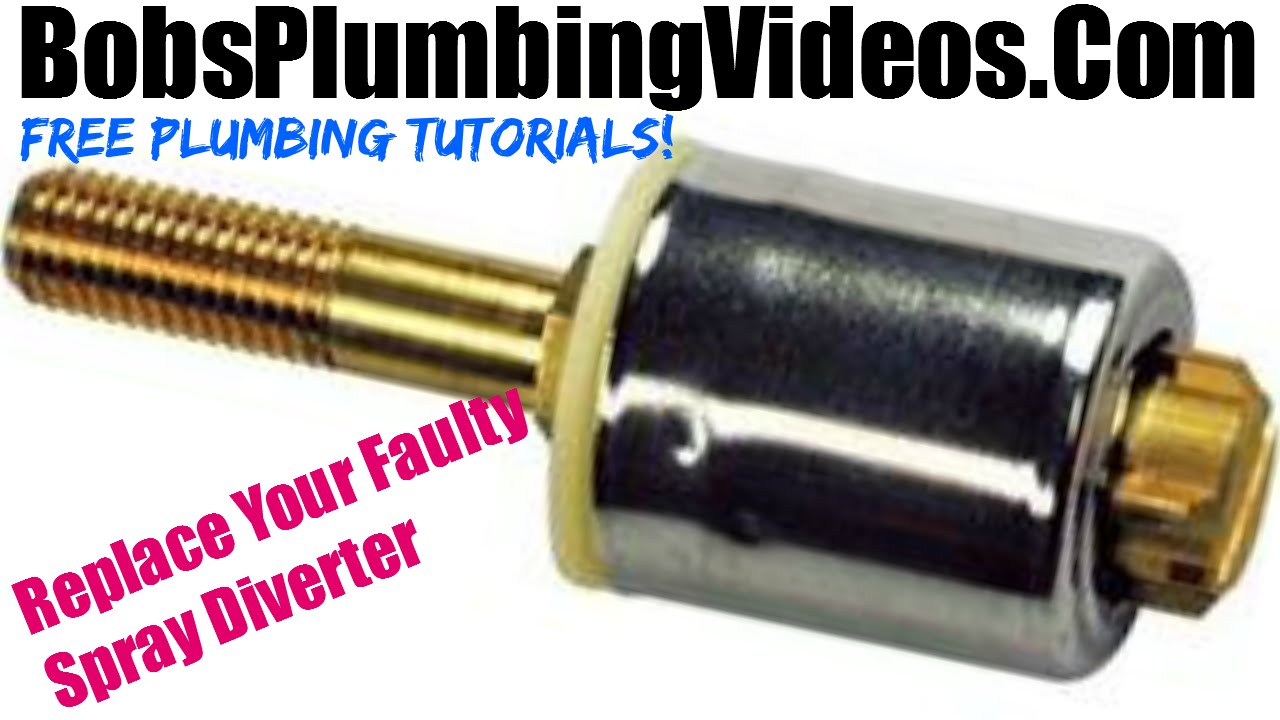
If your kitchen sink sprayer diverter is no longer functioning properly, it may be time to replace it. This small but important component is responsible for diverting water from the faucet to the sprayer when you press the trigger. If it’s not working, you won’t be able to use your sprayer, making tasks like washing dishes and filling pots much more difficult. Fortunately, replacing a kitchen sink sprayer diverter is a relatively simple and straightforward process that you can do yourself. In this article, we’ll guide you through the steps of replacing your kitchen sink sprayer diverter so you can get your sprayer working again in no time.


How to Replace a Kitchen Sink Sprayer Diverter


Replacing a Kitchen Sink Sprayer Diverter: A Step-by-Step Guide
Before you begin, make sure you have the necessary tools and materials. You’ll need a new sprayer diverter, an adjustable wrench, and some plumber’s tape. Once you have everything ready, follow these steps:


Replacing a Kitchen Sink Sprayer Diverter: A Step-by-Step Guide


Replacing a Kitchen Sink Sprayer Diverter: Tips and Tricks
Here are a few tips and tricks to keep in mind when replacing your kitchen sink sprayer diverter:


DIY: Replacing a Kitchen Sink Sprayer Diverter


Replacing a Kitchen Sink Sprayer Diverter: What You Need to Know
Now that you know how to replace your kitchen sink sprayer diverter, there are a few things to keep in mind to ensure your new diverter works properly:


Replacing a Kitchen Sink Sprayer Diverter: Tips and Tricks

/25089301983_c5145fe85d_o-58418ef15f9b5851e5f392b5.jpg)
How to Replace a Kitchen Sink Sprayer Diverter in 5 Easy Steps
To summarize, here are the 5 easy steps to follow when replacing your kitchen sink sprayer diverter:


Step-by-Step Guide to Replacing a Kitchen Sink Sprayer Diverter


Replacing a Kitchen Sink Sprayer Diverter: Common Mistakes to Avoid
While replacing a kitchen sink sprayer diverter is a relatively simple task, there are some common mistakes that can cause problems. These include:

Replacing a Kitchen Sink Sprayer Diverter: What You Need to Know

DIY: How to Replace a Kitchen Sink Sprayer Diverter
Now that you know how to replace your kitchen sink sprayer diverter, you can save time and money by doing it yourself. With the right tools and a little bit of know-how, you can have your sprayer working like new in no time. Just remember to turn off the water supply and follow the steps outlined in this article for a smooth and successful replacement.


How to Replace a Kitchen Sink Sprayer Diverter in 5 Easy Steps


Replacing a Kitchen Sink Sprayer Diverter: Troubleshooting Tips
If you encounter any issues while replacing your kitchen sink sprayer diverter, here are a few troubleshooting tips to help you out:

Replacing a Kitchen Sink Sprayer Diverter: Common Mistakes to Avoid
How to Replace a Kitchen Sink Sprayer Diverter for a Fresh and Functional Look

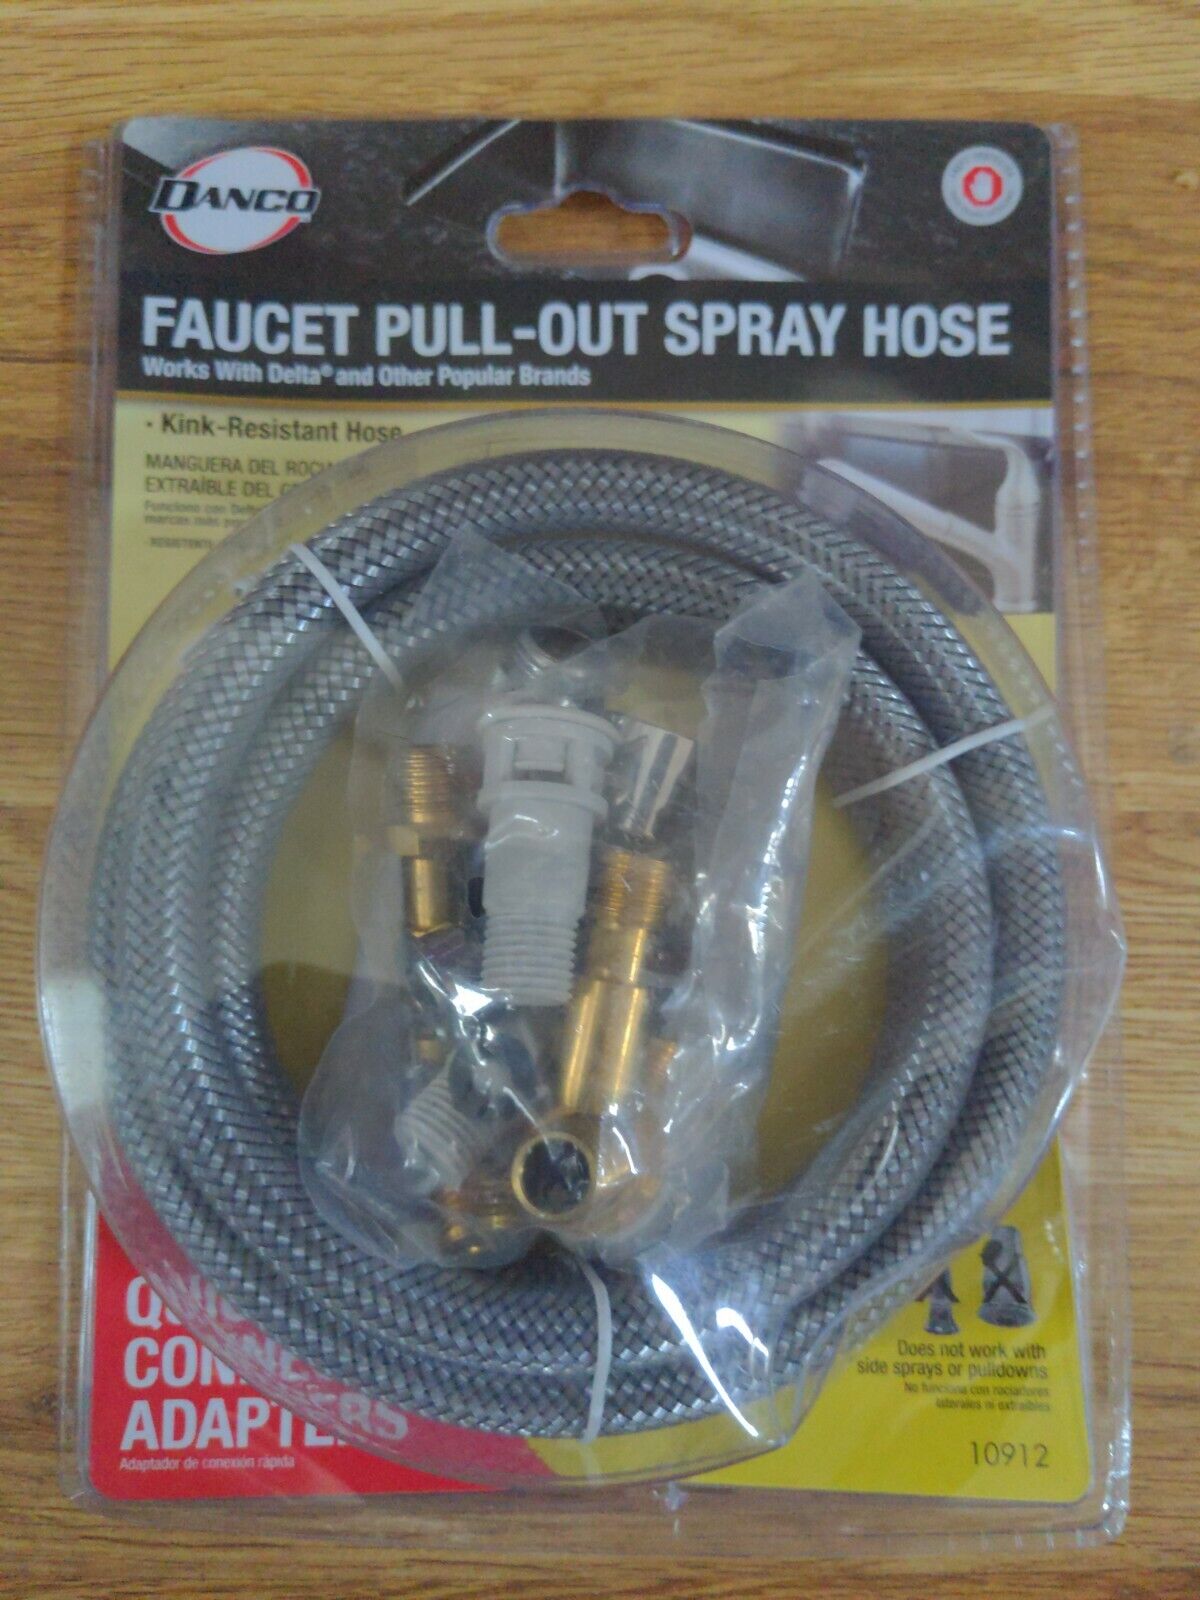
Step 1: Gather Your Supplies
 Before you begin the process of replacing your kitchen sink sprayer diverter, make sure you have all the necessary supplies. These include a new sprayer diverter, an adjustable wrench, plumber's tape, and a towel or cloth.
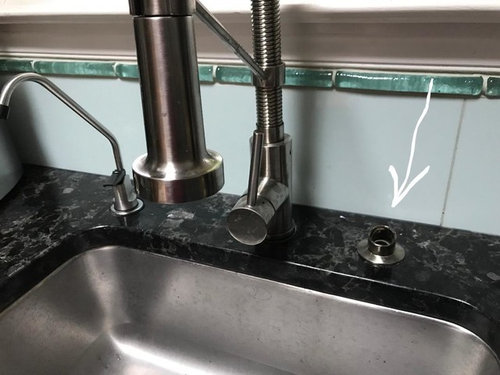
Step 2: Turn Off the Water Supply
 Before starting any plumbing project, it is important to turn off the water supply to your kitchen sink. This can typically be done by turning off the shut-off valves located under the sink. If you cannot locate these valves, you may need to turn off the main water valve for your house.
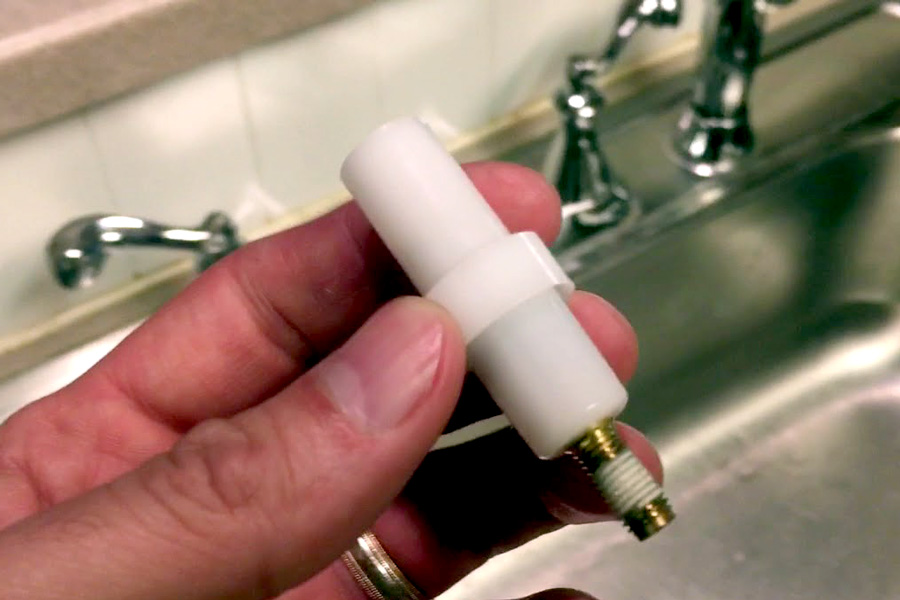
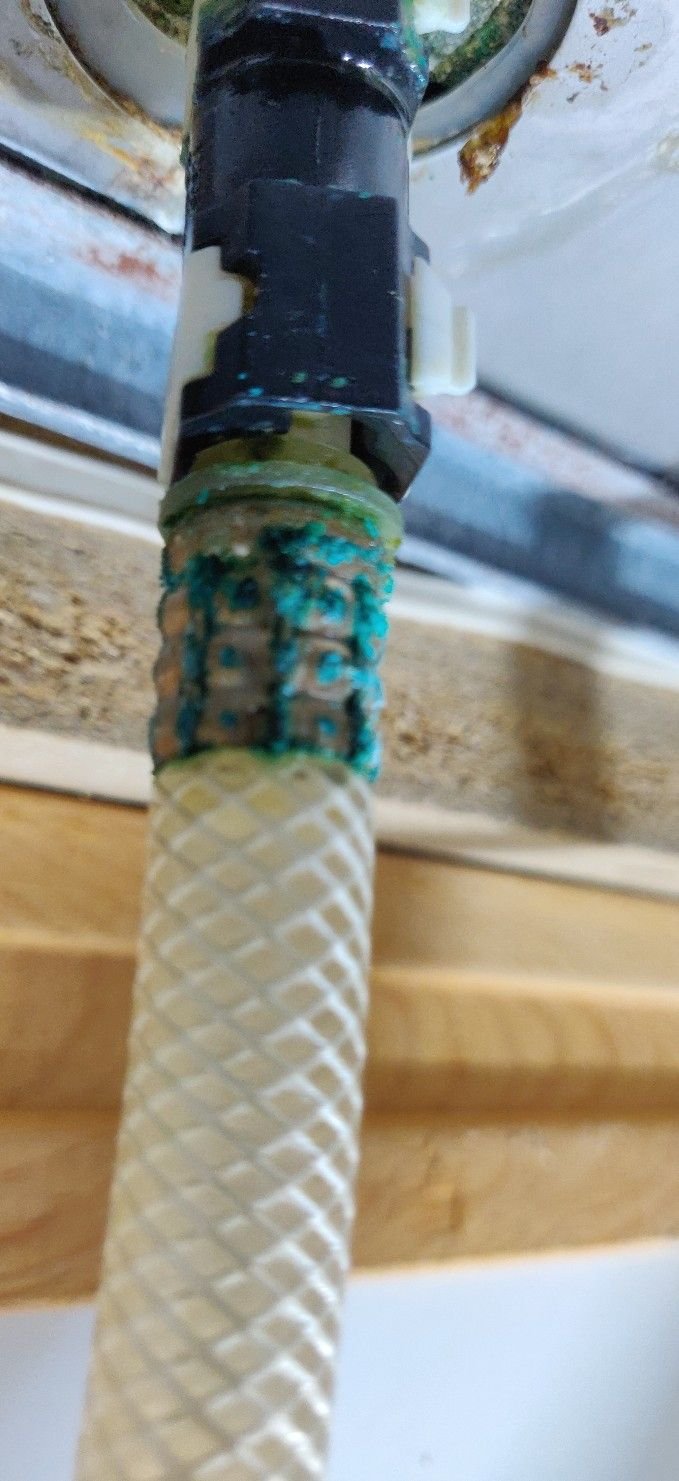
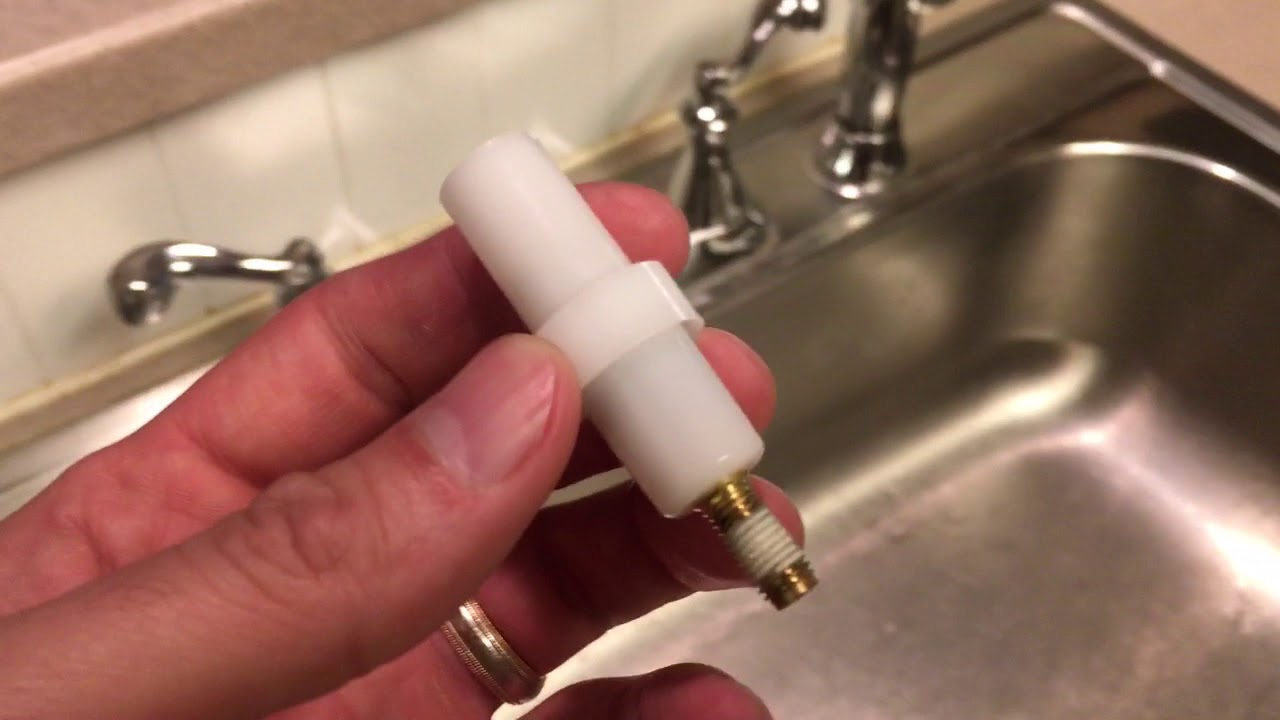
Step 3: Disconnect the Old Sprayer Diverter
 Use your adjustable wrench to loosen and disconnect the old sprayer diverter from the hose that connects it to the water supply. Make sure to place a towel or cloth under the connection to catch any water that may drip out.
Step 4: Install the New Sprayer Diverter
 Take your new sprayer diverter and apply plumber's tape to the threads. This will help create a tight seal and prevent any leaks. Then, screw the new sprayer diverter onto the hose and tighten with your adjustable wrench.
Step 5: Test the New Sprayer Diverter
 Once the new sprayer diverter is securely installed, turn the water supply back on and test the new sprayer. Make sure there are no leaks and that the sprayer is functioning properly.
Step 6: Enjoy Your Fresh and Functional Kitchen Sink
 Replacing a kitchen sink sprayer diverter may seem like a daunting task, but with the right tools and a little bit of know-how, it can be easily accomplished. Not only will this simple upgrade give your kitchen a fresh and updated look, but it will also ensure that your sink is functioning at its best.
Kitchen sink sprayer diverter
replacement is just one of many small changes you can make to improve the overall design and functionality of your house. By regularly maintaining and updating different aspects of your home, you can create a space that is both beautiful and efficient. So don't be afraid to tackle those DIY projects and give your house the love and care it deserves.
Replacing a kitchen sink sprayer diverter may seem like a daunting task, but with the right tools and a little bit of know-how, it can be easily accomplished. Not only will this simple upgrade give your kitchen a fresh and updated look, but it will also ensure that your sink is functioning at its best.
Kitchen sink sprayer diverter
replacement is just one of many small changes you can make to improve the overall design and functionality of your house. By regularly maintaining and updating different aspects of your home, you can create a space that is both beautiful and efficient. So don't be afraid to tackle those DIY projects and give your house the love and care it deserves.
Conclusion
 In conclusion, replacing a kitchen sink sprayer diverter is a simple and cost-effective way to improve the functionality and aesthetics of your kitchen. By following these easy steps, you can easily upgrade your kitchen sink and enjoy a fresh and functional space. Remember to regularly maintain and update different aspects of your home to create a house that you are proud to call home.