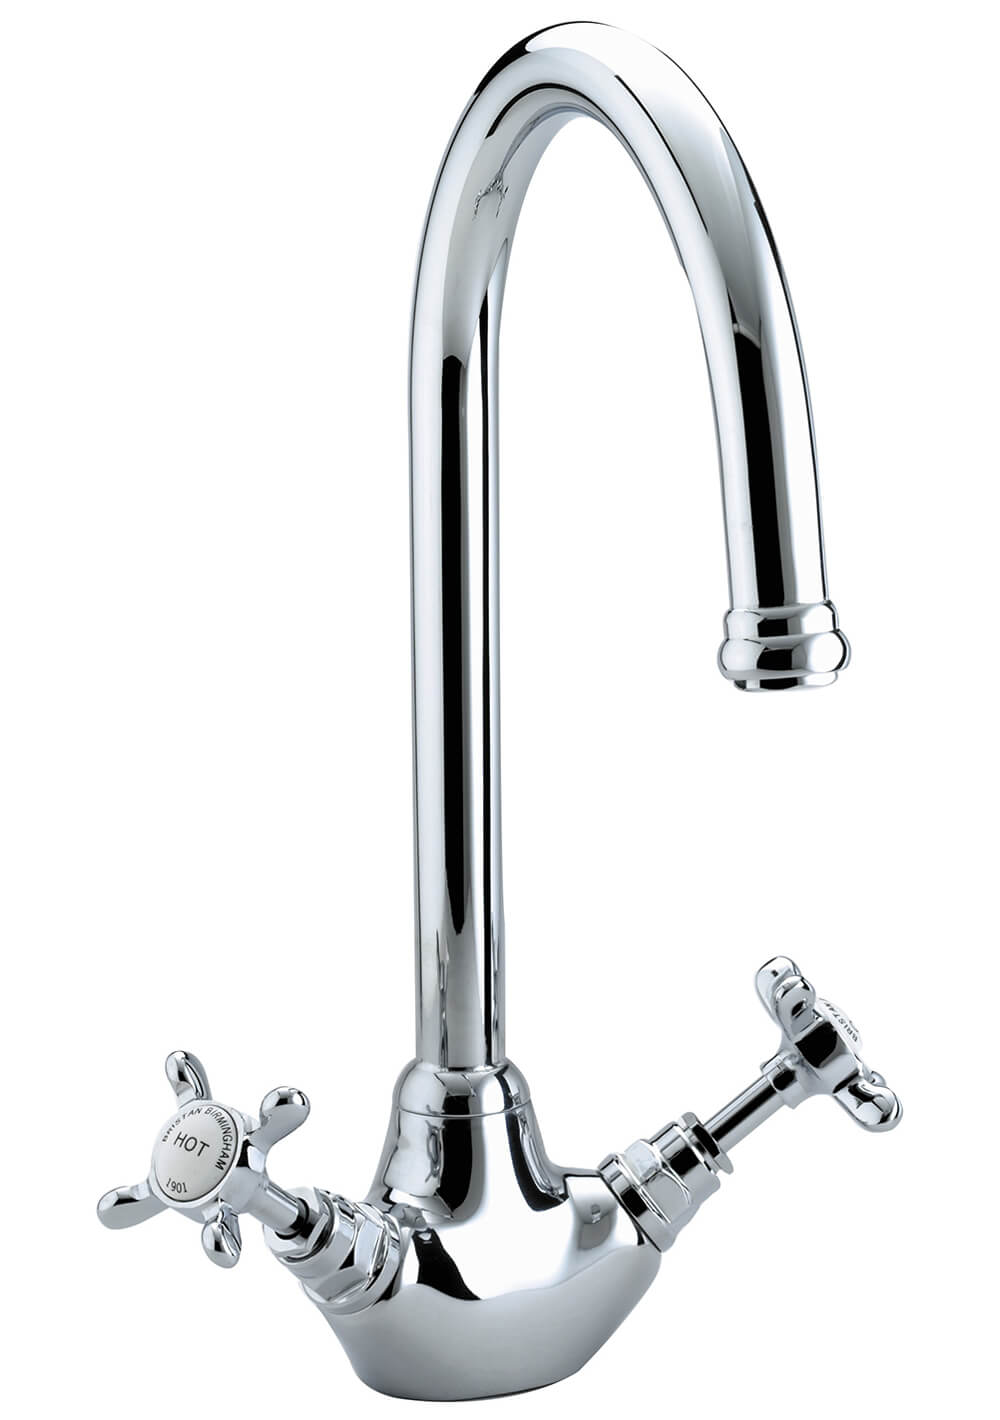
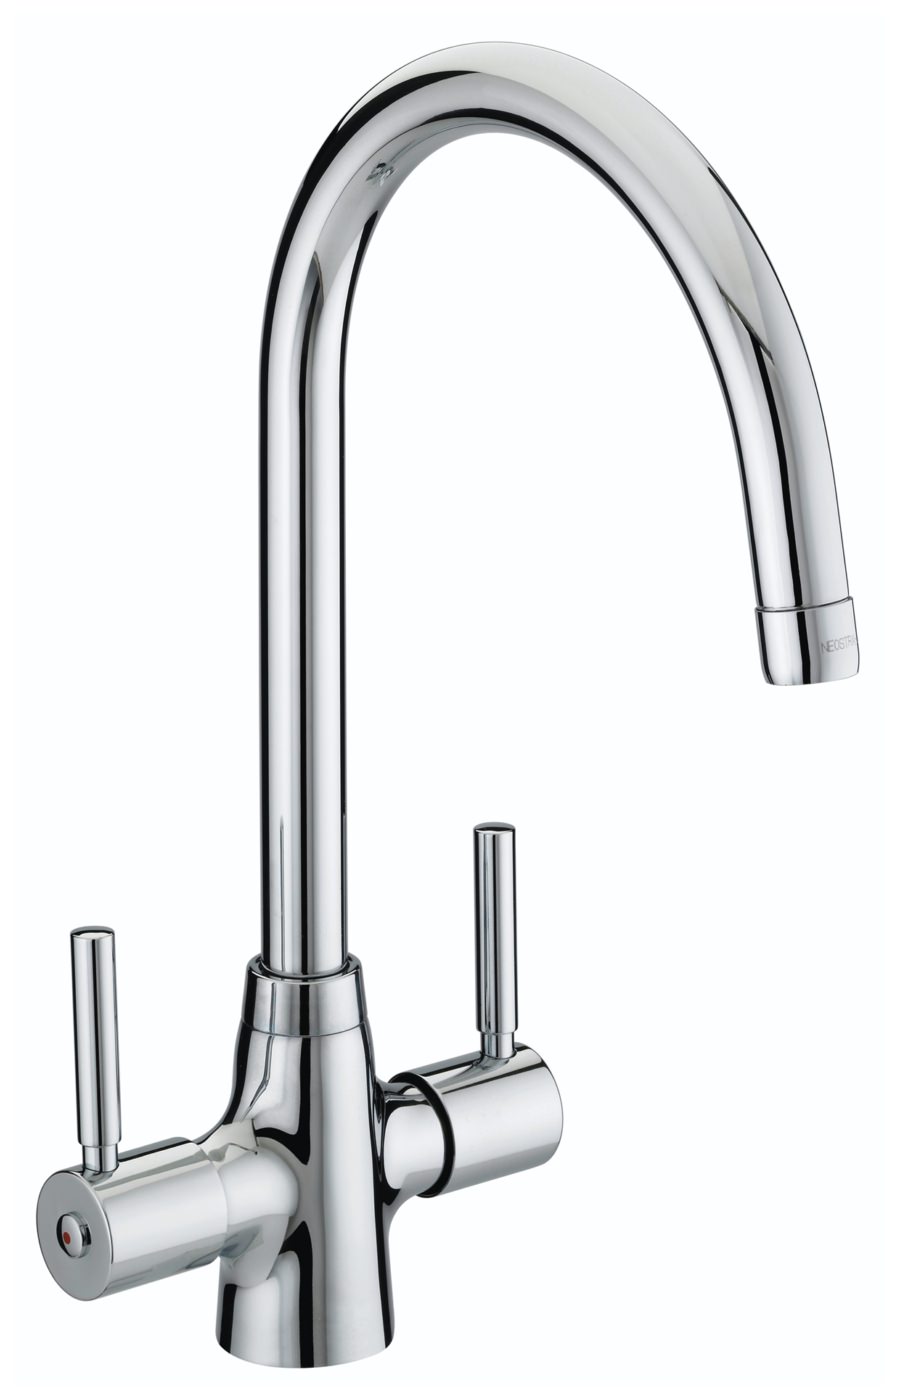
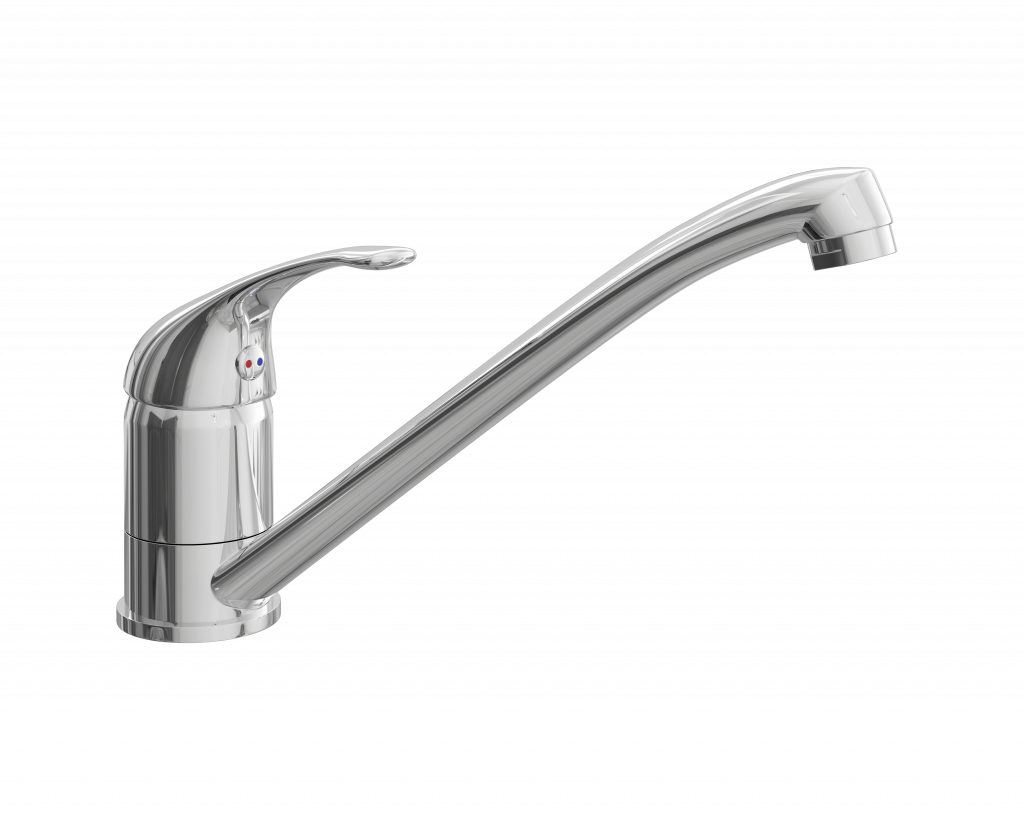
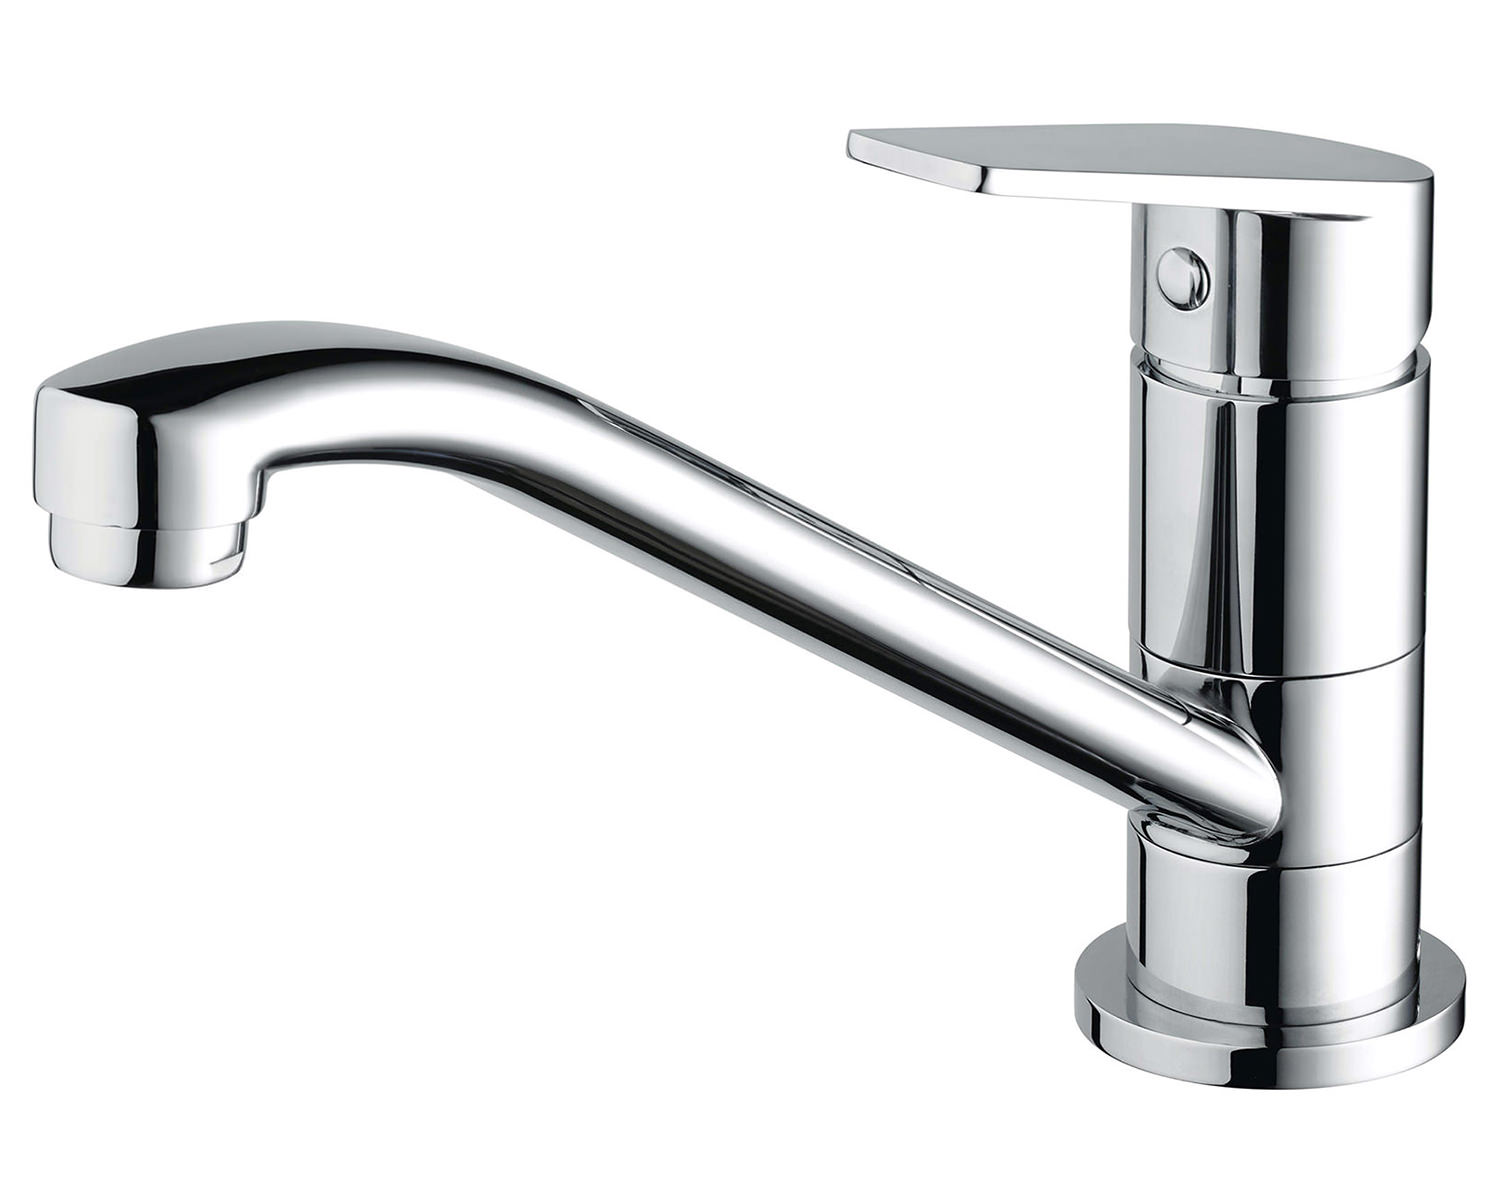
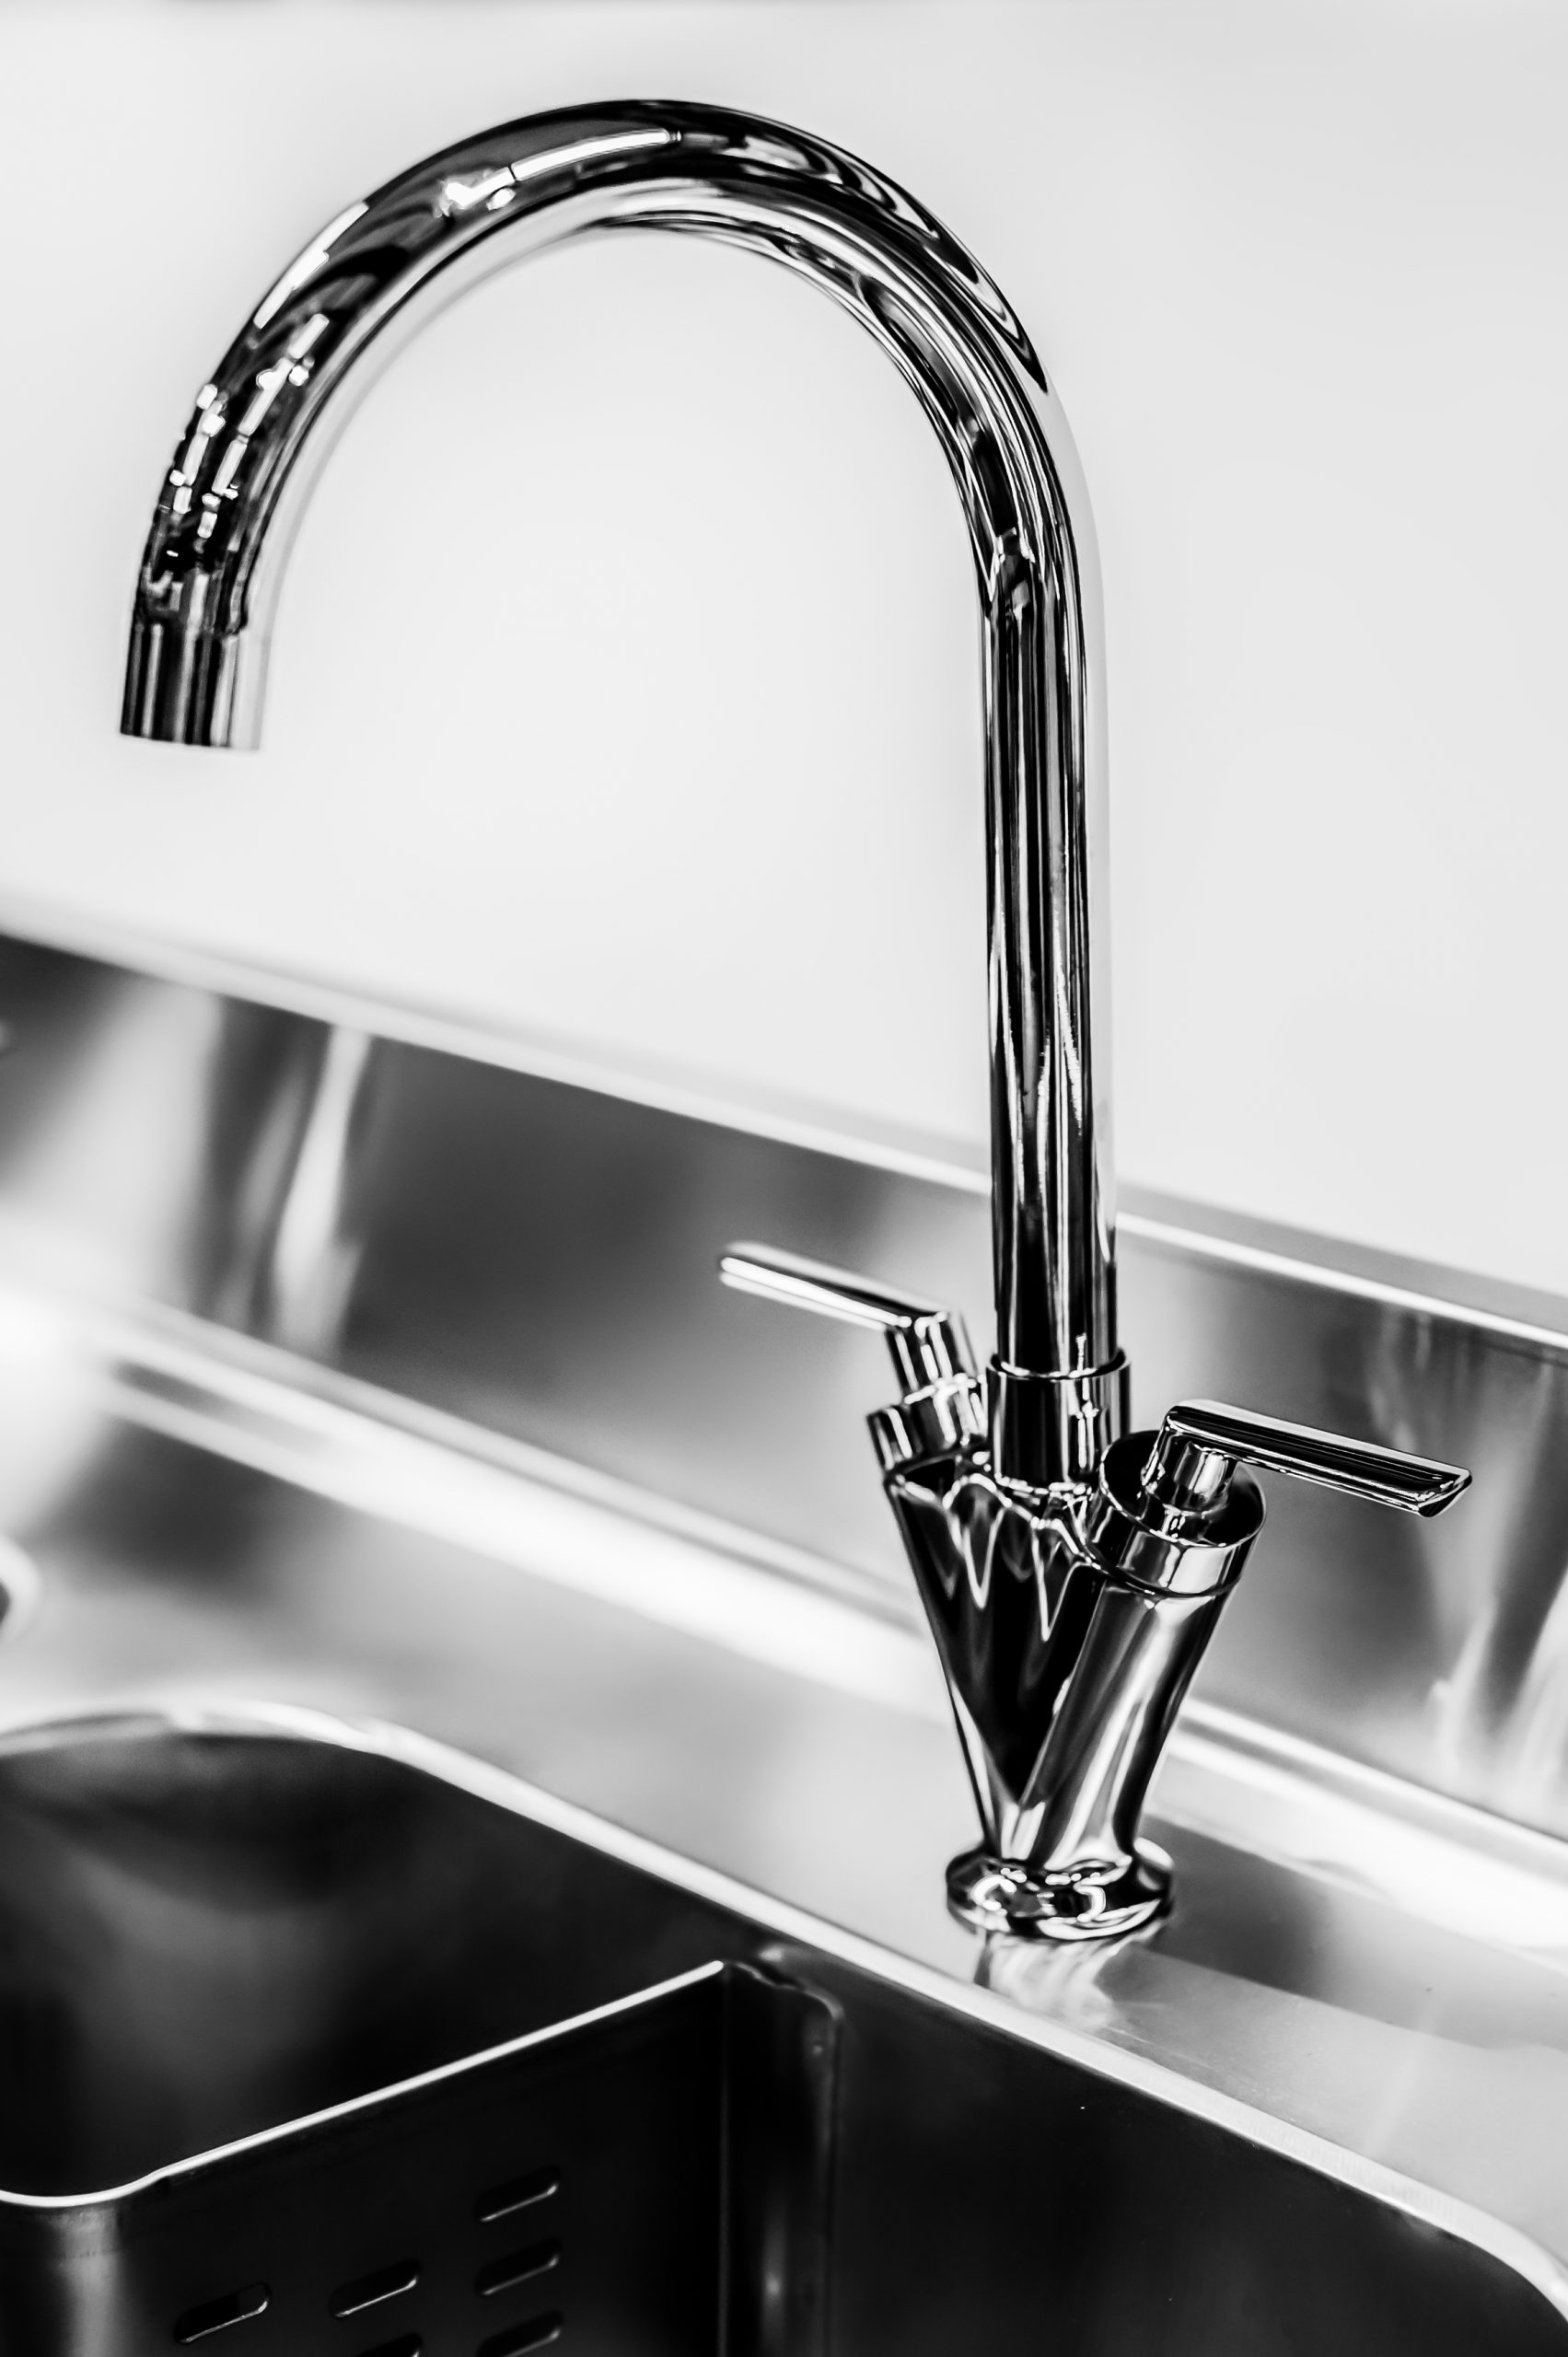
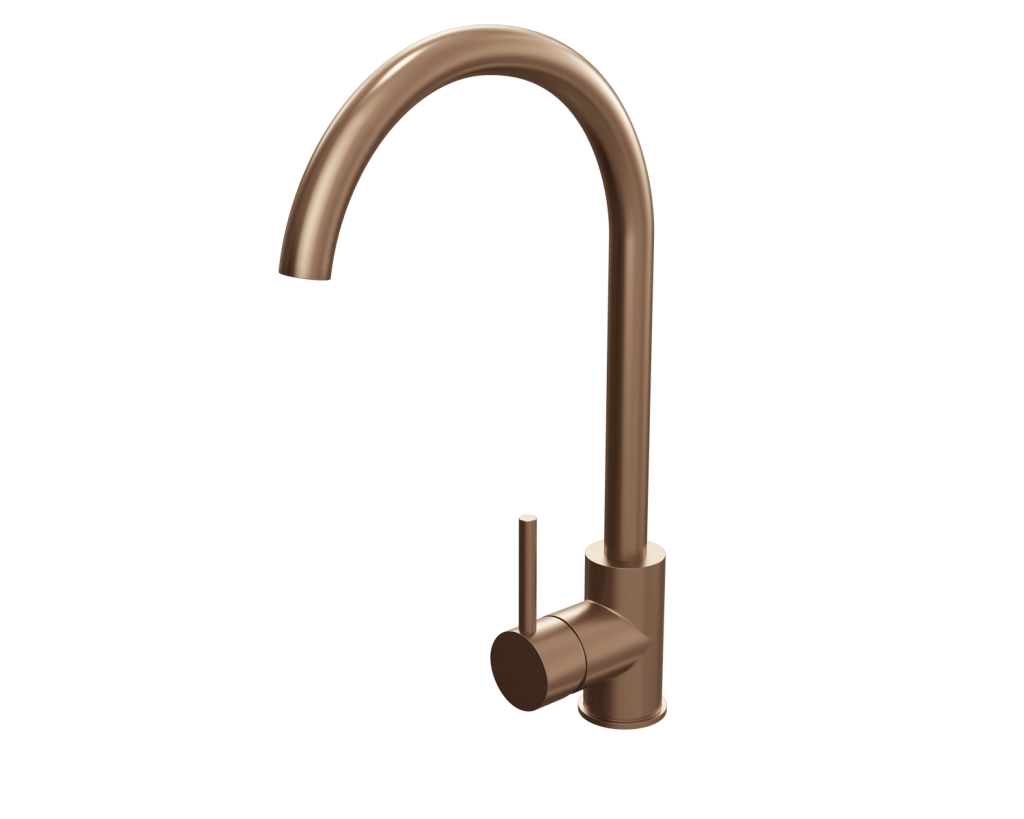
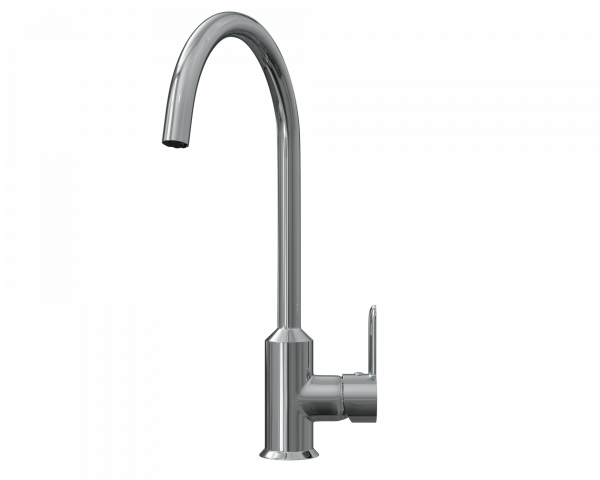
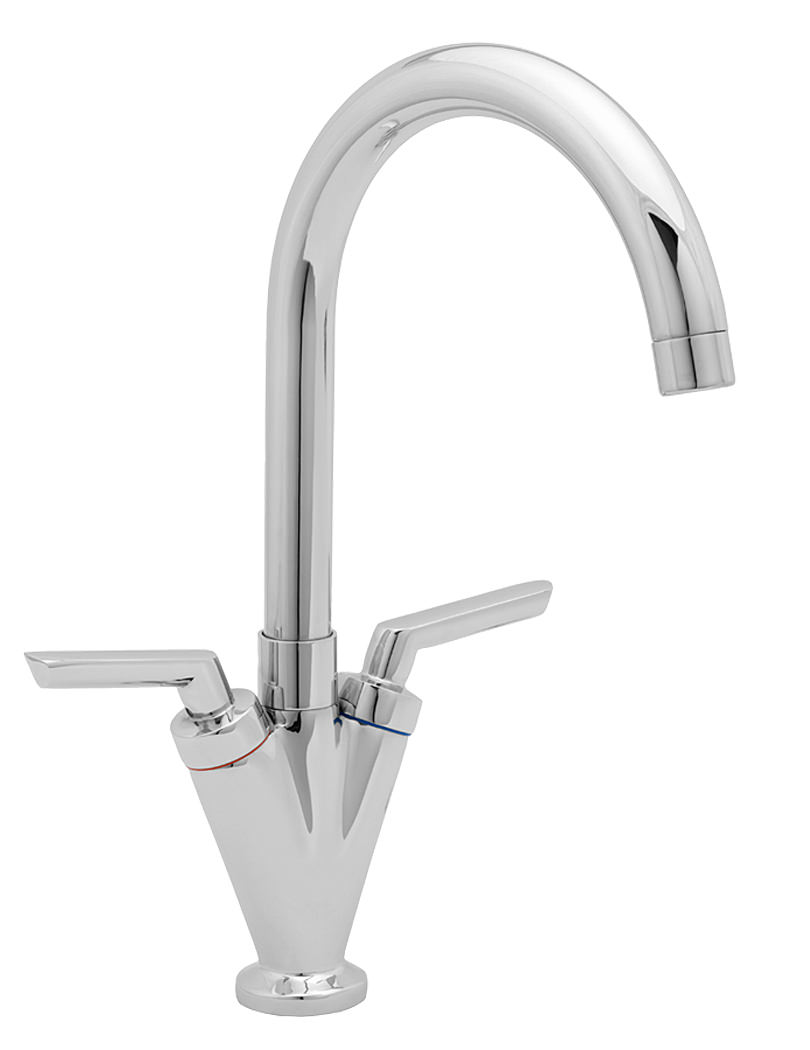
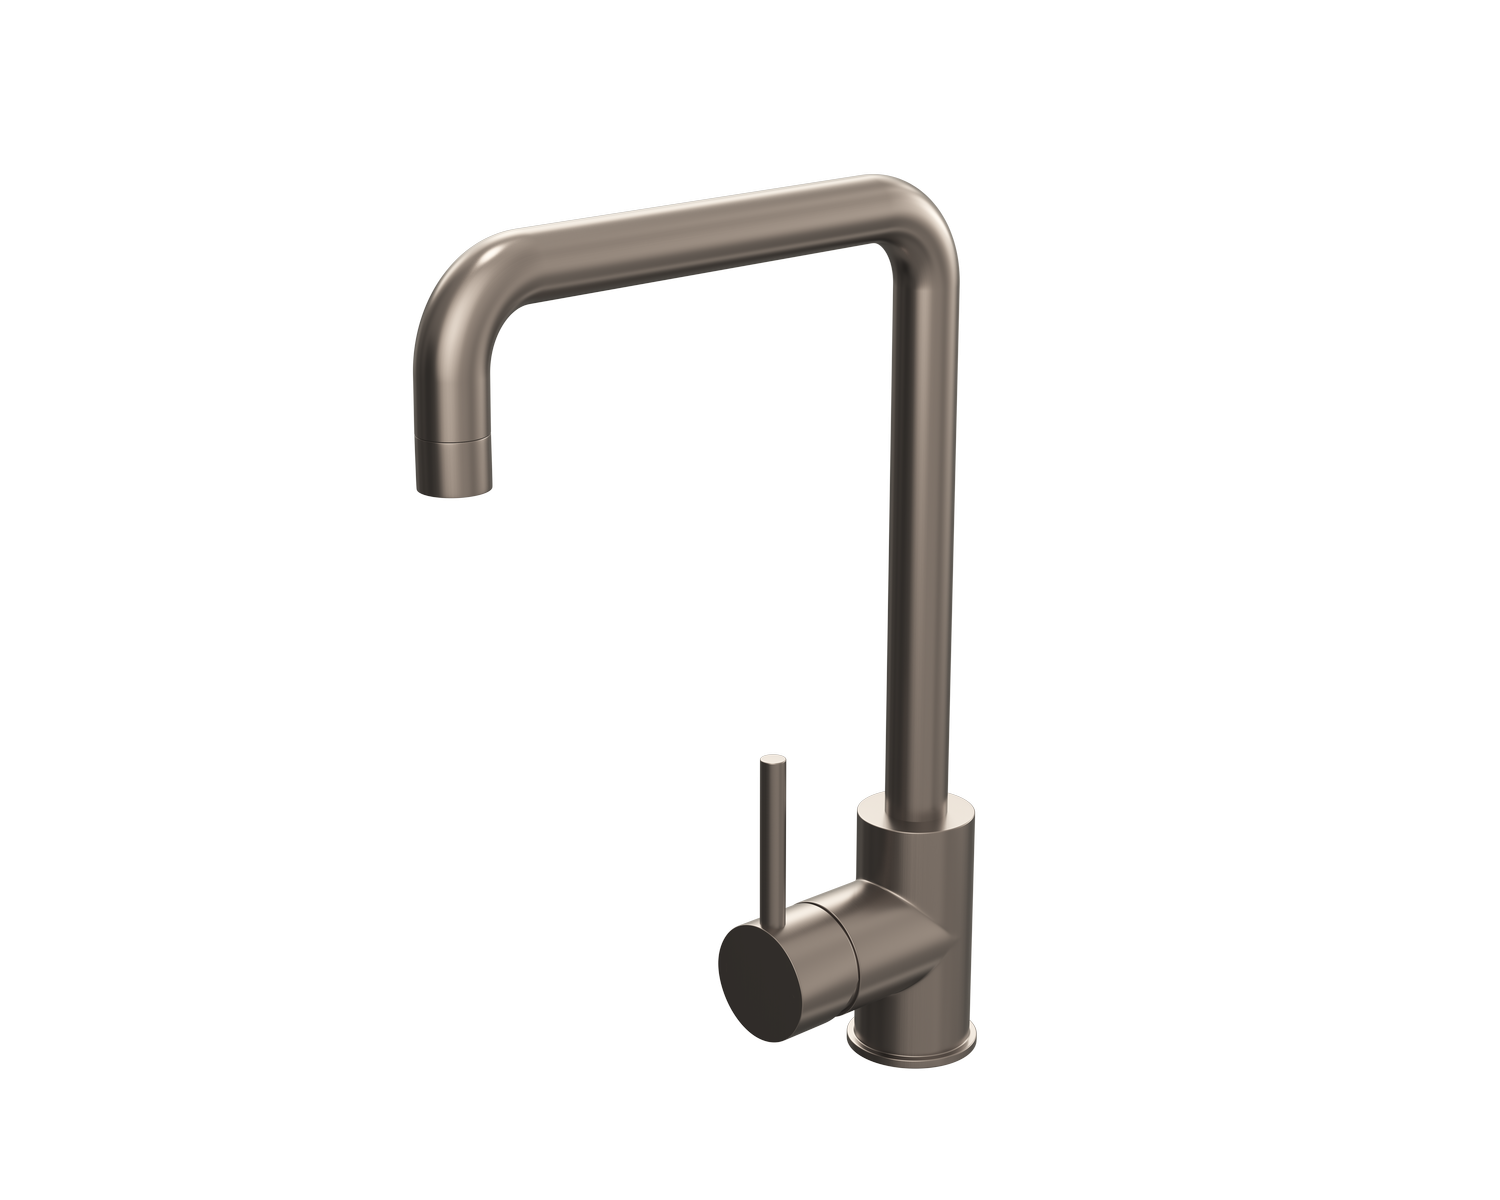
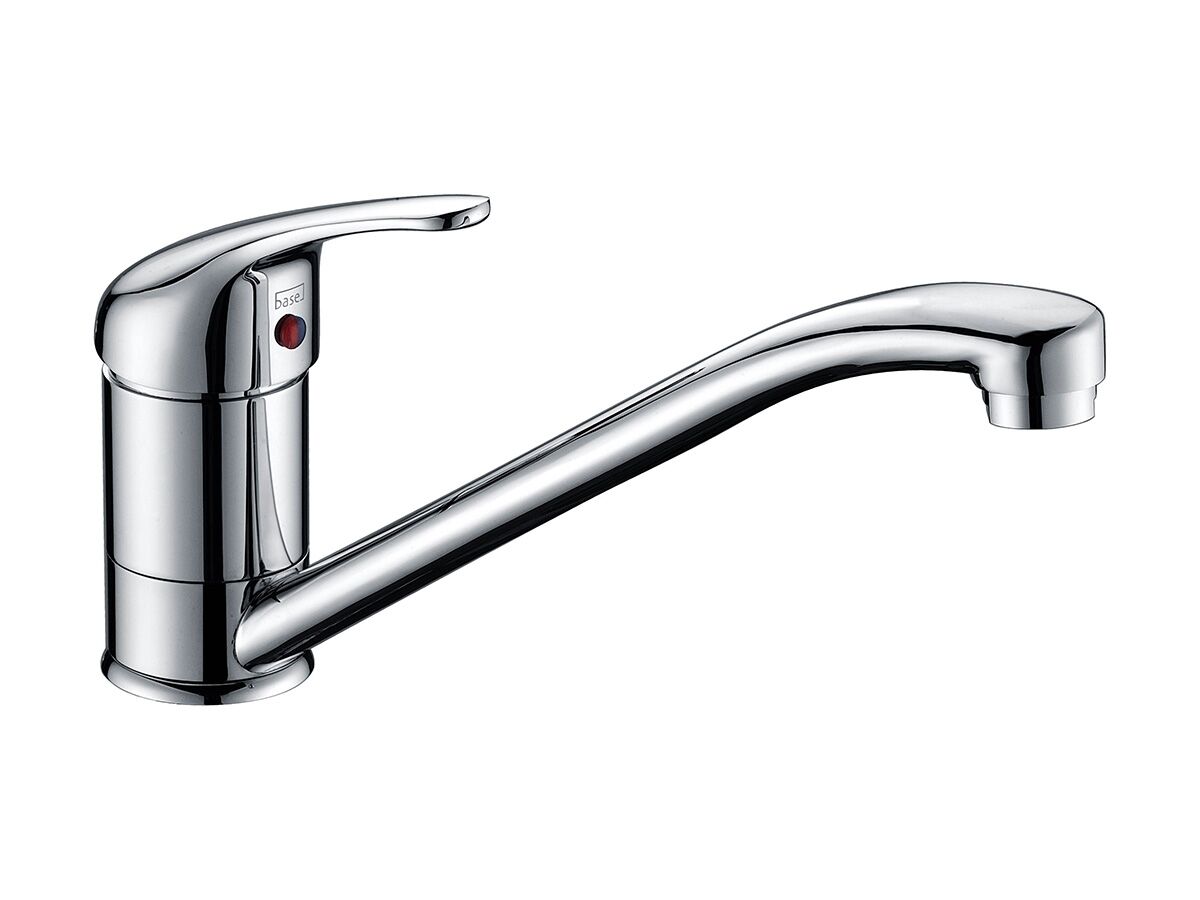
Replacing a kitchen sink mixer tap may seem like a daunting task, but with the right tools and knowledge, you can easily do it yourself. Whether your old tap is leaking, damaged, or simply outdated, replacing it can give your kitchen a fresh new look. Here is a step-by-step guide on how to replace your kitchen sink mixer tap.How to Replace a Kitchen Sink Mixer Tap
Before you begin, make sure you have all the necessary tools and materials. This includes a new kitchen sink mixer tap, adjustable wrench, basin wrench, plumber's tape, and a bucket or bowl to catch any water that may come out during the process.Step 1: Gather Your Tools and Materials
Locate the shut-off valves under your sink and turn them off. If you can't find the valves, turn off the main water supply to your house. This will prevent any water from flowing while you work on the tap.Step 2: Turn Off the Water Supply
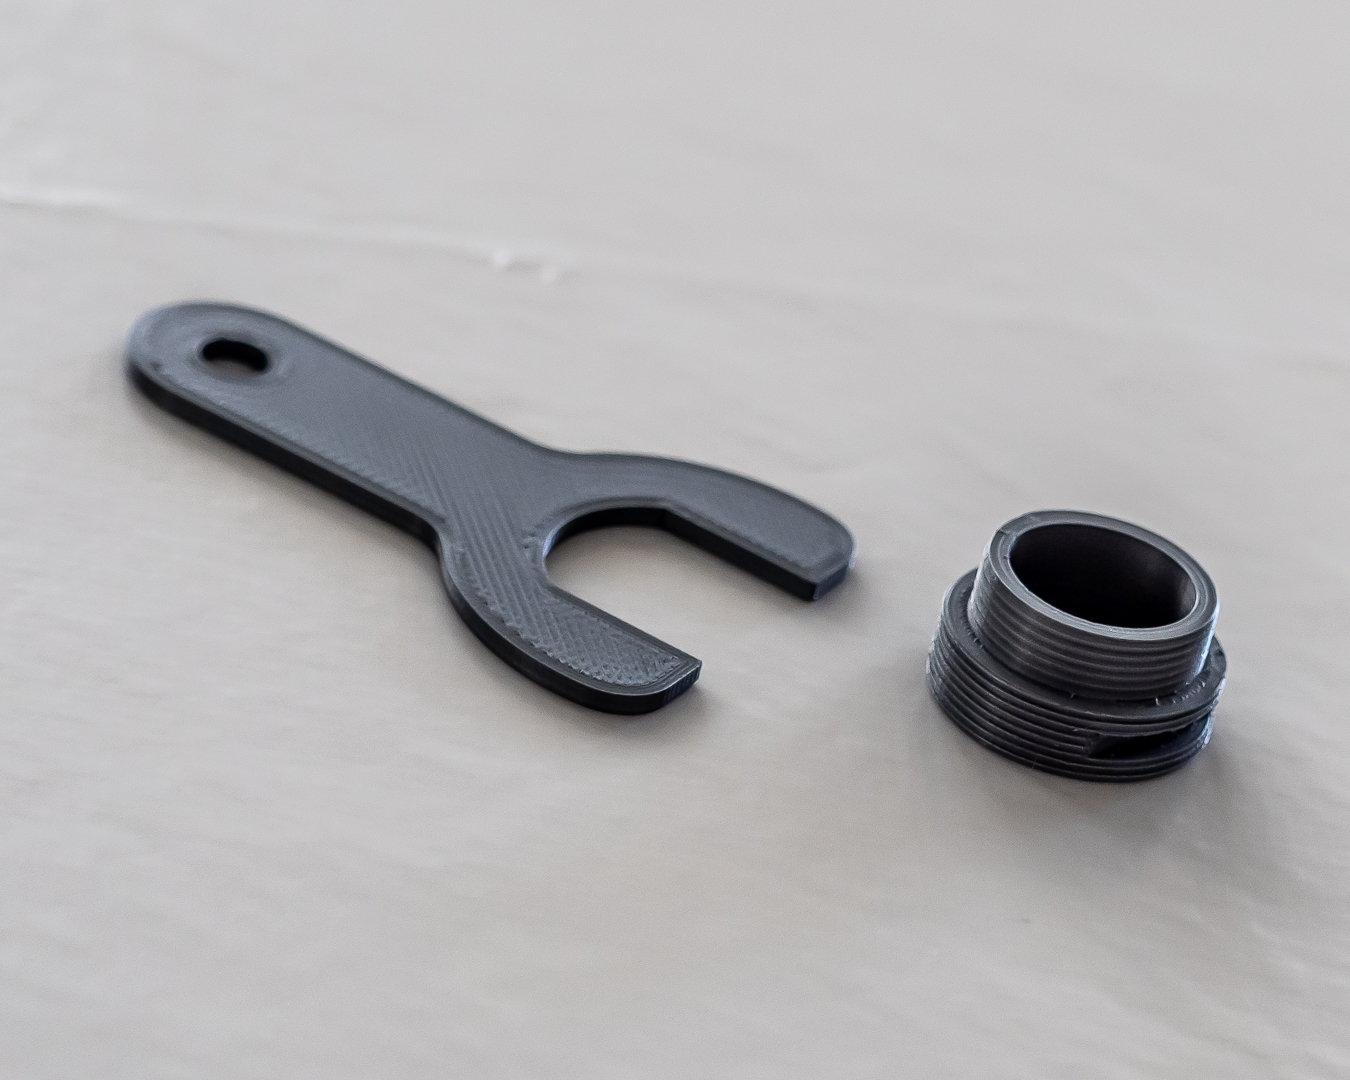
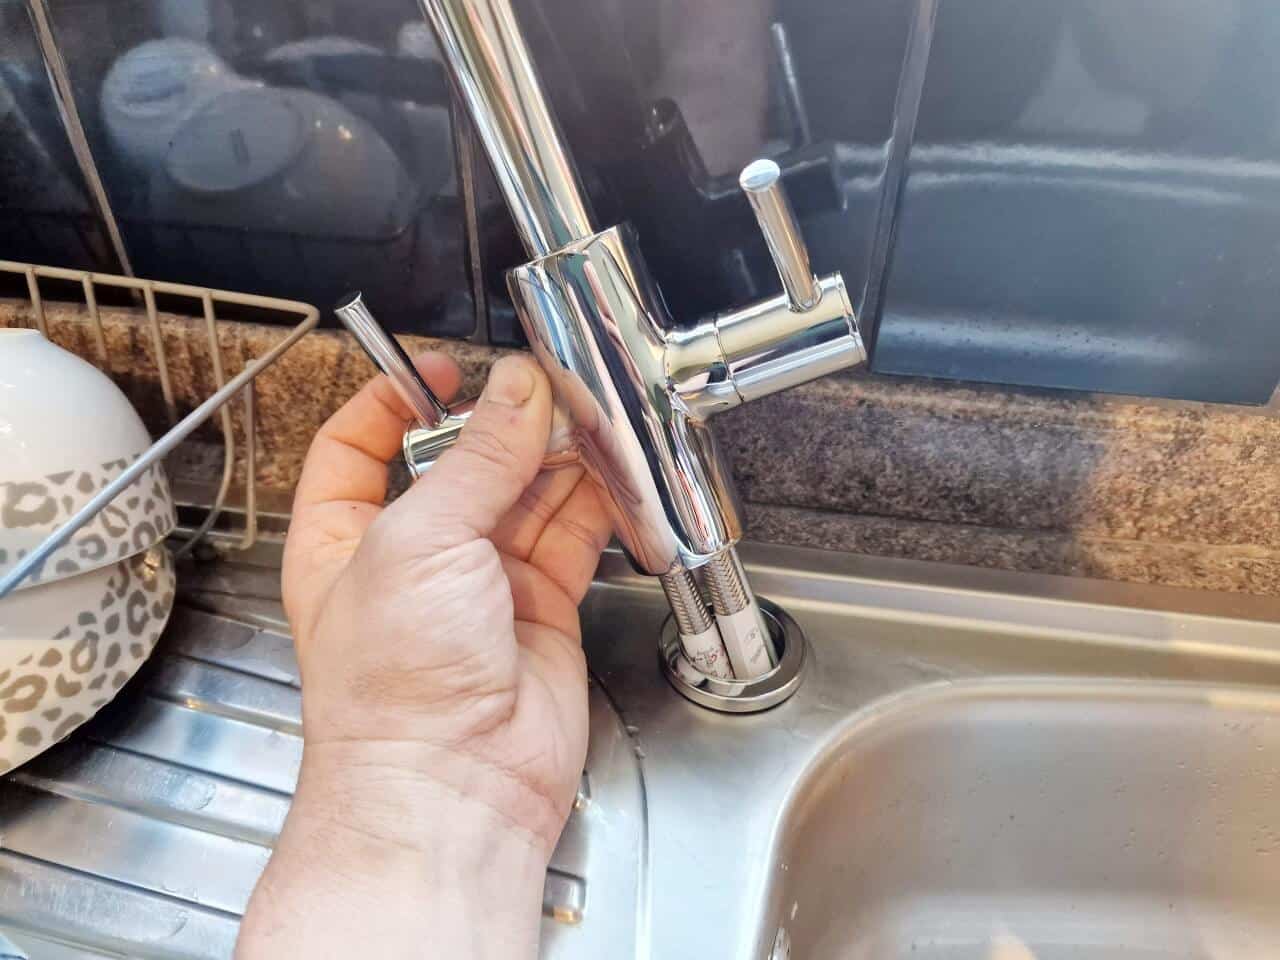
Using an adjustable wrench, loosen and remove the nuts that hold the old tap in place. You may need to use a basin wrench to reach certain areas. Once the nuts are removed, you can lift the old tap out of the sink.Step 3: Remove the Old Tap
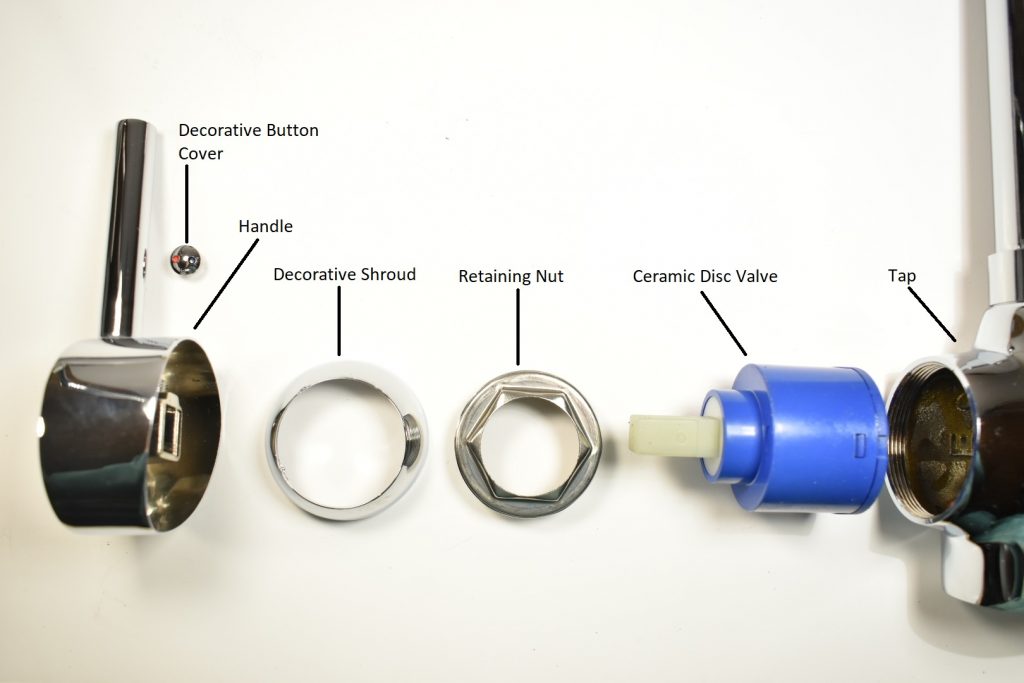
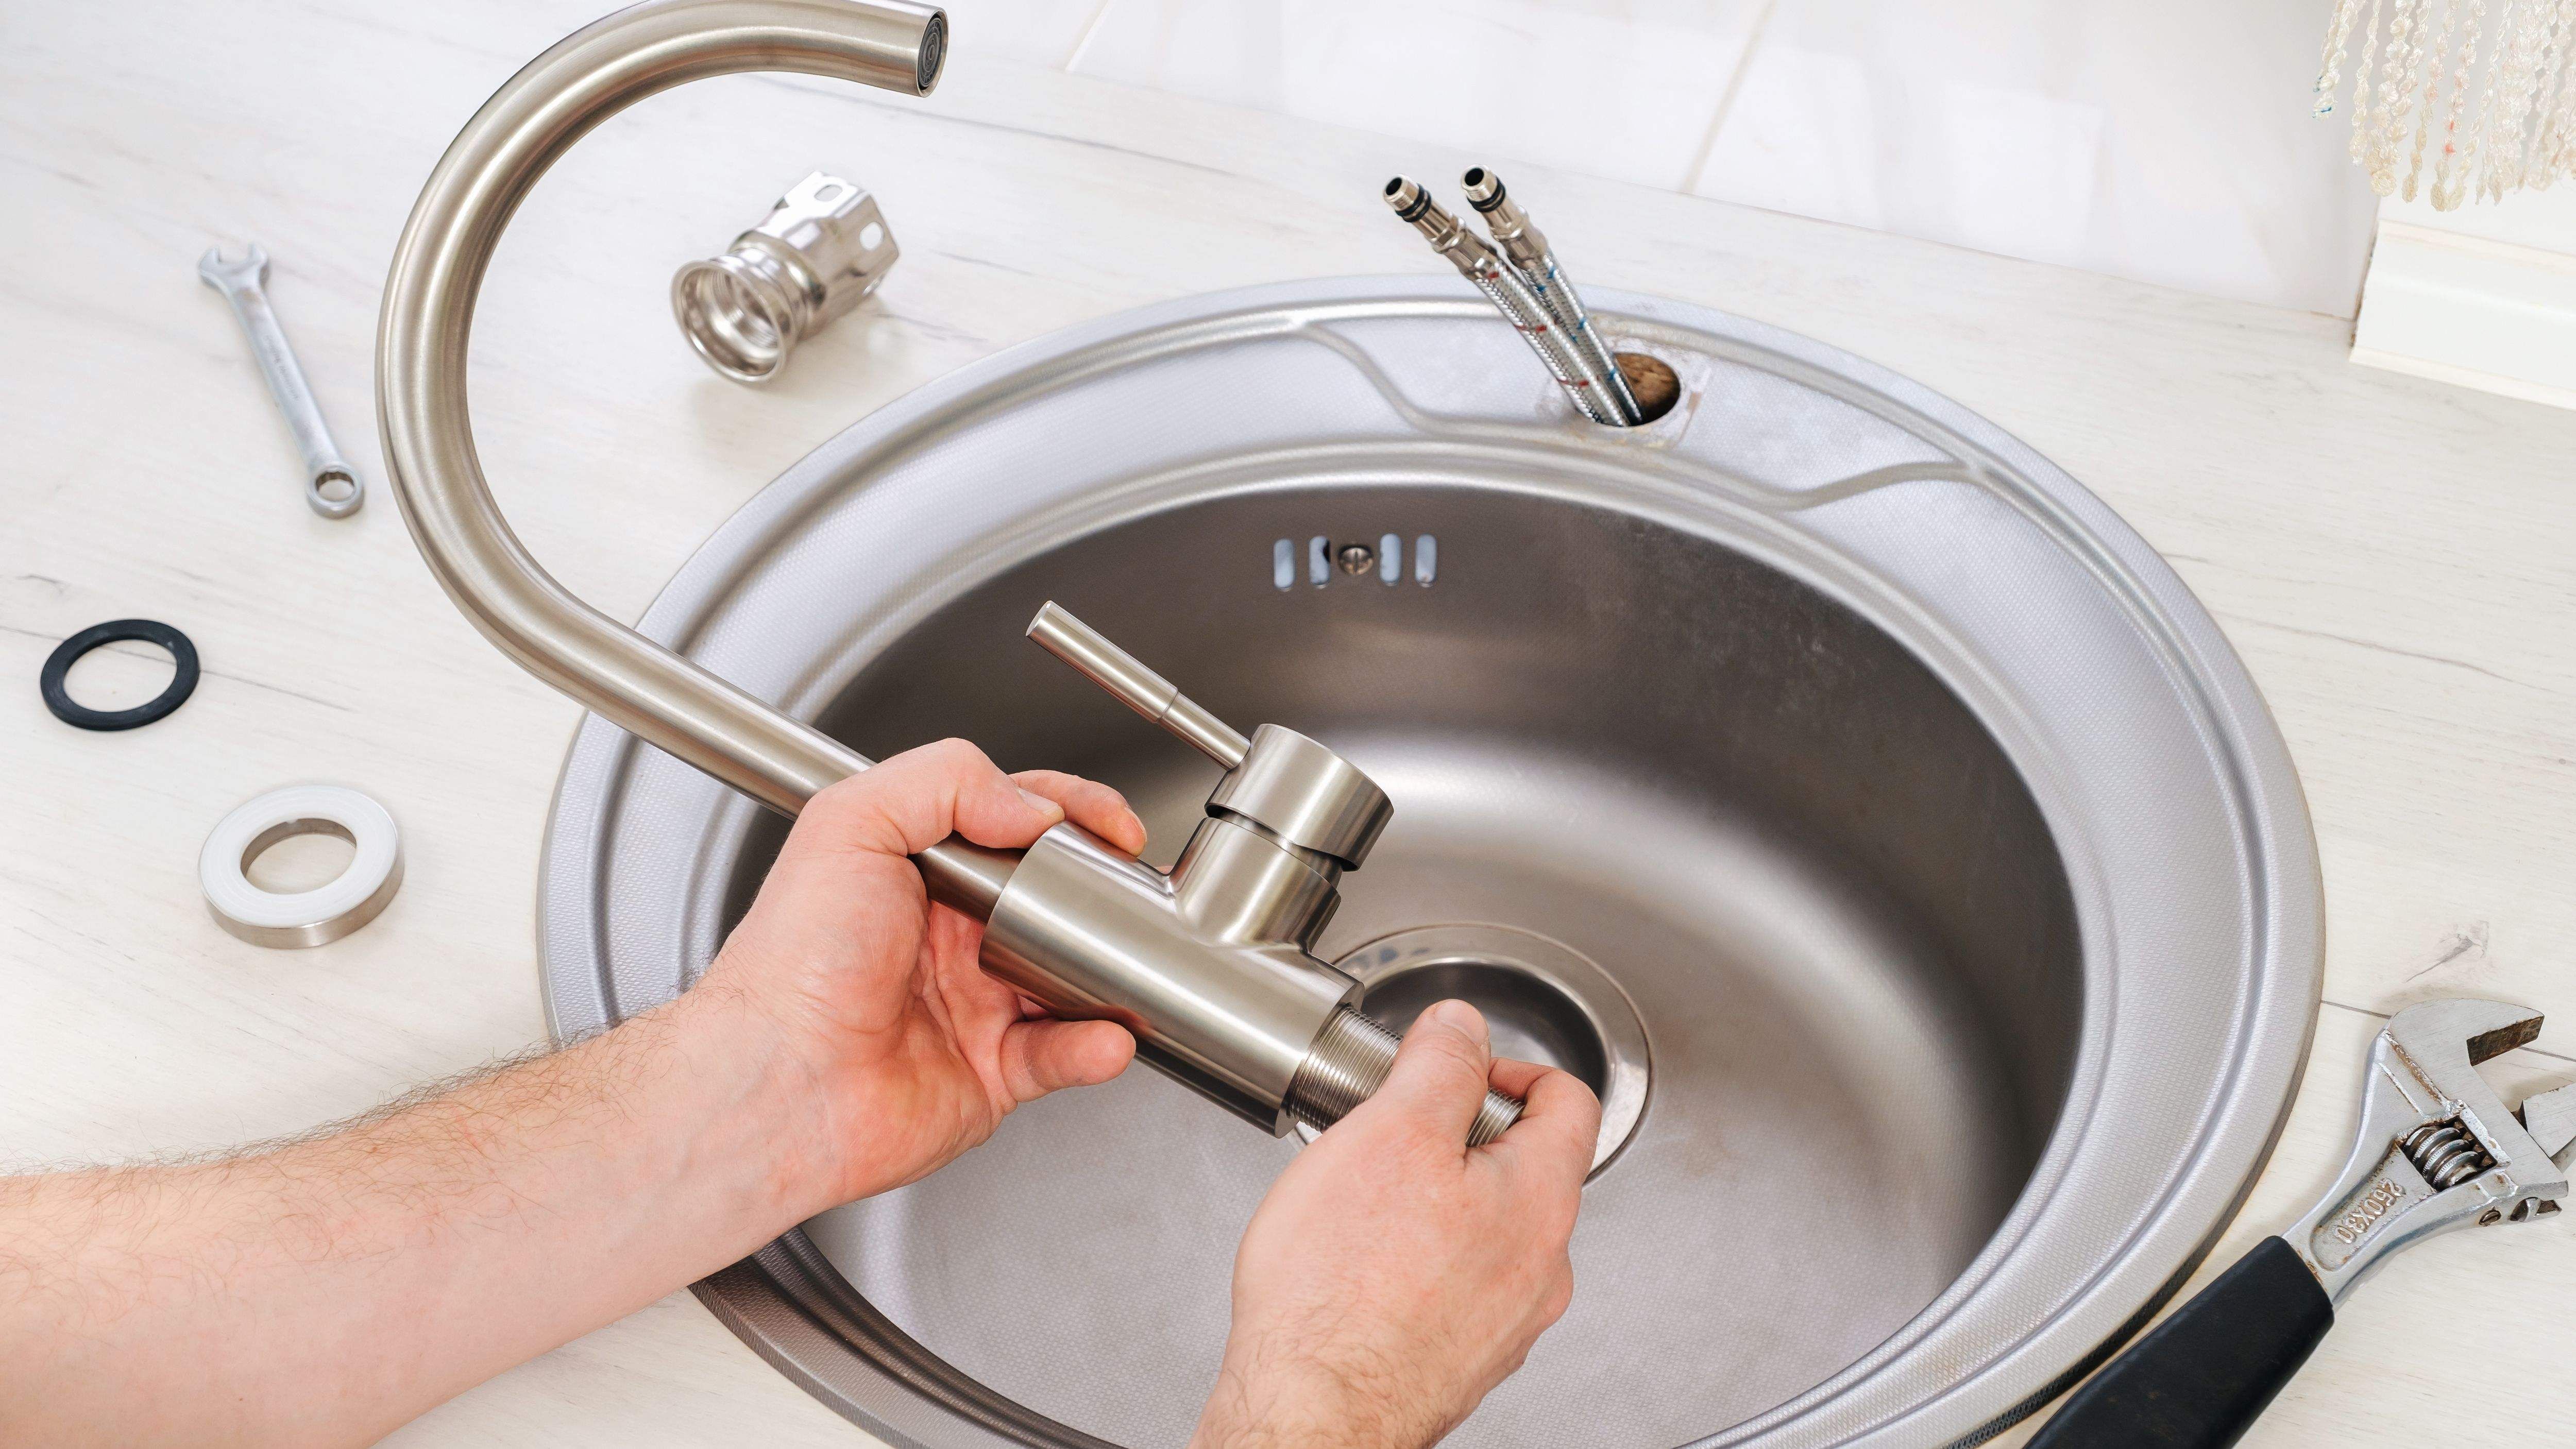
Before installing the new tap, make sure to read the instructions carefully and familiarize yourself with the different components. Apply plumber's tape to the threads of the tap to create a watertight seal.Step 4: Prepare the New Tap
Carefully lower the new tap into place and secure it with the nuts and washers provided. Use the adjustable wrench to tighten the nuts, making sure not to over-tighten them. This could damage the tap or cause leaks.Step 5: Install the New Tap
Turn the water supply back on and check for any leaks. If there are no leaks, you can connect the water supply lines to the new tap. Make sure the connections are tight and secure.Step 6: Connect the Water Supply
Test your new tap by turning it on and off. Check for any leaks and make sure the water flow is smooth and consistent. If everything looks good, you're all set!Step 7: Test the Tap
Replacing a kitchen sink mixer tap can be a DIY project, but there are a few tips and tricks that can make the process even easier. Here are some things to keep in mind: Choose the Right Tap - Before purchasing a new tap, make sure it is compatible with your sink and water supply. Measure the holes on your sink and check the specifications of the tap to ensure a proper fit. Use a Basin Wrench - A basin wrench is a handy tool that can help you reach tight spaces and tighten nuts in hard-to-reach areas. It is especially useful for installing and removing kitchen sink mixer taps. Apply Plumber's Tape - Plumber's tape, also known as Teflon tape, is an essential item for preventing leaks in your tap connections. Make sure to apply it to the threads of the tap before installation. Don't Over-Tighten - It's important not to over-tighten the nuts when installing the tap. This can cause damage to the tap or create leaks. Use an adjustable wrench to tighten the nuts just enough to create a secure fit. Check for Leaks - After installation, it's crucial to check for any leaks. If you notice any leaks, try tightening the connections or replacing the washers. If the problem persists, seek professional help.Replacing a Kitchen Sink Mixer Tap: Tips and Tricks
Replacing a kitchen sink mixer tap may seem like a daunting task, but with the right tools and knowledge, you can easily do it yourself. By following these steps and keeping these tips in mind, you can have a new tap installed in no time. Not only will it give your kitchen a fresh new look, but it can also save you money on hiring a professional plumber.DIY: Replacing a Kitchen Sink Mixer Tap Made Easy
Why You Should Consider Replacing Your Kitchen Sink Mixer Tap

The Importance of a Functional Kitchen Sink Mixer Tap
 Your kitchen sink mixer tap is one of the most used fixtures in your home. It is essential for daily tasks such as washing dishes, preparing food, and even getting a glass of water. With such frequent use, it is important to have a functional tap that meets your needs. However, over time, wear and tear can cause your tap to malfunction or become outdated. This is when it becomes necessary to
replace your kitchen sink mixer tap
.
Signs that Your Kitchen Sink Mixer Tap Needs Replacing
 There are several signs that indicate it is time to replace your kitchen sink mixer tap. One of the most obvious signs is if the tap is leaking or dripping. This not only wastes water and increases your water bill, but it can also lead to damage to your sink and counter. Additionally, if you notice a decrease in water pressure or irregular flow, it could be a sign that your tap is clogged or worn out.
Replacing your kitchen sink mixer tap
can improve the overall functionality and efficiency of your kitchen.
The Benefits of Upgrading Your Kitchen Sink Mixer Tap
 Aside from functionality, there are several other benefits to
replacing your kitchen sink mixer tap
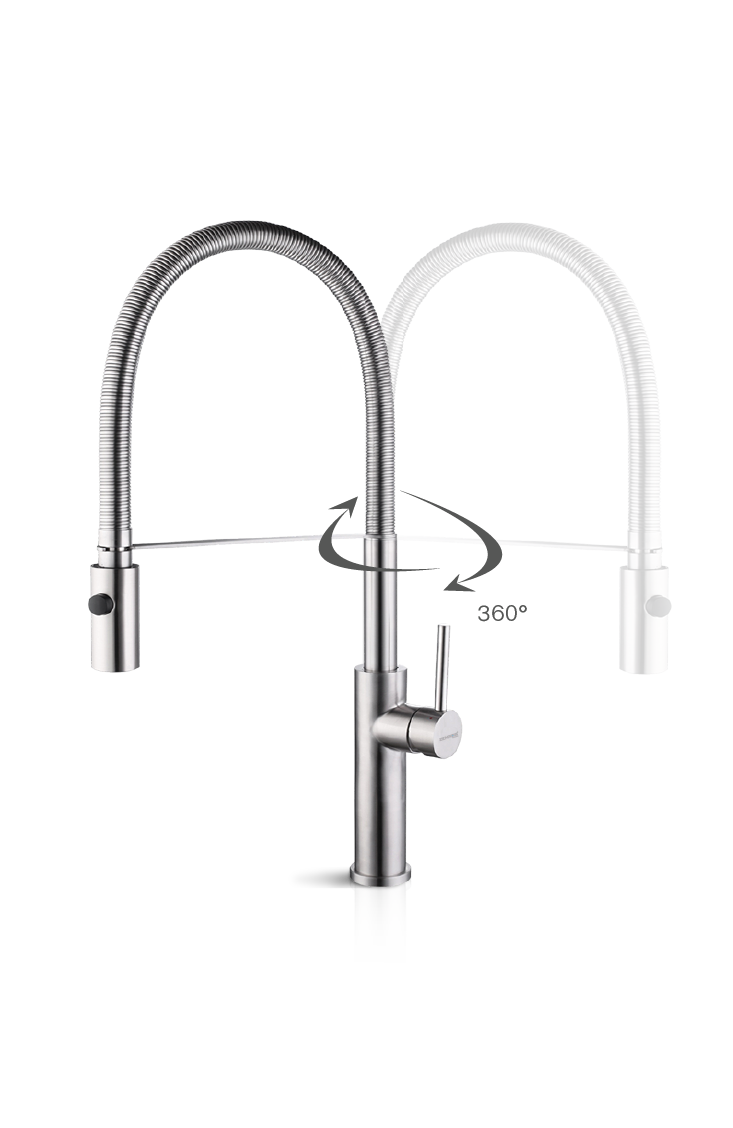
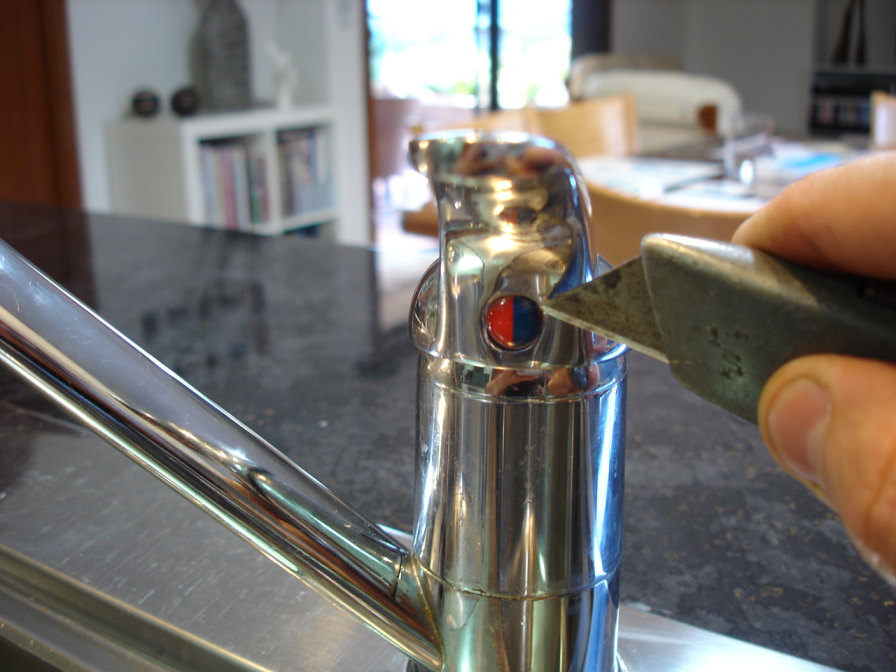
. One of the main benefits is the aesthetic upgrade it can provide to your kitchen. With a wide range of designs and finishes available, you can choose a tap that complements your kitchen's style and adds a touch of elegance. Additionally, newer taps often come with advanced features such as pull-out sprays, touchless technology, and water filtration systems, making your daily tasks in the kitchen easier and more efficient.
The Importance of Professional Installation
 When it comes to
replacing your kitchen sink mixer tap
, it is crucial to hire a professional for installation. This will ensure that the tap is properly installed, minimizing the risk of leaks or other issues. A professional will also have the necessary tools and expertise to handle any unforeseen challenges that may arise during installation. By hiring a professional, you can have peace of mind knowing that your tap will be installed correctly and function properly.
In conclusion,
replacing your kitchen sink mixer tap
is a simple yet effective way to upgrade your kitchen's functionality and aesthetic. By paying attention to signs of wear and tear and hiring a professional for installation, you can enjoy a new and improved tap that meets your needs. So don't hesitate to make the switch and enjoy the benefits of a new and improved kitchen sink mixer tap.


