Fluorescent light bulbs are a popular choice for kitchen lighting due to their energy efficiency and long lifespan. However, like any other light bulb, they eventually need to be replaced. If you're not sure how to replace a fluorescent light bulb in your kitchen, don't worry. It's a simple process that can easily be done on your own. In this article, we'll walk you through the steps of replacing a fluorescent light bulb in the kitchen.How to Replace a Fluorescent Light Bulb in the Kitchen


How to Replace a Fluorescent Light Bulb in the Kitchen


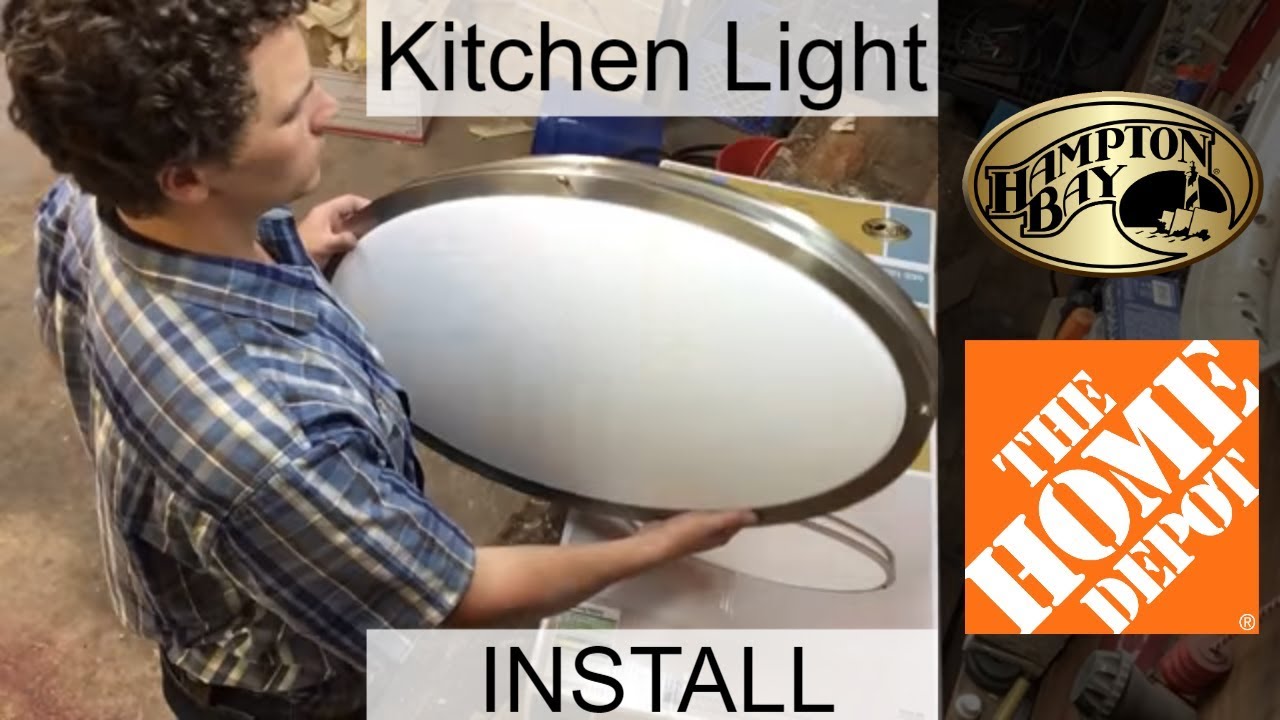
Replacing a fluorescent light bulb in the kitchen may seem like a daunting task, but with the right tools and knowledge, it can be done quickly and easily. Follow these steps to replace your kitchen's fluorescent light bulb: Step 1: Gather the necessary tools Before getting started, make sure you have all the tools you need to replace the fluorescent light bulb. This includes a new light bulb, a ladder, and protective gloves. Step 2: Turn off the power Safety is important when dealing with electricity, so make sure to turn off the power to the kitchen's light fixture before beginning the replacement process. You can do this by flipping the switch in the circuit breaker box. Step 3: Remove the cover Using a screwdriver, remove the cover of the light fixture to access the light bulb. This may involve removing a few screws or simply sliding the cover off. Step 4: Remove the old bulb Gently twist the old light bulb counterclockwise to remove it from the fixture. Be careful not to drop the bulb or touch the glass with your bare hands, as this can cause it to break or shorten its lifespan. Step 5: Clean the fixture Before installing the new light bulb, take a moment to clean the fixture. This can help improve the brightness of the new bulb and ensure it lasts longer. Step 6: Install the new bulb Hold the new fluorescent light bulb by the base and gently twist it into the fixture in a clockwise direction. Make sure it is securely in place before moving on to the next step. Step 7: Replace the cover Once the new bulb is installed, carefully replace the cover of the light fixture. Make sure it is securely in place before turning the power back on.Step-by-Step Guide to Replacing a Fluorescent Light Bulb in the Kitchen


Step-by-Step Guide to Replacing a Fluorescent Light Bulb in the Kitchen


If you're a visual learner, you may find it helpful to watch a tutorial on how to replace a fluorescent light bulb in the kitchen. There are plenty of videos available online that can walk you through the process step-by-step. Pro tip: When searching for a tutorial, make sure to include the specific type of fluorescent light bulb you need to replace. This will ensure you find the most relevant and helpful video.Replacing a Fluorescent Light Bulb in the Kitchen: A Simple Tutorial


Replacing a Fluorescent Light Bulb in the Kitchen: A Simple Tutorial


Replacing a fluorescent light bulb in the kitchen is a simple DIY task that can save you time and money. Instead of calling a professional, try replacing the bulb yourself using the steps outlined above. Not only will you feel a sense of accomplishment, but you'll also have a brighter and more energy-efficient kitchen.DIY: How to Replace a Fluorescent Light Bulb in the Kitchen


DIY: How to Replace a Fluorescent Light Bulb in the Kitchen


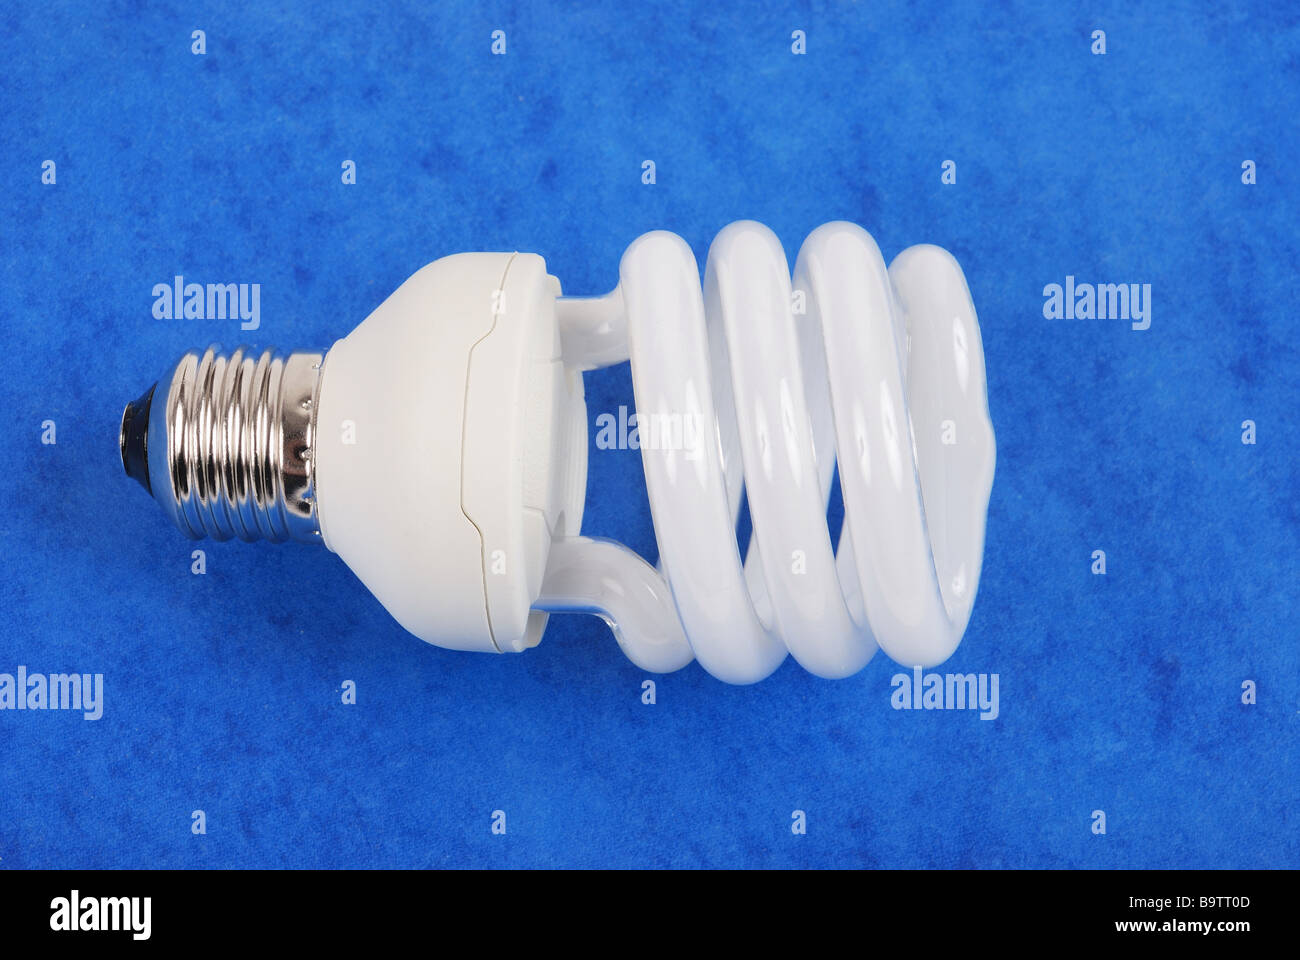
Here are some additional tips and tricks to keep in mind when replacing a fluorescent light bulb in the kitchen: - Choose the right bulb: When purchasing a new fluorescent light bulb, make sure to choose one with the same wattage and type as the old bulb. - Use a ladder: For safety reasons, make sure to use a ladder when replacing a kitchen's light bulb. Don't try to reach the fixture while standing on a chair or other unstable surface. - Wear protective gloves: Fluorescent light bulbs contain a small amount of mercury, so it's important to wear protective gloves when handling them to avoid any potential health risks.Replacing a Fluorescent Light Bulb in the Kitchen: Tips and Tricks


Replacing a Fluorescent Light Bulb in the Kitchen: Tips and Tricks


With the right tools and knowledge, replacing a fluorescent light bulb in the kitchen is an easy task that can be done in just a few minutes. Remember to always prioritize safety and follow the steps outlined in this article to ensure a successful replacement.The Easy Way to Replace a Fluorescent Light Bulb in the Kitchen


The Easy Way to Replace a Fluorescent Light Bulb in the Kitchen
While replacing a fluorescent light bulb may seem straightforward, there are a few common mistakes that can lead to complications. Make sure to avoid the following mistakes when replacing a light bulb in your kitchen: - Not turning off the power: Always make sure to turn off the power to the light fixture before attempting to replace the bulb to avoid any potential electrical accidents. - Using the wrong bulb: Using a bulb with the wrong wattage or type can lead to flickering or reduced lifespan. Make sure to choose the right bulb for your specific light fixture. - Not cleaning the fixture: A dirty fixture can reduce the brightness and lifespan of the new bulb. Take a moment to clean the fixture before installing the new bulb.Replacing a Fluorescent Light Bulb in the Kitchen: Common Mistakes to Avoid

Replacing a Fluorescent Light Bulb in the Kitchen: Common Mistakes to Avoid
If you prefer a more detailed set of instructions, here is a step-by-step guide to replacing a fluorescent light bulb in your kitchen: 1. Gather the necessary tools (new light bulb, ladder, protective gloves). 2. Turn off the power to the light fixture. 3. Remove the cover of the light fixture. 4. Gently twist the old bulb counterclockwise to remove it. 5. Clean the fixture. 6. Install the new bulb by twisting it clockwise into the fixture. 7. Replace the cover of the light fixture. 8. Turn the power back on to the light fixture.Step-by-Step Instructions for Replacing a Fluorescent Light Bulb in the Kitchen

Step-by-Step Instructions for Replacing a Fluorescent Light Bulb in the Kitchen


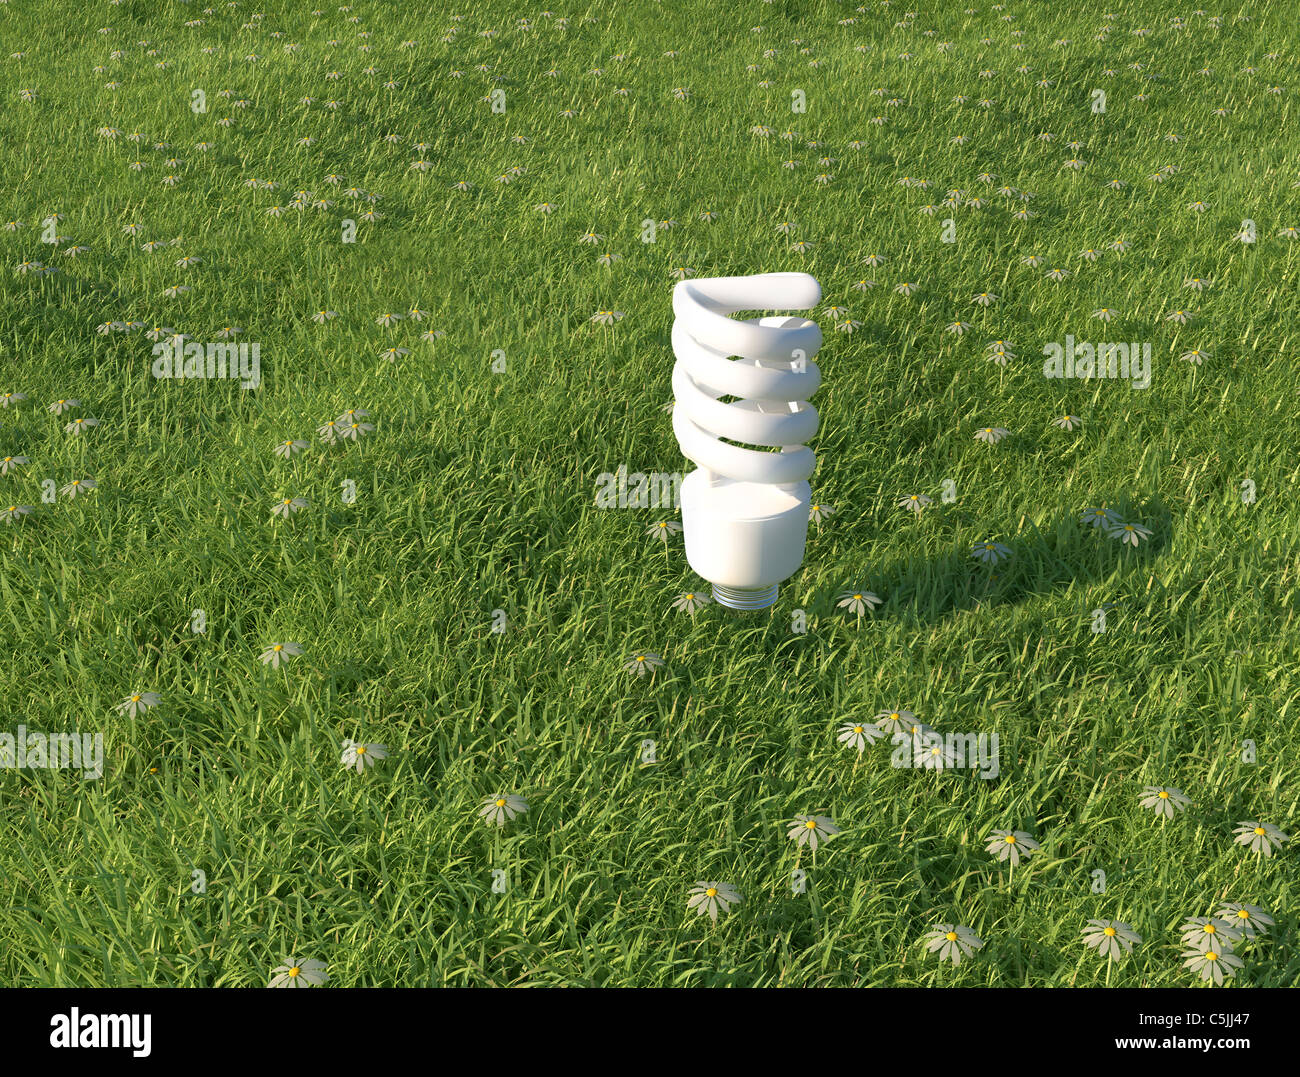
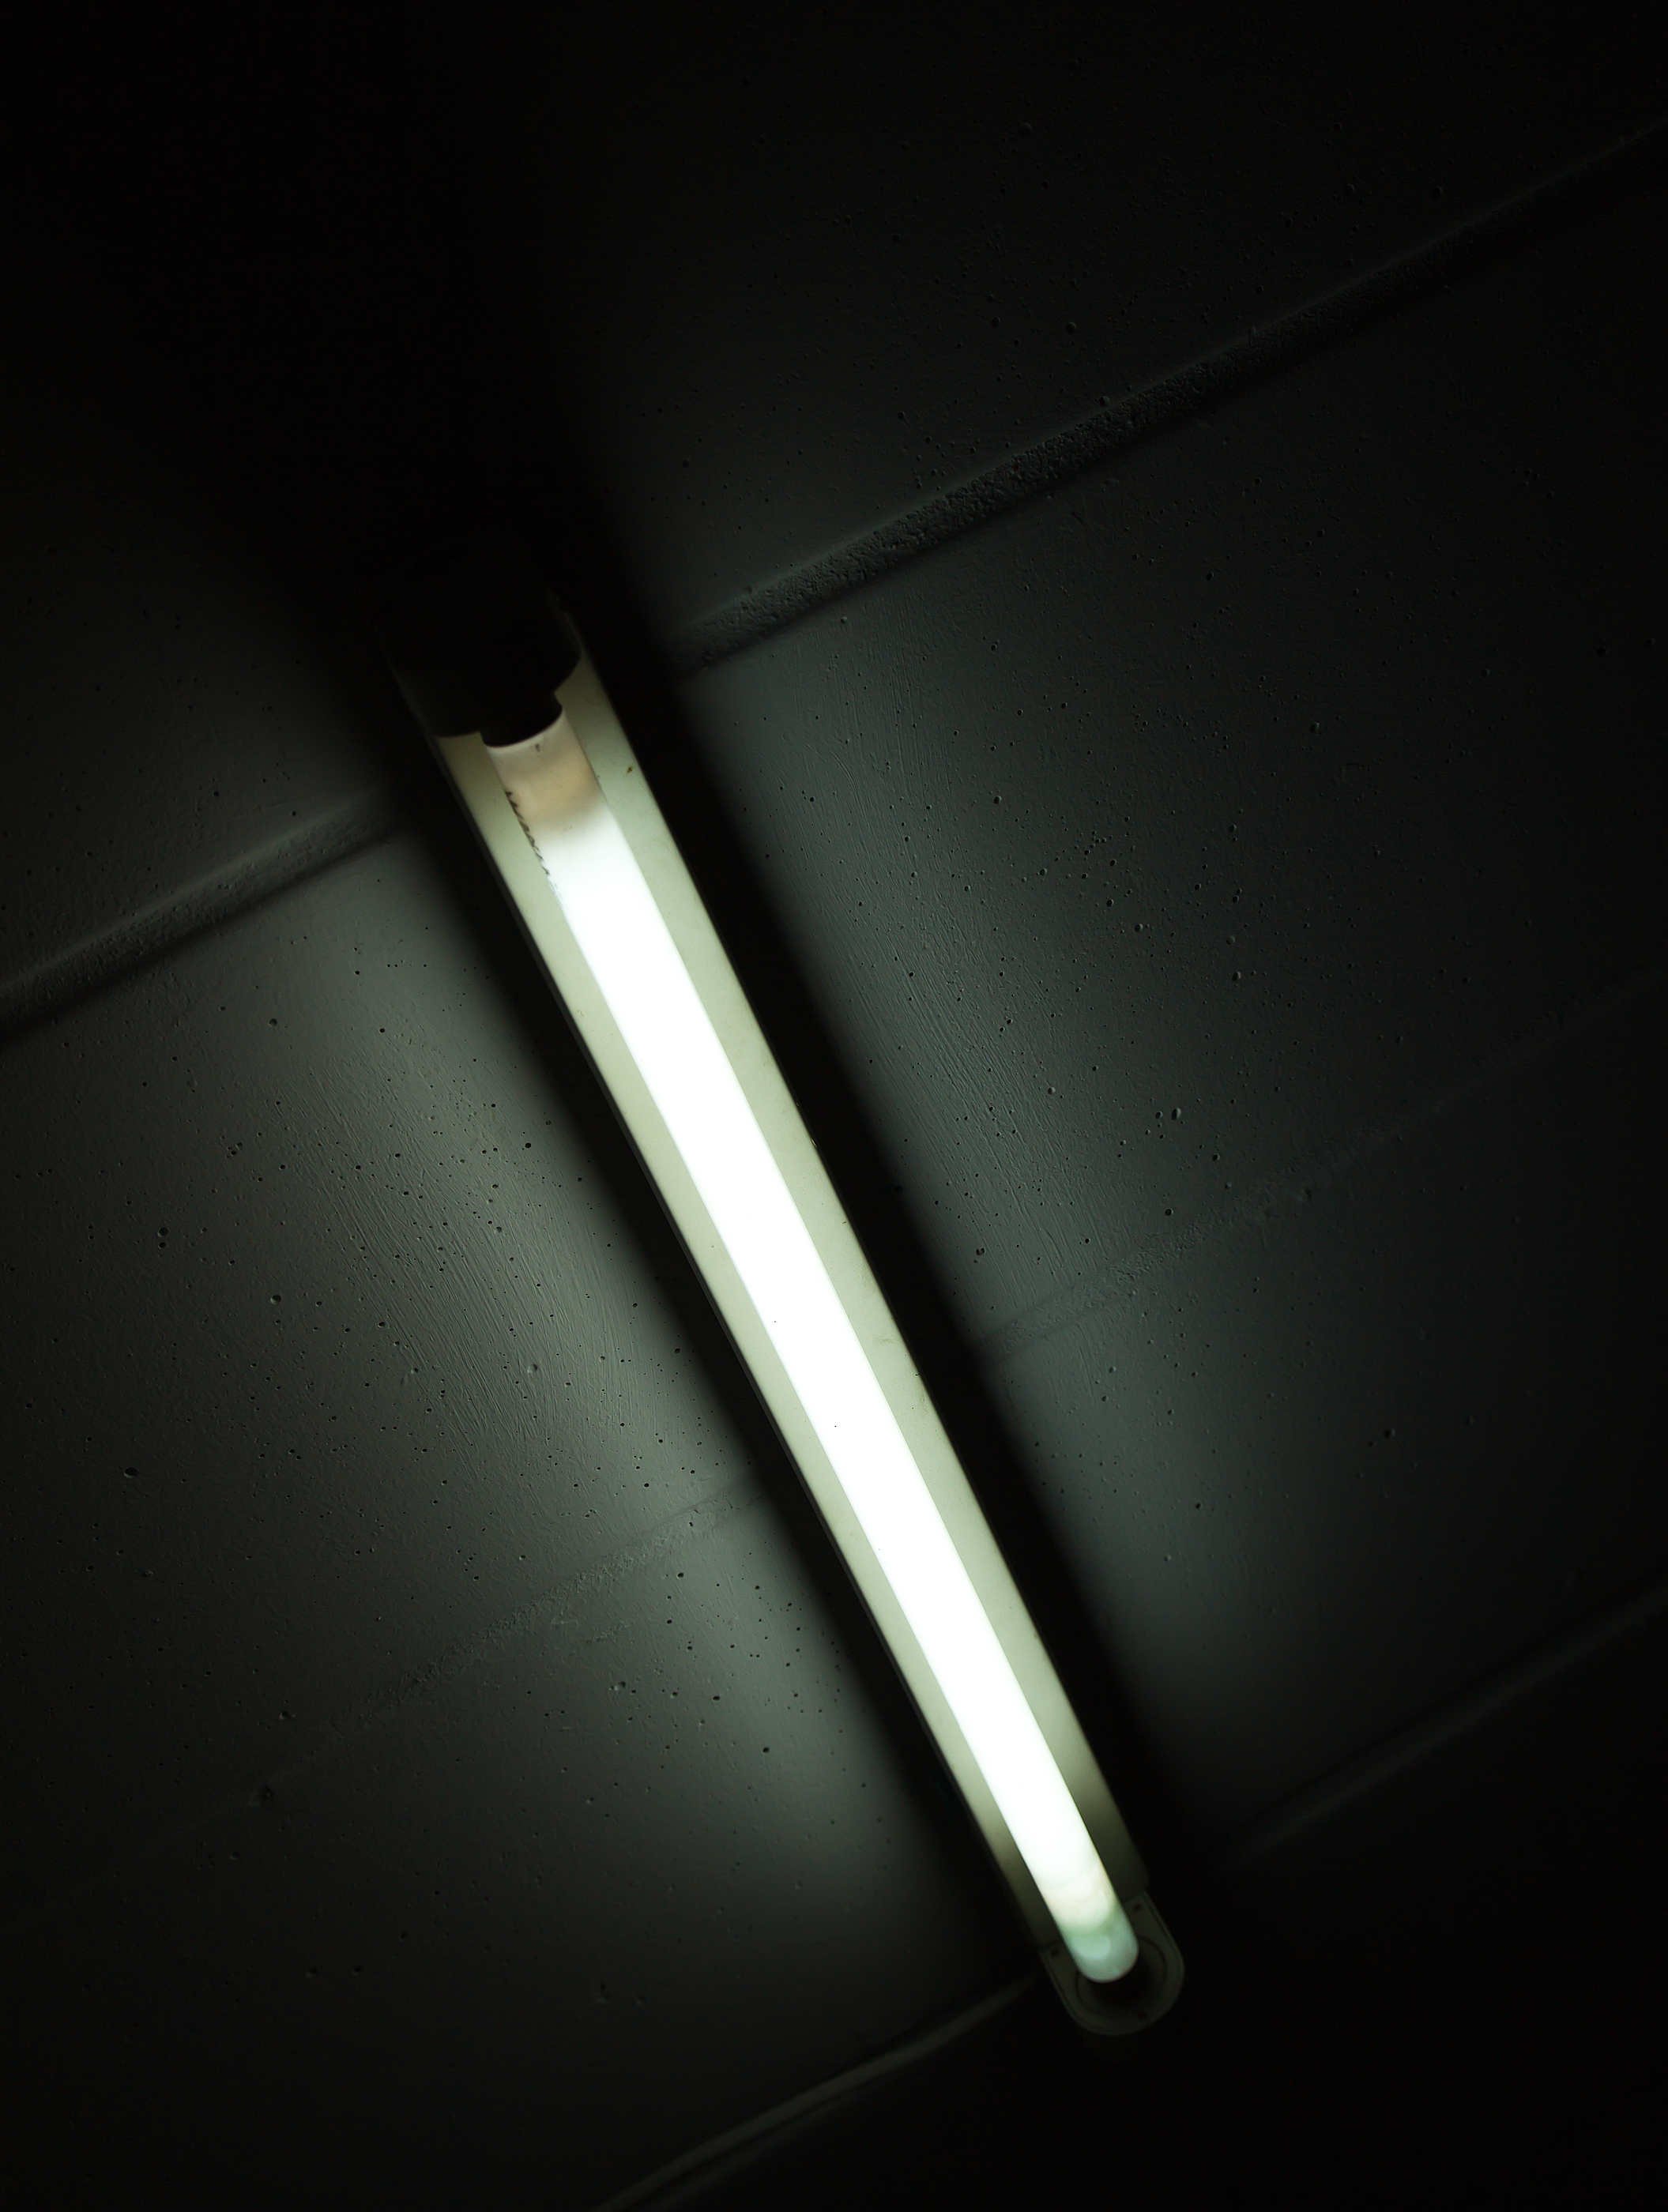
Before replacing a fluorescent light bulb in your kitchen, there are a few things you need to know: - Fluorescent bulbs have a long lifespan: Unlike traditional incandescent bulbs, fluorescent bulbs can last for up to 10,000 hours. - They are more energy-efficient: Fluorescent bulbs use 75% less energy than incandescent bulbs, making them a more eco-friendly choice. - They come in different sizes: It's important to choose the right size and type of fluorescent light bulb for your specific light fixture to ensure proper function and longevity.Replacing a Fluorescent Light Bulb in the Kitchen: What You Need to Know

Replacing a Fluorescent Light Bulb in the Kitchen: What You Need to Know
Safety should always be your top priority when dealing with electricity. To safely replace a fluorescent light bulb in your kitchen, remember to: - Turn off the power: Always turn off the power to the light fixture before attempting to replace the bulb. - Use a ladder: Avoid standing on chairs or other unstable surfaces when replacing a light bulb. Use a ladder for safe and stable access to the fixture. - Wear protective gloves: As mentioned before, protective gloves can help prevent any potential health risks when handling fluorescent light bulbs. Now that you know how to replace a fluorescent light bulb in your kitchen, you can confidently tackle this DIY task whenever needed. Remember to always prioritize safety and follow the steps and tips outlined in this article for a successful and hassle-free replacement process.How to Safely Replace a Fluorescent Light Bulb in the Kitchen

How to Safely Replace a Fluorescent Light Bulb in the Kitchen
How to Replace a Fluorescent Light Bulb in Your Kitchen
Upgrade Your Kitchen Lighting with These Simple Steps
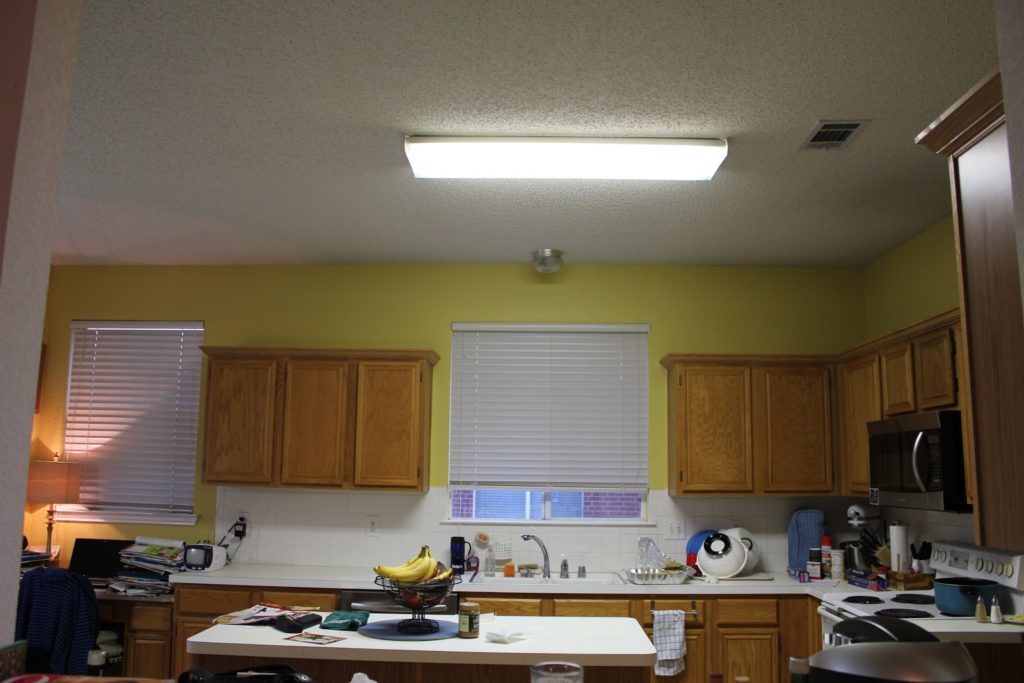
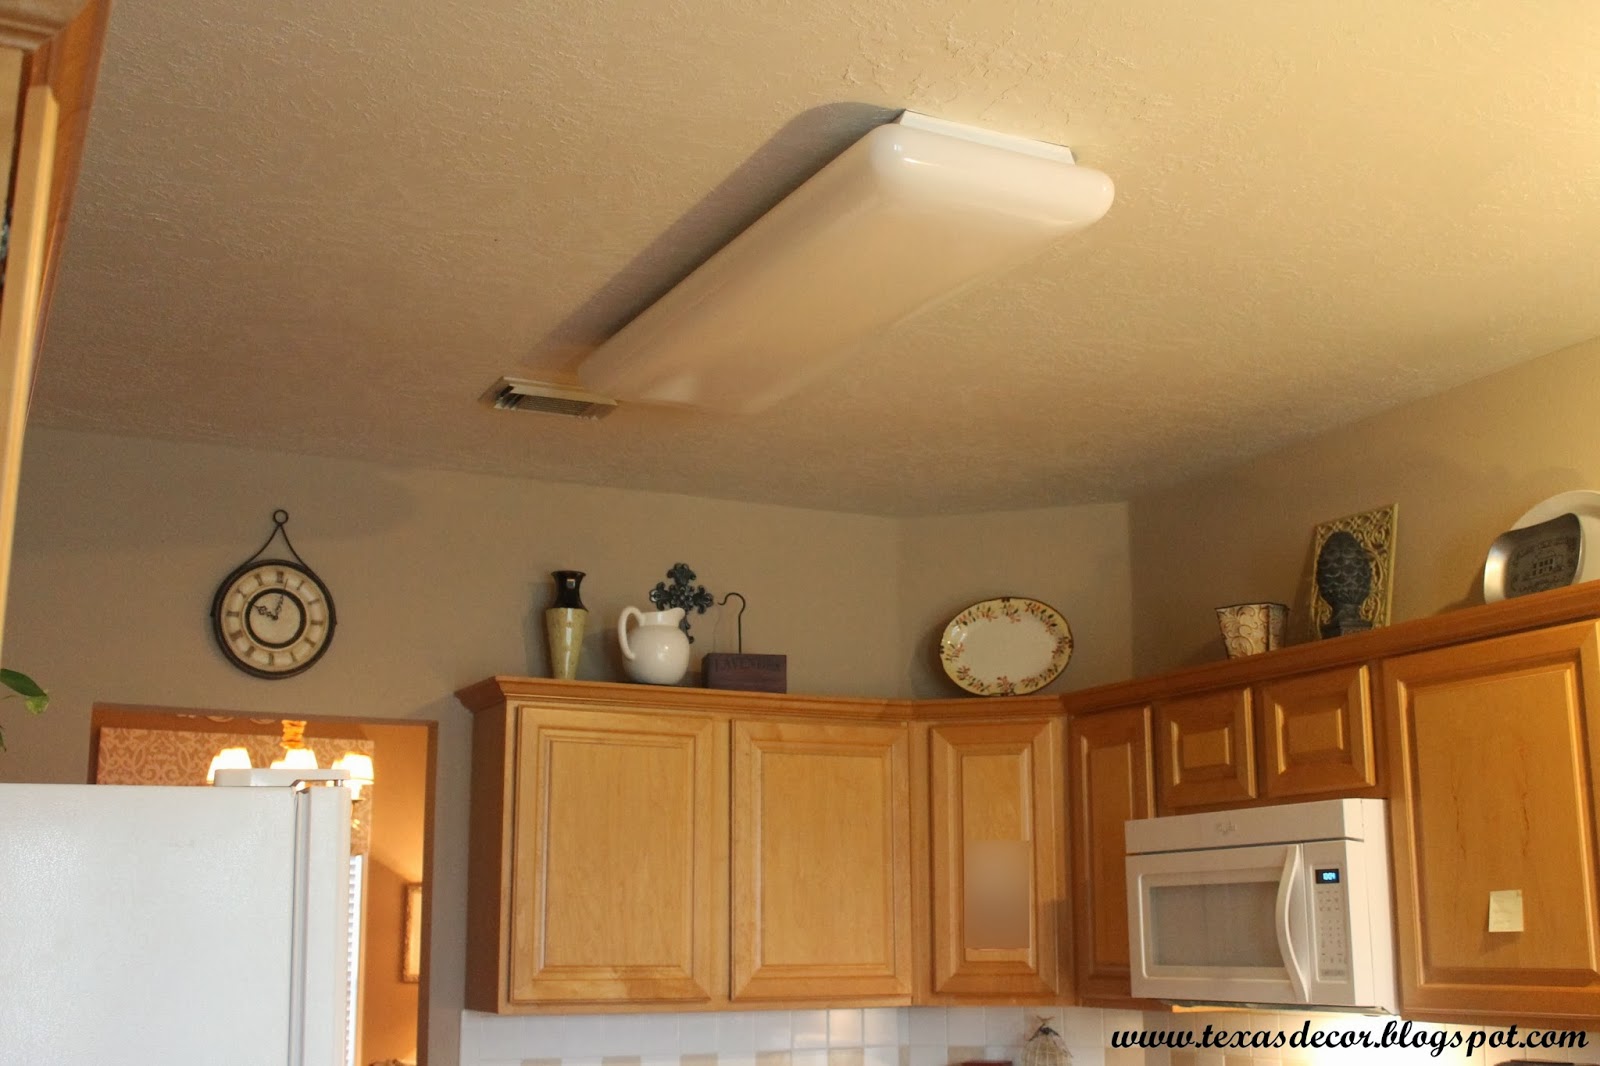
 When it comes to designing your dream kitchen, lighting plays a crucial role. Not only does it provide necessary illumination for tasks such as cooking and cleaning, but it also sets the mood and adds to the aesthetic of the space. One common type of lighting found in kitchens is fluorescent bulbs. These energy-efficient bulbs have a longer lifespan than traditional incandescent bulbs, but eventually, they will need to be replaced. Here's a step-by-step guide on how to replace a fluorescent light bulb in your kitchen.
Step 1: Gather Your Materials
Before starting the replacement process, make sure you have all the necessary materials on hand. This includes a new fluorescent light bulb, a ladder, and protective gloves. It's also a good idea to have a screwdriver and a cloth or paper towel on hand to clean the fixture.
Step 2: Turn Off the Power
Before handling any electrical components, it's important to turn off the power to the light fixture. Locate the circuit breaker for your kitchen and flip the switch to the "off" position. You can also use a voltage tester to double-check that the power is off before proceeding.
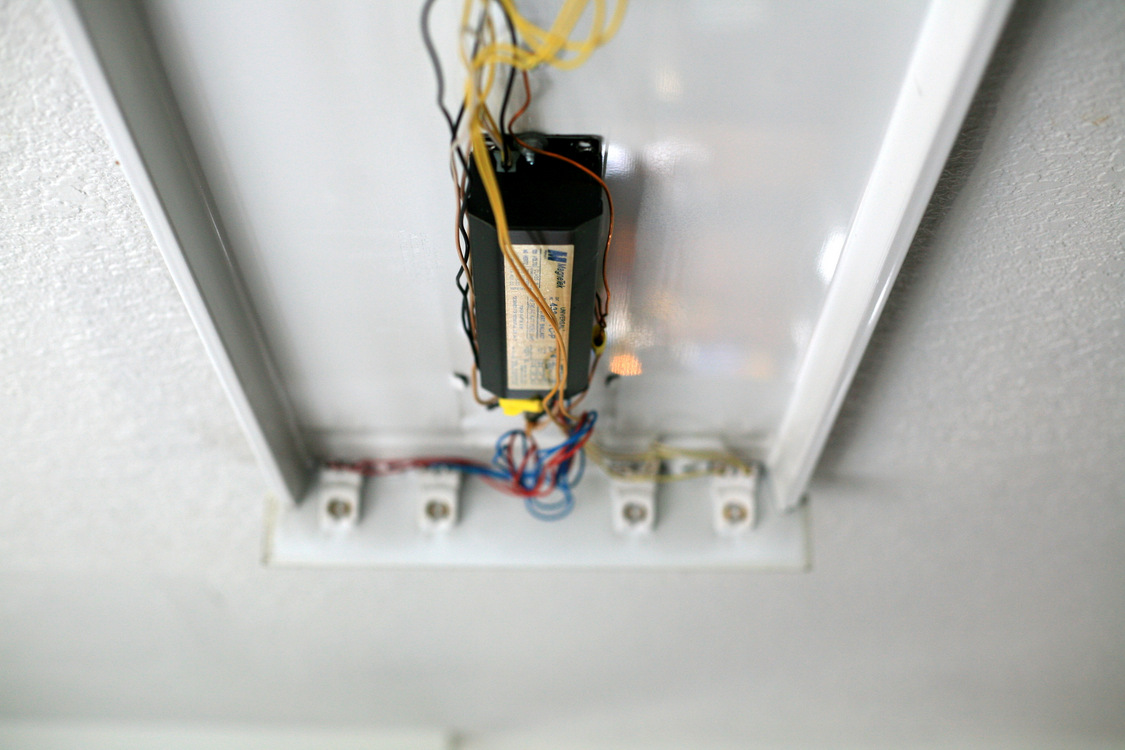
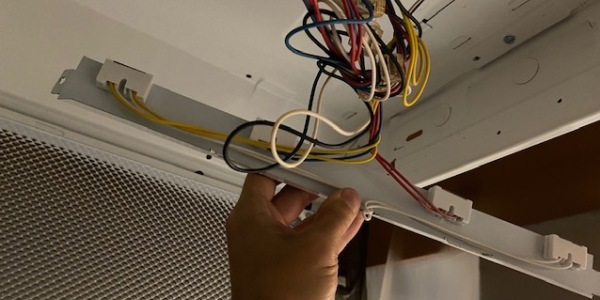
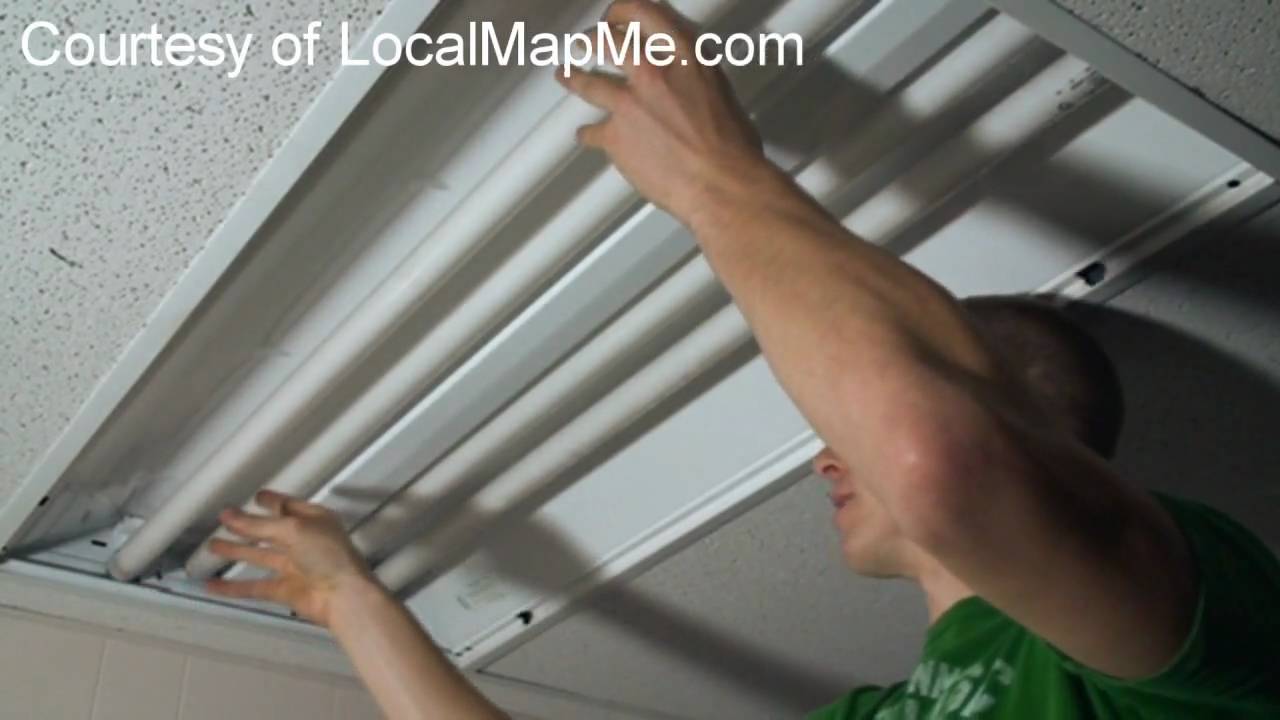
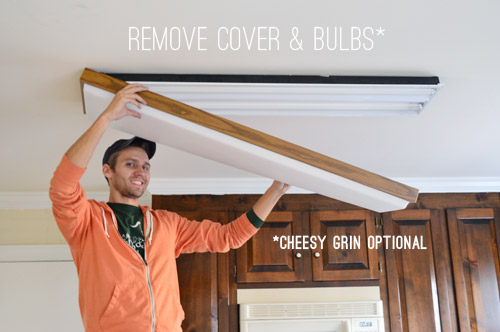
Step 3: Remove the Cover
Most fluorescent light fixtures have a plastic cover that needs to be removed before accessing the bulb. To remove the cover, simply unscrew the screws holding it in place or press the tabs on the sides and gently pull the cover off.
Step 4: Remove the Old Bulb
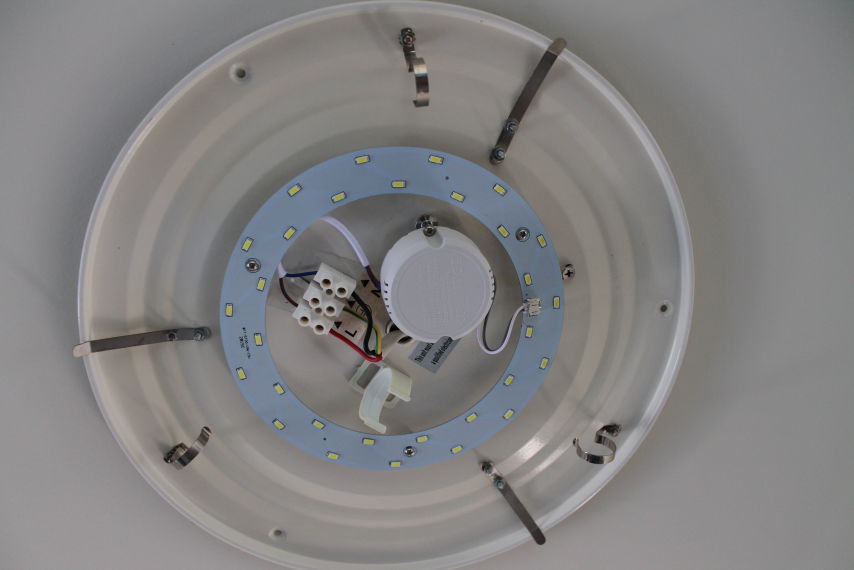
Once the cover is off, you can access the old bulb. Using protective gloves, carefully twist the bulb counterclockwise to remove it from the fixture. Be sure to dispose of the old bulb properly, as it contains small amounts of mercury.
Step 5: Install the New Bulb
Take your new fluorescent light bulb and insert it into the fixture, twisting it clockwise to secure it in place. Make sure the bulb is securely in place and straight.
Step 6: Replace the Cover
If your light fixture has a plastic cover, simply line it up and press it back into place. If it has screws, reattach them to secure the cover.
Step 7: Turn the Power Back On
Once the cover is back on, it's time to turn the power back on. Head back to your circuit breaker and flip the switch to the "on" position. Test the light to make sure it's functioning properly.
By following these simple steps, you can easily replace a fluorescent light bulb in your kitchen and upgrade your lighting. Remember to dispose of the old bulb properly and always prioritize safety when dealing with electricity. Now you can enjoy a well-lit and stylish kitchen that will make all your cooking and entertaining dreams come true.