Is your bathroom sink faucet handle broken or outdated? Don't worry, replacing it is easier than you think. With just a few simple steps, you can give your bathroom sink a fresh new look. Follow this guide on how to replace faucet handles on a bathroom sink.How to Replace Faucet Handles on a Bathroom Sink


How to Replace Faucet Handles on a Bathroom Sink


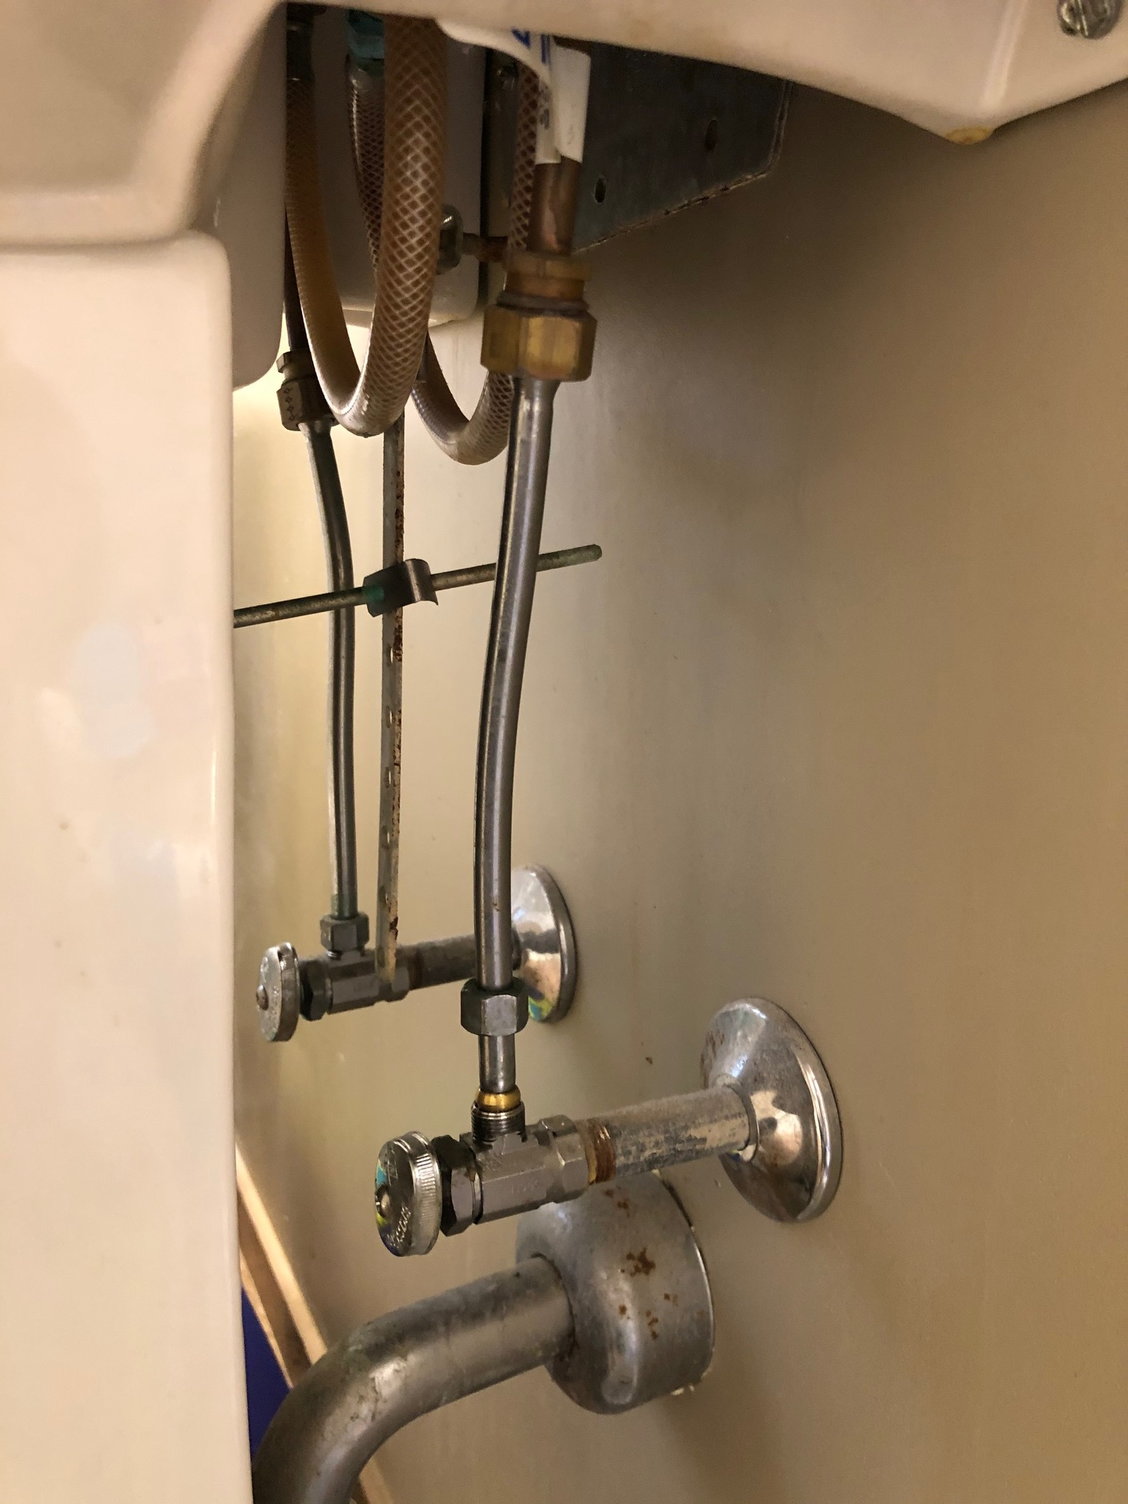
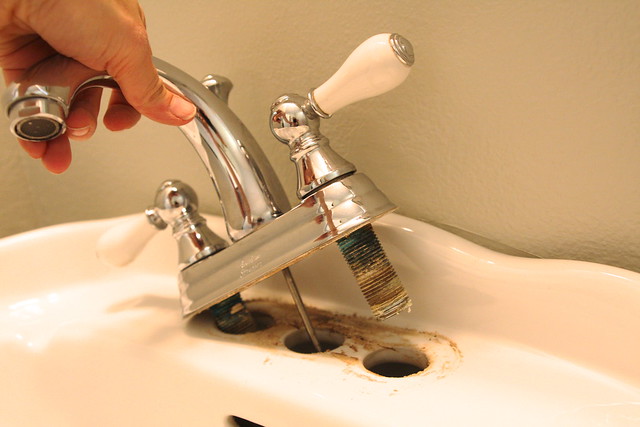
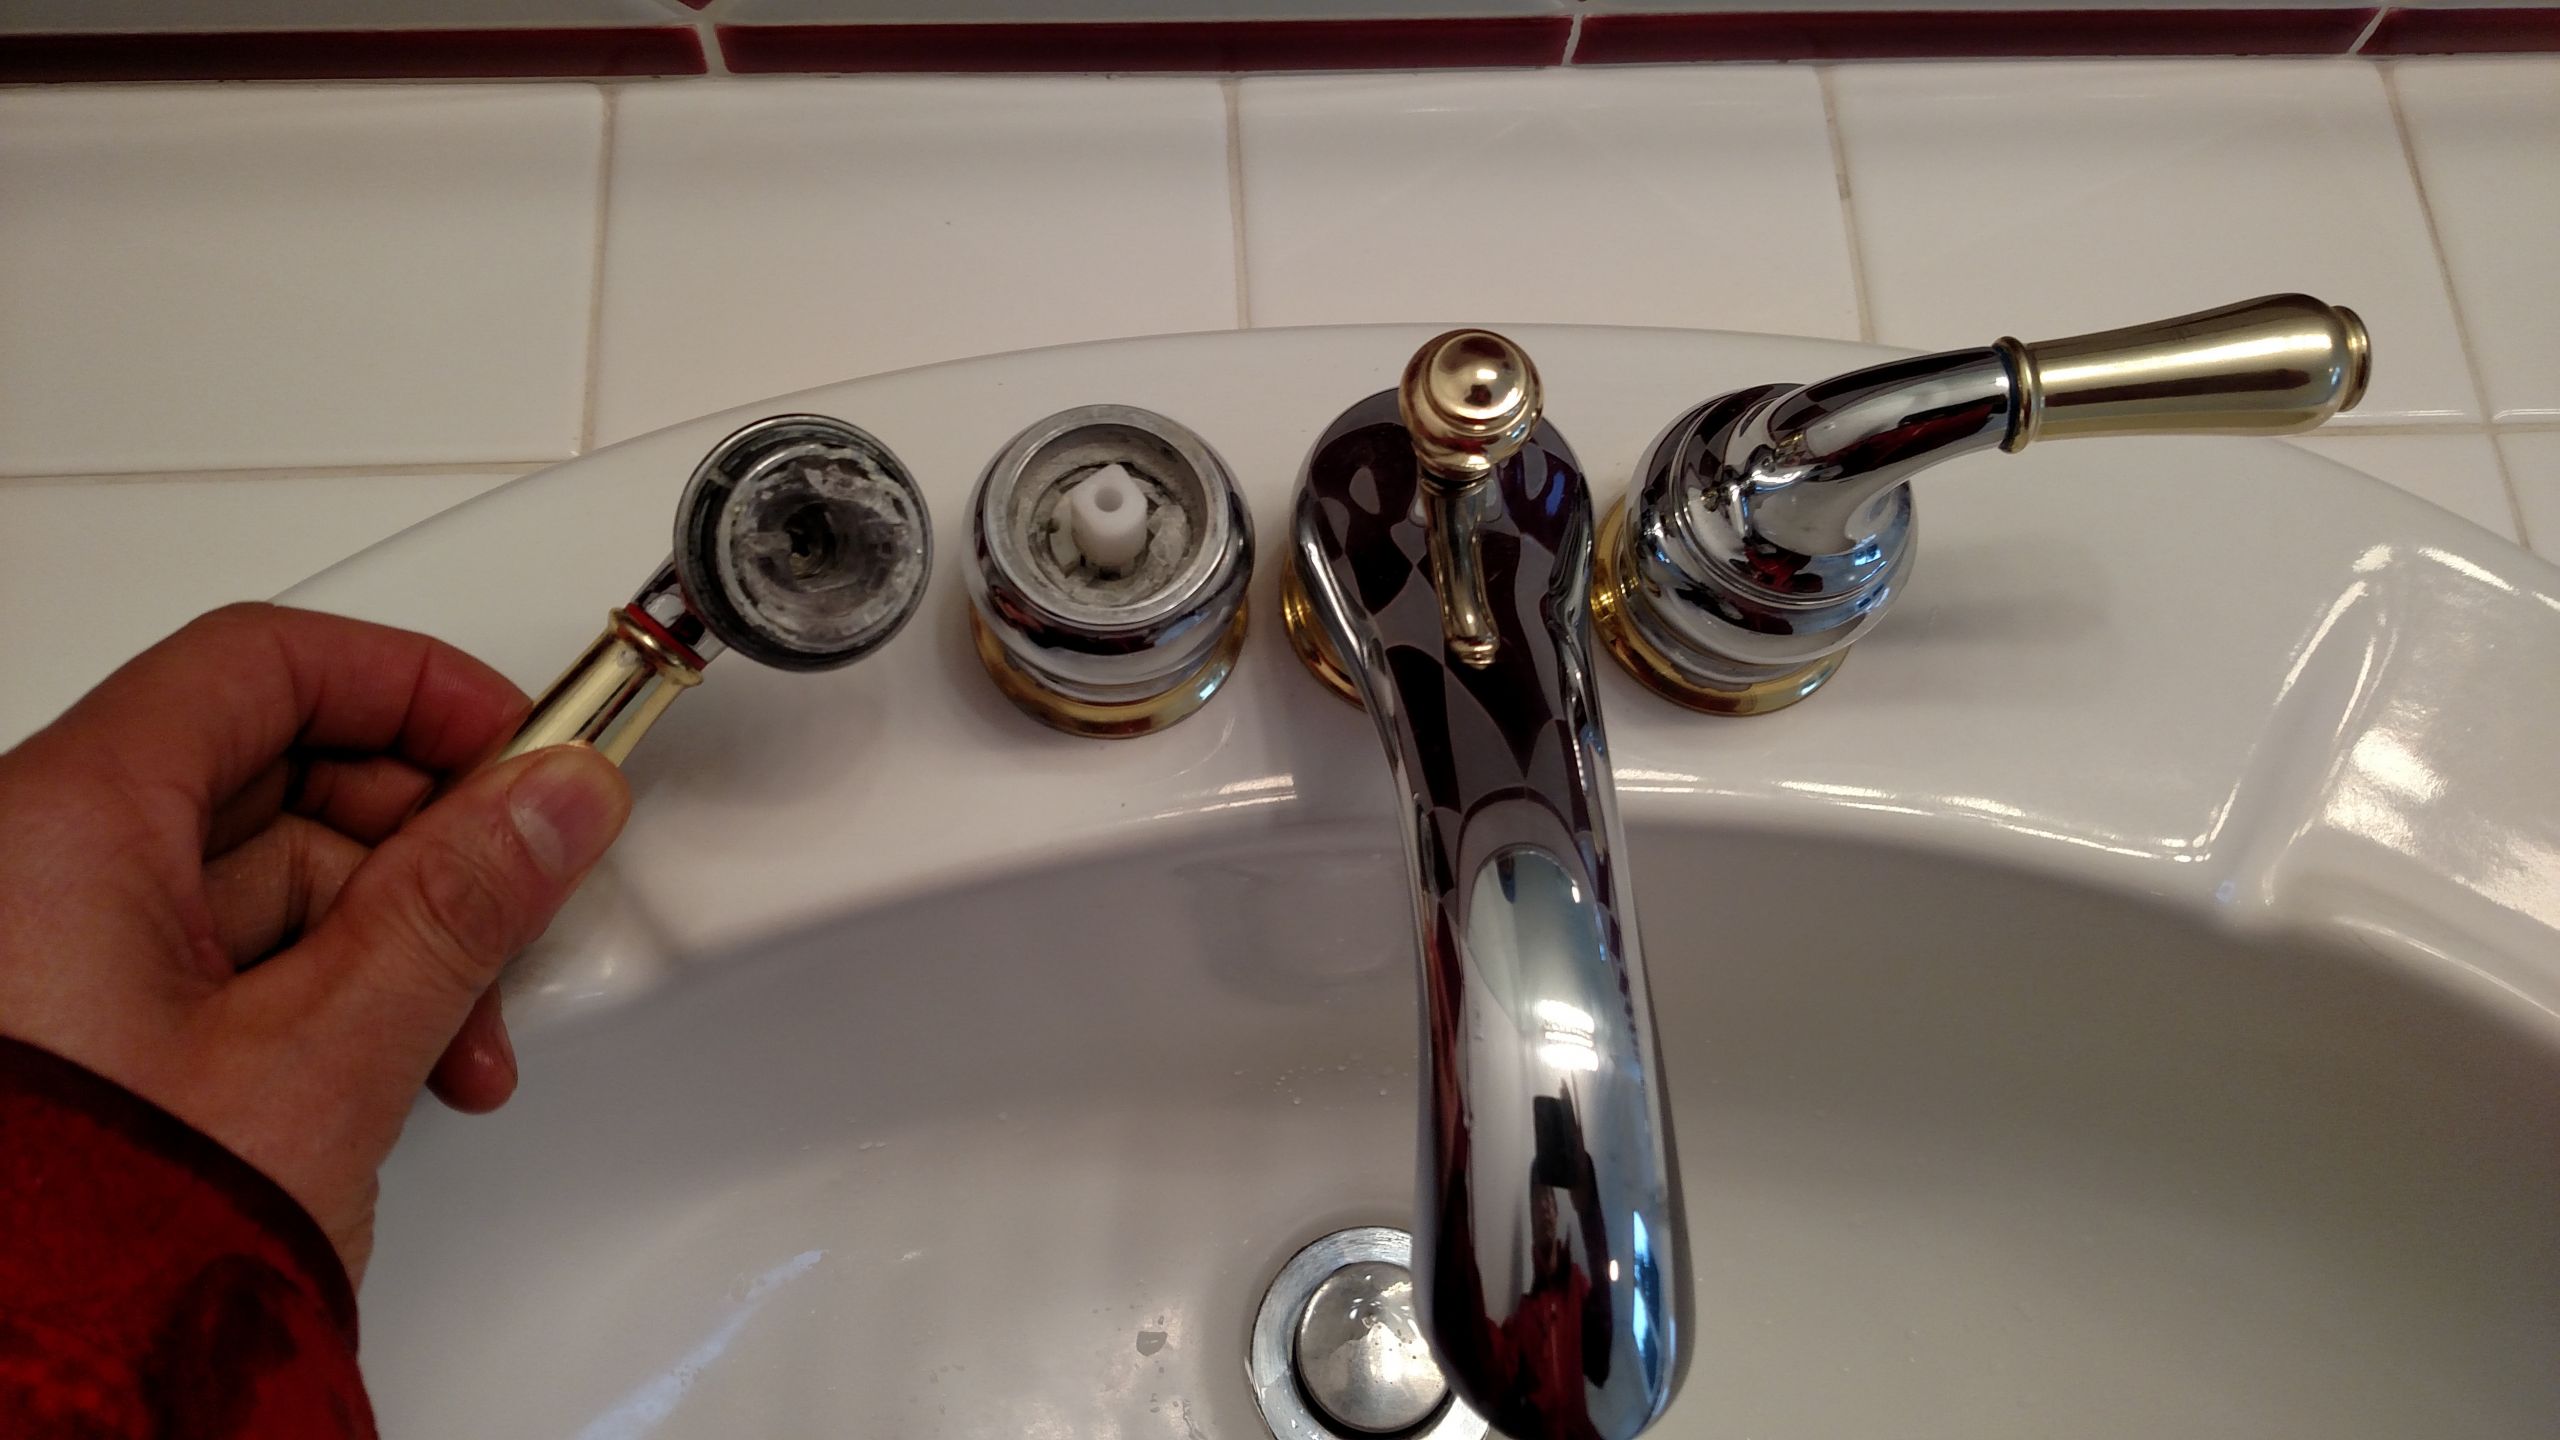
Step 1: Turn off the water supply. Before you start replacing the faucet handles, make sure to turn off the water supply. This can usually be done by turning off the valves under the sink. Step 2: Remove the old faucet handles. Use a screwdriver to remove the screws that hold the handles in place. Once the screws are removed, you can easily take off the handles. Step 3: Clean the area. Use a cleaning solution to remove any residue or build-up around the faucet area. This will ensure a smooth installation of the new handles. Step 4: Install the new handles. Place the new handles in the same location as the old ones. Use the screws provided to secure them in place. Step 5: Turn the water supply back on. Once the new handles are securely in place, turn the water supply back on and test the handles to make sure they are functioning properly.Replacing Bathroom Sink Faucet Handles: A Step-by-Step Guide


Replacing Bathroom Sink Faucet Handles: A Step-by-Step Guide


If you're feeling handy and want to save some money, replacing the faucet handles on your bathroom sink can be a great DIY project. With just a little bit of knowledge and the right tools, you can easily replace the handles yourself. To start, gather the necessary tools and materials. This includes a screwdriver, cleaning solution, new faucet handles, and possibly a wrench. Follow the step-by-step guide mentioned above and you'll have your new handles installed in no time.DIY: Replacing Bathroom Sink Faucet Handles


DIY: Replacing Bathroom Sink Faucet Handles

Don't have a lot of time to spare? No problem. Replacing bathroom sink faucet handles can be a quick and easy process. With the right tools and materials, you can have your new handles installed in just a few minutes. Make sure to turn off the water supply and clean the area before installing the new handles. This will ensure a smooth and hassle-free installation process.Quick and Easy Bathroom Sink Faucet Handle Replacement


Quick and Easy Bathroom Sink Faucet Handle Replacement


When it comes to replacing bathroom sink faucet handles, there are a few tips and tricks that can make the process even easier. For example, make sure to keep track of the screws and other small parts during the removal process. This will prevent any frustration during installation. Additionally, make sure to choose handles that are compatible with your sink and faucet. This will ensure a proper fit and prevent any leaks or other issues.Replacing Bathroom Sink Faucet Handles: Tips and Tricks

Replacing Bathroom Sink Faucet Handles: Tips and Tricks
Looking for a comprehensive guide on how to replace faucet handles on a bathroom sink? Look no further. This ultimate guide covers everything you need to know, from tools and materials to troubleshooting common issues. With this guide, you'll have all the knowledge and resources to successfully replace your bathroom sink faucet handles and give your bathroom a fresh new look.The Ultimate Guide to Replacing Bathroom Sink Faucet Handles
The Ultimate Guide to Replacing Bathroom Sink Faucet Handles

While replacing bathroom sink faucet handles may seem like a simple task, there are some common mistakes that can be easily avoided. One of the most common mistakes is not turning off the water supply, which can result in a big mess. Another mistake is not properly cleaning the area before installation. This can lead to a poor seal and potential leaks. By being aware of these common mistakes, you can ensure a smooth and successful handle replacement.Replacing Bathroom Sink Faucet Handles: Common Mistakes to Avoid


Replacing Bathroom Sink Faucet Handles: Common Mistakes to Avoid

If you're a visual learner, you may benefit from a step-by-step tutorial for replacing bathroom sink faucet handles. Luckily, there are plenty of resources available online that provide detailed videos and images to guide you through the process. Follow along with a tutorial and you'll have your new faucet handles installed in no time.Step-by-Step Tutorial for Replacing Bathroom Sink Faucet Handles


Step-by-Step Tutorial for Replacing Bathroom Sink Faucet Handles


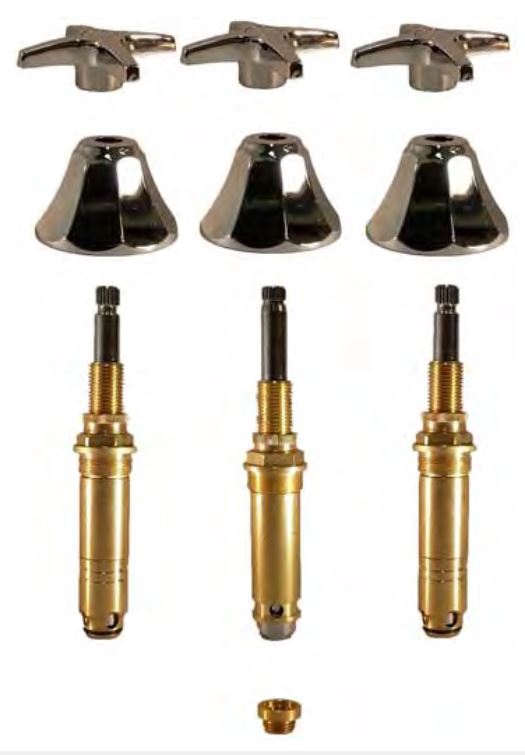
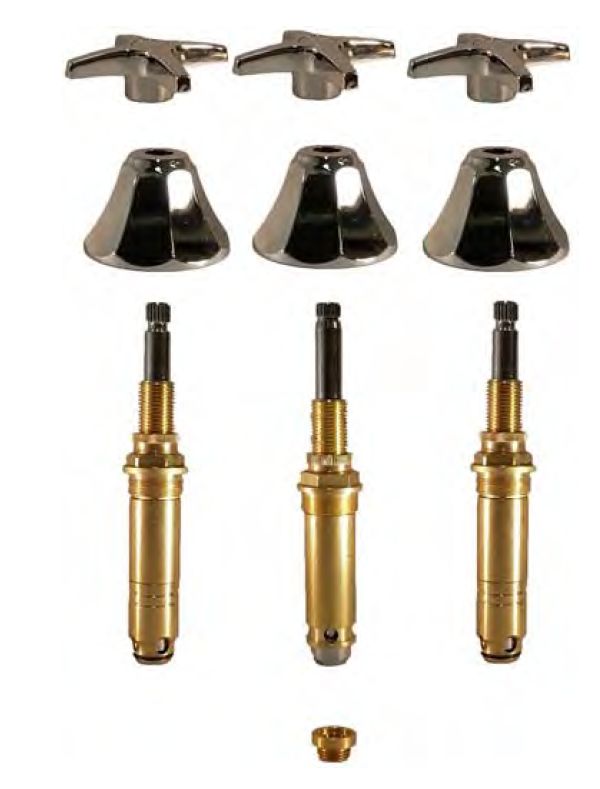
Before starting the replacement process, make sure you have all the necessary tools and materials. This includes a screwdriver, cleaning solution, new faucet handles, and possibly a wrench. By having everything you need on hand, you can save time and prevent any unnecessary trips to the hardware store.Replacing Bathroom Sink Faucet Handles: Tools and Materials You'll Need


Replacing Bathroom Sink Faucet Handles: Tools and Materials You'll Need
Even with the best preparation and installation, there may be some common issues that arise when replacing bathroom sink faucet handles. One of the most common issues is leaks, which can be caused by a variety of factors such as a loose handle or an improper seal. If you encounter any issues, refer back to this guide or seek help from a professional to ensure a proper and lasting fix.Replacing Bathroom Sink Faucet Handles: Troubleshooting Common Issues


Replacing Bathroom Sink Faucet Handles: Troubleshooting Common Issues


Replacing Faucet Handles for a Stylish Bathroom Sink

The Importance of Faucet Handles in Bathroom Design
 When it comes to designing a bathroom, every detail matters. From the color scheme to the fixtures, each element plays a crucial role in creating the perfect space. One of the most overlooked but essential features in a bathroom is the faucet handles for the sink. These small but mighty pieces not only control the flow of water but also add a touch of style to your bathroom. That's why it's essential to choose the right faucet handles and replace them when needed.
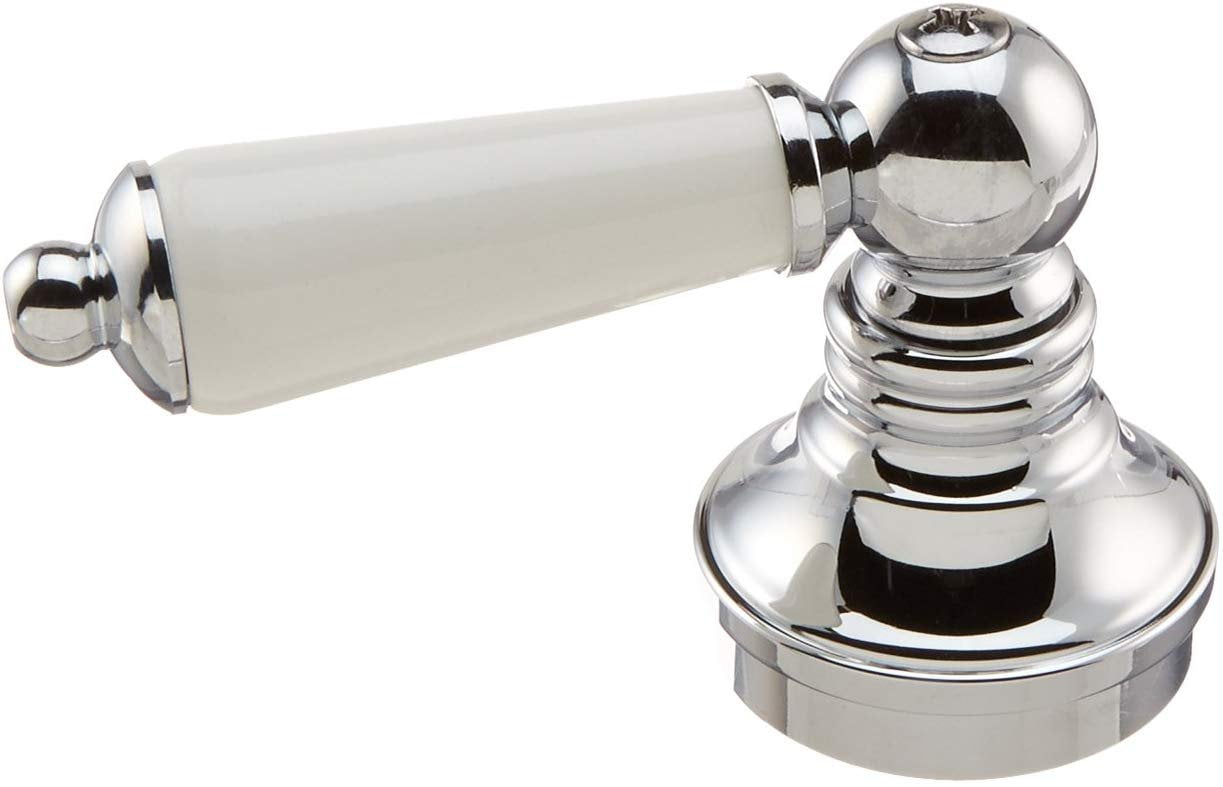
Signs That it's Time to Replace Your Faucet Handles
 Over time, faucet handles can become worn out, tarnished, or broken. This not only affects the functionality of your bathroom sink but also takes away from its aesthetic appeal. If you notice any of the following signs, it's time to consider replacing your faucet handles:
- The handles are difficult to turn or loose
- They are corroded or have rust spots
- The finish is chipped or peeling
- The handles don't match the rest of your bathroom's design
Over time, faucet handles can become worn out, tarnished, or broken. This not only affects the functionality of your bathroom sink but also takes away from its aesthetic appeal. If you notice any of the following signs, it's time to consider replacing your faucet handles:
- The handles are difficult to turn or loose
- They are corroded or have rust spots
- The finish is chipped or peeling
- The handles don't match the rest of your bathroom's design
Steps to Replacing Faucet Handles
 Now that you've decided it's time to replace your faucet handles, here's a step-by-step guide to help you along the way:
1. Gather Your Tools
Before starting the replacement process, make sure you have all the necessary tools on hand. This may include a wrench, pliers, screwdriver, and any replacement parts for your specific faucet handles.
2. Turn Off the Water Supply
Before removing the old handles, be sure to turn off the water supply to your bathroom sink. This will prevent any water from leaking out while you're working.
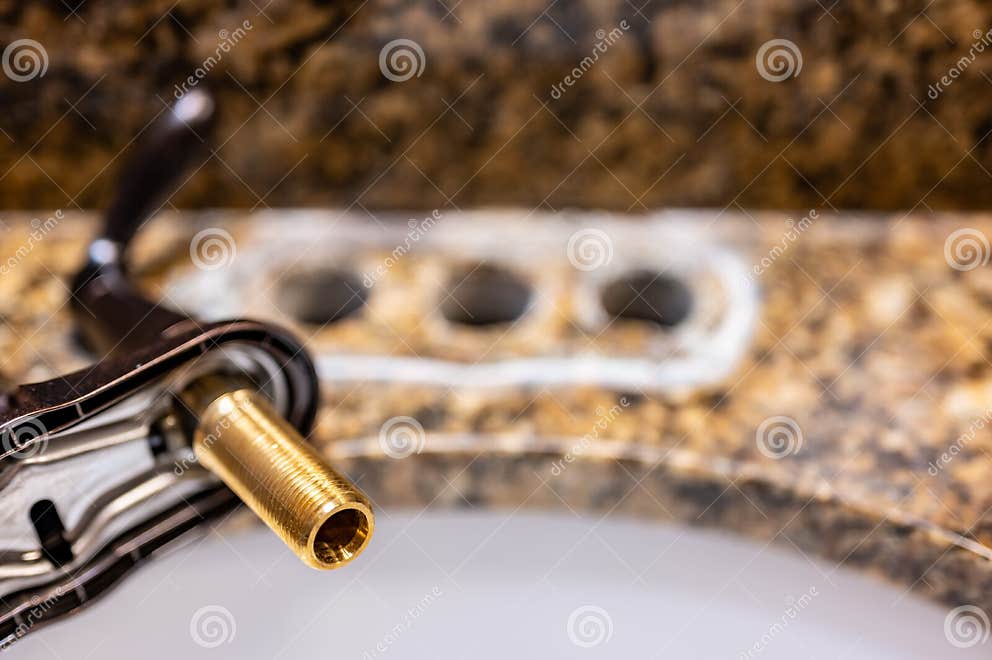
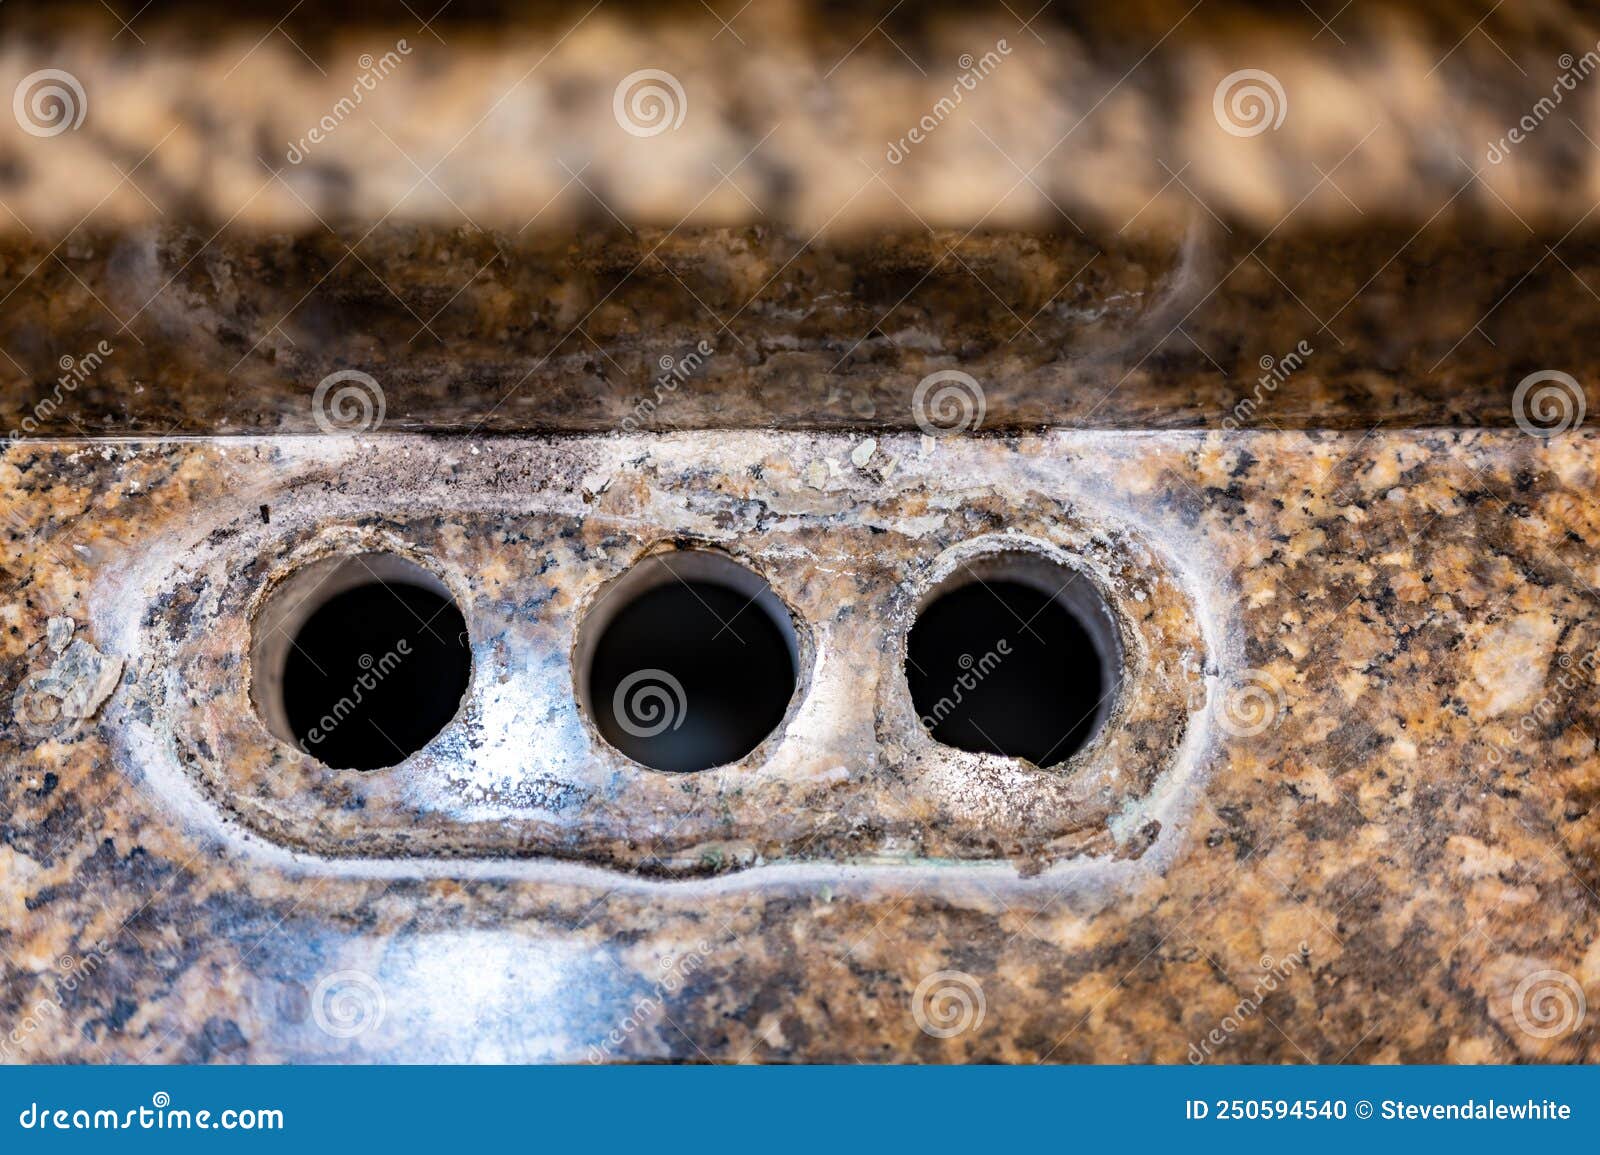
3. Remove the Old Handles
Using your tools, carefully remove the old faucet handles by unscrewing or pulling them off. Be sure to keep track of any small screws or parts that may fall out.
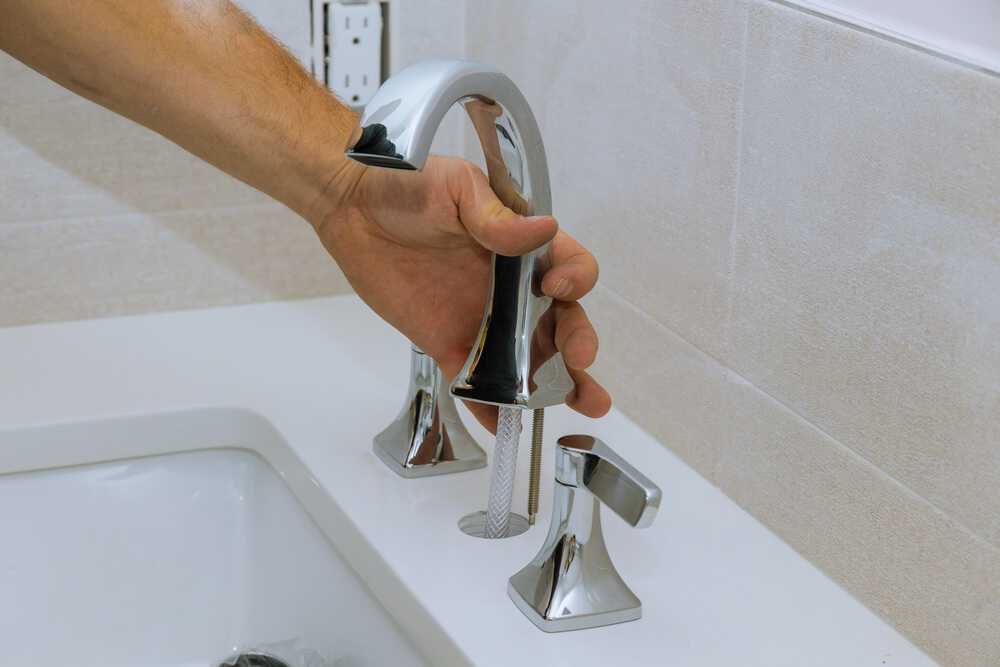
4. Install the New Handles
Using the same tools, install the new handles in the same location as the old ones. Be sure to follow the instructions provided by the manufacturer.
5. Turn the Water Supply Back On
Once the new handles are securely in place, turn the water supply back on and test the handles to ensure they are functioning properly.
Now that you've decided it's time to replace your faucet handles, here's a step-by-step guide to help you along the way:
1. Gather Your Tools
Before starting the replacement process, make sure you have all the necessary tools on hand. This may include a wrench, pliers, screwdriver, and any replacement parts for your specific faucet handles.
2. Turn Off the Water Supply
Before removing the old handles, be sure to turn off the water supply to your bathroom sink. This will prevent any water from leaking out while you're working.
3. Remove the Old Handles
Using your tools, carefully remove the old faucet handles by unscrewing or pulling them off. Be sure to keep track of any small screws or parts that may fall out.
4. Install the New Handles
Using the same tools, install the new handles in the same location as the old ones. Be sure to follow the instructions provided by the manufacturer.
5. Turn the Water Supply Back On
Once the new handles are securely in place, turn the water supply back on and test the handles to ensure they are functioning properly.
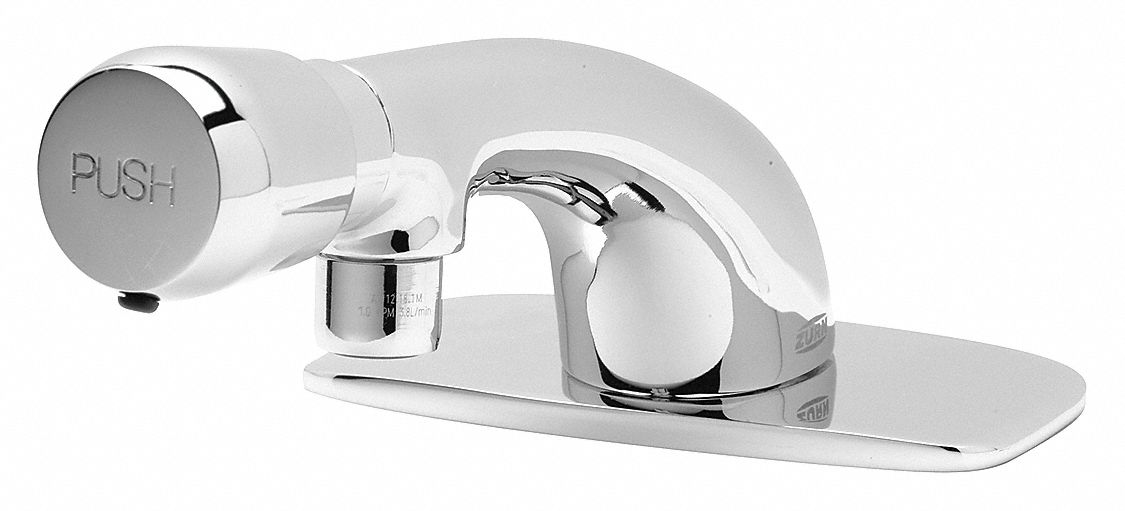
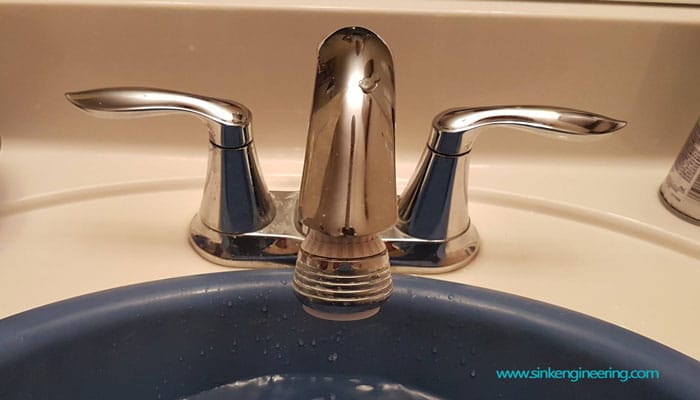
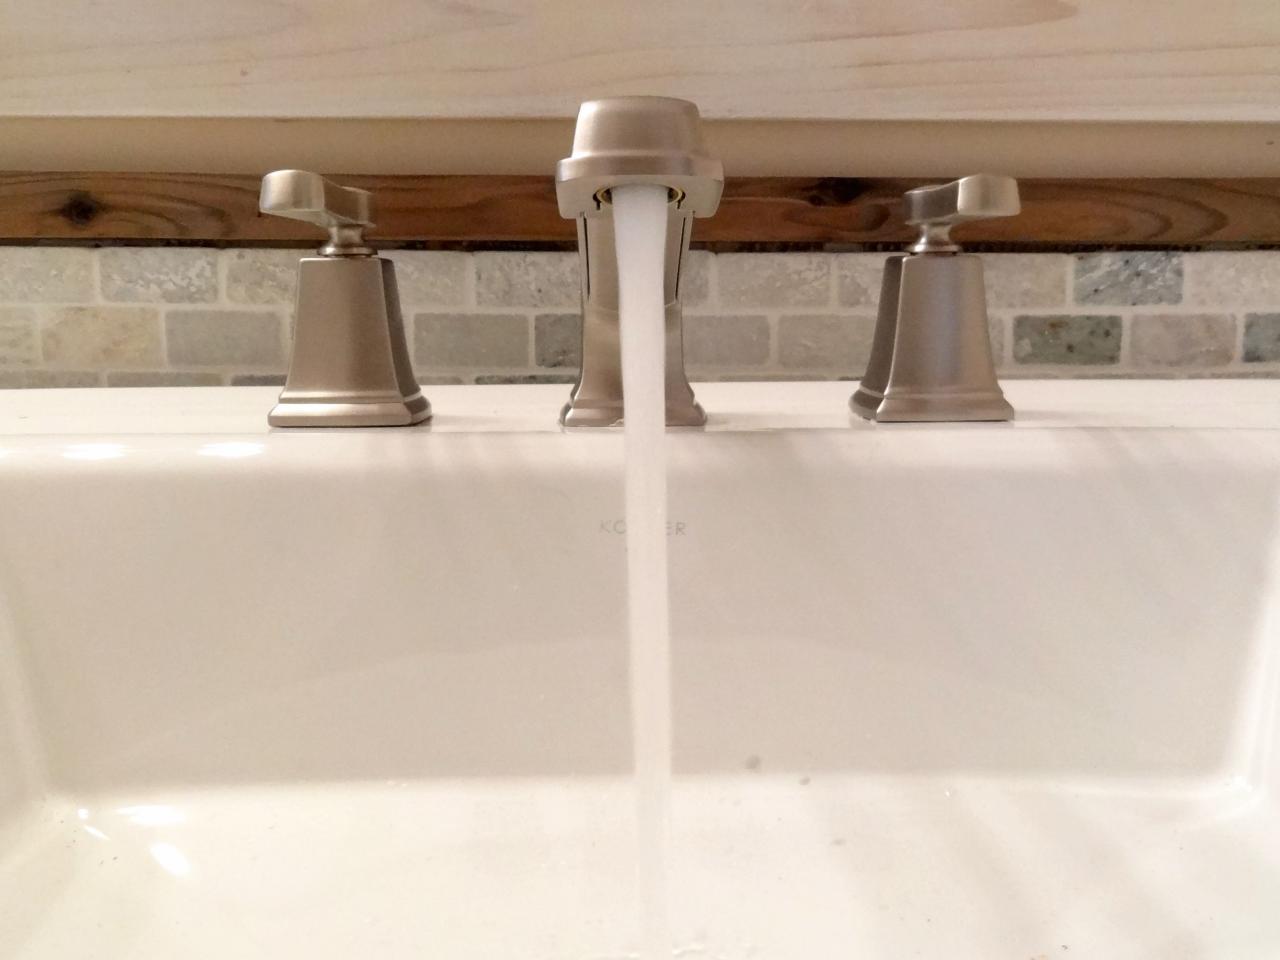
Choosing the Right Faucet Handles for Your Bathroom Sink
 When selecting new faucet handles, consider the overall design and style of your bathroom. You want the handles to complement the rest of the fixtures and add to the overall aesthetic. Additionally, make sure to choose handles that are durable and easy to clean to ensure they last for years to come.
In conclusion, replacing faucet handles for your bathroom sink may seem like a small task, but it can make a big difference in the overall design and functionality of your space. So, if you notice any signs of wear or simply want to upgrade the look of your bathroom, don't hesitate to replace those old handles. Follow these steps and choose the right handles, and you'll have a stylish and functional bathroom sink in no time.
When selecting new faucet handles, consider the overall design and style of your bathroom. You want the handles to complement the rest of the fixtures and add to the overall aesthetic. Additionally, make sure to choose handles that are durable and easy to clean to ensure they last for years to come.
In conclusion, replacing faucet handles for your bathroom sink may seem like a small task, but it can make a big difference in the overall design and functionality of your space. So, if you notice any signs of wear or simply want to upgrade the look of your bathroom, don't hesitate to replace those old handles. Follow these steps and choose the right handles, and you'll have a stylish and functional bathroom sink in no time.