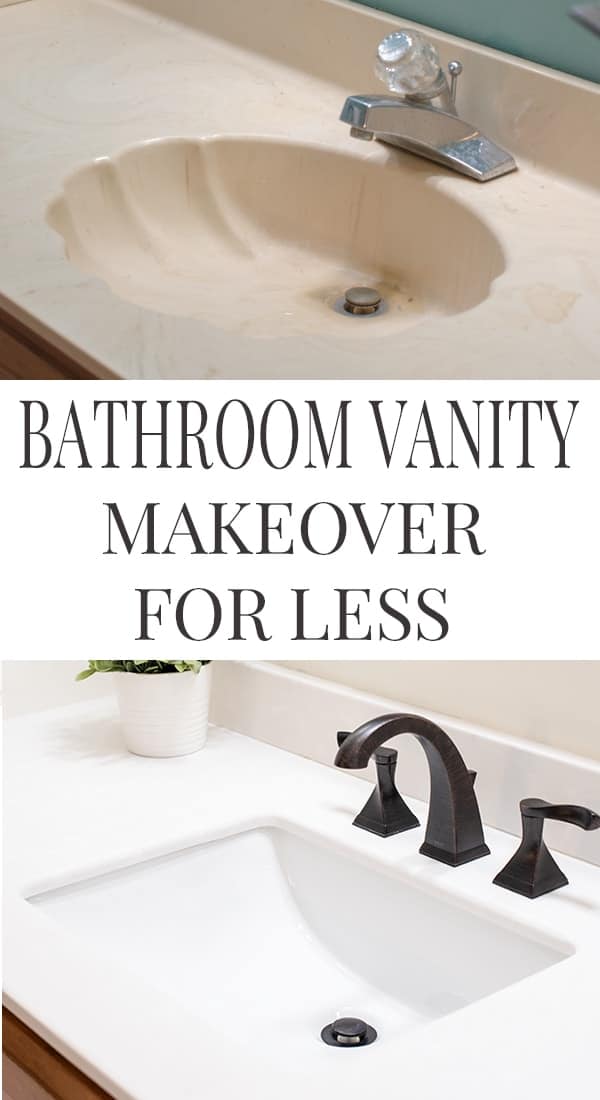
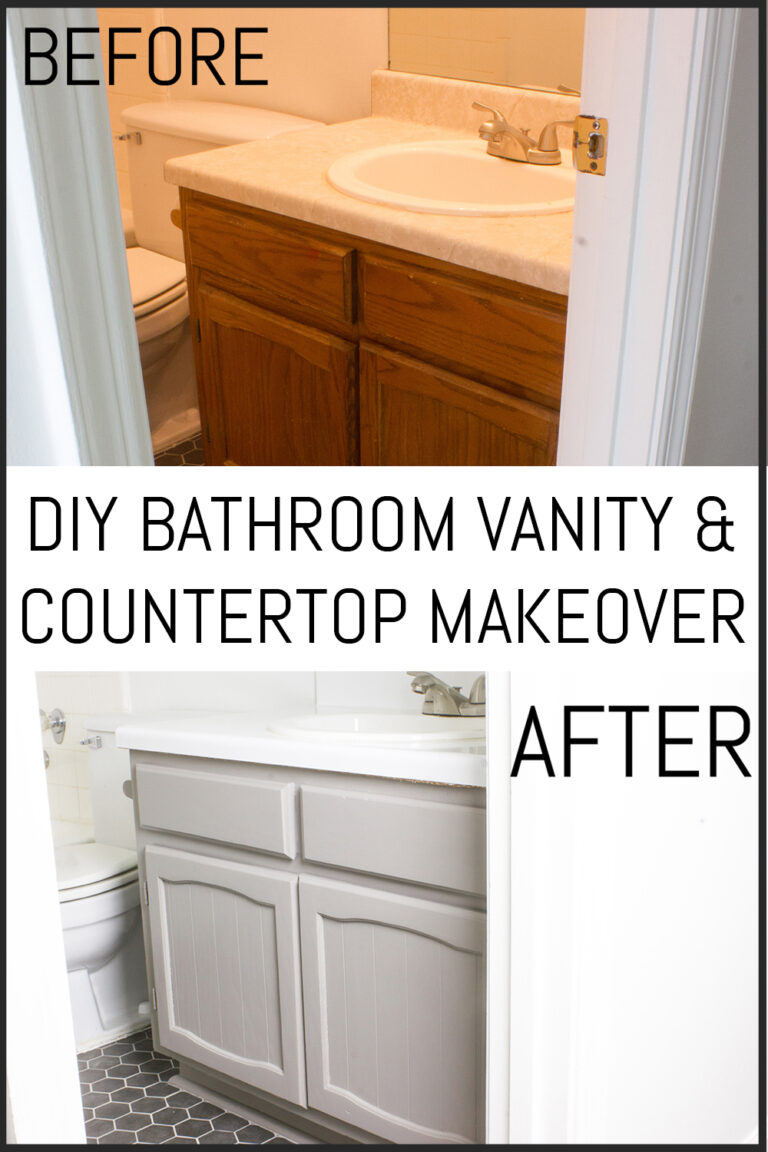
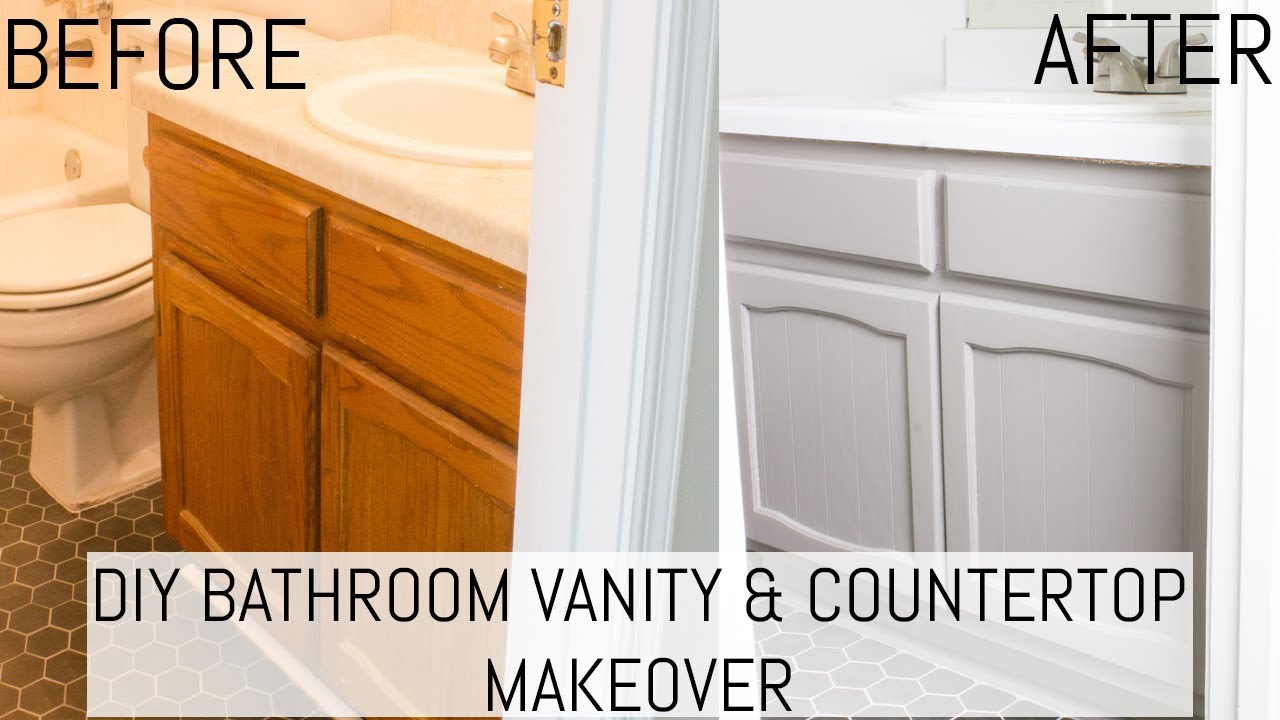
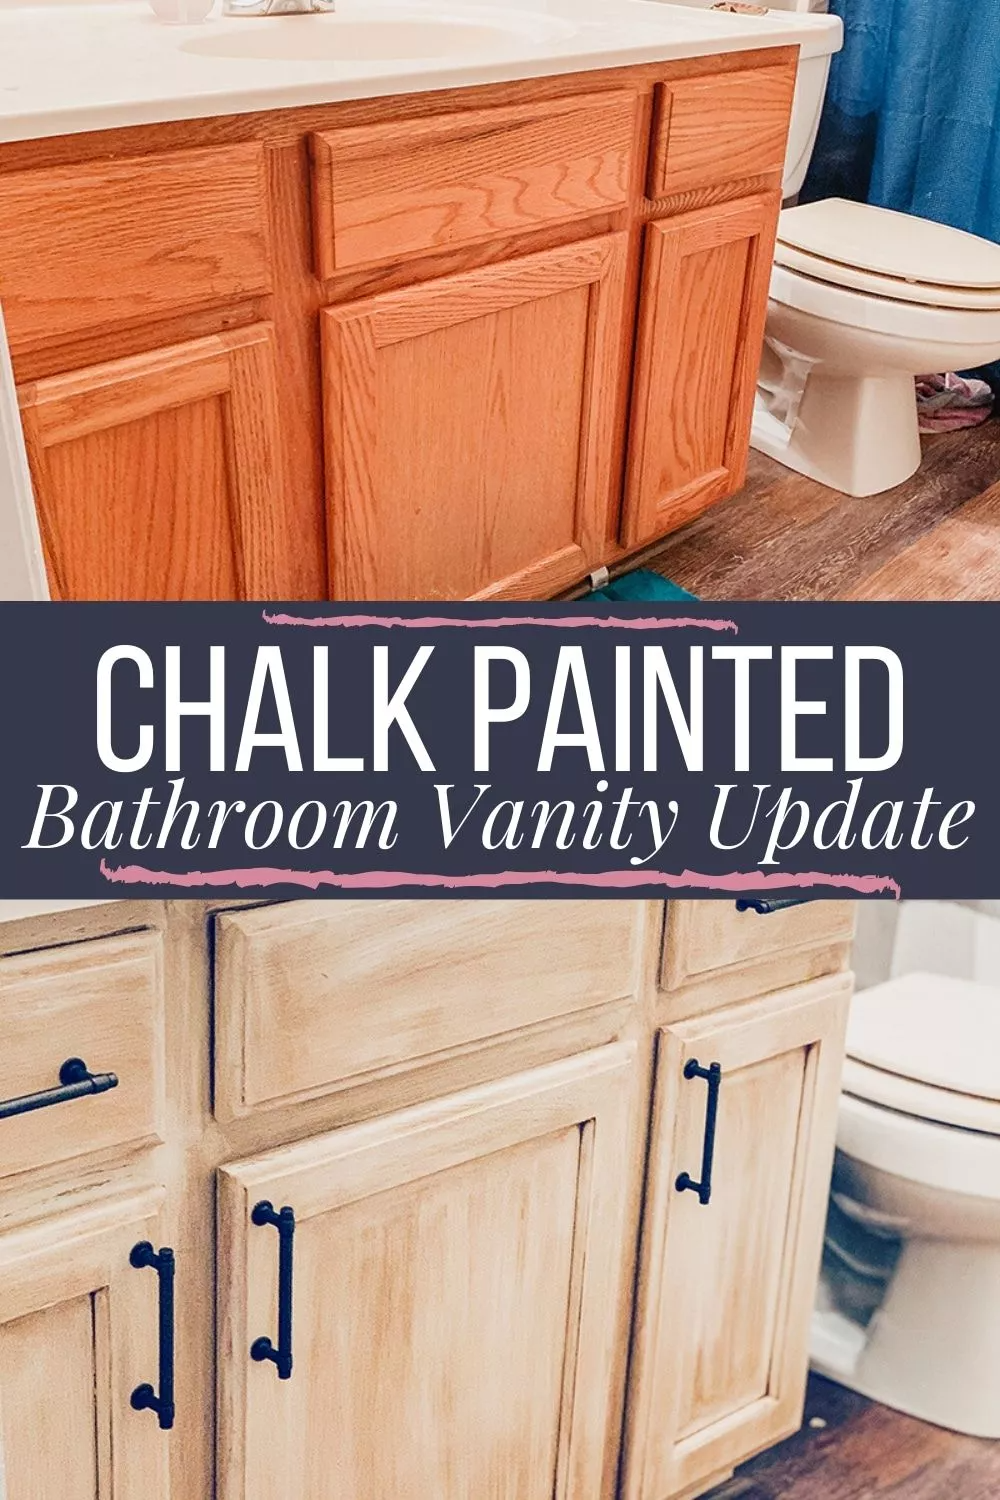
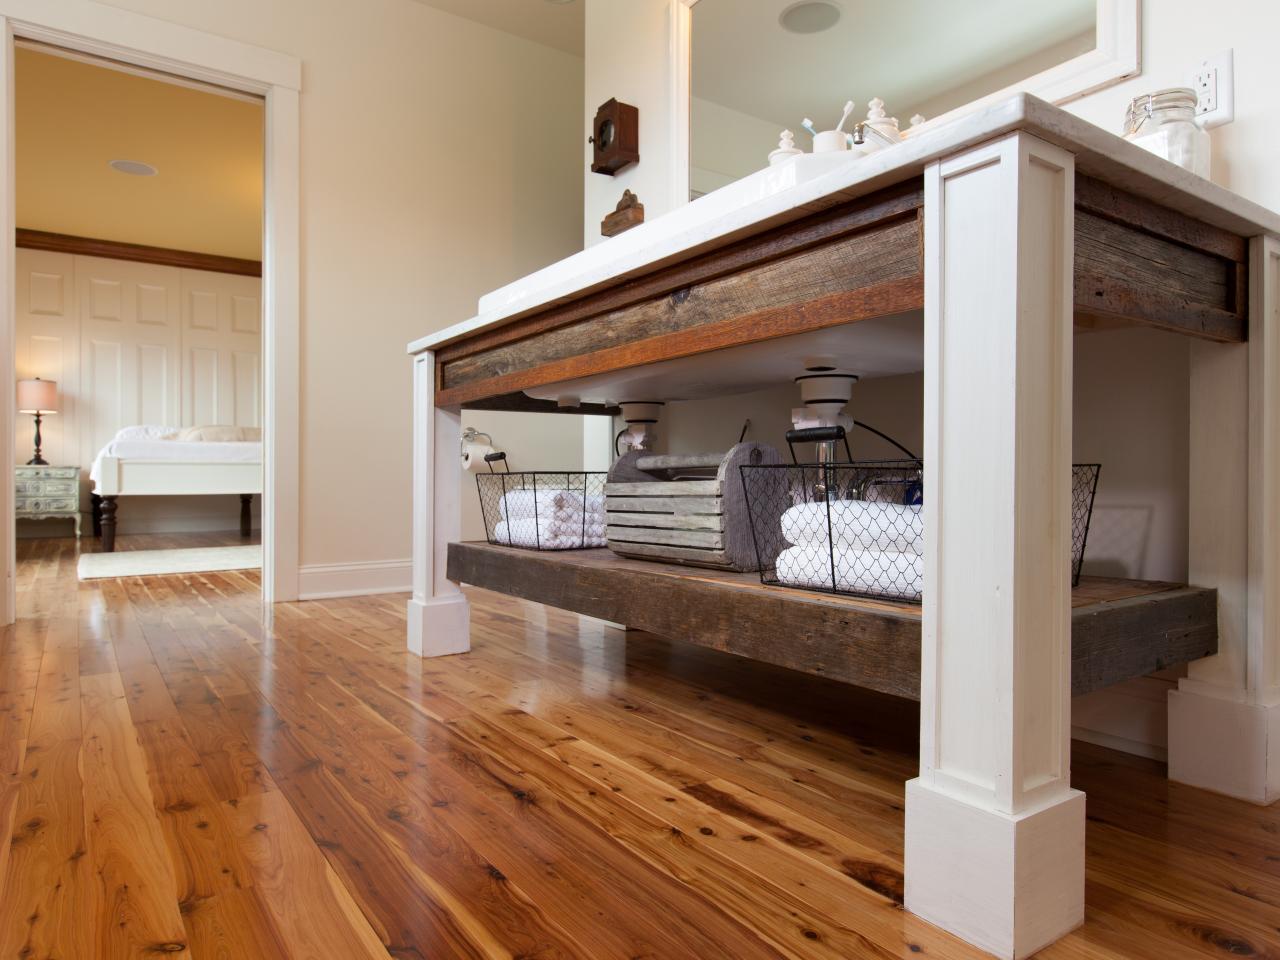
Are you tired of looking at your old, outdated bathroom vanity countertop? Do you cringe every time you see the chips, stains, or scratches on the surface? It may be time for a replacement, but the thought of spending hundreds or even thousands of dollars on a new countertop can be daunting. If you're on a tight budget, don't worry. With a little creativity and some DIY skills, you can easily replace your bathroom vanity countertop without breaking the bank. In this article, we'll show you how to do it in 10 easy steps.DIY Bathroom Vanity Countertop Replacement on a Budget


DIY Bathroom Vanity Countertop Replacement on a Budget


:max_bytes(150000):strip_icc()/build-something-diy-vanity-594402125f9b58d58ae21158.jpg)


The first step in any DIY project is to set a budget. Determine how much you're willing to spend on your new bathroom vanity countertop, and stick to it. By doing so, you'll avoid overspending and ensure that you can complete the project without any financial strain. Once you have your budget in mind, it's time to get started. Here's a step-by-step guide on how to replace your bathroom vanity countertop on a budget.How to Replace a Bathroom Vanity Countertop Cheap and Easy


How to Replace a Bathroom Vanity Countertop Cheap and Easy


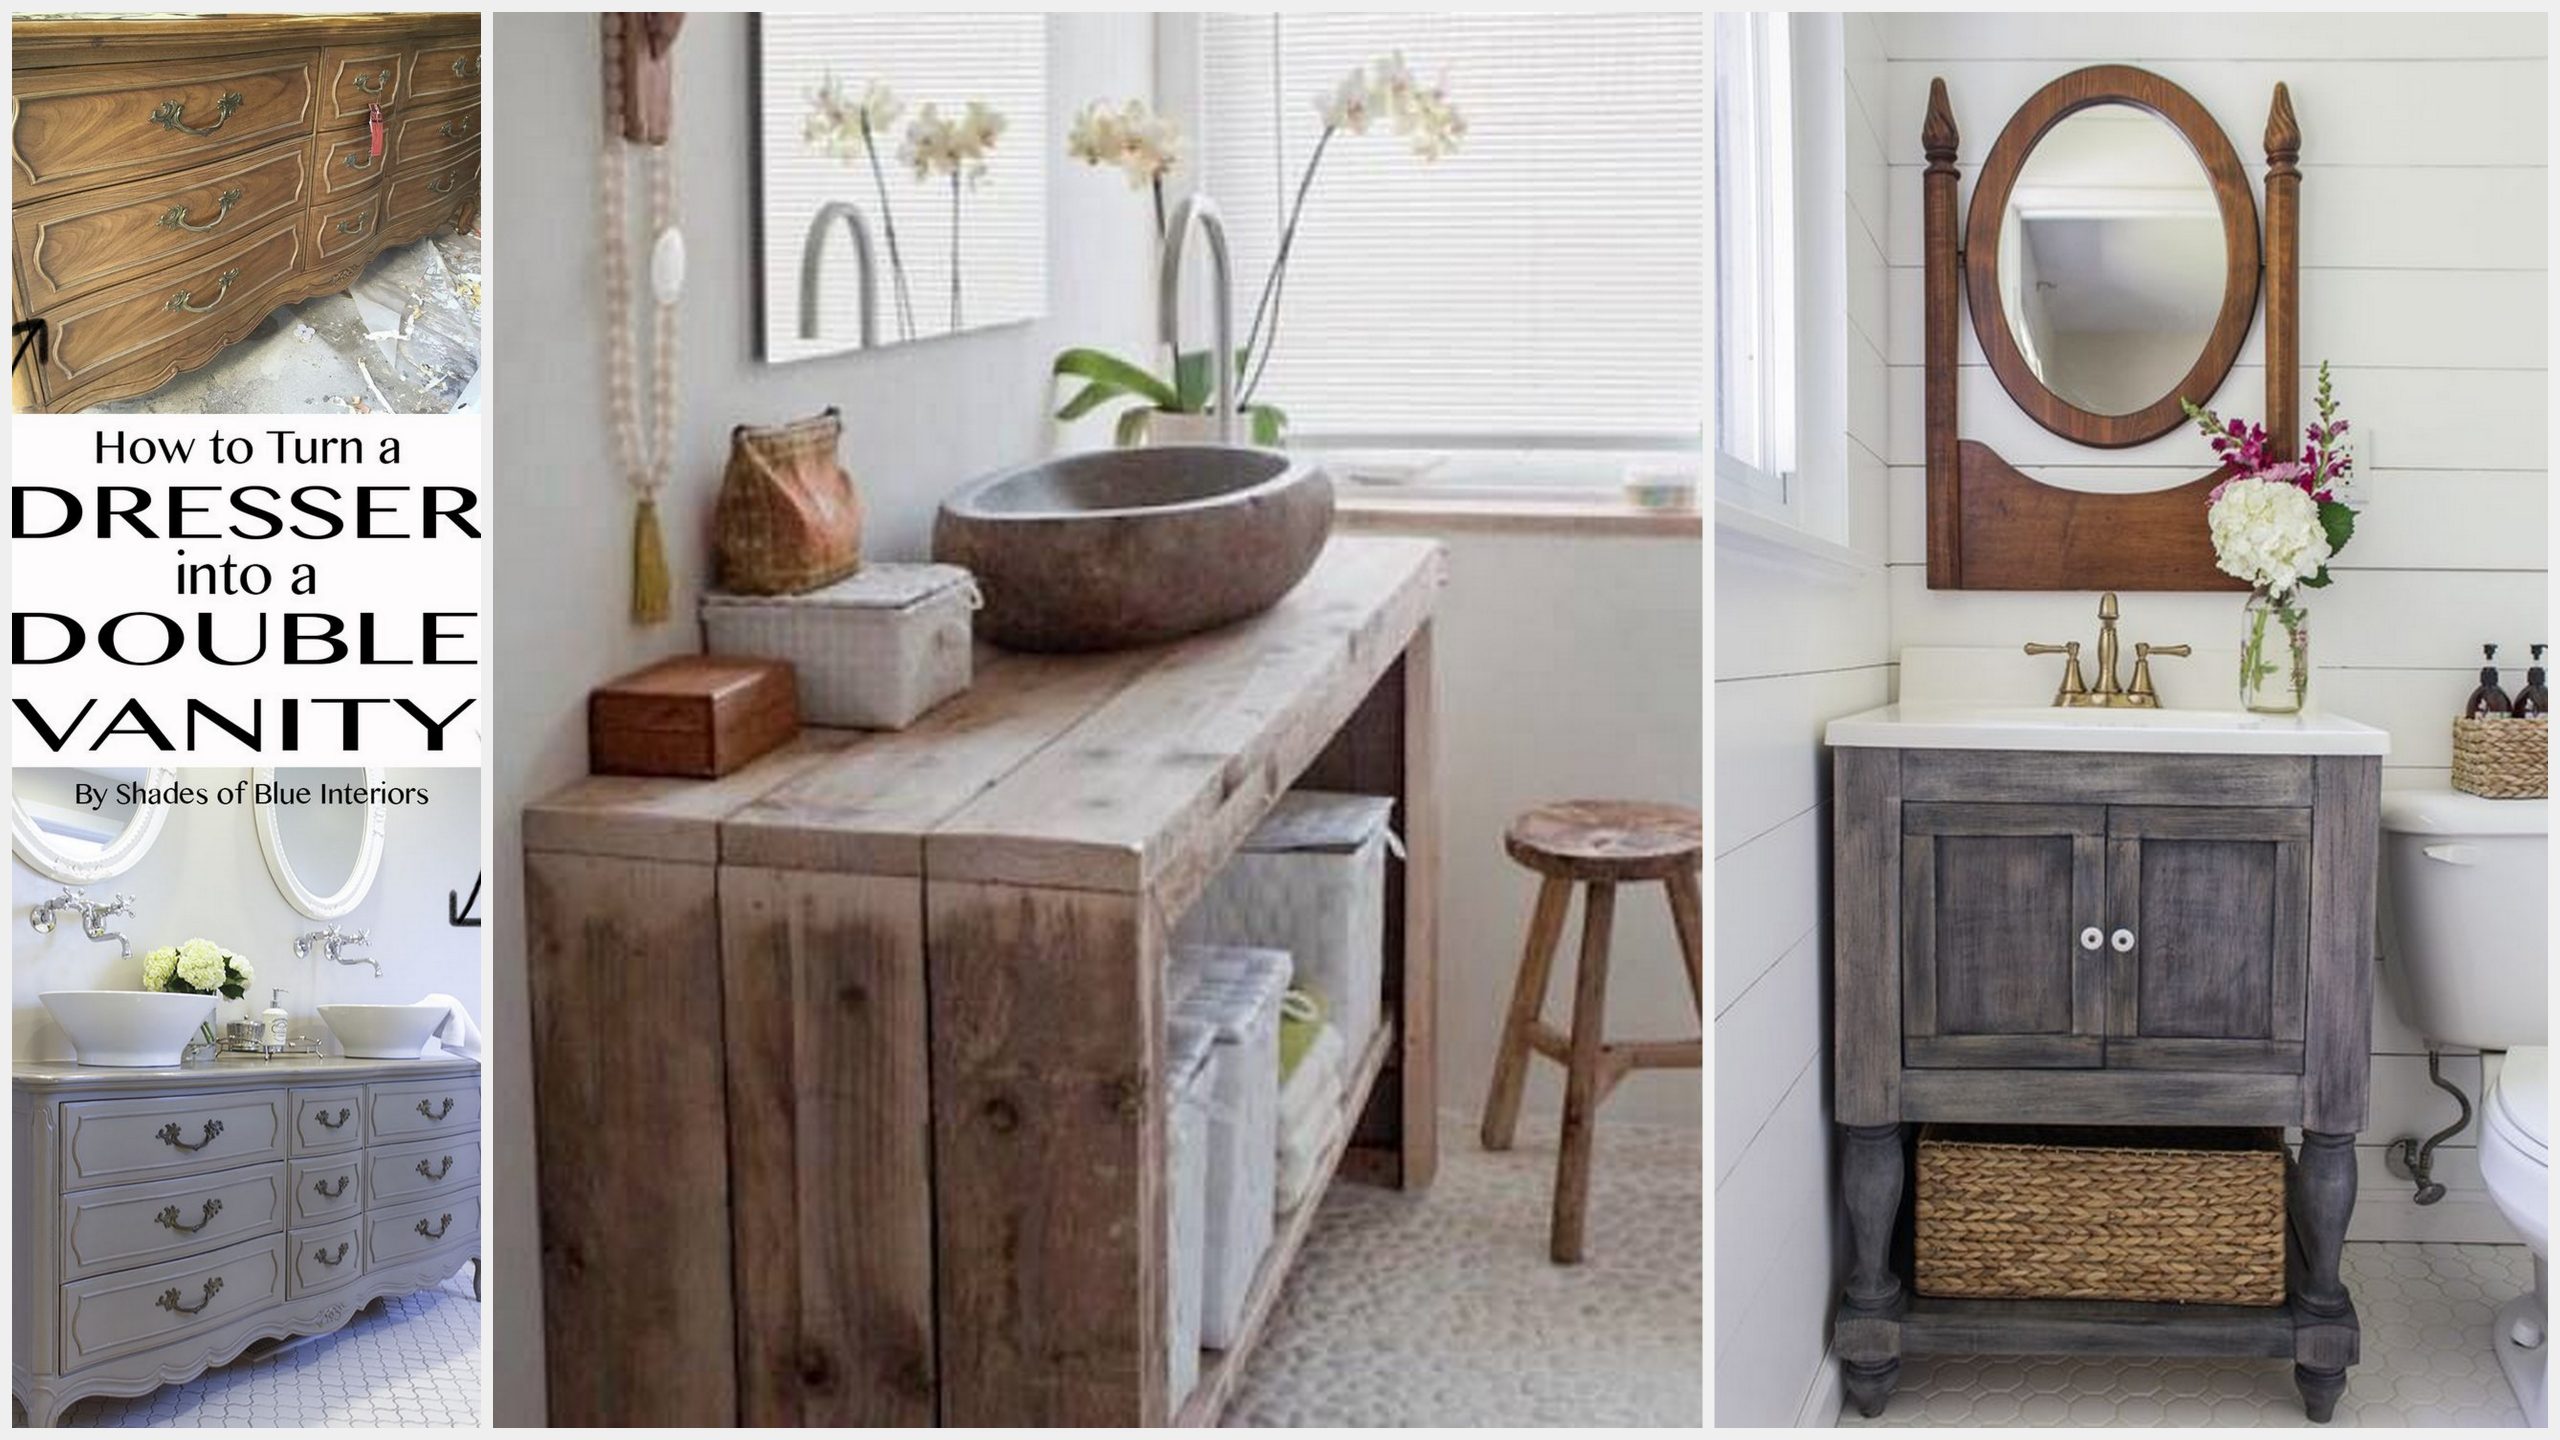
Step 1: Measure and Plan – Before you start shopping for materials, it's essential to measure your existing countertop and the space it occupies. Take accurate measurements of the length, width, and depth of your old countertop. This will help you determine the amount of material you'll need for the replacement. Step 2: Choose Your Material – Countertops come in a variety of materials, including laminate, granite, marble, quartz, and more. While some materials may be cheaper than others, they may not be as durable. Consider your budget and your personal style when choosing the material for your new countertop.Affordable DIY Bathroom Vanity Countertop Replacement


Affordable DIY Bathroom Vanity Countertop Replacement


.png)

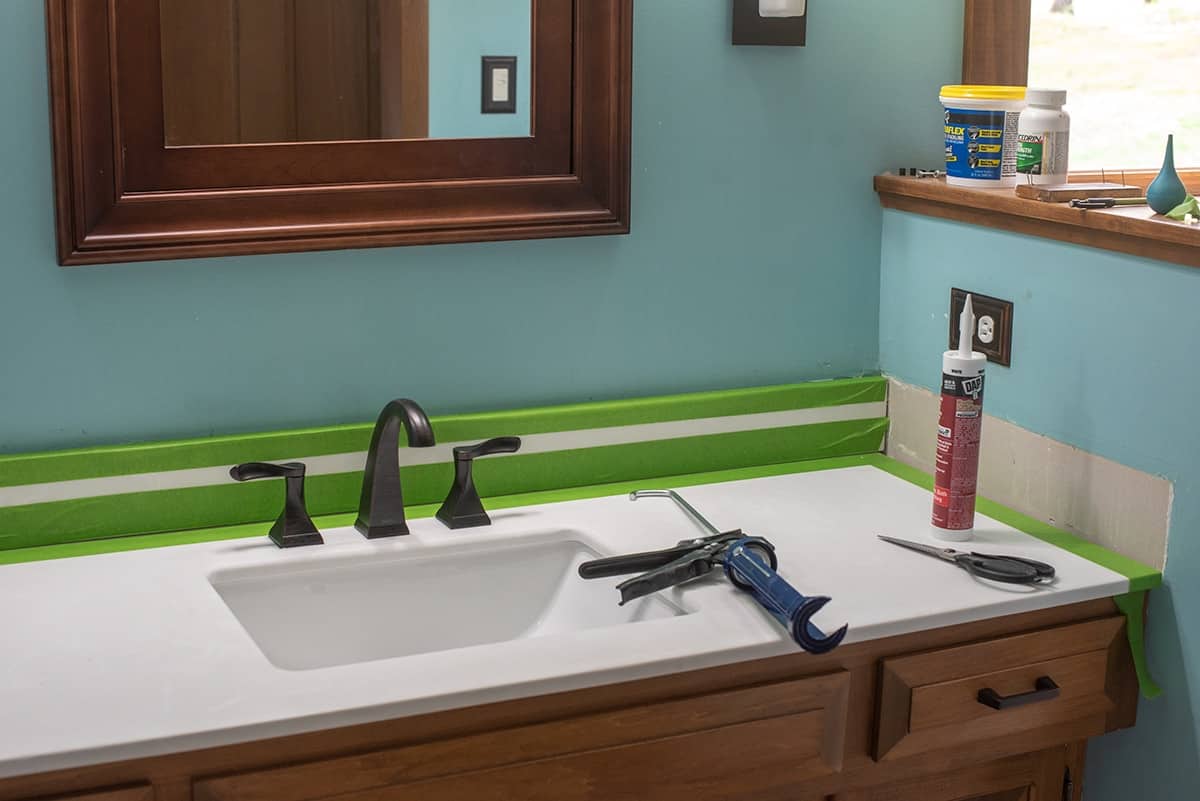
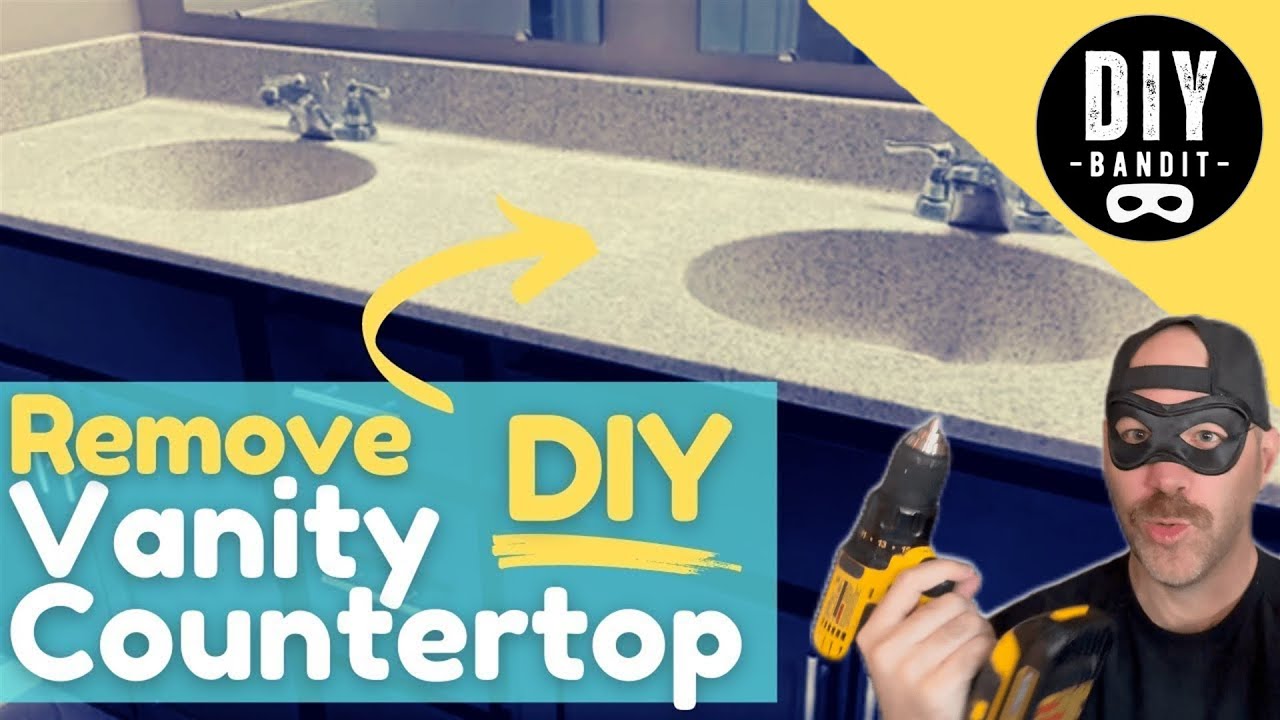
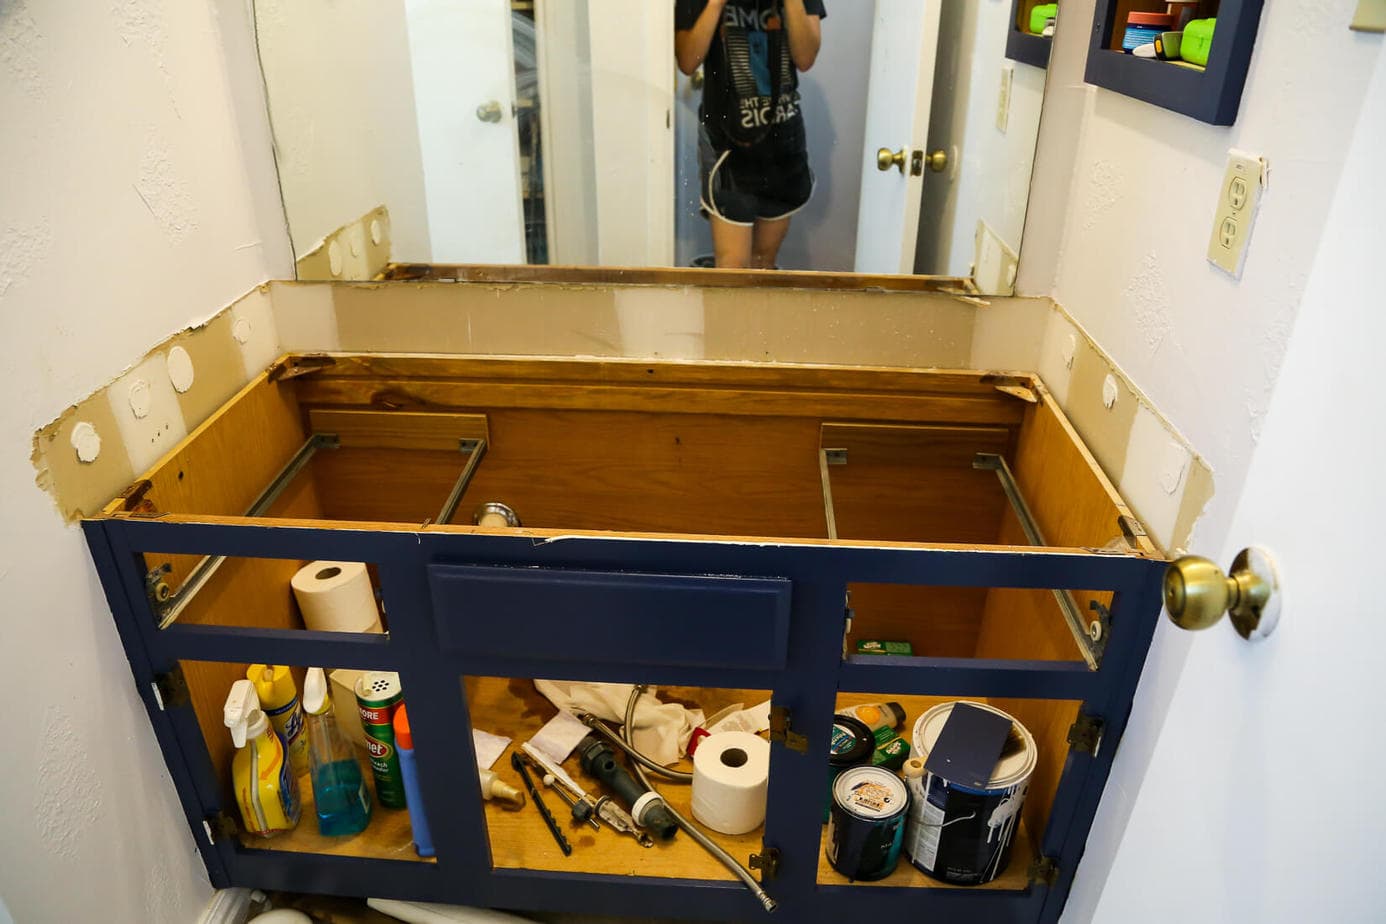
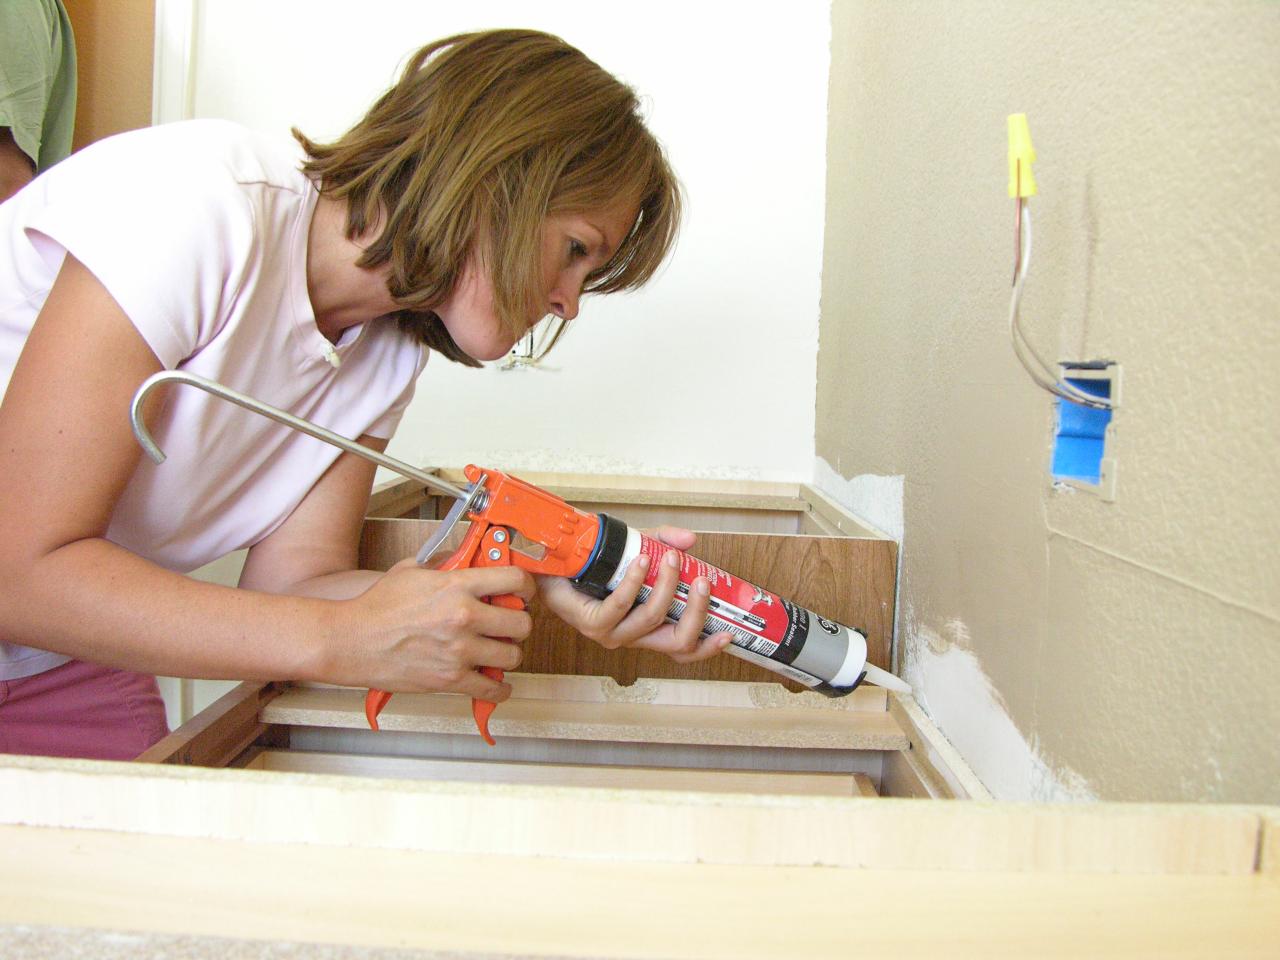
Step 3: Remove the Old Countertop – Once you have your materials, it's time to remove the old countertop. Start by turning off the water supply and disconnecting the plumbing. Then, use a utility knife to cut through the caulk and remove the countertop. Be careful not to damage the sink or vanity cabinet. Step 4: Prepare the Vanity Cabinet – Before installing the new countertop, make sure the vanity cabinet is clean and level. If needed, sand down any rough areas and fill in any holes or cracks with wood filler. Allow the filler to dry completely before sanding it smooth.Step-by-Step Guide to Replacing a Bathroom Vanity Countertop on a Budget


Step-by-Step Guide to Replacing a Bathroom Vanity Countertop on a Budget


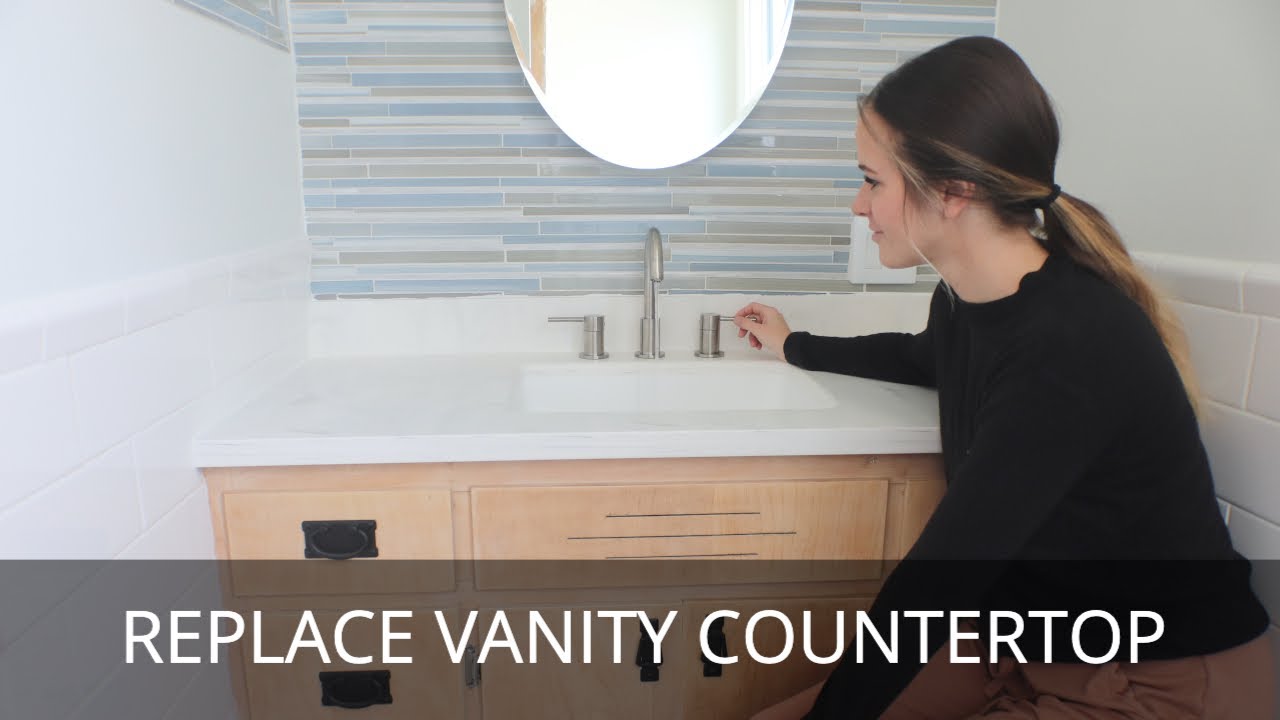
Step 5: Cut the New Countertop – Use your measurements to cut the new countertop to size. If you're using a material like laminate, you can easily cut it with a circular saw. For harder materials like granite or marble, it's best to hire a professional to cut it for you. Step 6: Install the New Countertop – Apply a thin layer of silicone adhesive to the top of the vanity cabinet and carefully place the new countertop on top. Use clamps to hold it in place and allow the adhesive to dry for 24 hours.Budget-Friendly Bathroom Vanity Countertop Replacement Tutorial


Budget-Friendly Bathroom Vanity Countertop Replacement Tutorial


Step 7: Reconnect the Plumbing – Once the adhesive has dried, it's time to reconnect the plumbing. Install the faucet and sink, and make sure everything is tightly secured. Turn on the water supply and check for any leaks. Step 8: Add a Backsplash – To give your new vanity countertop a finished look, consider adding a backsplash. You can use leftover material from your countertop or opt for a less expensive option like peel-and-stick tiles.DIY Bathroom Vanity Countertop Makeover for Under $100


DIY Bathroom Vanity Countertop Makeover for Under $100


Step 9: Apply a Sealant – Depending on the material you chose for your countertop, you may need to apply a sealant. This will protect the surface from water and stains and prolong its lifespan. Follow the manufacturer's instructions for the best results. Step 10: Finishing Touches – Finally, add some finishing touches to your new bathroom vanity countertop. Consider adding new hardware to the cabinets, adding a fresh coat of paint, or adding some decorative items to make the space feel complete.Easy and Inexpensive Bathroom Vanity Countertop Replacement


Easy and Inexpensive Bathroom Vanity Countertop Replacement


And there you have it – a brand new bathroom vanity countertop without breaking the bank. By following these 10 easy steps, you can achieve a beautiful and affordable upgrade in your bathroom. Remember, it's always best to be cautious with your budget and stick to your plan to avoid overspending. And with a little creativity, you can make your bathroom vanity countertop look like a million bucks without spending a fortune.DIY Bathroom Vanity Countertop Upgrade on a Shoestring Budget


DIY Bathroom Vanity Countertop Upgrade on a Shoestring Budget


Now that you have the content for your DIY bathroom vanity countertop replacement, it's time to convert it into HTML code. Use the h2 and p tags to create headings and paragraphs, respectively. You can also use strong or em tags to highlight keywords in your content. With a little bit of coding knowledge, you can easily add images, links, and other formatting elements to make your article more visually appealing. And don't forget to optimize your content for SEO by using relevant keywords throughout the article.Cheap and Simple DIY Bathroom Vanity Countertop Replacement


Cheap and Simple DIY Bathroom Vanity Countertop Replacement

:max_bytes(150000):strip_icc()/minimalist-bathroom-with-two-sinks-649718376-cff31dec88e040819e2b88640c54b5e3.jpg)


With the help of this article, you'll be able to create a budget-friendly and stylish bathroom vanity countertop in no time. So why wait? Start planning and get ready to give your bathroom a makeover without breaking the bank.How to Replace Your Bathroom Vanity Countertop for Less Than $50


How to Replace Your Bathroom Vanity Countertop for Less Than $50
/replace-and-install-bathroom-vanity-1824869-hero-952f8968530f46f4a79a1b33b03f0169.jpg)

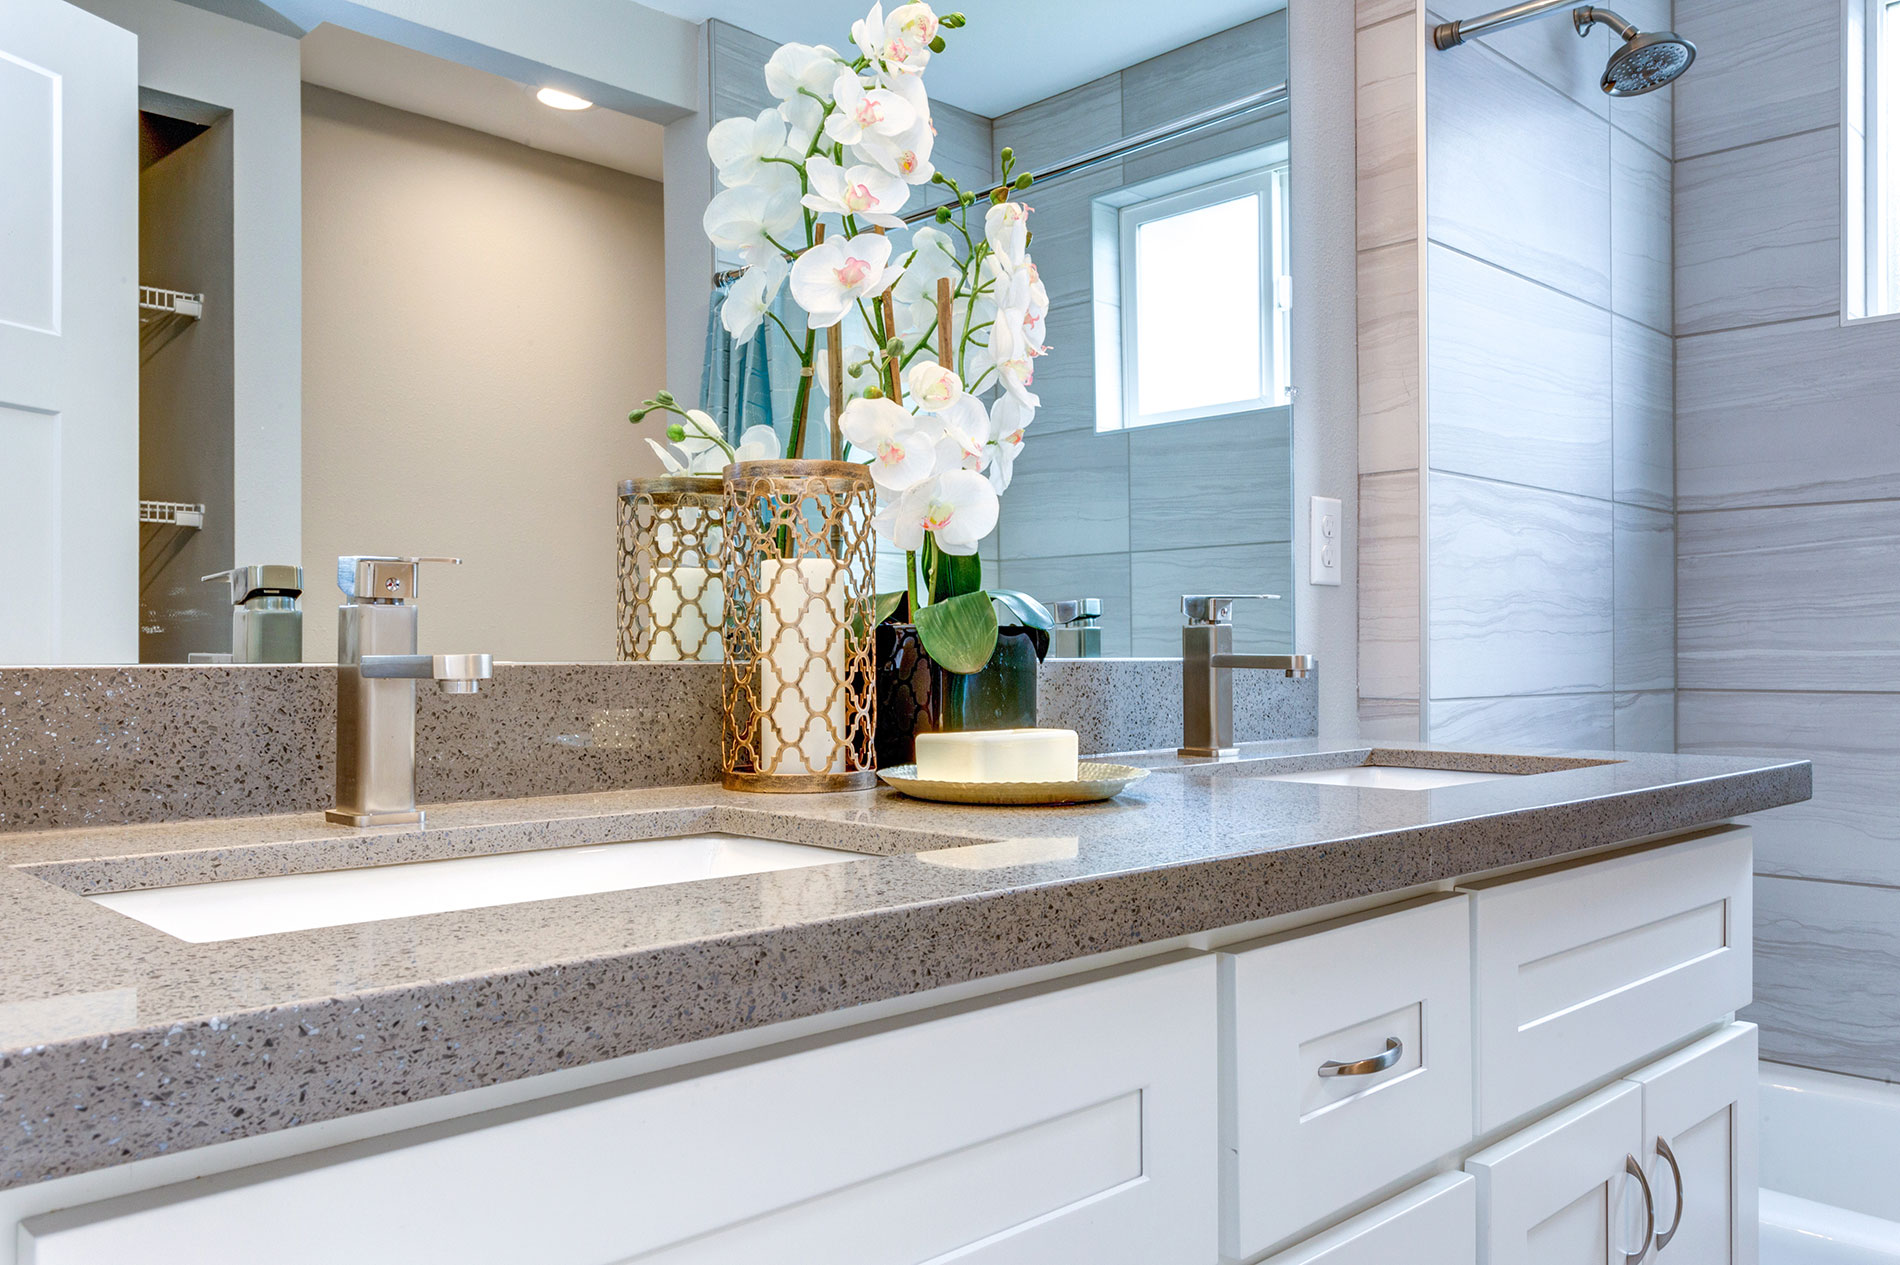
Why Replace Your Bathroom Vanity Countertop?
:max_bytes(150000):strip_icc()/8_IMG_3767-56a4a2753df78cf772835b72.JPG)
Enhance the Aesthetic Appeal of Your Bathroom
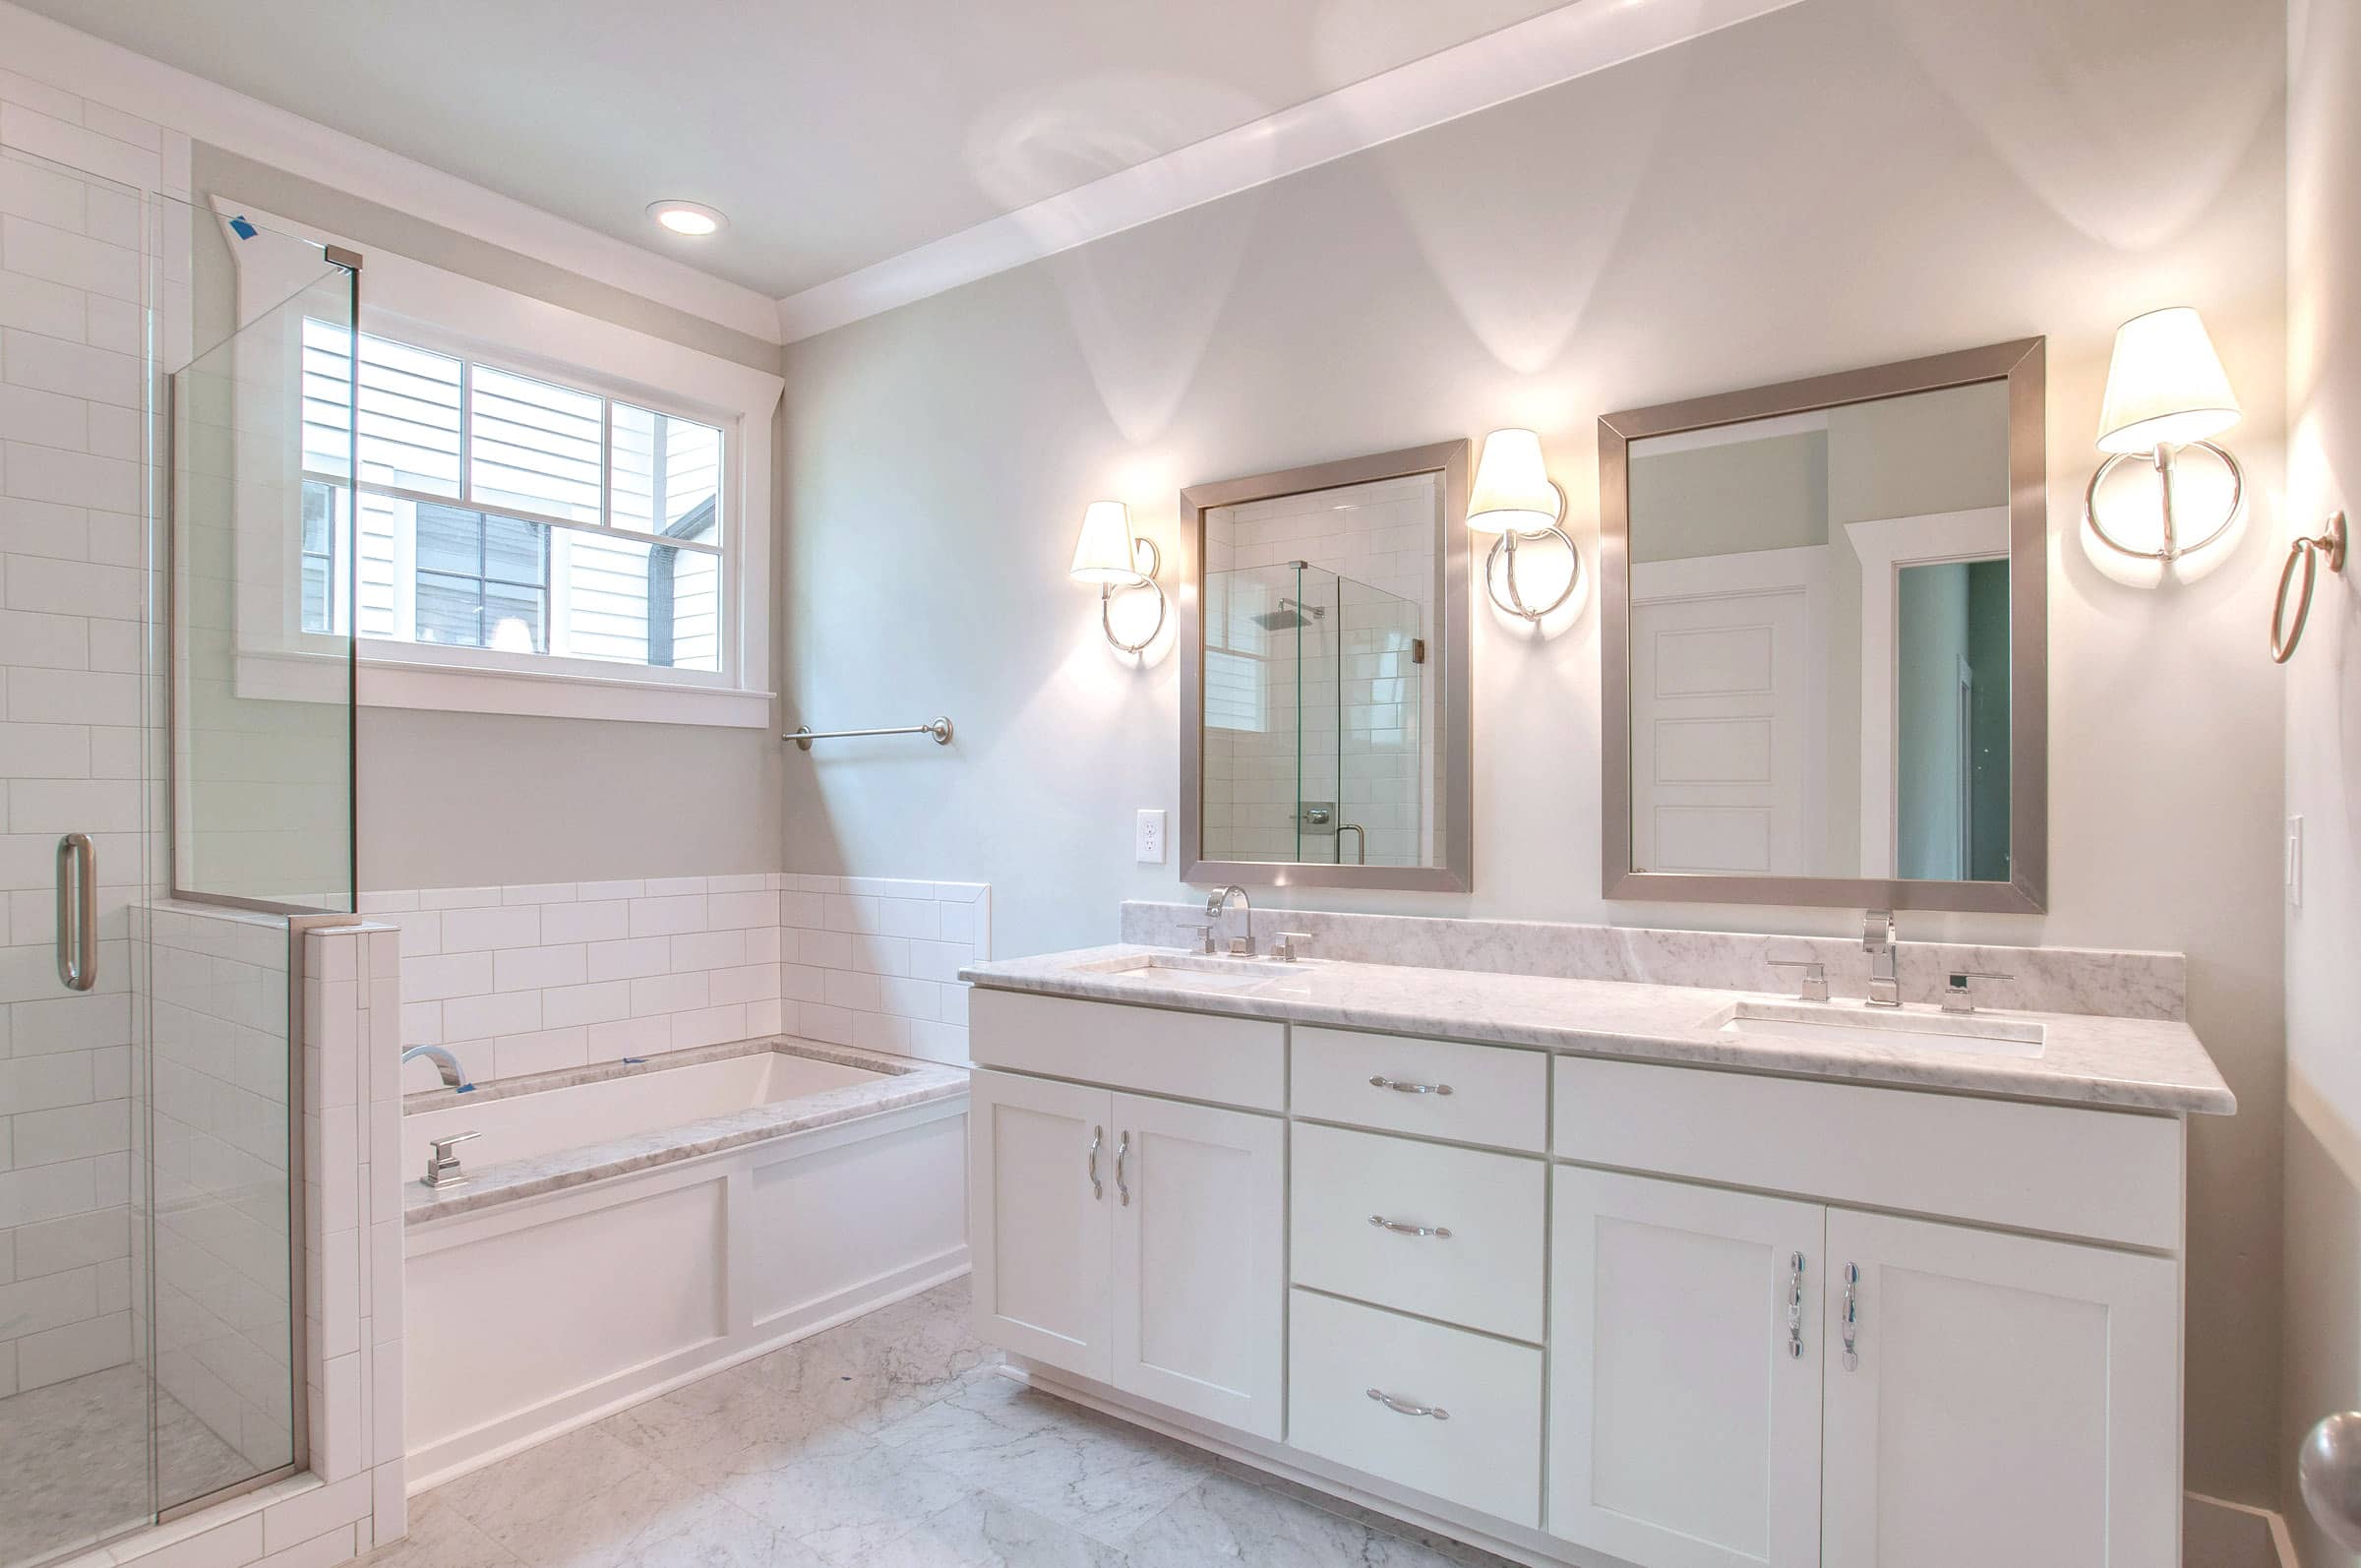
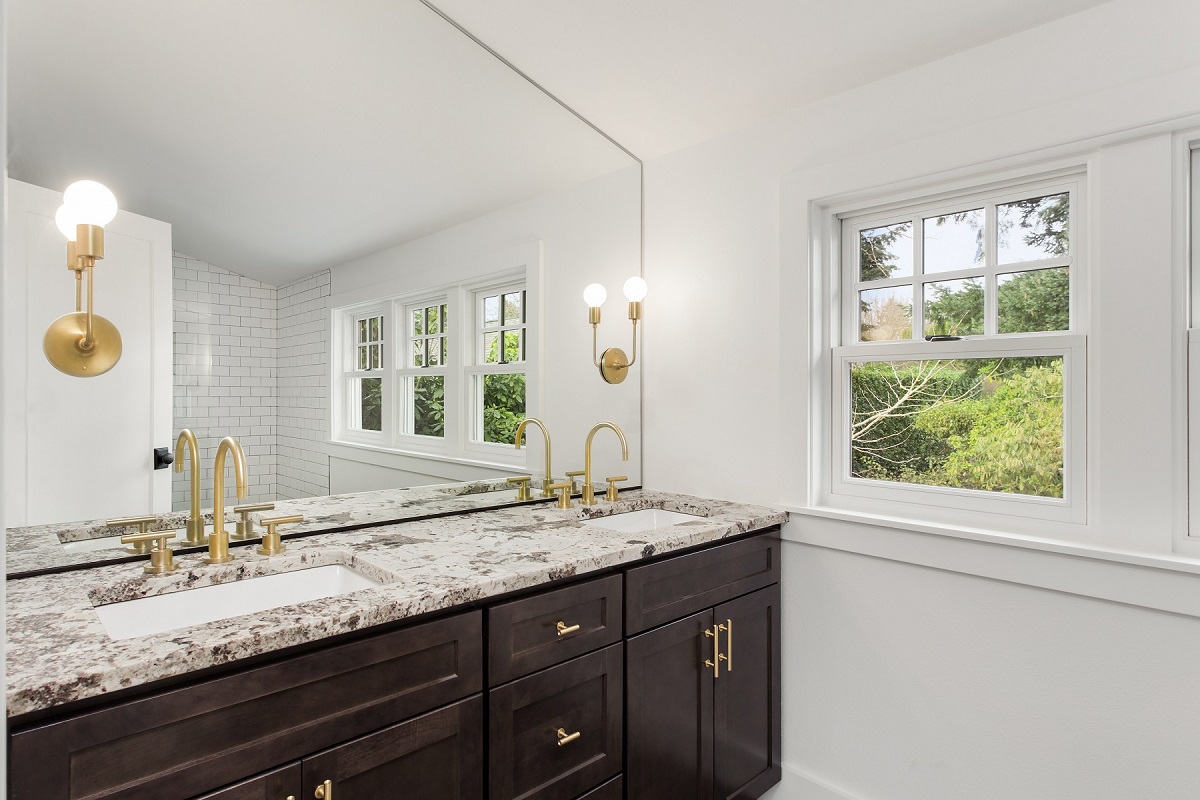
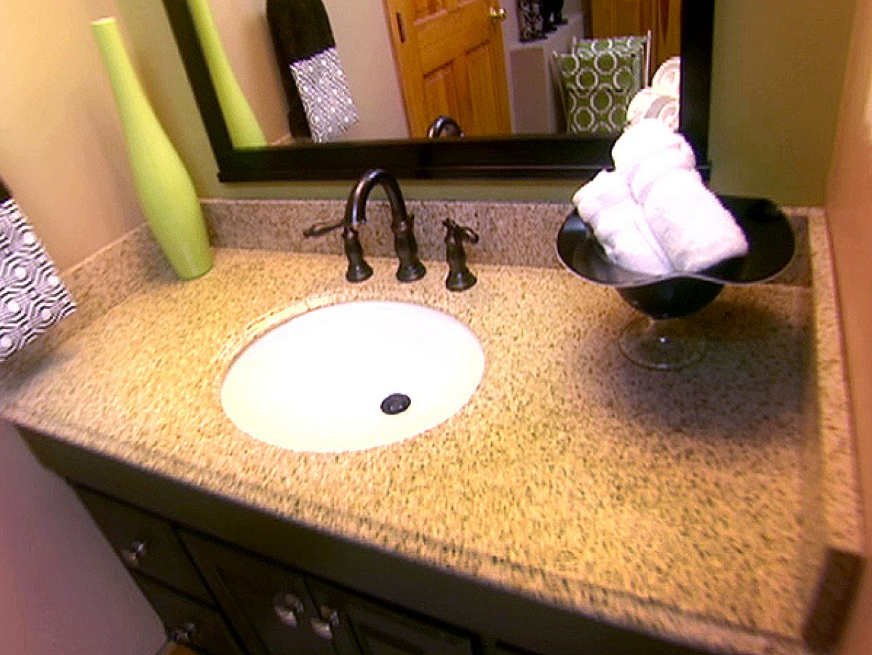
 One of the main reasons to replace your bathroom vanity countertop is to enhance the overall aesthetic appeal of your bathroom. The vanity countertop is often the focal point of the bathroom and can make a big impact on the overall design. By replacing it with a new, modern, and stylish countertop, you can instantly elevate the look of your bathroom and make it more visually appealing. Plus, with a variety of materials, colors, and styles to choose from, you can easily find a countertop that complements your existing bathroom decor and adds a touch of elegance and sophistication.
Increase Functionality and Efficiency
 Not only does a new bathroom vanity countertop improve the look of your bathroom, but it can also increase its functionality and efficiency. Over time, old and worn out countertops can become hard to clean and maintain, making your daily bathroom routine a hassle. By replacing it with a new countertop, you can choose a material that is more durable, stain-resistant, and easy to clean, making your life a lot easier and your bathroom more functional. Additionally, you can opt for a countertop with built-in features such as storage spaces, sinks, and faucets, to maximize the efficiency of your bathroom space.
Boost the Value of Your Home
 If you're considering selling your home in the future, replacing your bathroom vanity countertop can be a smart investment. A modern and updated bathroom is a major selling point for potential buyers, and a new countertop can significantly increase the value of your home. This is especially true if you choose high-quality materials like granite or quartz, which are sought after by homebuyers for their durability and luxury appeal. By making this small upgrade, you can potentially see a great return on your investment when it comes time to sell your home.
In conclusion, replacing your bathroom vanity countertop is a simple and cost-effective way to improve the overall look, functionality, and value of your home. With a wide variety of options to choose from, it's a DIY project that can easily be done on a budget and add a touch of elegance to your bathroom design.
If you're considering selling your home in the future, replacing your bathroom vanity countertop can be a smart investment. A modern and updated bathroom is a major selling point for potential buyers, and a new countertop can significantly increase the value of your home. This is especially true if you choose high-quality materials like granite or quartz, which are sought after by homebuyers for their durability and luxury appeal. By making this small upgrade, you can potentially see a great return on your investment when it comes time to sell your home.
In conclusion, replacing your bathroom vanity countertop is a simple and cost-effective way to improve the overall look, functionality, and value of your home. With a wide variety of options to choose from, it's a DIY project that can easily be done on a budget and add a touch of elegance to your bathroom design.