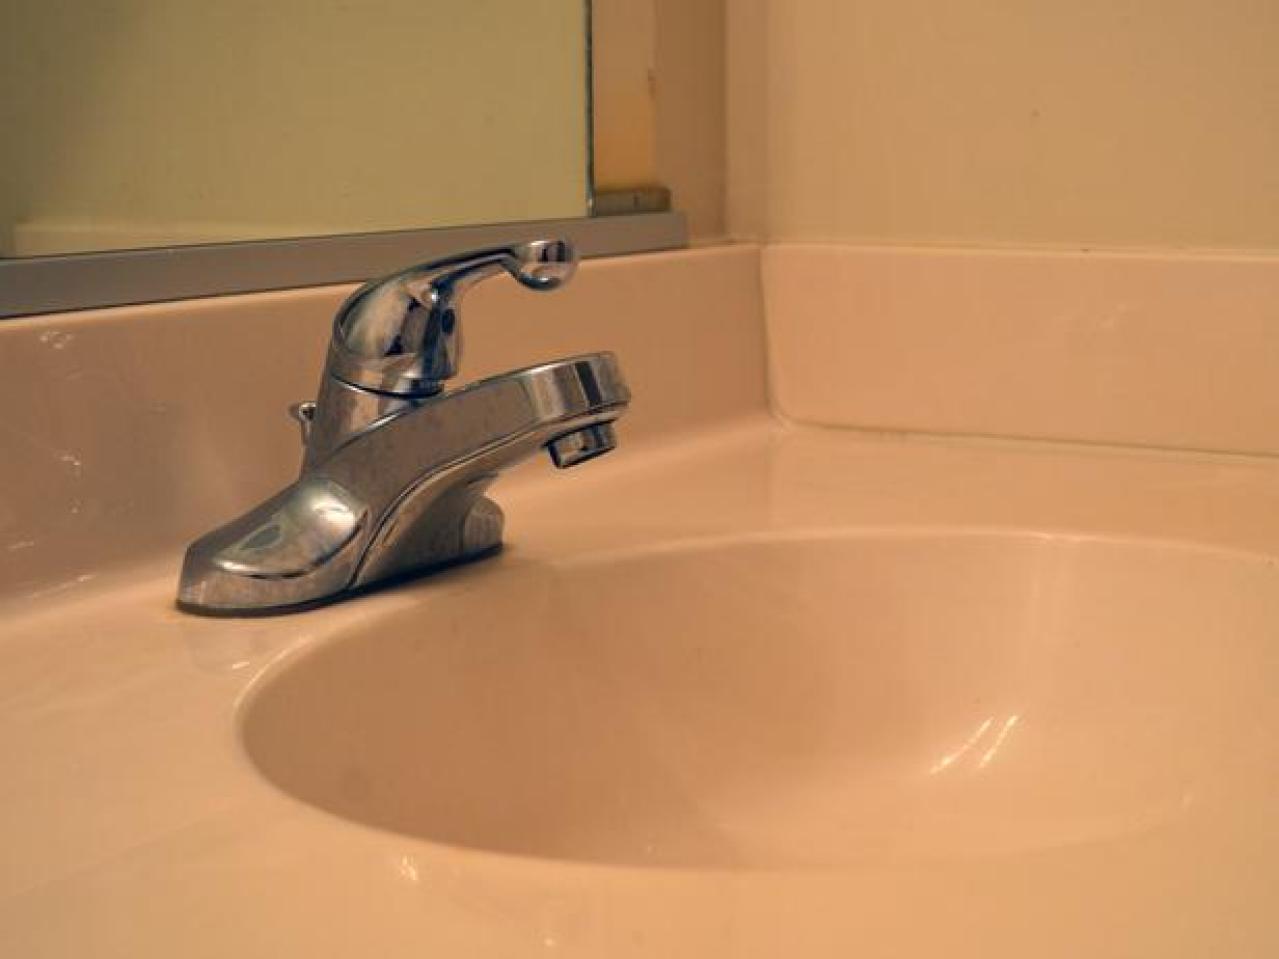
If you're tired of dealing with a leaky or outdated bathroom sink faucet, it may be time for a replacement. Replacing a bathroom sink faucet may seem like a daunting task, but with the right tools and knowledge, it can be a simple and satisfying DIY project. In this guide, we'll walk you through the steps of replacing a bathroom sink faucet and provide helpful tips and tricks along the way.How to Replace a Bathroom Sink Faucet


How to Replace a Bathroom Sink Faucet


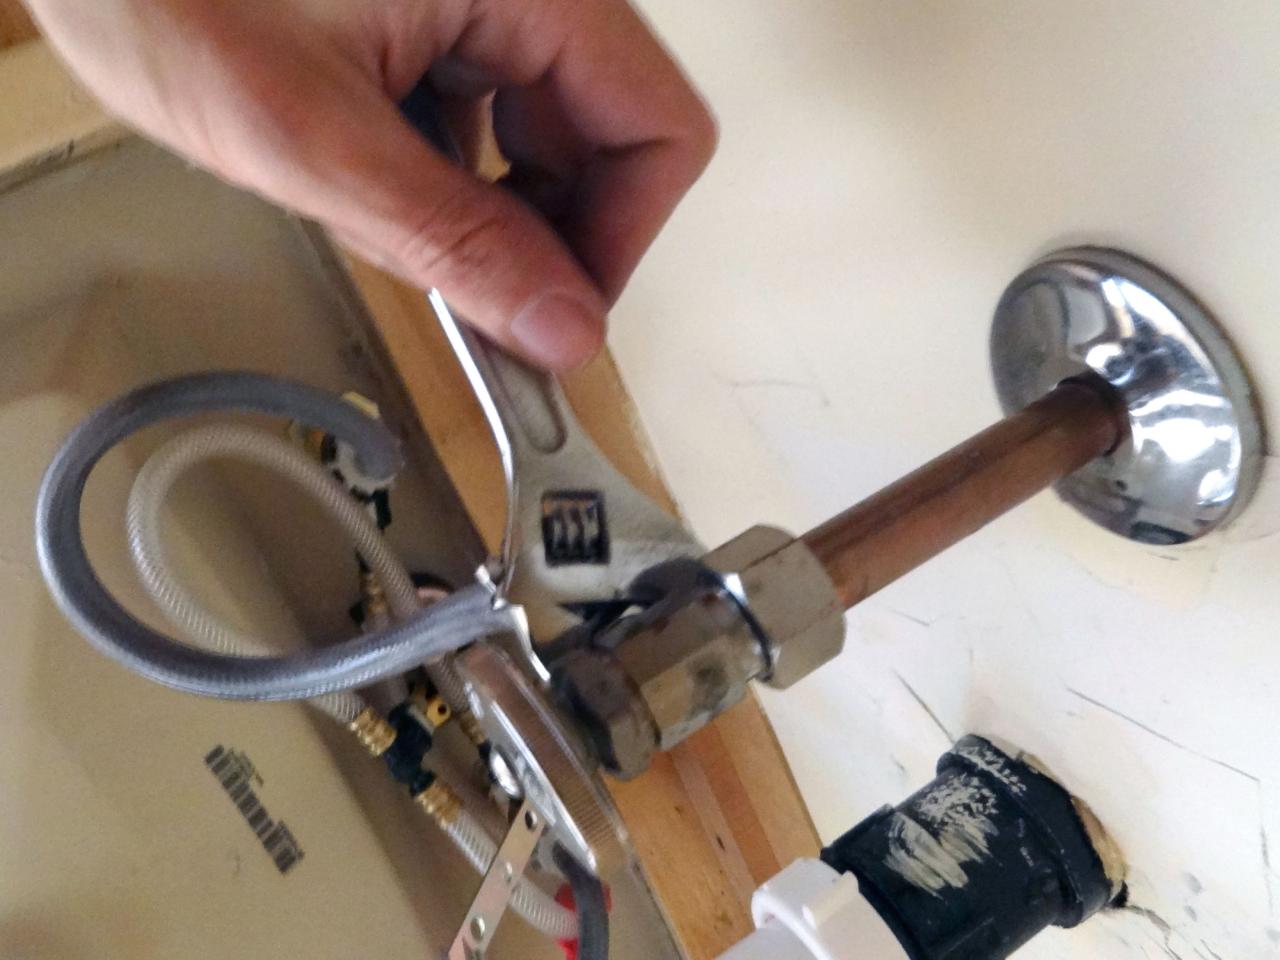
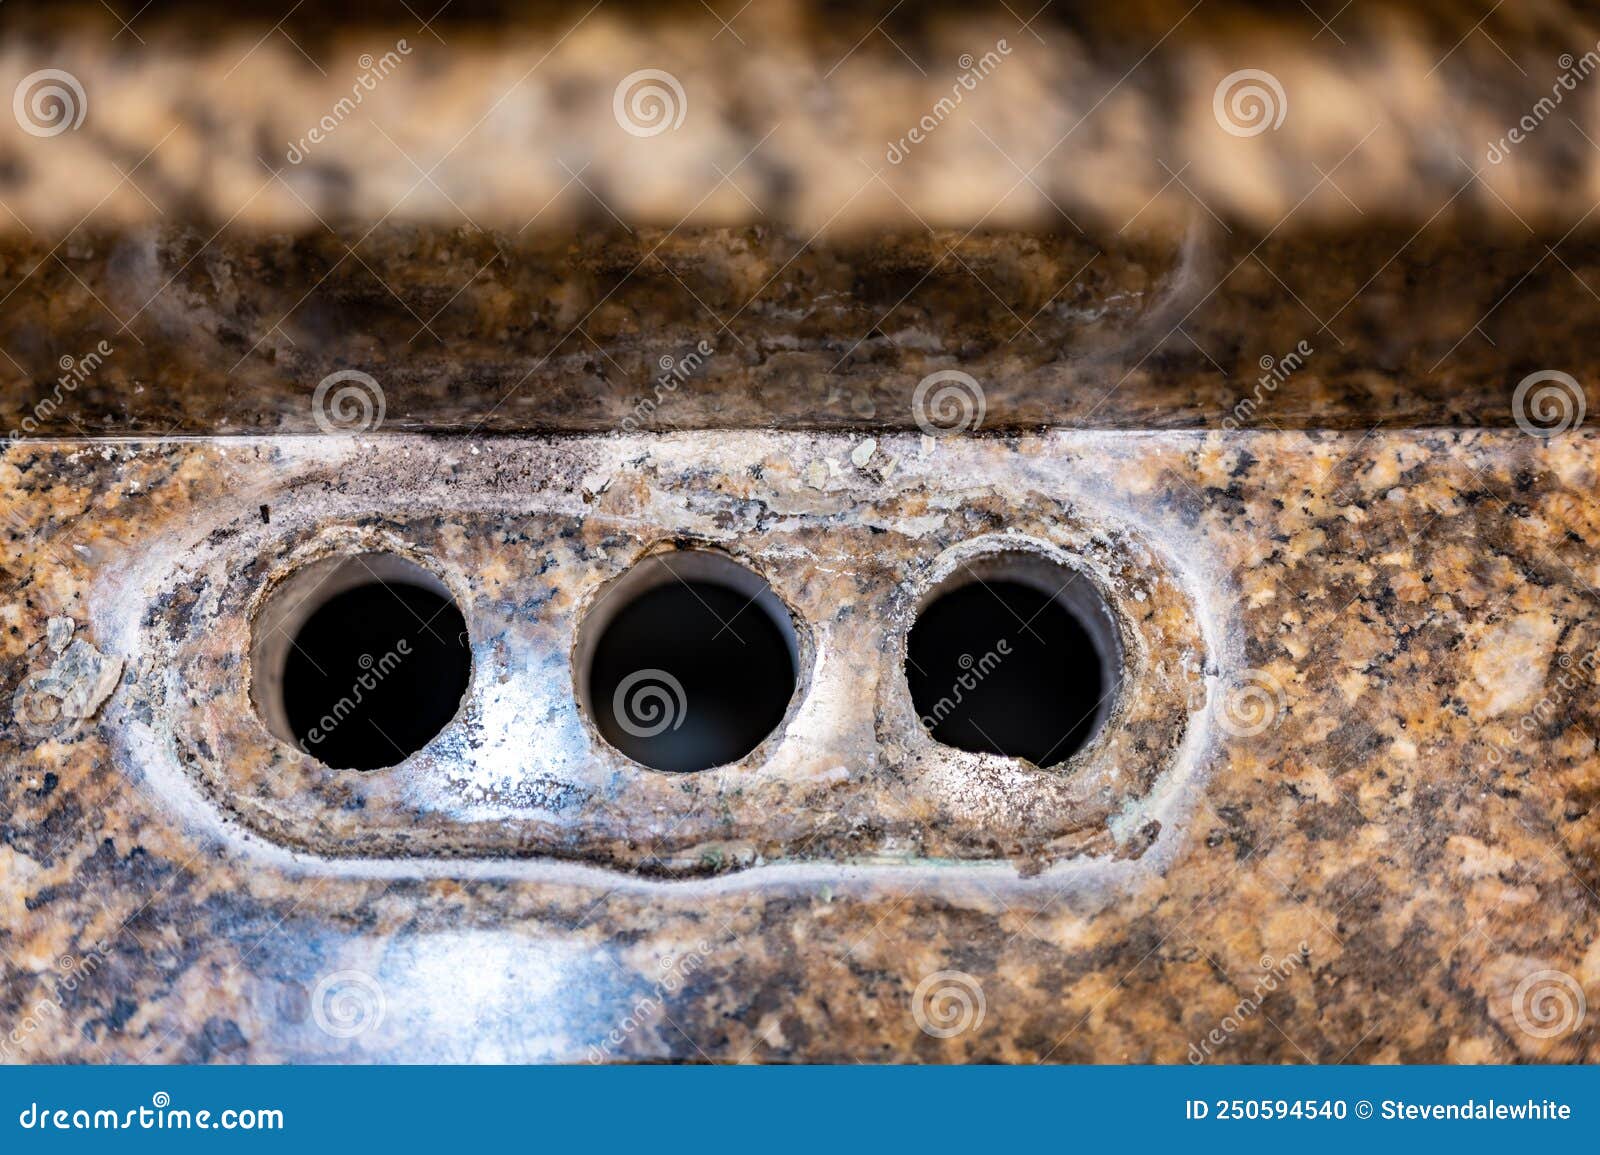
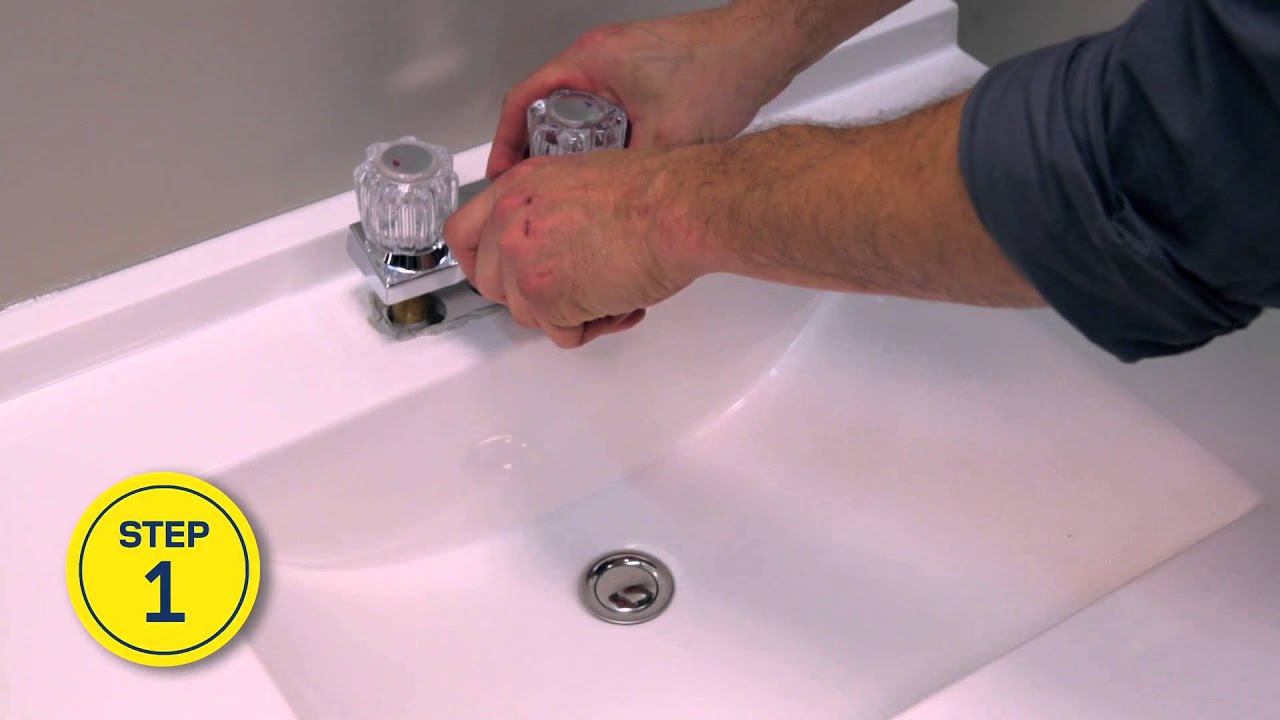
Before you begin, it's important to gather all the necessary tools and materials. You will need an adjustable wrench, pliers, plumber's putty, and a new faucet. Make sure to turn off the water supply to your sink before starting. Step 1: Remove the Old Faucet Using your adjustable wrench, loosen and remove the nuts and bolts that hold the old faucet in place. You may need to use pliers to unscrew any stubborn connections. Once the faucet is loose, lift it out of the sink and set it aside. Step 2: Clean the Area Before installing the new faucet, make sure to clean the area where the old faucet was located. Use a mild cleanser and a cloth to remove any dirt or residue. Step 3: Apply Plumber's Putty Roll plumber's putty into thin strips and place them around the holes where the faucet will be installed. This will create a watertight seal and prevent any leaks. Step 4: Install the New Faucet Place the new faucet into the holes and secure it with the nuts and bolts. Use your adjustable wrench to tighten the connections and ensure the faucet is stable. Step 5: Connect the Water Supply Next, you will need to connect the water supply lines to the new faucet. Make sure to use Teflon tape on the connections to prevent any leaks. Hand-tighten the connections and then use pliers to secure them further. Step 6: Turn on the Water Supply Once the connections are secure, turn the water supply back on. Check for any leaks and tighten the connections if necessary. Step 7: Test the Faucet Turn on the faucet and check for proper water flow and temperature. Make any adjustments as needed.Step-by-Step Guide for Replacing a Bathroom Sink Faucet


Step-by-Step Guide for Replacing a Bathroom Sink Faucet


Replacing a bathroom sink faucet is a DIY project that can save you both time and money. However, it's important to know your limits and call a professional if you feel unsure about any step of the process. It's better to be safe than sorry when it comes to your plumbing.DIY Bathroom Sink Faucet Replacement


DIY Bathroom Sink Faucet Replacement


Here are a few tips and tricks to keep in mind when replacing a bathroom sink faucet: - Before installing the new faucet, make sure to read the manufacturer's instructions carefully. - Use a basin wrench to tighten hard-to-reach connections. - It's a good idea to have a bucket or towel handy in case of any water spills. - If the water supply lines are old or worn, it's best to replace them along with the faucet.Replacing a Bathroom Sink Faucet: Tips and Tricks

Replacing a Bathroom Sink Faucet: Tips and Tricks

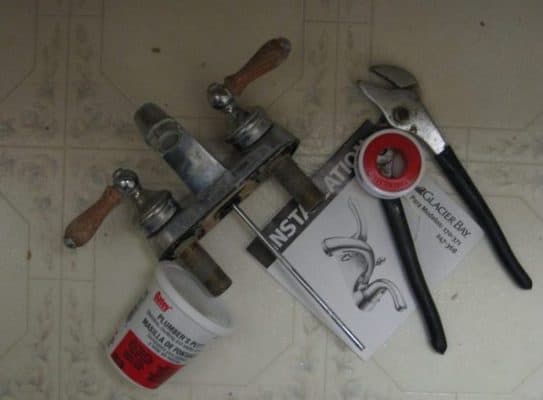
Here is a list of tools you will need for replacing a bathroom sink faucet: - Adjustable wrench - Pliers - Plumber's putty - Teflon tape - New faucetTools You Need to Replace a Bathroom Sink Faucet


Tools You Need to Replace a Bathroom Sink Faucet


When choosing a new faucet, make sure to consider the style and functionality of your bathroom. Look for a faucet that matches the existing decor and meets your needs in terms of water flow and temperature control. It's also important to choose a faucet with a warranty in case of any issues.Choosing the Right Bathroom Sink Faucet for Replacement


Choosing the Right Bathroom Sink Faucet for Replacement


Here are some common mistakes to avoid when replacing a bathroom sink faucet: - Not turning off the water supply before starting the project. - Using too much plumber's putty, which can cause leaks. - Not tightening the connections properly, resulting in leaks. - Not checking for proper water flow and temperature after installation.Common Mistakes to Avoid When Replacing a Bathroom Sink Faucet


Common Mistakes to Avoid When Replacing a Bathroom Sink Faucet


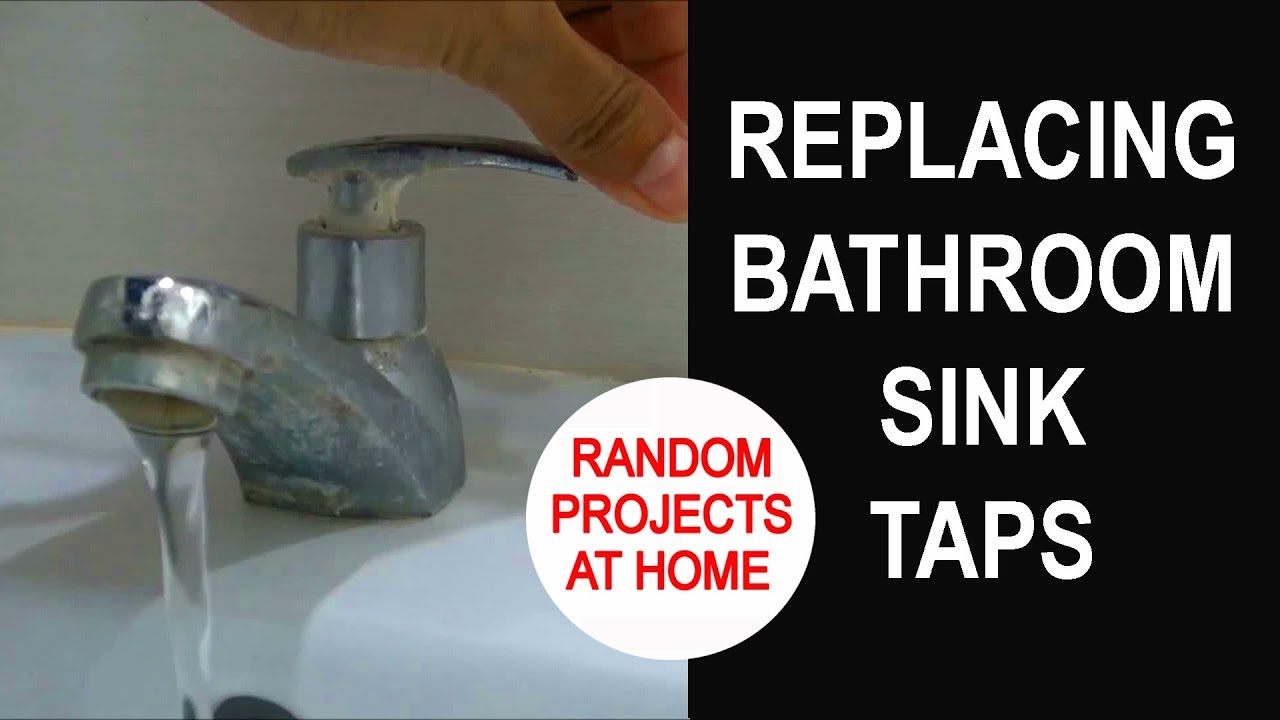
If you're more of a visual learner, there are many helpful step-by-step video tutorials available online for removing and installing a new bathroom sink faucet. Make sure to follow along carefully and pause the video as needed.How to Remove and Install a New Bathroom Sink Faucet


How to Remove and Install a New Bathroom Sink Faucet

:max_bytes(150000):strip_icc()/8_IMG_3767-56a4a2753df78cf772835b72.JPG)


Replacing a bathroom sink faucet may seem like a daunting task, but with the right tools and knowledge, it can be a straightforward and rewarding DIY project. Remember to turn off the water supply, follow the manufacturer's instructions, and check for any leaks after installation.Replacing a Bathroom Sink Faucet: What You Need to Know


Replacing a Bathroom Sink Faucet: What You Need to Know

For a helpful visual guide, check out this step-by-step video tutorial on replacing a bathroom sink faucet: Insert link to video tutorial hereStep-by-Step Video Tutorial for Replacing a Bathroom Sink Faucet


Step-by-Step Video Tutorial for Replacing a Bathroom Sink Faucet


:max_bytes(150000):strip_icc()/8_IMG_3767-56a4a2753df78cf772835b72.JPG)
Replacing Your Bathroom Sink Faucet: A Simple Guide for a Fresh and Stylish Look

Why Should You Consider Replacing Your Bathroom Sink Faucet?
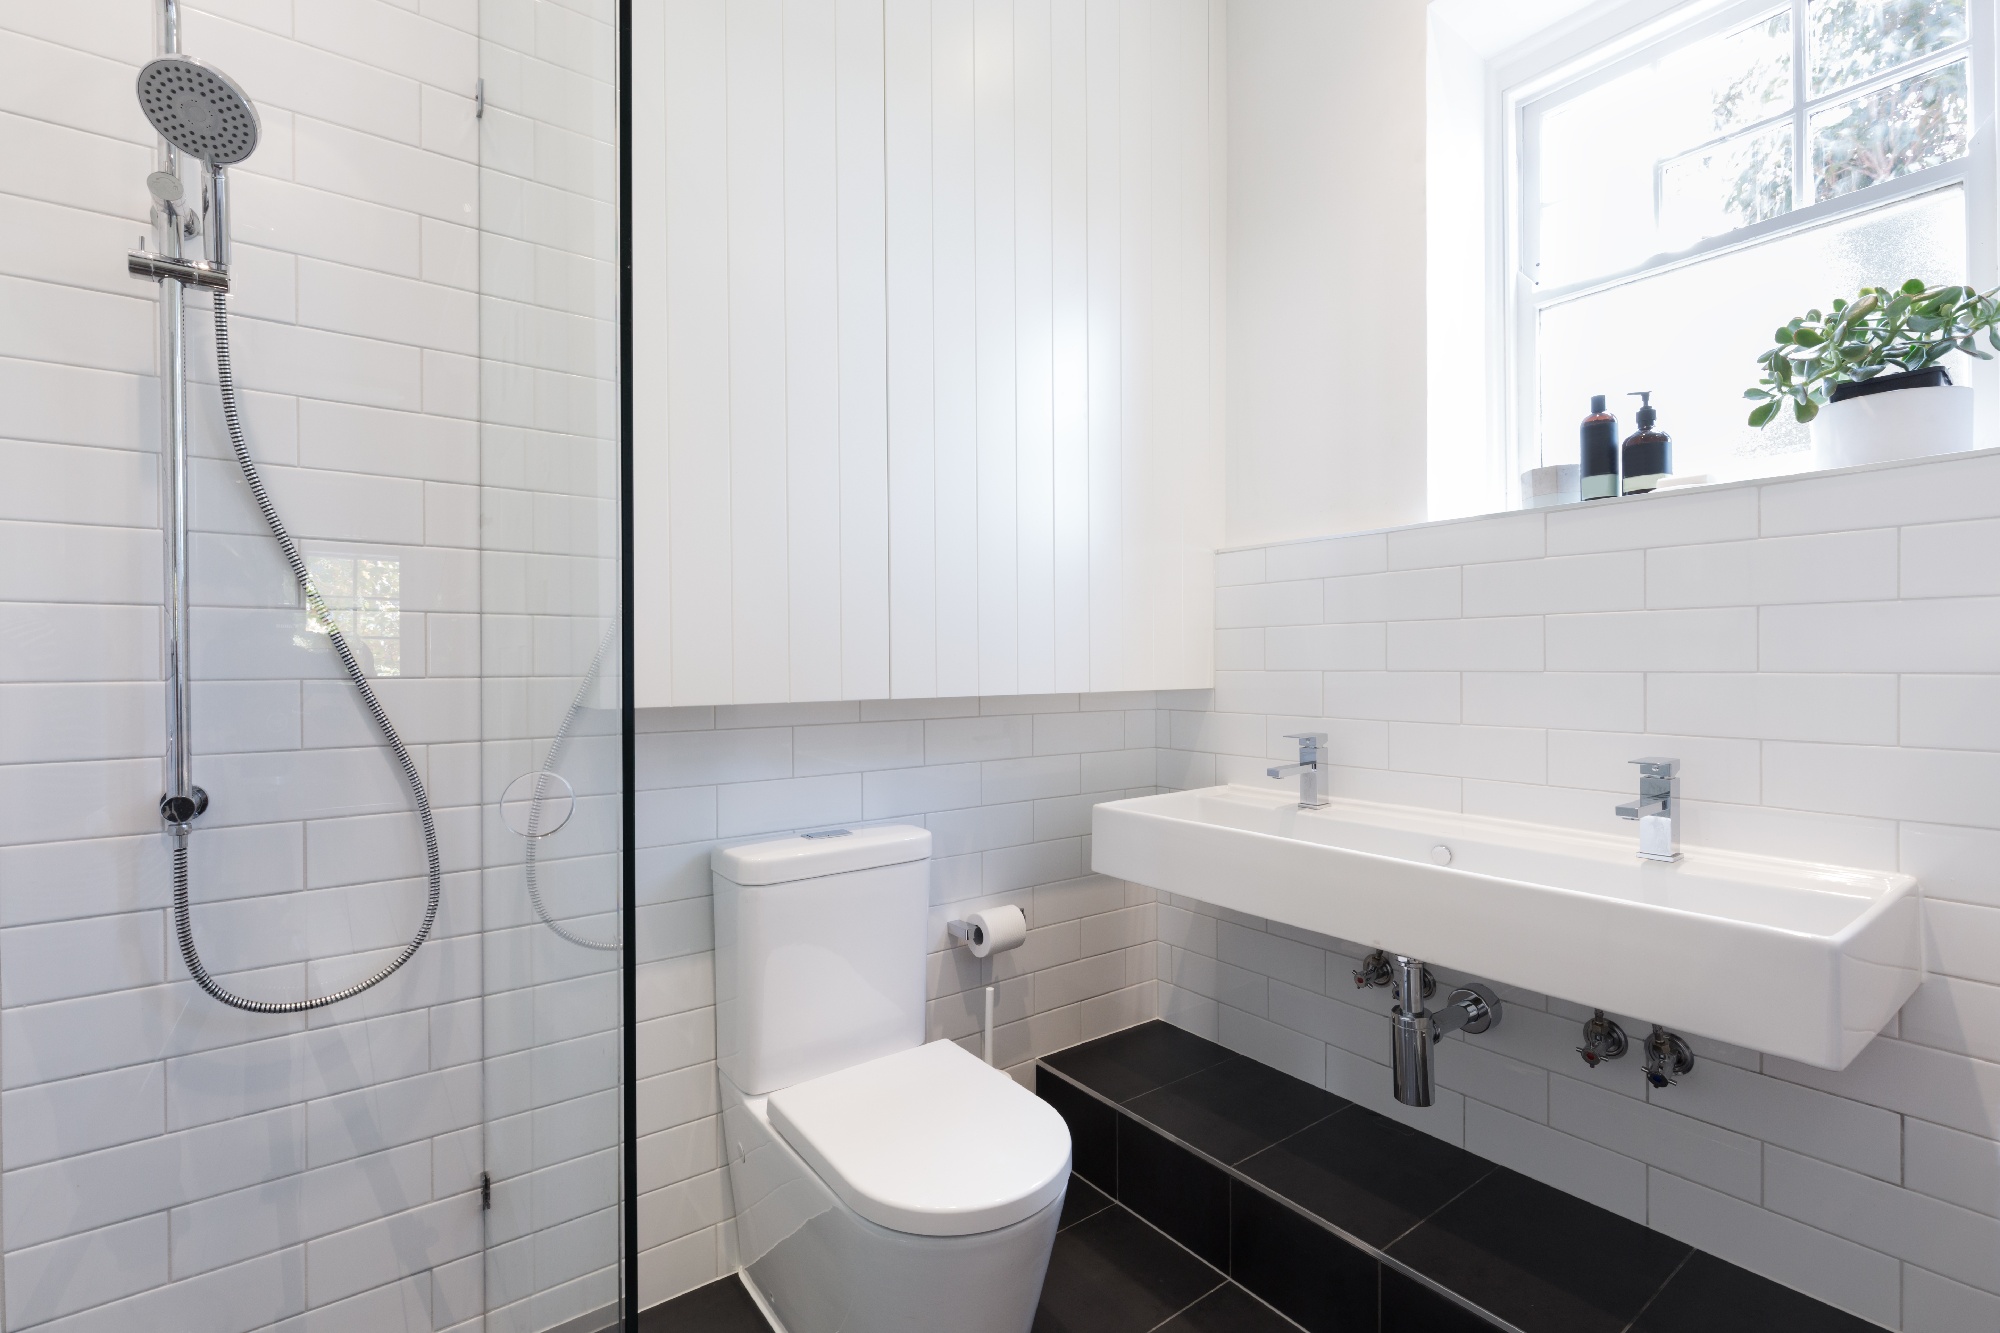
 Are you tired of looking at the same old outdated faucet in your bathroom sink? Perhaps it's wobbly, leaks, or simply doesn't match your current design aesthetic. Whatever your reason may be, replacing your bathroom sink faucet is an easy and cost-effective way to give your bathroom a fresh and stylish look. Not only will it improve the overall appearance of your bathroom, but it can also increase the value of your home.
What Do You Need to Prepare?
 Before you begin, gather all the necessary tools and materials. This includes a new
bathroom sink faucet
, adjustable wrench, plumber's putty, Teflon tape, and a bucket or towel to catch any water. It's also a good idea to turn off the water supply to your sink to avoid any potential accidents.
Before you begin, gather all the necessary tools and materials. This includes a new
bathroom sink faucet
, adjustable wrench, plumber's putty, Teflon tape, and a bucket or towel to catch any water. It's also a good idea to turn off the water supply to your sink to avoid any potential accidents.
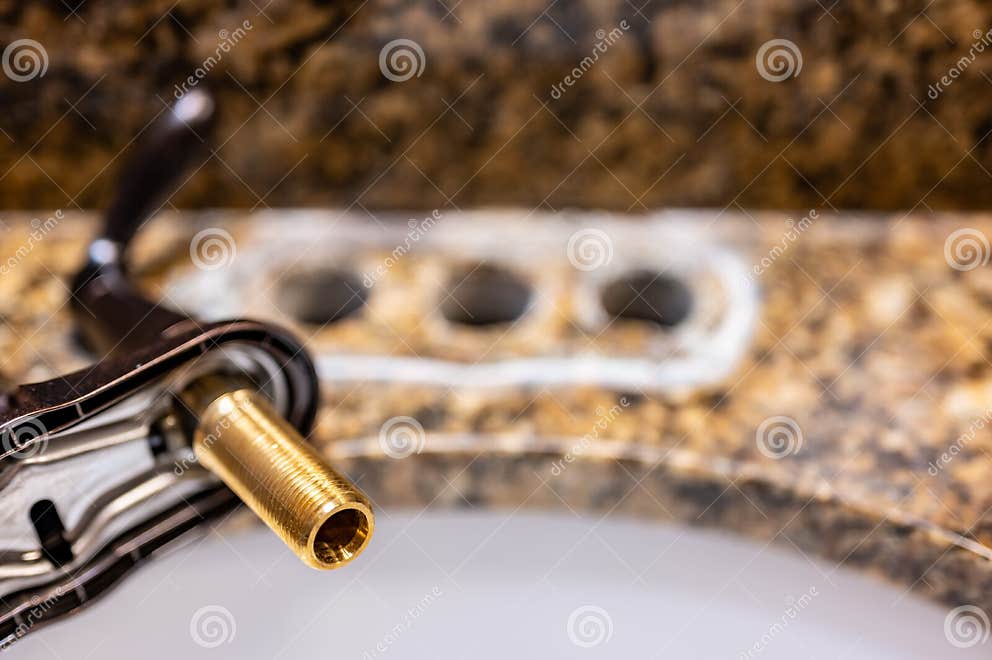
Removing the Old Faucet
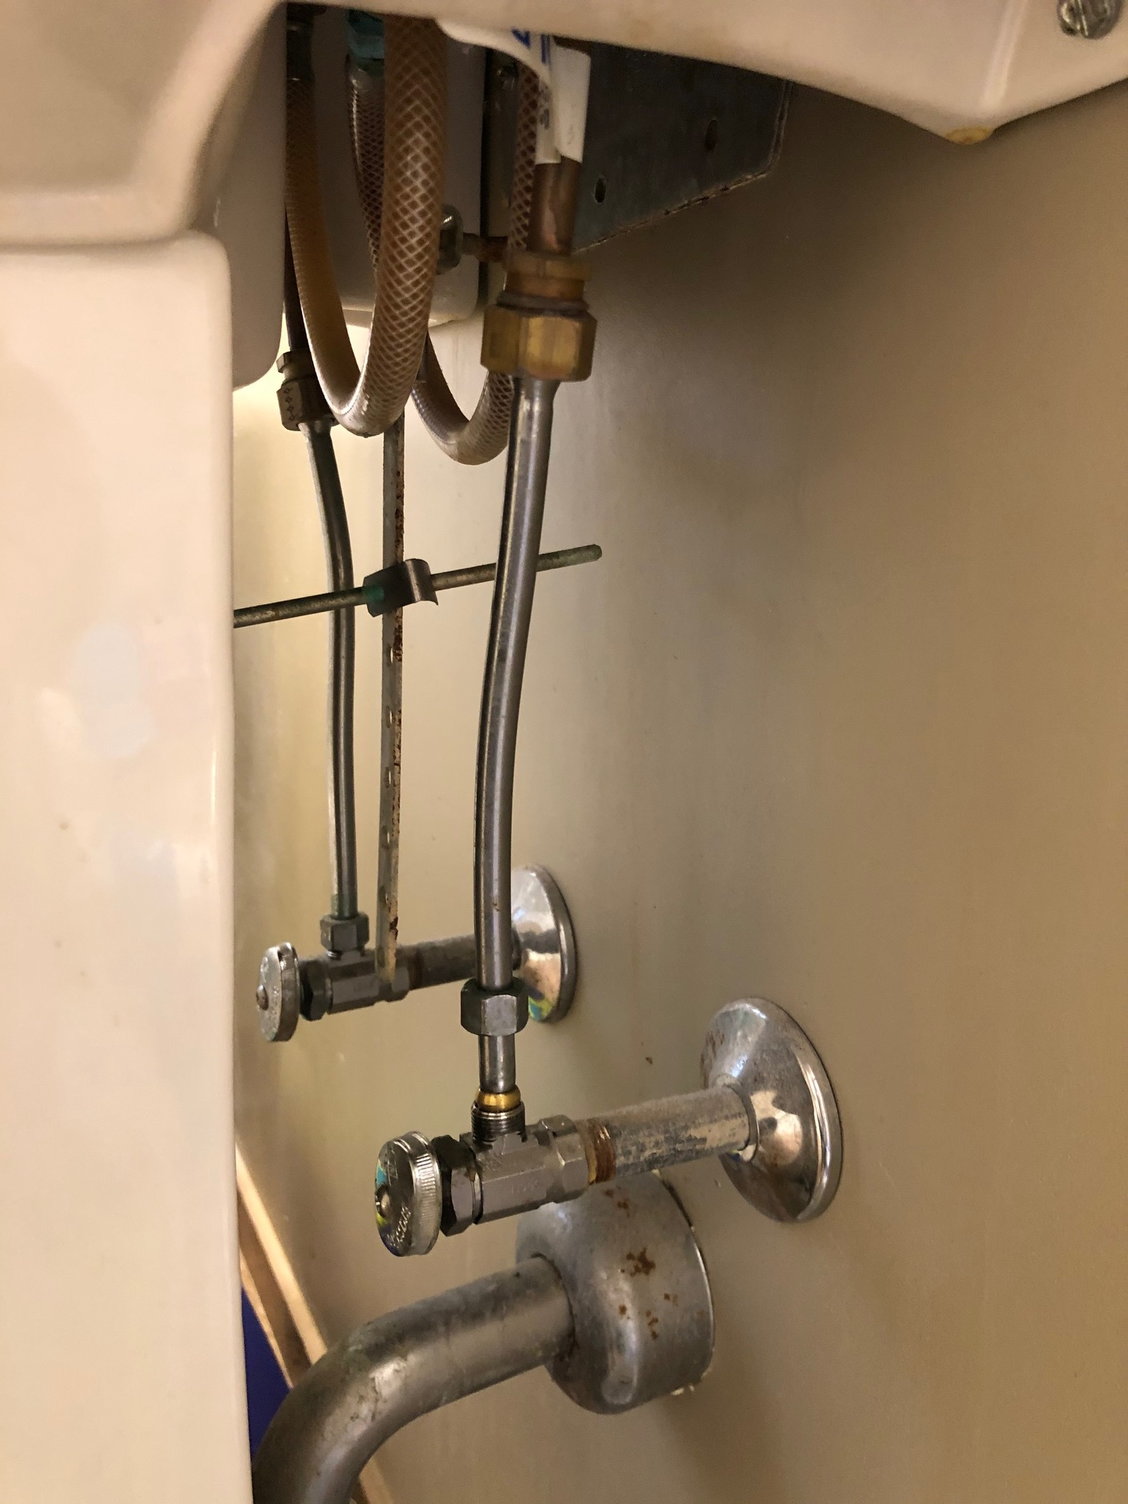
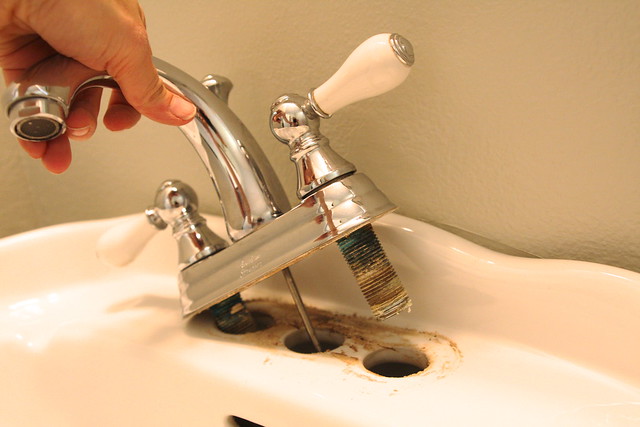
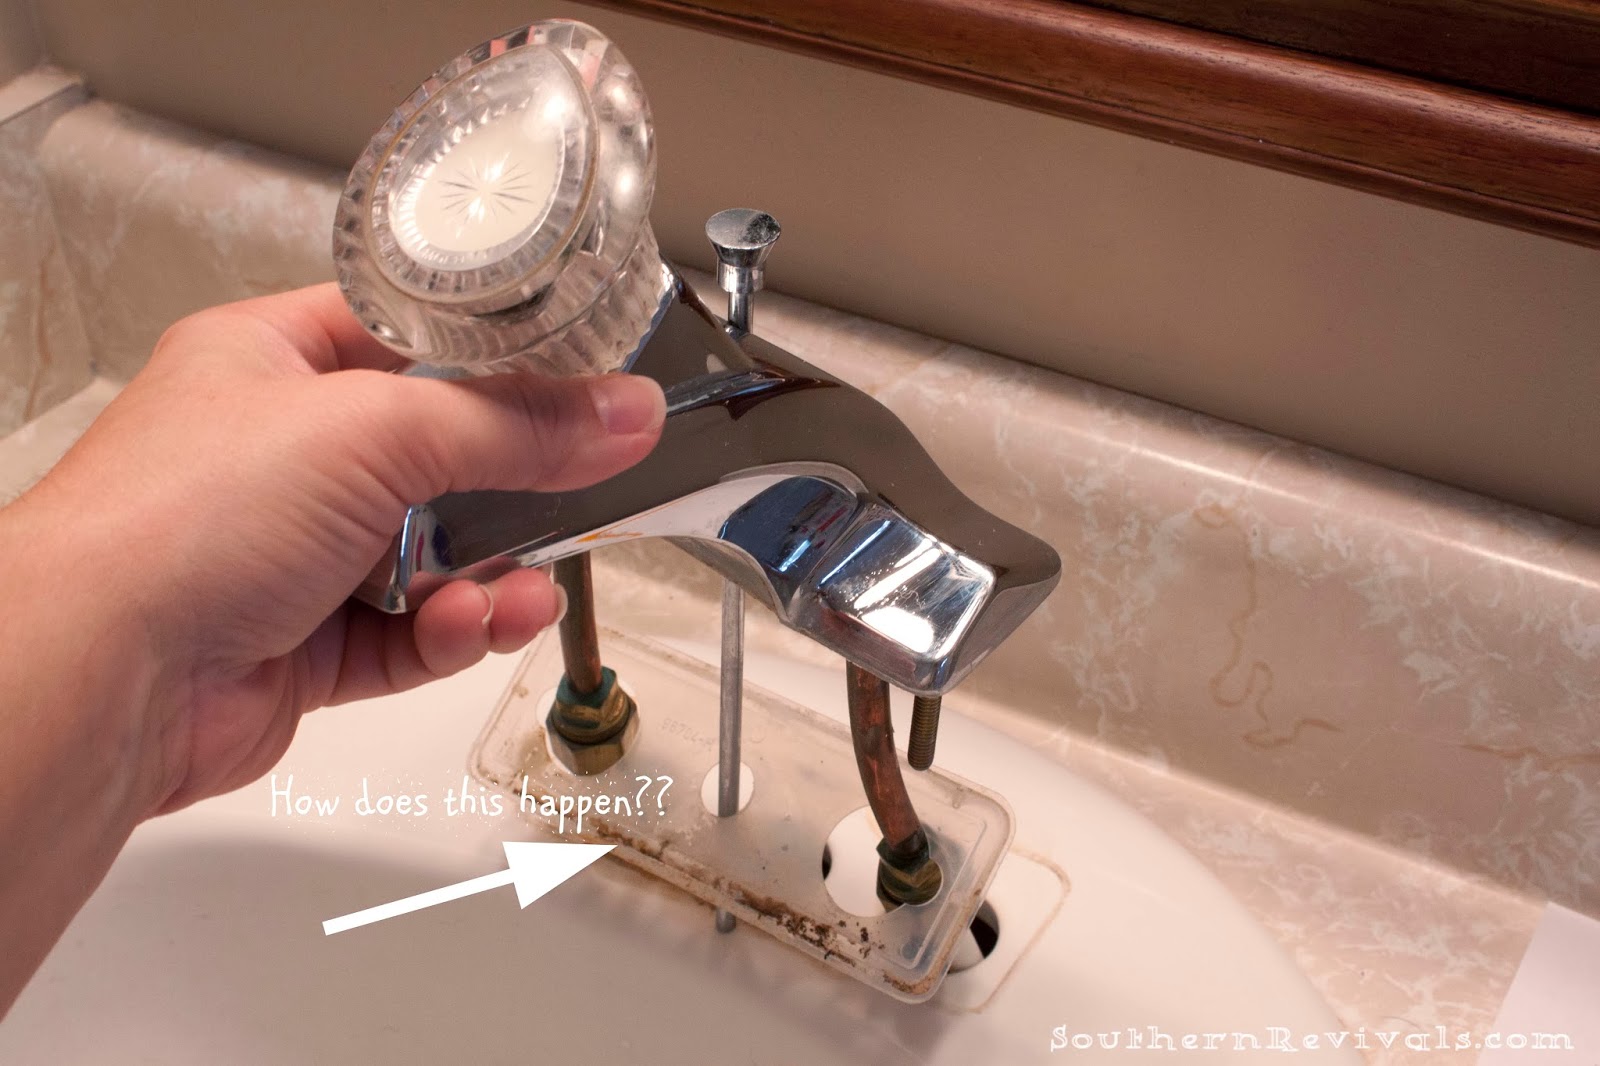
 First, turn off the water supply to your sink by twisting the shut-off valves located under the sink in a clockwise direction. Once the water is turned off, turn on the faucet to release any remaining water. Next, use your adjustable wrench to loosen and remove the nuts and bolts that connect the faucet to the sink. Once the nuts and bolts are removed, lift the old faucet out of the sink and clean the area thoroughly.
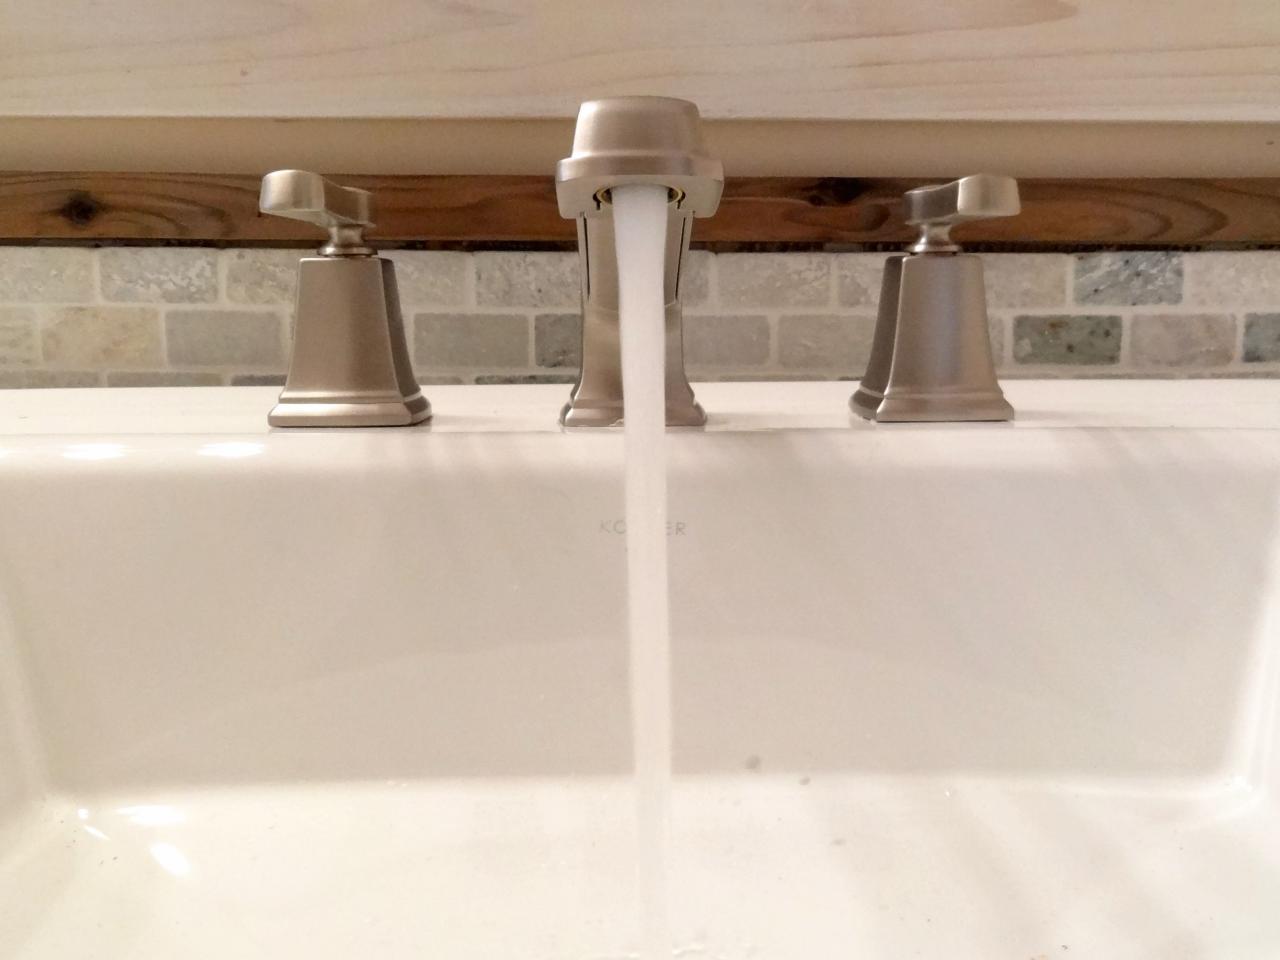
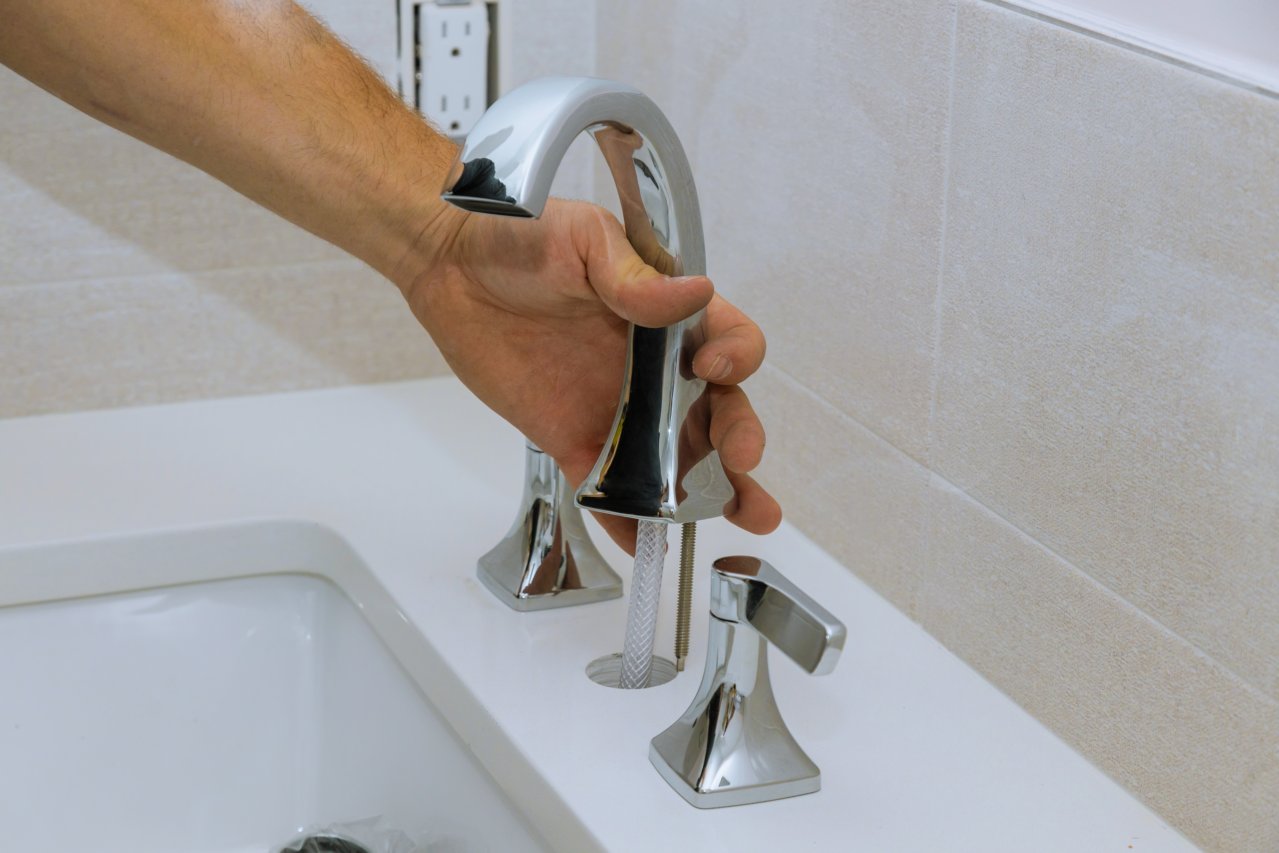
Installing the New Faucet
 Begin by placing a small amount of plumber's putty around the base of the new faucet. This will help create a watertight seal. Next, insert the faucet into the sink and secure it in place with the mounting nuts and bolts. Make sure to use Teflon tape on the threads to prevent any leaks. Once the faucet is securely in place, reattach the water supply lines and turn the water back on. Test the faucet to ensure there are no leaks.
Adding the Finishing Touches
 Now that your new faucet is installed, it's time to add the finishing touches. Clean up any excess putty and turn on the faucet to flush out any remaining debris. This will also help to remove any air pockets in the water lines. Once the water is running smoothly, wipe down the faucet and sink to remove any fingerprints or smudges. Admire your newly installed
bathroom sink faucet
and enjoy the fresh and updated look it brings to your bathroom.
In conclusion, replacing your bathroom sink faucet is a simple and affordable way to update the look of your bathroom. With the right tools and materials, you can easily complete this project in just a few hours. So why wait? Give your bathroom a fresh and stylish look by replacing your old faucet today.
Now that your new faucet is installed, it's time to add the finishing touches. Clean up any excess putty and turn on the faucet to flush out any remaining debris. This will also help to remove any air pockets in the water lines. Once the water is running smoothly, wipe down the faucet and sink to remove any fingerprints or smudges. Admire your newly installed
bathroom sink faucet
and enjoy the fresh and updated look it brings to your bathroom.
In conclusion, replacing your bathroom sink faucet is a simple and affordable way to update the look of your bathroom. With the right tools and materials, you can easily complete this project in just a few hours. So why wait? Give your bathroom a fresh and stylish look by replacing your old faucet today.