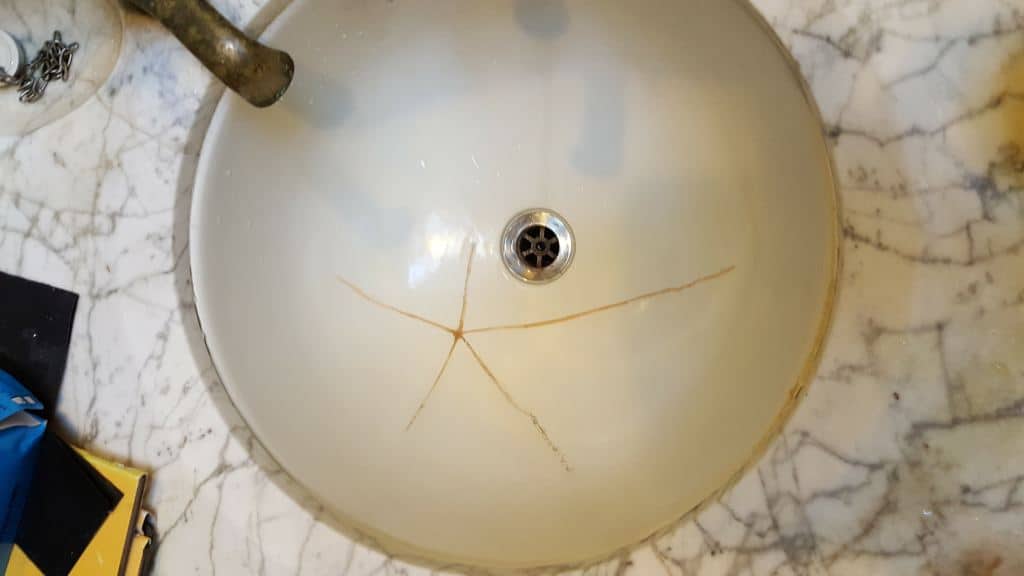
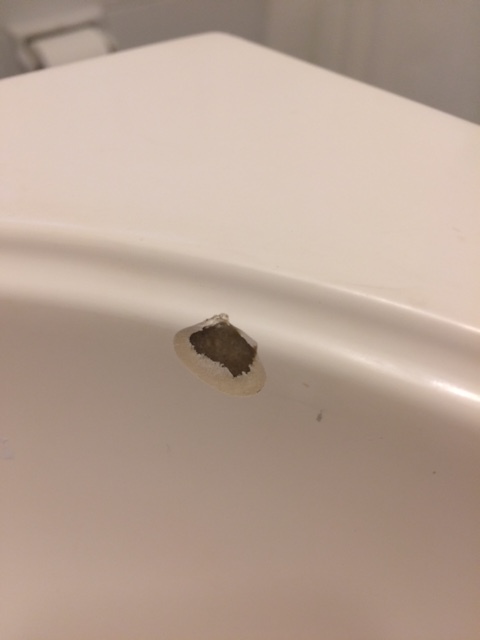
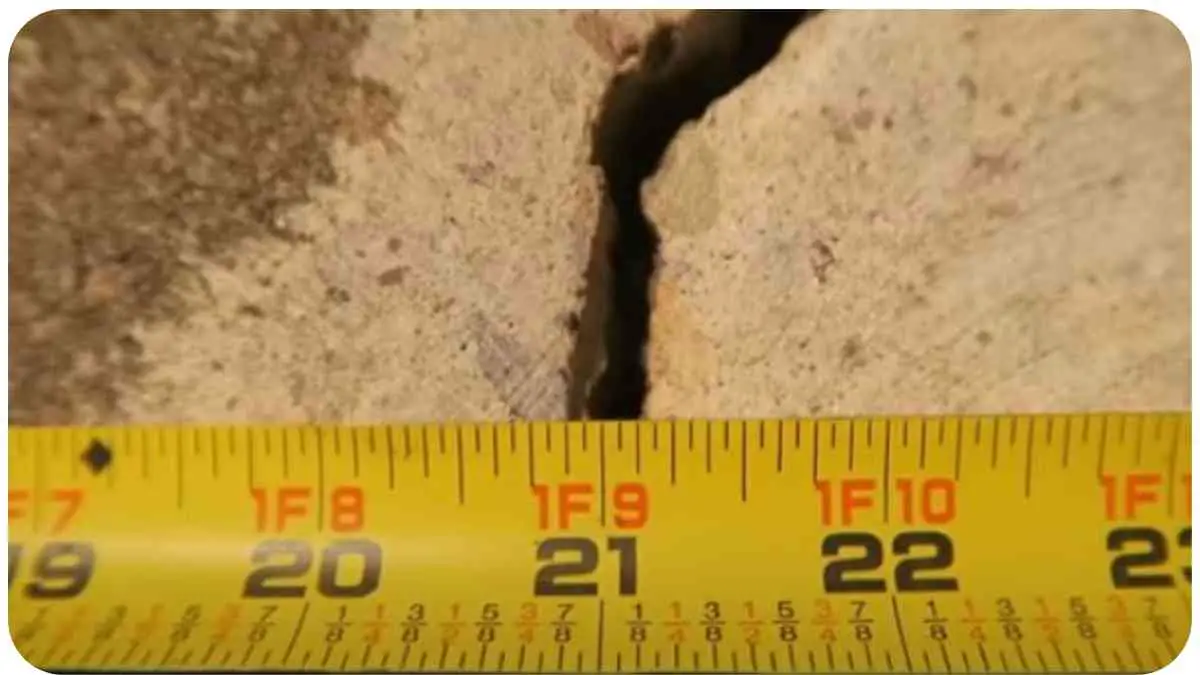
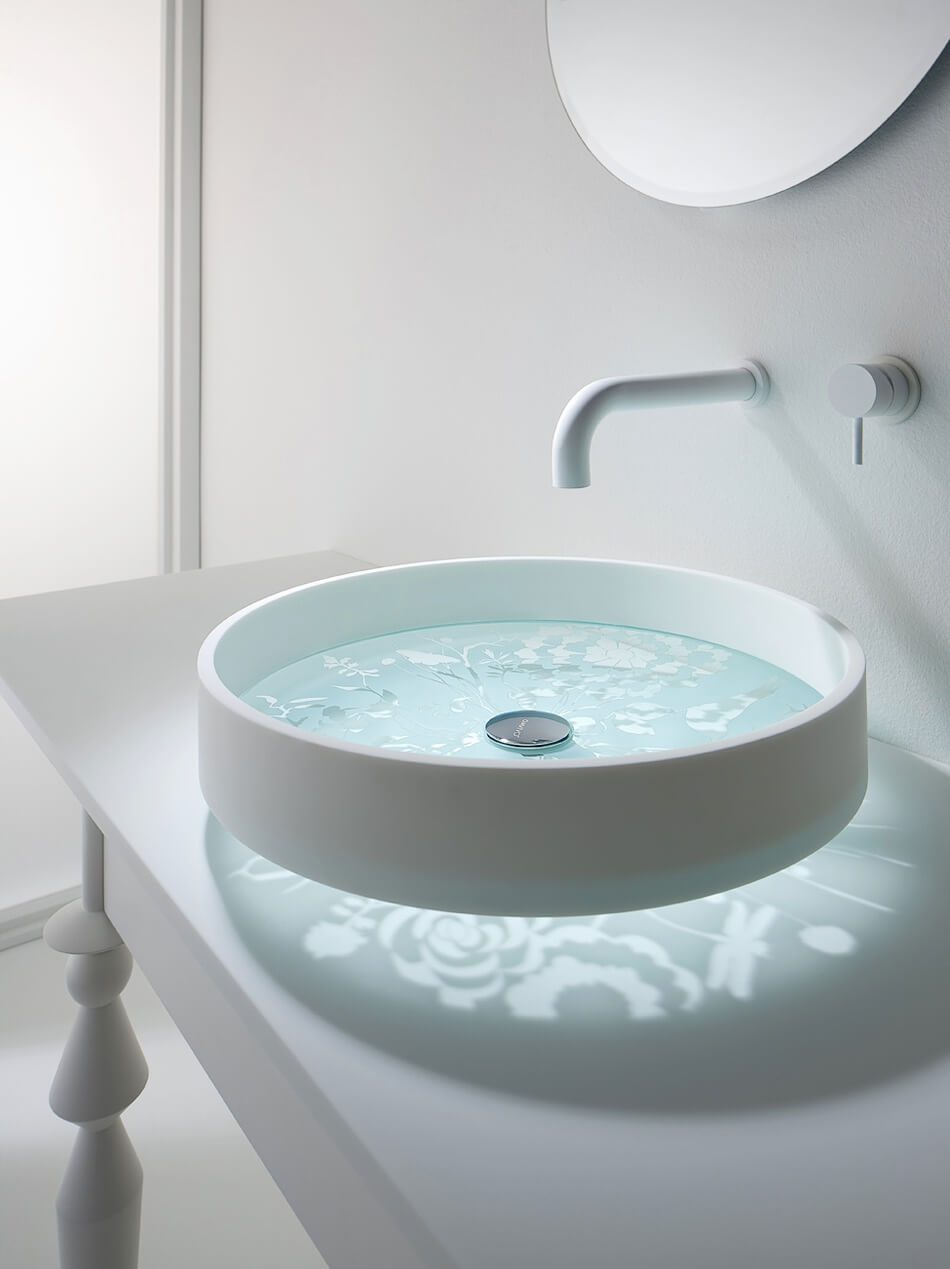
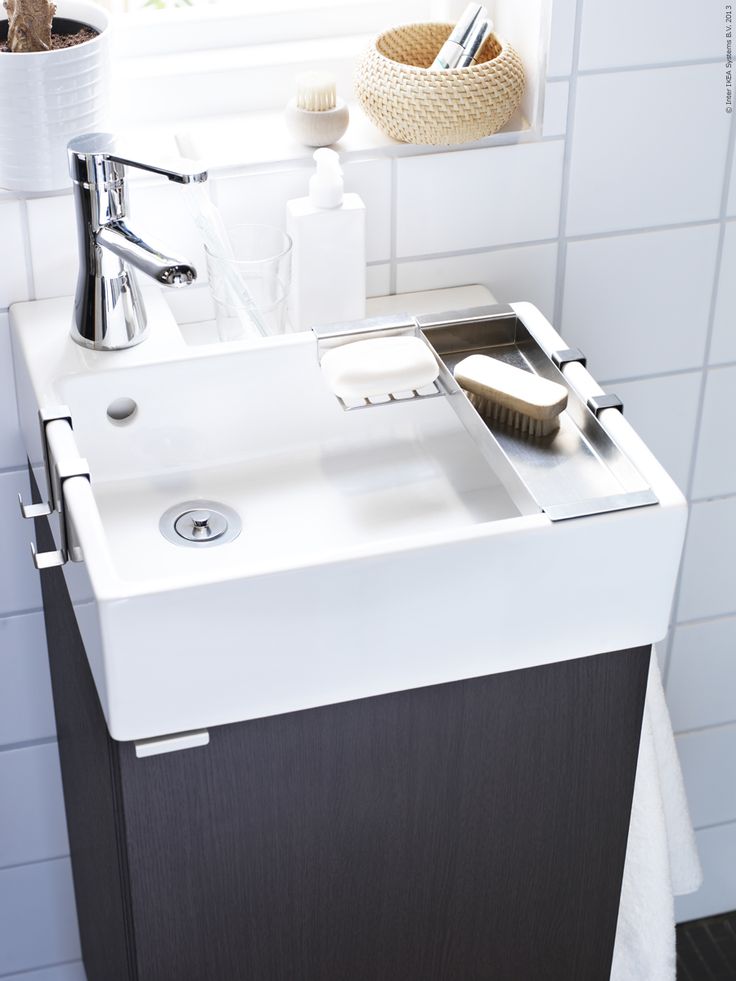
If you've noticed a small pit in your bathroom sink, don't panic. While it may seem like a major issue, repairing a small pit is actually a simple process that can be done at home. With the right tools and techniques, you can have your bathroom sink looking good as new in no time. In this article, we'll go over everything you need to know about repairing a small pit in your bathroom sink.Sink Repair: How to Fix a Small Pit in Your Bathroom Sink


Sink Repair: How to Fix a Small Pit in Your Bathroom Sink


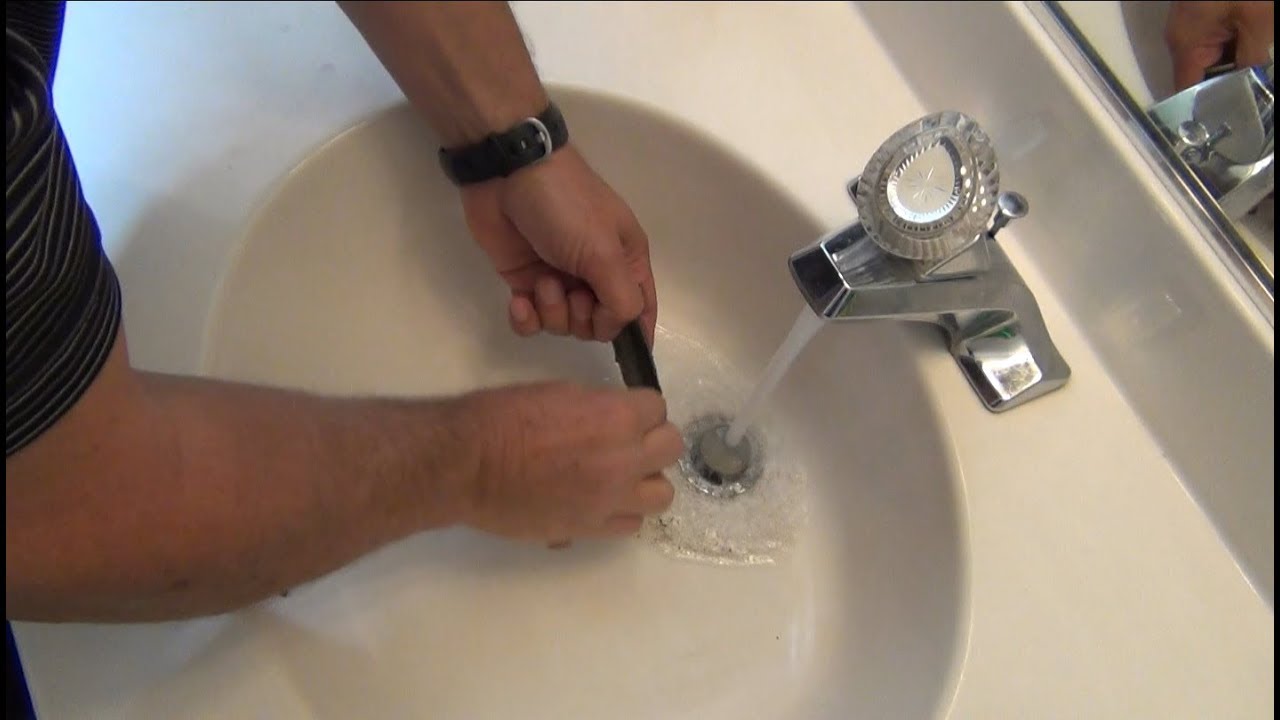
Porcelain sinks are a popular choice for bathrooms due to their durability and sleek appearance. However, even the toughest materials can suffer from small chips or pits. If you have a porcelain sink with a small pit, here's how you can fix it: Step 1: Clean the area around the pit with a mild cleaner and dry it thoroughly. Step 2: Apply a small amount of epoxy adhesive onto the pit using a toothpick. Make sure to fill the pit completely. Step 3: Let the epoxy dry for at least an hour, or as per the manufacturer's instructions. Step 4: Once the epoxy is completely dry, use a fine-grit sandpaper to smooth out any rough edges. Step 5: Finally, use a porcelain repair paint to cover the epoxy and blend it in with the rest of the sink. Let it dry completely before using the sink again.How to Repair a Small Chip in a Porcelain Sink
How to Repair a Small Chip in a Porcelain Sink


If you're a DIY enthusiast, you might prefer to take matters into your own hands and repair the small pit in your bathroom sink yourself. Here's a step-by-step guide to help you out: Step 1: Gather all the necessary materials, including epoxy adhesive, sandpaper, and porcelain repair paint. Step 2: Clean and dry the area around the pit. Step 3: Apply the epoxy adhesive onto the pit and let it dry completely. Step 4: Once the epoxy is dry, use sandpaper to smooth out any rough edges. Step 5: Apply the porcelain repair paint and let it dry before using the sink again.DIY Bathroom Sink Repair: How to Fix a Small Pit


DIY Bathroom Sink Repair: How to Fix a Small Pit


If you're short on time and need a quick fix for a small pit in your bathroom sink, here's a simple method that you can try: Step 1: Clean and dry the area around the pit. Step 2: Apply a small amount of clear nail polish onto the pit and let it dry. Step 3: Repeat this process until the pit is completely filled and smooth. Step 4: Use a fine-grit sandpaper to smooth out any rough edges. Step 5: Apply a porcelain repair paint to blend in the nail polish and let it dry before using the sink again.Quick and Easy Bathroom Sink Repair for Small Pits


Quick and Easy Bathroom Sink Repair for Small Pits


Repairing a small pit in your bathroom sink may seem daunting, but with this step-by-step guide, you'll have it fixed in no time: Step 1: Gather all the necessary materials, including epoxy adhesive, sandpaper, and porcelain repair paint. Step 2: Clean and dry the area around the pit. Step 3: Apply the epoxy adhesive onto the pit and let it dry completely. Step 4: Once the epoxy is dry, use sandpaper to smooth out any rough edges. Step 5: Apply the porcelain repair paint and let it dry before using the sink again.Step-by-Step Guide to Repairing a Small Pit in Your Bathroom Sink


Step-by-Step Guide to Repairing a Small Pit in Your Bathroom Sink


Here are some helpful tips to keep in mind while repairing a small pit in your bathroom sink: Tip 1: Always clean and dry the area before starting the repair process. Tip 2: Use a toothpick to apply the epoxy adhesive for precise application. Tip 3: Choose a porcelain repair paint that matches the color of your sink for a seamless finish. Tip 4: Don't use the sink until the repair is completely dry to avoid any damage. Tip 5: If the pit is too deep, consider seeking professional help to ensure a proper repair.Tips for Repairing a Small Pit in Your Bathroom Sink


Tips for Repairing a Small Pit in Your Bathroom Sink


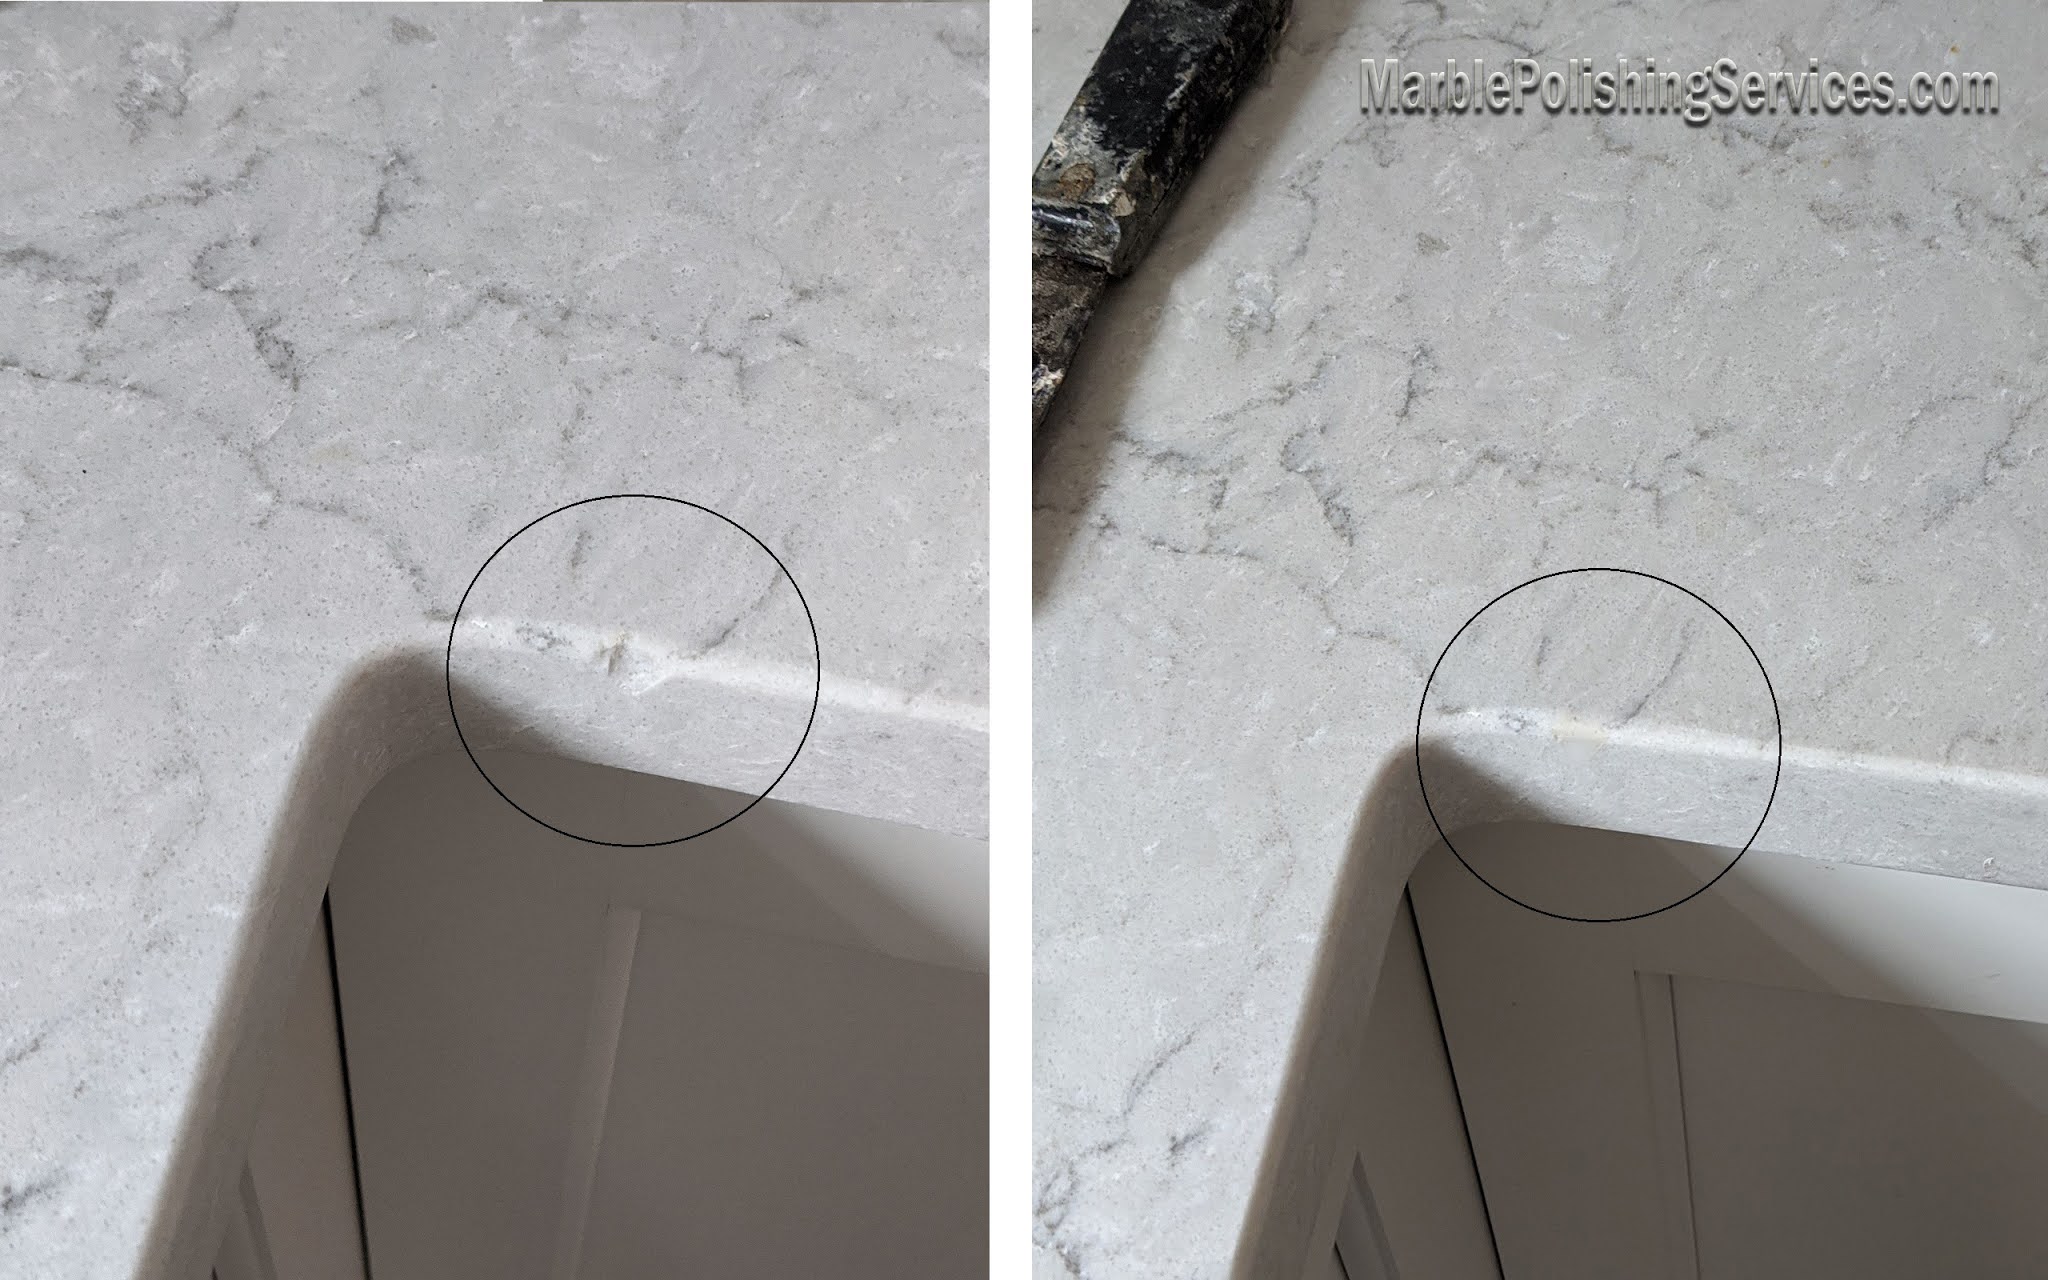
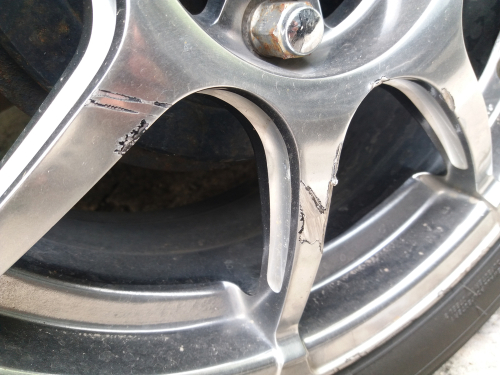
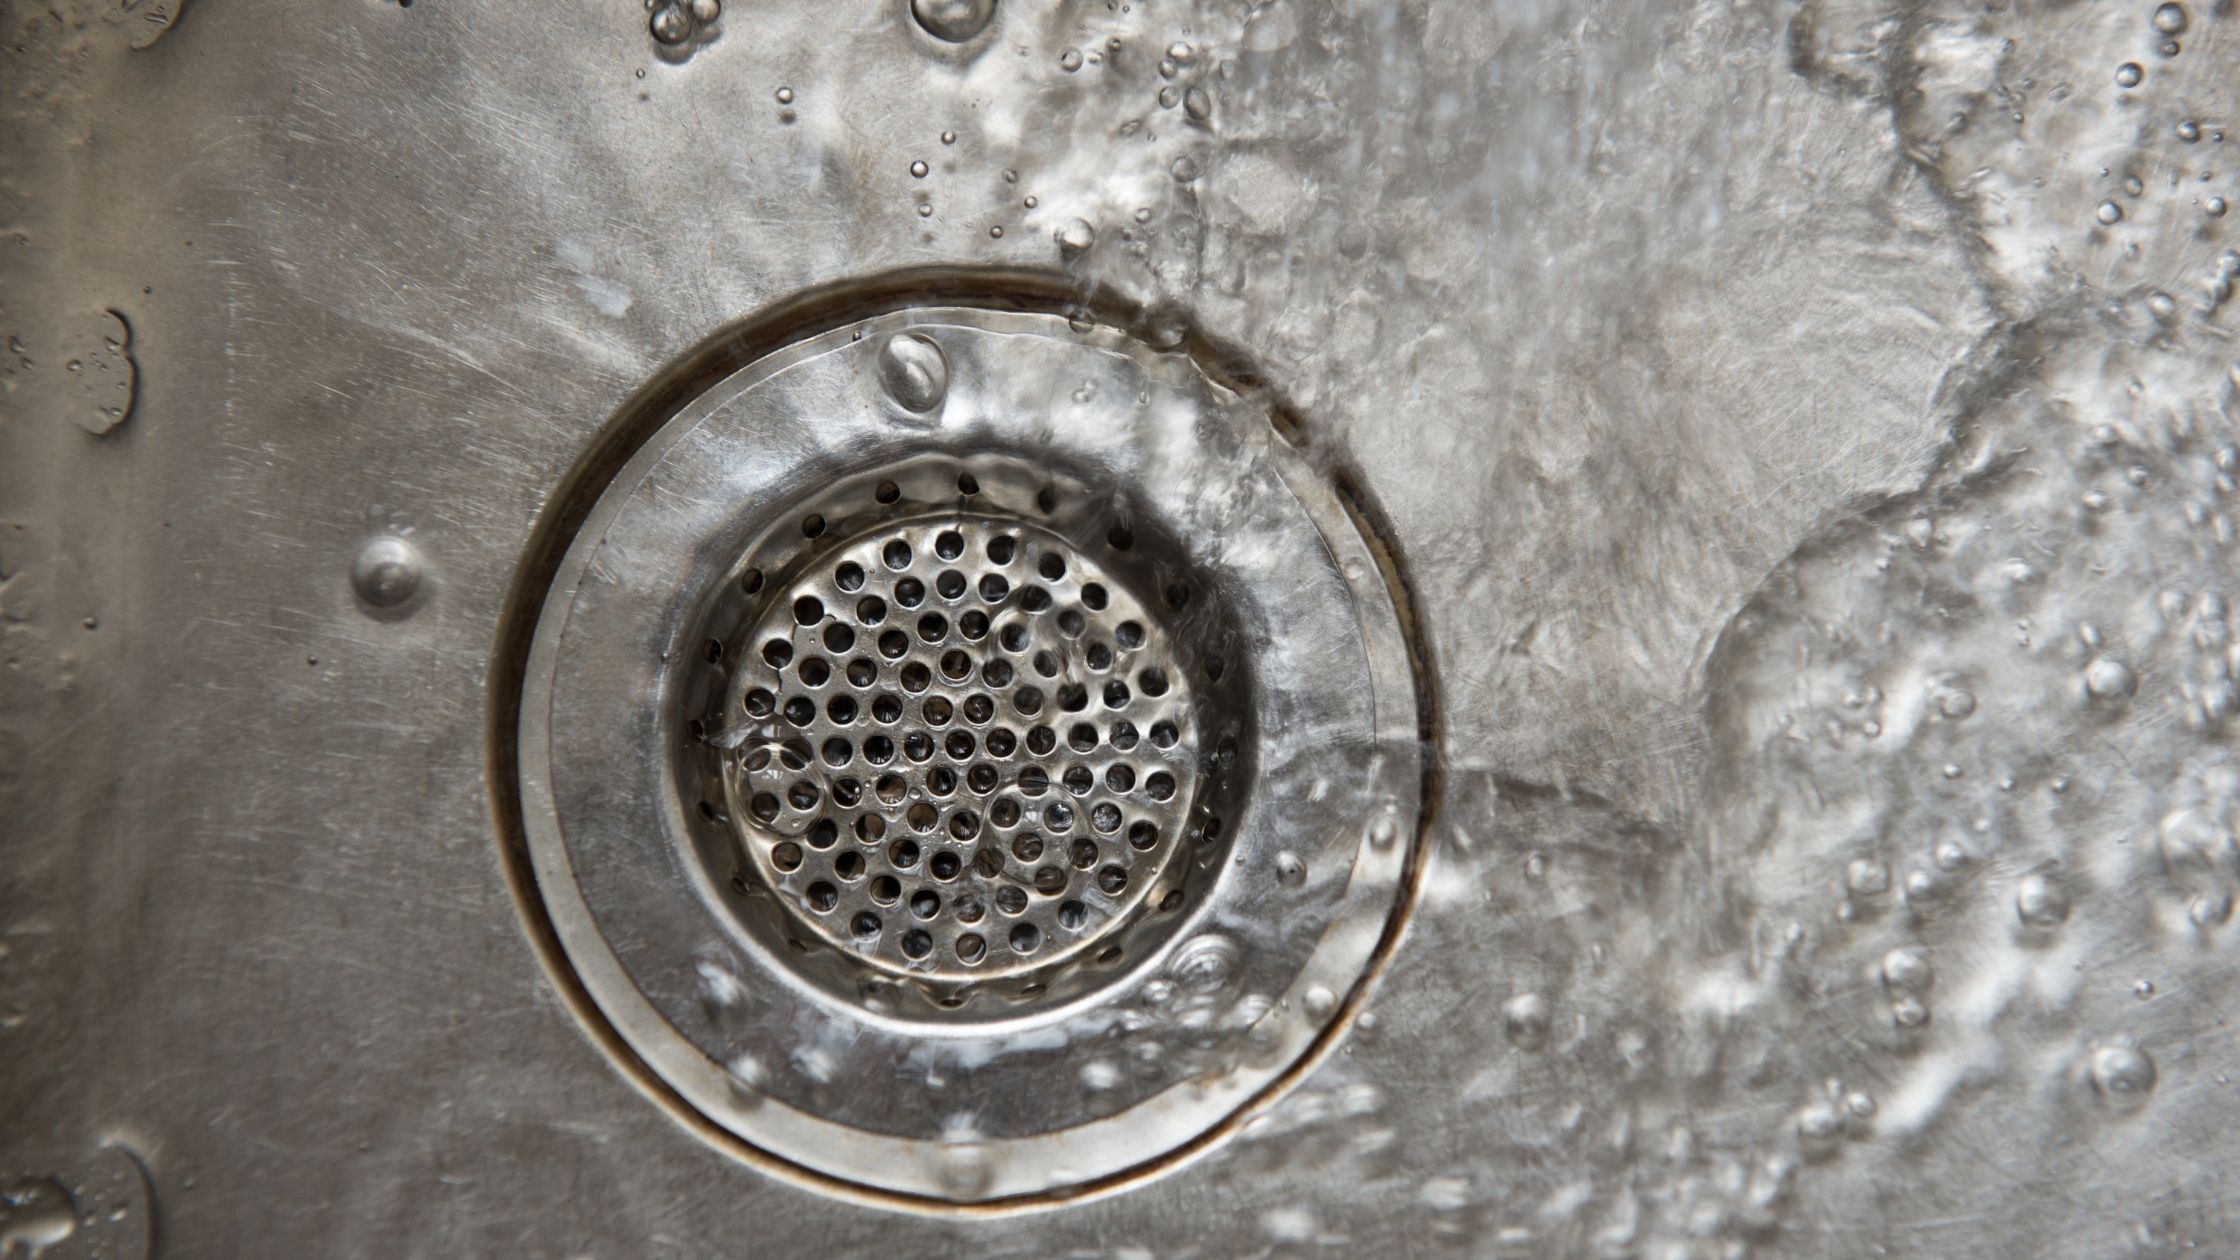
Small pits in bathroom sinks can be caused by a variety of reasons, including: 1. Wear and tear over time 2. Harsh cleaning chemicals 3. Dropping heavy objects on the sink 4. Excessive heat 5. Poor installationCommon Causes of Small Pits in Bathroom Sinks

Common Causes of Small Pits in Bathroom Sinks


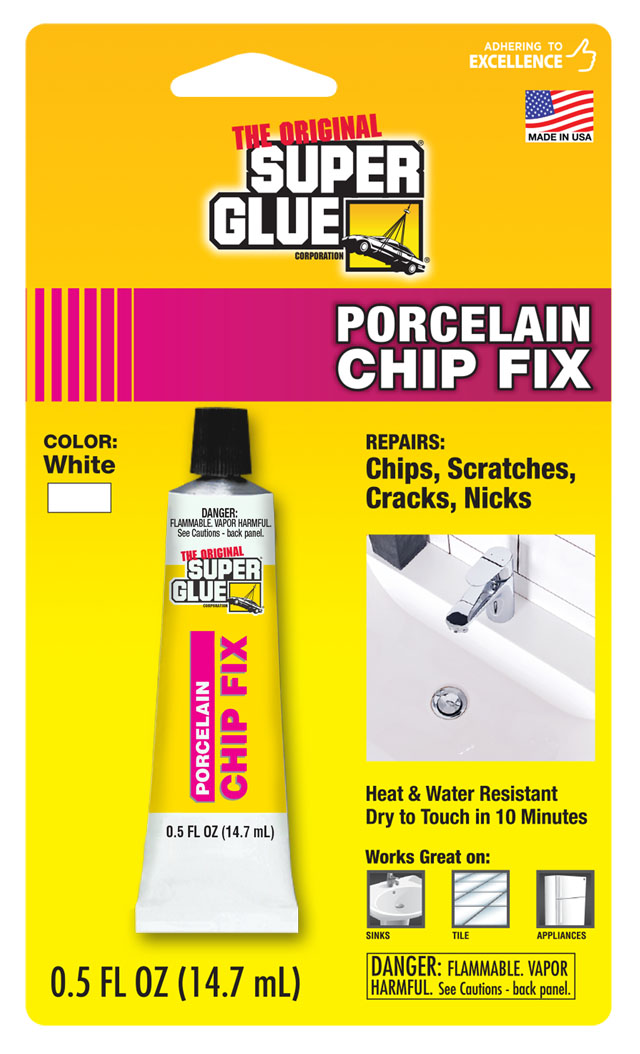
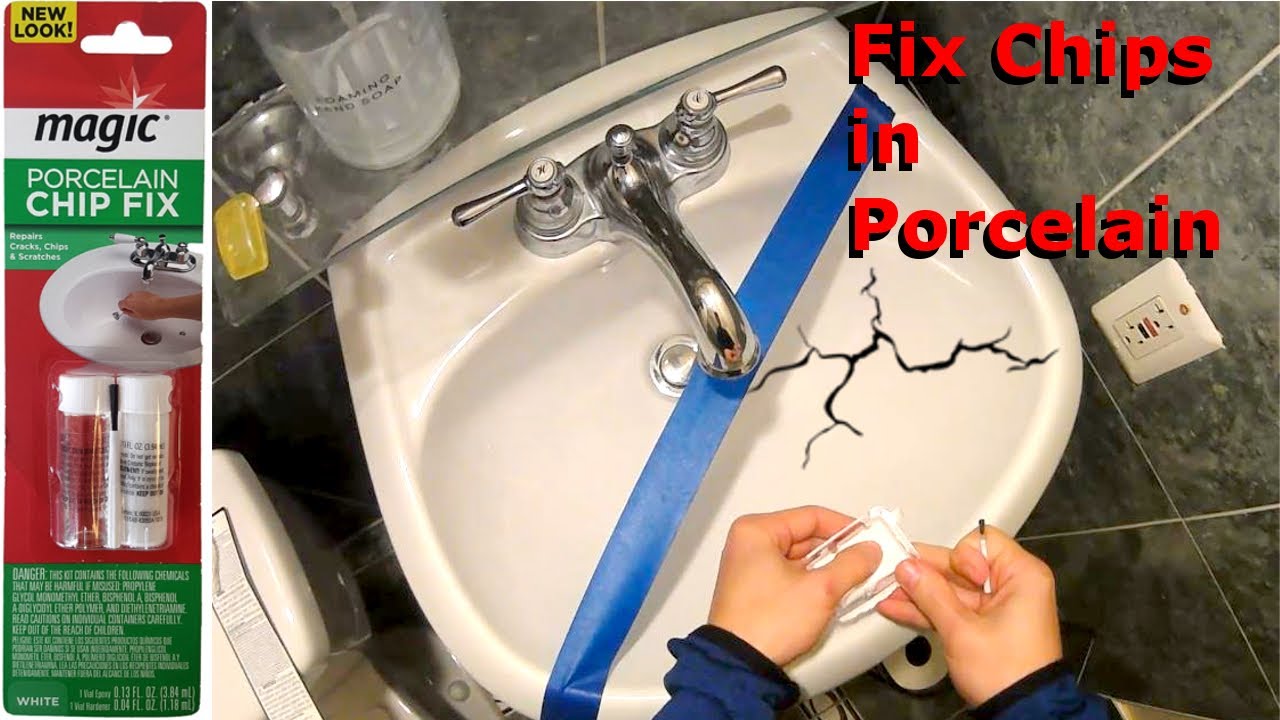
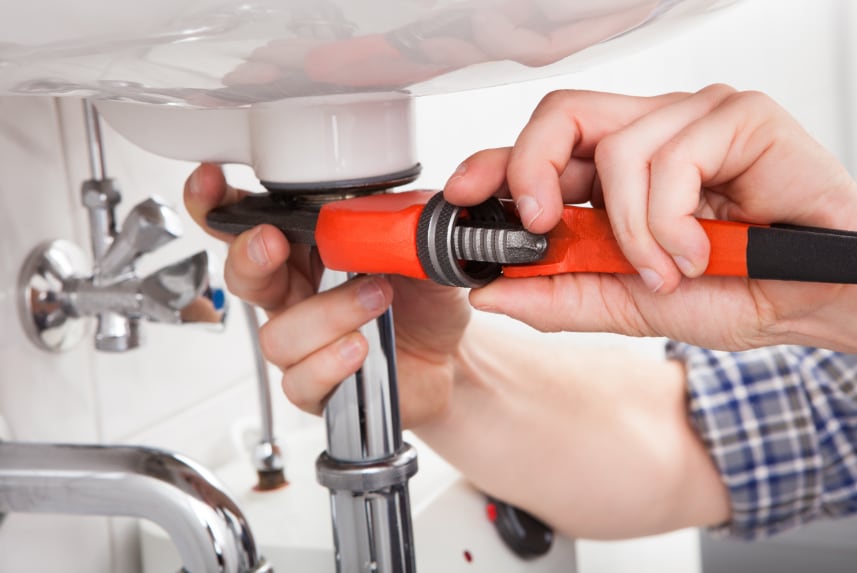
To repair a small pit in your bathroom sink, you'll need the following materials: - Epoxy adhesive - Fine-grit sandpaper - Porcelain repair paint - Clear nail polish (optional)Materials Needed for Repairing a Small Pit in Your Bathroom Sink


Materials Needed for Repairing a Small Pit in Your Bathroom Sink


While DIY repairs can save you time and money, it's always best to seek professional help if you're unsure about the process or if the pit is too deep. Professionals have the expertise and tools to ensure a proper and long-lasting repair for your bathroom sink.Professional vs. DIY: Which is Best for Repairing a Small Pit in Your Bathroom Sink?


Professional vs. DIY: Which is Best for Repairing a Small Pit in Your Bathroom Sink?


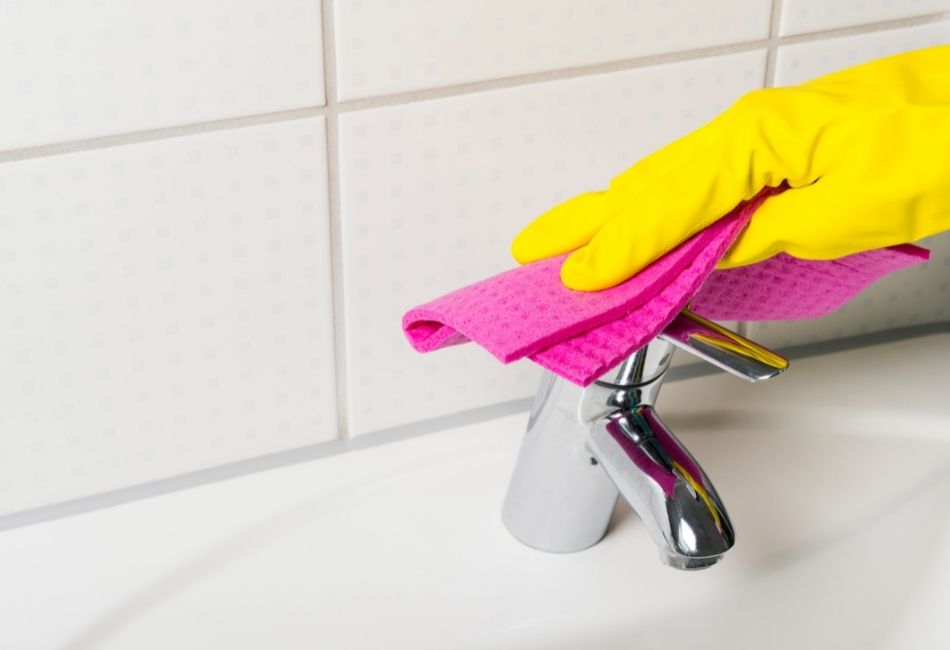
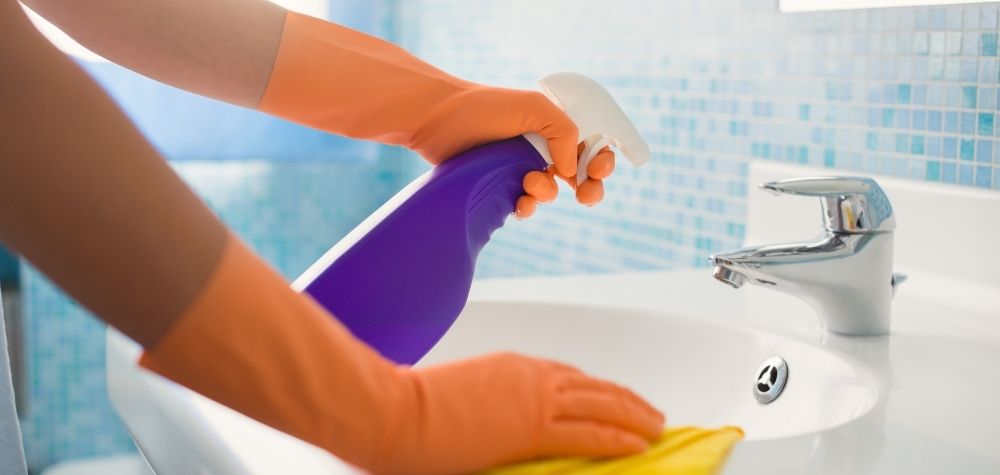
To avoid dealing with small pits in your bathroom sink, here are some maintenance tips to keep in mind: 1. Avoid using harsh cleaning chemicals. 2. Don't place heavy objects on the sink. 3. Use a sink mat to protect the surface from scratches and damage. 4. Wipe down the sink regularly to prevent buildup of dirt and grime. 5. Fix any leaks or plumbing issues promptly to prevent water damage to the sink. With these tips and techniques, you can easily repair a small pit in your bathroom sink and keep it looking good as new. Remember to always take the necessary precautions and seek professional help if needed. With proper maintenance, your bathroom sink can last for years to come.Preventing Small Pits in Your Bathroom Sink: Maintenance Tips


Preventing Small Pits in Your Bathroom Sink: Maintenance Tips


How to Repair Small Pit in Your Bathroom Sink

The Importance of Maintaining a Clean and Functional Bathroom
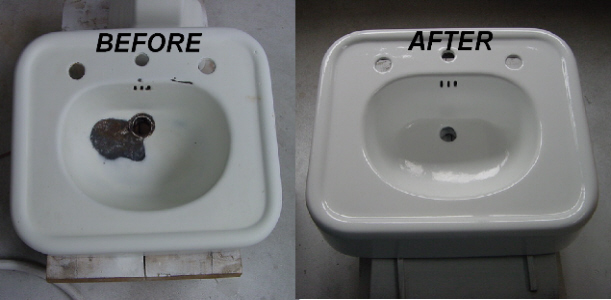
 Having a clean and functional bathroom is essential for any household. It is a space where we start and end our day, and it should be a place of relaxation and comfort. However, over time, wear and tear may occur, and one of the most common issues is a small pit in the bathroom sink. This may seem like a minor problem, but if left unattended, it can lead to bigger and more expensive repairs. In this article, we will discuss how to repair a small pit in your bathroom sink and keep your bathroom looking and functioning at its best.
Identifying the Cause of the Pit
 Before we dive into the repair process, it is crucial to identify the cause of the pit in your bathroom sink. The most common cause is the use of harsh chemicals or abrasive cleaning products. These products can eat away at the surface of the sink, leaving behind small pits or scratches. Another reason could be dropping heavy objects on the sink, causing damage to the surface. Once you have identified the cause, you can take the necessary steps to prevent it from happening again in the future.
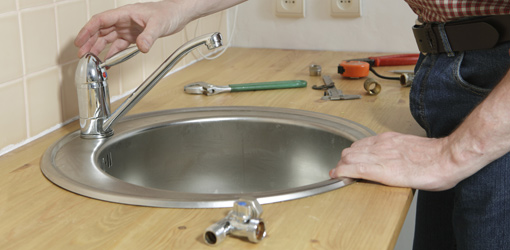
Gather the Necessary Materials
 To repair a small pit in your bathroom sink, you will need the following materials:
- Epoxy resin: This will be used to fill in the pit and create a smooth surface.
- Sandpaper: This will help smoothen the surface of the sink.
- Paintbrush: This will be used to apply the epoxy resin.
- Masking tape: This will help protect the surrounding area of the sink from the epoxy resin.
- Clean cloth: This will be used to clean the sink before and after the repair.
The Repair Process
 Now that you have gathered all the necessary materials, it's time to start the repair process. Follow these steps:
- Clean the sink thoroughly with a clean cloth and make sure it is completely dry before proceeding.
- Using the sandpaper, gently sand the area around the pit to create a smooth surface.
- Apply a layer of masking tape around the pit, leaving a small area of the pit exposed.
- Using the paintbrush, carefully apply the epoxy resin over the exposed area of the pit. Make sure to follow the instructions on the resin for the correct mixing ratio.
- Allow the epoxy resin to dry completely, which could take up to 24 hours.
- After the resin has dried, remove the masking tape and gently sand the repaired area to smoothen it out.
- Clean the sink once again with a clean cloth to remove any dust or debris from the repair process.
Maintaining Your Bathroom Sink
 To prevent any future pits or damages to your bathroom sink, make sure to use gentle cleaning products and avoid dropping heavy objects on it. If you have hard water, using a water softener can also help protect your sink's surface. Additionally, regularly cleaning and drying your sink after use can also help maintain its condition.
In Conclusion
 A small pit in your bathroom sink may seem like a minor issue, but it should not be ignored. By following these simple steps, you can easily repair the pit and maintain the overall cleanliness and functionality of your bathroom. Remember to always use gentle cleaning products and be mindful of any potential causes of damage. With proper care and maintenance, your bathroom sink will continue to be a functional and beautiful part of your home for years to come.