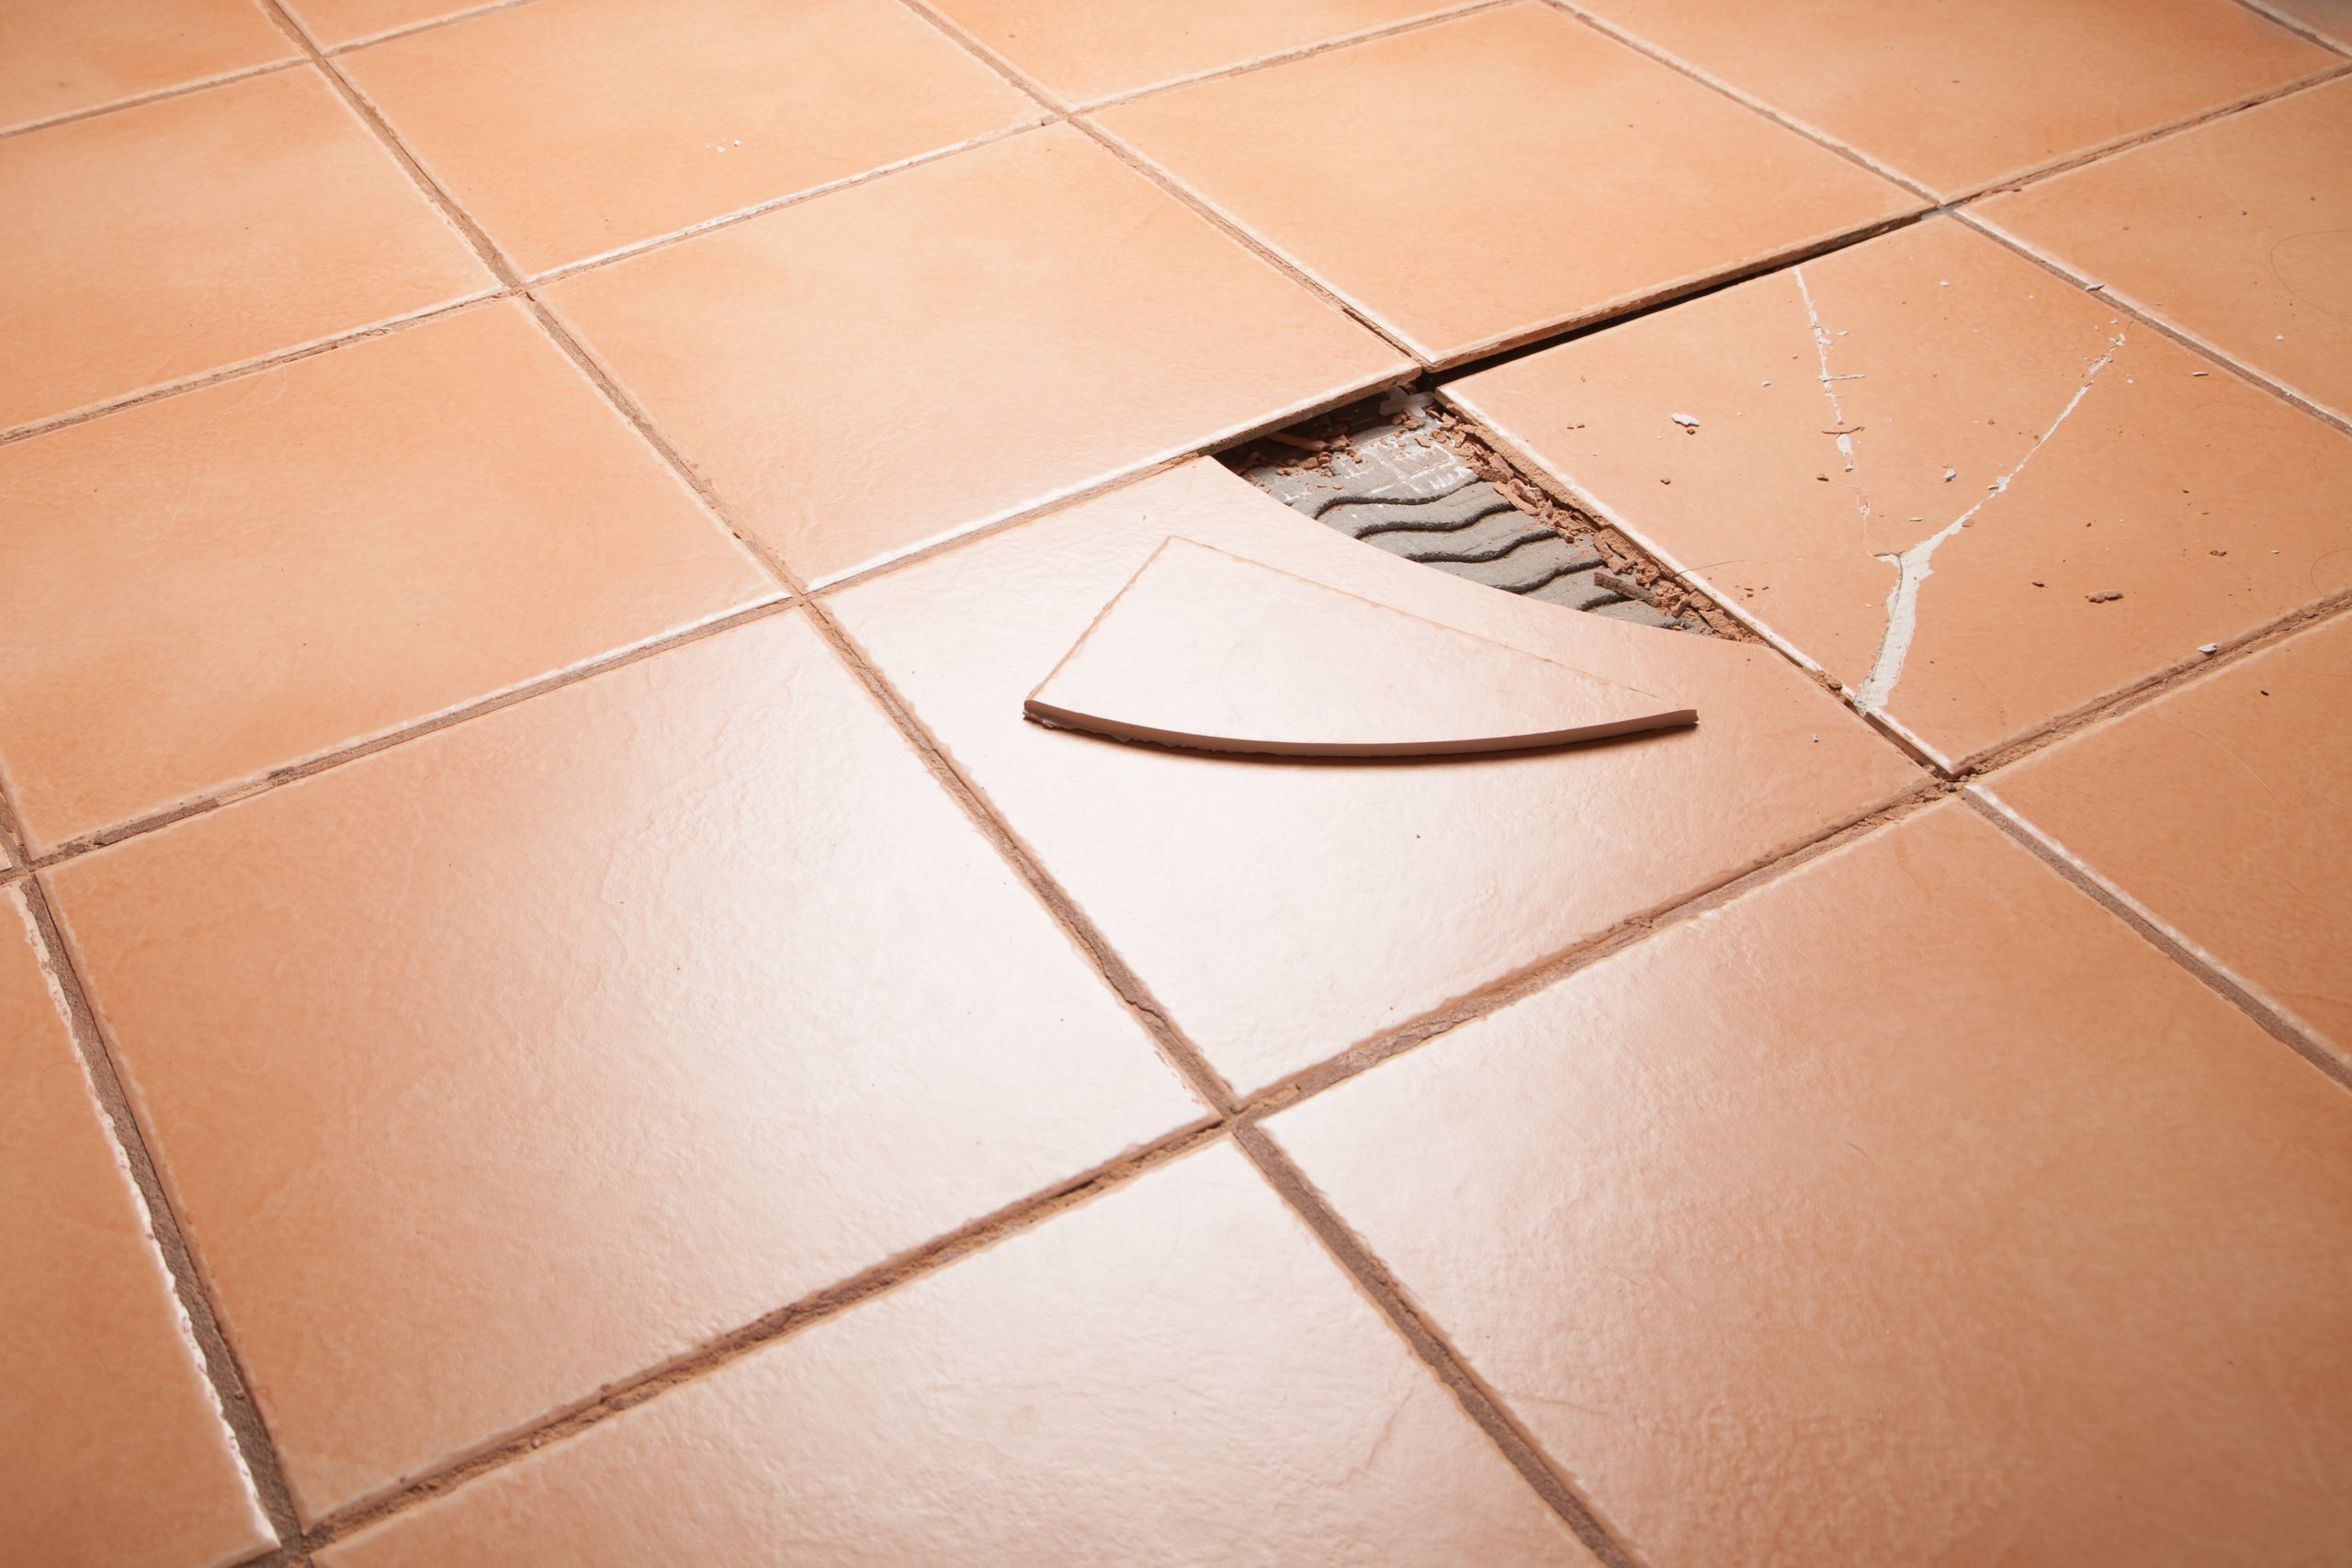
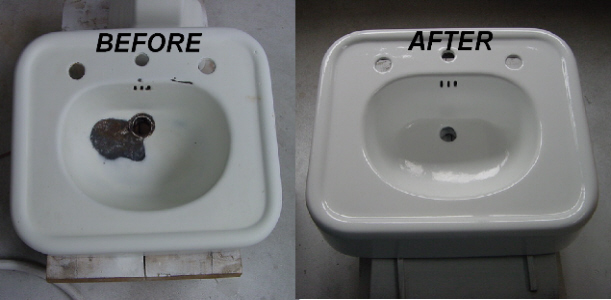
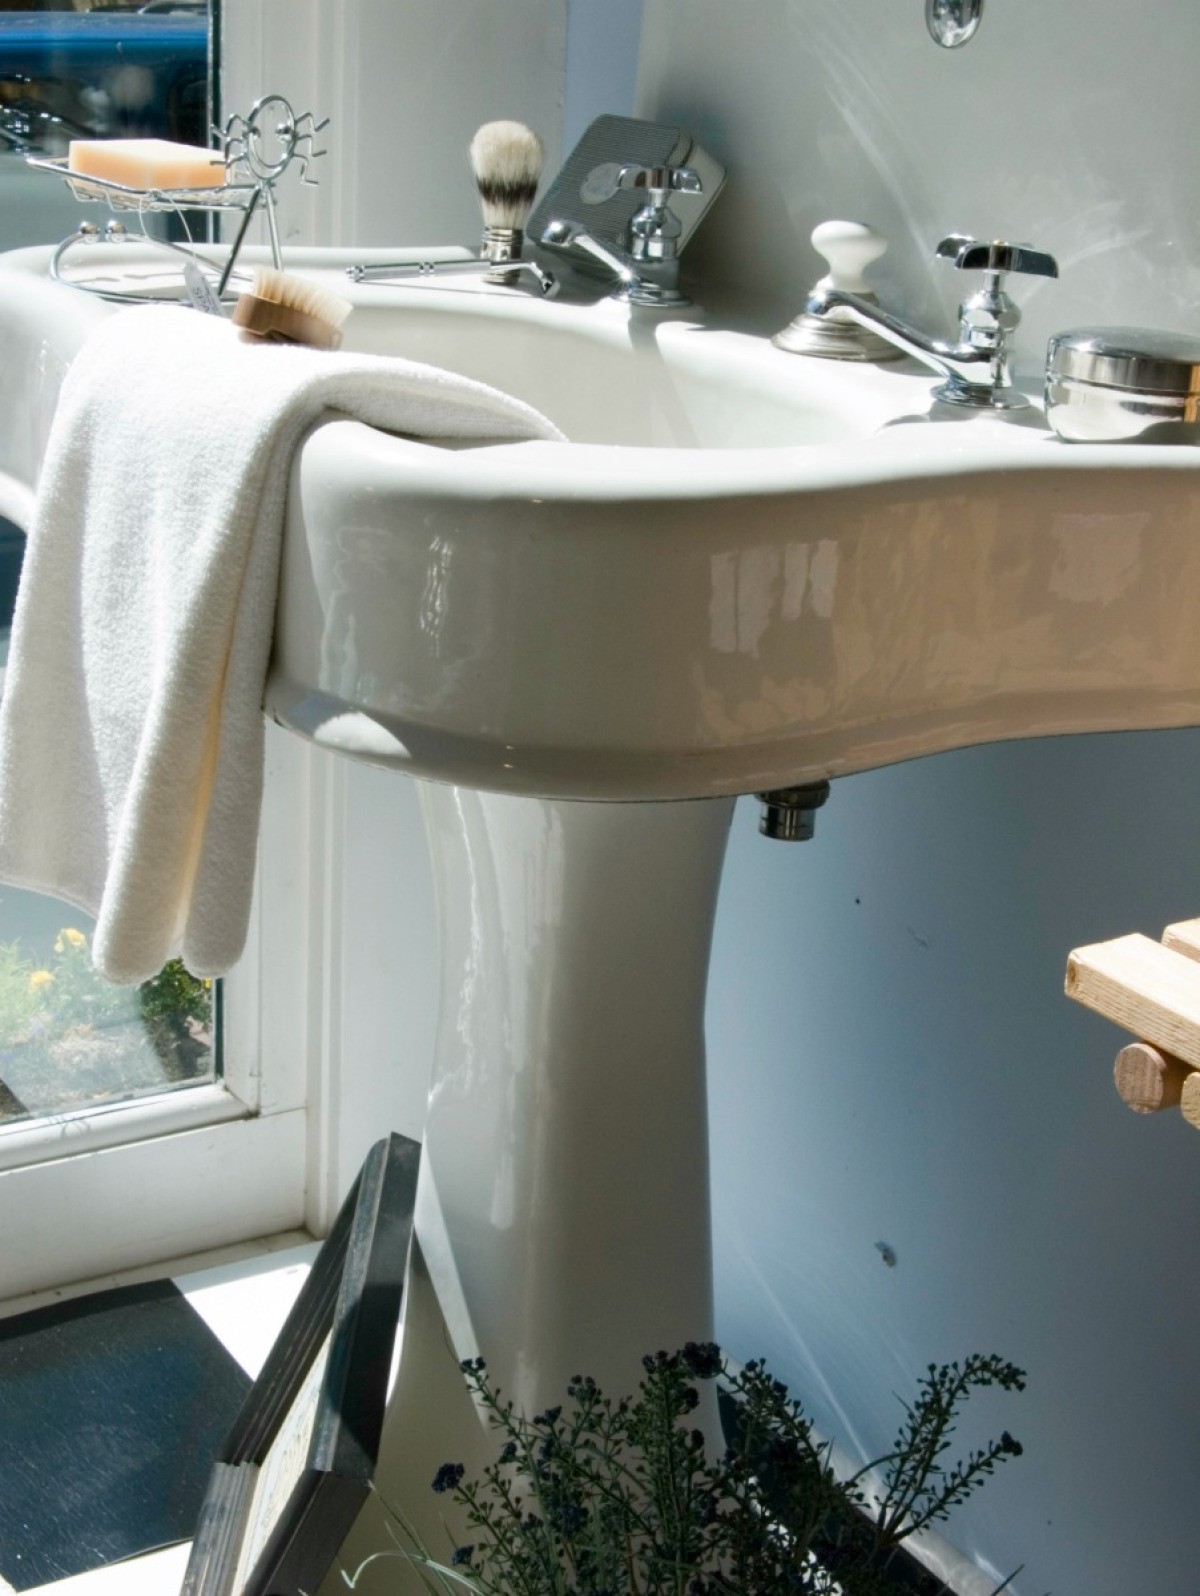
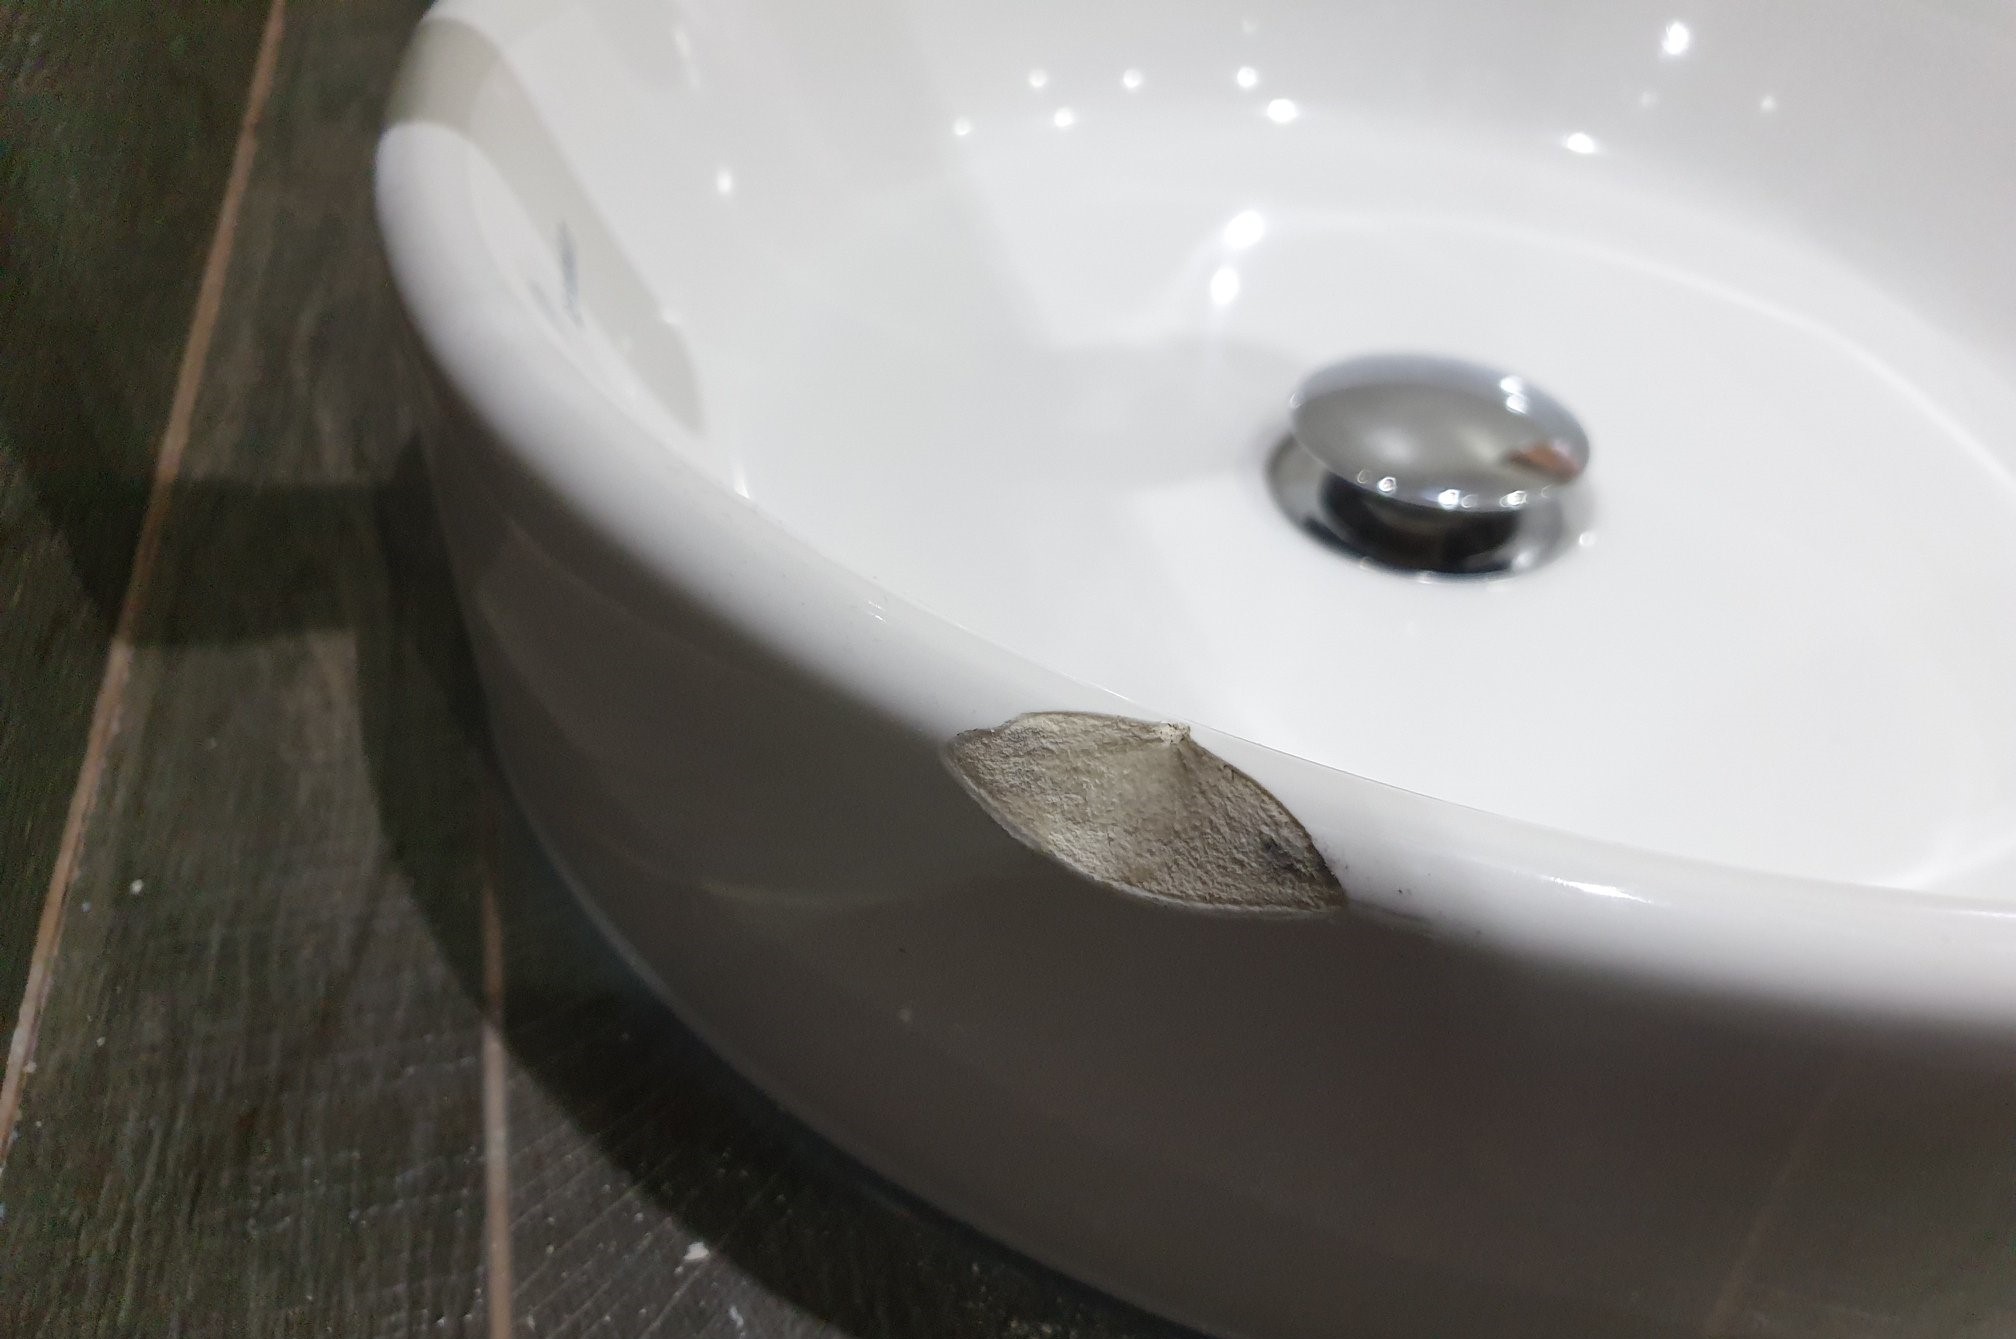
How to Repair a Chipped Porcelain Kitchen Sink
If you have a chipped porcelain kitchen sink, don't immediately panic and start looking for a replacement. In most cases, a chipped sink can be easily repaired with some simple tools and techniques. Not only will this save you the hassle and expense of replacing your sink, but it will also restore the aesthetic appeal of your kitchen. Follow these steps to learn how to repair a chipped porcelain kitchen sink.

How to Repair a Chipped Porcelain Kitchen Sink

DIY Guide: Fixing a Chipped Porcelain Sink
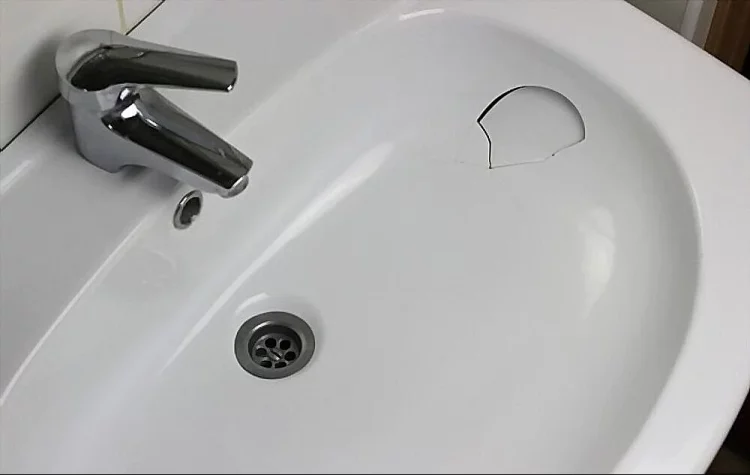
Repairing a chipped porcelain sink is a relatively easy task that you can do yourself with the right knowledge and tools. The first step is to assess the severity of the chip. If it is a small chip, you can easily fix it on your own. However, if it is a larger chip or crack, you may need to call a professional for assistance.

DIY Guide: Fixing a Chipped Porcelain Sink


Quick and Easy Fixes for a Chipped Porcelain Sink
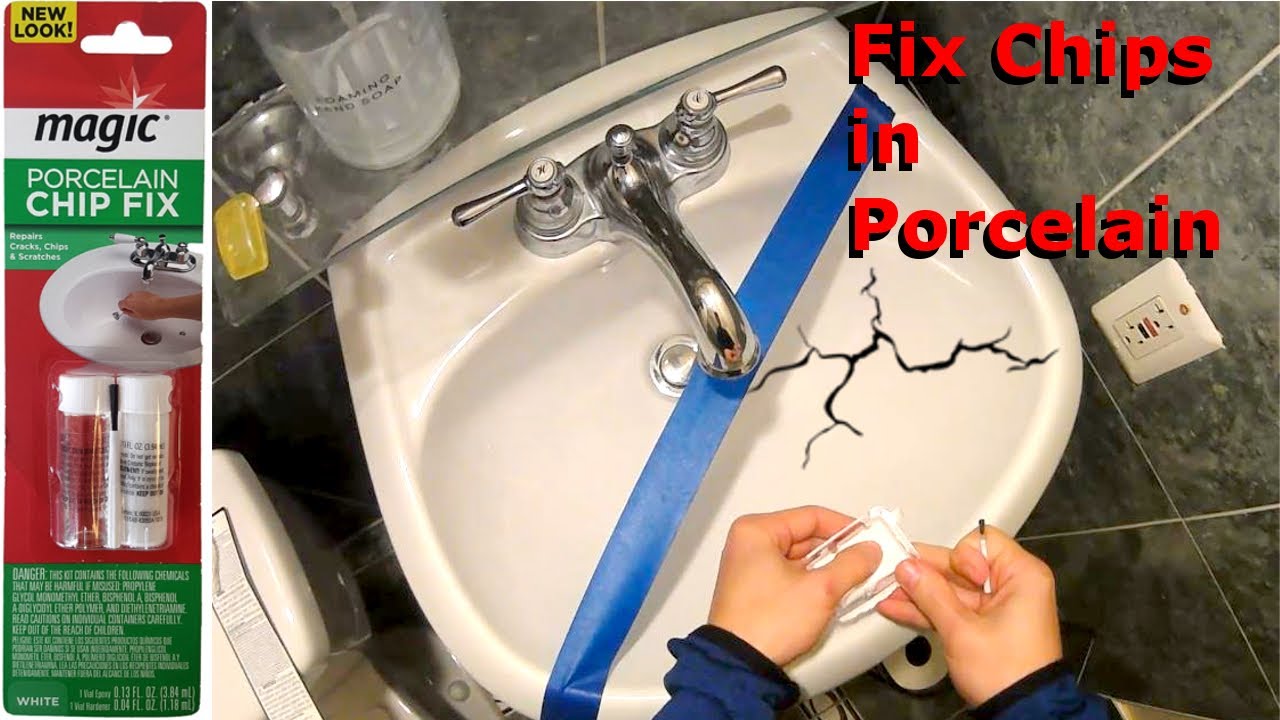
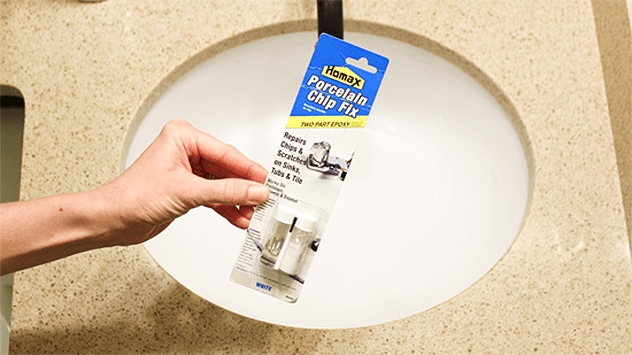
If the chip is small and shallow, you can fix it with a porcelain repair kit. These kits usually include a two-part epoxy that you mix together and apply to the chipped area. They also come in different colors to match the shade of your sink. Simply follow the instructions on the kit to fill in the chip and let it dry. Once dry, sand down any excess material and buff the area to blend it in with the rest of the sink.


Quick and Easy Fixes for a Chipped Porcelain Sink


5 Steps to Repair a Chipped Porcelain Kitchen Sink
If you don't have a porcelain repair kit on hand, you can still fix a chipped sink with some basic household items. Here's how:
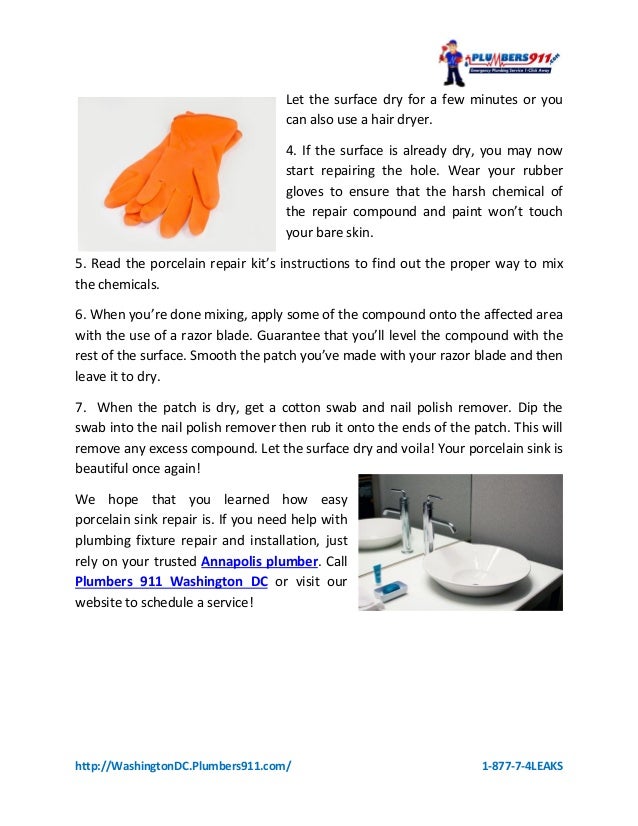
Step 1: Clean the chipped area with soap and water, making sure to remove any dirt and debris.
Step 2: Dry the area completely and use a small amount of nail polish remover to remove any residue or gloss from the surface of the chip.
Step 3: Apply a small amount of automotive filler to the chip and smooth it out with a razor blade or putty knife. Let it dry for 24 hours.
Step 4: Once dry, sand down the area with sandpaper until it is smooth and level with the rest of the sink.
Step 5: Finally, use a porcelain touch-up glaze to cover the repaired area and blend it in with the rest of the sink. Let it dry for another 24 hours before using the sink.

5 Steps to Repair a Chipped Porcelain Kitchen Sink
Porcelain Sink Repair: Tips and Tricks
Here are some additional tips and tricks to keep in mind when repairing a chipped porcelain sink:
- Always wear gloves and protective eyewear when working with chemicals and tools.
- If you have a chip that is deeper than 1/8 inch, you may need to use a fiberglass repair kit instead.
- For a more durable repair, you can use epoxy adhesive specifically designed for porcelain and follow the same steps as mentioned above.
- If your sink has multiple chips or cracks, it may be best to call a professional to assess the damage and determine the best course of action.

Porcelain Sink Repair: Tips and Tricks

Fixing a Chipped Porcelain Sink: A Step-by-Step Guide
Now that you have a general understanding of how to repair a chipped porcelain sink, here is a step-by-step guide to help you through the process:
Step 1: Gather all the necessary tools and materials, including gloves, protective eyewear, soap and water, nail polish remover, automotive filler, sandpaper, porcelain touch-up glaze, and a razor blade or putty knife.
Step 2: Clean the chipped area with soap and water, making sure to remove all dirt and debris.
Step 3: Dry the area completely and use a small amount of nail polish remover to remove any residue or gloss from the surface of the chip.
Step 4: Apply the chosen repair material (porcelain repair kit, automotive filler, or epoxy adhesive) according to the instructions provided.
Step 5: Let the repair material dry completely, usually for 24 hours.
Step 6: Sand down the repaired area until it is smooth and level with the rest of the sink.
Step 7: Apply the porcelain touch-up glaze to the repaired area and let it dry for another 24 hours.
Step 8: Buff the area to blend it in with the rest of the sink and give it a smooth finish.


Fixing a Chipped Porcelain Sink: A Step-by-Step Guide
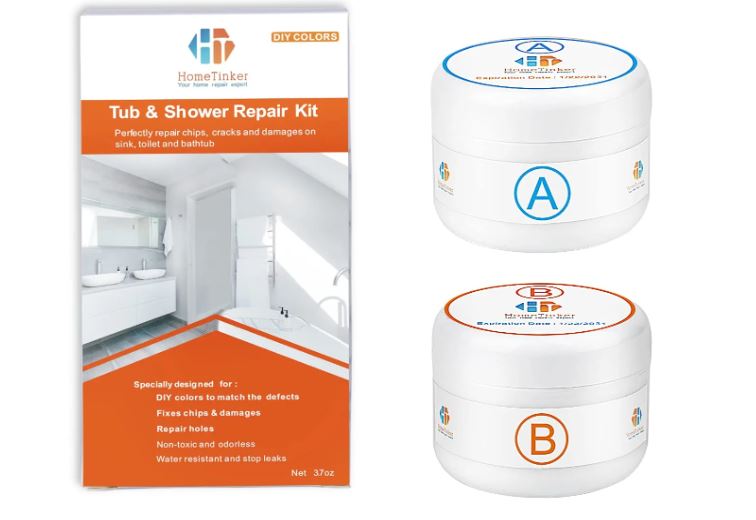

The Best Products for Repairing a Chipped Porcelain Sink
If you're unsure which repair material to use for your chipped porcelain sink, here are some of the best products on the market:
- Porc-a-Fix Porcelain Repair Paint: A touch-up paint that comes in a variety of colors and can be used on chips, cracks, and scratches.
- Devcon Epoxy Bathtub Repair Kit: A two-part epoxy that can be used for larger chips and cracks in porcelain sinks and bathtubs.
- Porc-A-Fix High Heat Porcelain Touch-Up Kit: Specifically designed for high-heat areas, such as stovetops and fireplaces.
The Best Products for Repairing a Chipped Porcelain Sink

How to Prevent Chipping in Your Porcelain Kitchen Sink
Of course, the best way to deal with a chipped porcelain sink is to prevent it from happening in the first place. Here are some tips for maintaining your sink and avoiding unnecessary chips:
- Use a sink mat or rack to protect the bottom of your sink from scratches and chips.
- Avoid dropping heavy objects or pots and pans into the sink.
- Don't use harsh chemicals or abrasive materials to clean your sink.
- If you have a garbage disposal, make sure to run water while using it to prevent any damage to the sink.


How to Prevent Chipping in Your Porcelain Kitchen Sink


Professional vs. DIY: Repairing a Chipped Porcelain Sink
While it is possible to repair a chipped porcelain sink on your own, it may be best to leave it to the professionals in some cases. If the chip is large or the damage is extensive, it may require the expertise and equipment of a professional. Additionally, if you are unsure about your DIY skills or have never attempted a sink repair before, it may be safer to call a professional.

Professional vs. DIY: Repairing a Chipped Porcelain Sink
Common Causes of Chipped Porcelain Sinks and How to Avoid Them
Knowing the common causes of chipped porcelain sinks can help you prevent them from happening in the future. Some of the most common causes include:
- Dropping heavy objects or pots and pans into the sink.
- Using harsh chemicals or abrasive materials to clean the sink.
- Not using a sink mat or rack to protect the bottom of the sink.
- Not running water while using a garbage disposal.
By following the tips mentioned above and being mindful of these common causes, you can keep your porcelain kitchen sink in pristine condition and avoid the need for repairs in the future.


Common Causes of Chipped Porcelain Sinks and How to Avoid Them


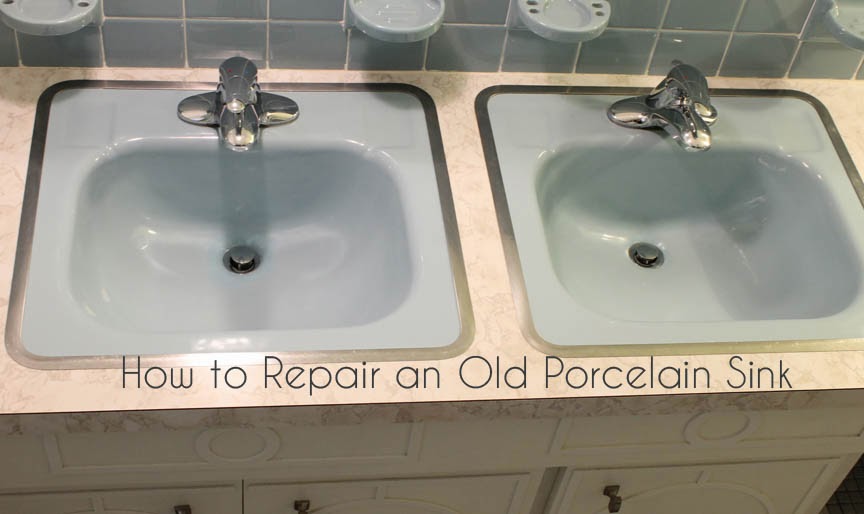
How to Repair a Chipped Porcelain Kitchen Sink: A Step-by-Step Guide

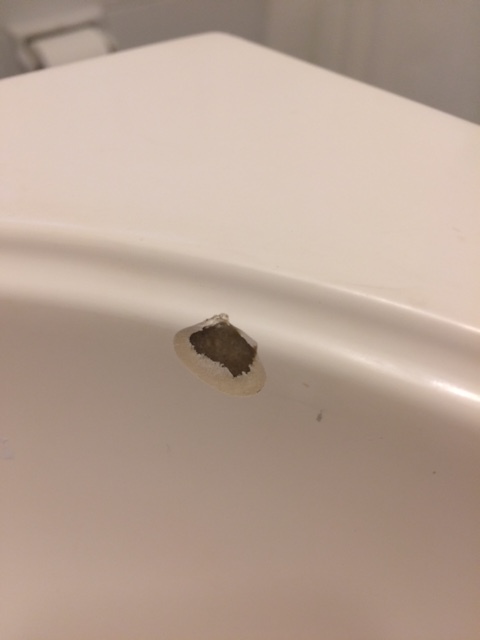
Identifying the Damage
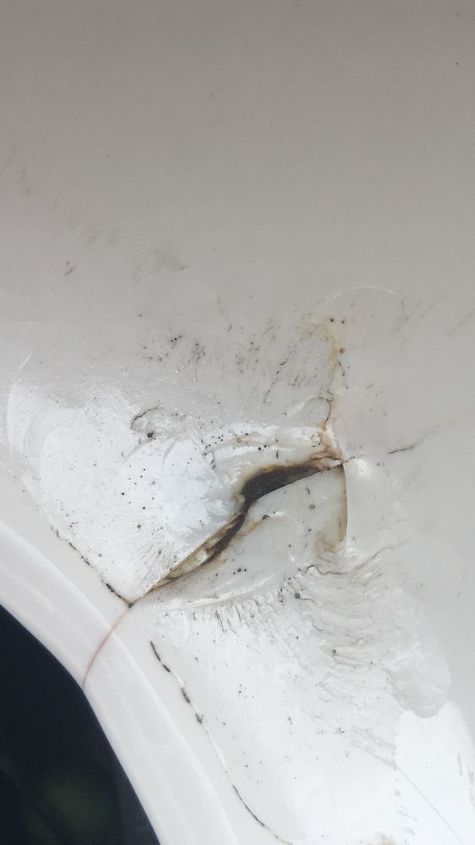
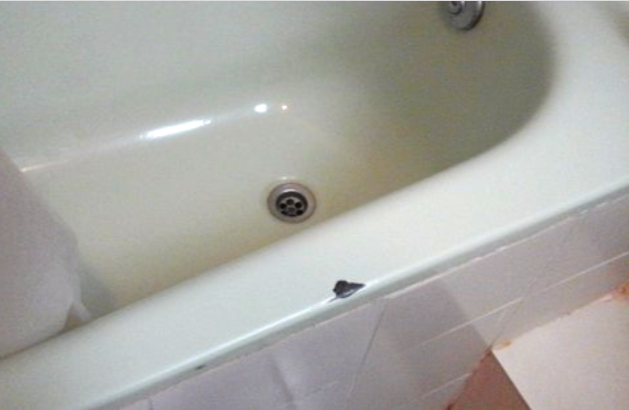
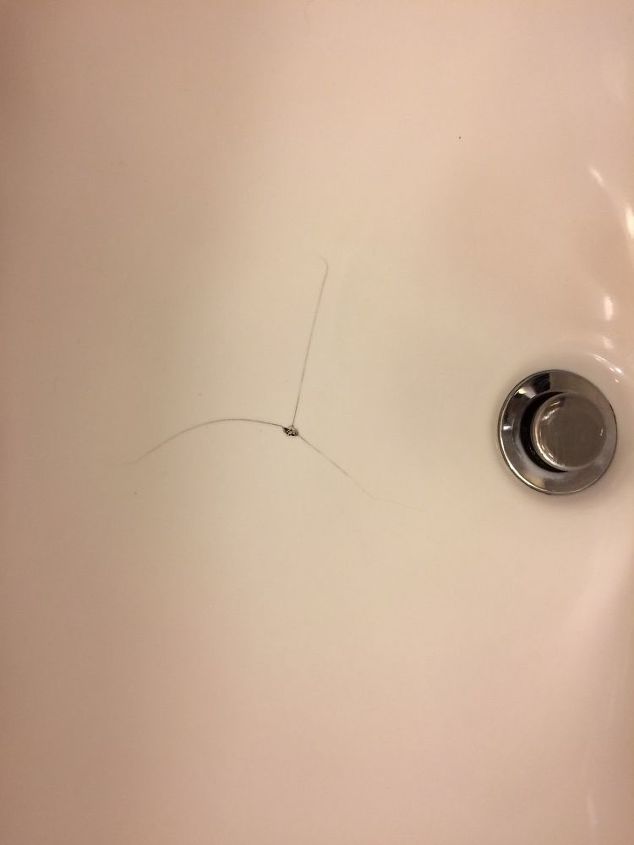
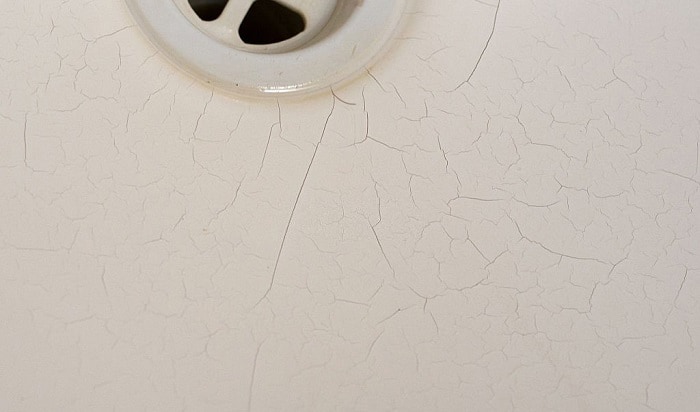
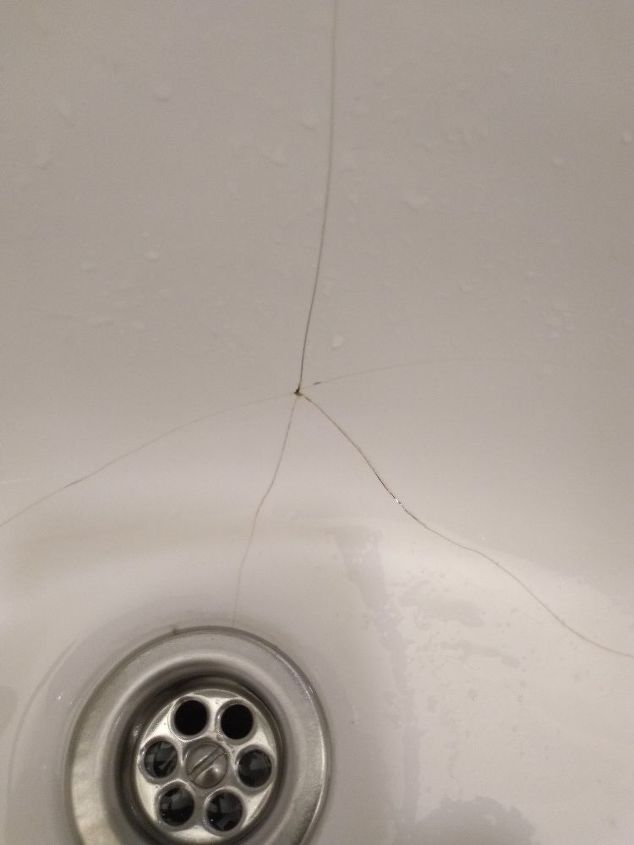
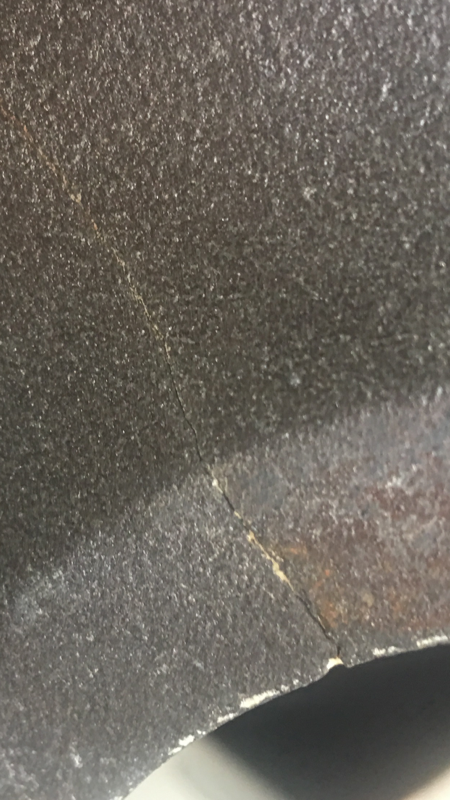
 If you have a porcelain kitchen sink, chances are you love its sleek and classic look. But, like any other material, porcelain can become chipped or cracked over time. This can happen due to heavy use, dropping heavy objects, or even just general wear and tear. Whatever the cause, a chipped porcelain kitchen sink can be an eyesore and may even affect its functionality. The good news is that repairing a chipped porcelain kitchen sink is not as difficult as it may seem. With the right tools and techniques, you can restore your sink to its former beauty.
Gather Your Materials
 Before you begin the repair process, it’s important to gather all the necessary materials. You will need a porcelain repair kit, which can be found at most hardware stores. Make sure to choose a kit that matches the color of your sink. You will also need sandpaper, a sponge, and some water. Additionally, it’s important to wear gloves and eye protection while handling the repair materials.
Prepare the Damaged Area
 Start by cleaning the chipped area with soap and water. Once it’s dry, use the sandpaper to gently sand down the edges of the chip. This will create a smoother surface for the repair material to adhere to. Be careful not to sand too aggressively, as this can make the chip larger or create more damage. After sanding, wipe the area with a damp sponge to remove any dust or debris.
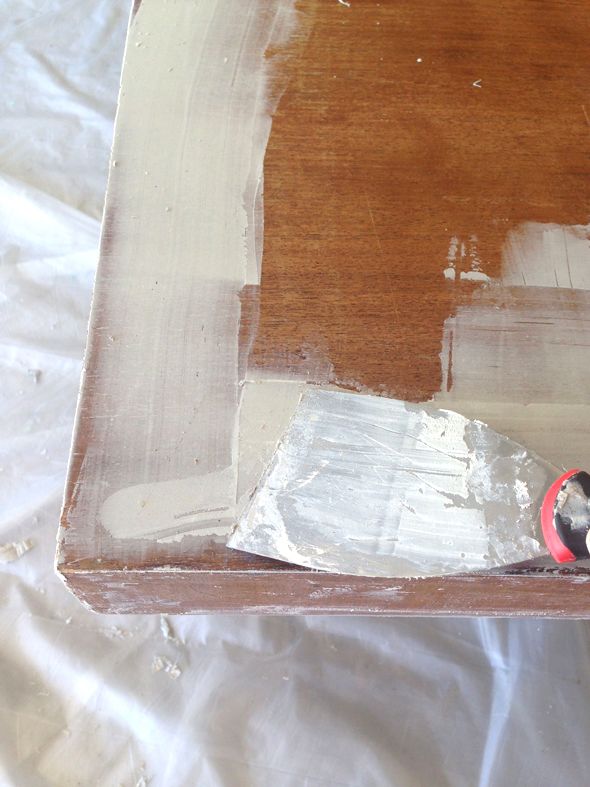
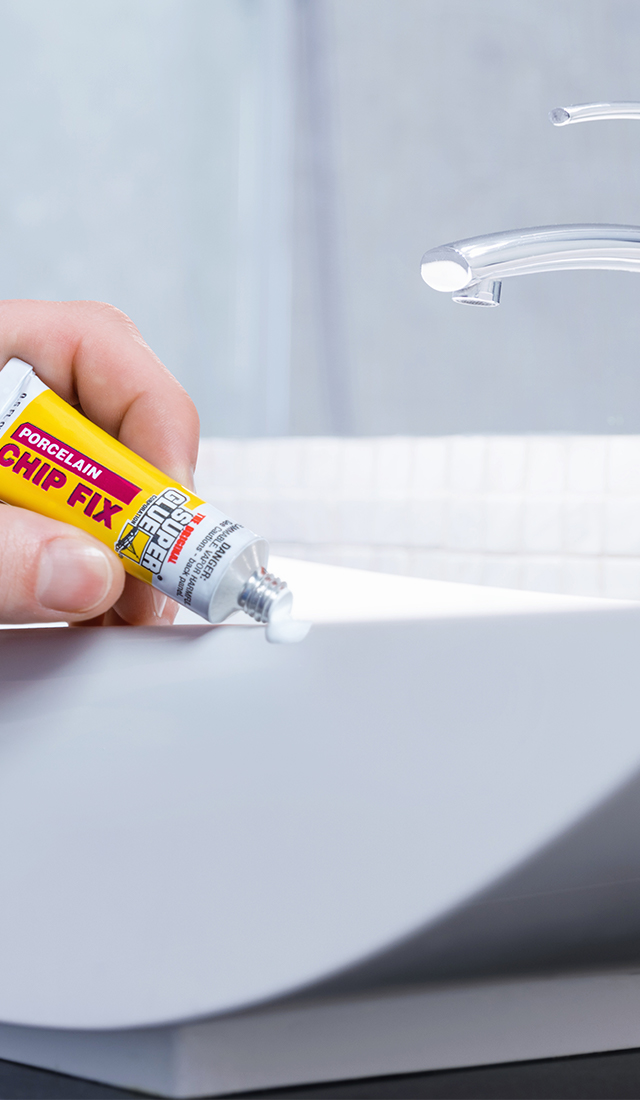
Apply the Repair Material
 Next, mix the repair material according to the instructions on the kit. Using a putty knife, carefully apply the material to the chipped area. Make sure to fill in the entire chip and smooth out the surface. If the chip is deep, you may need to apply multiple layers, allowing each layer to dry before adding the next one. Once the repair material is applied, let it dry completely according to the manufacturer’s instructions.
Finishing Touches
 After the repair material has dried, use a fine-grit sandpaper to gently sand down any rough edges. Wipe the area with a damp sponge to remove any leftover dust. If the color of the repair material does not match your sink perfectly, you can use a porcelain touch-up paint to blend it in. Once the paint is dry, apply a porcelain sealer to protect the repaired area and give it a glossy finish.
With these easy steps, you can repair a chipped porcelain kitchen sink and have it looking as good as new in no time.
Remember to take your time and follow the instructions carefully to achieve the best results. And for future prevention, try to avoid dropping heavy objects or using abrasive cleaners on your sink. With proper care, your porcelain kitchen sink can last for many years to come.
After the repair material has dried, use a fine-grit sandpaper to gently sand down any rough edges. Wipe the area with a damp sponge to remove any leftover dust. If the color of the repair material does not match your sink perfectly, you can use a porcelain touch-up paint to blend it in. Once the paint is dry, apply a porcelain sealer to protect the repaired area and give it a glossy finish.
With these easy steps, you can repair a chipped porcelain kitchen sink and have it looking as good as new in no time.
Remember to take your time and follow the instructions carefully to achieve the best results. And for future prevention, try to avoid dropping heavy objects or using abrasive cleaners on your sink. With proper care, your porcelain kitchen sink can last for many years to come.