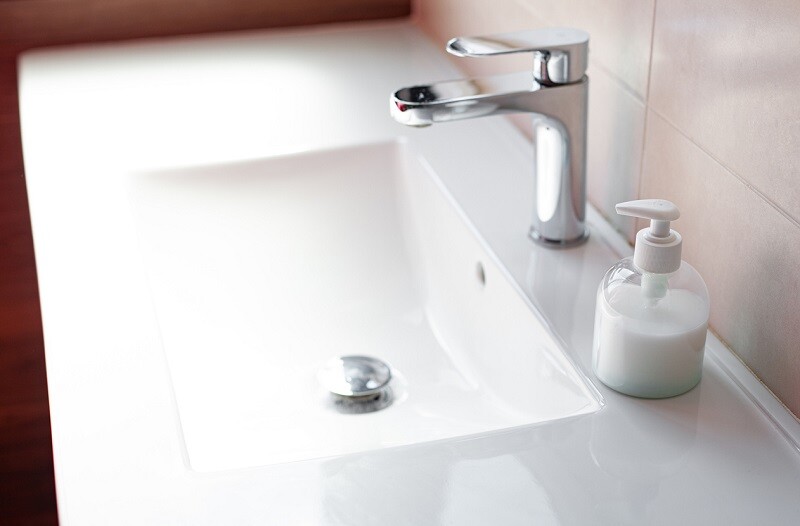
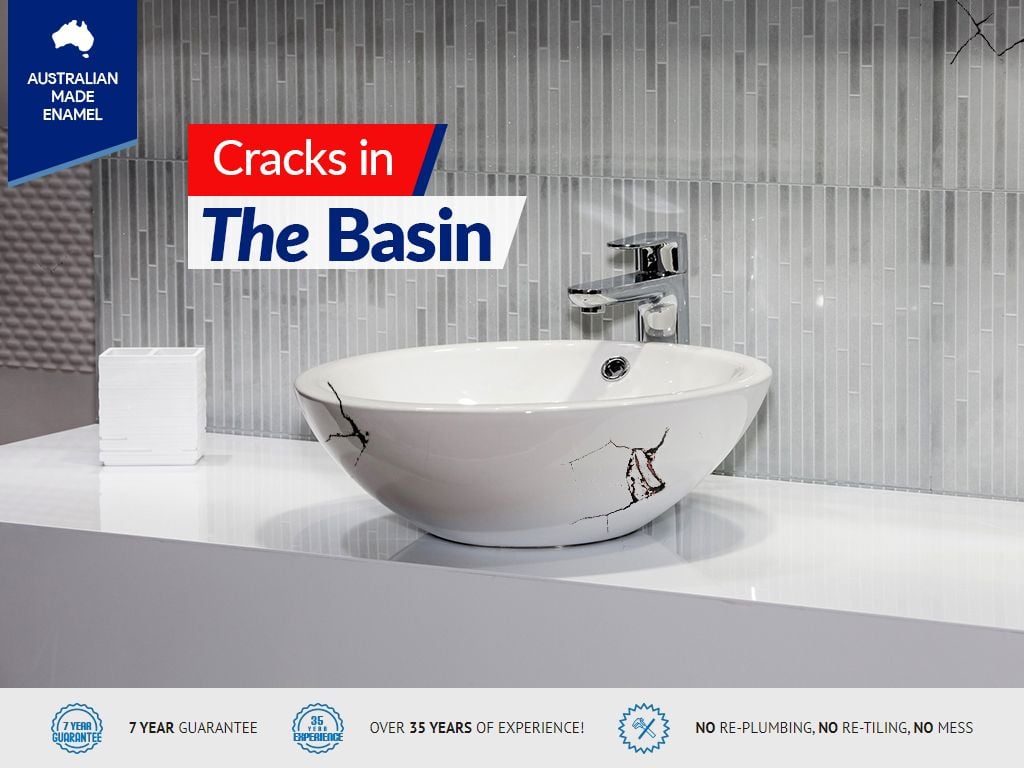
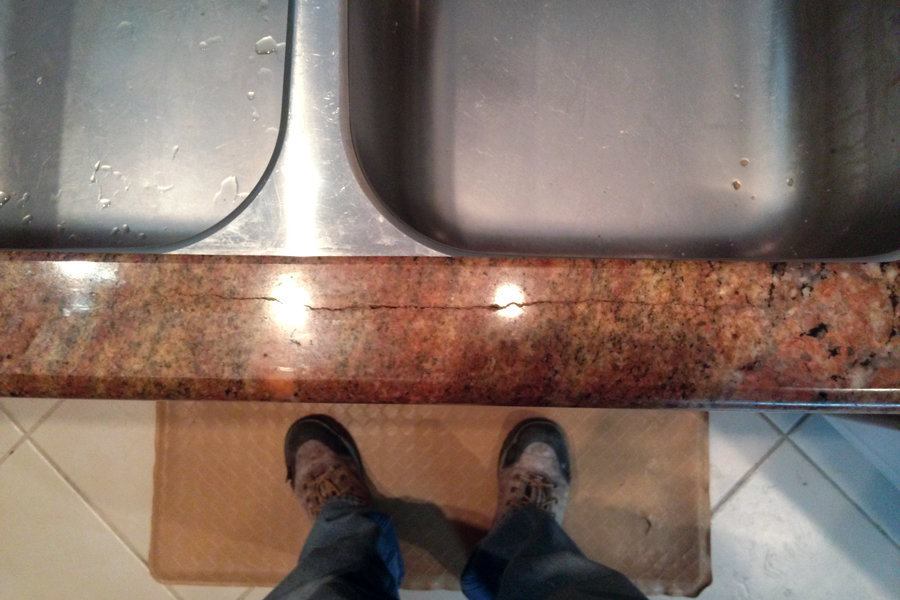
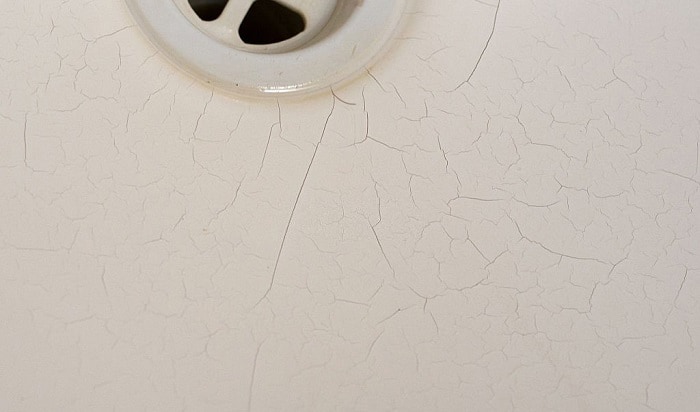
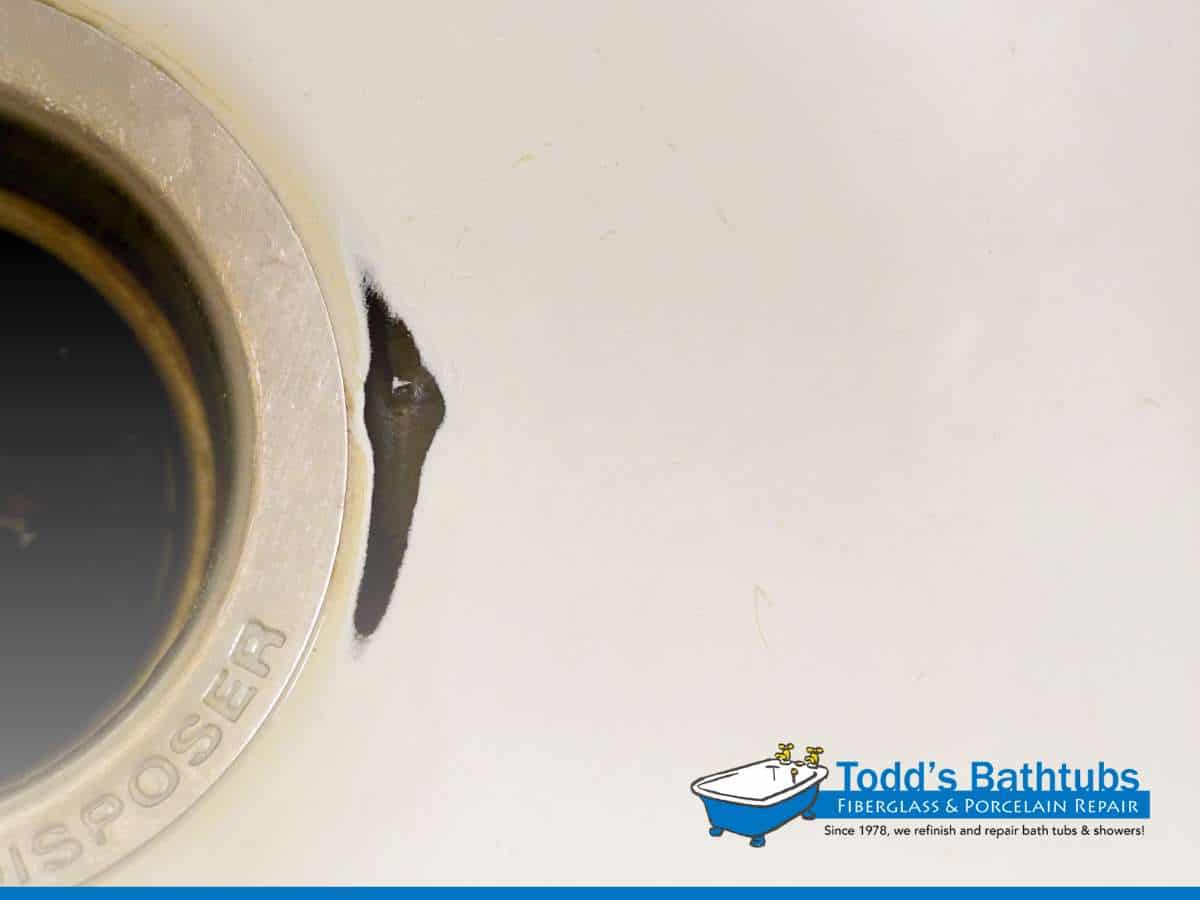
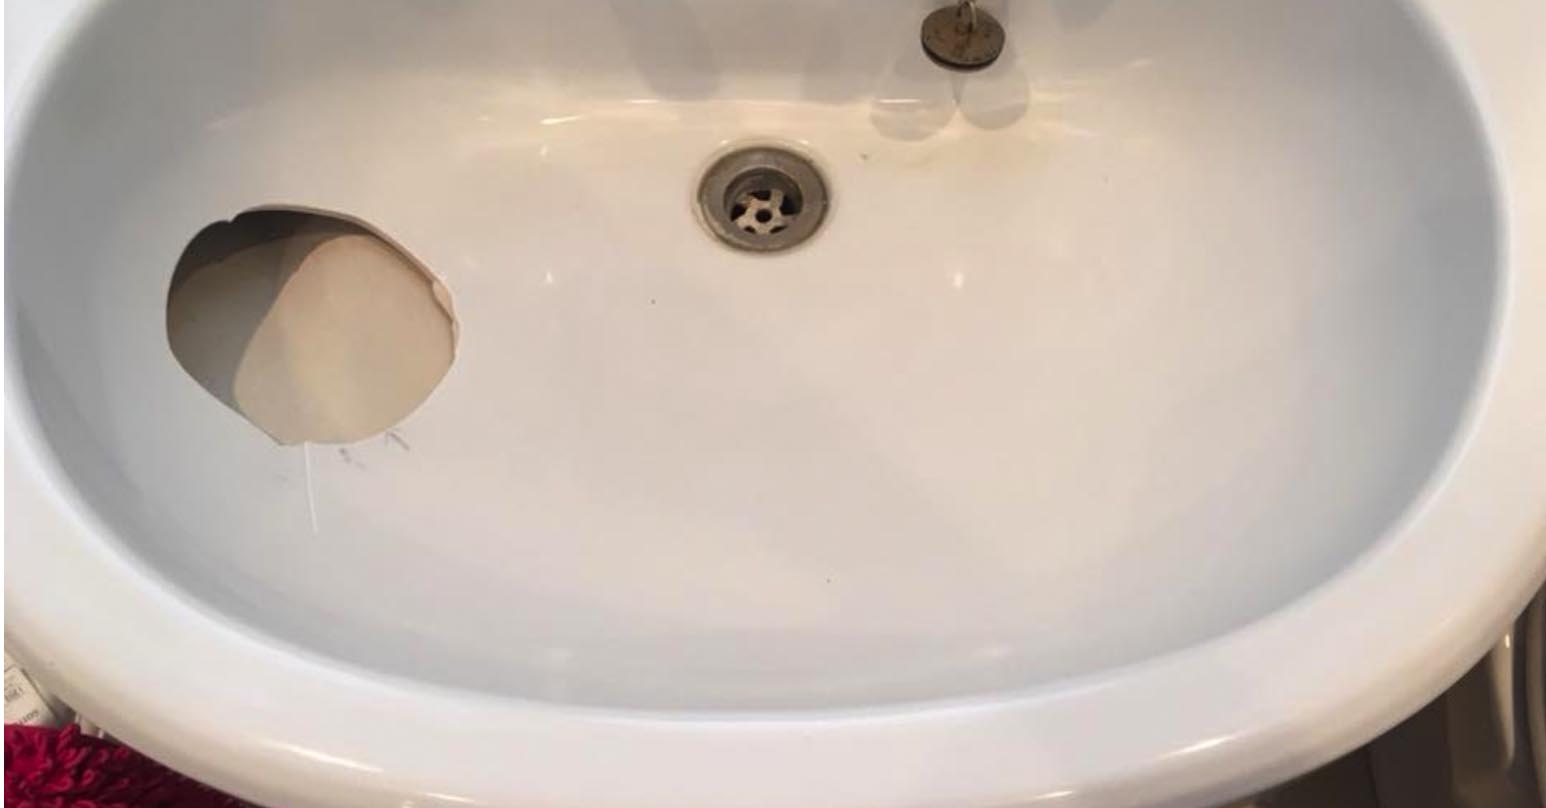
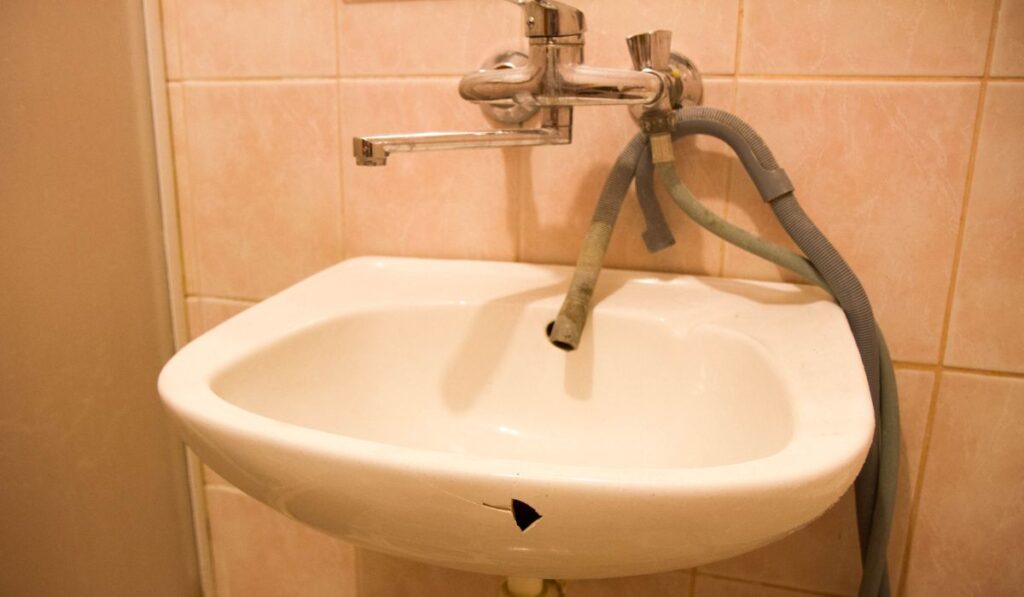
If you have noticed a crack in your bathroom sink, don't panic. It may seem like a big problem, but with the right tools and techniques, you can easily repair it yourself. Here are the steps to follow for a successful bathroom sink crack repair:How to Repair a Cracked Bathroom Sink


How to Repair a Cracked Bathroom Sink


Repairing a cracked bathroom sink is a task that can easily be done by yourself. Not only will it save you money, but it will also give you a sense of accomplishment. Here are the tools you will need to have on hand for a DIY bathroom sink crack repair: Tools: Epoxy or acrylic repair kit, sandpaper, putty knife, drill, and a hairdryer.DIY Bathroom Sink Crack Repair


DIY Bathroom Sink Crack Repair


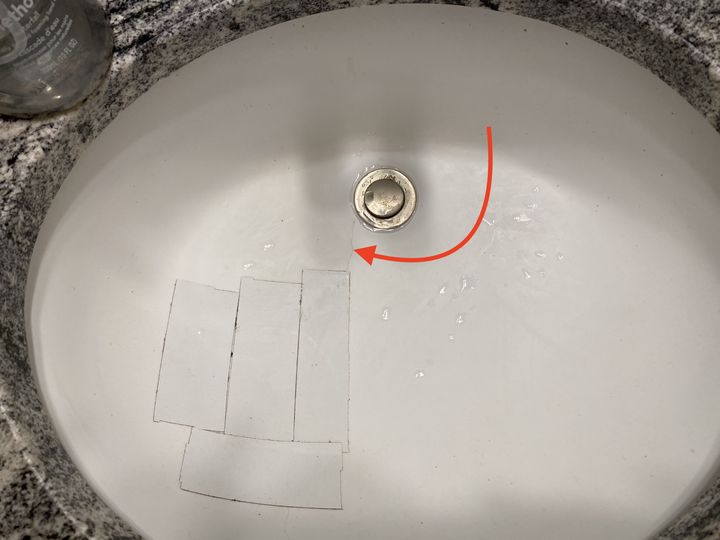
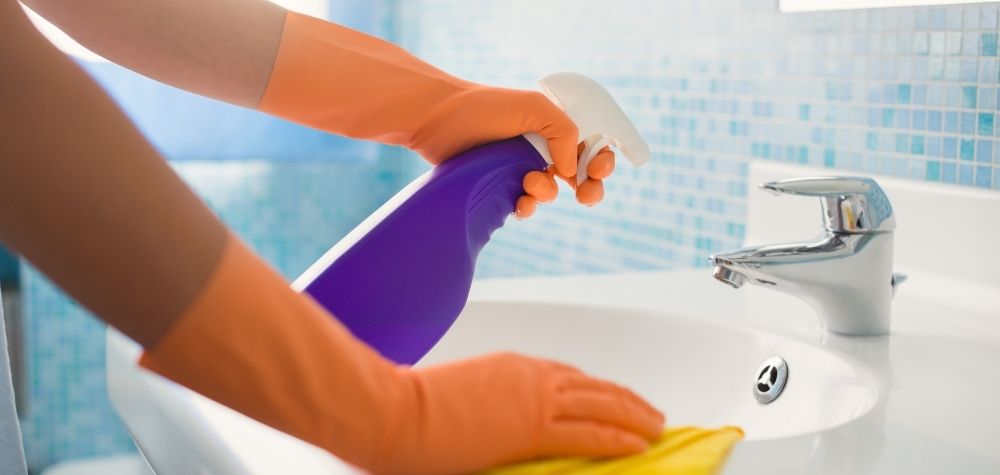
Before you start the repair process, make sure to properly clean the sink and dry it completely. This will ensure that the repair materials adhere well and provide a strong bond. Follow these steps to fix a cracked bathroom sink: Step 1: Sand the edges of the crack with fine-grit sandpaper to remove any rough edges or debris. Step 2: Use a putty knife to apply the epoxy or acrylic repair kit to the crack. Make sure to fill the crack completely and smooth out the surface. Step 3: Use a hairdryer to speed up the drying process. Step 4: Once the repair material has dried, use the sandpaper to smooth out any excess material and blend it with the rest of the sink surface.Fixing a Cracked Bathroom Sink


Fixing a Cracked Bathroom Sink


Here is a breakdown of the steps involved in repairing a cracked bathroom sink: Step 1: Clean and dry the sink. Step 2: Sand the edges of the crack. Step 3: Apply the repair material and let it dry. Step 4: Sand and blend the repair material.Steps to Fix a Cracked Bathroom Sink


Steps to Fix a Cracked Bathroom Sink


If you are unsure of how to repair a cracked bathroom sink, here is a simple guide to help you through the process: Step 1: Assess the damage and determine the best repair method. Step 2: Gather all the necessary tools and materials. Step 3: Clean and dry the sink. Step 4: Apply the repair material and let it dry. Step 5: Sand and blend the repair material.Cracked Bathroom Sink Repair Guide


Cracked Bathroom Sink Repair Guide


)
Repairing a cracked bathroom sink doesn't have to be a difficult or daunting task. With the right tools and materials, it can be a simple and easy process. Here are some tips for an easy bathroom sink crack repair: Use a repair kit specifically designed for bathroom sinks, as they are more durable and waterproof.Easy Bathroom Sink Crack Repair

Easy Bathroom Sink Crack Repair


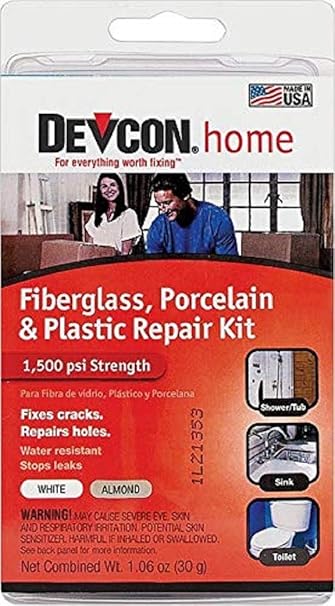
When it comes to repairing a cracked bathroom sink, not all products are created equal. Here are some of the best products to use for a successful repair: Epoxy or acrylic repair kit: These kits are specifically designed for repairing cracked sinks and provide a strong and durable bond. Multi-purpose adhesive: If the crack is small, a multi-purpose adhesive can also be used to repair it. Silicone sealant: If the crack is in the basin of the sink, a silicone sealant can be used to fill and seal the crack.Best Products for Repairing a Cracked Bathroom Sink


Best Products for Repairing a Cracked Bathroom Sink

/cdn.vox-cdn.com/uploads/chorus_image/image/65892275/howto_fixplaster_01.0.jpg)
If you don't feel comfortable repairing the crack yourself, or if the damage is extensive, it may be best to hire a professional for the job. Here are some benefits of using a professional bathroom sink crack repair service: Expertise: Professionals have the necessary knowledge and experience to properly repair a cracked sink. Quality materials: They use high-quality materials that will provide a long-lasting repair. Time-saving: Hiring a professional will save you time and effort, as they will complete the repair quickly and efficiently.Professional Bathroom Sink Crack Repair Services

Professional Bathroom Sink Crack Repair Services

Prevention is always better than cure, and the same goes for cracked bathroom sinks. Here are some tips to prevent cracks in your sink: Be gentle: Avoid dropping heavy objects or using excessive force on the sink. Use a cutting board: If you need to cut or chop something, use a cutting board instead of doing it directly on the sink. Fix leaks promptly: If you notice any leaks in your sink, address them immediately to prevent water damage that can lead to cracks.Preventing Cracks in Your Bathroom Sink


Preventing Cracks in Your Bathroom Sink


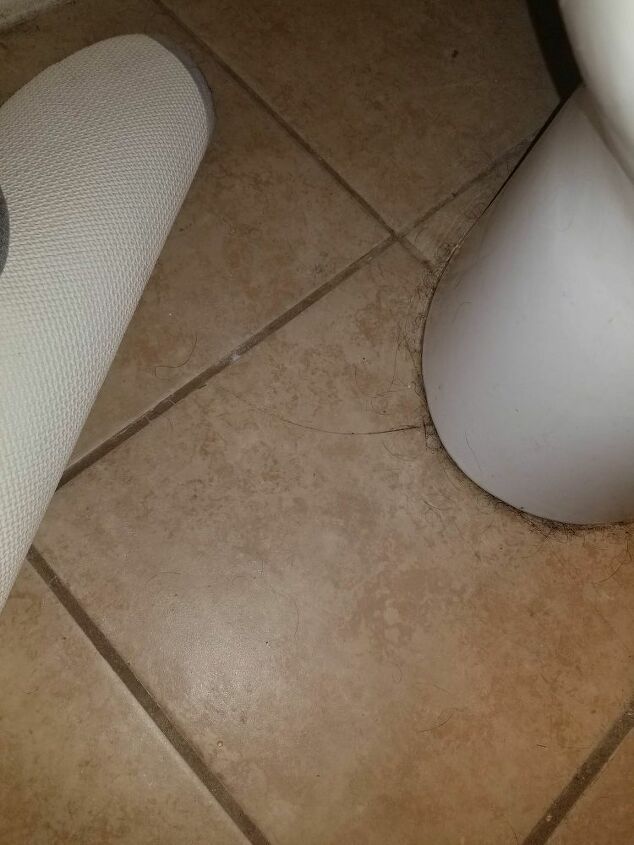
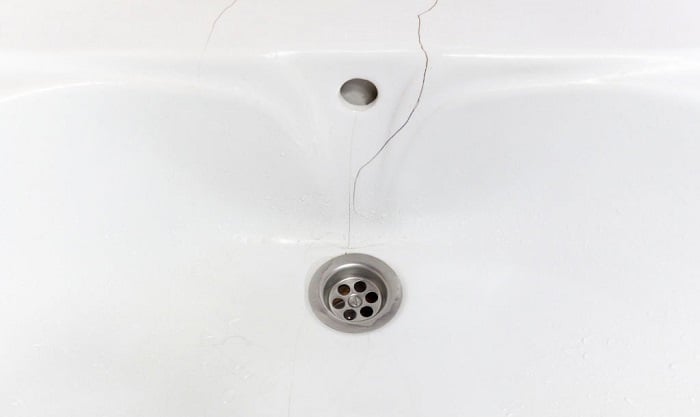
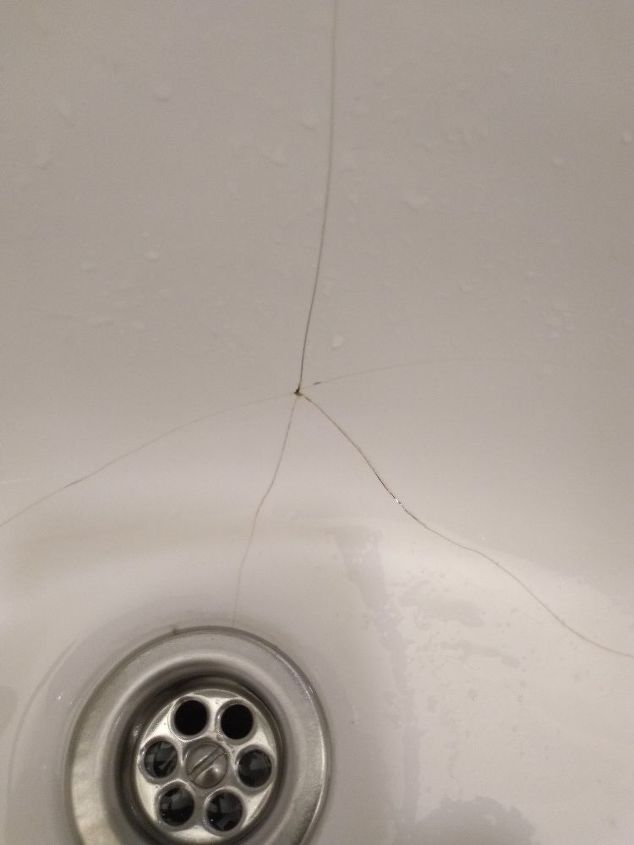
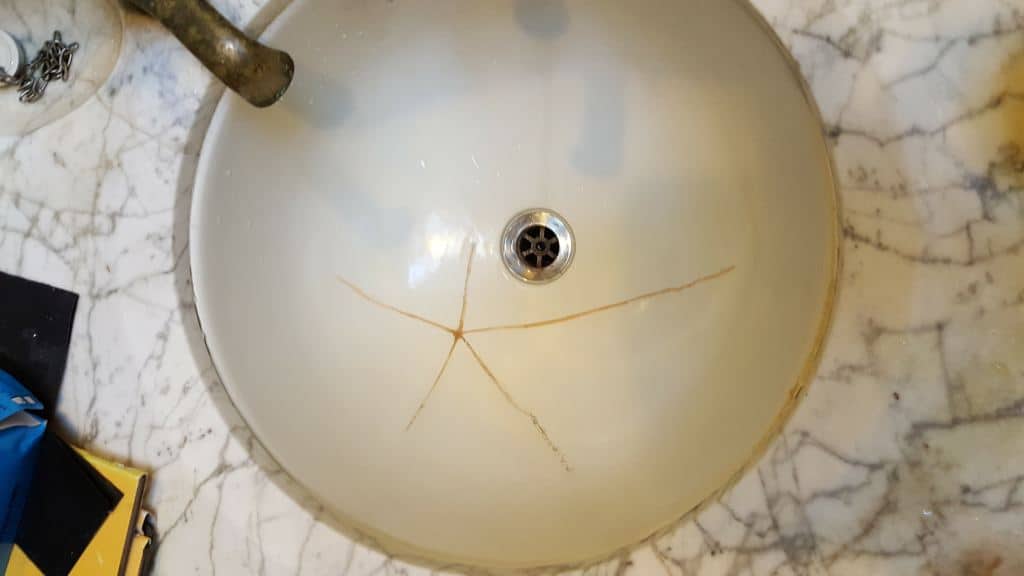
Understanding the common causes of bathroom sink cracks can help you prevent them in the future. Here are some of the most common causes and how to fix them: Thermal shock: Extreme temperature changes can cause the sink to expand or contract, leading to cracks. Avoid sudden temperature changes and use a sink with a built-in overflow to prevent this issue. Impact damage: Dropping heavy objects or using excessive force can cause cracks. Be gentle when using your sink. Age and wear: Over time, sinks can develop cracks due to wear and tear. If this happens, it may be time to replace the sink altogether. In conclusion, repairing a cracked bathroom sink is a task that can easily be done by yourself, with the right tools and techniques. However, if you are not confident in your DIY skills, it is best to hire a professional for the job. By following these tips and taking preventive measures, you can keep your bathroom sink in excellent condition and avoid cracks in the future.Common Causes of Bathroom Sink Cracks and How to Fix Them


Common Causes of Bathroom Sink Cracks and How to Fix Them

How to Repair a Cracked Bathroom Sink
Understanding the Problem
 When it comes to bathroom design, a cracked sink can be a major eyesore and inconvenience. Not only does it take away from the overall aesthetic of the room, but it can also lead to leaks and further damage. Before jumping into repairs, it's important to understand the root cause of the crack. In most cases, it is due to either a heavy impact or natural wear and tear over time. Identifying the cause will help determine the best course of action for repairing the sink.
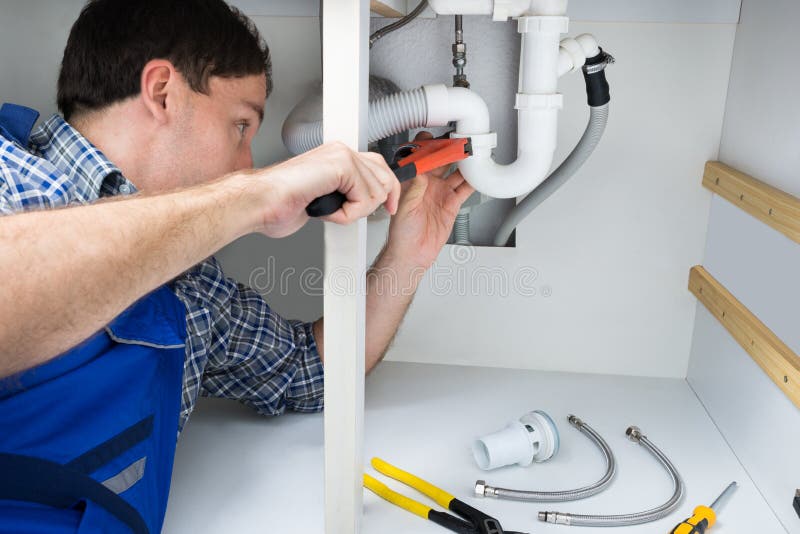
Gather Materials and Tools
 To effectively repair a cracked bathroom sink, you will need the following materials and tools:
- Epoxy glue
- Putty knife
- Sandpaper
- Acetone or rubbing alcohol
- Cloth or paper towels
- Paintbrush
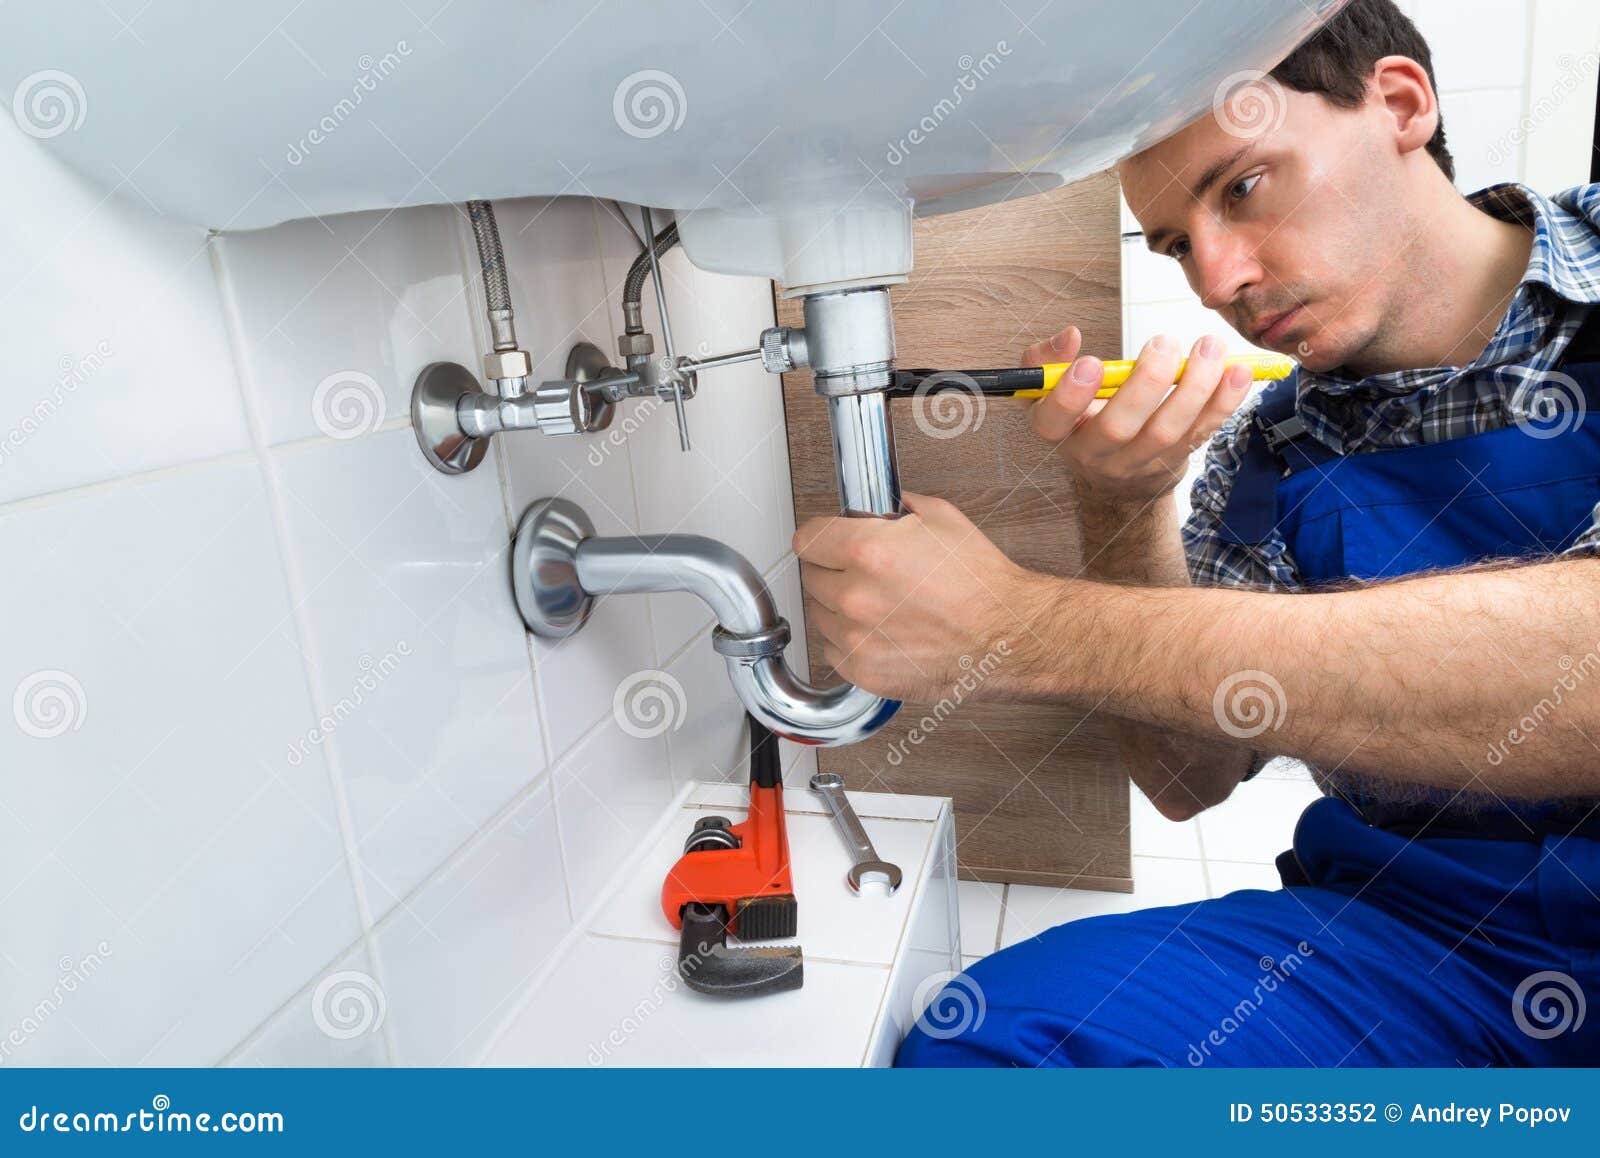
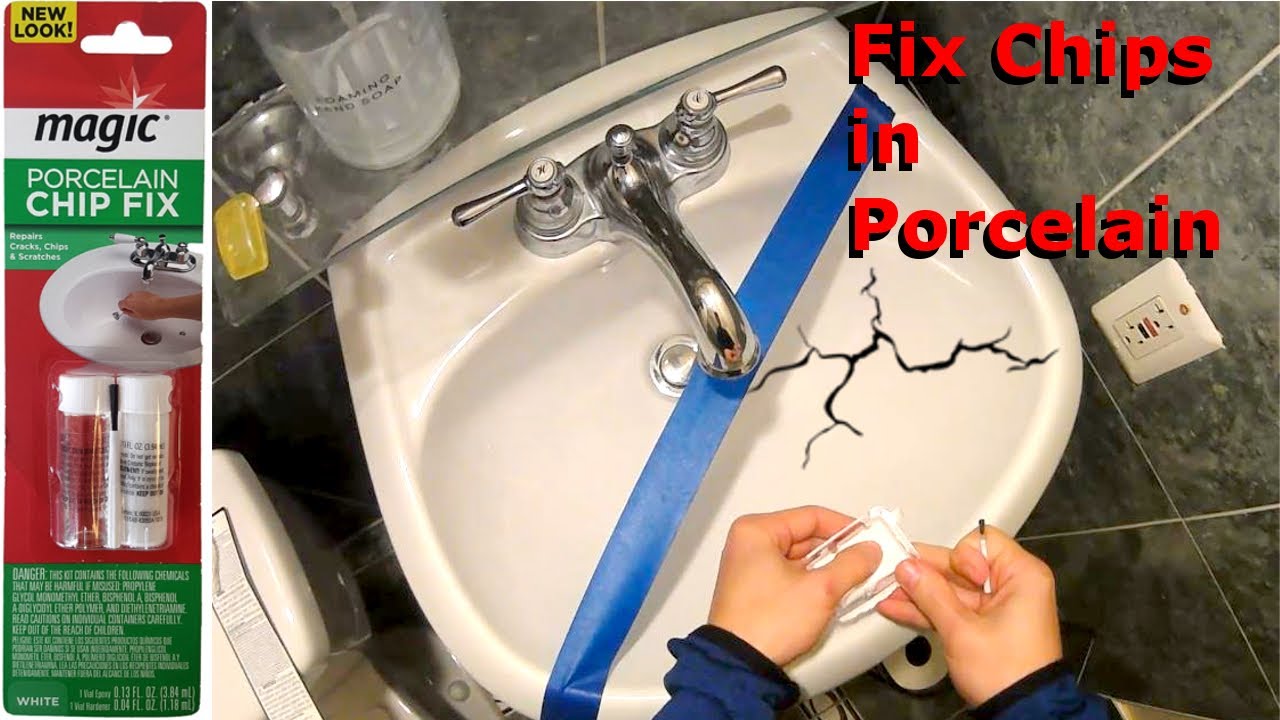
Step-by-Step Repair Process
 Now that you have all the necessary materials and tools, here is a step-by-step guide to repairing your cracked bathroom sink:
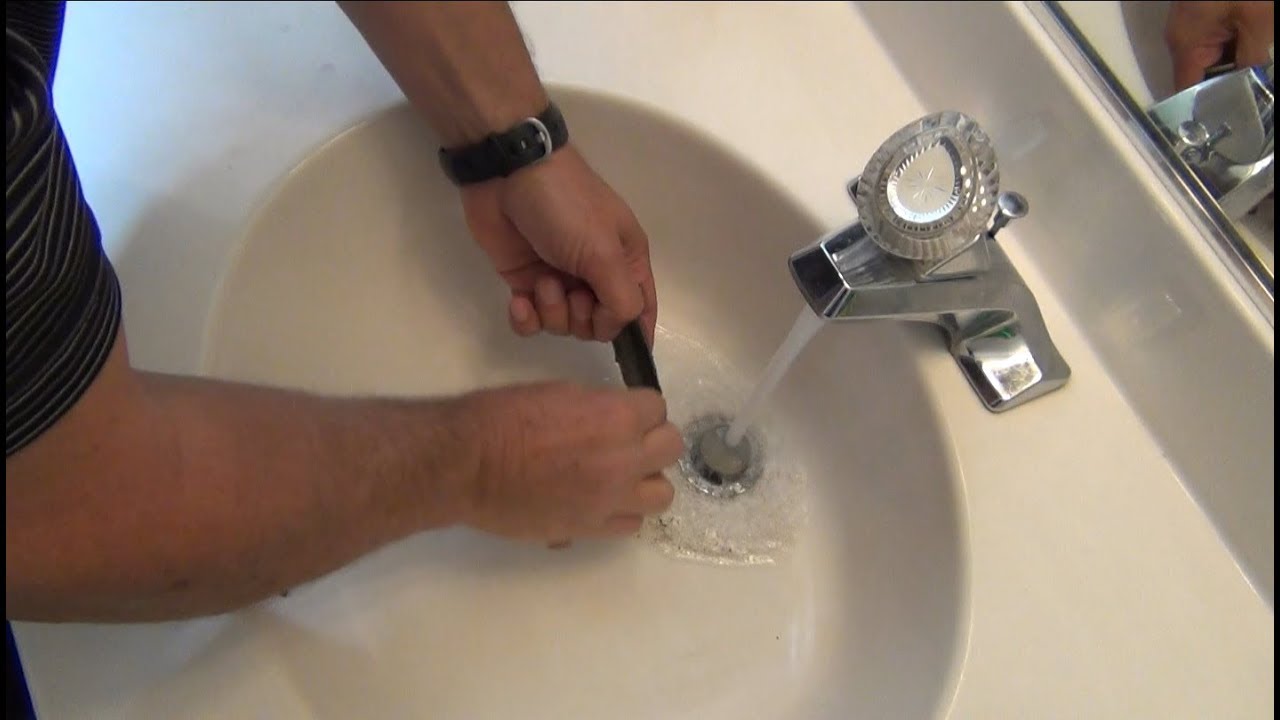
- Clean the Area - Before beginning any repairs, make sure to thoroughly clean the cracked area with acetone or rubbing alcohol. This will remove any dirt, grime, or residue that may hinder the repair process.
- Prepare the Epoxy Glue - Mix the epoxy glue according to the manufacturer's instructions. Make sure to wear gloves and follow safety precautions as epoxy can be toxic.
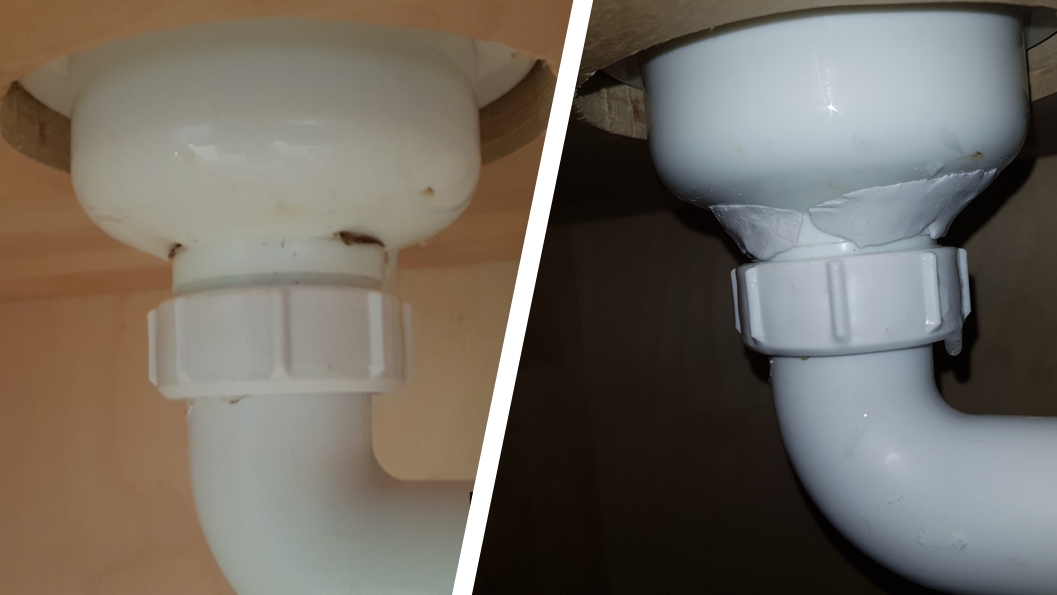
- Apply the Glue - Use a putty knife to carefully apply the epoxy glue to the cracked area. Make sure to fill in the crack completely and smooth out any excess glue with the putty knife.
- Sand Down the Glue - Once the glue has dried, use sandpaper to smooth down the surface of the repair. This will help blend it in with the rest of the sink.
- Apply a Second Layer (Optional) - If the crack is deep or large, it may be necessary to apply a second layer of epoxy glue. Repeat the steps above and make sure to sand down the repair once it has dried.
- Seal and Finish - Once the repair has fully dried, use a paintbrush to apply a sealant over the repaired area. This will help protect the repair and give it a finished look.
Final Thoughts
 Repairing a cracked bathroom sink may seem like a daunting task, but with the right materials, tools, and technique, it can be easily accomplished. Remember to take your time and follow each step carefully to ensure a successful repair. If the crack is too severe or you do not feel confident in your repair skills, it may be best to seek professional help. With a little effort and patience, your bathroom sink will be looking as good as new in no time.