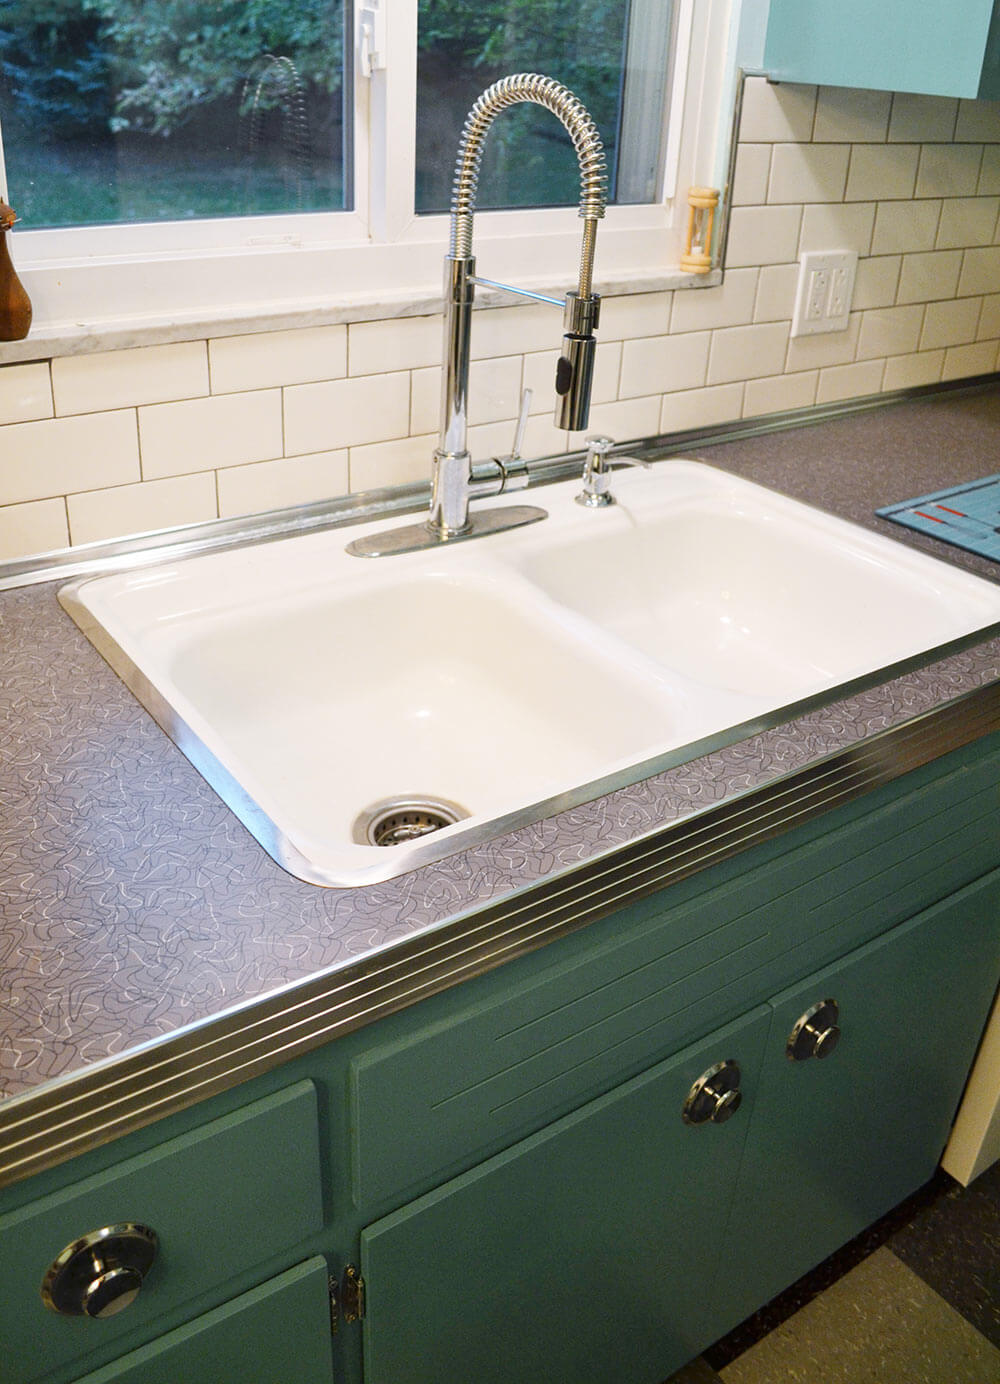
1. How to Repaint a 50s Kitchen Sink
Are you looking to revitalize your 50s kitchen sink with a fresh coat of paint? You're in luck! With a few simple steps and the right materials, you can easily transform your old, worn-out sink into a stunning focal point for your kitchen. In this article, we'll guide you through the process of repainting a 50s kitchen sink, so you can give your kitchen a much-needed vintage touch.


1. How to Repaint a 50s Kitchen Sink


2. DIY Kitchen Sink Repainting Tutorial
Repainting a kitchen sink may seem like a daunting task, but with our DIY tutorial, you'll be able to achieve professional-looking results without breaking the bank. First things first, gather all the necessary materials, including sandpaper, primer, paint, and a paintbrush. Make sure to choose a high-quality paint that is specifically formulated for use on sinks and other metal surfaces.


2. DIY Kitchen Sink Repainting Tutorial


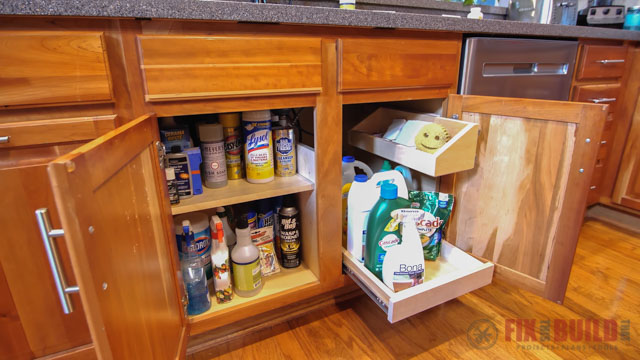

3. Tips for Painting a Vintage Kitchen Sink
Before you dive into the repainting process, there are a few things you should keep in mind to ensure a successful outcome. Firstly, make sure to thoroughly clean and dry the sink before starting. Any dirt or grime on the surface can prevent the paint from adhering properly. Additionally, consider removing the sink from its base and placing it on a flat surface to make the painting process easier.


3. Tips for Painting a Vintage Kitchen Sink


4. Best Paint for Repainting a 50s Kitchen Sink
When it comes to choosing the right paint for your 50s kitchen sink, it's essential to opt for a high-quality, durable, and water-resistant formula. Look for paints that are specifically designed for use on metal surfaces, as they will be more likely to withstand the daily wear and tear of a kitchen sink. Popular options include epoxy and enamel paints, which provide a smooth and glossy finish.


4. Best Paint for Repainting a 50s Kitchen Sink


5. Step-by-Step Guide to Repainting a 50s Kitchen Sink
Now that you have all the necessary materials and tips in mind, it's time to get down to business. Follow these simple steps to repaint your 50s kitchen sink:
Step 1: Begin by sanding down the surface of the sink. This will help remove any rust, grime, or old paint, and create a smooth surface for the new paint to adhere to.
Step 2: Clean the sink thoroughly with soap and water, and then dry it completely.
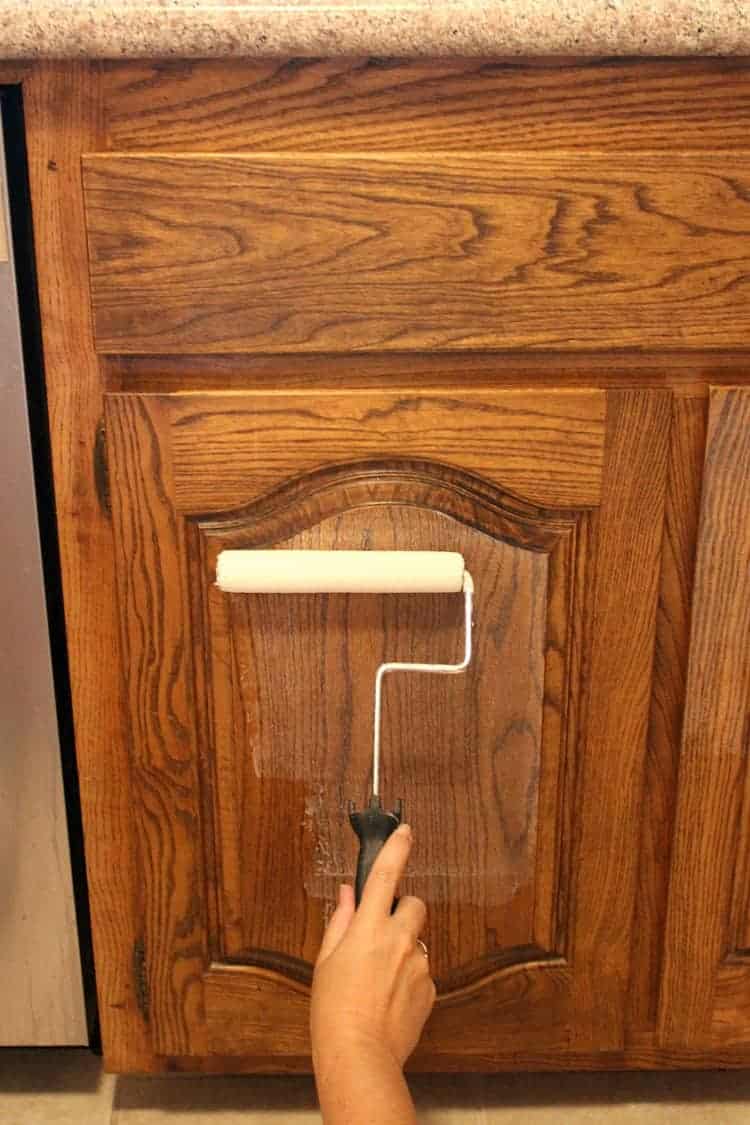
Step 3: Apply a coat of primer to the sink, using a paintbrush or roller. This will help the paint adhere better and provide a more even finish.
Step 4: Once the primer is dry, apply your chosen paint in thin, even layers. Be sure to follow the manufacturer's instructions for drying times between coats.
Step 5: Once you're satisfied with the coverage and finish, let the paint dry completely before using the sink.


5. Step-by-Step Guide to Repainting a 50s Kitchen Sink


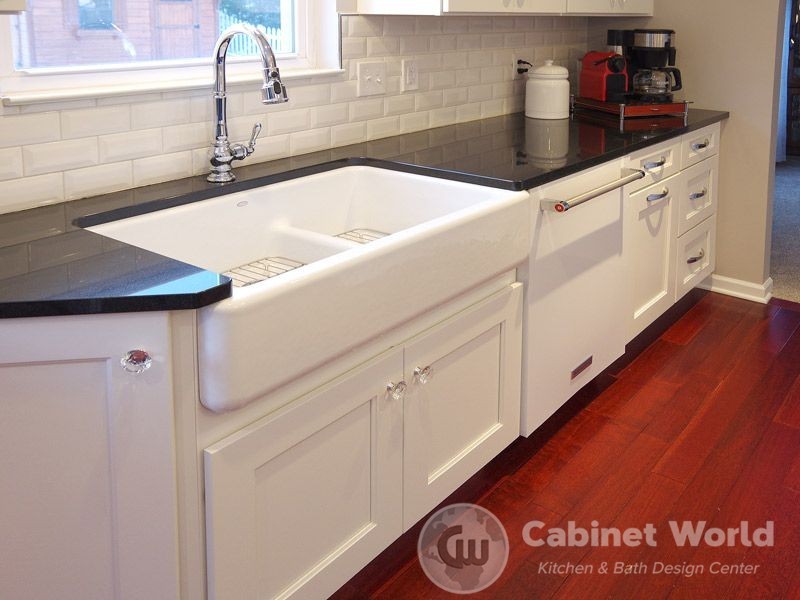
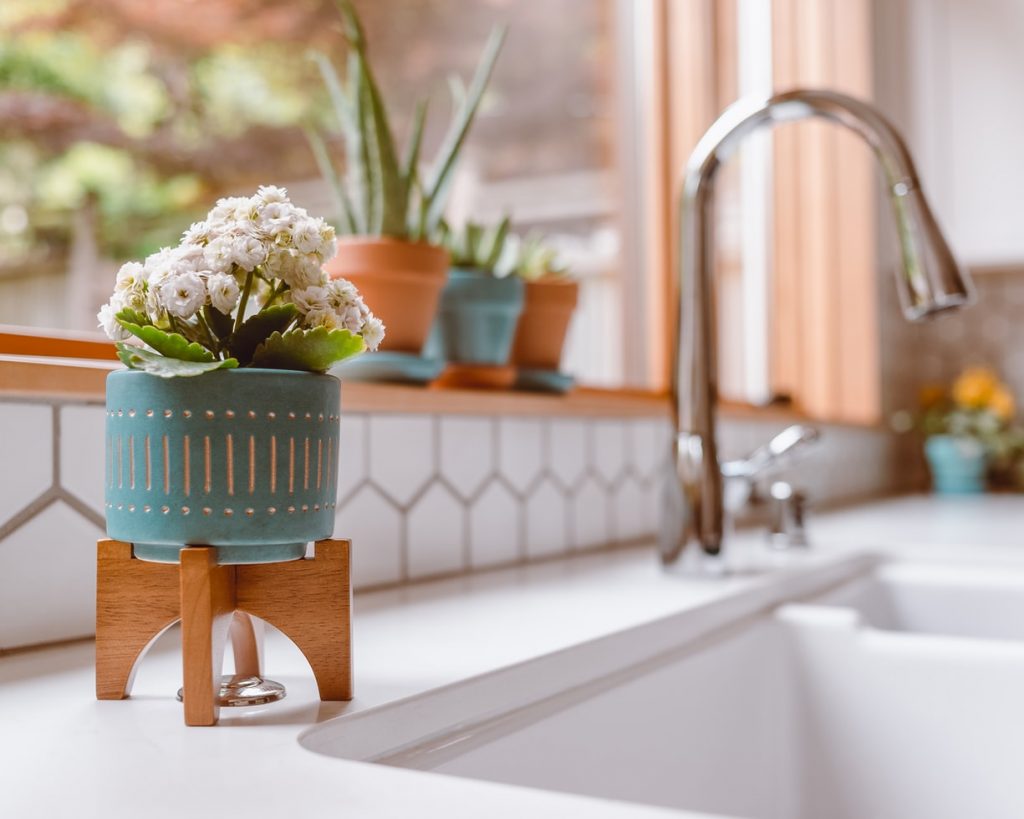
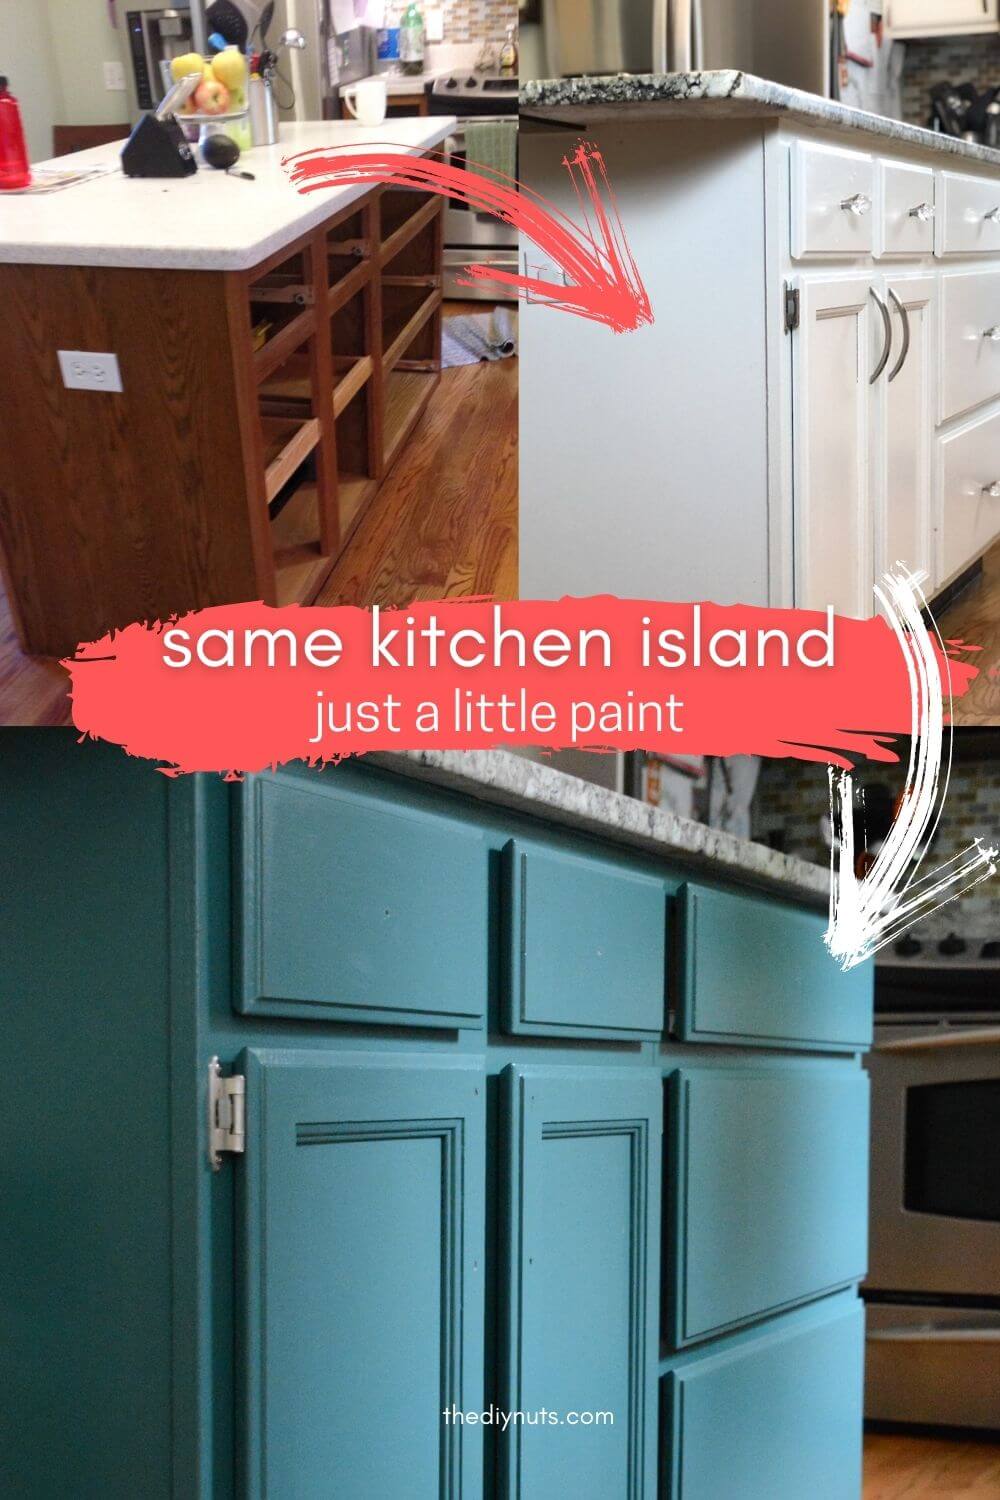
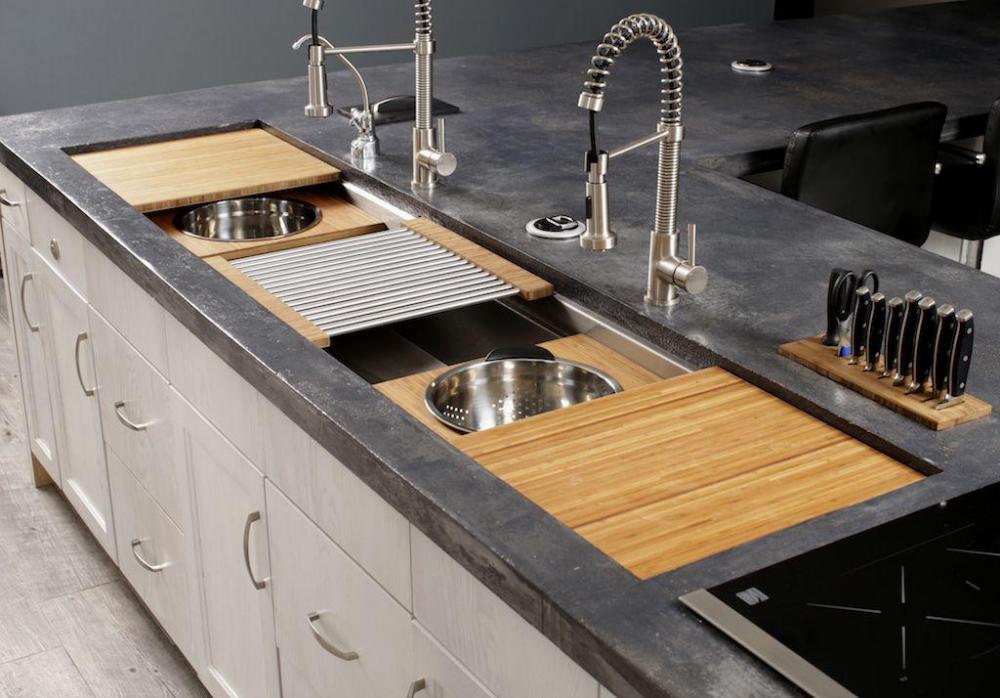
6. Transform Your Kitchen Sink with a Fresh Coat of Paint
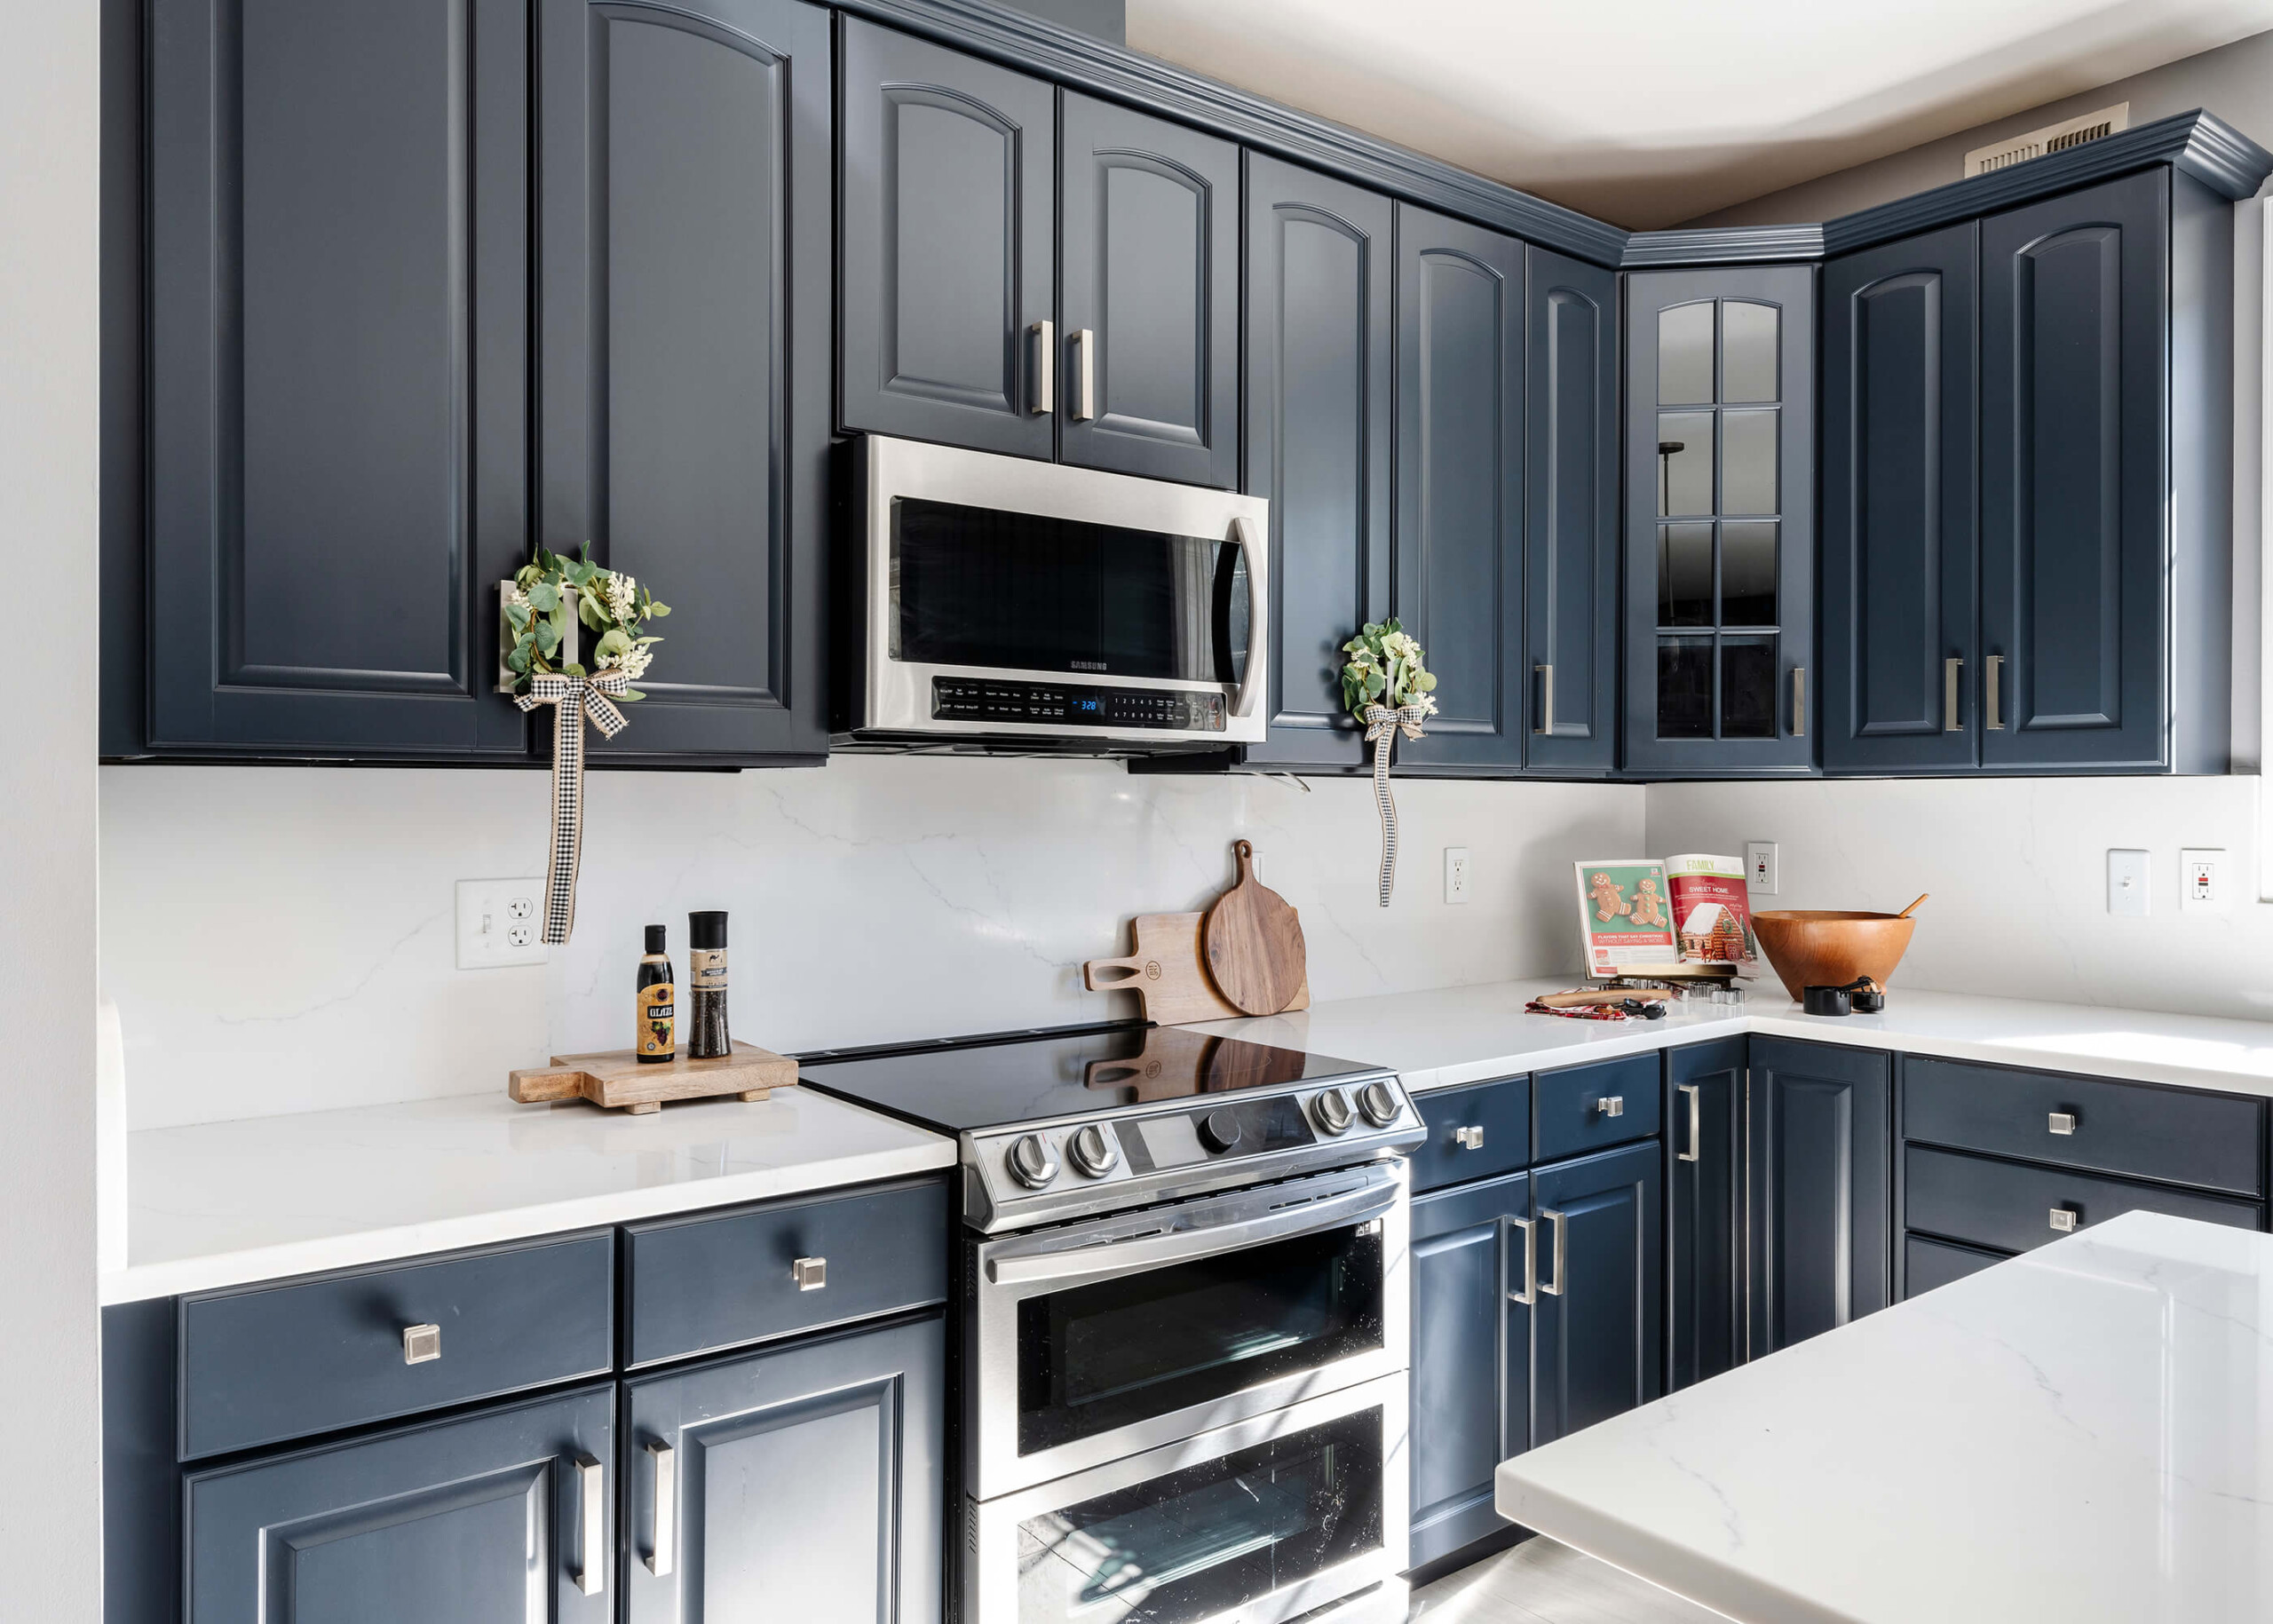
Repainting your 50s kitchen sink is an excellent way to add a touch of vintage charm to your kitchen. With a wide range of color options available, you can choose a shade that complements your kitchen's decor and personal style. Whether you prefer a bold and vibrant color or a classic white, a freshly painted sink can bring new life to your kitchen.

6. Transform Your Kitchen Sink with a Fresh Coat of Paint


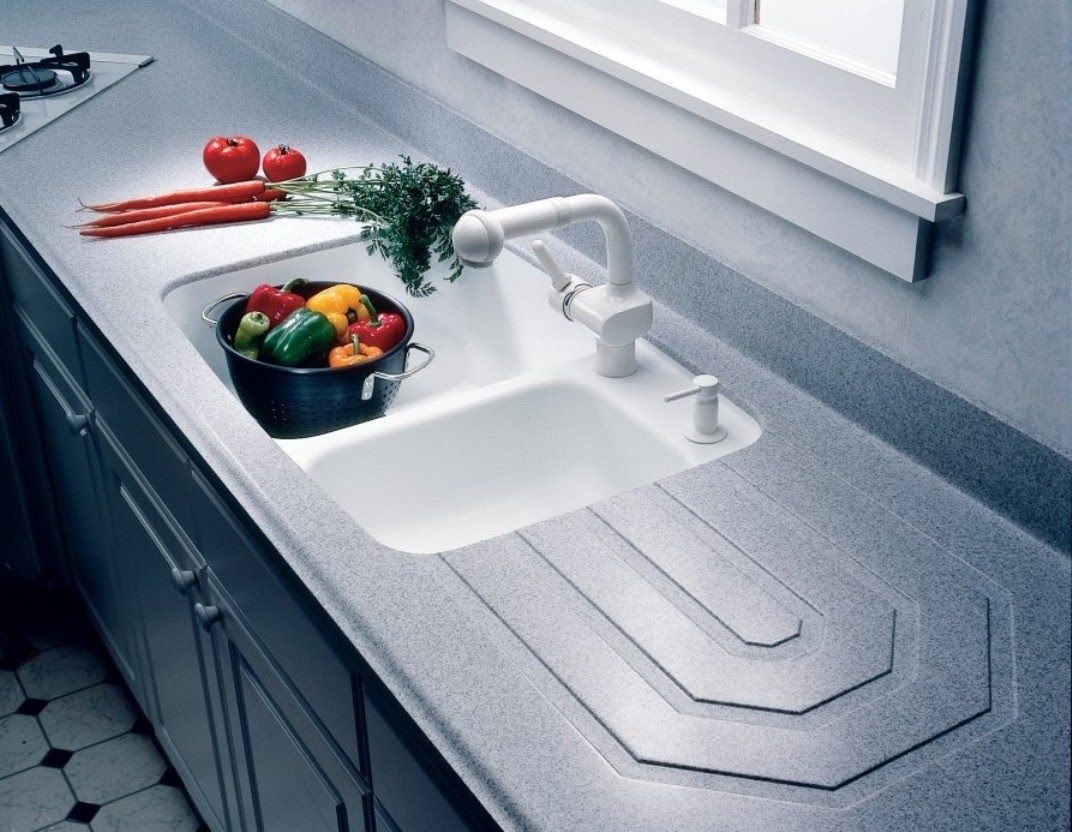
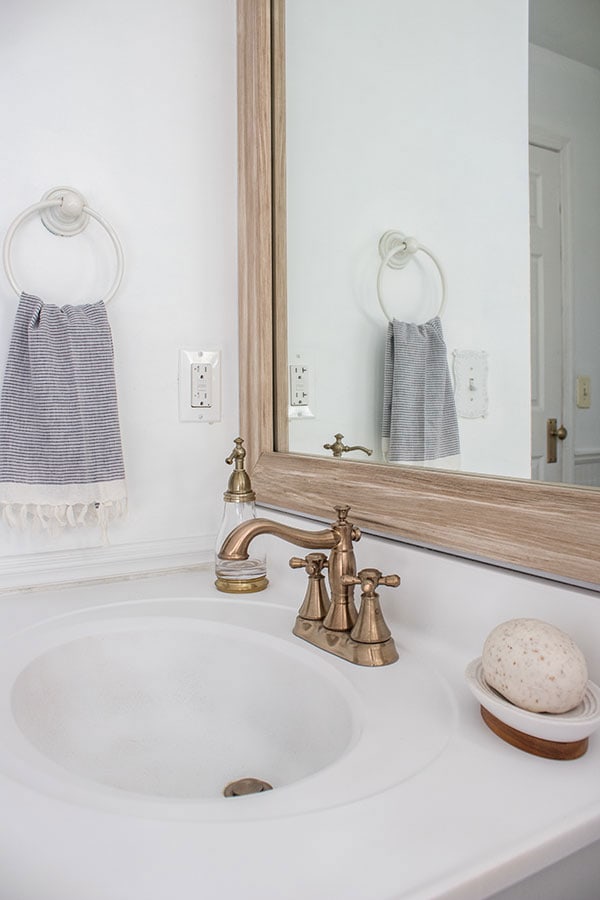
7. Reviving a Retro Kitchen Sink with Paint
If you have a retro 50s kitchen sink with a unique design or color, repainting it can be an excellent way to revive its original charm. By using a color that complements the sink's existing design, you can enhance its retro appeal while giving it a fresh and updated look.


7. Reviving a Retro Kitchen Sink with Paint


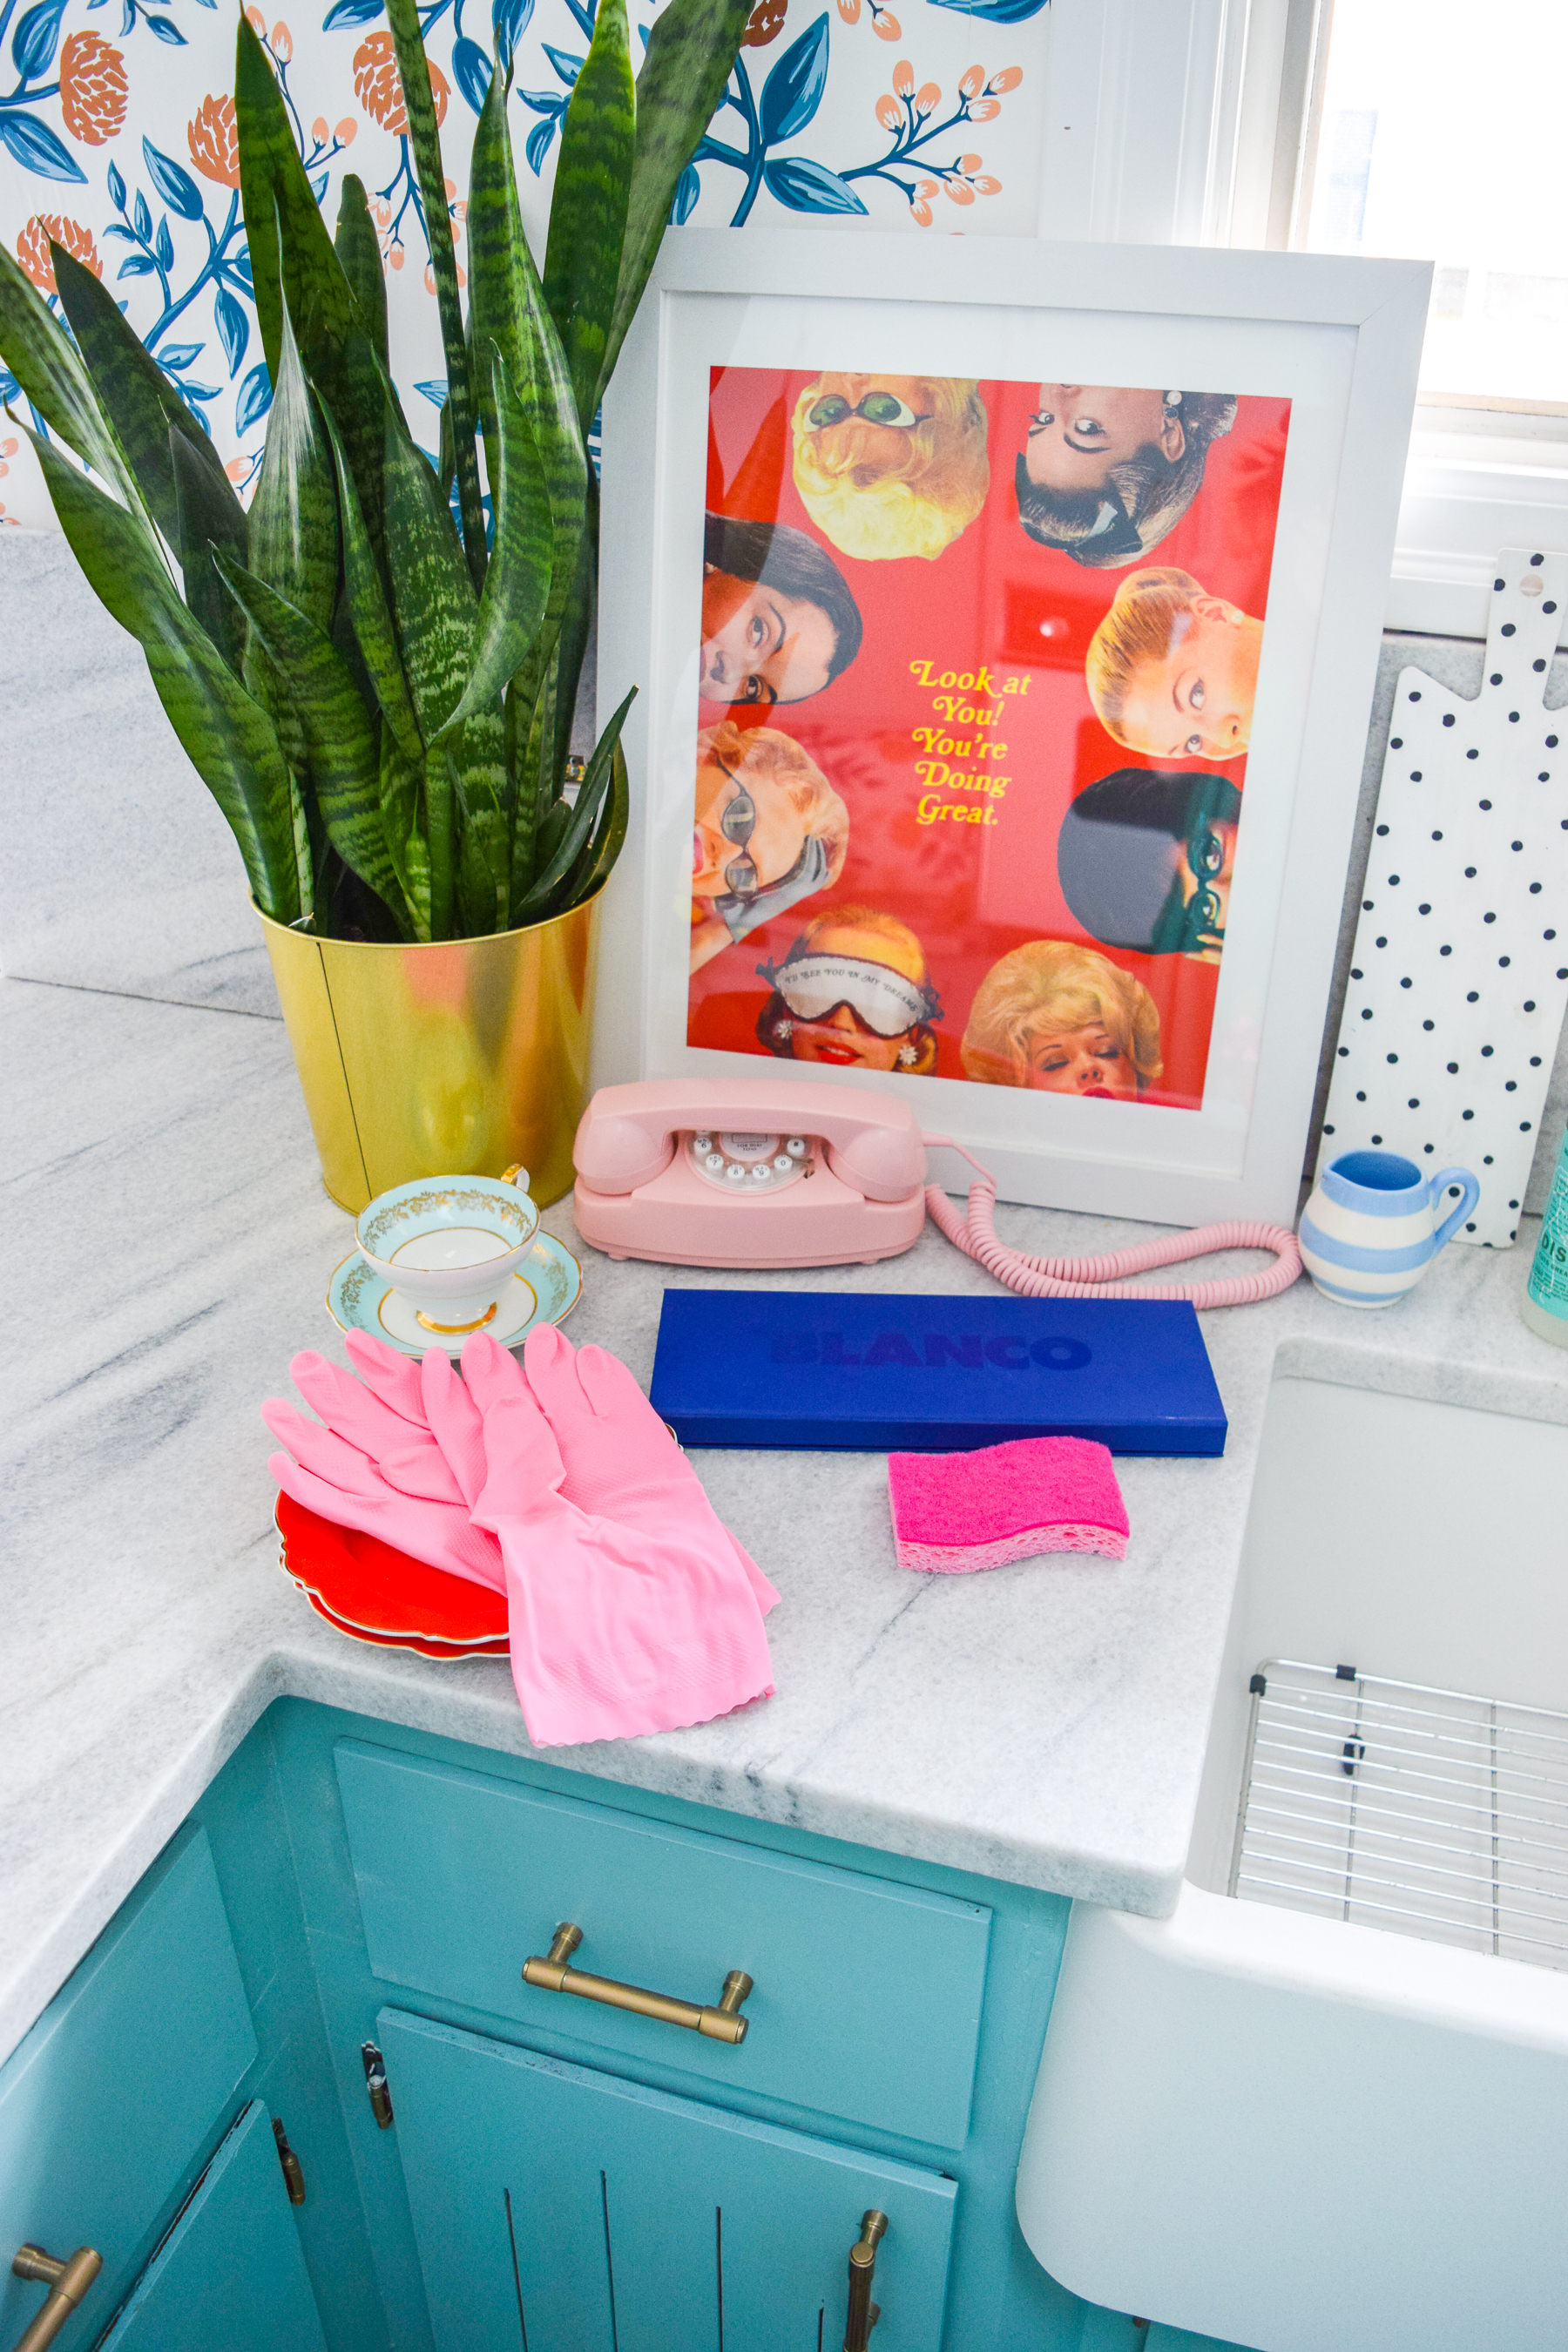
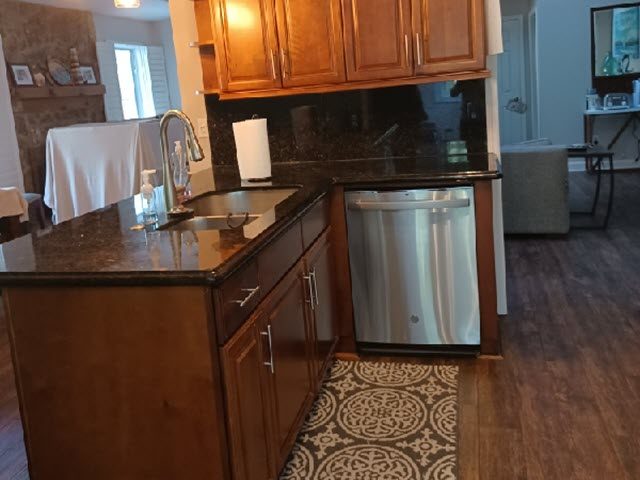
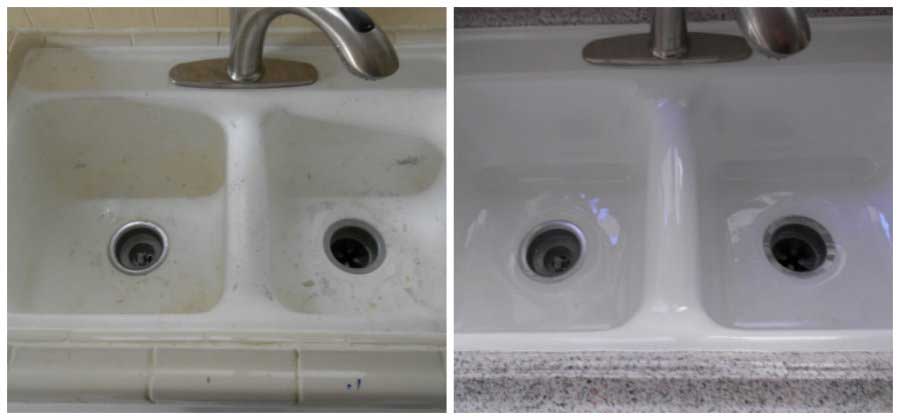
8. Before and After: Repainted 50s Kitchen Sink
If you're still unsure whether repainting your 50s kitchen sink is the right choice for you, take a look at some before and after pictures for inspiration. You'll be amazed at the difference a fresh coat of paint can make in giving your kitchen sink a whole new look.


8. Before and After: Repainted 50s Kitchen Sink


9. How to Prep and Prime a Kitchen Sink for Painting
As mentioned earlier, proper preparation is key to achieving a professional-looking finish when repainting a kitchen sink. In addition to cleaning and sanding the surface, it's crucial to use a high-quality primer before painting. Primer helps the paint adhere better and can prevent any rust or damage from showing through the new coat of paint.


9. How to Prep and Prime a Kitchen Sink for Painting


10. Common Mistakes to Avoid When Repainting a 50s Kitchen Sink
While repainting a 50s kitchen sink is a relatively simple and cost-effective way to update your kitchen, there are a few common mistakes you should avoid to achieve the best results. These include using the wrong type of paint, not prepping the surface properly, and not allowing enough drying time between coats. By keeping these mistakes in mind, you can ensure a smooth and successful repainting process.
With a little bit of time and effort, you can easily repaint your 50s kitchen sink and give it a fresh, new look. Follow these tips and tricks, and you'll have a stunning vintage sink that will be the envy of all your guests.


10. Common Mistakes to Avoid When Repainting a 50s Kitchen Sink


Transform Your Kitchen Sink with a Fresh Coat of Paint
Repainting as a Cost-Effective Solution for a 50s Kitchen Sink
 If you have a 50s style kitchen sink in your home, you may be feeling the urge to update and modernize its appearance. However, replacing a sink can be a costly and time-consuming endeavor. Fortunately, there is a more budget-friendly option that can give your sink a fresh new look – repainting it.
Repainting your kitchen sink is a simple and effective way to transform its appearance without breaking the bank. It allows you to update the color and style of your sink to better fit your current design aesthetic. Plus, with the right technique and materials, you can achieve a professional-looking finish that will last for years to come.
When choosing a paint for your sink, it is important to select one that is specifically formulated for use on surfaces that come into contact with water. Look for paint labeled as “bathroom” or “kitchen” paint, as these are designed to withstand moisture and regular cleaning. Additionally, opt for a paint that has a glossy or semi-gloss finish, as this will provide a durable and easy-to-clean surface.
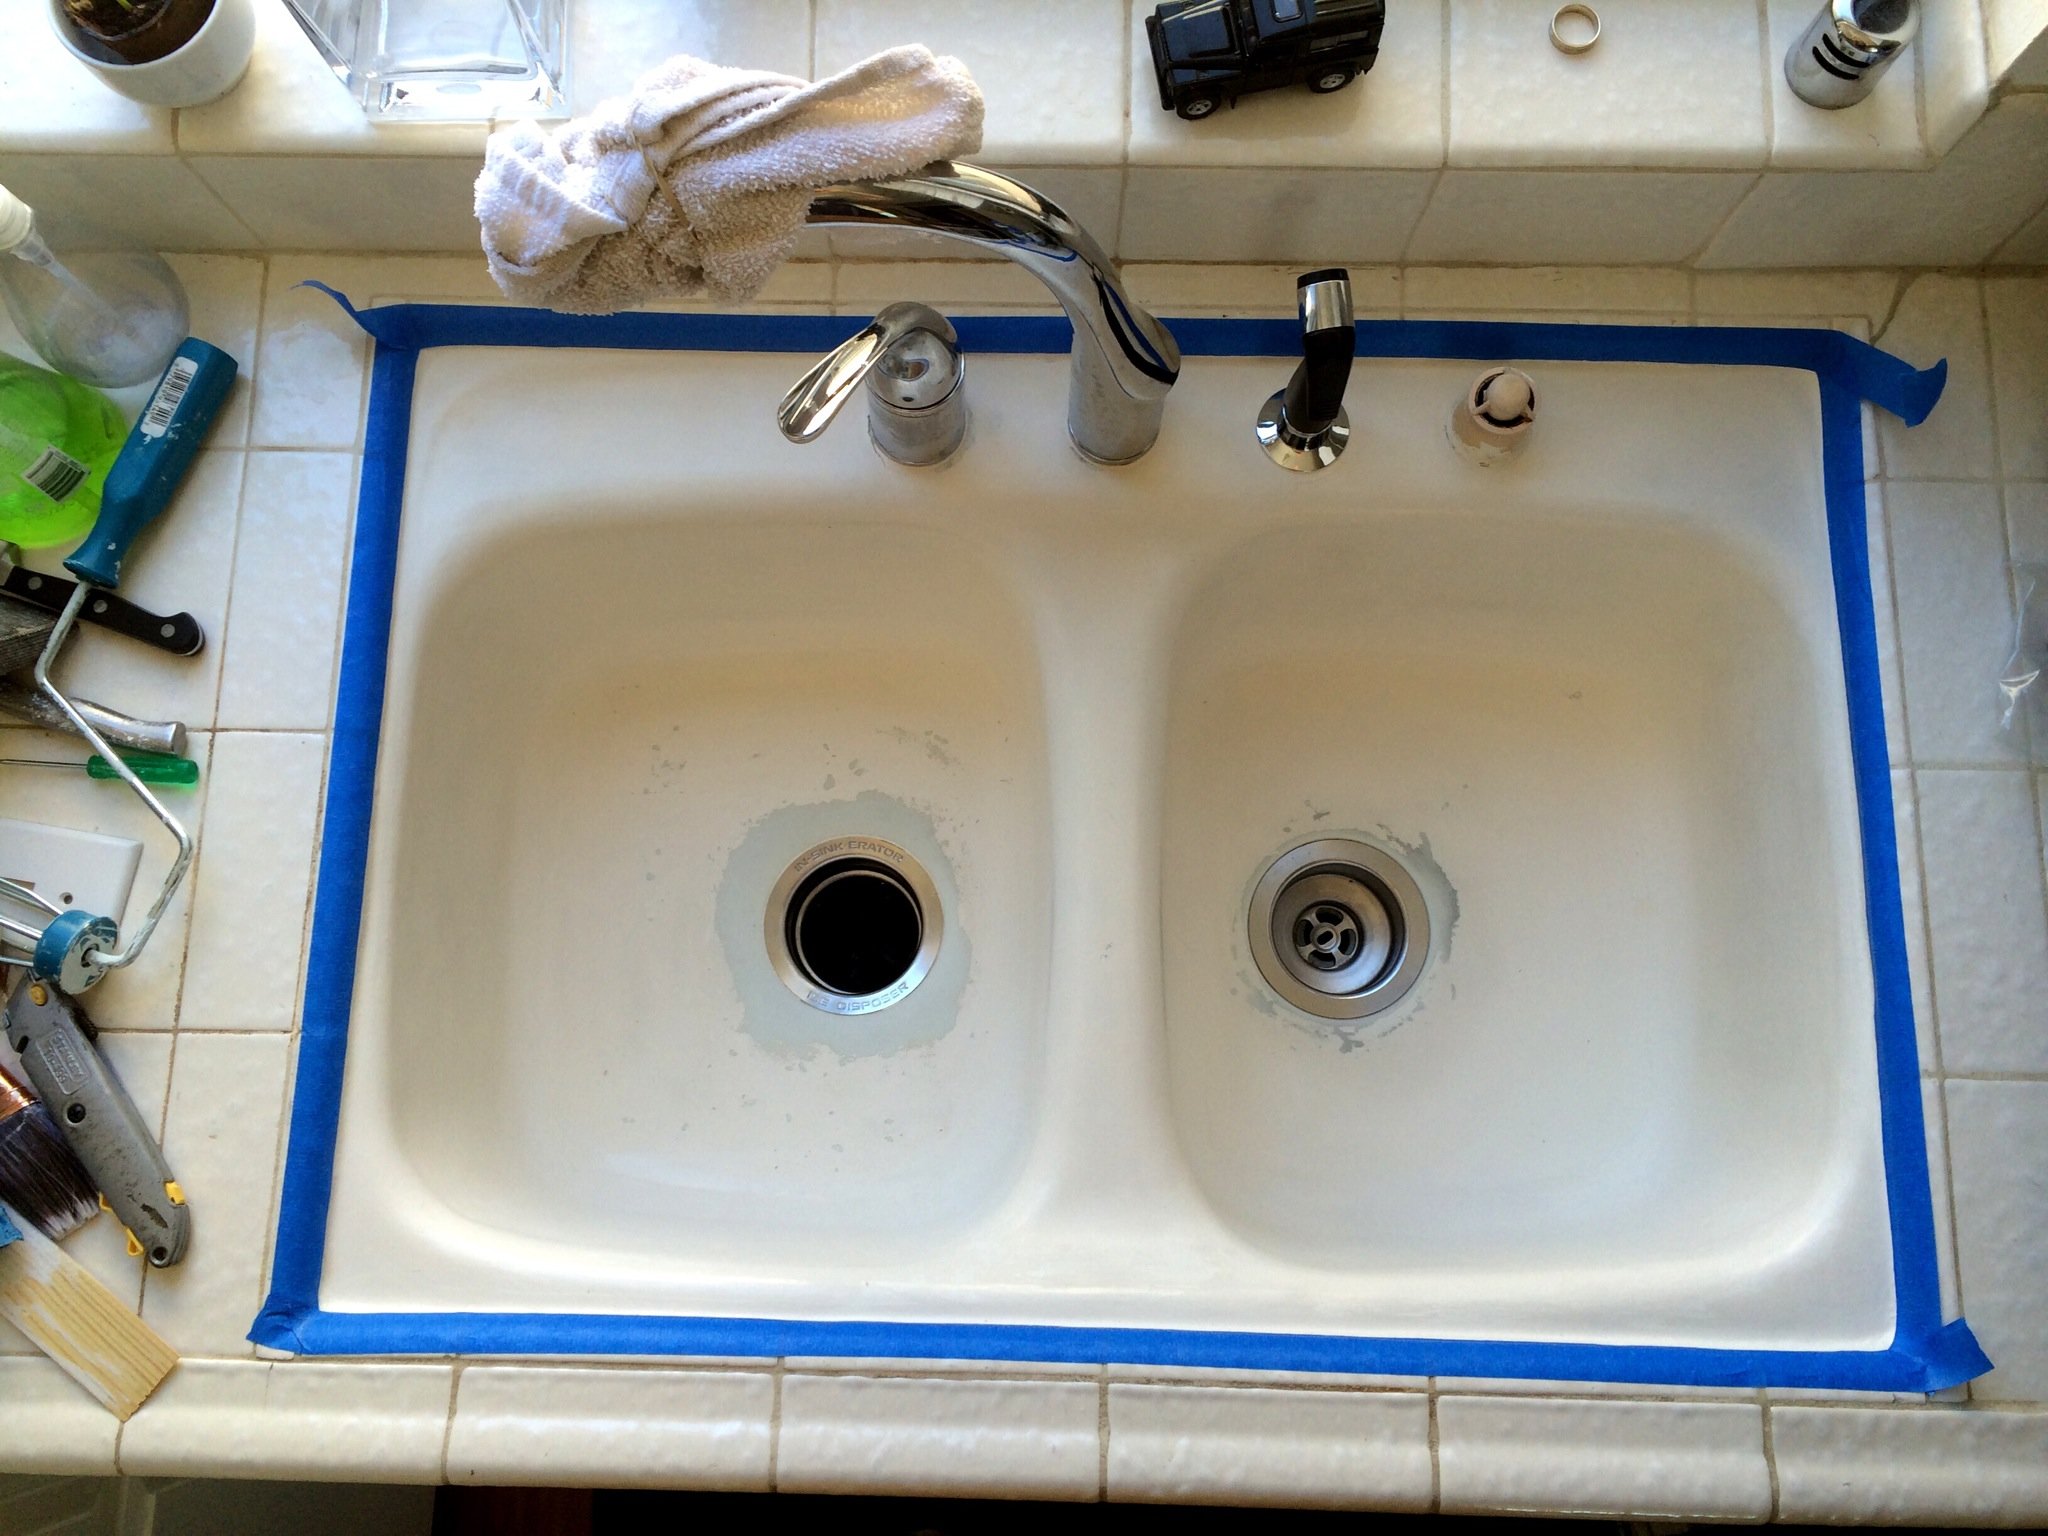
Before starting the painting process, make sure to thoroughly clean and dry your sink. Use a degreaser or mild soap and water to remove any dirt, grime, or residue from the surface. Once the sink is clean and dry, sand it lightly with a fine-grit sandpaper to create a better surface for the paint to adhere to.
Next, use painter’s tape to cover any areas of the sink that you do not want to be painted, such as the faucets or drain. Apply a primer to the sink before painting to ensure the paint adheres properly. Once the primer is dry, you can begin painting your sink, using a small brush for any detailed areas and a larger brush for the main surface.
When painting, it is important to use thin and even coats, allowing each coat to dry completely before applying the next one. This will help prevent drips and ensure a smooth finish. It may take several coats to achieve the desired color and coverage, so be patient and take your time.
After the final coat has dried, remove the painter’s tape and admire your newly painted sink. Not only will it look like a brand new sink, but it will also add a unique and personalized touch to your kitchen. With the money saved from not having to replace the sink, you can invest in other kitchen updates or simply enjoy a job well done.
In conclusion, repainting a 50s kitchen sink is a cost-effective and simple solution for updating its appearance. With the right materials and technique, you can achieve a professional-looking finish that will give your sink a new lease on life. So why not give it a try and see the transformation for yourself? Your wallet and your kitchen design will thank you.
If you have a 50s style kitchen sink in your home, you may be feeling the urge to update and modernize its appearance. However, replacing a sink can be a costly and time-consuming endeavor. Fortunately, there is a more budget-friendly option that can give your sink a fresh new look – repainting it.
Repainting your kitchen sink is a simple and effective way to transform its appearance without breaking the bank. It allows you to update the color and style of your sink to better fit your current design aesthetic. Plus, with the right technique and materials, you can achieve a professional-looking finish that will last for years to come.
When choosing a paint for your sink, it is important to select one that is specifically formulated for use on surfaces that come into contact with water. Look for paint labeled as “bathroom” or “kitchen” paint, as these are designed to withstand moisture and regular cleaning. Additionally, opt for a paint that has a glossy or semi-gloss finish, as this will provide a durable and easy-to-clean surface.
Before starting the painting process, make sure to thoroughly clean and dry your sink. Use a degreaser or mild soap and water to remove any dirt, grime, or residue from the surface. Once the sink is clean and dry, sand it lightly with a fine-grit sandpaper to create a better surface for the paint to adhere to.
Next, use painter’s tape to cover any areas of the sink that you do not want to be painted, such as the faucets or drain. Apply a primer to the sink before painting to ensure the paint adheres properly. Once the primer is dry, you can begin painting your sink, using a small brush for any detailed areas and a larger brush for the main surface.
When painting, it is important to use thin and even coats, allowing each coat to dry completely before applying the next one. This will help prevent drips and ensure a smooth finish. It may take several coats to achieve the desired color and coverage, so be patient and take your time.
After the final coat has dried, remove the painter’s tape and admire your newly painted sink. Not only will it look like a brand new sink, but it will also add a unique and personalized touch to your kitchen. With the money saved from not having to replace the sink, you can invest in other kitchen updates or simply enjoy a job well done.
In conclusion, repainting a 50s kitchen sink is a cost-effective and simple solution for updating its appearance. With the right materials and technique, you can achieve a professional-looking finish that will give your sink a new lease on life. So why not give it a try and see the transformation for yourself? Your wallet and your kitchen design will thank you.


